Home>Garden Essentials>Garden Storage>How To Build A Rock Wall With Mortar And Line Your Yard With Charm
Garden Storage
How To Build A Rock Wall With Mortar And Line Your Yard With Charm
Modified: August 25, 2024
Learn how to build a stunning rock wall using mortar and add storage to your yard, creating a charming and functional space with this step-by-step guide.
(Many of the links in this article redirect to a specific reviewed product. Your purchase of these products through affiliate links helps to generate commission for Storables.com, at no extra cost. Learn more)
Introduction
Welcome to the world of rock walls! If you’re looking to add charm and character to your yard, building a rock wall is a fantastic option. Not only do rock walls serve as functional boundary markers, but they also provide a visually appealing feature that can enhance the overall aesthetics of your outdoor space.
In this article, we will guide you through the process of building a rock wall with mortar, step by step. From planning and preparation to the finishing touches, we will cover everything you need to know to successfully construct a durable and beautiful rock wall.
A well-built rock wall requires patience, attention to detail, and careful craftsmanship. But don’t worry if you’re new to this – we’ll provide you with all the information and tips you need to get started.
So, let’s dive in and explore the art of building a rock wall that will not only line your yard but also create a stunning focal point in your outdoor space.
Key Takeaways:
- Building a rock wall with mortar requires careful planning, sturdy foundation, and meticulous attention to detail. Incorporating decorative elements and proper maintenance can transform your yard into a charming oasis.
- The process of constructing a rock wall involves selecting the right location, obtaining permits, mixing and applying mortar, and ensuring proper alignment. Regular maintenance and creative landscaping can enhance the visual appeal of the rock wall and yard.
Step 1: Planning and Preparation
Before you start building your rock wall, it’s important to spend some time planning and preparing. This initial step will set the foundation for a successful construction process. Here are the key components of this step:
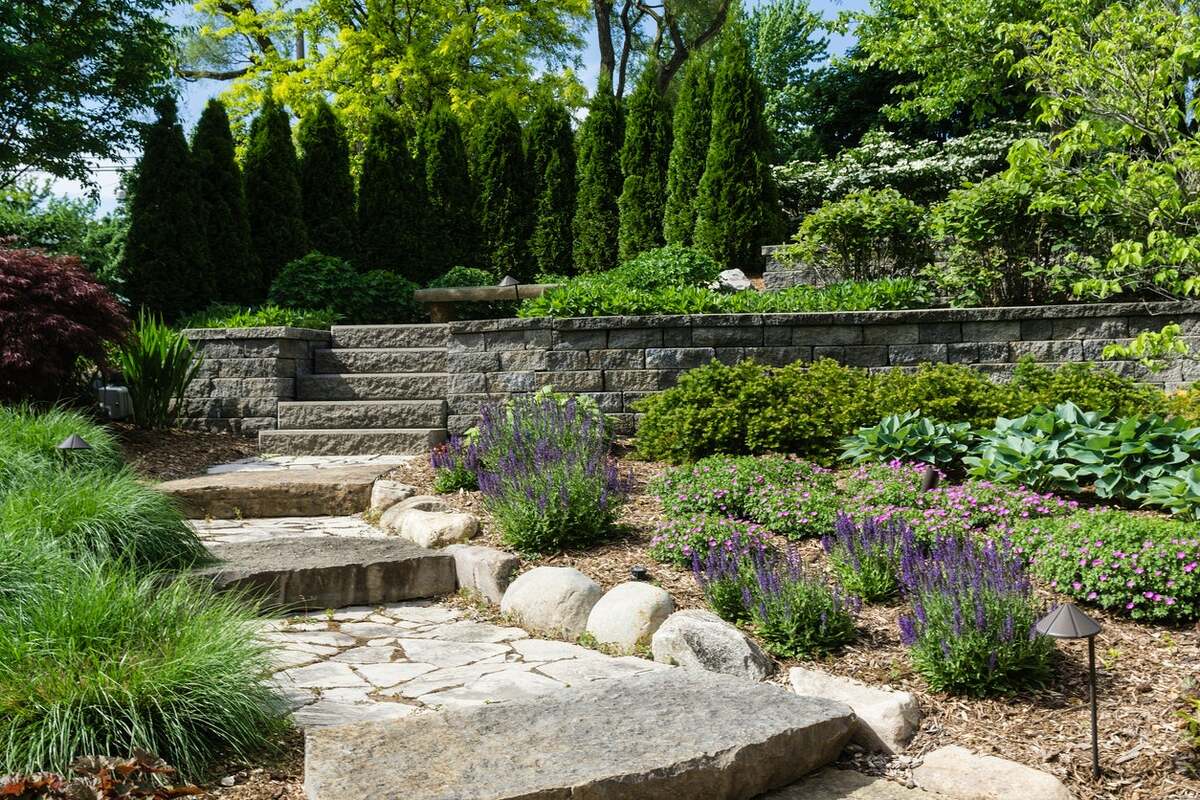
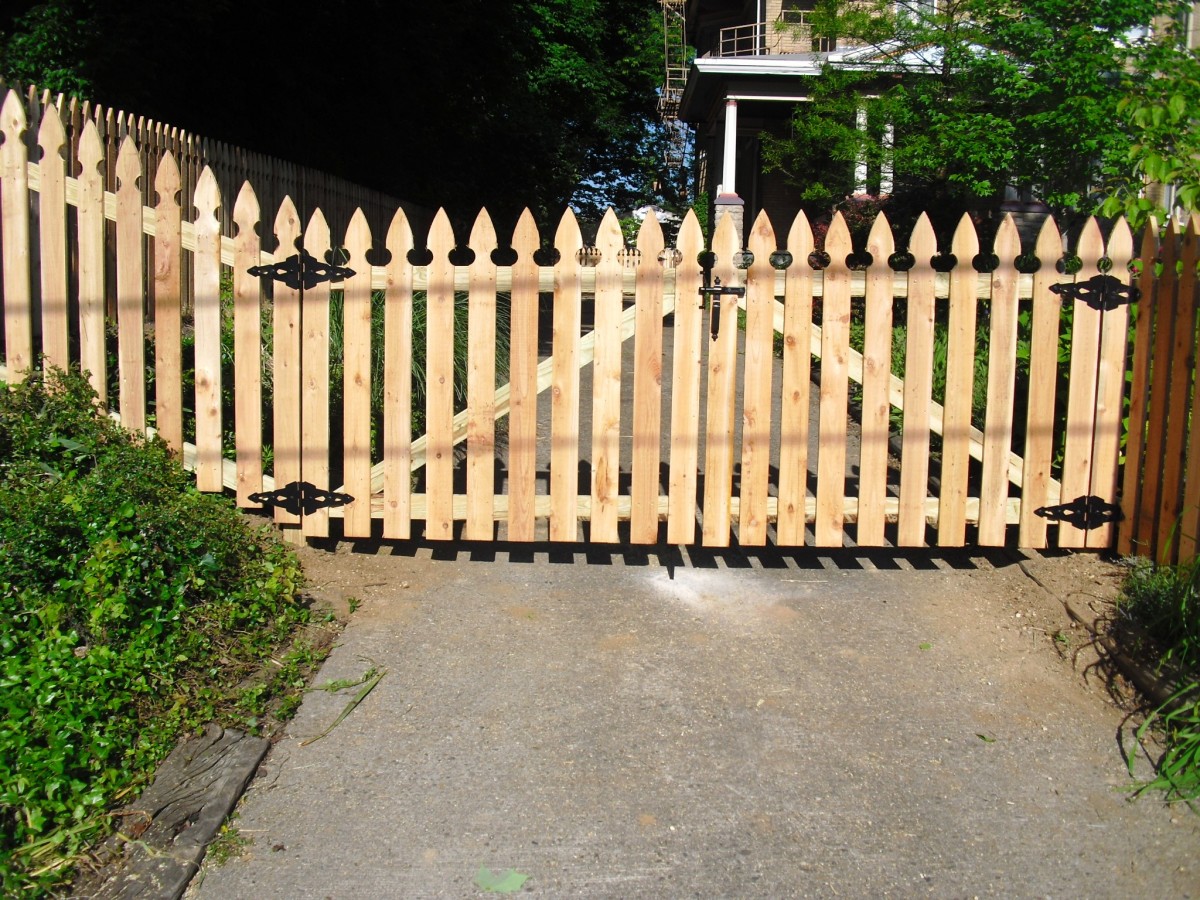
Choosing the location for the rock wall: Take a close look at your yard and identify the ideal location for your rock wall. Consider factors such as terrain, drainage, and accessibility. A rock wall can serve different purposes, from defining boundaries to creating terraced hardscapes or retaining walls. Choose a location that best suits your needs and complements the existing landscape.
Obtaining necessary permits and permissions: Check with your local building authorities to determine if you need any permits or permissions to build a rock wall. Depending on your location and the height of the wall, you may need to adhere to specific regulations. It’s crucial to comply with all legal requirements to avoid any future issues.
Gathering all the required tools and materials: Building a rock wall requires specific tools and materials to ensure a safe and efficient construction process. Some essential tools include a shovel, wheelbarrow, level, masonry trowel, and safety equipment. As for materials, you’ll need rocks or stones, mortar, and any additional elements for decorative purposes. Make a list of everything you’ll need and gather them before you start building.
Proper planning and preparation are crucial to the success of your rock wall project. By carefully choosing the location, obtaining necessary permits, and gathering all the tools and materials, you’ll be well-prepared to embark on the construction process.
Step 2: Excavation and Foundation
Once you have completed the planning and preparation stage, it’s time to move on to the excavation and foundation phase. This step is crucial for creating a stable and long-lasting rock wall. Here are the key components of this step:
Marking the boundaries of the wall: Use stakes and string to mark the boundaries of your rock wall. This will help ensure that you stay within the designated area and maintain a straight and even wall.
Digging the trench for the foundation: Using a shovel, dig a trench along the marked boundary of your rock wall. The depth and width of the trench will depend on the size and height of your wall. Typically, the trench should be at least one-third of the height of the desired wall.
Creating a level and sturdy base for the wall: Once the trench is dug, it’s essential to create a level and sturdy base for your rock wall. Use a level and a long, straight board to ensure that the base is even. Fill the trench with gravel or crushed stone and compact it to create a solid foundation.
By marking the boundaries, digging the trench, and creating a level foundation, you are setting the stage for a strong and well-supported rock wall. Taking the time to complete these steps accurately will help ensure the durability and stability of your construction.
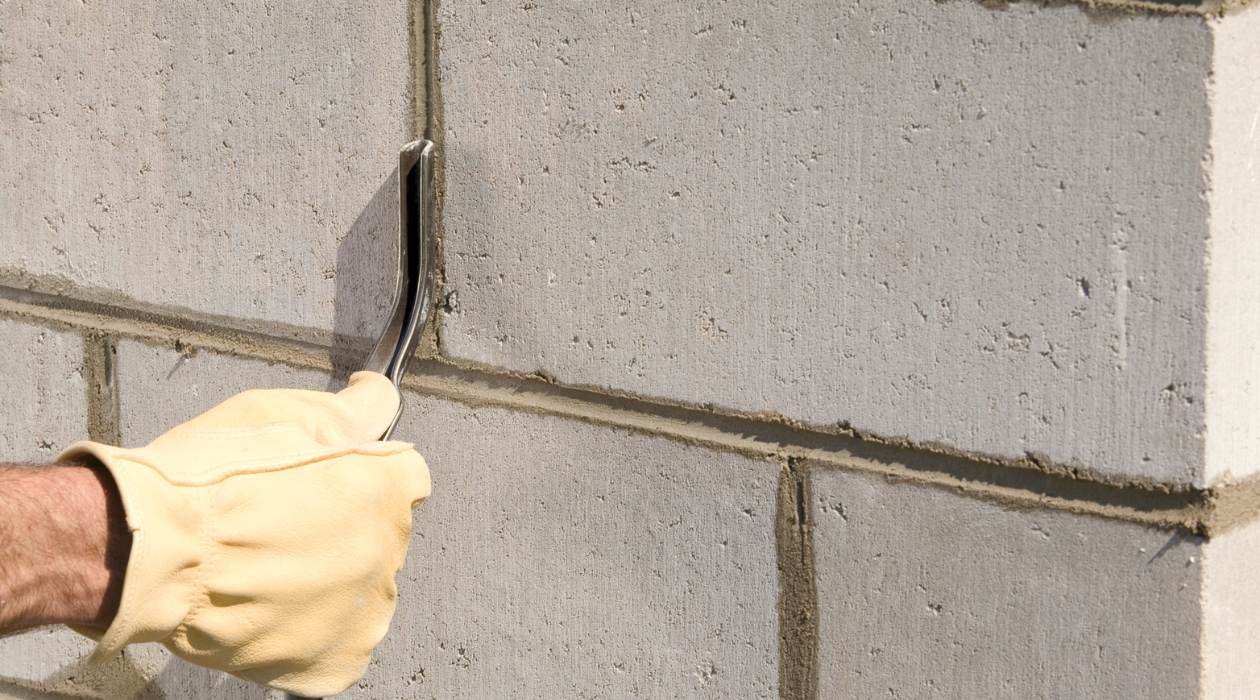
Step 3. Mortar Mixing and Application
Now that you have completed the excavation and foundation, it’s time to move on to mixing and applying mortar. Mortar is the adhesive that holds the rocks together and provides strength to the rock wall. Here’s how to proceed:
Selecting the right type of mortar: There are different types of mortar available, each with its specific characteristics and recommended uses. For building a rock wall, it’s advisable to use a mortar that is specifically designed for masonry applications. Consult with a professional at your local hardware store to help you choose the best mortar for your project.
Mixing the mortar according to instructions: Follow the instructions on the mortar packaging to mix the mortar. Typically, you’ll need to add water gradually to the mortar mix until you achieve a consistency similar to thick peanut butter. Use a drill with a mixing attachment or mix the mortar manually with a trowel, ensuring that it is thoroughly blended.
Applying mortar to the foundation and first row of rocks: Start by applying a generous amount of mortar to the foundation trench using a trowel. Spread the mortar evenly along the length of the trench. Next, place the first row of rocks on top of the mortar, pressing firmly to ensure a secure bond. Use the level to check for proper alignment and adjust as necessary. Apply additional mortar between the rocks, ensuring that it fills any gaps and provides a strong connection between the stones.
Remember to work in small sections at a time, as the mortar will start to set after a certain period. Take your time to ensure that each rock is properly placed and aligned. This will lay the foundation for a sturdy and visually appealing rock wall.
When building a rock wall with mortar, make sure to use a level to ensure the stones are straight and even. This will not only improve the structural integrity of the wall but also enhance the overall appearance of your yard.
Step 4: Building the Rock Wall
Now that the foundation is set and the first row of rocks is in place, it’s time to start building the rock wall itself. This step involves selecting rocks, applying mortar, and ensuring proper alignment and stability. Follow these guidelines:
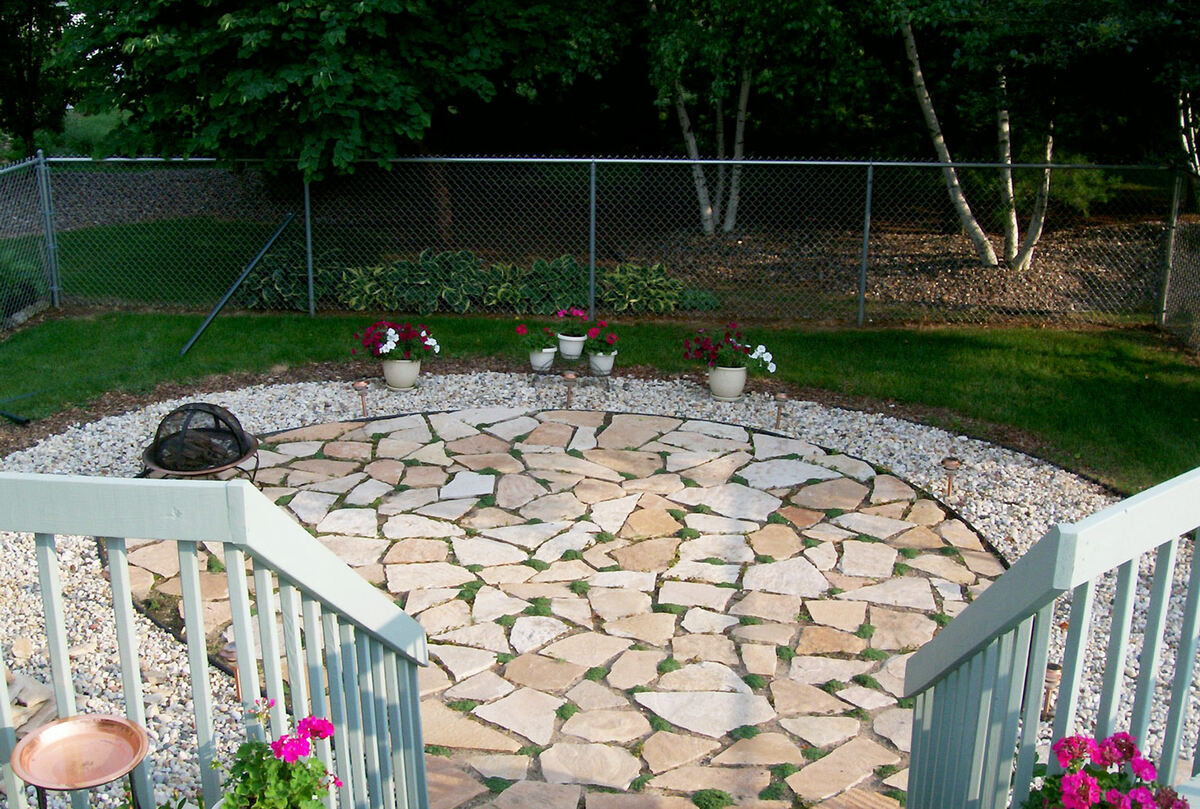
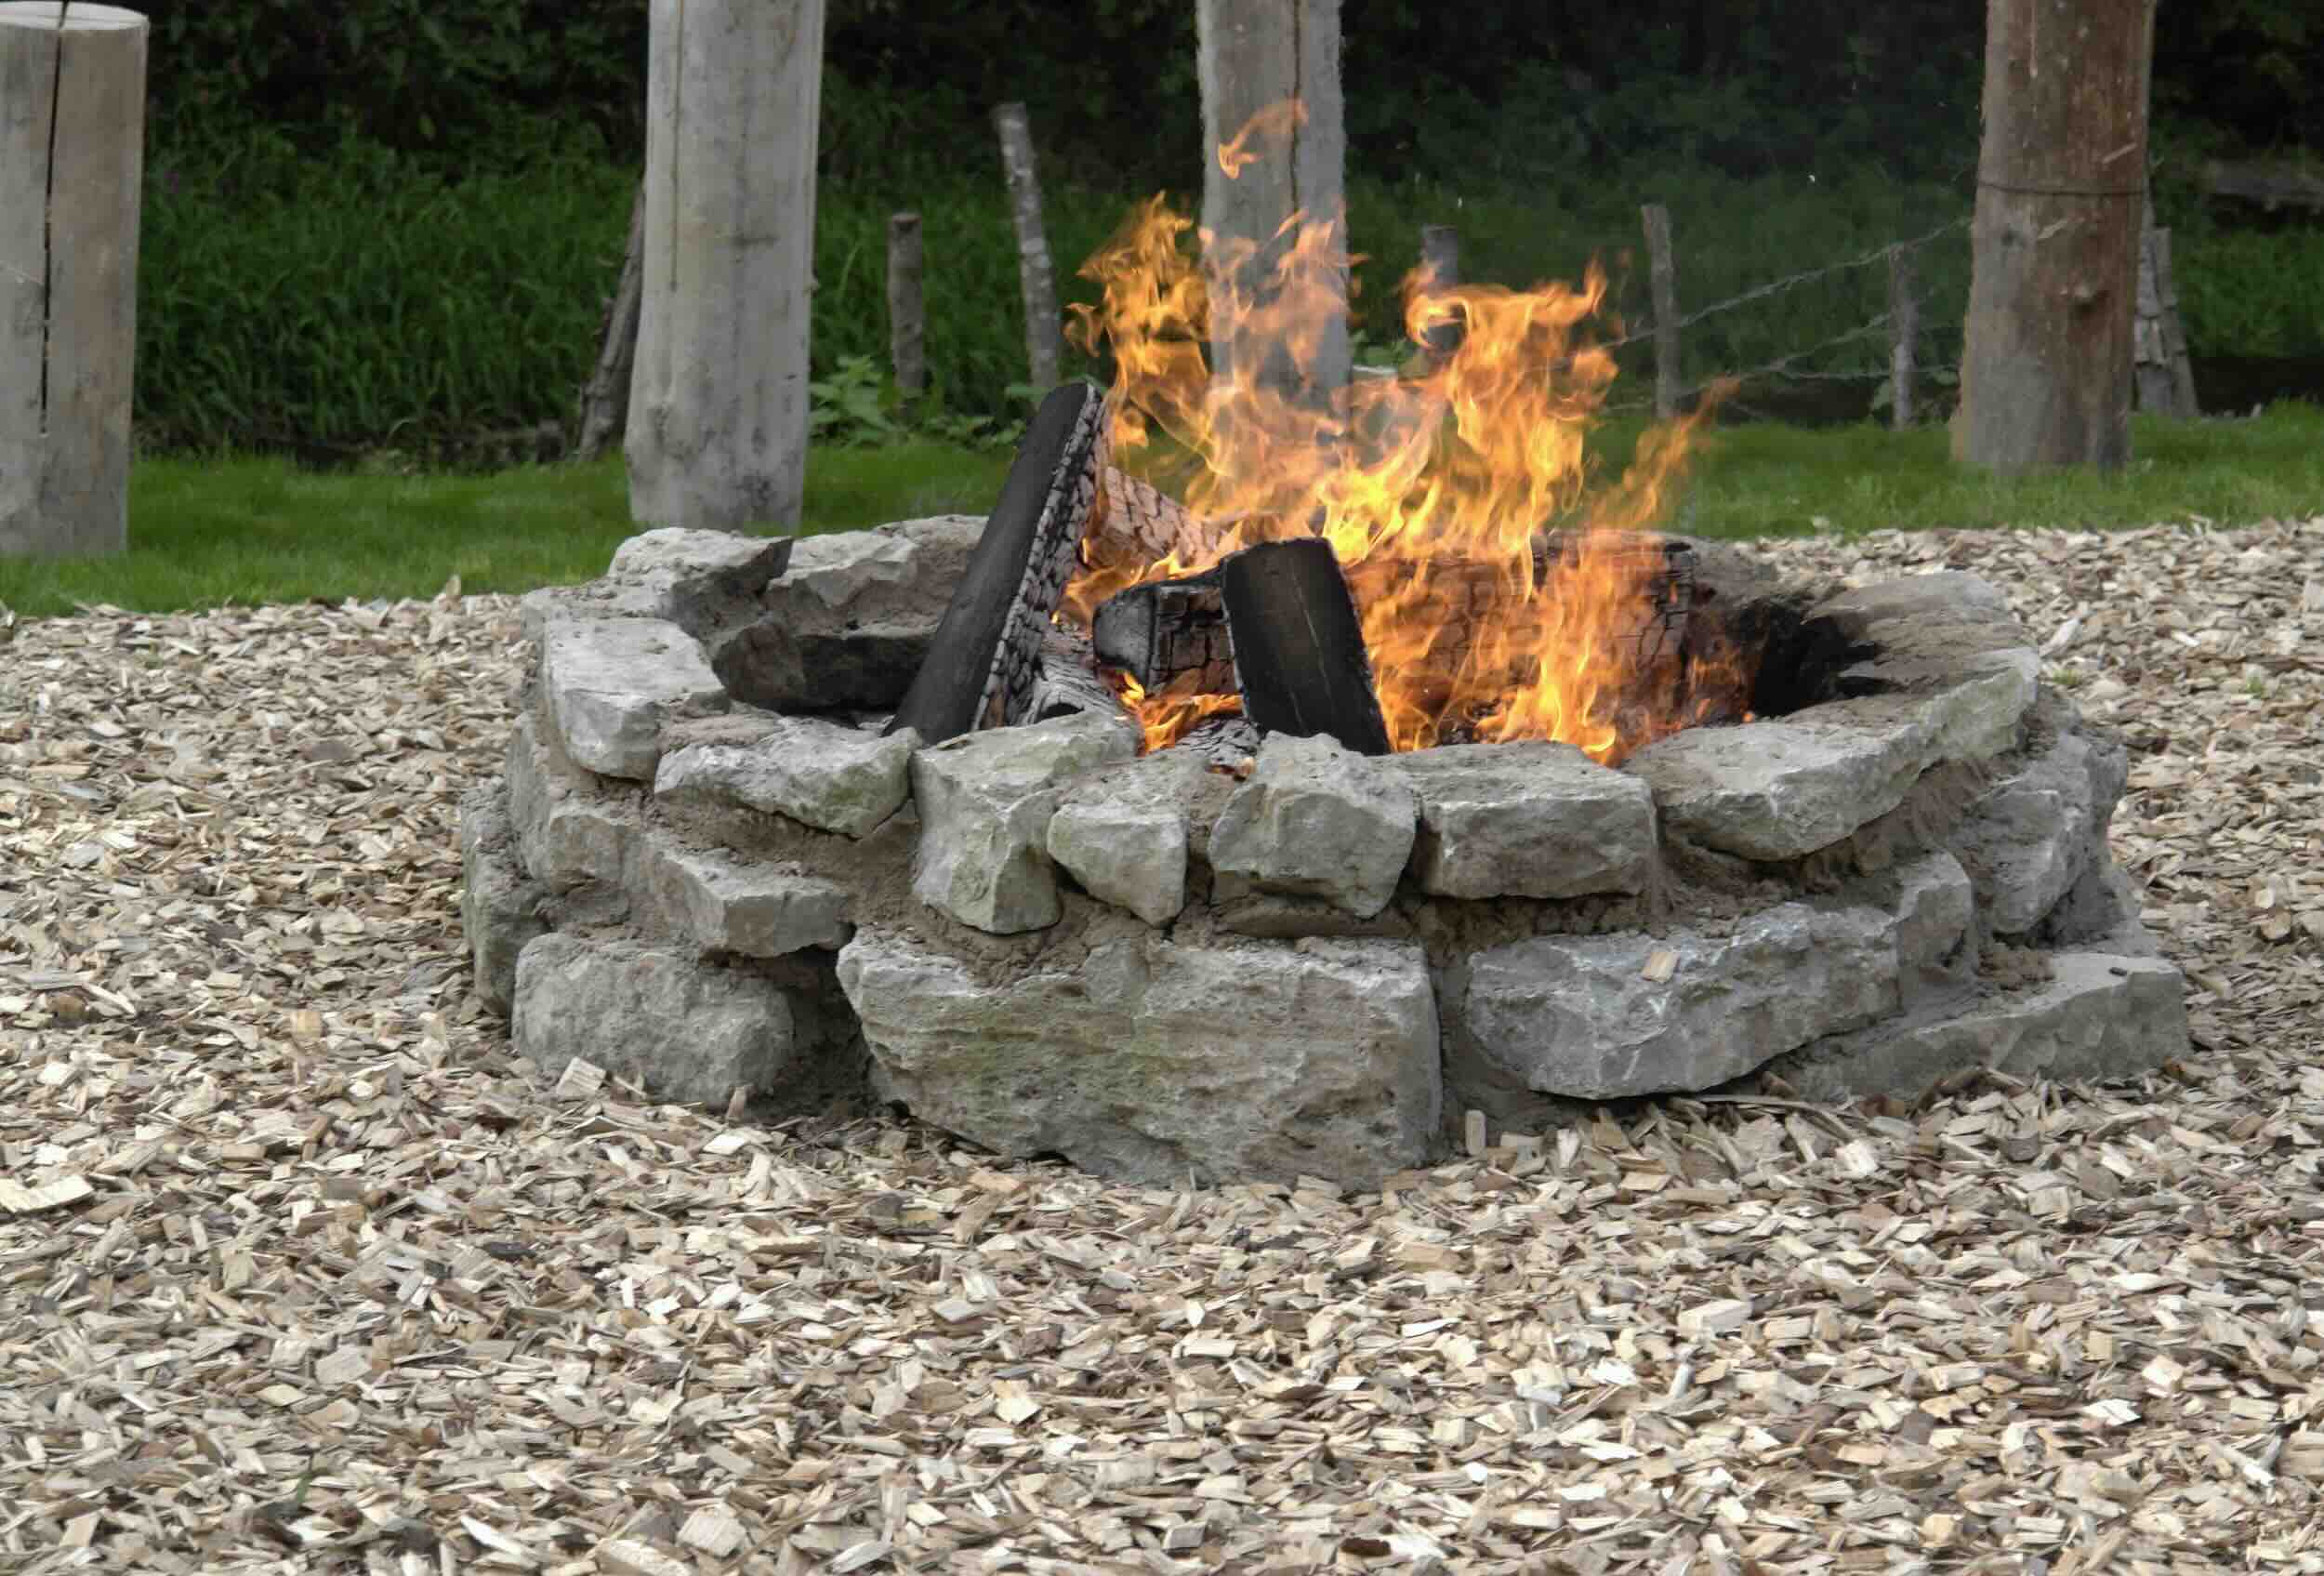
Selecting and arranging rocks in a visually pleasing pattern: Look for rocks that are varied in size, shape, and color to add visual interest to your rock wall. As you select rocks, keep in mind the overall design you want to achieve. Arrange the rocks in a way that creates a visually pleasing pattern, alternating sizes and shapes for a natural and organic look.
Applying mortar between each layer of rocks: As you layer the rocks, apply mortar between each layer to bond them together. Use a trowel to carefully apply a thin layer of mortar on both the top surface of the previous layer and the bottom surface of the next layer of rocks. Press the rocks firmly into place, ensuring that there is mortar between them. Check for level and adjust as needed.
Ensuring proper alignment and stability as the wall progresses: Continuously check for proper alignment and stability as you build the rock wall. Use a level to ensure that each layer is straight and level horizontally and vertically. Make any necessary adjustments by adding or removing mortar or adjusting the position of the rocks. This will ensure that your rock wall is structurally sound and visually appealing.
Building a rock wall requires patience and attention to detail. Take your time to carefully select and arrange rocks, apply mortar, and ensure proper alignment and stability. The effort you put into this step will be well worth it when you see the final result.
Step 5: Finishing Touches
As you near the completion of your rock wall, it’s time to add the final touches that will enhance its appearance and ensure its longevity. Here are the key elements to consider during this step:
Cleaning off excess mortar from the rocks: After each layer of rocks is in place, take a damp cloth or sponge and gently clean off any excess mortar that may have squeezed out. This will ensure a clean and polished look for your rock wall.
Checking for any loose or uneven areas: Inspect the entire rock wall for any loose rocks or uneven areas. If you find any, carefully remove the loose rock and reapply mortar to secure it properly. Use a level to check for any areas that may require adjustment to ensure a uniform and stable wall.
Allowing the mortar to cure and set properly: Once you have completed the rock wall construction, allow the mortar to cure and set for the recommended duration, typically 24 to 48 hours. This will ensure that the mortar achieves its maximum strength and durability.
Finishing touches are essential to bring your rock wall project to completion. By cleaning off excess mortar, checking for any loose or uneven areas, and allowing the mortar to cure properly, you are ensuring both the aesthetic appeal and structural integrity of your rock wall.
Step 6: Lining Your Yard with Charm
Now that your rock wall is complete, it’s time to take it a step further and add the perfect finishing touches to transform your yard into a charming oasis. Here are some ideas to consider:
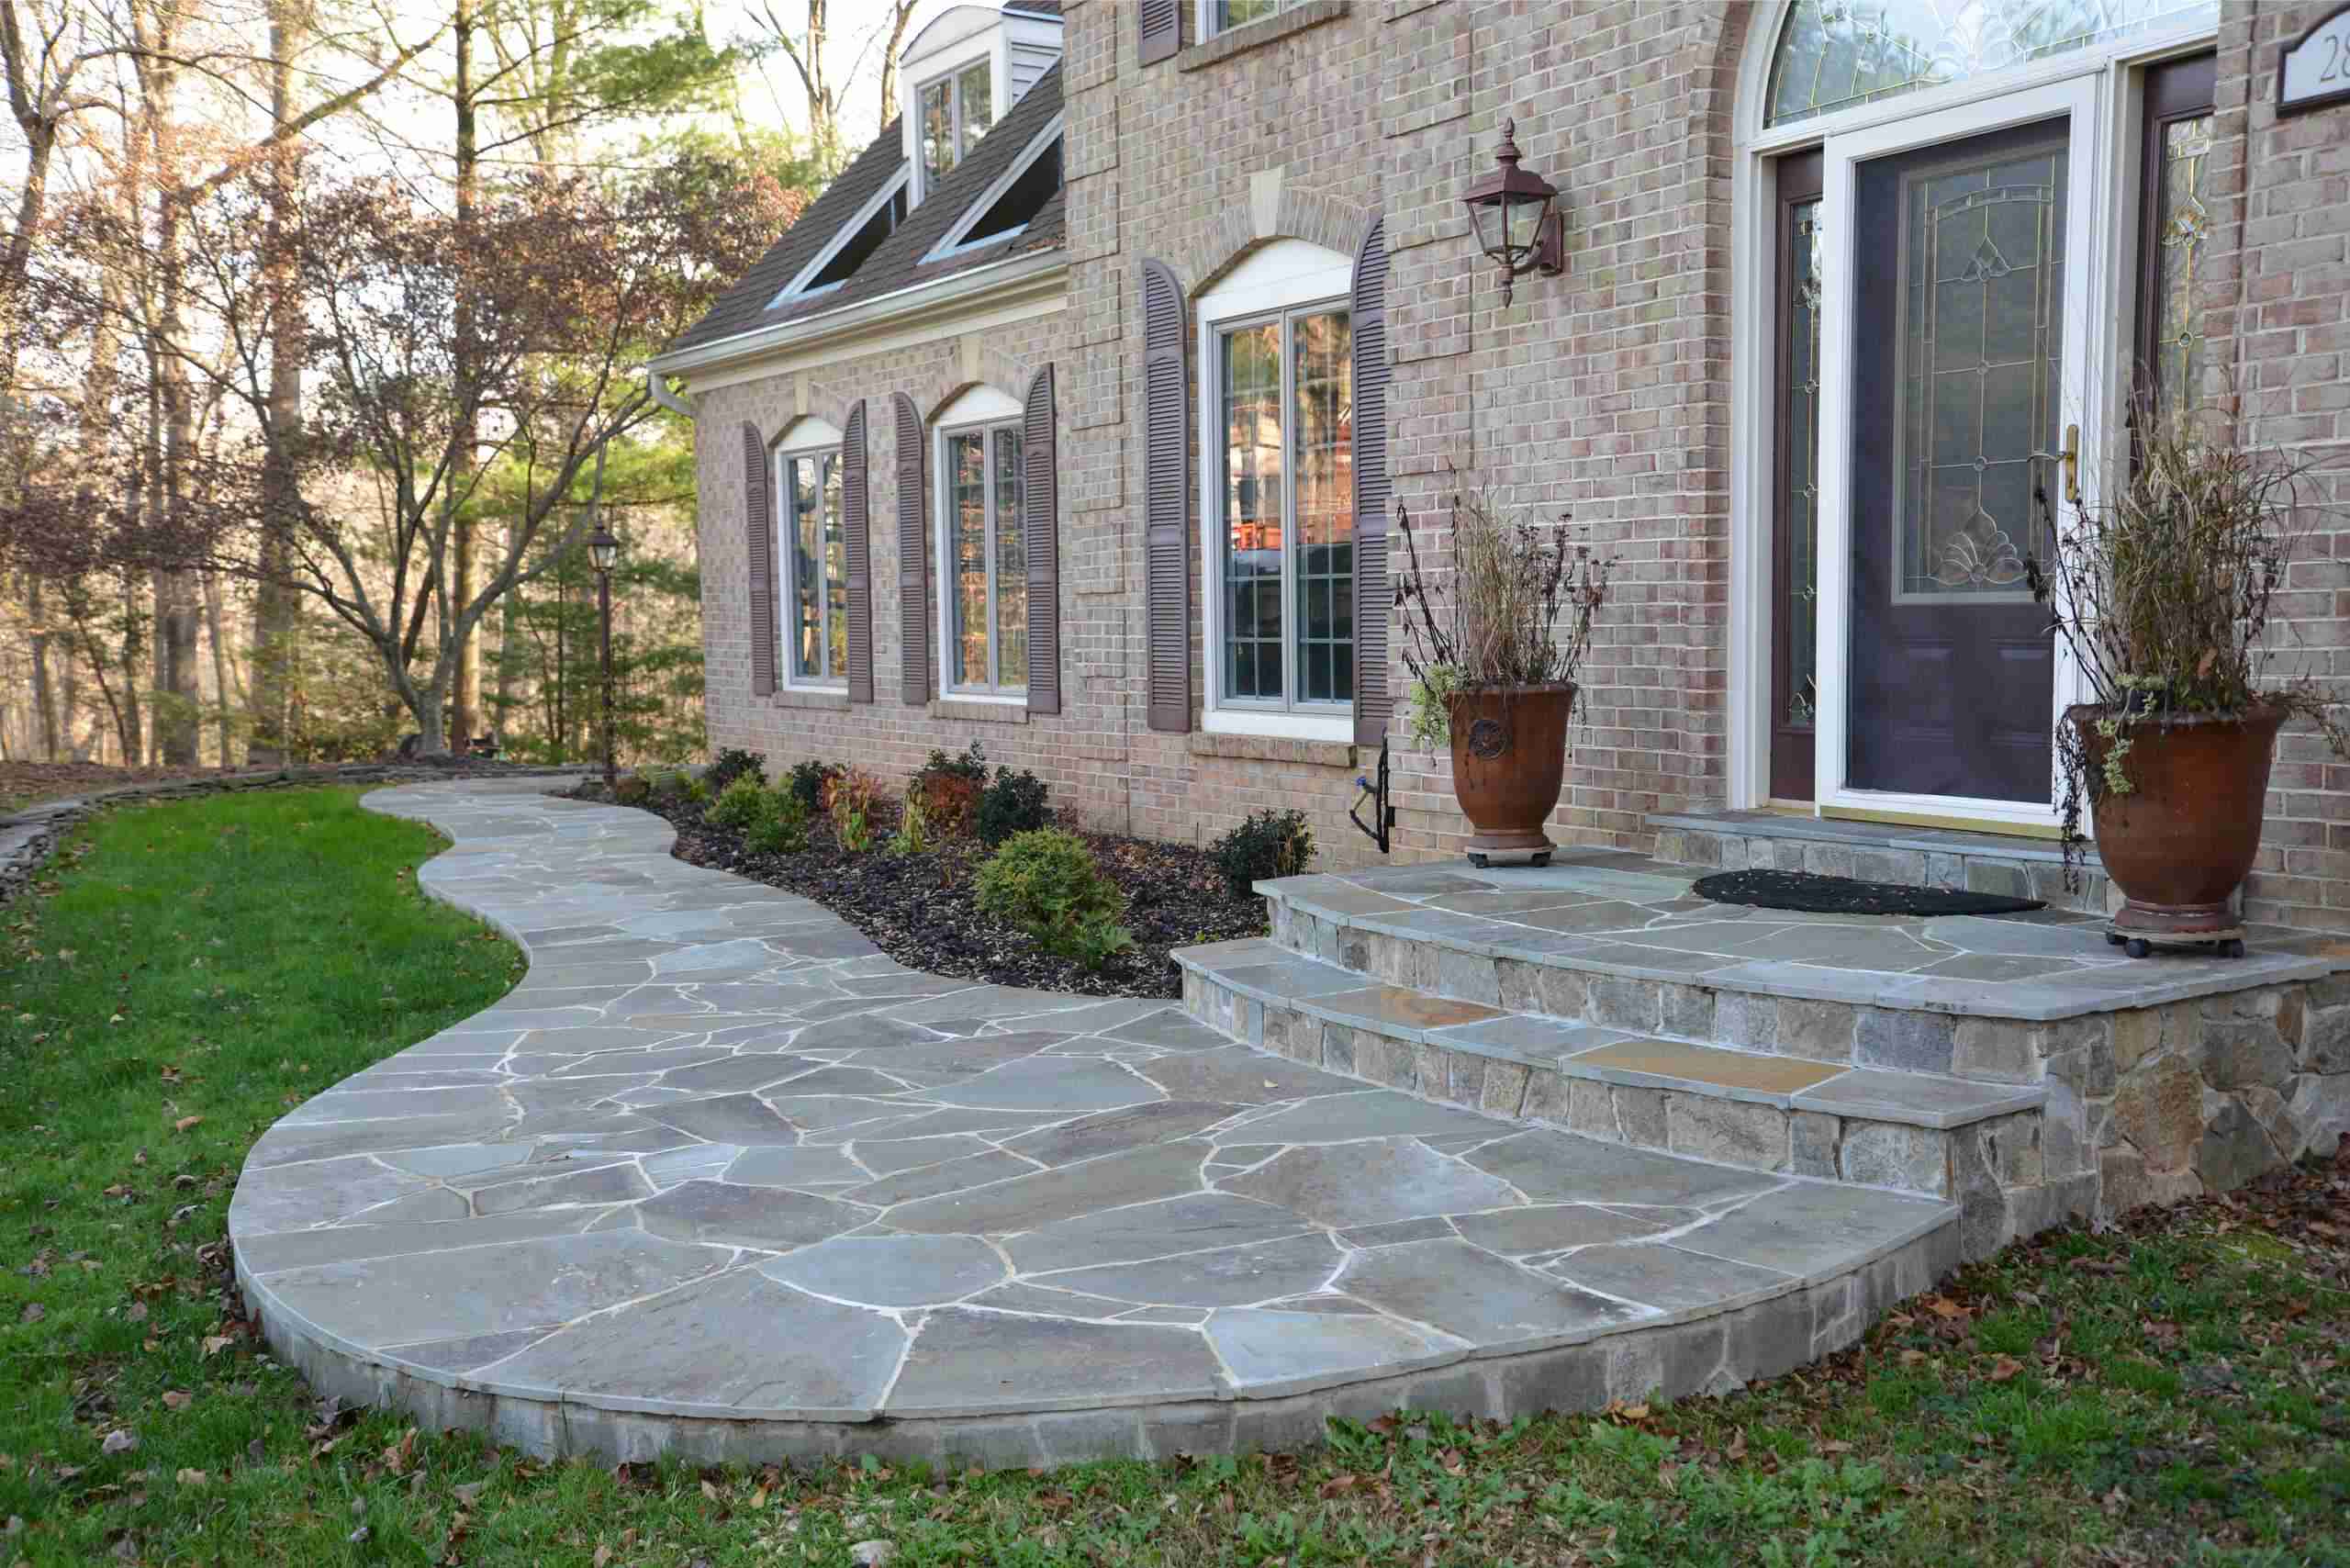
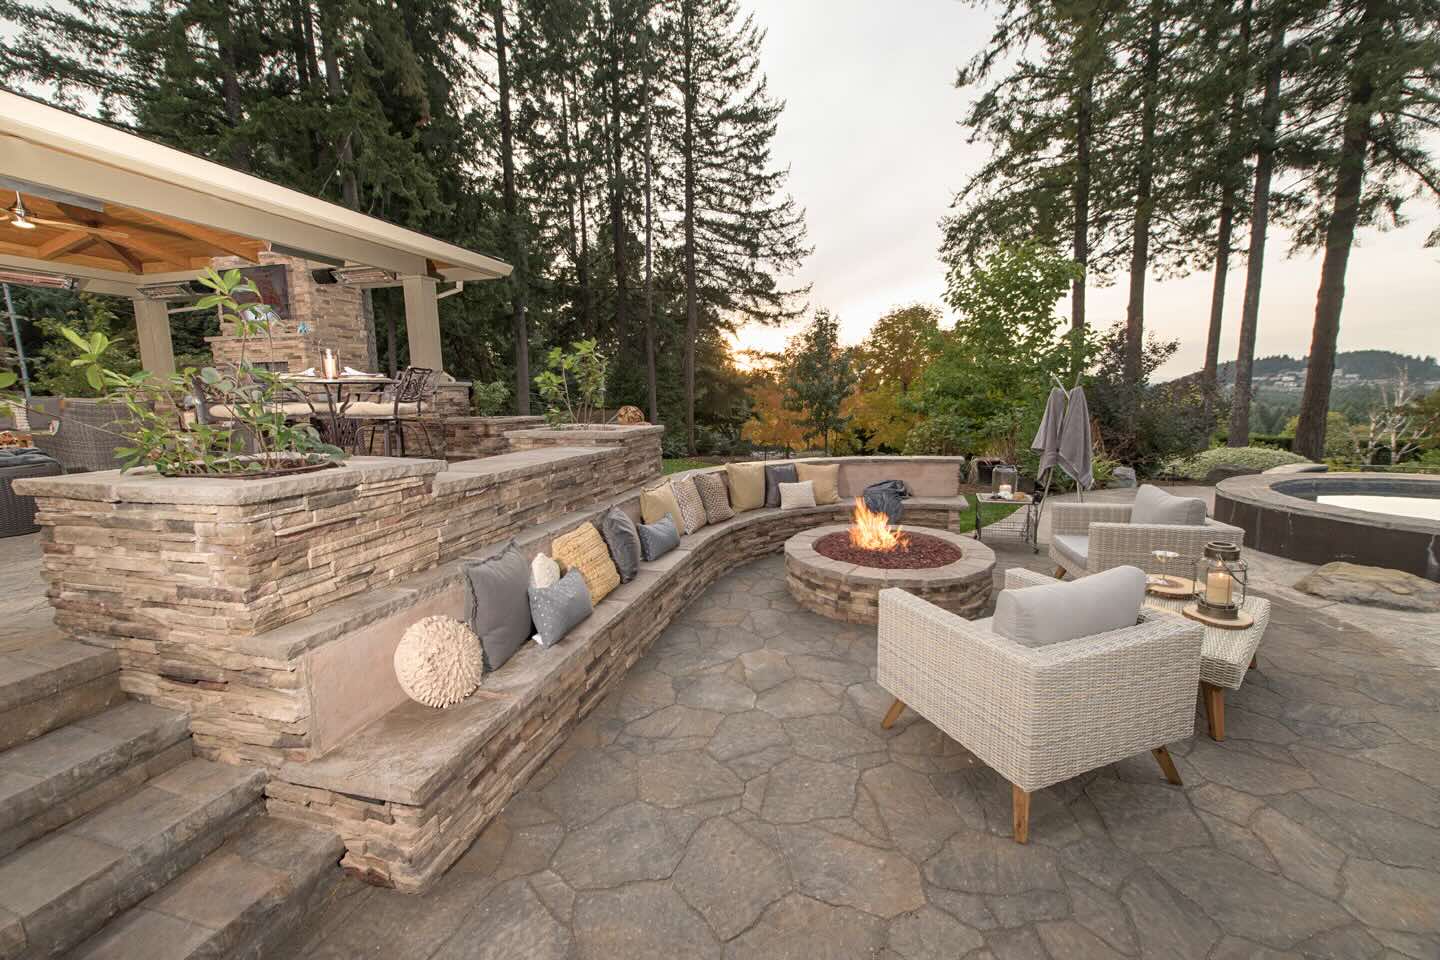
Adding additional decorative elements to enhance the rock wall: Consider adding decorative elements to further enhance the beauty of your rock wall. This could include installing outdoor lighting fixtures to illuminate the wall at night, incorporating ornamental statues or plaques, or even hanging potted plants or baskets along the edge of the wall.
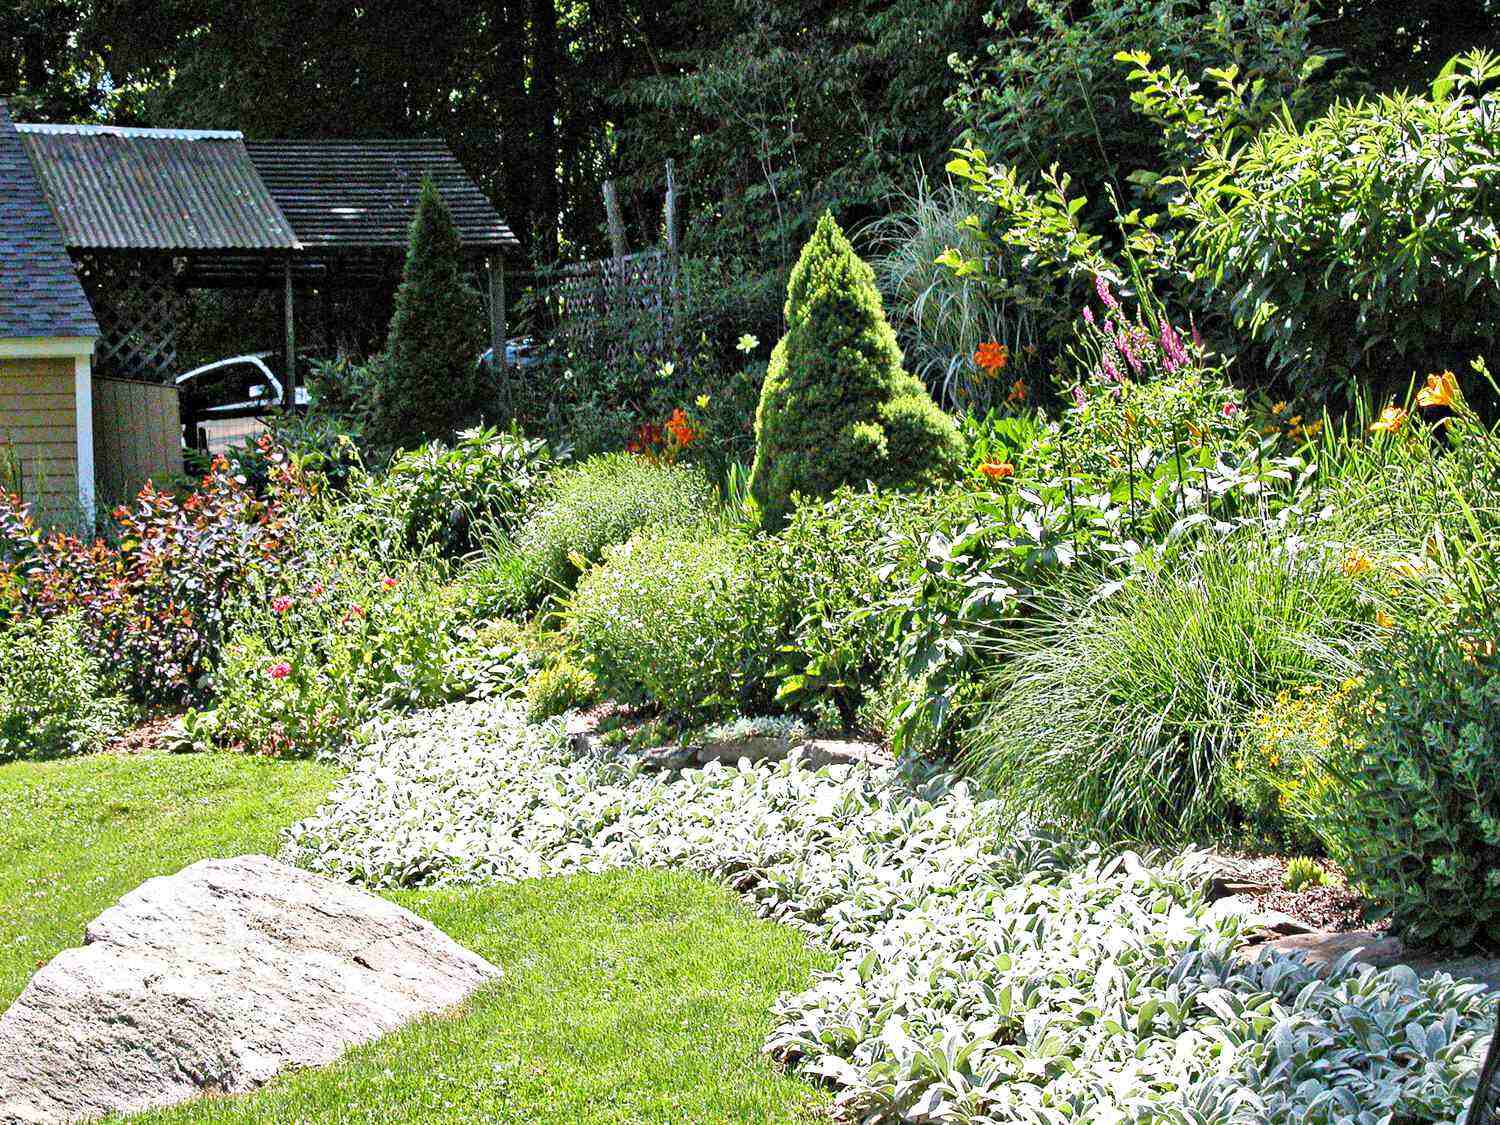
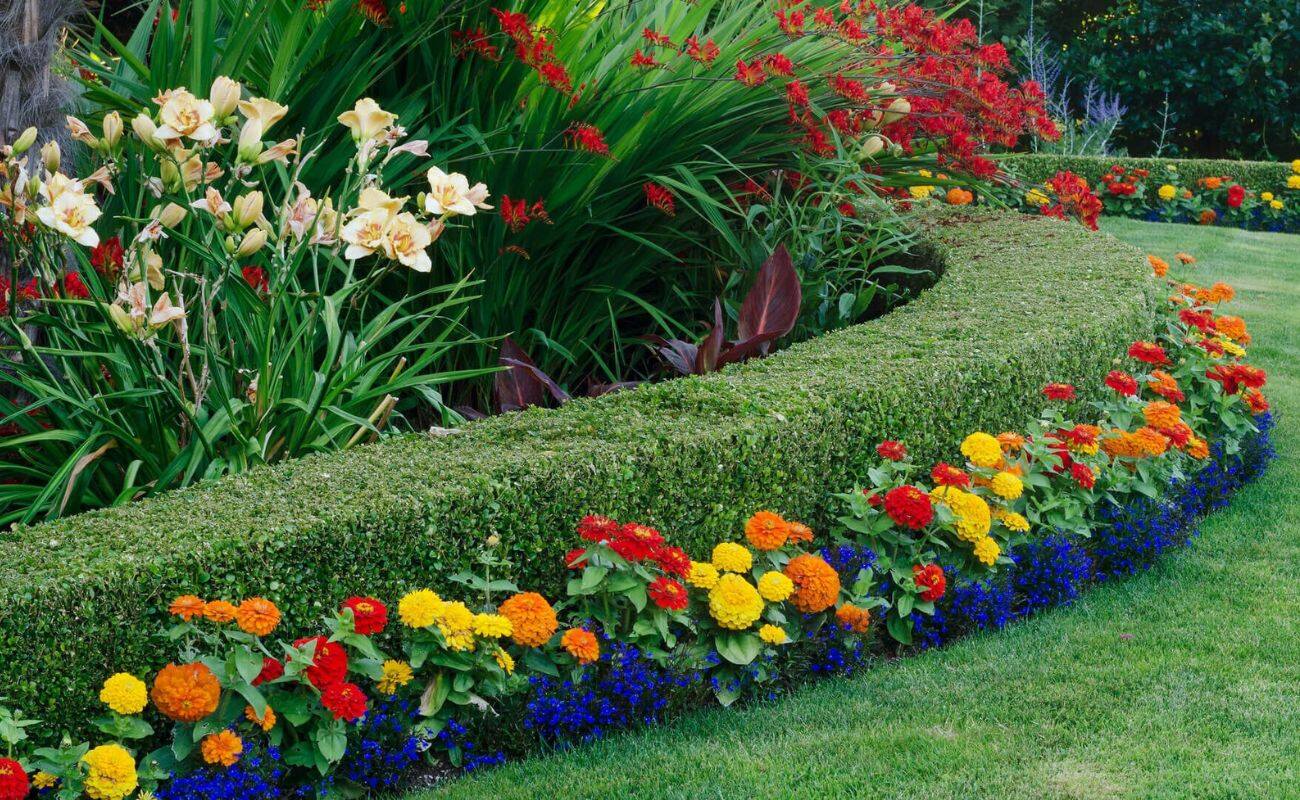
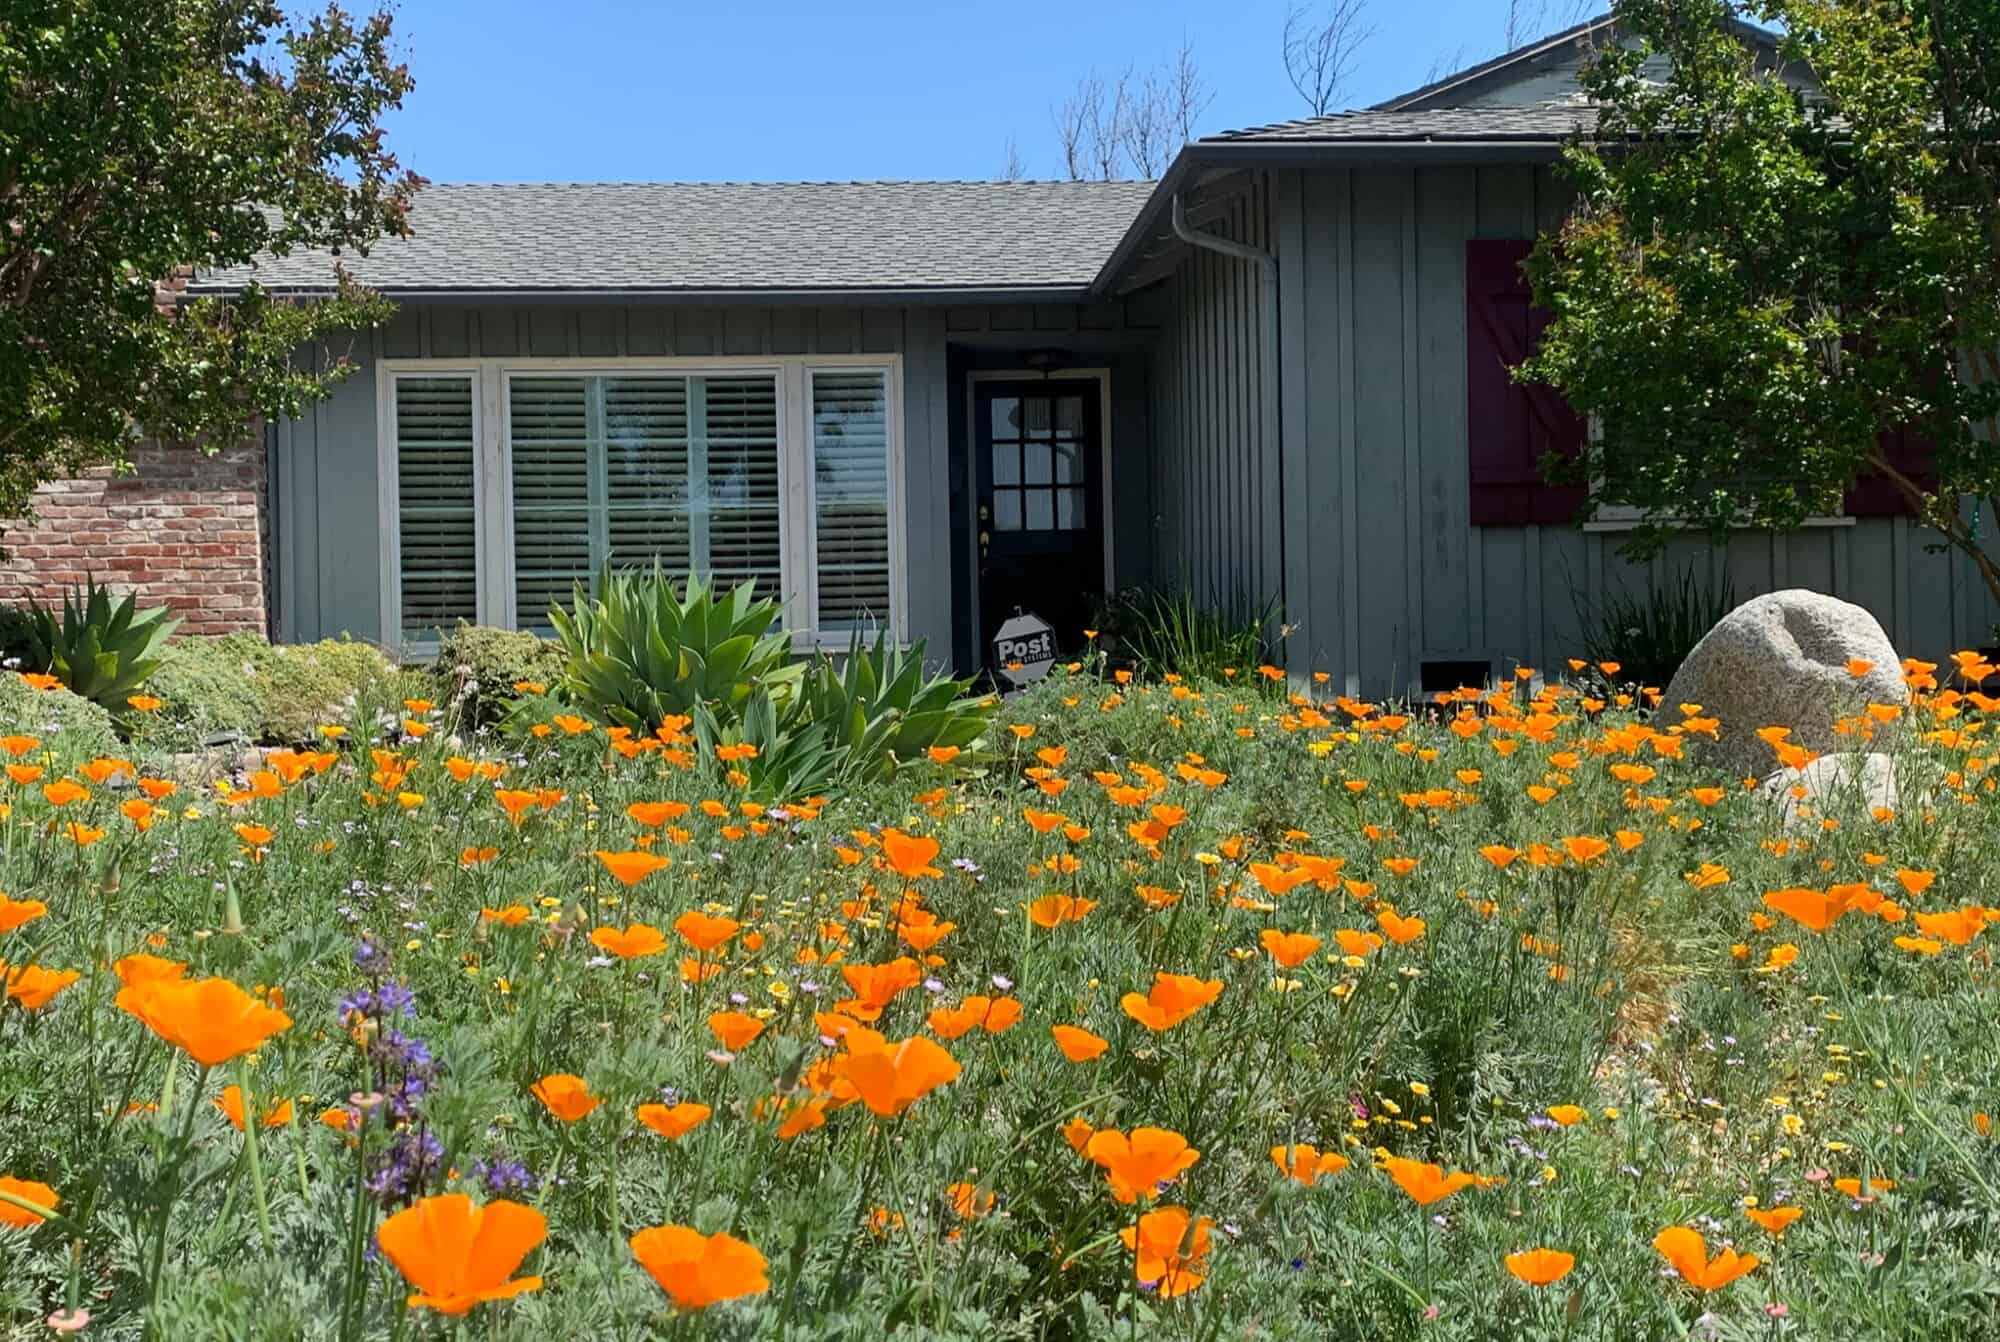
Incorporating plants and landscaping around the wall: Use plants and landscaping to integrate the rock wall seamlessly into your yard. Planting flowers, shrubs, or climbing vines near the wall can soften its appearance and create a harmonious blend of natural elements. Consider the color scheme and the growth patterns of the plants to achieve the desired effect.
Maintaining and caring for your newly built rock wall: Regular maintenance is crucial to ensuring the longevity and beauty of your rock wall. Keep the area around the wall free from debris and fallen leaves, as they can affect the stability of the wall and promote weed growth. Inspect the wall periodically for any signs of damage or deterioration, and repair as needed. You may also want to consider applying a protective sealant to the rocks to prevent staining or weathering.
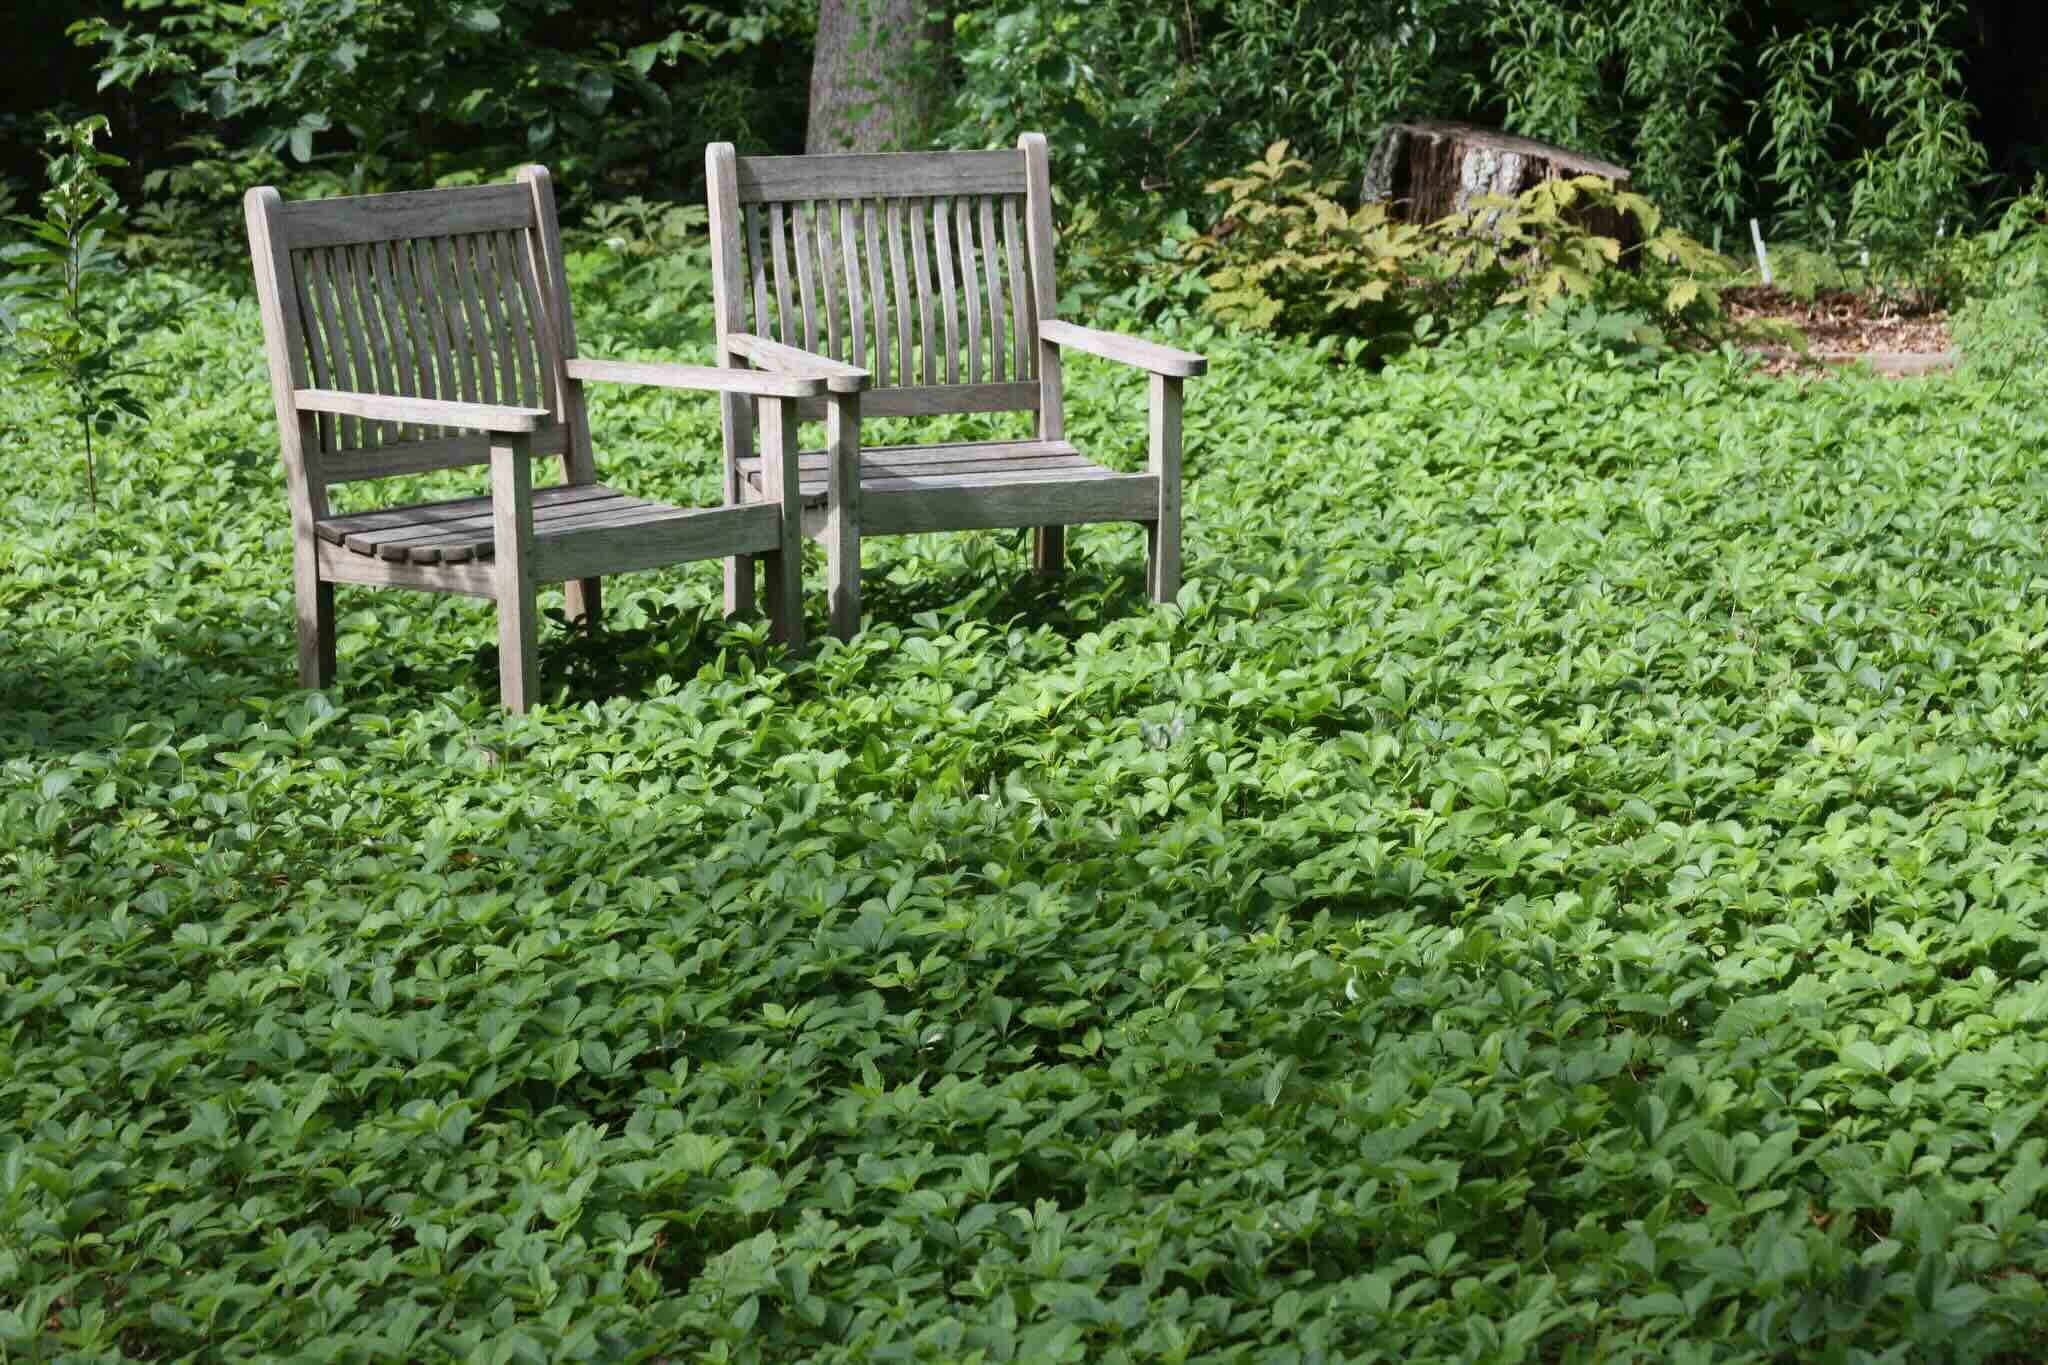
By incorporating these ideas, you can transform your yard into a charming space that showcases your beautifully built rock wall. The combination of decorative elements, plants, and proper maintenance will create an inviting and visually appealing outdoor environment.
Conclusion
Congratulations on successfully completing your rock wall project! By following the step-by-step guide outlined in this article, you have not only built a functional boundary but also added a touch of charm and character to your yard.
Throughout the process, you have learned the importance of careful planning and preparation, including selecting the right location, obtaining necessary permits, and gathering the required tools and materials. You have also discovered the significance of creating a solid foundation through excavation and leveling.
Moreover, you have mastered the art of mixing and applying mortar, incorporating rocks in visually appealing patterns, ensuring proper alignment, and stability. These techniques have helped you construct a durable and aesthetically pleasing rock wall.
To truly complete your project, you have explored the realm of finishing touches, such as cleaning off excess mortar, checking for any loose areas, and allowing the mortar to cure properly. You have also embraced the opportunity to enhance your yard by incorporating additional decorative elements, integrating plants and landscaping, and committing to regular maintenance.
Remember, building a rock wall is not just a one-time task but an ongoing process of care and upkeep. Stay vigilant in maintaining your rock wall, conducting routine inspections, and addressing any issues promptly to preserve its integrity and beauty for years to come.
Enjoy the satisfaction of your hard work and the visual appeal your rock wall brings to your yard. Cherish the memories you create in your outdoor space and relish the admiration you receive from family, friends, and neighbors.
Now, it’s time to sit back, relax, and revel in the charm and elegance of your newly built rock wall!
Frequently Asked Questions about How To Build A Rock Wall With Mortar And Line Your Yard With Charm
Was this page helpful?
At Storables.com, we guarantee accurate and reliable information. Our content, validated by Expert Board Contributors, is crafted following stringent Editorial Policies. We're committed to providing you with well-researched, expert-backed insights for all your informational needs.


0 thoughts on “How To Build A Rock Wall With Mortar And Line Your Yard With Charm”