Home>Furniture>Outdoor Furniture>How To Build Rock Patio
Outdoor Furniture
How To Build Rock Patio
Modified: October 21, 2024
Learn how to build a stunning rock patio and create the perfect outdoor oasis with our expert tips and advice. Discover the best outdoor furniture options to complete your patio design.
(Many of the links in this article redirect to a specific reviewed product. Your purchase of these products through affiliate links helps to generate commission for Storables.com, at no extra cost. Learn more)
Introduction
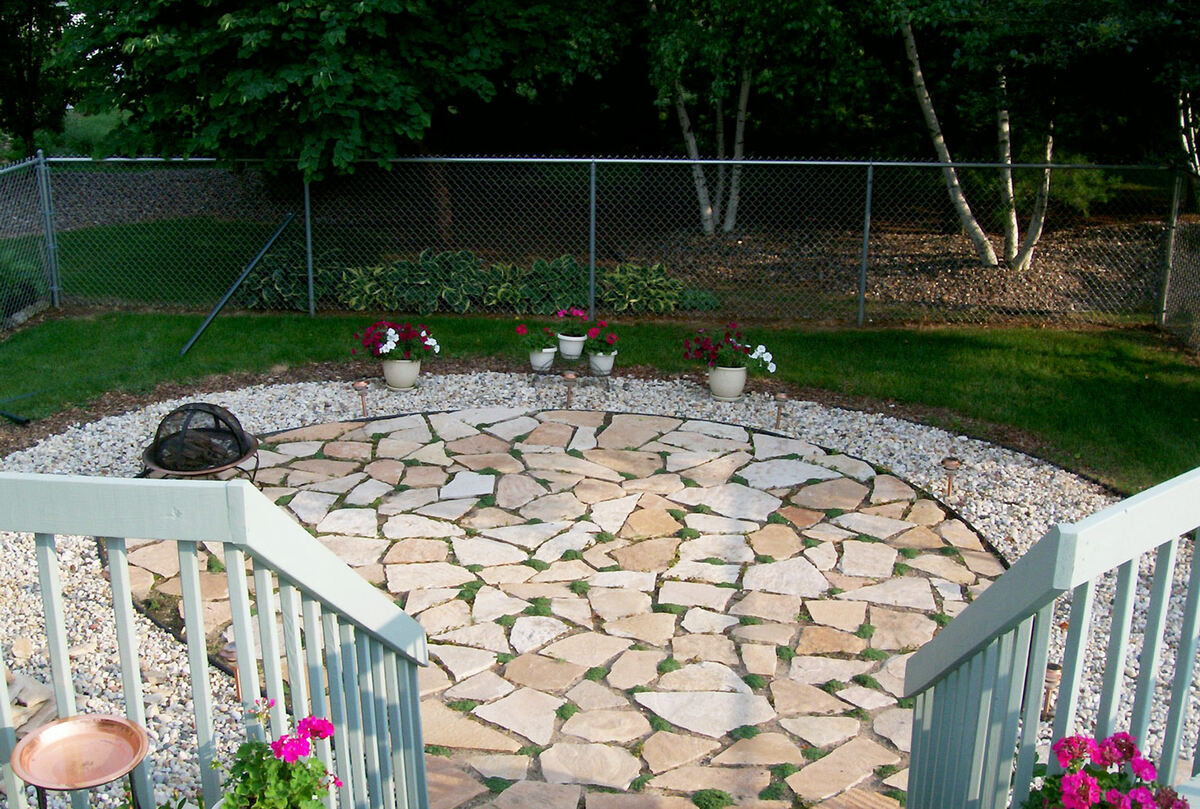
Creating a rock patio is a great way to enhance your outdoor space and add a touch of natural beauty. Whether you want a cozy area to relax and unwind or a space to gather with friends and family, a rock patio provides a durable and visually appealing solution. This article will guide you through the steps of building your own rock patio, from choosing the right location to adding the finishing touches.
Before you start the construction process, it’s important to determine the purpose of your patio. Will it primarily be used for dining and entertaining, or is it meant to be a tranquil space for relaxation and meditation? Once you have a clear vision in mind, you can plan the design and layout accordingly.
It’s also crucial to assess the available space and consider any existing features such as trees, shrubs, or slopes. This will help you determine the size and shape of your patio, as well as any potential challenges you may need to address during construction.
Furthermore, take into account the local climate and weather conditions. If you live in an area with severe temperature fluctuations or frequent rainfall, you may need to choose weather-resistant materials or incorporate drainage systems into your design.
As with any home improvement project, safety should be a top priority. Make sure you have the necessary tools and protective equipment before you begin. It’s also a good idea to check with your local building codes and regulations to ensure compliance.
Now, let’s delve into the step-by-step process of building a rock patio. With proper planning and execution, you’ll soon have a beautiful outdoor space that can be enjoyed for years to come.
Key Takeaways:
- Building a rock patio involves choosing the right location, gathering materials, preparing the ground, and adding finishing touches. It’s a creative and rewarding project that transforms outdoor spaces into beautiful, functional areas for relaxation and entertainment.
- The process of creating a rock patio requires careful planning, attention to detail, and patience. From selecting the location to adding the final touches, each step contributes to the overall beauty and functionality of the patio.
Read more: How To Build A Rock Fire Pit
Step 1: Choosing the Right Location
When it comes to creating a rock patio, the first and most important step is choosing the right location. The location of your patio will not only dictate its size and shape but will also greatly impact its functionality and aesthetic appeal.
Consider the following factors when selecting the ideal location for your rock patio:
- Access and proximity: Choose a location that is easily accessible from your house and other key areas of your outdoor space. This will make it more convenient for you and your guests to access the patio.
- Sun exposure: Think about the amount of sunlight the area receives throughout the day. If you want to enjoy the patio during specific times of the day, ensure that it gets adequate sun exposure or has enough shade if preferred.
- Views and privacy: Take into account the surrounding views and privacy. If you have a beautiful garden or scenic landscape, position the patio to maximize those views. On the other hand, if privacy is a concern, consider areas that are shielded from neighboring properties.
- Ground stability: Assess the stability of the ground in the chosen location. Avoid areas prone to flooding or where the soil is unstable. This will help ensure the longevity of your patio construction.
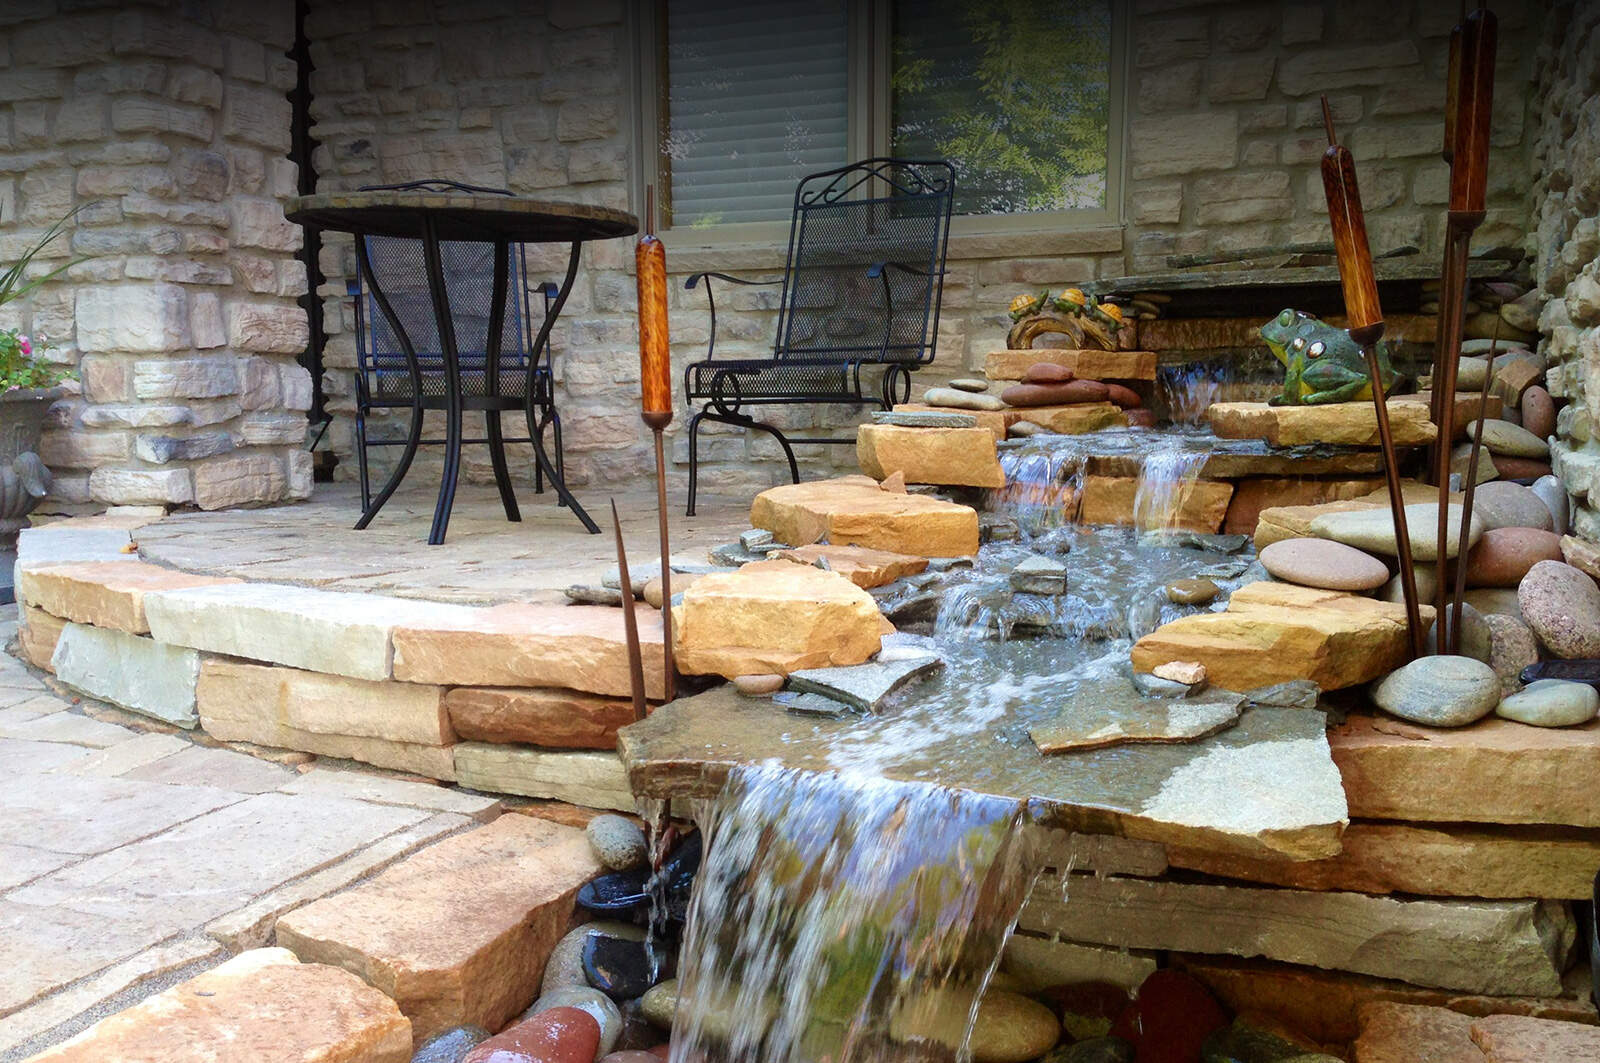
- Functionality: Determine the primary purpose of your patio. If it will be used for dining and entertaining, consider placing it near the kitchen or grilling area. If it will be a relaxation space, choose a quiet corner or a spot with natural elements such as trees or a water feature.
Remember to also consider any future plans you may have for your outdoor space. Will you be adding additional features or expanding the patio in the future? Keep these considerations in mind when selecting the location to allow for future flexibility.
Take your time to explore and evaluate different areas of your outdoor space. Once you’ve found the perfect location that meets all your criteria, you can move on to the next step of gathering materials and tools.
Step 2: Gathering Materials and Tools
Now that you have chosen the perfect location for your rock patio, it’s time to gather the necessary materials and tools. Having everything you need prepared and readily available will streamline the construction process and ensure a smoother workflow.
Here is a list of materials and tools you will need:
- Rocks: Select a variety of rocks in different sizes and shapes to create visual interest. Depending on the design and size of your patio, you may need a significant quantity of rocks, so plan accordingly.
- Edging materials: Choose edging materials that will help define the boundaries of your patio and prevent the rocks from spreading. Options include plastic or metal landscape edging, wooden beams, or natural stone edging.
- Landscape fabric: Use landscape fabric to create a barrier between the ground and the rocks, preventing weed growth and maintaining stability.
- Gravel or sand: A base layer of gravel or sand will provide a stable and level surface for your rocks. Choose a type that is appropriate for your climate and intended use.
- Shovel and rake: These tools will be essential for preparing the ground and spreading the base layer materials.
- Wheelbarrow or buckets: Use these to transport rocks, gravel, and other materials to the patio construction site.
- Level: Ensure the evenness and stability of your patio by using a level during the construction process.
- Gloves and safety glasses: Protect your hands and eyes from potential injuries while working with rocks and other materials.
Take the time to gather all the required materials and tools before starting the construction process. This will save you time and frustration in the long run.
If you’re unsure about the quantity of materials you need or need further guidance on selecting the right ones, consult with a local landscaping or home improvement store. Their knowledgeable staff can assist you in choosing the appropriate materials for your specific project.
With your materials and tools in hand, you’re ready to move on to step 3, which involves preparing the ground for your rock patio.
Step 3: Preparing the Ground
Before you can start laying down the foundation for your rock patio, it’s essential to properly prepare the ground. Preparing the ground will ensure that your patio is level, stable, and able to withstand the weight of the rocks.
Follow these steps to prepare the ground for your rock patio:
- Clear the area: Begin by removing any vegetation, rocks, or debris from the chosen patio location. Use a shovel or rake to thoroughly clear the space.
- Mark the boundaries: Use stakes and string to outline the boundaries of your patio. This will help you visualize the shape and size and ensure accurate measurements.
- Excavate the soil: Use a shovel to dig out the top layer of soil within the marked boundaries. Aim for a depth of around 6-8 inches (15-20 cm). This will allow enough room for the base layer materials.
- Ensure proper drainage: Check that the excavated area has proper drainage to prevent water pooling. If necessary, make adjustments by adding or removing soil to create a gentle slope away from the patio area.
- Compact the soil: Use a tamper or plate compactor to firmly compact the excavated soil. This will help stabilize the ground and prevent sinking or shifting of the patio materials.
- Install landscape fabric: Lay down a layer of landscape fabric over the compacted soil. This will act as a barrier, preventing weed growth and keeping the base materials separate from the soil.
By following these steps, you will ensure a solid foundation for your rock patio. The preparation process is crucial for the long-term stability and durability of your patio construction.
Once the ground has been properly prepared, it’s time to move on to the next step: installing the edging. The edging materials will define the boundaries of your patio and help contain the rocks within the designated area.
Step 4: Installing the Edging
Installing the edging is an important step in building your rock patio. The edging materials will not only provide a clean and finished look but also help to contain the rocks within the designated area.
Follow these steps to install the edging for your rock patio:
- Choose the appropriate edging material: Select an edging material that suits your desired aesthetic and budget. Options include plastic or metal landscape edging, wooden beams, or natural stone edging. Consider the overall design and style of your patio when making your choice.
- Measure and mark the edging placement: Use a tape measure and stakes to determine the exact placement of the edging. This will ensure that it is evenly spaced and follows the desired shape of your patio.
- Prepare the installation area: Dig a shallow trench along the marked boundaries of the patio, ensuring that it is wide enough to accommodate the edging material. The trench should be deep enough to secure the edging firmly in place.
- Place the edging material: Insert the edging material into the trench, making sure it is level and securely positioned. If using multiple pieces of edging, connect them together according to the manufacturer’s instructions.
- Secure the edging: Use stakes or anchors to secure the edging material into the ground. This will help prevent shifting or movement once the rocks are added.
- Double-check the placement: Take a final look at the installed edging to ensure that it is straight, level, and properly aligned with the patio boundaries. Make any necessary adjustments before moving on to the next step.
Installing the edging is an essential step in creating a well-defined and visually appealing rock patio. It not only enhances the overall aesthetics but also ensures that the rocks remain contained within the designated area.
With the edging in place, you’re ready to move on to the next step: laying the base layer for your rock patio. This base layer will provide a stable surface for the rocks and help create a level and even foundation for your patio.
When building a rock patio, make sure to properly prepare the area by leveling the ground and adding a base layer of gravel and sand to ensure stability and prevent shifting.
Read more: How To Build Patio
Step 5: Laying the Base Layer
Now that you have installed the edging for your rock patio, it’s time to move on to the next step: laying the base layer. The base layer serves as the foundation for your patio, providing stability and ensuring a level surface for the rocks to be placed on.
Follow these steps to lay the base layer for your rock patio:
- Prepare the area: Clear any debris or excess dirt from the patio space. Ensure that the area is clean and free of any obstructions.
- Add a layer of gravel or sand: Spread a 2 to 4-inch layer of gravel or sand evenly over the entire area. This base layer will provide a stable surface for the rocks and help with drainage.
- Spread and level the material: Use a rake or shovel to spread the gravel or sand evenly. Take care to create a smooth and level surface, making adjustments as necessary. A level tool can be useful to ensure the evenness of the base layer.
- Compact the base layer: Use a tamper or plate compactor to firmly compact the base layer. This will help stabilize the surface and prevent shifting or settlement once the rocks are added.
- Check for level: Use a level tool or a long, straight board to check the levelness of the base layer. Make any adjustments as needed to ensure a flat and even surface.
By properly laying the base layer, you are setting the foundation for a sturdy and aesthetically pleasing rock patio. The base layer will provide stability and ensure that your patio remains even and level over time.
Once the base layer is in place, you’re ready to move on to the next step: adding and leveling the rocks. This is where the visual appeal of your rock patio truly comes to life.
Step 6: Adding and Leveling the Rocks
With the base layer prepared, it’s time to add the rocks and bring your rock patio to life. This step involves carefully selecting and placing the rocks, creating a visually pleasing and natural-looking arrangement.
Follow these steps to add and level the rocks for your patio:
- Select and arrange the rocks: Choose a variety of rocks in different shapes, sizes, and colors to create visual interest. Experiment with different arrangements to find the most pleasing layout for your patio.
- Start at the edging: Begin placing rocks along the edging, ensuring they fit snugly against each other and the edging material. This will create a sturdy and defined outer boundary for your patio.
- Fill the interior: Gradually fill the interior of the patio with rocks, paying attention to spacing and creating a natural and visually appealing pattern. Avoid leaving large gaps between the rocks, as this can affect stability.
- Check for stability: As you place each rock, check for stability and ensure that it sits securely on the base layer. Adjust the rocks as needed to create a level surface throughout the patio.
- Step back and assess: Regularly step back and assess the overall appearance of your patio. Make adjustments as needed to create a balanced and harmonious arrangement of rocks.
When adding and leveling the rocks, remember to consider the intended use of your patio. If it will be used for seating or dining, ensure that the rocks are stable and provide a comfortable surface. Additionally, take into account any specific design or pattern preferences you may have.
Creating a natural flow and balance with the rocks will contribute to the overall aesthetic appeal of your patio. Feel free to experiment and make adjustments until you achieve the desired look.
Once you have added and leveled all the rocks, you’re ready to move on to the next step: filling the gaps between the rocks. This will create a cohesive and finished look for your rock patio.
Step 7: Filling the Gaps
After placing and leveling the rocks for your rock patio, it’s time to fill the gaps between them. This step is essential for creating a polished and finished look, while also improving the stability and longevity of your patio.
Follow these steps to fill the gaps between the rocks:
- Select the appropriate material: Choose a suitable material to fill the gaps between the rocks. Options include fine gravel, sand, or polymeric sand. Consider the desired aesthetic and functionality when making your selection.
- Spread the material: Using a small shovel or your hands, carefully distribute the chosen material across the surface of the patio. Allow the material to settle into the gaps naturally, filling them completely.
- Compact and level: Use a brush or broom to sweep the material into the gaps, ensuring they are fully filled. Lightly tap or press the material down to compact it, creating a solid and stable surface.
- Brush off excess material: Once the gaps are filled, use a broom or brush to remove any excess material on the surface of the rocks. This will give your patio a clean and finished appearance.
When filling the gaps, take care to distribute the material evenly and avoid leaving any gaps or voids. The filling material will enhance the stability of the rocks and prevent them from shifting over time.
If you choose to use polymeric sand, be sure to follow the manufacturer’s instructions for proper installation and activation. This type of sand hardens when exposed to moisture, providing additional strength and stability to the patio.
Once the gaps are filled and excess material has been brushed off, take a step back and admire your beautifully finished rock patio. The next step, adding the final touches, will add a personal touch and enhance the overall appeal of your outdoor space.
Step 8: Finishing Touches
Congratulations! You’re in the final stage of creating your rock patio. Step 8 involves adding the finishing touches that will elevate the overall look and functionality of your outdoor space.
Here are a few ideas for adding those final touches:
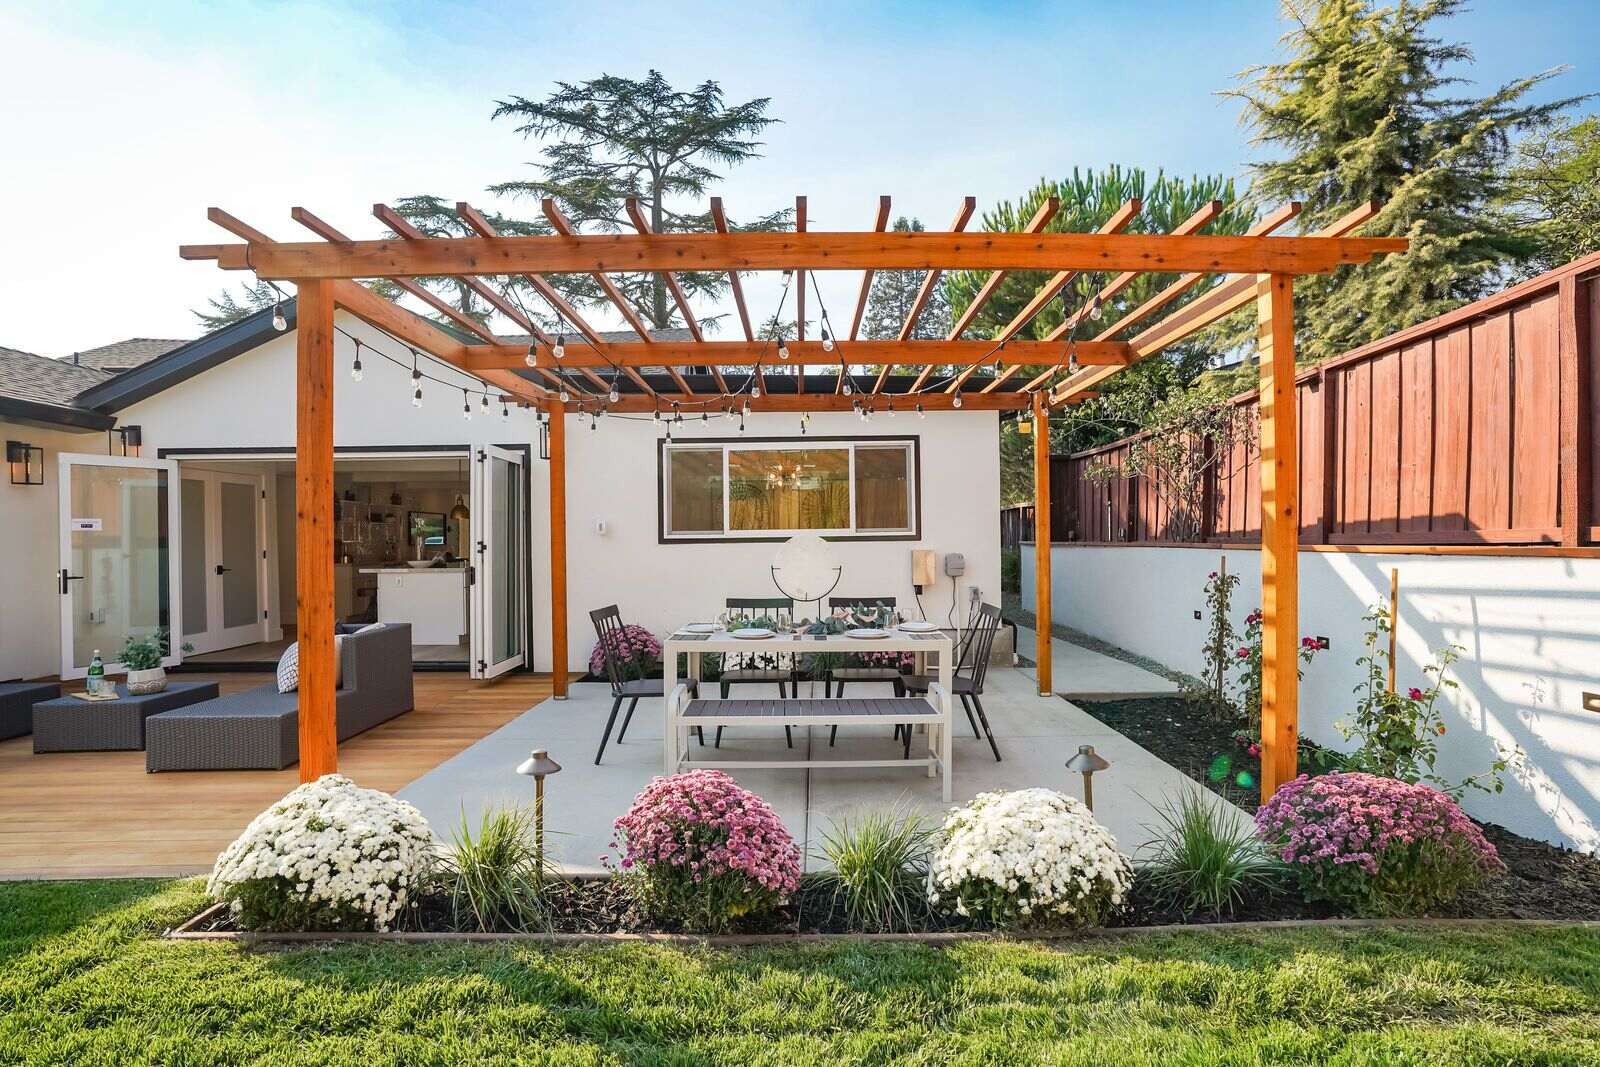
- Furniture and seating: Consider adding outdoor furniture such as chairs, tables, or benches to create a comfortable and inviting seating area. Choose weather-resistant materials that can withstand the elements.
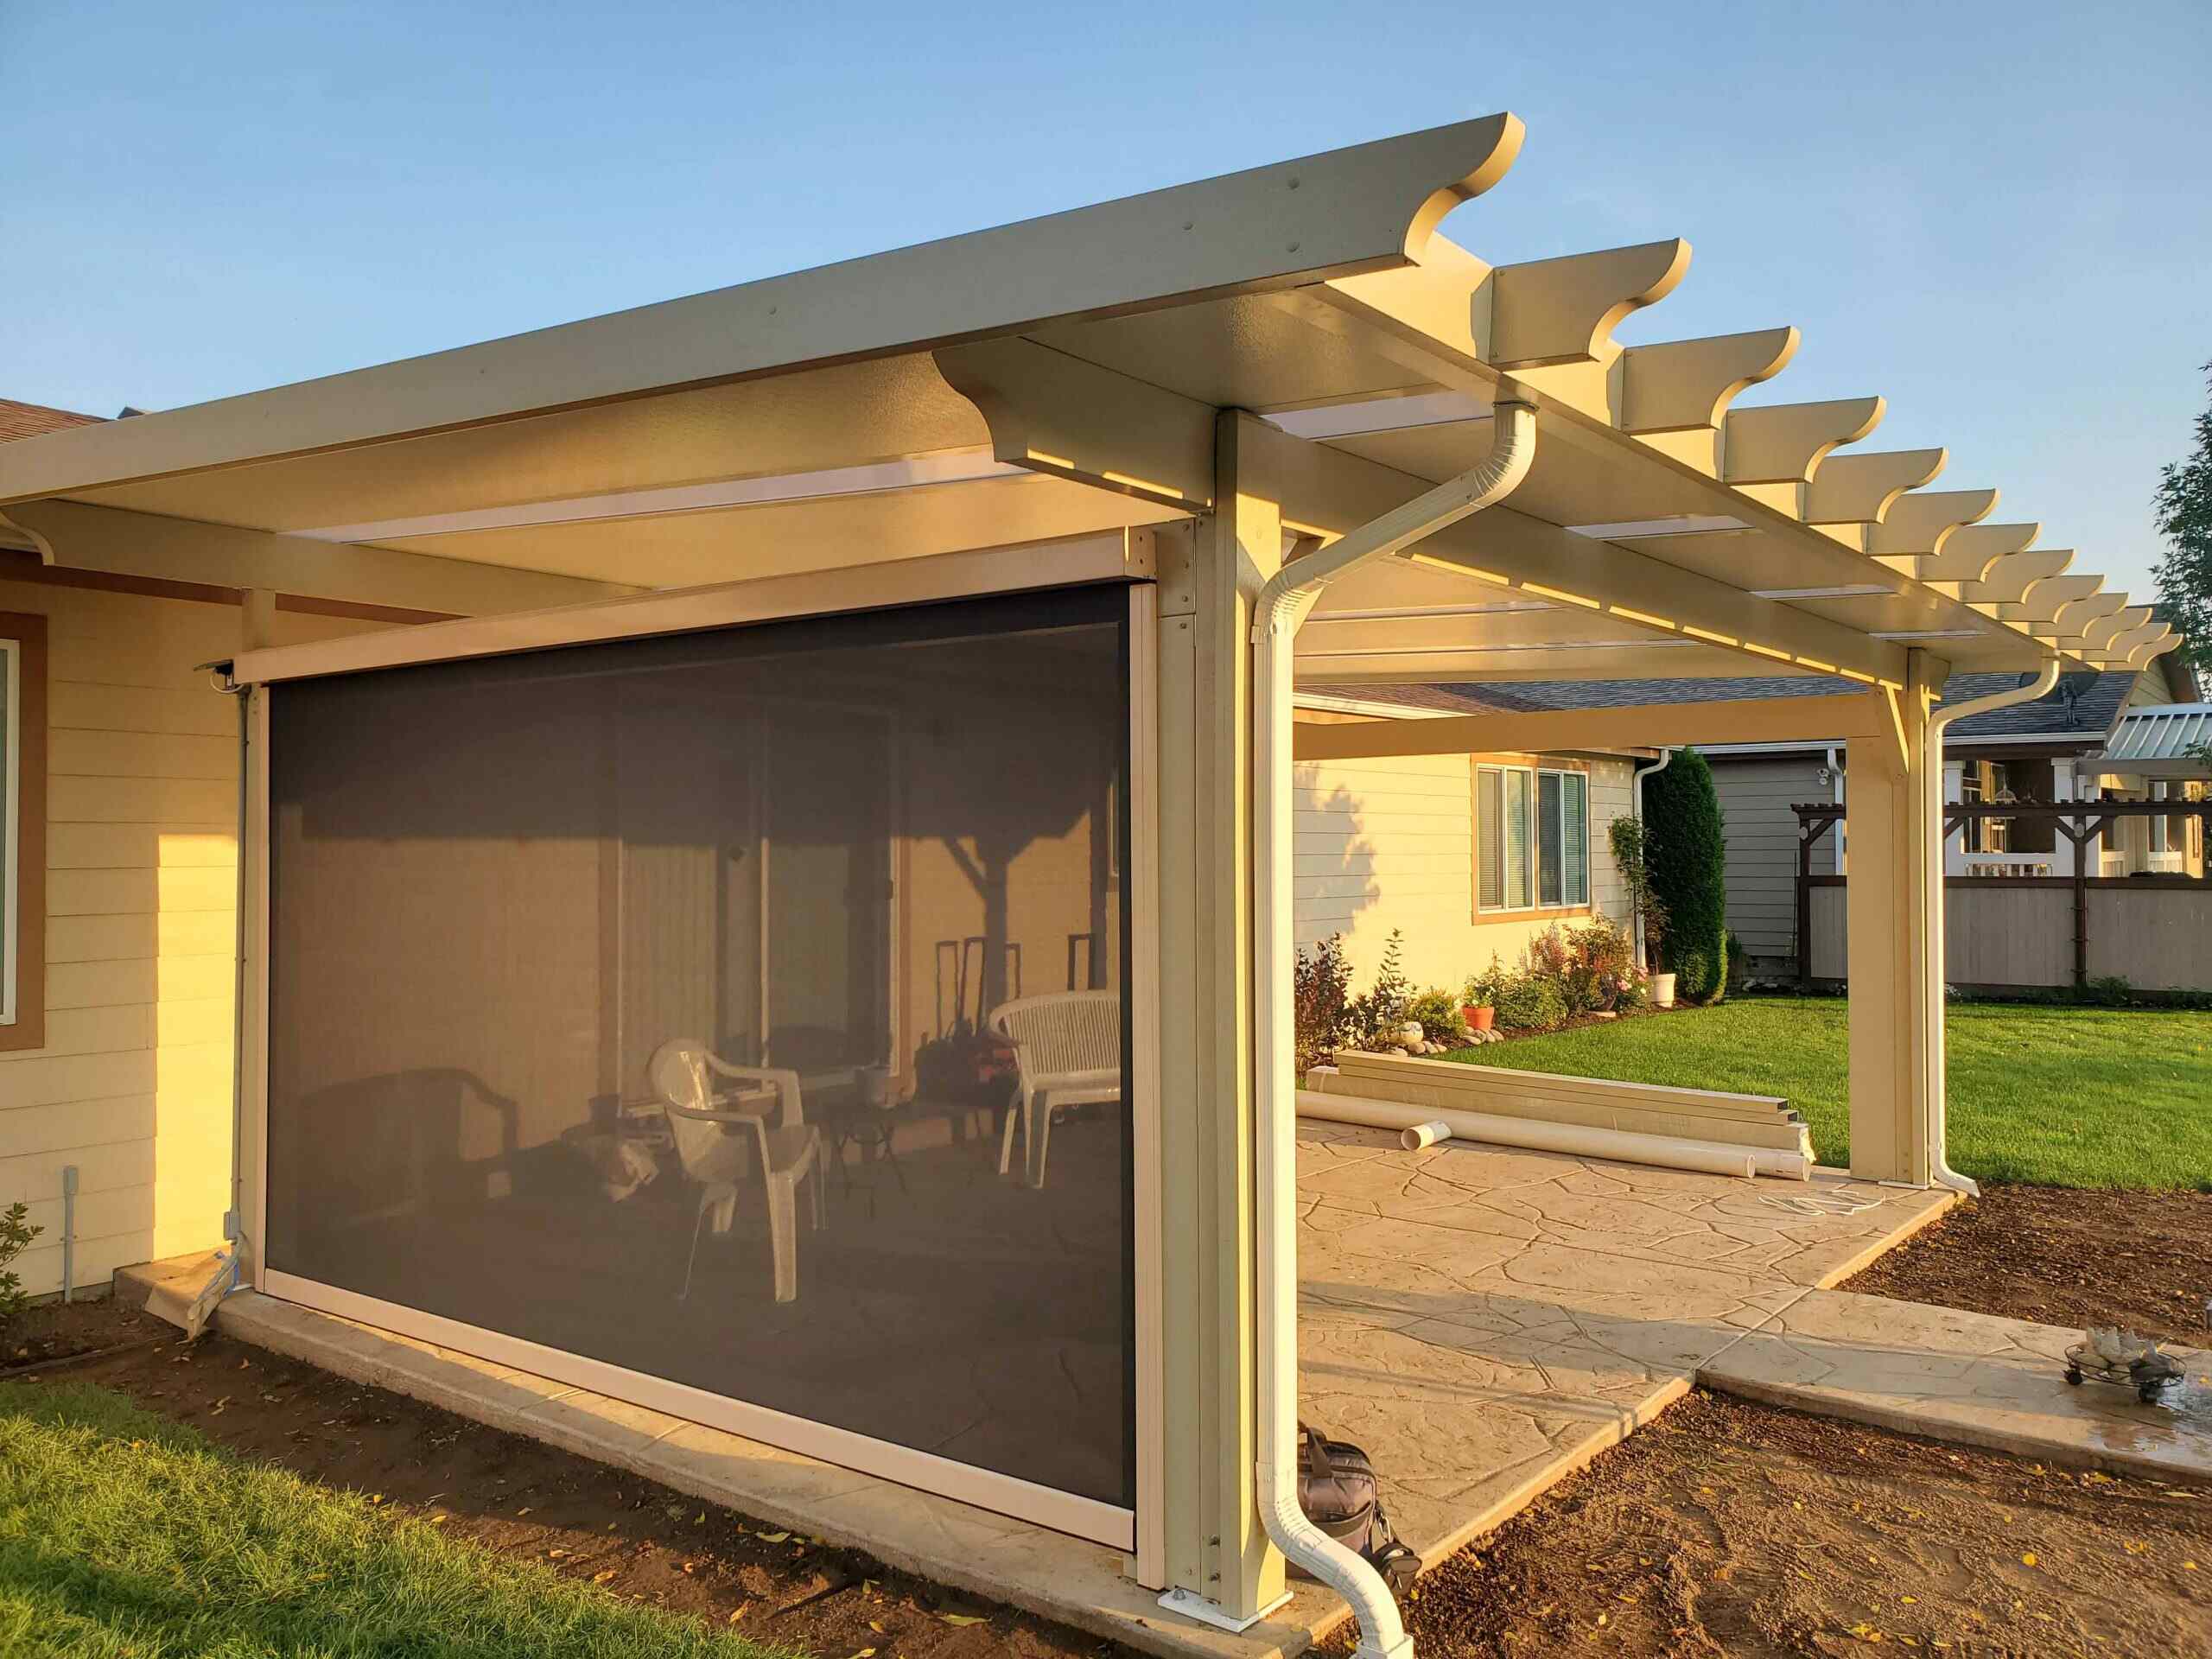
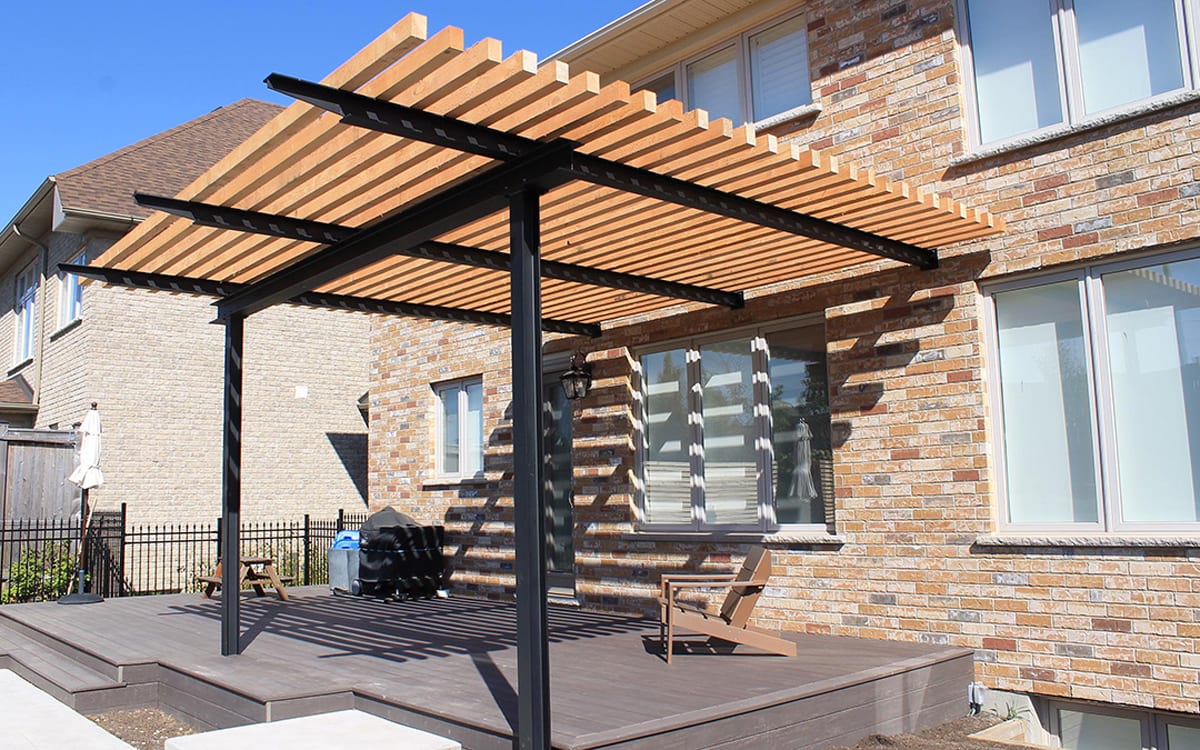
- Patio umbrella or awning: If your patio lacks natural shade, consider installing a patio umbrella or retractable awning to protect you and your guests from the sun. This will make your patio more enjoyable and versatile throughout the day.
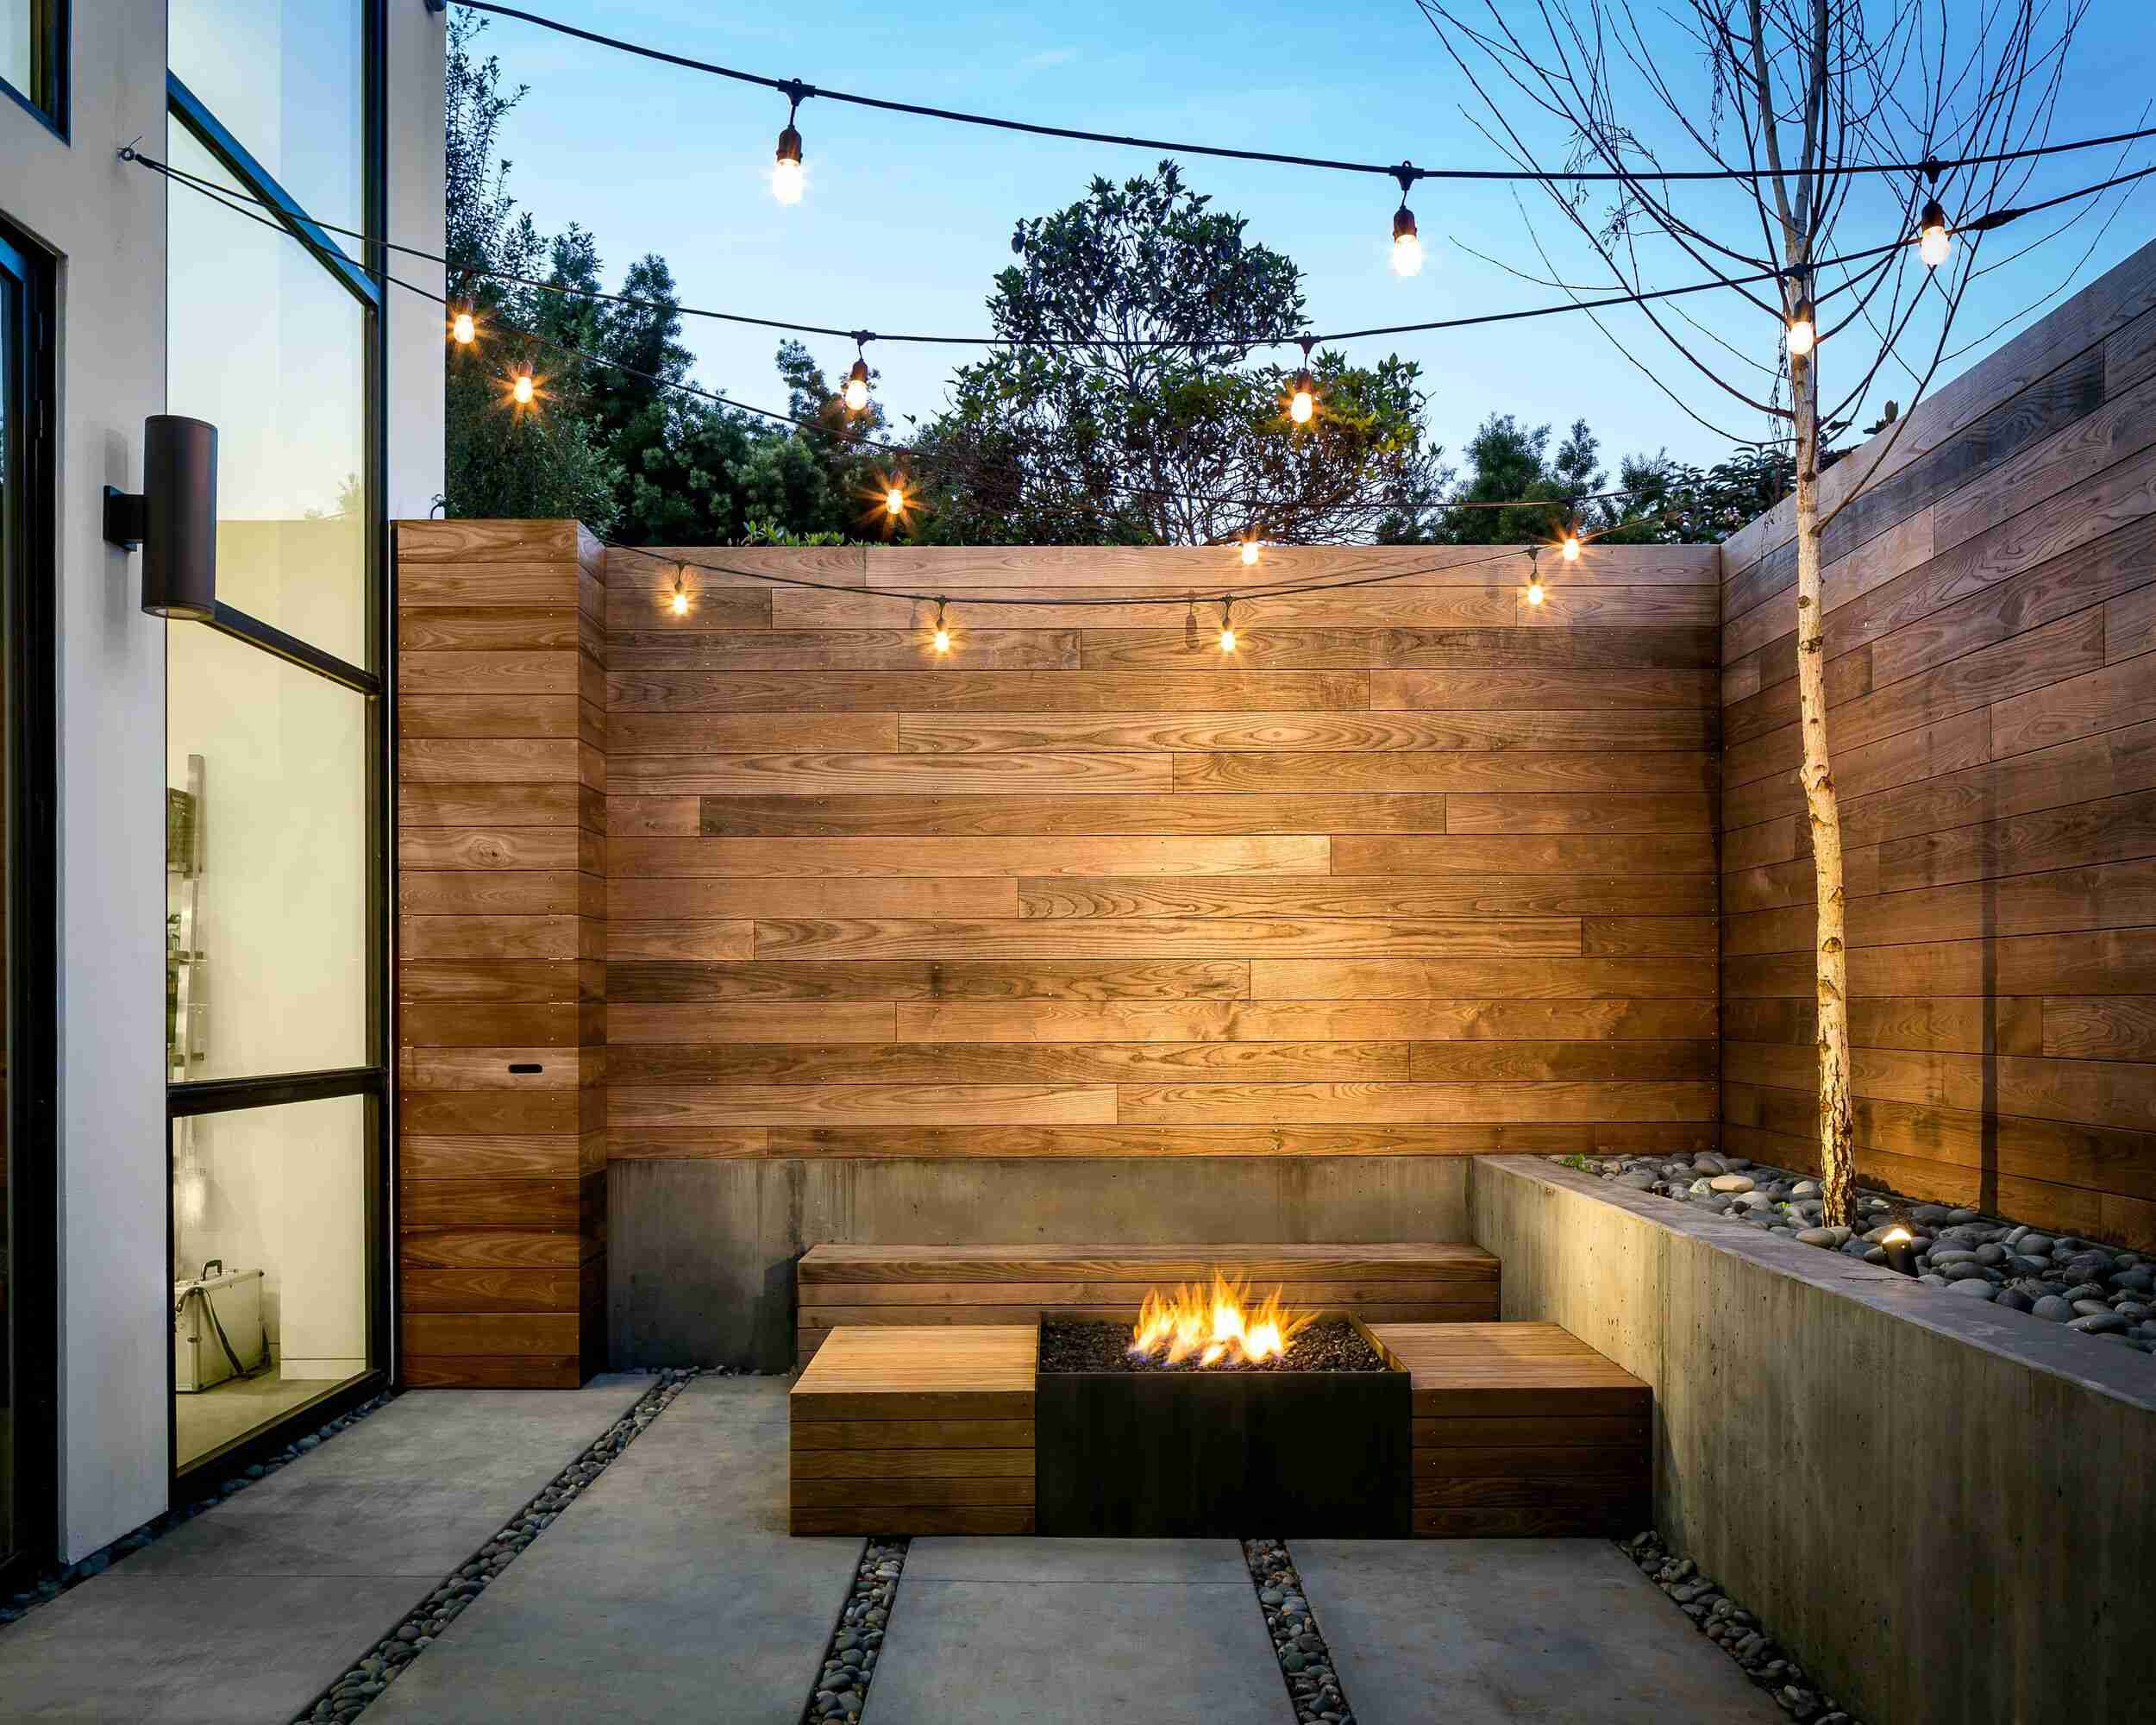
- Lighting: Enhance the ambiance of your rock patio by incorporating outdoor lighting. Hang string lights overhead, install solar-powered path lights, or even place lanterns strategically around the area. This will create a warm and inviting atmosphere for evening gatherings.
- Plants and landscaping: Add some greenery and natural elements to your patio by incorporating potted plants, flowers, or even a small garden bed. Choose plants that thrive in your climate and complement the overall design of your patio.
- Decorative elements: Personalize your patio with decorative elements such as outdoor rugs, throw pillows, or wall art. These small touches can add pops of color and reflect your personal style.
Remember to consider the maintenance requirements of these finishing touches. Opt for materials that are durable, easy to clean, and can withstand the outdoor elements.
By adding the finishing touches to your rock patio, you will create a welcoming and functional outdoor space that reflects your personal style and enhances your overall enjoyment of your home.
Finally, take a moment to step back and appreciate the hard work and creativity you’ve put into building your rock patio. It’s now a centerpiece of your outdoor area, providing a place for relaxation, entertainment, and enjoying the beauty of nature.
With your rock patio complete, you can now sit back, relax, and enjoy the fruits of your labor for years to come. Cheers to your stunning rock patio!
Read more: How To Build Patio Rugs
Conclusion
Building a rock patio is a rewarding project that allows you to create a stunning outdoor space where you can relax, entertain, and connect with nature. From choosing the right location to adding the finishing touches, each step plays a crucial role in the construction process.
By carefully selecting the location, considering factors such as accessibility, sunlight exposure, and privacy, you can ensure that your rock patio becomes a functional and enjoyable space in your outdoor area.
Gathering the necessary materials and tools, including rocks of various sizes and shapes, edging materials, and base layer materials, is essential for a smooth construction process. Having everything prepared and readily available will save you time and effort.
Preparing the ground properly by clearing the area, marking the boundaries, excavating the soil, and compacting the ground ensures a stable foundation for your patio. This step is crucial to prevent sinking or shifting of the patio materials over time.
Installing the edging along the boundaries of your patio provides a defined and finished look. The edging helps to contain the rocks and establish the shape and boundaries of your patio.
Laying the base layer, such as gravel or sand, creates a stable and level foundation for the rocks. It enhances the overall stability and ensures an even surface for your patio.
Adding and leveling the rocks is where the transformation truly takes place. Carefully selecting and arranging the rocks, along with checking for stability and creating a visually appealing layout, brings your rock patio to life.
Filling the gaps between the rocks with suitable materials improves stability and gives your patio a polished and finished appearance. Whether you choose fine gravel, sand, or polymeric sand, filling the gaps completes the look of your patio.
Finally, adding the finishing touches, such as outdoor furniture, lighting, plants, and decor, adds personality and functionality to your rock patio. These final touches make the patio more inviting and enable you to fully enjoy your outdoor space.
With all the steps completed, you can step back and admire the beautiful rock patio you’ve built. Your patio will be a place where you can relax, entertain, and connect with nature, providing years of enjoyment and creating lasting memories.
Remember, the process of building a rock patio requires creativity, patience, and attention to detail. Take your time, follow the steps outlined in this guide, and enjoy the journey of transforming your outdoor space into a stunning rock patio.
Frequently Asked Questions about How To Build Rock Patio
Was this page helpful?
At Storables.com, we guarantee accurate and reliable information. Our content, validated by Expert Board Contributors, is crafted following stringent Editorial Policies. We're committed to providing you with well-researched, expert-backed insights for all your informational needs.


0 thoughts on “How To Build Rock Patio”