Home>Garden Essentials>When To Start Artichoke Seeds

Garden Essentials
When To Start Artichoke Seeds
Modified: March 16, 2024
Learn when to start artichoke seeds in your garden and maximize your chances of successful growth and harvest.
(Many of the links in this article redirect to a specific reviewed product. Your purchase of these products through affiliate links helps to generate commission for Storables.com, at no extra cost. Learn more)
Introduction
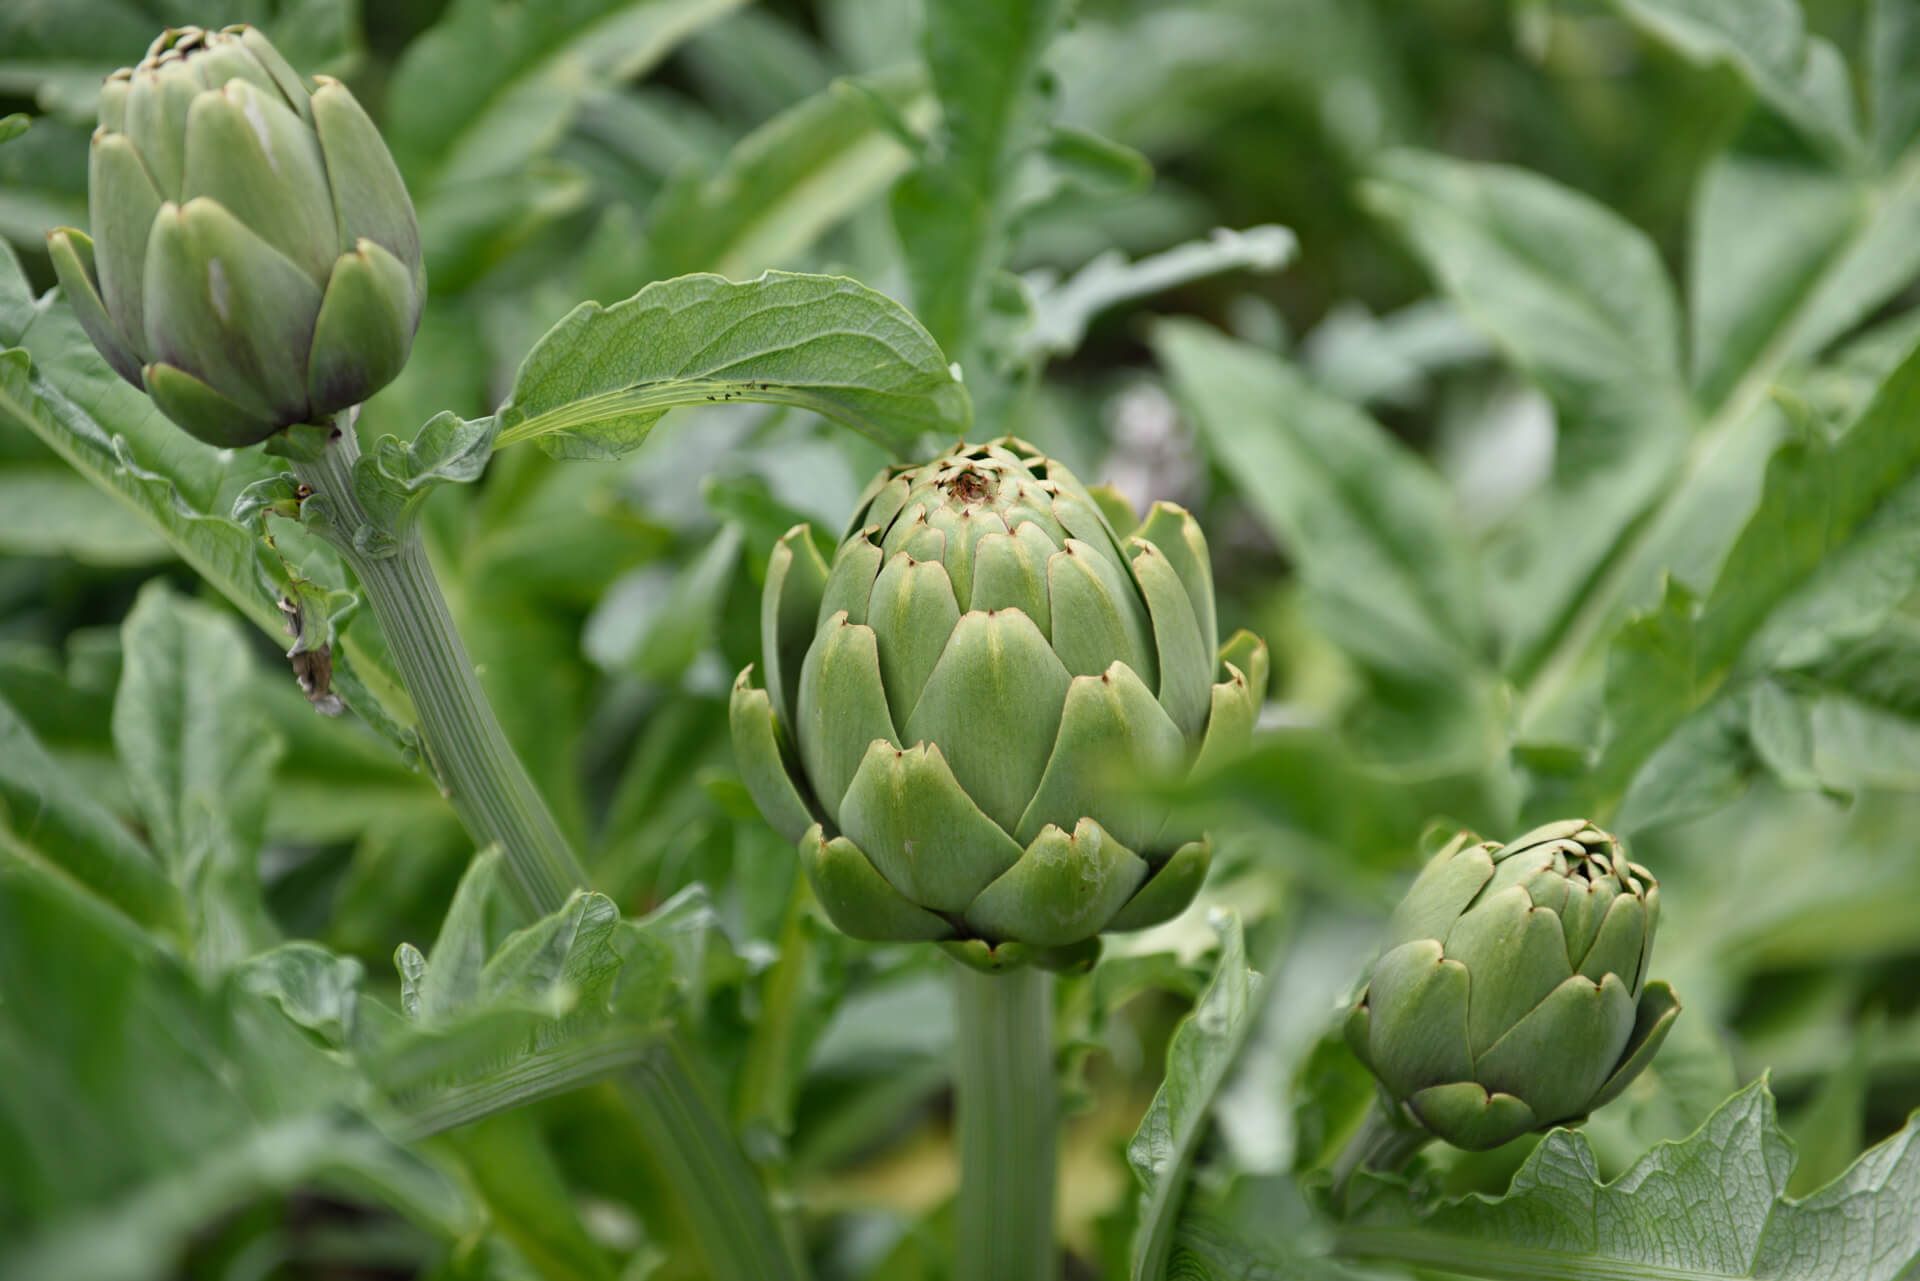
Welcome to the wonderful world of gardening! If you’re ready to embark on a journey of cultivating your own garden, artichokes are a fantastic choice. These unique and flavorful vegetables not only make a delicious addition to any meal, but they also add a touch of elegance to your garden with their stunning, thistle-like appearance.
If you’re considering growing artichokes, you may be wondering where to start. One of the key decisions you’ll need to make is whether to start your artichokes from seeds or purchase established plants from a nursery. While both methods can be successful, starting artichokes from seeds can be a rewarding and cost-effective approach.
In this article, we will guide you through the process of starting artichoke seeds, including the ideal time to begin, important factors to consider, and the steps to ensure success. So, let’s dig in and uncover the secrets to growing artichokes from seed!
Key Takeaways:
- Start artichoke seeds indoors 8-12 weeks before the last frost for a bountiful harvest. Consider factors like climate, light, soil, and watering for successful growth.
- Experiment with different artichoke varieties by starting seeds. Provide warmth, moisture, and care for healthy, flavorful artichokes.
Read more: When To Start Corn Seeds
Growing Artichokes from Seeds
Growing artichokes from seeds can be a gratifying experience that allows you to witness the entire life cycle of this fascinating plant. Starting artichoke seeds gives you greater control over the growth process, allowing you to select specific varieties and ensure the health and quality of your plants.
Artichoke seeds are typically sown indoors under controlled conditions, allowing them to germinate and develop into seedlings before transplanting them into your garden. Starting from seeds also gives you a head start, as artichokes can take several months to mature.
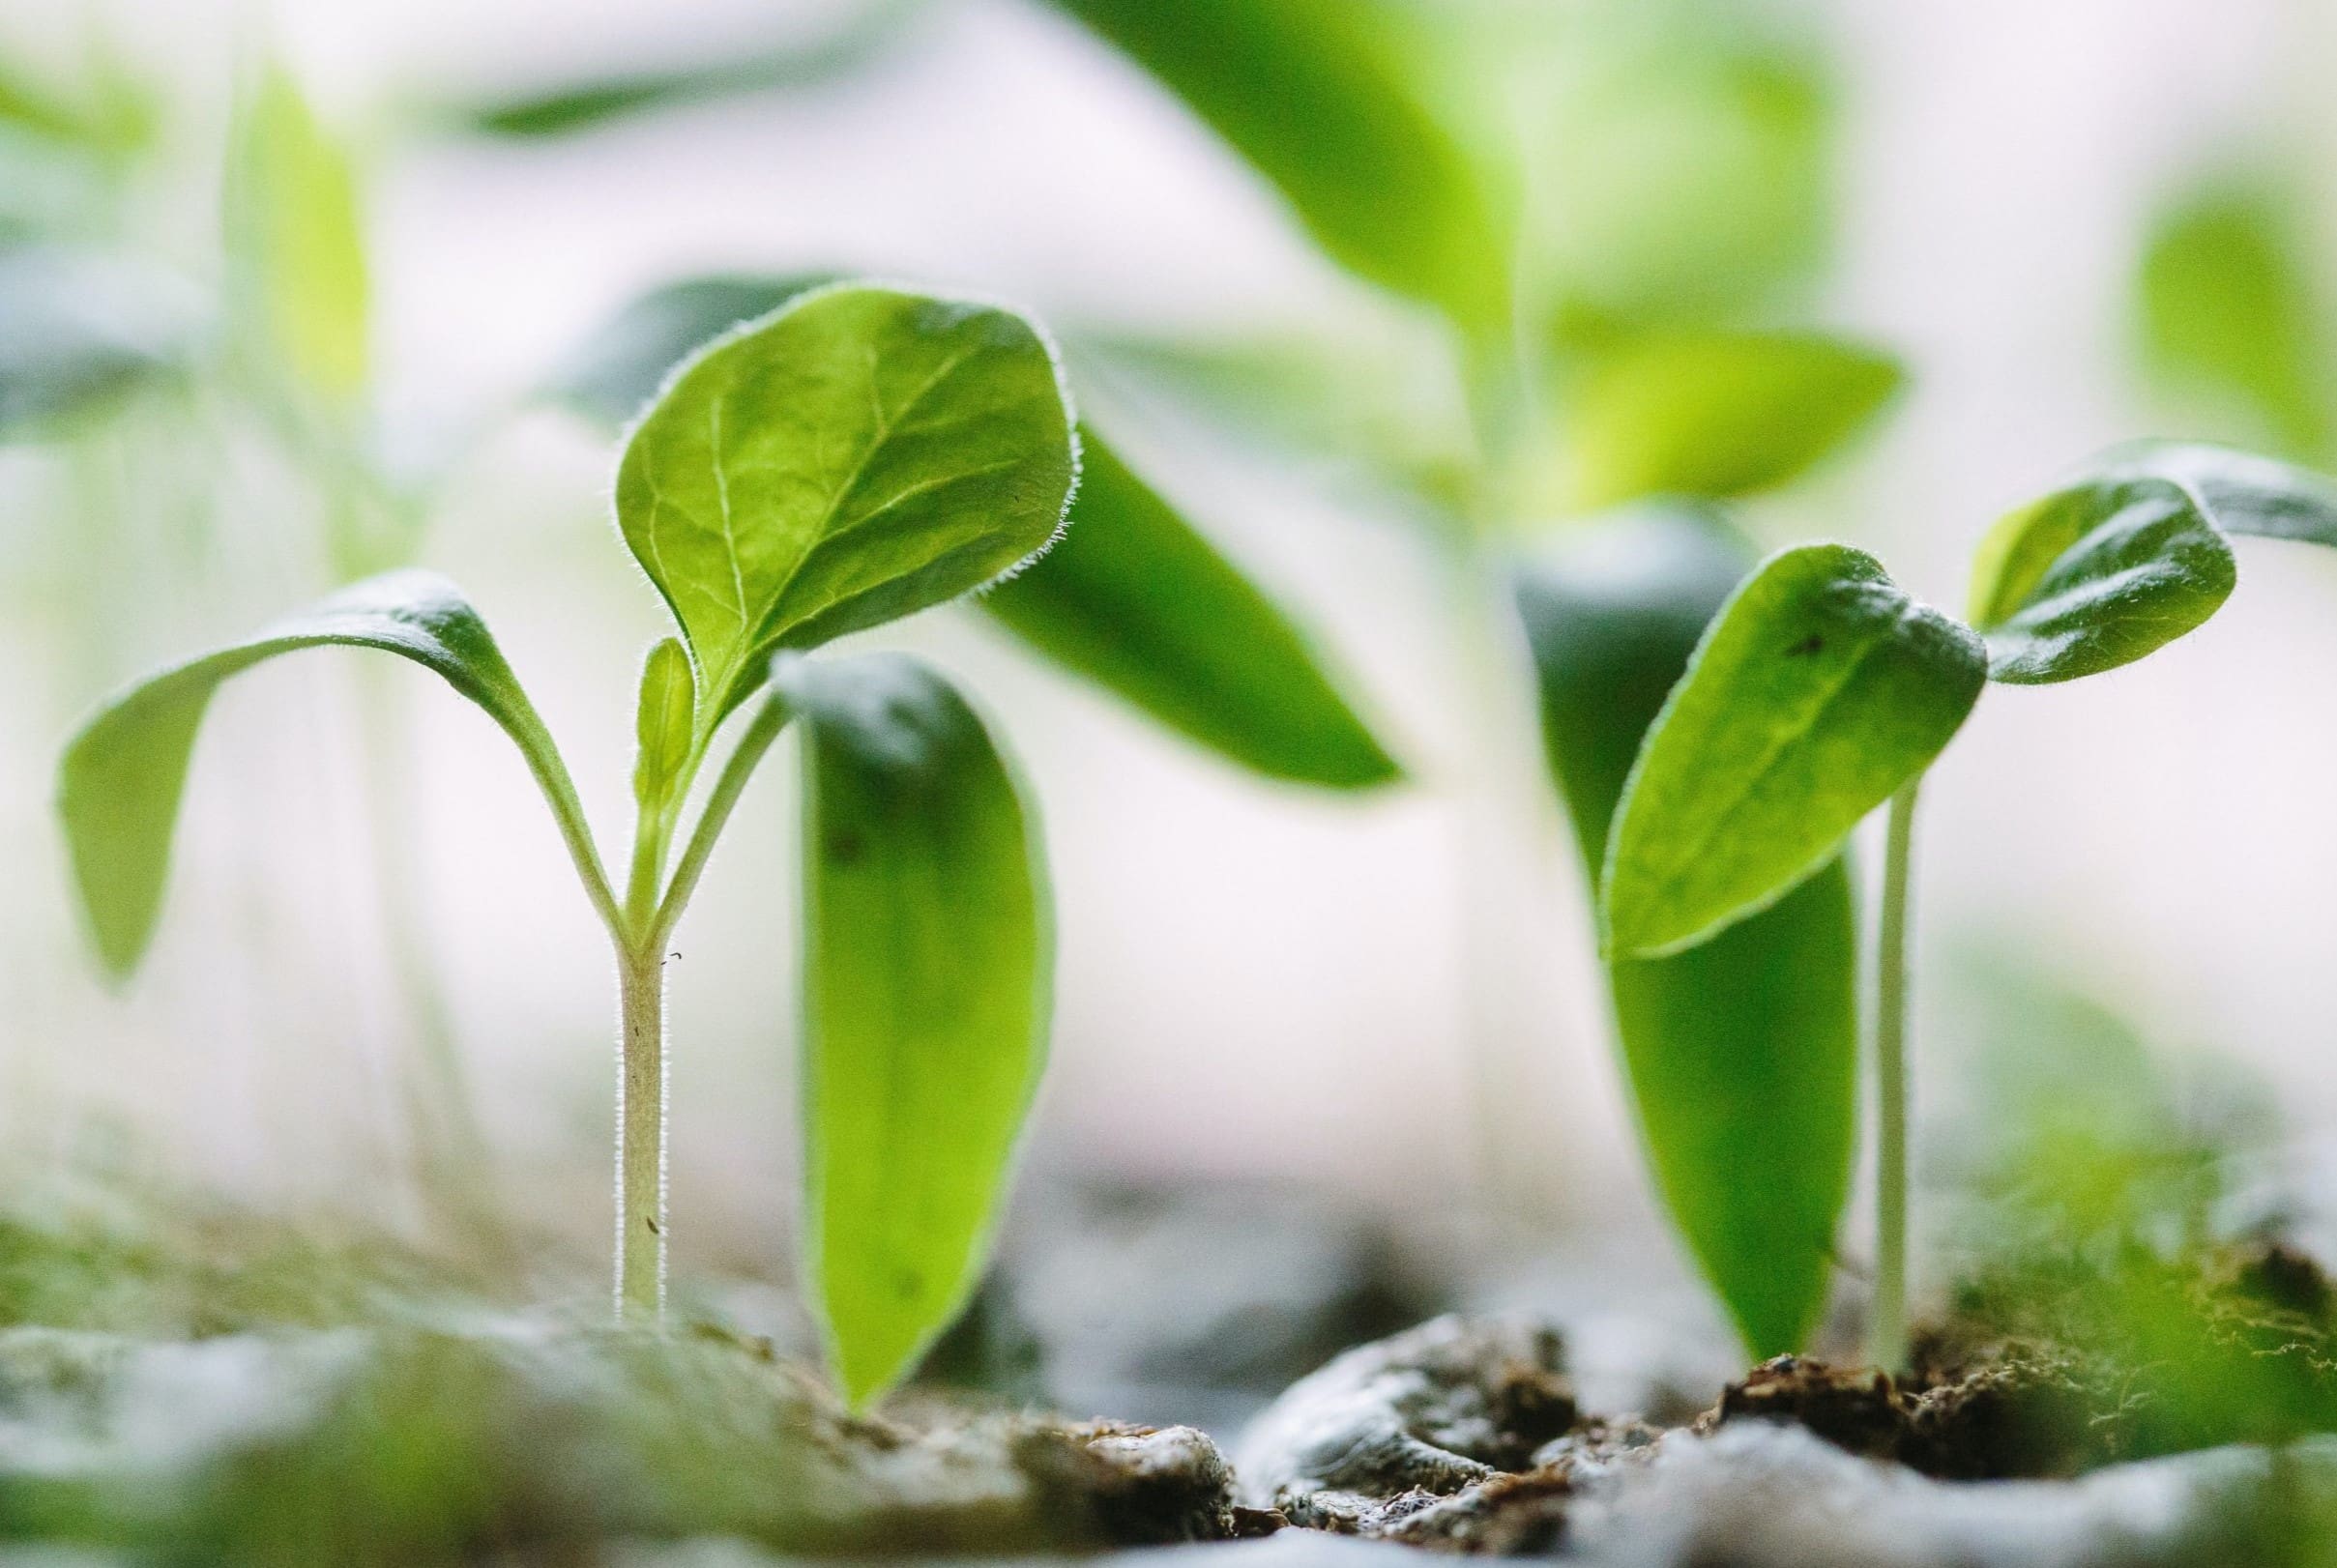
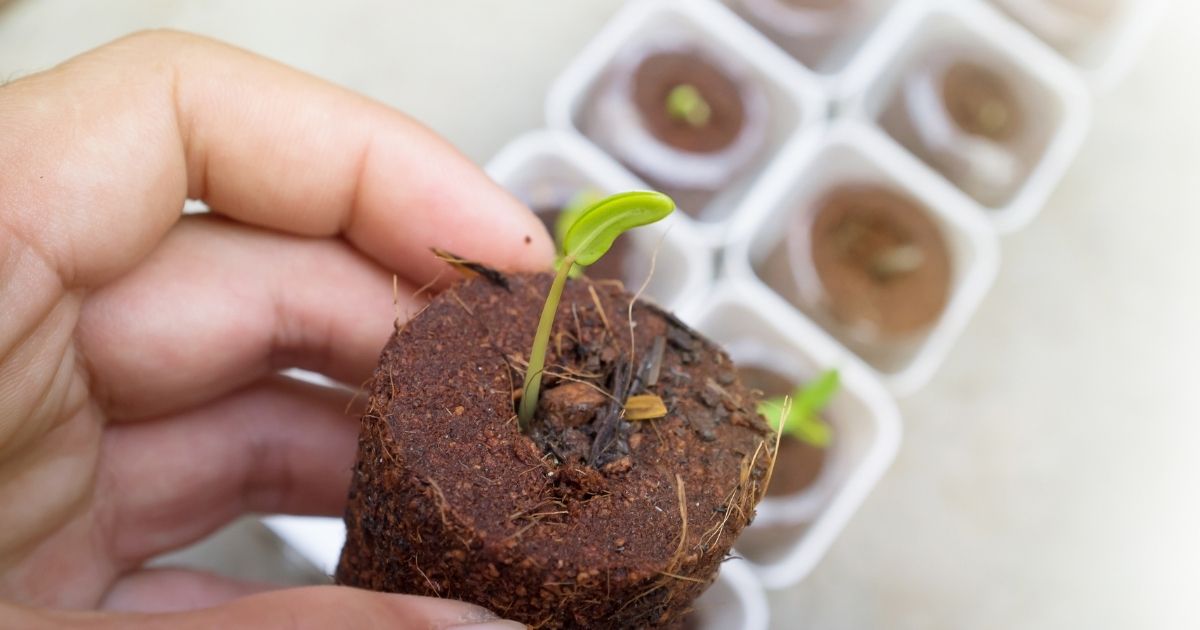
When artichoke seeds germinate, they first produce a set of primary leaves, followed by additional leaves that will eventually form the characteristic rosette shape. As the seedlings grow, they develop a sturdy root system that can support the plant as it continues to grow and produce edible artichoke buds.
Starting artichokes from seeds also allows you to experiment with different varieties. There are many different types of artichokes available, each with its own unique flavor, size, and growing requirements. By starting from seeds, you have the opportunity to try different varieties and find those that thrive in your specific growing conditions.
Whether you choose to start your artichoke seeds indoors or directly sow them in your garden, the process remains the same. The key is to provide the right conditions for germination and ensure proper care as the seedlings develop.
As you embark on this journey of growing artichokes from seeds, it’s important to know the ideal time to start your seeds. Let’s explore this in the next section.
Ideal Time to Start Artichoke Seeds
The ideal timing for starting artichoke seeds depends on various factors, including your climate, the average frost dates in your region, and the specific variety of artichoke you are growing. However, as a general guideline, it is recommended to start artichoke seeds indoors about 8-12 weeks before the last expected frost date in your area.
Artichokes are native to the Mediterranean region, where they thrive in mild climates with long growing seasons. They are considered a perennial plant, but in colder regions, they are often treated as an annual or grown as a biennial crop. Starting your seeds early indoors allows you to give the plants a head start and ensure they have enough time to grow and produce edible buds.
If you live in a region with a short growing season or a climate with harsh, cold winters, starting artichoke seeds indoors is highly recommended. By doing so, you can provide the right temperature and growing conditions for your seedlings before transplanting them outdoors when the weather is more favorable.
It’s important to note that artichokes require a significant amount of time to reach maturity. Depending on the variety, it can take anywhere from 85 to 120 days for artichoke plants to produce their first edible buds. Therefore, starting the seeds early ensures that you have ample time for the plants to grow and develop before harvesting.
If you live in a warmer region with a longer growing season, you may have the option to start artichoke seeds directly in the garden. In this case, you can sow the seeds in early spring, as soon as the soil can be worked and the danger of frost has passed.
However, even in warmer climates, starting artichokes indoors can give you a jump-start on the growing season and increase your chances of a bountiful harvest. Additionally, by starting indoors, you can protect the seeds and young seedlings from potential threats such as pests, diseases, and adverse weather conditions.
Now that we’ve discussed the ideal timing, let’s explore some of the important factors to consider when starting artichoke seeds.
Factors to Consider
When starting artichoke seeds, it’s important to take various factors into consideration to ensure the success of your plants. These factors can greatly influence the growth, health, and productivity of your artichoke seedlings. Let’s explore some of the key factors to consider when starting artichoke seeds:
- Climate: Artichokes thrive in regions with mild, Mediterranean-like climates. They prefer temperatures between 60°F (15°C) and 75°F (24°C) during the day and cooler temperatures at night. It’s crucial to choose artichoke varieties that are suitable for your specific climate and growing conditions.
- Light: Artichokes require full sun to thrive. When starting artichoke seeds indoors, make sure to provide them with 12-14 hours of direct sunlight or use grow lights to simulate natural sunlight. Lack of sufficient light can result in leggy, weak seedlings.
- Soil: Artichokes prefer well-draining soil that is rich in organic matter. Before starting your seeds, prepare the soil by incorporating compost or well-rotted manure to improve its fertility and drainage. A slightly acidic soil pH level between 6.0 and 7.5 is ideal for artichokes.
- Watering: Artichoke seeds and seedlings need consistent moisture, but they are also susceptible to root rot if the soil remains constantly wet. Water the seeds and seedlings carefully, ensuring that the soil is moist but not saturated. Once the plants are established, provide deep, infrequent watering to encourage a strong root system.
- Fertilization: Artichokes are heavy feeders and benefit from regular fertilization. Before planting the seeds, incorporate a slow-release organic fertilizer into the soil. Once the seedlings emerge, supplement with liquid fertilizers or top-dress with compost every few weeks to provide them with the necessary nutrients.
- Space: Artichoke plants require adequate space to grow and spread. When starting seeds indoors, make sure to use individual containers or seed trays to give each seedling enough room. When transplanting outdoors, space the plants approximately 3-4 feet apart to allow for their large size and sprawling growth habit.
By considering these factors and providing the optimal growing conditions, you can give your artichoke seeds the best chance of thriving and producing a bountiful harvest. Now, let’s dive into the step-by-step process of starting artichoke seeds.
Start artichoke seeds indoors 8-12 weeks before the last frost date. Use a seed starting mix and keep them warm and moist until they germinate. Transplant outdoors after the danger of frost has passed.
Steps for Starting Artichoke Seeds
Starting artichoke seeds may seem like a complex task, but with the right approach, it can be a straightforward and rewarding process. Follow these step-by-step guidelines to successfully start artichoke seeds:
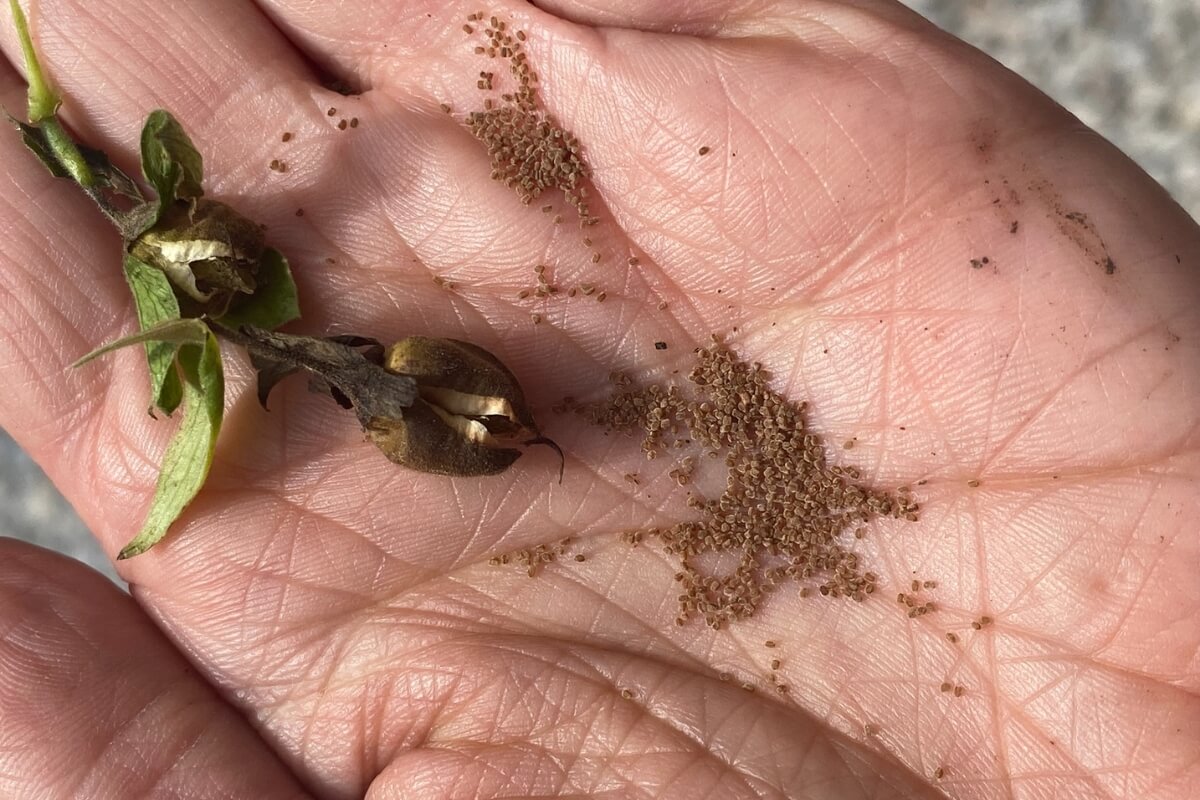
- Select the right seeds: Choose high-quality artichoke seeds from a reputable supplier or save seeds from a previous harvest. Consider the variety of artichoke you want to grow based on your taste preferences and growing conditions.
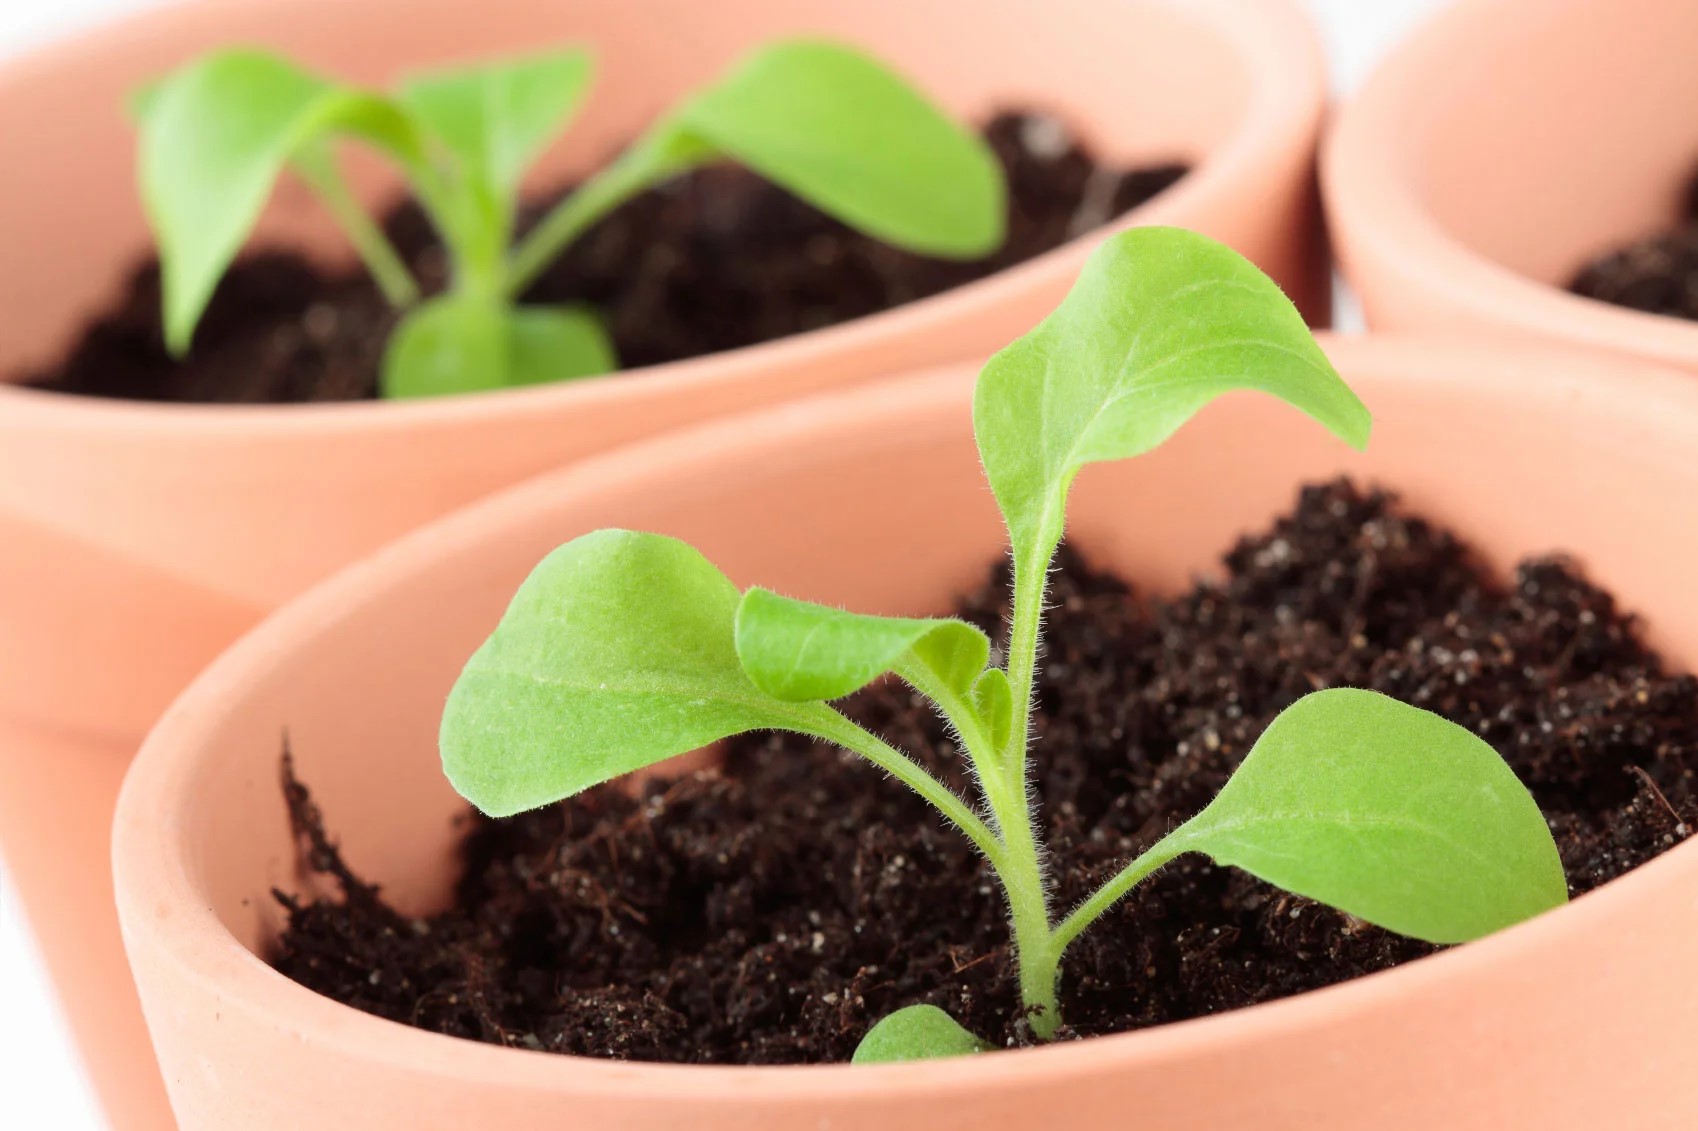
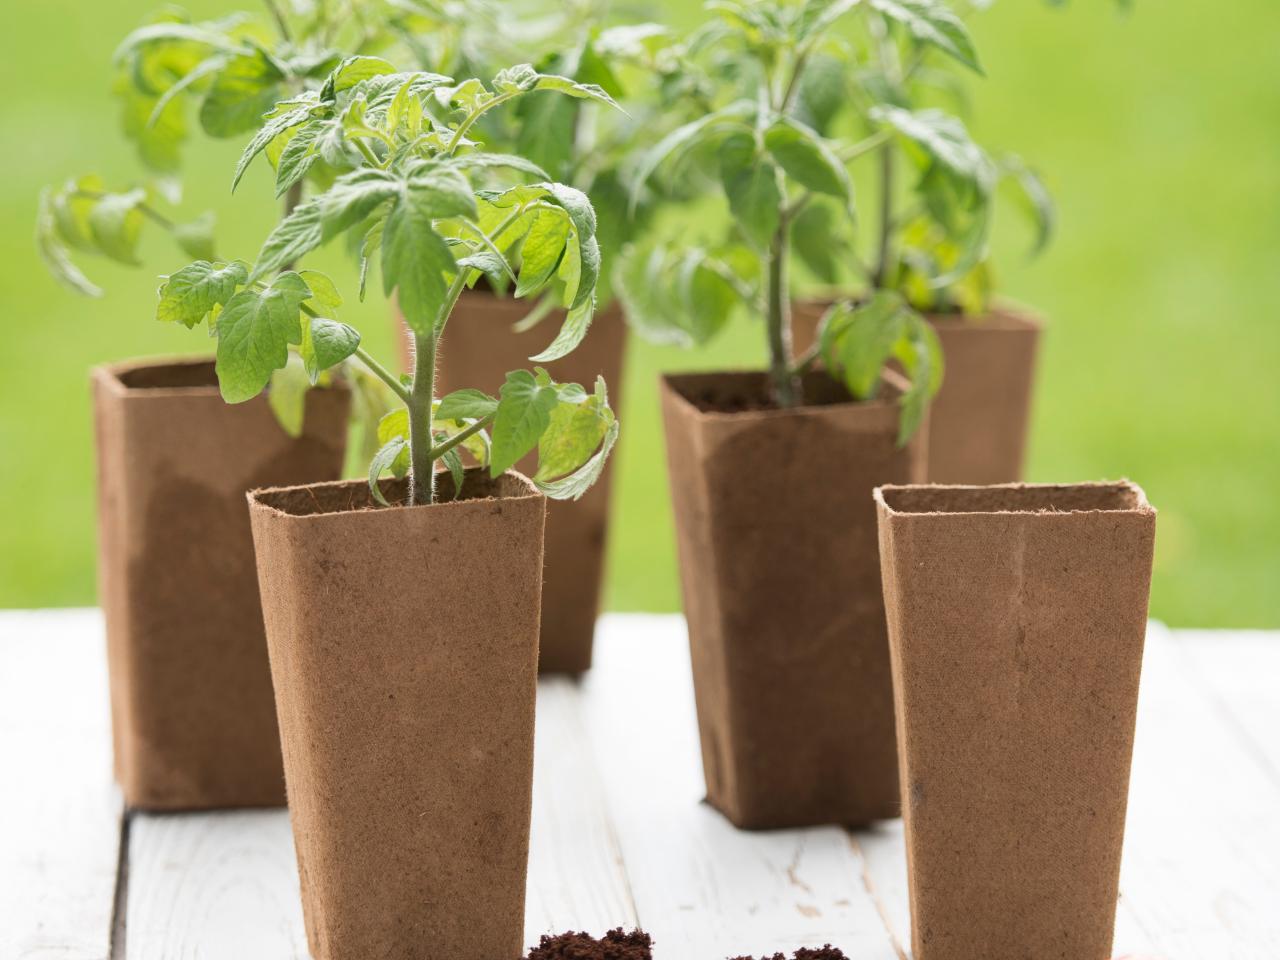
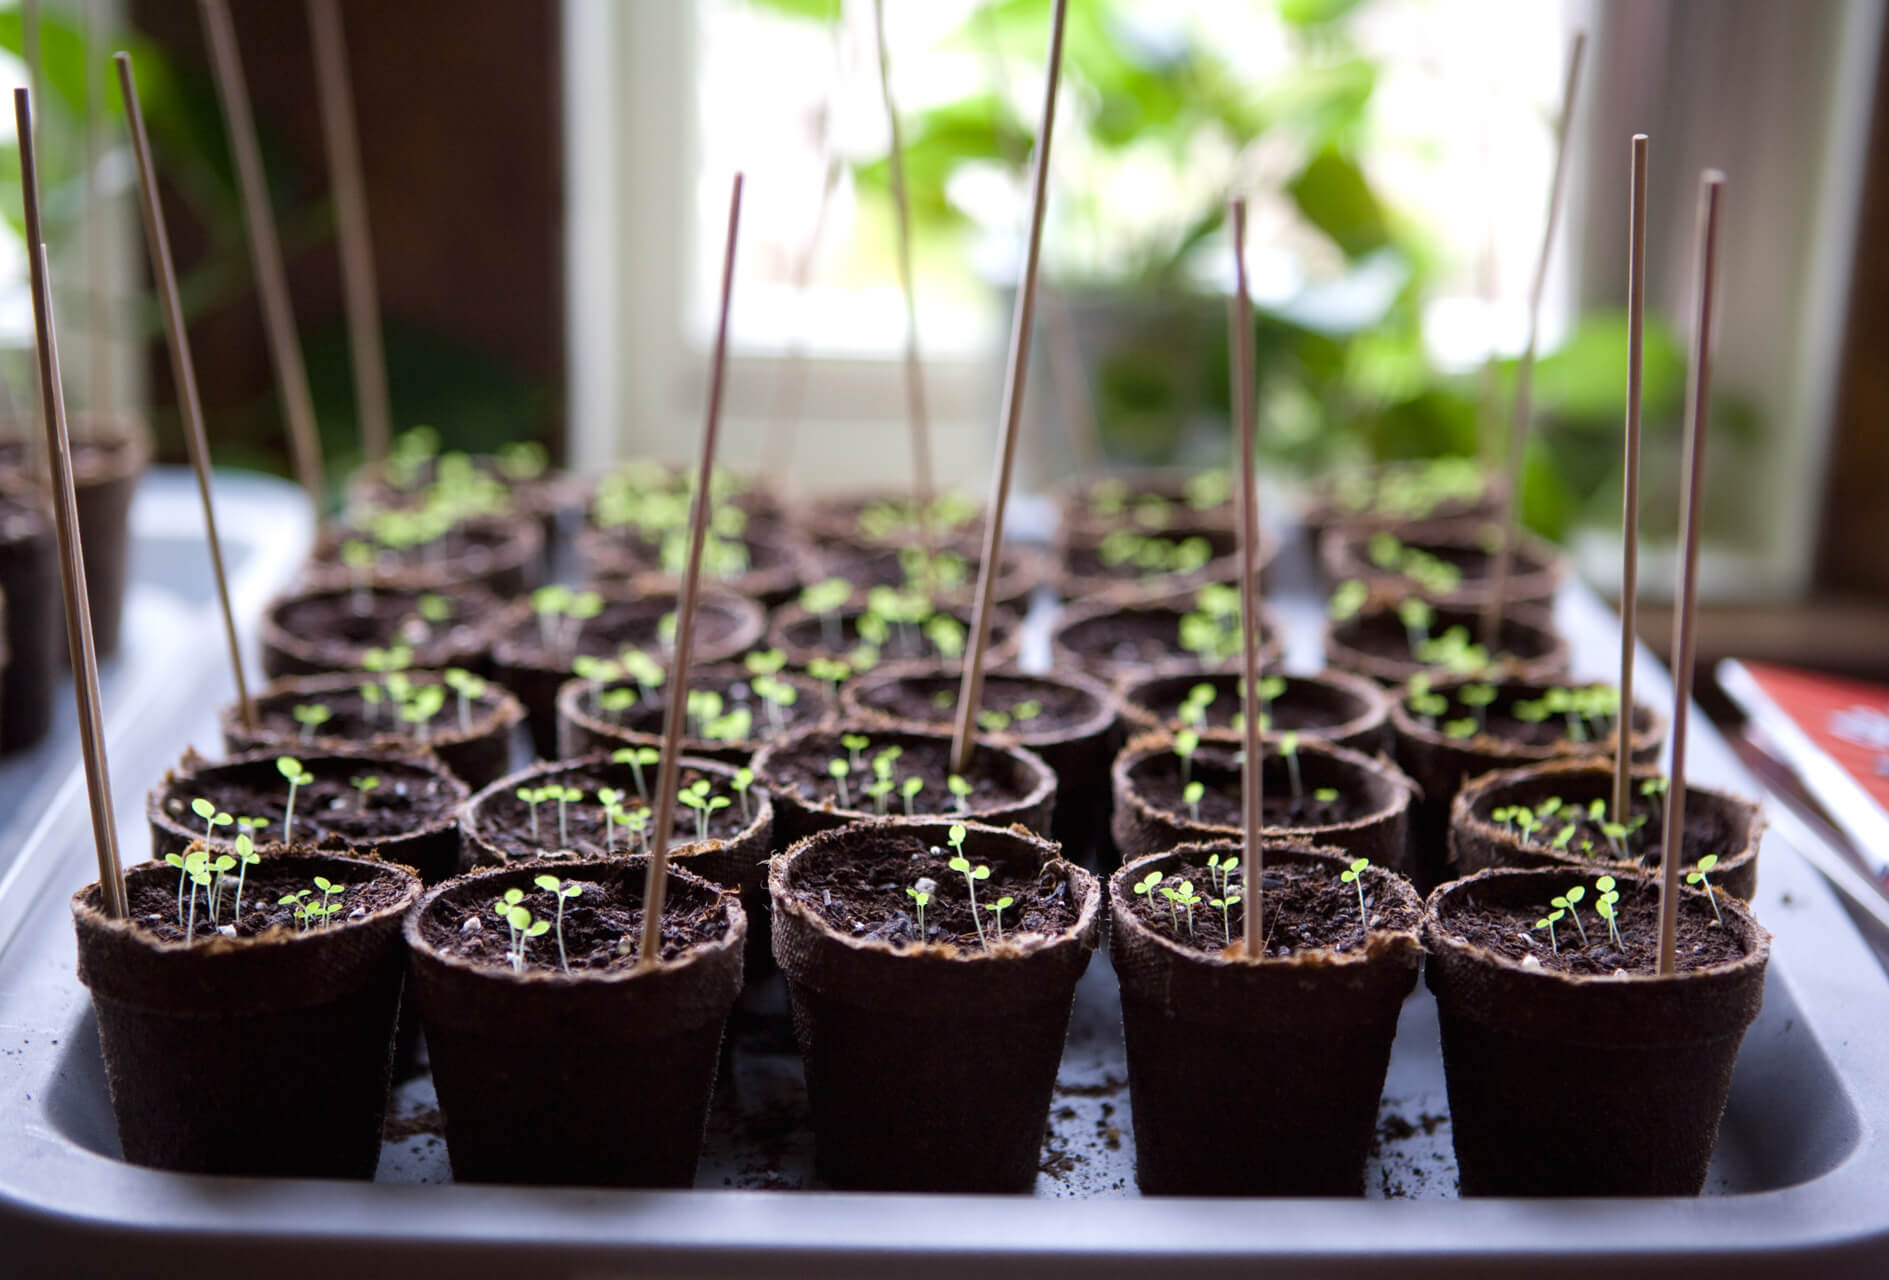
- Prepare the containers: Fill individual seed trays or pots with a well-draining seed starting mix. Moisten the soil before sowing the seeds to ensure proper hydration.
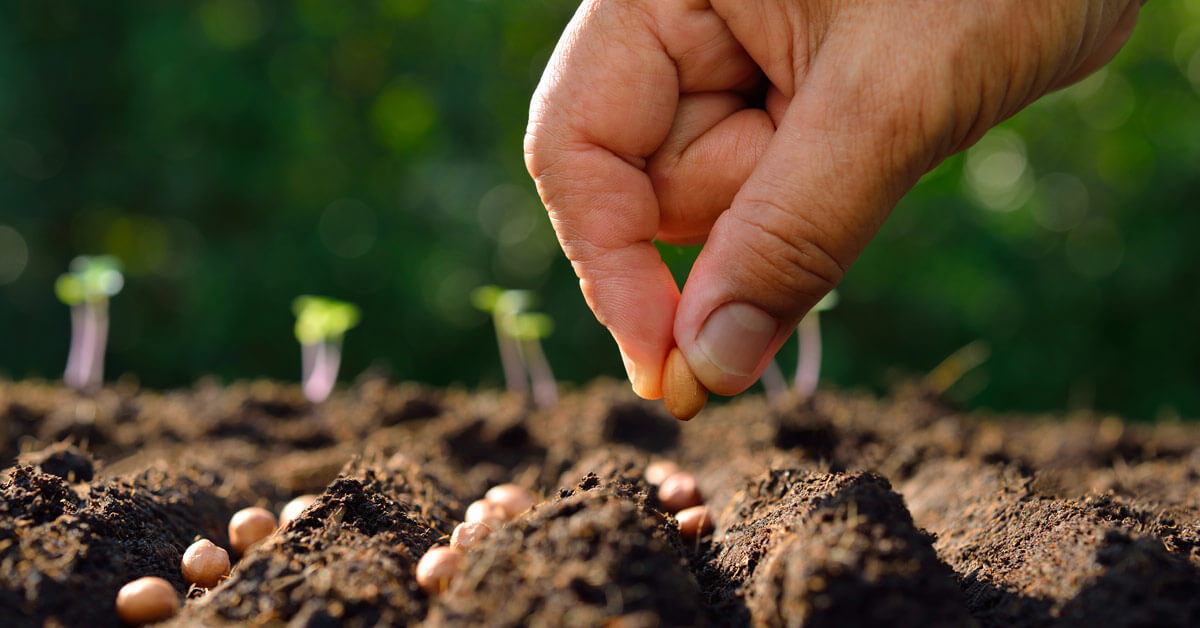
- Sow the seeds: Plant 2-3 artichoke seeds per container, placing them about ½ inch deep. Cover the seeds with a thin layer of soil and gently press it down to ensure good contact.
- Provide optimal conditions: Place the containers in a warm location with temperatures between 70°F (21°C) and 75°F (24°C). Provide adequate light by placing them under grow lights or in a sunny window. Maintain a consistent moisture level by misting the soil or using a spray bottle.
- Be patient: Artichoke seeds typically take around 10-21 days to germinate. Be patient and continue to provide the necessary conditions for germination. Once the seedlings emerge, remove any weak or overcrowded ones to ensure the growth of the healthiest plants.
- Harden off the seedlings: About 2 weeks before the last frost date, start acclimating the seedlings to outdoor conditions. Gradually expose them to direct sunlight and outdoor weather for a few hours each day. This process, known as hardening off, helps the seedlings adjust to the outdoor environment.
- Transplant the seedlings: Once the danger of frost has passed and the seedlings have been hardened off, carefully transplant them into your prepared garden bed or containers. Dig a hole large enough to accommodate the root ball, place the seedling in the hole, and gently firm the soil around it.
- Maintain proper care: Water the newly transplanted seedlings thoroughly and provide regular watering as needed. Mulching around the plants can help conserve moisture and suppress weed growth. Monitor for pests and diseases, and provide support to the plants as they grow, if necessary.
By following these steps, you’ll be on your way to growing healthy and productive artichoke plants from seeds. Remember to tailor these steps to your specific growing conditions and adjust as needed. With care and patience, you’ll soon be enjoying delicious homegrown artichokes!
Read more: When To Start Seeds In Greenhouse
Transplanting Artichoke Seedlings
Transplanting artichoke seedlings is a crucial step in the process of growing artichokes from seeds. This step enables the young plants to establish themselves in a permanent location where they can thrive and produce edible artichoke buds. Here’s a guide to help you successfully transplant your artichoke seedlings:
- Choose the right timing: Artichoke seedlings are typically ready for transplanting when they have developed a sturdy root system and at least one or two sets of true leaves. This is typically around 6-8 weeks after germination, but it may vary depending on the specific variety and growing conditions.
- Prepare the planting area: Select a well-drained location with full sun exposure for your artichoke plants. The soil should be rich in organic matter and have a slightly acidic pH between 6.0 and 7.5. Clear any weeds or debris from the area and loosen the soil to facilitate root growth.
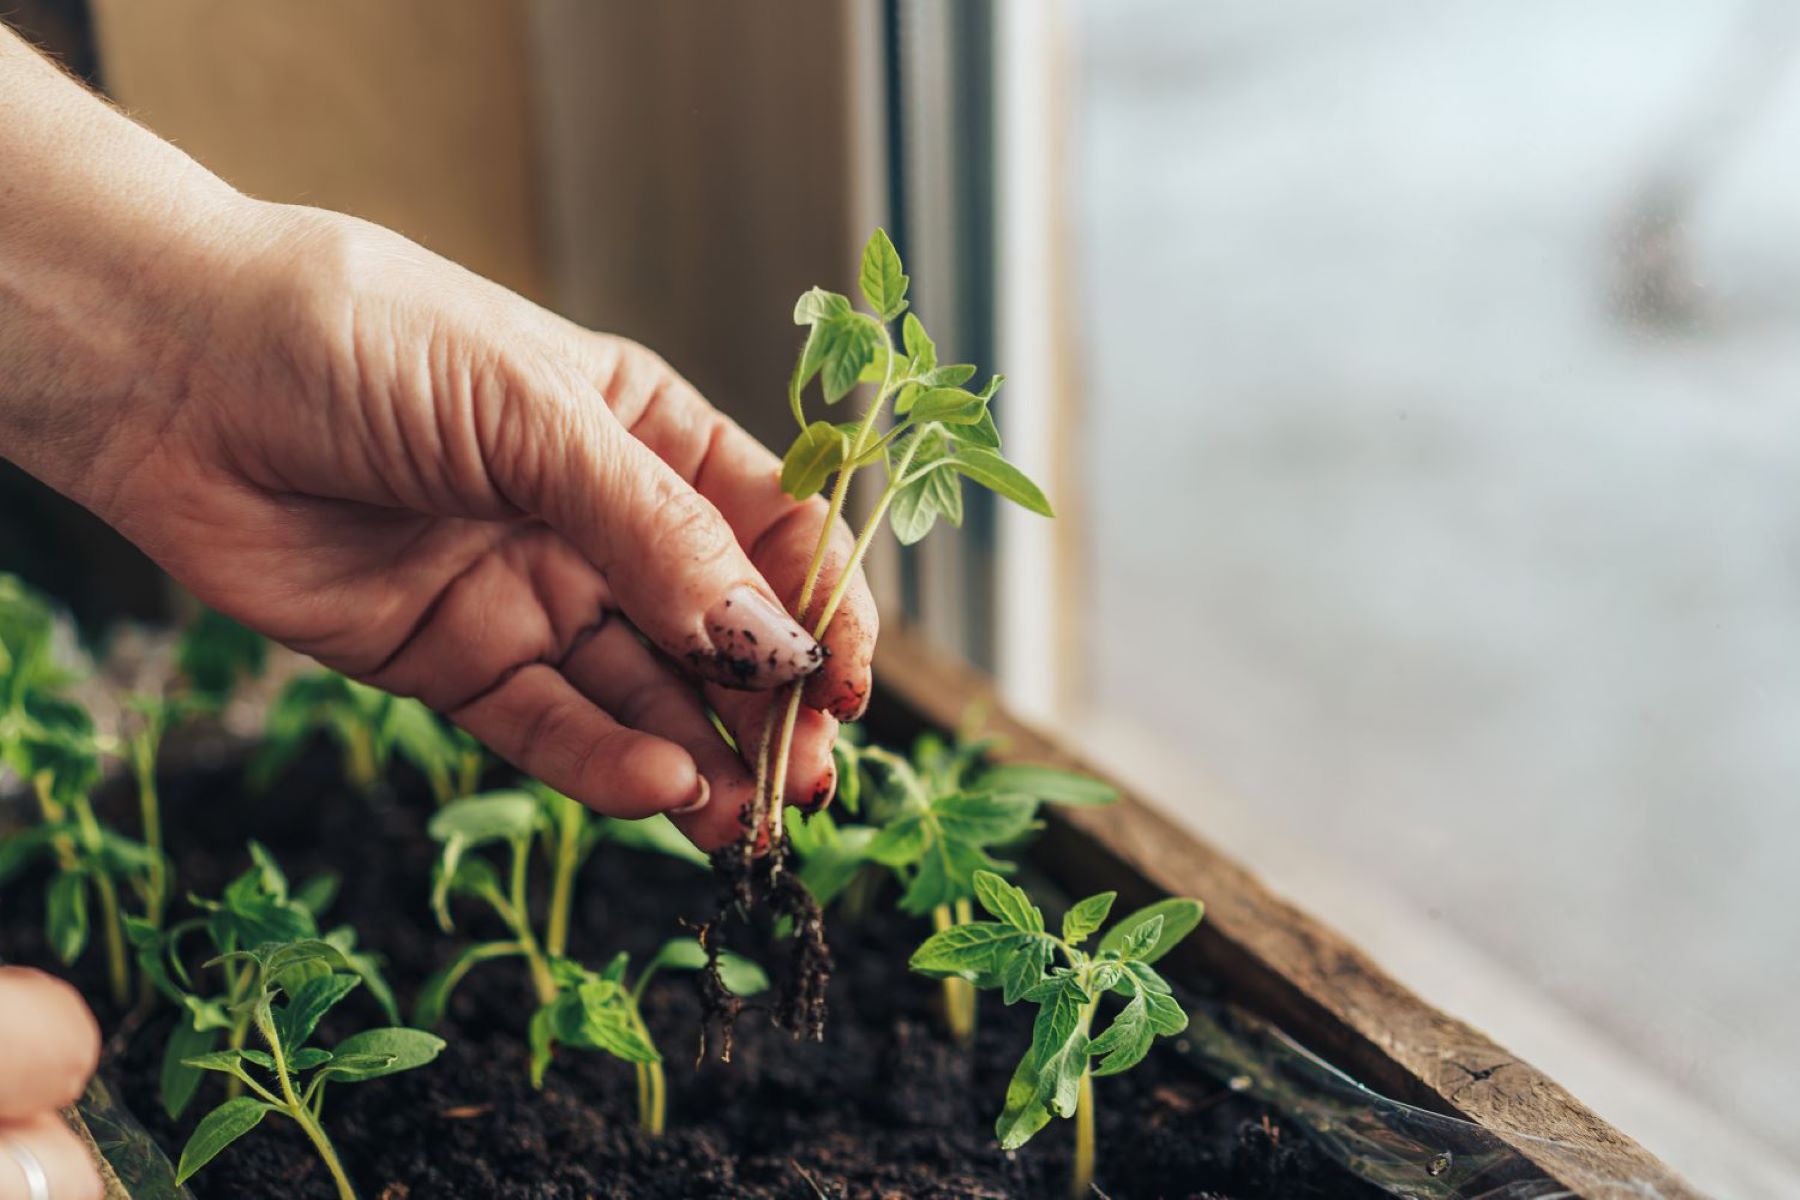
- Transplanting process: Dig a hole in the prepared planting area that is wide and deep enough to accommodate the root ball of the seedling. Gently remove the seedling from its container by loosening the soil around it, being careful not to damage the roots. Place the seedling in the hole and backfill with soil, lightly firming it around the base of the plant.
- Spacing: Artichoke plants require enough space to grow and spread. Leave approximately 3-4 feet (1-1.2 meters) of space between each plant to allow for their large size and spreading habit. Adequate spacing ensures proper air circulation and reduces the risk of disease.
- Watering: After transplanting, give the newly planted seedlings a thorough watering to help settle the soil and encourage root establishment. Subsequently, water the plants regularly, ensuring that the soil remains consistently moist but not waterlogged. Deep, infrequent watering is preferable to frequent shallow watering.
- Mulching: Apply a layer of organic mulch around the base of the plants to help conserve moisture, suppress weed growth, and keep the soil temperature stable. Mulching also adds organic matter to the soil as it breaks down over time.
- Provide support if needed: Depending on the variety and size of your artichoke plants, you may need to provide support to prevent the heavy plant from toppling over. Consider using stakes or cages to offer stability and support the plants as they grow.
- Care and maintenance: Regularly monitor the transplanted seedlings for any signs of pests or diseases. Remove weeds that may compete with the plants for nutrients and water. Additionally, provide fertilization as needed to ensure the plants receive the necessary nutrients for healthy growth.
By following these steps and providing proper care, your transplanted artichoke seedlings will have a strong start and be well on their way to producing delicious artichokes for you to enjoy.
Tips for Successful Artichoke Seed Starting
Starting artichoke seeds can be a rewarding and enjoyable experience. To ensure the success of your seedlings and maximize your harvest, follow these helpful tips:
- Choose the right variety: Select artichoke varieties that are well-suited to your growing conditions and climate. Consider factors such as maturity time, size, flavor, and disease resistance to find the best variety for your garden.
- Pre-soak the seeds: Artichoke seeds have a hard outer shell that can benefit from pre-soaking. Place the seeds in warm water for 24 hours before sowing. This softens the seed coat and can enhance germination rates.
- Provide adequate warmth: Artichoke seeds need consistent warmth to germinate. Use a propagation mat or maintain a temperature of around 70°F (21°C) to ensure optimal germination. You can also cover the containers with a plastic dome or plastic wrap to create a greenhouse-like environment.
- Thin out the seedlings: Once the seedlings emerge, thin them out to allow ample space for growth. Remove the weaker or overcrowded seedlings, leaving only the strongest and healthiest ones.
- Transplant seedlings carefully: When transplanting seedlings into larger containers or the garden, handle them with care to avoid damaging the delicate young roots. Hold the seedlings by their leaves instead of the stem to minimize damage.
- Protect from harsh weather: If you’re transplanting seedlings outdoors before the last frost date, be prepared to protect them from potential frost or cold snaps. Use frost blankets or row covers to shield the plants from extreme temperatures.
- Water consistently: Artichoke seedlings require consistent moisture, but avoid overwatering. Keep the soil evenly moist, but not waterlogged, to prevent root rot. Water at the base of the plants to minimize moisture on the leaves, which can promote disease.
- Consider bottom watering: Instead of watering from above, consider placing the seedling containers in a tray and watering from the bottom. This allows the roots to absorb water as needed and can prevent the seeds from being dislodged or washed away.
- Monitor for pests and diseases: Keep a close eye on your artichoke seedlings for any signs of pests, such as aphids or slugs, and take prompt action to control them. Also, watch for symptoms of diseases like powdery mildew or root rot and treat them accordingly.
- Rotate seedlings: To encourage even growth, rotate your seedlings daily or every few days. This helps prevent the seedlings from leaning towards the light and promotes stronger, more upright growth.
- Be patient: Artichokes take time to mature, so be patient throughout the growing process. It may take several months before your plants produce edible artichokes. Enjoy the journey and the anticipation of harvesting your homegrown artichokes!
By following these tips, you’ll increase the likelihood of successful artichoke seed starting and enjoy a bountiful harvest of delicious artichokes.
Conclusion
Starting artichoke seeds is a fantastic way to embark on a gardening adventure and enjoy the satisfaction of growing your own delicious and beautiful artichokes. By following the steps and tips outlined in this article, you’ll be well-equipped to successfully start artichoke seeds and watch them flourish into thriving plants.
From selecting the right seeds and providing optimal growing conditions to transplanting the seedlings and caring for them as they mature, each step is essential in ensuring the success of your artichoke plants. Remember to consider factors like climate, light, soil, and watering when starting your seeds, and adjust your approach accordingly.
Starting artichoke seeds gives you the opportunity to experiment with different varieties and find those that best suit your taste preferences and growing conditions. As you patiently wait for your seedlings to grow and develop, it’s important to provide them with the care they need, such as regular watering, fertilization, and protection from pests and diseases.
As your artichoke plants mature, you’ll be rewarded with their striking appearance and an abundance of delicious artichoke buds. Whether you enjoy them grilled, roasted, stuffed, or in dips, your homegrown artichokes will undoubtedly add a touch of elegance and flavor to your meals.
The journey of growing artichokes from seeds may require some effort and time, but the rewards are well worth it. Not only will you have the satisfaction of nurturing and harvesting your own artichokes, but you’ll also gain valuable gardening experience and a deeper appreciation for the natural world.
So, get your gardening gloves on, gather your artichoke seeds, and let the journey begin. With the knowledge and insights gained from this article, you’re well on your way to becoming a successful artichoke gardener. Happy gardening!
Frequently Asked Questions about When To Start Artichoke Seeds
Was this page helpful?
At Storables.com, we guarantee accurate and reliable information. Our content, validated by Expert Board Contributors, is crafted following stringent Editorial Policies. We're committed to providing you with well-researched, expert-backed insights for all your informational needs.

0 thoughts on “When To Start Artichoke Seeds”