Home>Garden Essentials>When To Start Seeds In Greenhouse

Garden Essentials
When To Start Seeds In Greenhouse
Modified: March 15, 2024
Discover the best time to start seeds in your garden greenhouse. Get expert tips and advice on when and how to start your garden seeds for optimal success.
(Many of the links in this article redirect to a specific reviewed product. Your purchase of these products through affiliate links helps to generate commission for Storables.com, at no extra cost. Learn more)
Introduction
Welcome to the world of gardening! Whether you are a seasoned gardener or just starting out, one thing is for sure – a greenhouse can be a game-changer when it comes to starting your seeds. You may be wondering, why bother starting seeds in a greenhouse? Well, in this article, we will explore the benefits of using a greenhouse for seed starting, the factors to consider, the essential equipment you’ll need, the ideal time to start your seeds, the step-by-step process, the mistakes to avoid, and how to successfully transfer your seedlings from the greenhouse to your garden.
Starting seeds in a greenhouse offers a myriad of advantages. First and foremost, it extends your growing season, allowing you to start your plants earlier in the year, and potentially enjoy an extended harvest. Greenhouses create a controlled environment, shielding your young plants from extreme weather conditions such as frost, heavy rain, or strong winds. As a result, your seeds have a greater chance of germinating successfully and developing into healthy, vigorous seedlings.
Another advantage of using a greenhouse is the ability to customize the growing conditions to suit the specific needs of your seeds. You can adjust the temperature, humidity levels, and light intensity to create an optimal environment for germination and growth. This control also allows you to experiment with more delicate or challenging plant varieties that may require specific conditions to thrive.
When considering starting seeds in a greenhouse, there are a few critical factors to take into account. Firstly, assess the space available in your greenhouse. Determine how many trays or pots you can comfortably accommodate, ensuring adequate spacing for proper airflow and disease prevention. Next, consider the amount of sunlight your greenhouse receives throughout the day. Most plants require at least 6-8 hours of direct sunlight, so make sure your greenhouse is positioned in a location that receives sufficient light. If necessary, supplement natural light with artificial grow lights.
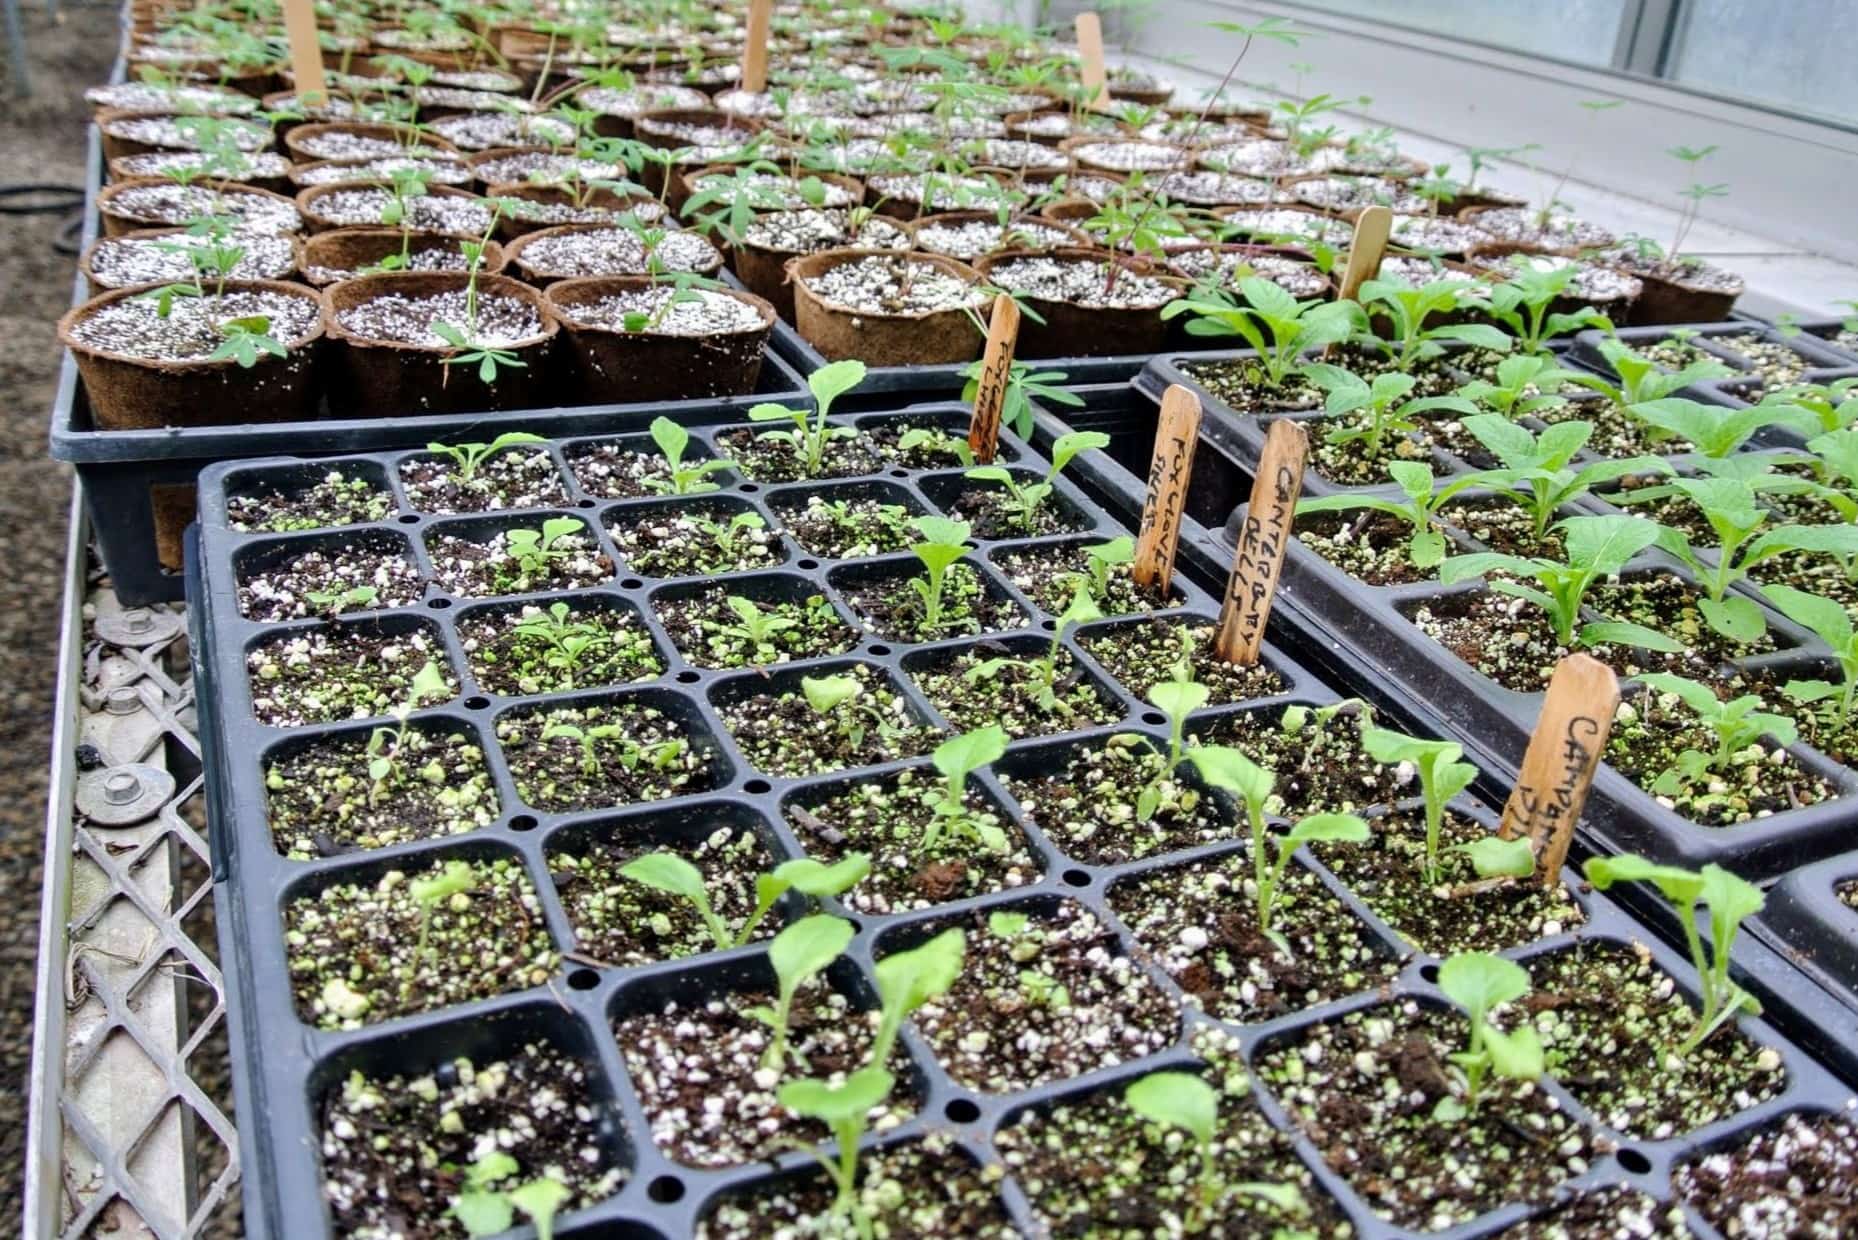
One of the key elements of successful seed starting in a greenhouse is having the right equipment. You’ll need trays or pots to sow your seeds, a sterile seed starting mix to provide nutrients and support for germination, a watering can or sprayer for gentle watering, and labels to keep track of your different plant varieties. It’s also beneficial to have a heating mat to provide bottom heat, which can help improve germination rates, especially for heat-loving plants.
Key Takeaways:
- Starting seeds in a greenhouse extends the growing season, protects plants from harsh weather, and allows for customized growing conditions, leading to healthier and more diverse plant varieties.
- Before starting seeds in a greenhouse, consider factors like space, sunlight, temperature, and timing. Avoid common mistakes such as overwatering and inadequate lighting for successful seed starting.
Read more: When To Plant Seeds In A Greenhouse
Benefits of Starting Seeds in a Greenhouse
Starting seeds in a greenhouse offers numerous benefits for both beginner and experienced gardeners. Let’s explore some of the advantages:
- Extended Growing Season: One of the biggest advantages of using a greenhouse for seed starting is the ability to extend your growing season. By starting your seeds indoors, you can get a jump-start on the growing season and have mature plants ready to be transplanted into the garden earlier. This results in a longer harvest period and a greater yield of flowers, vegetables, or herbs.
- Controlled Environment: Greenhouses provide a controlled environment for seed germination and growth. You can regulate factors such as temperature, humidity, and light intensity to create the ideal conditions for different plant varieties. This control allows you to maximize germination rates and ensure the healthy development of your seedlings.
- Protection from Weather: Starting seeds in a greenhouse protects your young plants from unpredictable weather conditions. Early spring frosts, heavy rains, or strong winds can be detrimental to delicate seedlings. By keeping them safely sheltered in a greenhouse, you can minimize the risk of damage and ensure a higher survival rate for your plants.
- Pest and Disease Prevention: Greenhouses provide a physical barrier against pests and diseases that can damage or destroy your seedlings. The enclosed space helps to prevent insects, such as aphids or caterpillars, from reaching your plants. Additionally, the controlled environment reduces the risk of soil-borne diseases by offering a cleaner, more sterile growing medium.
- Flexibility and Experimentation: A greenhouse offers more flexibility when it comes to choosing the plant varieties you want to grow. You can experiment with rare or exotic plants, as well as different heirloom varieties that may require specific conditions. This allows you to broaden your gardening horizons and cultivate a diverse collection of plants.
- Cost Savings: Starting your seeds in a greenhouse can result in cost savings in the long run. Buying seedlings from a nursery can be expensive, especially if you have a large garden. By starting your plants from seeds, you can save money and have a wider selection of plant varieties available.
Overall, starting seeds in a greenhouse offers a range of benefits that can enhance your gardening experience. Whether you are looking to extend your growing season, protect your plants, or experiment with different varieties, a greenhouse is a valuable tool for successful seed starting.
Factors to Consider Before Starting Seeds in a Greenhouse
Before diving into seed starting in a greenhouse, there are several factors to consider to ensure successful growth and yield. Let’s explore these factors:
- Available Space: Assess the space available in your greenhouse before starting seeds. Consider the number of trays or pots you can accommodate, as well as the spacing between them. Proper spacing allows for adequate air circulation, reducing the risk of fungal diseases. Plan your seed starting schedule accordingly based on the available space.
- Sunlight Exposure: Sunlight is crucial for plant growth, even when starting seeds in a greenhouse. Make sure your greenhouse is located in an area that receives sufficient sunlight throughout the day. Most plants require at least 6-8 hours of direct sunlight. If your greenhouse is in a shady location, you may need to supplement natural light with artificial grow lights.
- Temperature Control: Maintaining the right temperature is essential for successful seed germination. Different plants have different temperature requirements, so it’s important to understand the specific needs of the seeds you are sowing. Invest in a thermometer to monitor the temperature inside your greenhouse and use heating mats or fans to regulate the temperature as needed.
- Humidity Levels: Humidity affects seed germination and overall plant growth. Most seeds require high humidity to germinate, but once they sprout, excessive humidity can lead to fungal diseases. Monitor the humidity levels in your greenhouse and use a humidifier or ventilation system to maintain an optimal balance throughout the seed starting process.
- Air Circulation: Proper air circulation is crucial for preventing fungal diseases and promoting healthy plant growth. Ensure that your greenhouse has adequate ventilation, such as vents or fans, to allow for the exchange of fresh air. Good airflow helps prevent the buildup of moisture and reduces the risk of mold or mildew on your seedlings.
- Watering: Consider your watering system and method in the greenhouse. Overwatering can lead to the development of root rot and other moisture-related issues. Ensure that your greenhouse has an efficient drainage system or use watering techniques like bottom watering or misting to avoid waterlogging the soil.
- Timing: Timing is crucial when it comes to starting seeds in a greenhouse. Each plant has different germination and growth requirements. Research the specific needs of the plants you want to grow and determine the appropriate time to start the seeds. Consider the average last frost date in your area and count backwards to determine the optimal starting date for your seeds.
By taking these factors into account before starting seeds in a greenhouse, you can create an environment that promotes successful germination and healthy plant growth. Paying attention to space, sunlight, temperature, humidity, air circulation, watering, and timing will set you up for a productive and rewarding seed starting experience.
Important Equipment for Seed Starting in a Greenhouse
When it comes to seed starting in a greenhouse, having the necessary equipment is essential for a successful and productive experience. Here are some important equipment and tools you’ll need:
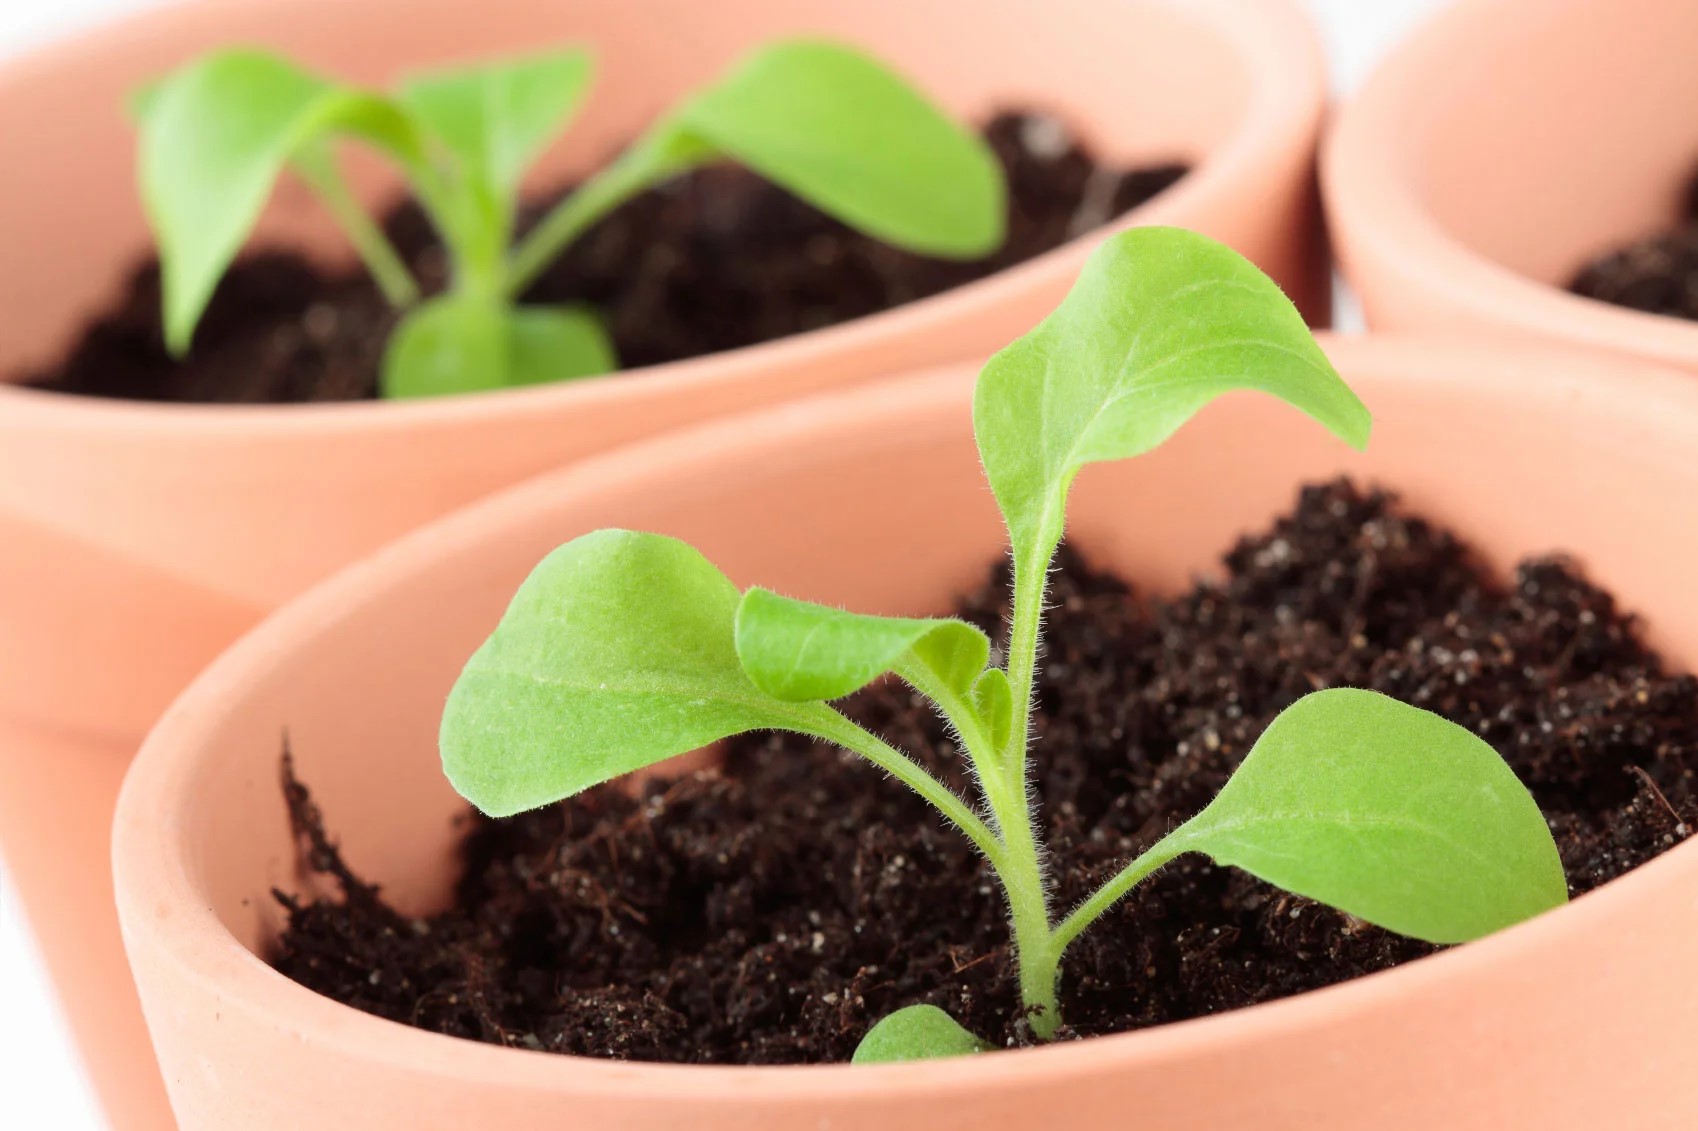
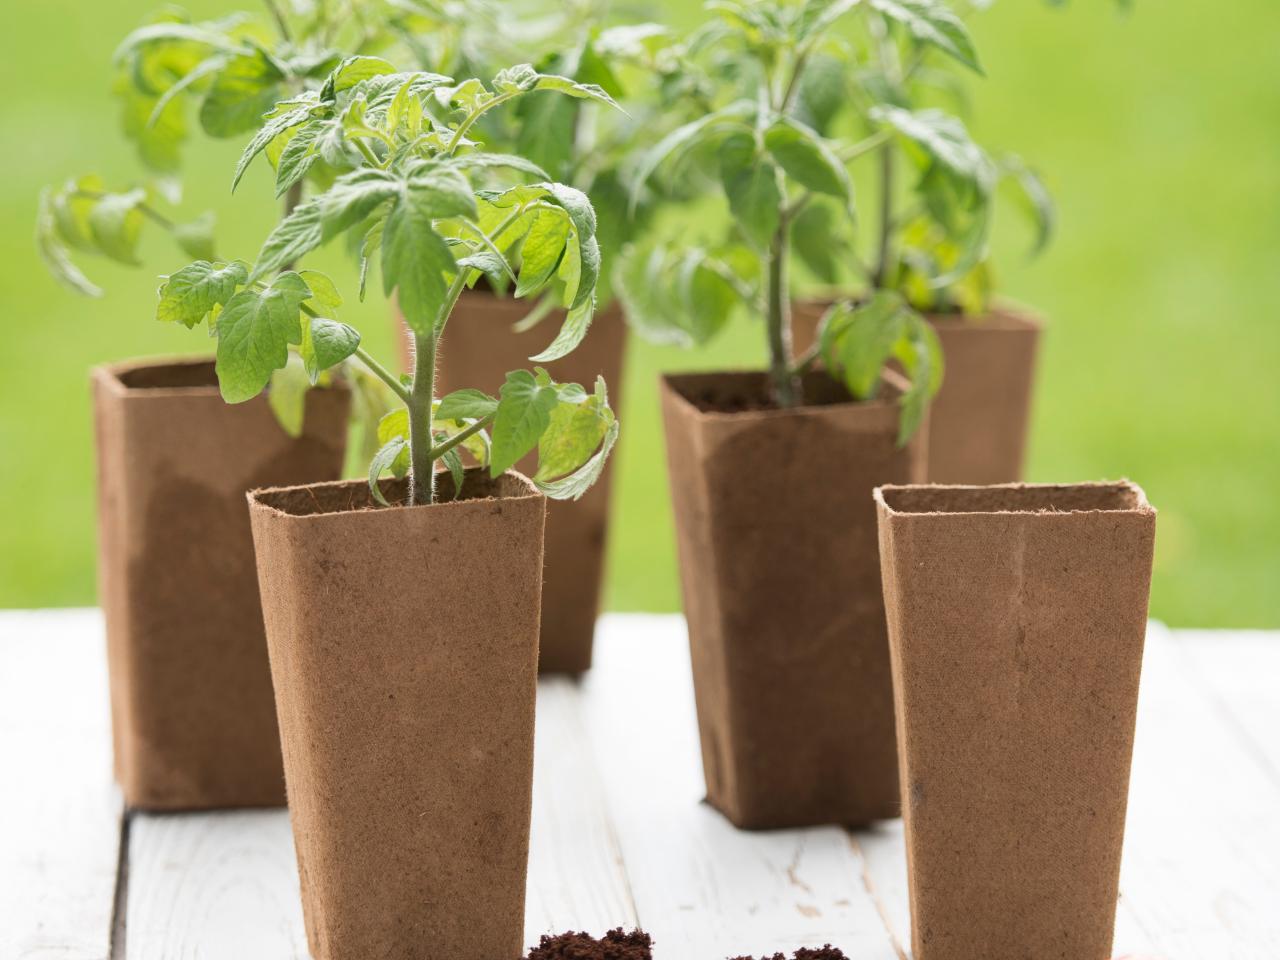
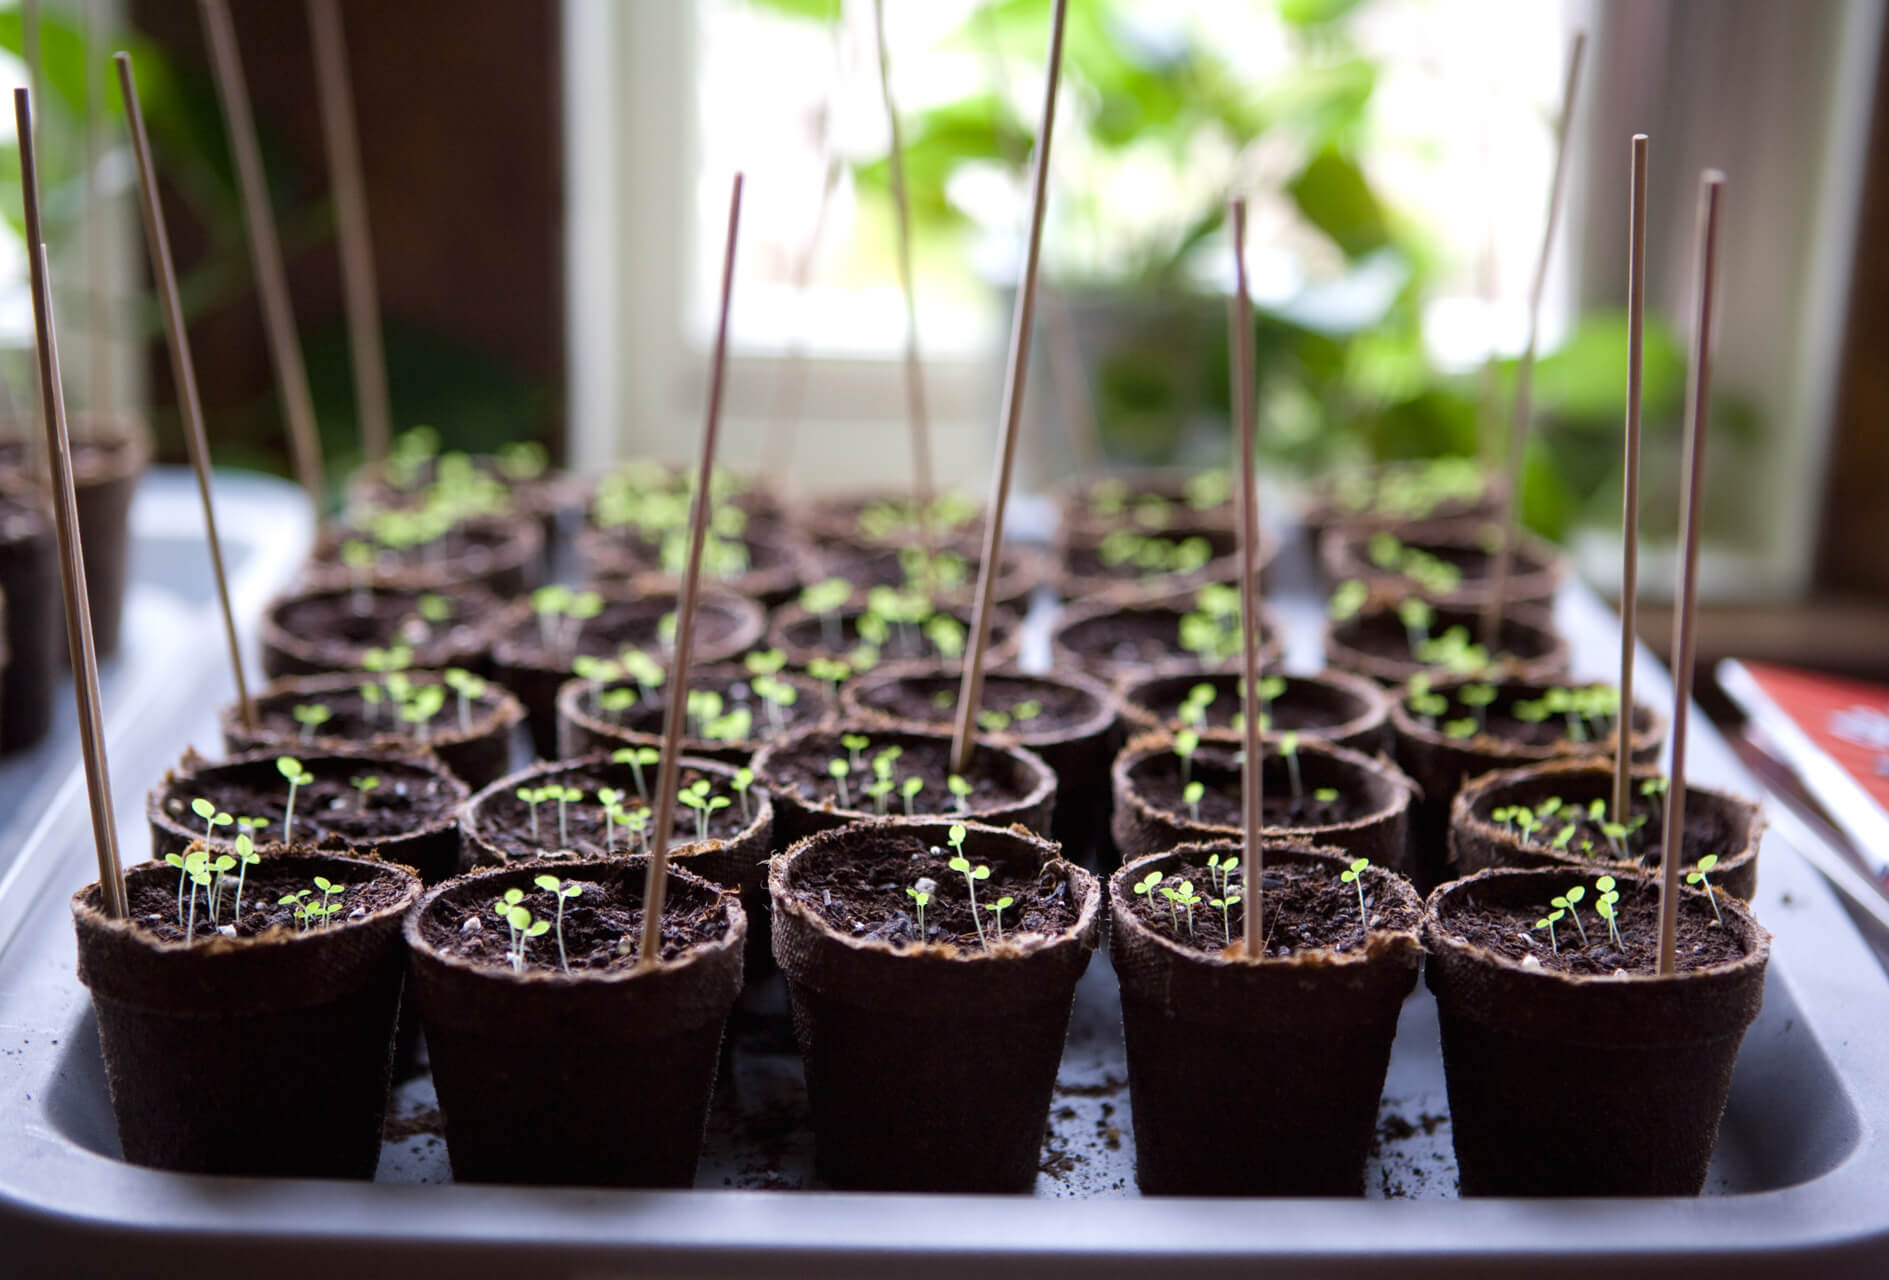
- Seed Trays or Pots: Choose seed trays, pots, or containers that are appropriate for the size of your seeds and the number of plants you plan to grow. Look for trays with drainage holes to prevent waterlogging and promote healthy root growth. Biodegradable or reusable options are both great choices.
- Sterile Seed Starting Mix: Use a high-quality, sterile seed starting mix to provide the optimal growing medium for your seeds. Avoid using garden soil, as it can be heavy, compacted, and may contain weed seeds or pathogens that could harm your seedlings. Seed starting mixes are lightweight, well-draining, and provide the necessary nutrients for early growth.
- Watering Can or Sprayer: A watering can with a narrow spout or a sprayer is ideal for gently watering your seeds and seedlings. Avoid overwatering, as excess moisture can lead to damping-off and other problems. Water the soil evenly, ensuring it is moist but not saturated.
- Labels: Labeling your trays or pots is crucial for keeping track of your different plant varieties. Use waterproof labels or popsicle sticks to write down the names or codes of each plant. This will help you identify and care for the seedlings as they grow.
- Heating Mat: A heating mat or heat mat is beneficial, especially if you are starting heat-loving plants or live in a region with cooler temperatures. The bottom heat provided by a heating mat promotes quicker and more consistent germination. It’s particularly useful during the early stages of seedling development.
- Grow Lights: If your greenhouse doesn’t receive sufficient natural sunlight, you’ll need to supplement with artificial grow lights. LED grow lights or fluorescent lights are popular choices for seed starting. Position the lights so they are approximately 2-4 inches above the seedlings. Adjust the height as the plants grow to maintain the optimal amount of light.
- Thermometer and Hygrometer: Monitoring the temperature and humidity inside your greenhouse is important for maintaining the ideal growing conditions. A thermometer helps you keep track of the temperature, while a hygrometer measures the relative humidity. This information allows you to adjust the environment as needed to promote healthy germination and growth.
- Propagation Dome or Plastic Cover: A propagation dome or plastic cover helps create a mini greenhouse effect by trapping heat and moisture around your seeds. This can promote faster germination and protect the seeds from drying out. Make sure to remove the cover once the seedlings start to emerge to prevent fungal diseases.
Having these essential equipment and tools for seed starting in a greenhouse will set you up for success. They provide the necessary support and control over your seedlings’ environment, allowing for optimal growth, germination, and healthier plants.
The Ideal Time to Start Seeds in a Greenhouse
Timing is crucial when it comes to starting seeds in a greenhouse. The ideal time to begin seed starting depends on various factors, including the specific plant varieties you want to grow and your local climate. Here are some general guidelines to help you determine the best time to start seeds in a greenhouse:
- Last Frost Date: The average date of the last frost in your area is an important factor to consider. Starting your seeds too early can expose them to potential frost damage, while starting them too late can delay their growth and development. Determine the average last frost date for your region and use this as a starting point for your seed starting timeline.
- Days to Germination: Each plant species and variety has a different germination period. Research the specific seeds you are planning to sow and find out how many days it typically takes for them to germinate. Count back from your desired planting date to determine when to start the seeds. This will give them enough time to germinate, develop into seedlings, and be ready for transplanting.
- Planting Date: Consider the recommended planting date for each plant variety. This information can usually be found on the seed packet or in gardening resources. Take into account the estimated time it takes for the seedlings to reach transplant size. This will help you calculate the ideal seed starting date in your greenhouse.
- Growth Rate: Some plants have a slower growth rate compared to others. Take this into consideration when determining the ideal time to start seeds in your greenhouse. Plants with slower growth rates may need to be started earlier to ensure they have enough time to reach maturity before transplanting.
- Climate: Your local climate plays a significant role in determining the timing of seed starting in a greenhouse. If you live in a colder climate, you may need to start your seeds earlier to take advantage of the extended growing season provided by the greenhouse. Conversely, if you live in a warmer climate, you may have more flexibility in your seed starting timeline.
Keep in mind that these are general guidelines, and it’s important to research and understand the specific requirements of the plants you are growing. Some plant varieties may have specific temperature or light conditions that may affect the ideal starting time. Gardening resources, seed catalogs, and local extension offices can provide valuable information about the ideal seed starting times for various plant varieties in your region.
By considering the last frost date, days to germination, planting date, growth rate, and climate, you’ll be able to determine the ideal time to start seeds in your greenhouse. This will maximize the growing season and ensure that your seedlings are ready for transplanting at the appropriate time, resulting in healthy and bountiful plants in your garden.
Start seeds in the greenhouse 6-8 weeks before the last frost date for your area. This will give the plants enough time to grow strong before being transplanted outside. Keep the greenhouse temperature around 70-75°F for optimal germination.
Steps to Start Seeds in a Greenhouse
Starting seeds in a greenhouse is an exciting and rewarding process. By following a few simple steps, you can ensure successful germination and healthy seedling development. Here’s a step-by-step guide to help you get started:
- Prepare your greenhouse: Clean and sanitize your greenhouse to create a healthy environment for seed starting. Remove any debris, old plant material, or weeds. Disinfect your pots, trays, and tools to minimize the risk of disease. Ensure proper ventilation and adjust the temperature and humidity settings as needed for your specific plant varieties.
- Gather your supplies: Collect all the necessary supplies, including seed trays or pots, sterile seed starting mix, labels, watering can or sprayer, heating mat (if needed), grow lights (if necessary), thermometer, and hygrometer. Having everything ready before you begin will make the process smoother.
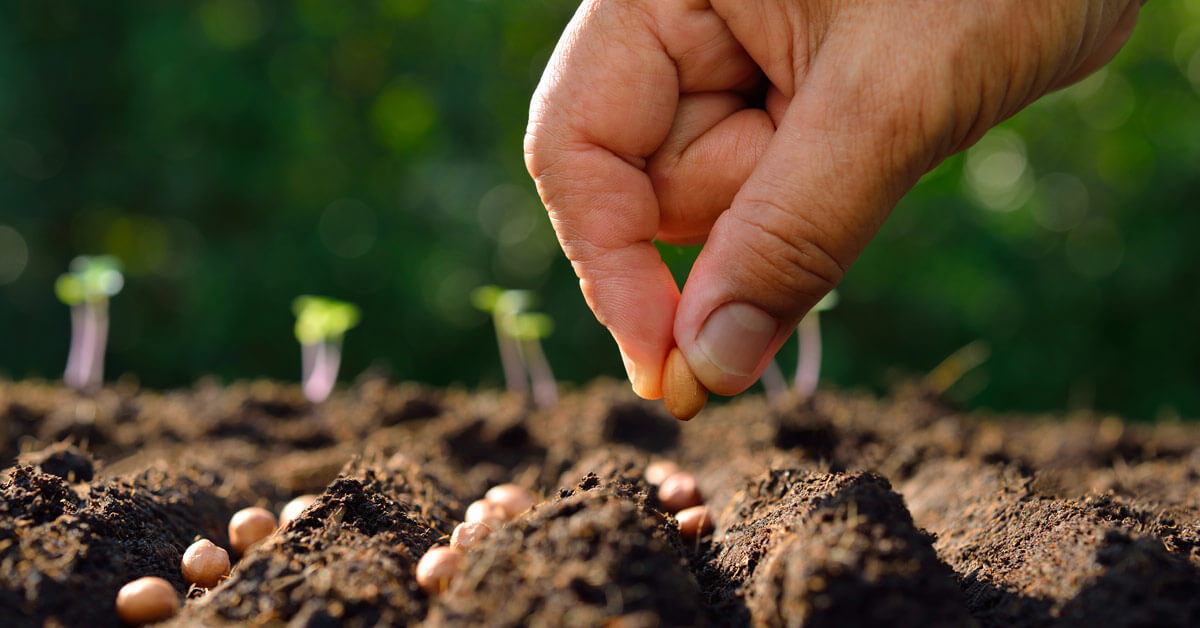
- Sow the seeds: Fill your seed trays or pots with the sterile seed starting mix. Moisten the mix before planting to ensure even distribution of moisture. Follow the recommended planting depth for each seed variety. Generally, small seeds should be lightly covered with a thin layer of soil, while larger seeds can be planted deeper.
- Label and water: Label your trays or pots with the name or code of the plant variety to keep track of your seeds. Gently water the soil using a watering can or sprayer, ensuring it is evenly moist but not soaked. Avoid overwatering, as it can lead to damping-off and other moisture-related issues.
- Provide the optimal environment: Place your trays or pots in a warm location in your greenhouse. If needed, use a heating mat underneath to provide bottom heat, which can enhance germination. Adjust the temperature and humidity settings to match the requirements of the seeds you are starting. Monitor the conditions using a thermometer and hygrometer.
- Provide adequate light: Most seeds require adequate light for germination. If your greenhouse doesn’t receive sufficient natural sunlight, supplement with artificial grow lights positioned 2-4 inches above the seedlings. Adjust the height of the lights as the seedlings grow to maintain the optimal distance.
- Maintain moisture and airflow: Regularly check the moisture level of the soil and water as needed to keep it consistently moist. Maintain proper airflow by opening vents or using fans to prevent the development of fungal diseases. Avoid over-watering and allow the soil to partially dry between waterings to promote healthy root growth.
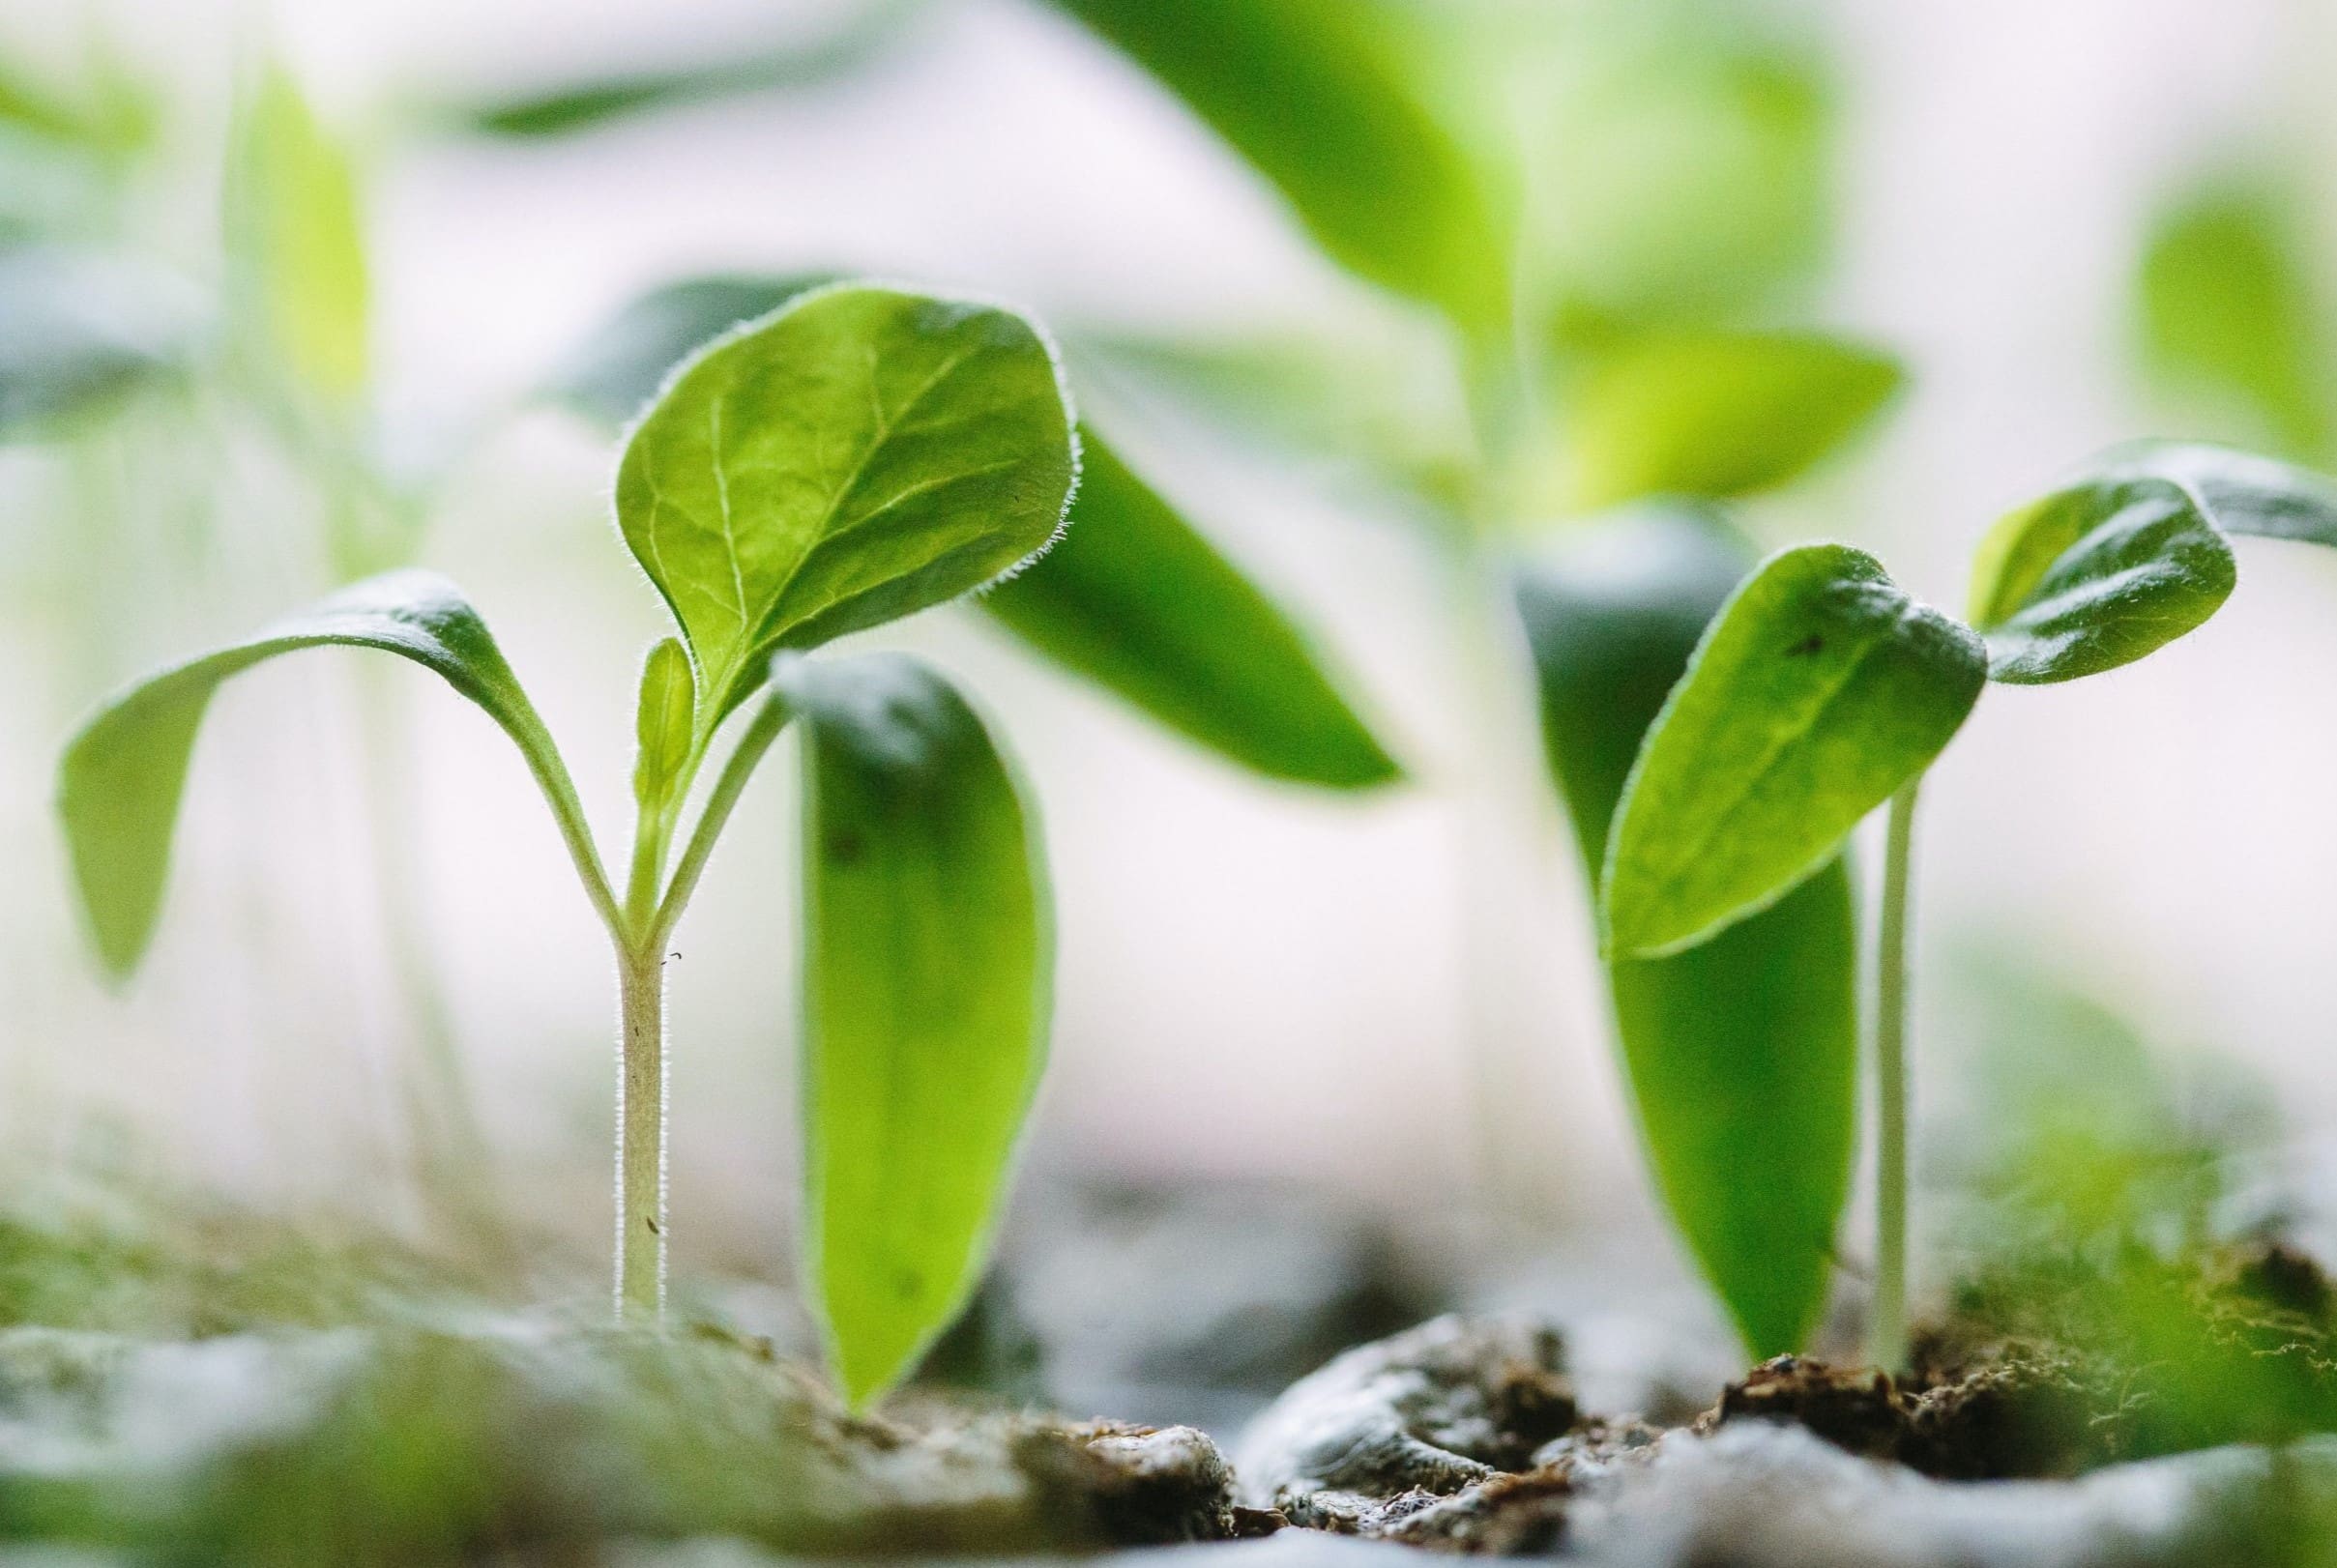
- Monitor growth and development: Keep a close eye on your seedlings as they grow. Monitor their progress, looking for signs of healthy growth and any potential issues such as pests or diseases. Take appropriate action promptly to ensure the best chances of success.
- Transplanting: Once your seedlings have reached a suitable size and the weather conditions are favorable, it’s time to transplant them into your garden. Harden off the seedlings by gradually introducing them to outdoor conditions for a week or two before planting them in the garden.
Following these steps will set you on the path to successful seed starting in a greenhouse. Remember to adjust the process based on the specific needs of your plant varieties and the conditions in your greenhouse. With care and attention, you’ll soon have healthy, thriving seedlings ready to be transplanted into your garden.
Common Mistakes to Avoid When Starting Seeds in a Greenhouse
Starting seeds in a greenhouse can be a rewarding experience, but it’s important to avoid some common mistakes that can hinder the success of your seedlings. By being aware of these mistakes and taking precautions, you can increase your chances of healthy germination and strong seedling growth. Here are some common mistakes to avoid:
- Overwatering: One of the most common mistakes is overwatering your seedlings. Excess moisture can lead to root rot, damping-off, and the development of fungal diseases. It’s crucial to maintain a balance and water your seeds and seedlings appropriately. Allow the soil to partially dry between waterings to prevent waterlogged conditions.
- Inadequate lighting: Insufficient light can result in weak, leggy seedlings. Ensure your greenhouse receives enough natural sunlight or supplement with artificial grow lights positioned at the proper distance from the seedlings. Adjust the height of the lights as the plants grow to maintain the appropriate light intensity.
- Poor ventilation: Insufficient airflow can lead to the buildup of humidity and increase the risk of fungal diseases. Properly ventilate your greenhouse by opening vents or using fans to create a gentle breeze. Good airflow will help prevent mold and mildew from affecting your seedlings.
- Using the wrong soil: Garden soil is not suitable for starting seeds as it can be heavy and may contain weed seeds or pathogens. Instead, use a sterile seed starting mix that provides a light and well-draining medium. This will promote healthy seed germination and reduce the risk of diseases.
- Starting seeds too early: Some gardeners get excited about starting seeds early, but starting them too soon can lead to stretching or weak plants. Determine the appropriate time to start your seeds based on your local climate and the specific plant’s requirements. Starting them at the right time will ensure that they are ready for transplanting when the weather conditions are suitable.
- Planting seeds too deep or too shallow: Planting seeds at an incorrect depth can affect their germination. Follow the recommended planting depth for each seed variety. As a general rule, small seeds should be lightly covered with a thin layer of soil, while larger seeds can be planted slightly deeper.
- Not hardening off seedlings: Seedlings started in a greenhouse need to be gradually acclimated to outdoor conditions before transplanting them into the garden. Failing to harden off the seedlings can result in shock and stunted growth. Gradually introduce them to outdoor conditions by placing them outside for a few hours each day, gradually increasing the time over the course of a week or two.
- Overcrowding: It can be tempting to fit as many seedlings as possible into a small space, but overcrowding can lead to competition for resources, poor airflow, and increased risk of disease. Give your seedlings enough space to grow by properly spacing them in trays or pots, ensuring adequate airflow and room for their roots to develop.
Avoiding these common mistakes will greatly improve your chances of successful seed starting in a greenhouse. Take the time to research and understand the specific requirements of the plant varieties you are growing, and give your seedlings the care and attention they need for healthy growth. With proper planning and attention to detail, you’ll be rewarded with robust and thriving plants in your garden.
Transferring Seedlings from the Greenhouse to the Garden
Transferring seedlings from the greenhouse to the garden is an exciting step towards seeing your plants thrive in their intended environment. However, it’s important to handle this process with care to ensure the successful transition and continued growth of your young plants. Here are some steps to follow when transplanting seedlings:
- Timing: Choose the right time to transplant your seedlings based on the specific plant’s requirements and the local weather conditions. Ensure that all danger of frost has passed and that the soil has warmed up sufficiently. Transplanting on a calm, cloudy day or in the evening can reduce stress on the seedlings.
- Prepare the garden bed: Before transplanting, prepare the planting area in your garden bed. Remove any weeds, rocks, or debris and cultivate the soil to create a loose and well-draining planting site. Incorporate organic matter, such as compost or aged manure, to enrich the soil and improve its fertility.
- Water the seedlings: Prior to transplanting, water the seedlings in their pots or trays to ensure they are well-hydrated. This helps minimize transplant shock and facilitates easier removal of the seedlings from their containers.
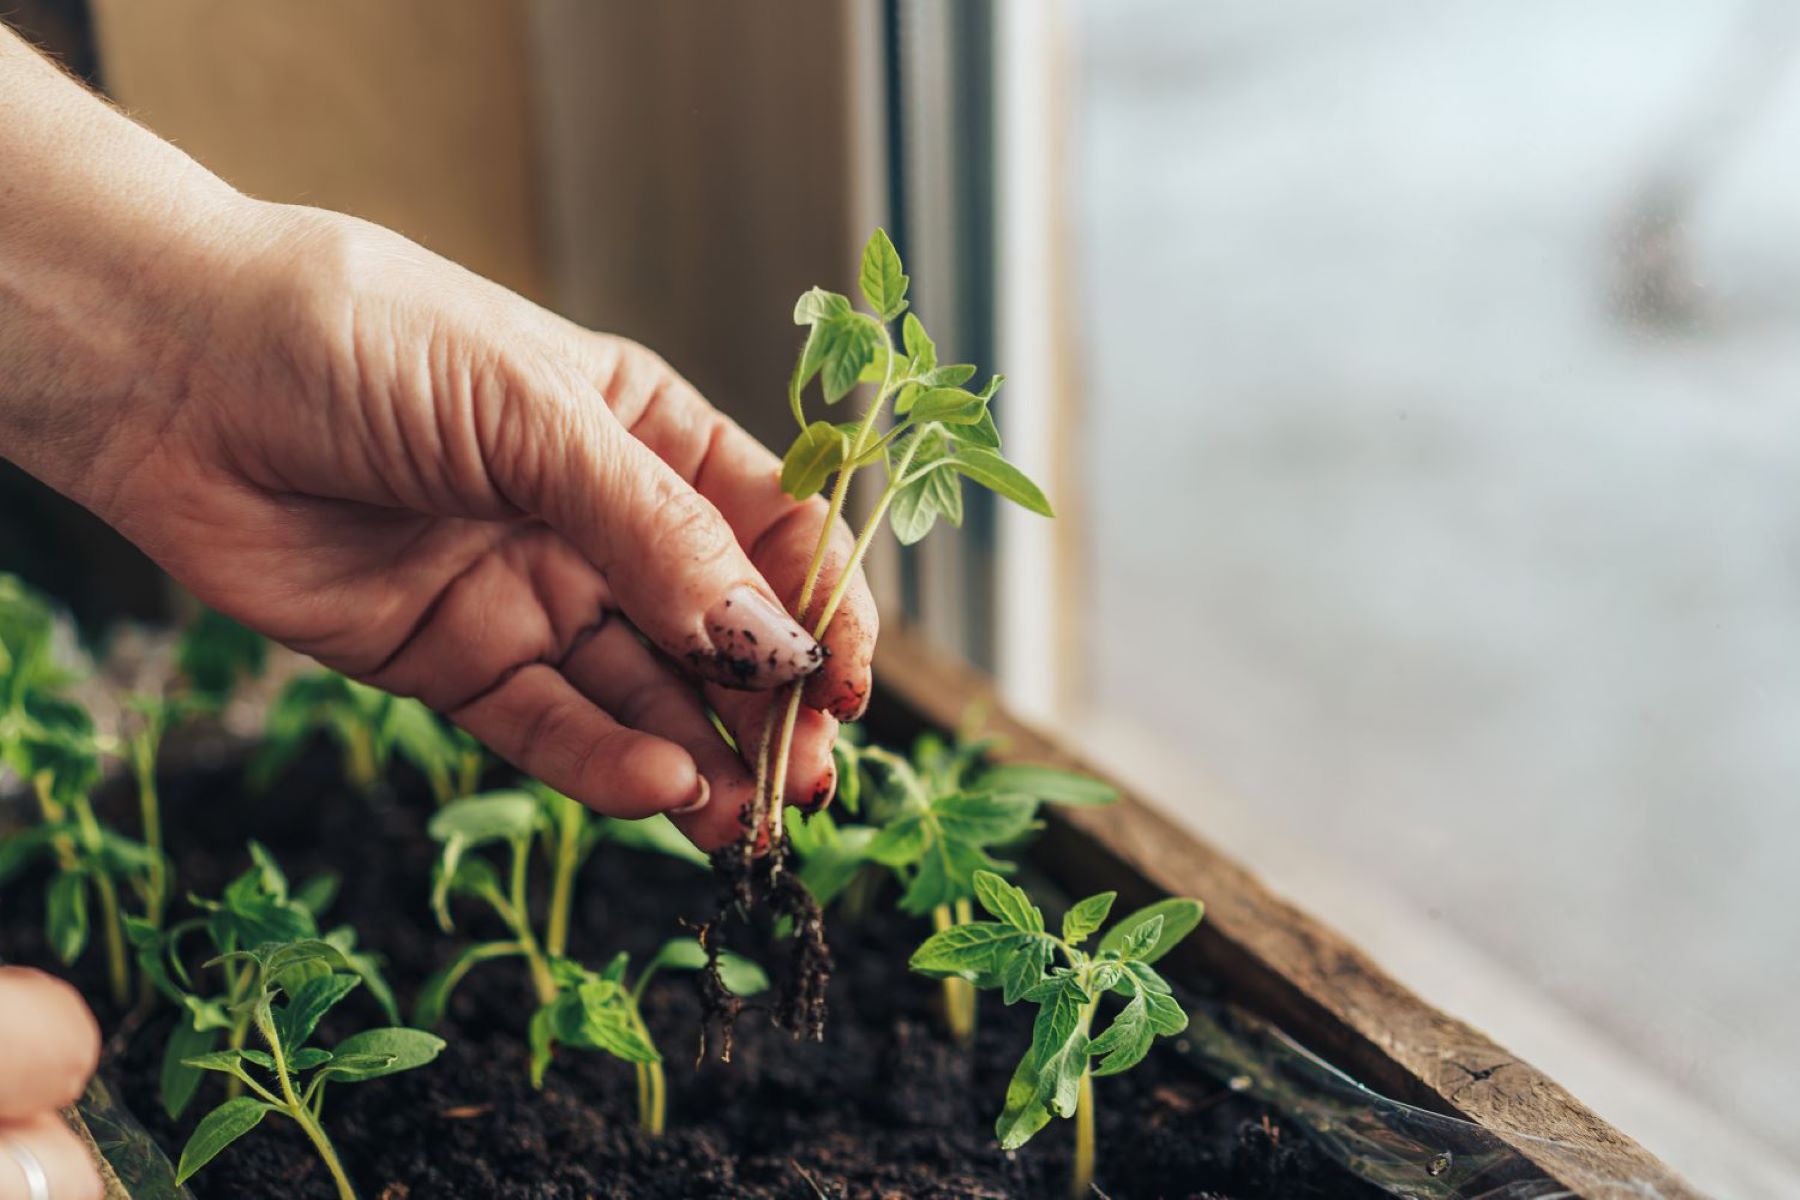
- Carefully remove seedlings: Gently loosen the soil around each seedling using your fingers or a small trowel. Carefully lift the seedling from its pot, taking care not to disturb or damage the delicate roots. Hold the seedling by the leaves or root ball, avoiding the stem.
- Plant at the appropriate depth: Dig a hole in the prepared garden bed that is wide and deep enough to accommodate the root system of the seedling. Place the seedling into the hole, making sure it sits at the same level it was in the pot or tray. Firmly but gently press the soil around the seedling to eliminate any air pockets.
- Water and provide support if needed: After transplanting, water the newly planted seedlings thoroughly to help settle the soil around the roots. Avoid watering too close to the stem to prevent rot. If necessary, provide support to taller plants or those at risk of bending or breaking due to wind or heavy rain. Use stakes, cages, or other suitable supports.
- Maintain proper care: Regularly monitor and care for the transplanted seedlings to ensure their continued growth and health. Water them deeply and consistently to keep the soil evenly moist, but not waterlogged. Mulching around the plants can help conserve moisture and suppress weed growth. Take appropriate measures to protect the seedlings from pests, diseases, and extreme weather conditions.
- Monitor for adjustments: Watch for any signs of stress or shock in the transplanted seedlings. It’s normal for them to experience some temporary stress as they adapt to their new surroundings. Provide continued care, such as regular watering and protection from harsh conditions, to help them recover and establish strong root systems.
By following these steps, you can successfully transfer your seedlings from the greenhouse to the garden and set them up for healthy growth and productivity. Remember to be gentle with the seedlings, provide them with the right conditions for adjustment, and continue to give them the care they need as they adapt to their new environment. With time, your transplanted seedlings will flourish and contribute to a thriving garden.
Conclusion
Starting seeds in a greenhouse is a fantastic way to kickstart your gardening journey and achieve successful plant growth. By utilizing the controlled environment of a greenhouse, you can extend your growing season, protect your seedlings from harsh weather conditions, and customize the growing conditions to meet the specific needs of your plants.
Throughout this article, we’ve explored the many benefits of starting seeds in a greenhouse. From the extended growing season to the protection against pests and diseases, a greenhouse offers a range of advantages that can significantly enhance your gardening experience.
However, it’s crucial to consider the various factors before starting your seeds in a greenhouse. Assess the space available, ensure sufficient sunlight exposure, regulate temperature and humidity levels, and provide proper airflow. Additionally, acquiring the necessary equipment, such as seed trays, sterile seed starting mix, labels, and lighting, will help you create an ideal environment for your seedlings.
Maintaining the ideal timing for seed starting is essential. Consider the last frost date, the germination period, and the recommended planting date for each plant variety. By taking these factors into account, you can ensure that your seeds are started at the right time and are ready for transplanting in perfect harmony with the growing season.
Following a step-by-step process when starting seeds in a greenhouse is key. Prepare your greenhouse, gather supplies, sow the seeds, and provide the optimal environment for germination and growth. Throughout the process, be mindful of common mistakes to avoid, such as overwatering, inadequate lighting, poor ventilation, and overcrowding.
Once your seedlings have grown, it’s time to transfer them from the greenhouse to the garden. Pay attention to the timing, prepare the garden bed, carefully remove the seedlings, plant them at the appropriate depth, and provide necessary support if needed. Maintain proper care and monitor the seedlings as they adjust to their new environment, ensuring their continued growth and health.
In conclusion, by starting seeds in a greenhouse and following these best practices, you can set the foundation for a successful gardening season. Enjoy the satisfaction of watching your seedlings grow into thriving, productive plants in your garden. Embrace the learning experience, adapt as needed, and continue to nurture your plants with care. Happy gardening!
Frequently Asked Questions about When To Start Seeds In Greenhouse
Was this page helpful?
At Storables.com, we guarantee accurate and reliable information. Our content, validated by Expert Board Contributors, is crafted following stringent Editorial Policies. We're committed to providing you with well-researched, expert-backed insights for all your informational needs.

0 thoughts on “When To Start Seeds In Greenhouse”