Home>Furniture>Outdoor Furniture>How To Build A Rock Patio
Outdoor Furniture
How To Build A Rock Patio
Modified: March 7, 2024
Learn how to build a stunning rock patio and create the perfect outdoor furniture setup with our step-by-step guide. Transform your backyard into an oasis of relaxation and style.
(Many of the links in this article redirect to a specific reviewed product. Your purchase of these products through affiliate links helps to generate commission for Storables.com, at no extra cost. Learn more)
Introduction
Welcome to the world of outdoor living! Whether you have a spacious backyard or a cozy balcony, creating a rock patio can transform your outdoor space into a relaxing oasis. A rock patio not only adds beauty to your outdoor area but also provides a durable and low-maintenance surface for dining, entertaining, or simply enjoying the fresh air.
In this article, we will guide you through the step-by-step process of building a rock patio. From planning the layout to sealing the finished project, we will cover all the essential steps to ensure a successful and long-lasting patio.
Before we dive into the nitty-gritty details, let’s explore the benefits of a rock patio. Rock is a natural and versatile material that offers several advantages for outdoor furniture:
- Durability: Rocks are known for their long-lasting nature, making them an ideal choice for a patio surface. Unlike other materials, rocks can withstand heavy foot traffic, extreme weather conditions, and regular use without wearing down.
- Low Maintenance: Once your rock patio is properly installed and sealed, it requires minimal upkeep. Rocks are resistant to stains, mold, and mildew, making them a hassle-free option for outdoor furniture.
- Aesthetics: Rock comes in a variety of colors, shapes, and sizes, allowing you to create a unique and personalized patio design. Whether you prefer a sleek and modern look or a rustic and natural feel, rocks can be arranged to match your style.
- Versatility: With rocks, you have the freedom to experiment and get creative with your patio design. From using different types of stones to incorporating patterns and textures, the possibilities are endless.
- Sustainability: Choosing rock as a patio material is an eco-friendly option. Rocks are naturally occurring and do not require extensive manufacturing processes, reducing your carbon footprint.
Now that you understand the advantages of a rock patio, let’s get started with the step-by-step process of building one. Grab your tools and let’s create your dream outdoor space!
Key Takeaways:
- Building a rock patio involves careful planning, clearing the area, marking the patio shape, digging the foundation, adding base material, compacting the base, adding edging, laying the rocks, filling the gaps, and sealing the patio. Each step contributes to creating a beautiful and durable outdoor space.
- A rock patio offers benefits such as durability, low maintenance, versatility, and aesthetics. It provides a long-lasting and eco-friendly outdoor furniture option that can withstand heavy foot traffic, extreme weather conditions, and regular use while adding beauty and functionality to your outdoor area.
Read more: How To Build Rock Patio
Step 1: Planning the Patio Layout
Before diving into the construction process, it’s important to plan and visualize your patio layout. This step will help you determine the size, shape, and location of your rock patio, ensuring a seamless integration into your outdoor space.
Here are some key factors to consider when planning your patio layout:
- Size: Measure the available outdoor area and determine how much space you want to allocate for your patio. Consider the activities you intend to do on the patio, such as dining, lounging, or hosting gatherings, to ensure you have enough room.
- Location: Assess the best location for your patio, taking into account factors such as sunlight exposure, privacy, and proximity to other outdoor features. Choose a spot that provides a balance of sun and shade and complements the overall flow of your backyard or outdoor area.
- Shape: Decide on the shape of your patio. It can be a square, rectangle, circle, or any other shape that suits your design preferences. Consider the existing landscaping and structures in your outdoor space to create a cohesive and harmonious patio shape.
- Accessibility: Determine how the patio will be accessed from your home and other areas of your yard. Plan for pathways or walkways that provide easy access and connect different parts of your outdoor space.
Once you have a clear idea of your patio layout, it’s helpful to map it out on paper or use online tools to create a visual representation. This will allow you to fine-tune your design and make any necessary adjustments before moving on to the next steps.
During the planning stage, it’s also important to check local building codes and regulations. Some areas may have specific guidelines for outdoor construction projects, including patio installations. Familiarize yourself with these regulations to ensure compliance and avoid any potential issues in the future.
By taking the time to carefully plan your patio layout, you’ll be setting yourself up for a successful project. Once you have a solid plan in place, you can proceed to the next step: clearing the area for your rock patio.
Step 2: Clearing the Area
Now that you have a well-thought-out patio layout, it’s time to prepare the area by clearing away any existing vegetation or obstacles. This step will provide a clean and level surface for the foundation of your rock patio.
Here’s how to clear the area effectively:
- Remove plants and grass: Start by removing any plants, grass, or weeds in the area where your patio will be. Use a shovel or garden hoe to dig out the roots and ensure the area is free from vegetation. If necessary, you can use an herbicide to prevent regrowth.
- Clear debris: Check the entire area for rocks, stones, branches, and any other debris that might interfere with the patio installation. Use a rake or broom to gather and remove the debris.
- Level the ground: It’s important to have a level foundation for your patio. Use a rake or shovel to level the ground, removing any high spots and filling in any low areas. This will create a smooth and even surface for the next steps of the installation process.
- Create a boundary: Define the boundaries of your patio by placing temporary stakes or marking the ground with spray paint or string. This will help you visualize the exact area where the patio will be installed and ensure that you stay within the planned layout.
By thoroughly clearing the area, you’re setting the stage for a successful patio installation. Removing plants, debris, and creating a level surface will provide a solid foundation for the next steps of the process.
Before proceeding to the next step, it’s important to double-check the accuracy of your patio layout. Make sure the boundaries are clearly defined and align with your design plan. Any adjustments or modifications should be made at this stage to avoid issues later in the construction process.
With the area cleared and prepared, it’s time to move on to the next step: marking the patio shape.
Step 3: Marking the Patio Shape
Now that the area is cleared, it’s time to mark the shape of your rock patio. This step will help you visualize the exact dimensions and ensure that the patio is accurately installed within your planned layout.
Here’s how to mark the patio shape:
- Measure and mark: Use a measuring tape or a long piece of string to measure the length and width of your patio. Mark the corners and key points of the shape on the ground using stakes or sticks. Make sure the measurements are accurate and align with your planned layout.
- Create guide lines: Connect the marked points on the ground by using a straightedge or string. This will create guide lines that outline the exact shape of your patio. Double-check that the lines are straight, level, and follow the desired shape and dimensions.
- Adjust as needed: Take a step back and assess the marked shape from different angles. Visualize how it will fit into your outdoor space and consider any adjustments or modifications that may be necessary. This is the time to make any changes before moving forward with the construction process.
- Finalize the markings: Once you are satisfied with the shape and dimensions, go over the markings one last time to ensure they are clear and visible. You may want to use brightly colored spray paint or chalk to make the lines more prominent.
By marking the patio shape, you’re providing a visual blueprint for the installation process. This step ensures that the patio is accurately aligned with your design plan and avoids any potential mistakes during construction.
It’s important to note that the accuracy and precision of the markings will greatly affect the final outcome of the patio. Take your time to measure, mark, and double-check the shape to ensure a seamless installation.
With the patio shape marked, you’re ready to move on to the next step: digging the foundation. Stay tuned for the next installment of our rock patio building guide!
Step 4: Digging the Foundation
With the patio shape marked, it’s time to dig the foundation for your rock patio. This step is crucial as it creates a stable base for the patio and allows for proper drainage.
Here’s a step-by-step guide on how to dig the foundation:
- Prepare your tools: Gather the necessary tools for excavation, including a shovel, spade, and wheelbarrow. Ensure that your tools are in good condition and ready for use.
- Start at the edges: Begin digging at the outer edges of the marked patio shape. Use the shovel or spade to remove the top layer of grass or soil. Start with a shallow excavation and progressively dig deeper as you move towards the center of the patio.
- Aim for uniform depth: Aim for a uniform depth throughout the patio area. Use a tape measure or a level to ensure that the depth remains consistent. The recommended depth for a rock patio foundation is typically around 4 to 6 inches, but this may vary depending on your specific project requirements.
- Check for evenness: Regularly check for evenness and smoothness as you dig. This will ensure that the patio surface is level and provides a stable foundation for the rocks. Make any necessary adjustments to achieve a uniform depth and smooth surface.
- Remove excess soil: As you dig, periodically remove excess soil and debris from the excavation area. This will help maintain a clear and organized workspace. Consider using a wheelbarrow or tarp to collect and transport the soil away from the site.
- Inspect the foundation: Once the excavation is complete, inspect the foundation for any uneven areas, low spots, or debris. Smooth out any rough patches and remove any remaining rocks or roots that may interfere with the patio installation.
It’s important to take your time during the digging process to ensure that the foundation is properly prepared. A well-dug foundation will provide stability, support, and proper drainage for your rock patio.
Remember to consider any specific requirements or recommendations from the manufacturer or supplier of your chosen patio rocks. Some rocks may require a deeper foundation or additional preparation steps, so it’s always best to refer to the manufacturer’s guidelines.
With the foundation dug, you’re ready to move forward with the next steps of the patio installation process. Stay tuned for step five: installing landscape fabric.
Read more: How To Build A Rock Fire Pit
Step 5: Installing Landscape Fabric
Now that the foundation is dug, it’s time to install landscape fabric for your rock patio. Landscape fabric serves as a barrier between the foundation and the rocks, preventing weed growth and promoting proper drainage.
Here’s how to install landscape fabric:
- Measure and cut the fabric: Measure the dimensions of your patio area and cut the landscape fabric to fit. Leave some extra fabric along the edges to ensure full coverage.
- Clear the foundation: Remove any rocks, debris, or excess soil from the foundation. This will create a clean surface for the fabric installation.
- Lay the fabric: Start at one end of the patio area and unroll the landscape fabric along the foundation. Ensure that it covers the entire excavation area, extending past the marked boundaries.
- Secure the fabric: Use landscape fabric pins or staples to secure the fabric to the ground. Place the pins or staples along the edges and in the middle of the fabric, spacing them out evenly. This will prevent the fabric from shifting or bunching up during the next steps.
- Overlap seams: If necessary, overlap multiple pieces of landscape fabric to cover the entire patio area. Ensure that the seams are tightly overlapped to prevent any gaps where weeds can penetrate through.
- Trim excess fabric: Once the fabric is securely in place, use a pair of scissors or utility knife to trim any excess fabric along the edges. This will give your patio a clean and finished look.
Installing landscape fabric is an important step to prevent weed growth and maintain the integrity of your rock patio. The fabric acts as a barrier, allowing water to drain while preventing weeds from sprouting through the rocks.
It’s crucial to properly secure the fabric to ensure it remains in place during the rest of the construction process. This will help maintain a consistent and stable surface for the rocks to be laid upon.
With the landscape fabric installed, you’re ready to move on to the next step: adding the base material. Stay tuned for our next installment to learn how to create a sturdy base for your rock patio!
Step 6: Adding Base Material
With the landscape fabric in place, it’s time to add base material to your rock patio. The base material provides stability, helps with drainage, and creates a level surface for the rocks to be laid upon.
Here’s how to add base material to your patio:
- Choose the right base material: Select a suitable base material for your rock patio. Common options include crushed stone, gravel, or sand. Consider factors such as the type of rocks you will be using and the intended use of your patio.
- Calculate the amount needed: Measure the dimensions of your patio and calculate the amount of base material required. This will depend on the depth you want to achieve and the square footage of your patio area.
- Distribute the base material: Pour the base material evenly over the landscape fabric, starting at one end and working your way to the other. Use a rake or shovel to spread the material, creating a uniform layer. The thickness of the base material will depend on the specific recommendations for your chosen rocks and the needs of your patio.
- Compact the base material: Use a plate compactor or hand tamper to compact the base material. Start at one corner of the patio and gradually work your way across the entire surface. This step is crucial for ensuring a stable and solid foundation for the rocks.
- Check for evenness: Regularly check the levelness and evenness of the base material as you compact it. Use a level or straightedge to ensure that the surface is flat and uniform. Make any necessary adjustments to achieve the desired levelness.
Adding base material is a critical step in the construction of your rock patio. The base material provides a stable foundation for the rocks and helps to alleviate drainage issues. It’s important to choose the appropriate base material and follow the recommended thickness to ensure the integrity of your patio.
By evenly distributing and properly compacting the base material, you’ll create a solid and level surface for the rocks to be laid upon. This will enhance the stability and longevity of your rock patio.
With the base material added, you’re ready to move on to the next step: compacting the base. Stay tuned for our next installment to learn how to create a firm and secure foundation for your rock patio!
When building a rock patio, make sure to properly prepare the area by leveling the ground and adding a base layer of gravel or sand to ensure stability and prevent shifting.
Step 7: Compact the Base
With the base material added to your rock patio, it’s crucial to properly compact it. This step ensures that the base is firm, stable, and well-prepared for the installation of the rocks.
Here’s how to compact the base of your patio:
- Prepare your compactor: If using a plate compactor, ensure it is in good working condition and set it to the appropriate settings, following the manufacturer’s instructions. If using a hand tamper, make sure it is clean and ready for use.
- Start at one corner: Begin compacting the base material at one corner of the patio area. If using a plate compactor, slowly guide it over the surface, applying even pressure to compact the base material. If using a hand tamper, firmly press it down onto the base material and repeat the process, moving in a grid-like pattern.
- Work methodically: Gradually move across the entire patio surface, systematically compacting the base material. Ensure that you cover the entire area, paying extra attention to any uneven or low spots. This will help create a level and stable foundation.
- Check for evenness: Regularly check the levelness and evenness of the base material as you compact it. Use a level or straightedge to ensure that the surface remains flat and uniform. If you notice any areas that are not level, add or remove base material as needed and re-compact those sections.
- Repeat if necessary: Depending on the thickness and type of base material, you may need to repeat the compaction process multiple times to achieve the desired level of firmness. Consistently check the stability of the base material and make adjustments as necessary.
Compacting the base of your rock patio is essential for creating a solid and stable foundation. It helps to prevent shifting, settling, and unevenness, ensuring a durable and long-lasting patio surface.
Always follow the manufacturer’s recommendations and guidelines for your specific base material and compactor. Remember to take your time, work methodically, and check for evenness as you compact the base material.
With the base compacted, your patio is now ready for the next steps of the installation process. Stay tuned for our next installment to learn how to add edging to your rock patio!
Step 8: Adding Edging
Adding edging to your rock patio is not only aesthetically pleasing but also serves a functional purpose. Edging helps to define the boundaries of your patio, prevent shifting of the rocks, and provide a clean and finished look to the overall design.
Here’s how to add edging to your rock patio:
- Select the right edging material: Choose a suitable edging material that complements your patio design and meets your preferences. Common options include stone, brick, concrete, or metal edging. Consider factors such as durability, style, and ease of installation.
- Prepare the area: Clear any excess base material or debris along the edges of your patio. Use a broom or rake to create a clean and smooth surface for the edging installation.
- Measure and mark: Determine the desired placement of the edging and mark the locations accordingly. This will ensure accurate and consistent installation.
- Install the edging: Begin by placing the edging material along the marked locations. Use a rubber mallet or a hammer to pound the edging into the ground, ensuring stability and firmness. Connect the pieces of edging together, making sure they fit tightly and securely.
- Check for levelness: Regularly use a level or straightedge to check the levelness of the edging. Adjust as necessary to ensure a straight and even alignment.
- Secure the edging: To further secure the edging in place, use landscape spikes or stakes to fasten it to the ground. Place the spikes or stakes along the length of the edging, spacing them out evenly.
- Finishing touches: Once the edging is secure, use a broom or brush to sweep away any debris or excess base material. This will give your patio a clean and polished appearance.
Adding edging to your rock patio not only enhances the overall look but also provides structural support and prevents shifting of the rocks. It adds a defined boundary to your patio, keeping the rocks contained and maintaining the integrity of the installation.
When selecting edging material, consider its durability and compatibility with your patio design. Choose a material that will withstand weather conditions and complement the overall aesthetic of your outdoor space.
With the edging in place, your patio is coming together beautifully. Stay tuned for the next step: laying the rocks. We are getting closer to creating your dream rock patio!
Read more: How To Build Cushions For Rocking Chairs
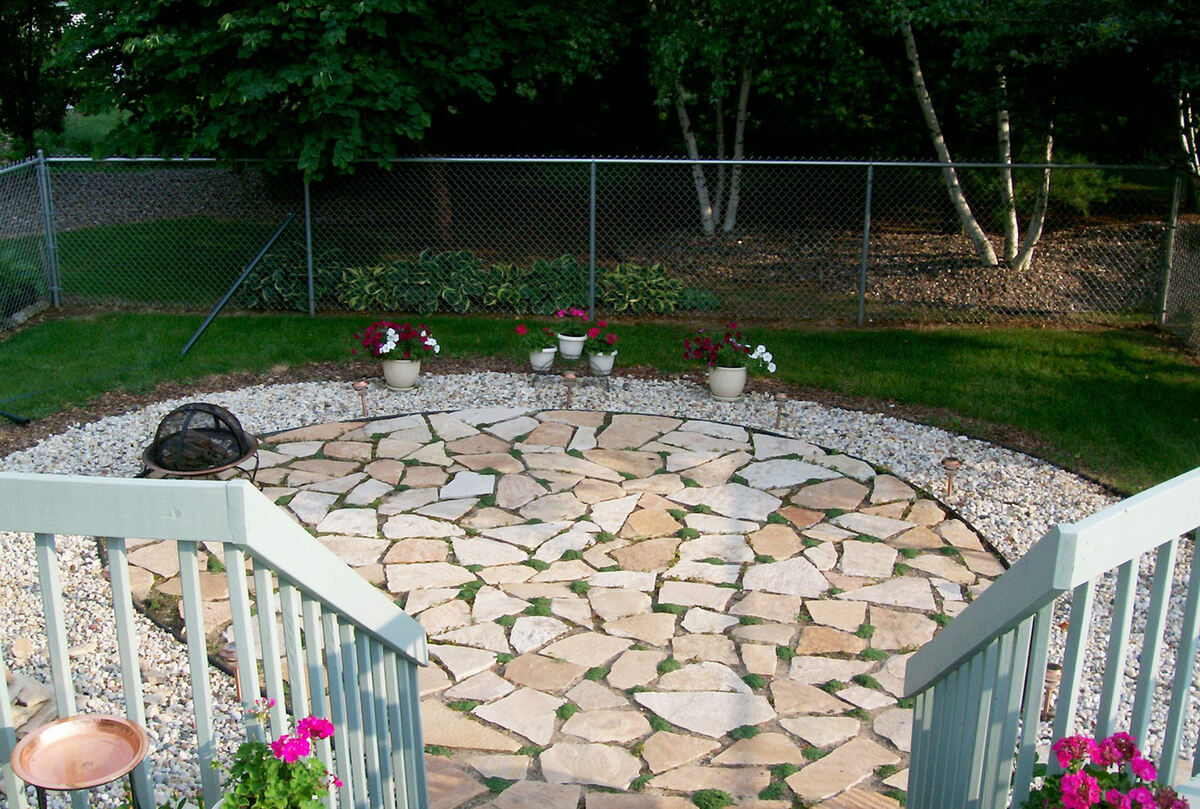
Step 9: Laying the Rocks
Now that the foundation and edging are in place, it’s time to bring your rock patio to life by laying the rocks. This step allows you to showcase your creativity and create a unique and inviting outdoor space.
Here’s how to lay the rocks for your patio:
- Choose your rocks: Select the rocks that best suit your desired patio design. Consider factors such as color, size, shape, and texture. Opt for rocks that are durable and weather-resistant, ensuring they will withstand the elements.
- Prepare the rocks: Before placing the rocks, clean them to remove any dirt or debris. This will ensure a clean and polished appearance for your patio. You can use a garden hose, brush, or a gentle cleaning solution if needed.
- Start at one corner: Begin laying the rocks at one corner of the patio and work your way across the area. Carefully place each rock, ensuring they fit snugly together and align with the desired pattern or design.
- Vary the placement: Experiment with different arrangements and orientations for the rocks. Consider mixing different sizes or colors to create visual interest and add dimension to your patio. Play around with patterns, such as straight lines, diagonals, or random placements, until you achieve the desired look.
- Check for levelness: Regularly use a level or straightedge to check the levelness of the rocks. Adjust as necessary by adding or removing base material underneath to ensure a smooth and even surface.
- Fill in gaps: As you lay the rocks, you may encounter gaps between them. Fill these gaps by adding smaller rocks or pebbles. This will create a more cohesive and finished look for your patio.
- Step back and assess: Periodically step back and assess the overall appearance of your patio as you lay the rocks. Make any adjustments or modifications as needed to achieve the desired aesthetic and functionality.
Laying the rocks is a creative process that allows you to design a patio that reflects your style and personality. Take your time, experiment with different arrangements, and enjoy the transformation of your outdoor space.
Remember to refer to any manufacturer guidelines or recommendations for the installation of your specific rocks. Certain types of rocks may require specific techniques or considerations for optimal results.
With the rocks beautifully laid, your patio is beginning to take shape. The next step will explain how to fill the gaps between the rocks for a finished and polished look. Stay tuned!
Step 10: Filling the Gaps
Now that the rocks are laid, it’s time to fill the gaps between them to complete the polished look of your rock patio. Filling the gaps not only enhances the overall appearance but also helps to stabilize the rocks and prevent weed growth.
Here’s how to fill the gaps between the rocks:
- Choose the right filler material: Select a suitable filler material that complements the rocks and enhances the overall design of your patio. Common options include decorative gravel, crushed stone, or polymeric sand.
- Clean the surface: Before filling the gaps, ensure that the surface of the rocks is clean and free from any debris. Use a brush or blower to remove any loose dirt or particles.
- Pour the filler material: Gradually pour the filler material onto the patio surface, focusing on the gaps between the rocks. Use a broom or brush to distribute the filler material evenly, ensuring it reaches the bottom of the gaps.
- Compact the filler material: Use a tamper or the back of a shovel to gently compact the filler material into the gaps. This will help to level and stabilize the rocks, creating a secure and cohesive patio surface.
- Brush away excess: Once the filler material is compacted, use a broom or brush to sweep away any excess material from the surface of the rocks. This will give your patio a clean and finished look.
- Moisten and settle: If using polymeric sand, lightly mist the surface of the patio with water. This will activate the sand and help it settle into the gaps. Follow the manufacturer’s instructions for optimal results.
- Regular maintenance: As time goes on, you may need to periodically add more filler material to the gaps, especially if erosion or settling occurs. Regularly inspect your patio and make any necessary adjustments to ensure a well-maintained and visually appealing outdoor space.
Filling the gaps between the rocks is the final touch that brings your rock patio together. The filler material not only enhances the overall aesthetic but also helps to stabilize the rocks and prevent weed growth.
Choose a filler material that complements the rocks and aligns with your desired patio style. Consider the longevity and durability of the filler material to ensure it withstands the outdoor elements and maintains its appearance over time.
With the gaps filled and the rocks securely in place, your rock patio is complete! It’s time to step back, admire your handiwork, and start enjoying your transformed outdoor living space.
Step 11: Sealing the Patio
Sealing your rock patio is the final step in the construction process, providing protection and enhancing the longevity of your outdoor space. Sealing helps to prevent staining, weathering, and the growth of mold or mildew, keeping your patio looking beautiful for years to come.
Here’s how to seal your rock patio:
- Choose the right sealer: Select a high-quality sealer specifically designed for rock or stone surfaces. Consider factors such as the type of rocks used, your desired finish (glossy or matte), and the expected level of foot traffic on your patio.
- Clean the surface: Thoroughly clean your patio before applying the sealer. Use a mild detergent, water, and a scrub brush to remove any dirt, stains, or debris. Rinse the patio surface and allow it to dry completely.
- Apply the sealer: Follow the manufacturer’s instructions for the specific sealer you’ve chosen. Using a sprayer or a paint roller, apply an even layer of sealer to the entire surface of your patio. Ensure that you cover all the rocks and work in a consistent manner.
- Allow for drying time: Let the sealer dry according to the manufacturer’s recommendations. This typically takes a few hours but may vary depending on the type of sealer and weather conditions. Avoid walking on the patio or placing any furniture on it until the sealer is completely dry.
- Apply additional coats (optional): Depending on the sealer, you may choose to apply a second or even third coat for added protection. Follow the drying time guidelines between each coat to ensure optimal results.
- Maintain the sealed patio: Regular maintenance is key to preserving the sealed appearance of your patio. Sweep away debris regularly and clean any spills promptly to prevent staining. Follow any maintenance recommendations provided by the sealer manufacturer.
Sealing your rock patio is an essential step to protect your investment and maintain its beauty for years to come. The sealer creates a barrier that repels water, prevents stains, and minimizes the effects of weathering, ensuring your patio remains in top condition.
Remember to consider the specific needs of your patio and the type of rocks used when choosing a sealer. Consult the product instructions and consult a professional if needed to ensure you select the most suitable sealer for your patio.
With the sealing process complete, your rock patio is now ready to be enjoyed and admired. Grab your favorite outdoor furniture and start making memories in your stunning outdoor oasis!
Conclusion
Congratulations! You have successfully completed the journey of building your own rock patio. From planning the layout to sealing the finished patio, you have transformed your outdoor space into a beautiful and functional area for relaxation and entertainment.
Throughout this process, you have learned the importance of careful planning, precise execution, and attention to detail. By following the step-by-step guide, you have created a solid foundation, chosen the perfect rocks, and added the necessary elements to ensure the longevity and aesthetic appeal of your patio.
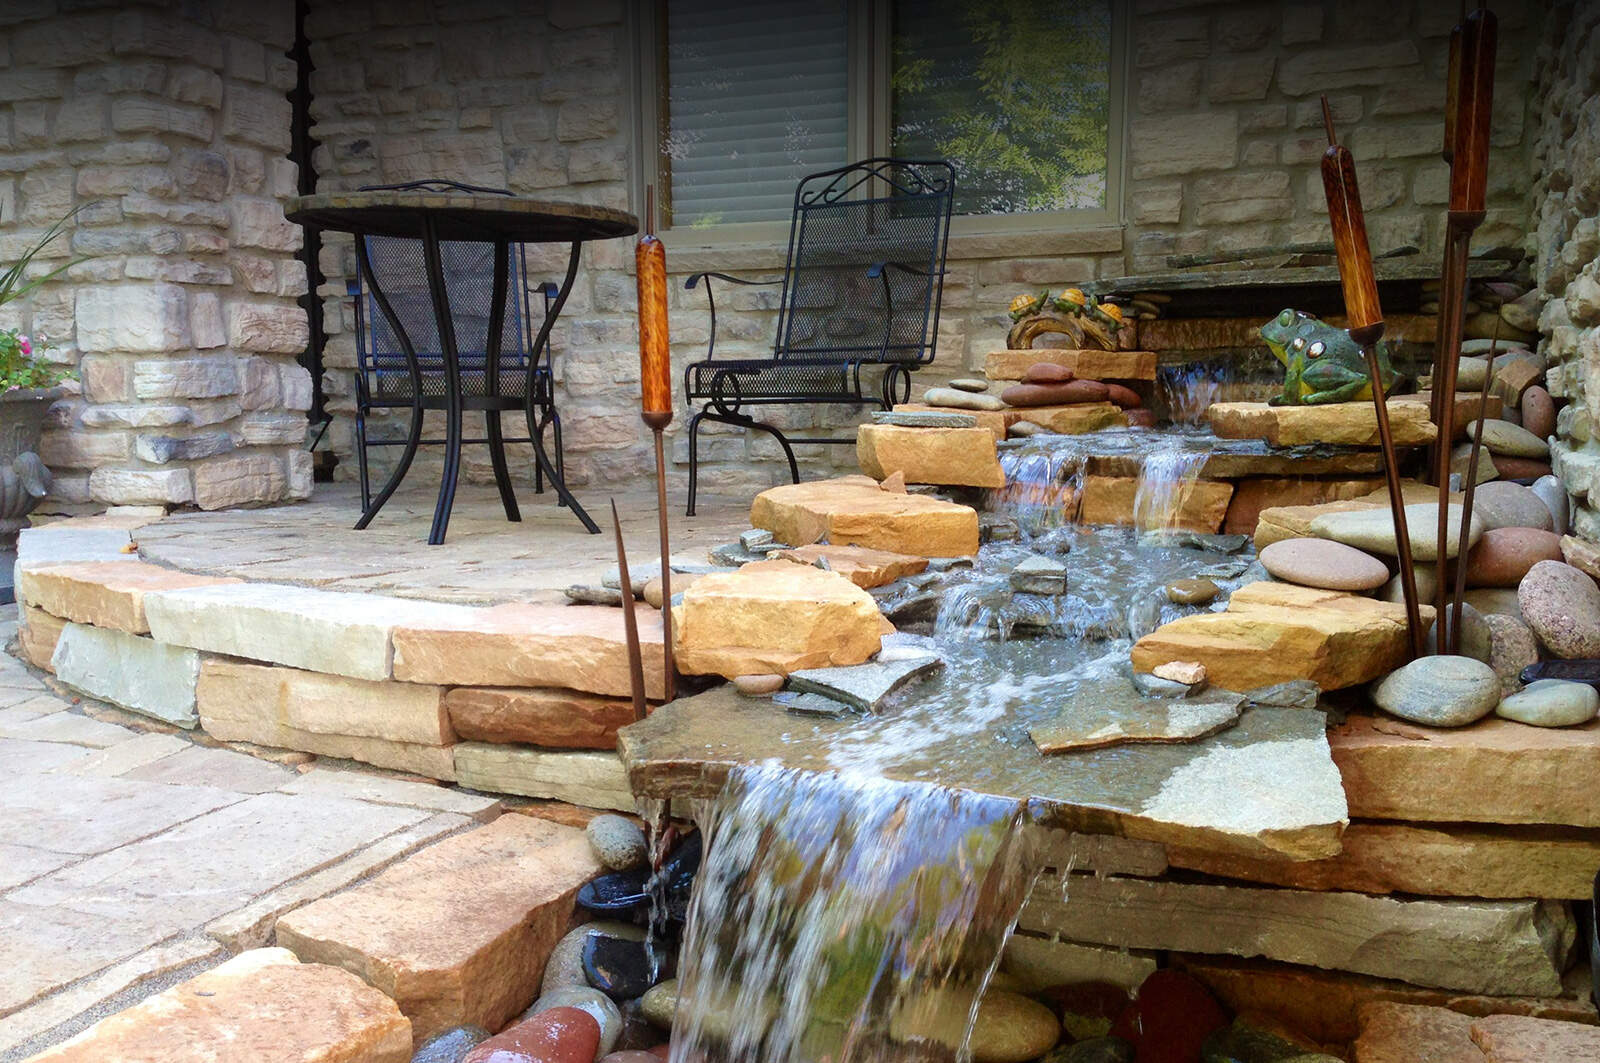
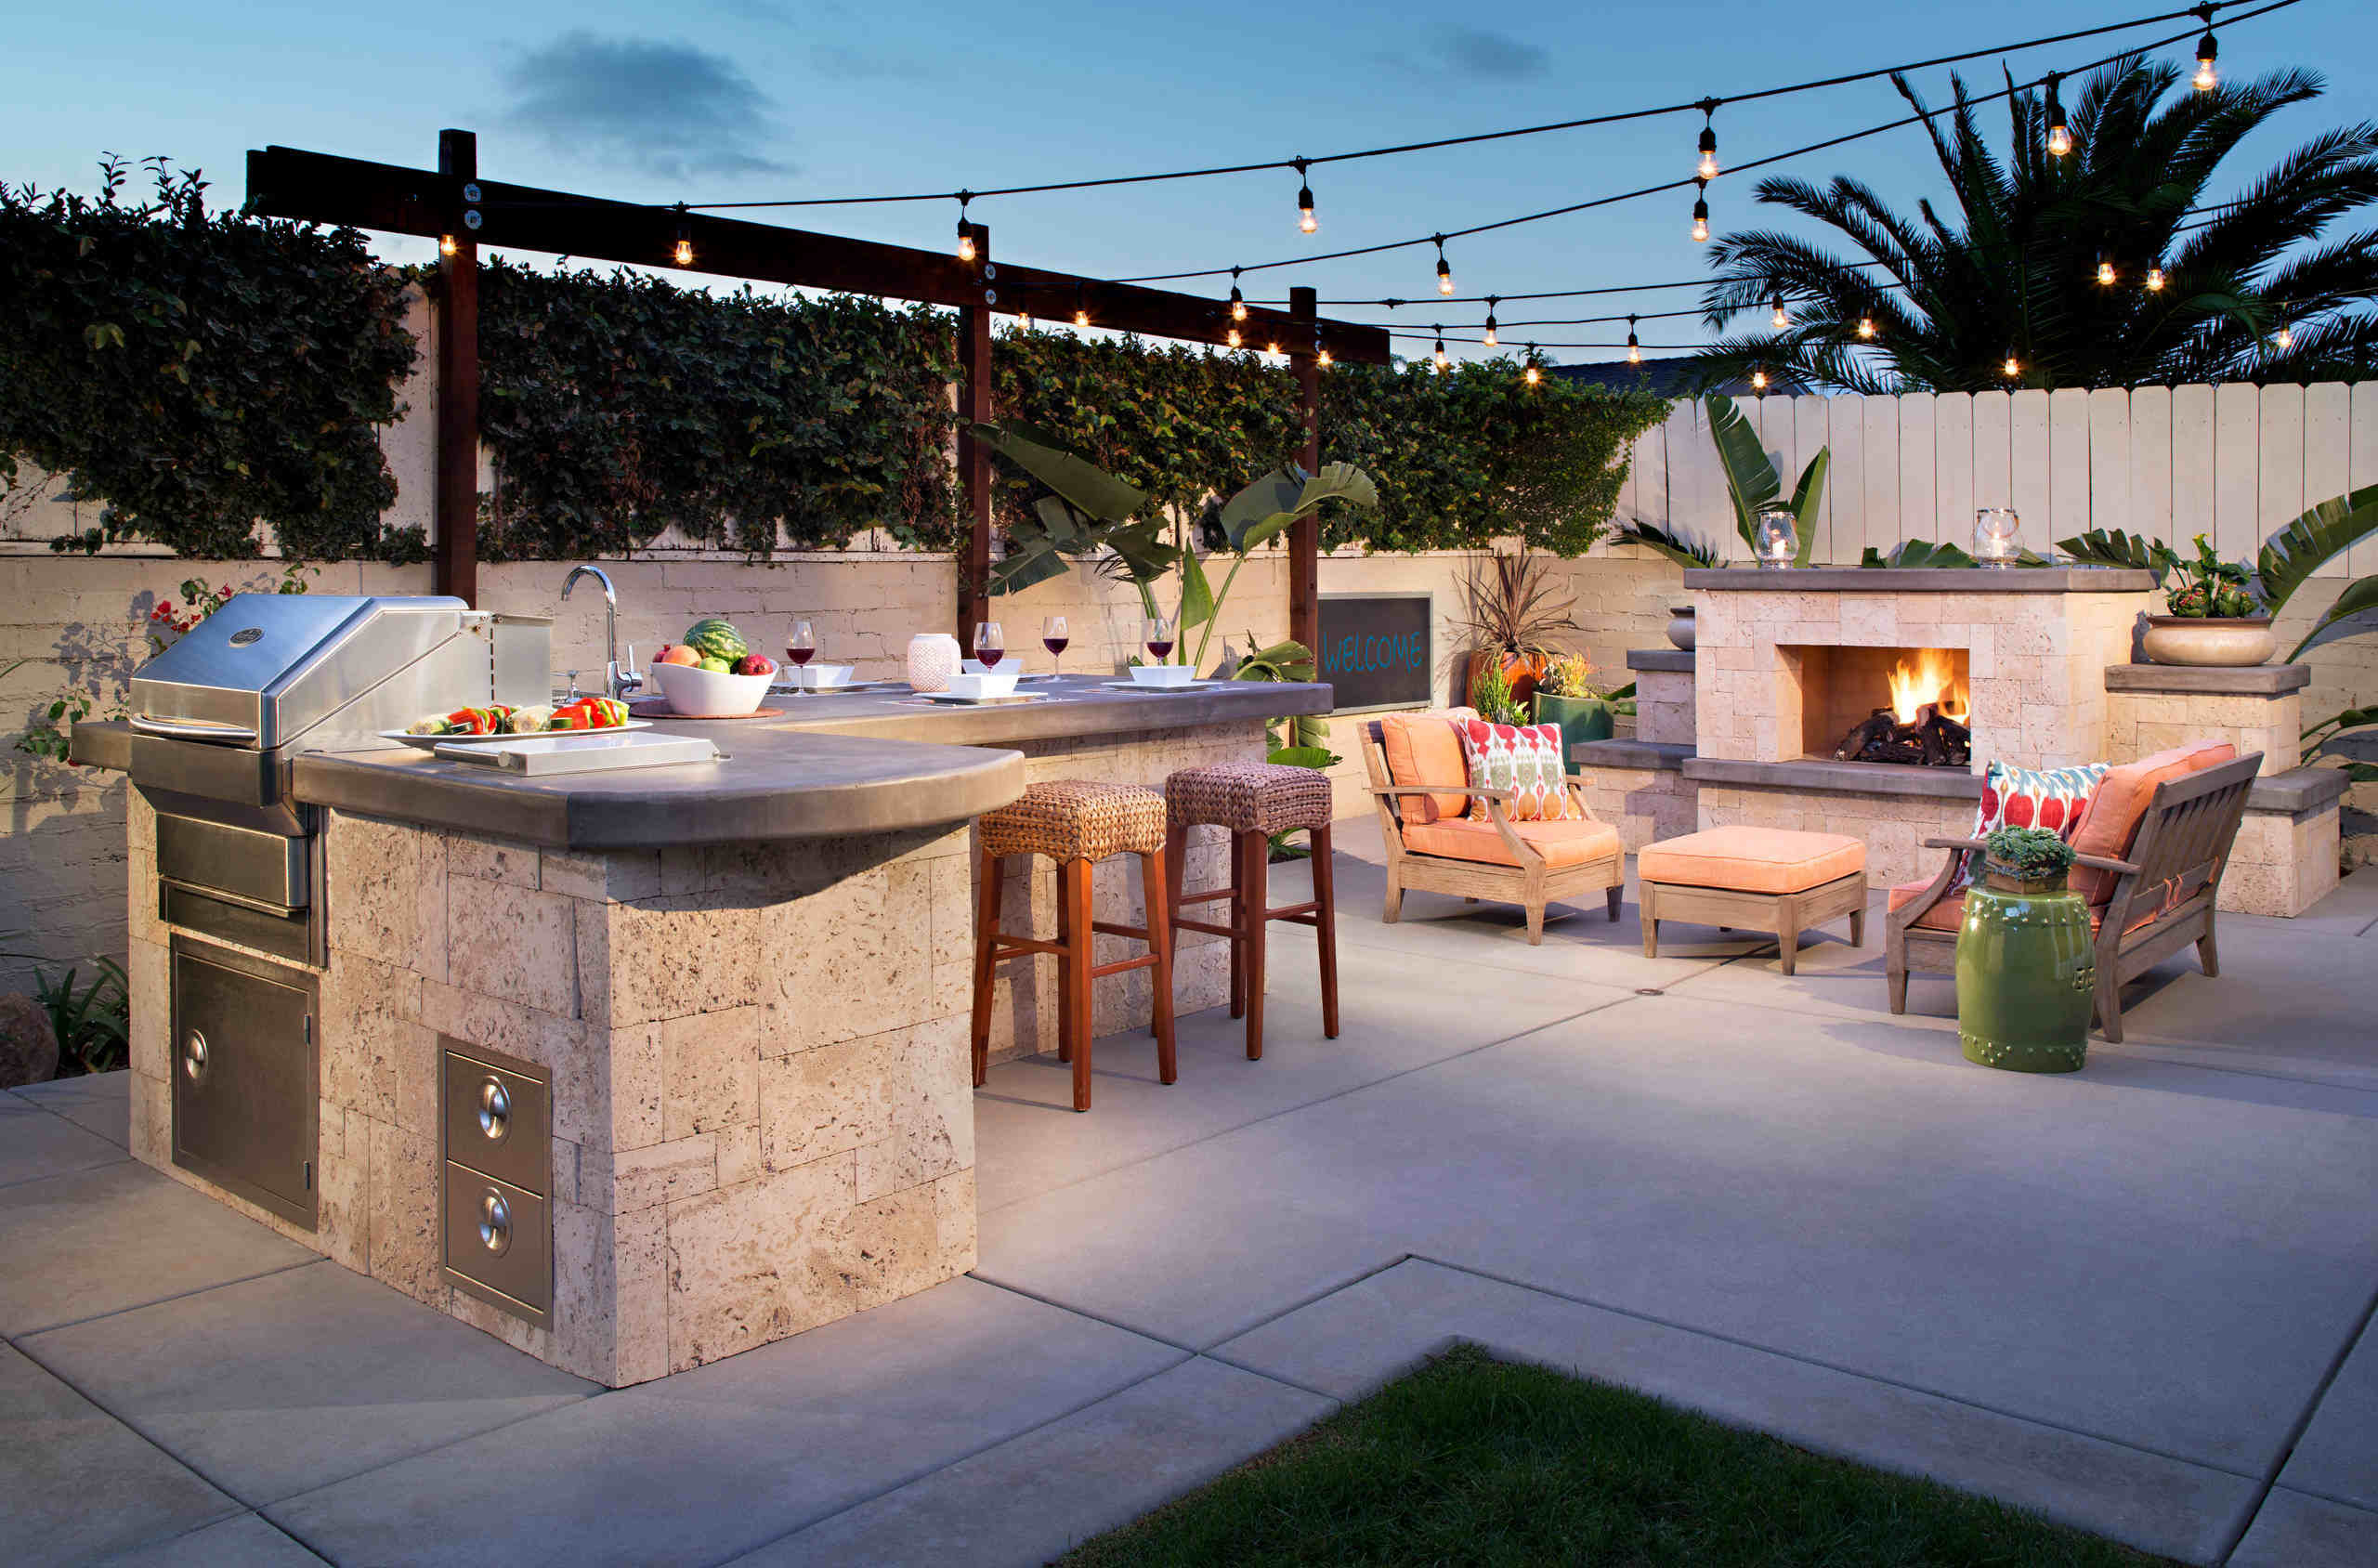
By incorporating a rock patio into your outdoor area, you have unlocked a myriad of benefits. Your new patio not only adds value to your home but also provides a durable and low-maintenance space for gatherings, dining, and enjoying the beauty of the great outdoors. The durability of rock ensures that your patio will withstand heavy foot traffic, extreme weather conditions, and regular use for years to come.
Remember to maintain your rock patio by regularly cleaning and inspecting it for any needed repairs or adjustments. By performing routine maintenance and promptly addressing any issues, you can keep your patio in optimal condition and enjoy it for many seasons.
Now it’s time to grab a refreshing beverage, invite friends and family, and embrace the joy of outdoor living in your newly created rock patio. Sit back, relax, and bask in the beauty of your outdoor oasis.
Frequently Asked Questions about How To Build A Rock Patio
Was this page helpful?
At Storables.com, we guarantee accurate and reliable information. Our content, validated by Expert Board Contributors, is crafted following stringent Editorial Policies. We're committed to providing you with well-researched, expert-backed insights for all your informational needs.


0 thoughts on “How To Build A Rock Patio”