Home>Gardening & Outdoor>Outdoor Structures>How To Assemble A Rubbermaid Shed
Outdoor Structures
How To Assemble A Rubbermaid Shed
Modified: February 29, 2024
Learn how to easily assemble a Rubbermaid shed and organize your outdoor space with our step-by-step guide. Perfect for all your outdoor structures needs.
(Many of the links in this article redirect to a specific reviewed product. Your purchase of these products through affiliate links helps to generate commission for Storables.com, at no extra cost. Learn more)
**
Introduction
**
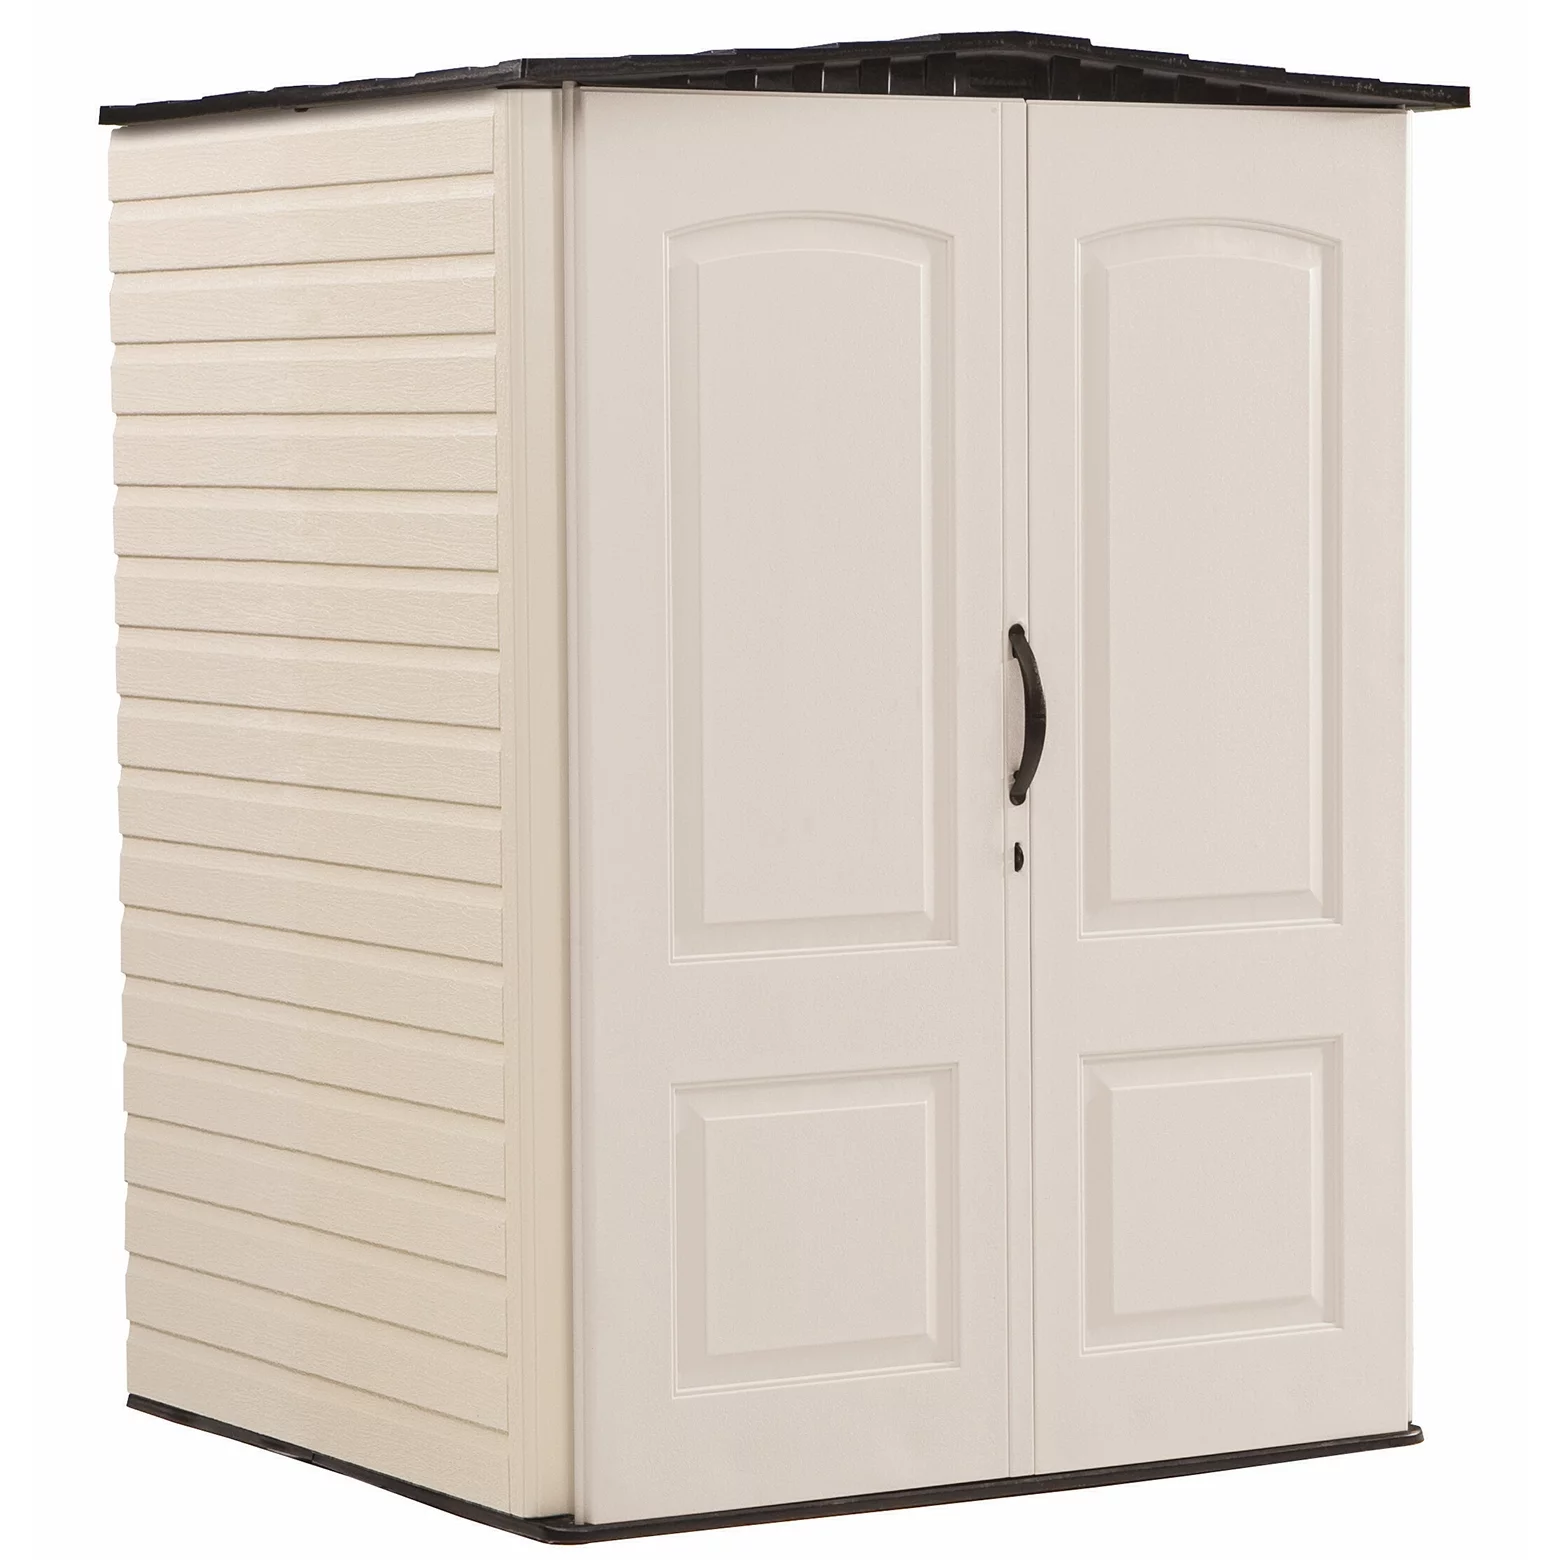
Assembling a Rubbermaid shed can be a rewarding and practical project for homeowners looking to create additional storage space in their outdoor area. Whether it's to store gardening tools, bicycles, or seasonal decorations, a Rubbermaid shed offers a durable and versatile solution. In this guide, we'll walk through the step-by-step process of assembling a Rubbermaid shed, providing valuable tips and insights to ensure a successful and satisfying construction experience.
From gathering the necessary tools and materials to laying the foundation, assembling the walls, installing the roof, and adding finishing touches, each step plays a crucial role in creating a sturdy and functional outdoor storage structure. By following this comprehensive guide, you'll gain the knowledge and confidence to tackle the assembly process with ease, allowing you to enjoy the benefits of a well-organized outdoor space.
So, roll up your sleeves, gather your tools, and let's dive into the exciting journey of assembling your very own Rubbermaid shed. With a bit of patience and a can-do attitude, you'll soon have a reliable and attractive storage solution right in your backyard. Let's get started!
Key Takeaways:
- Building a Rubbermaid shed requires patience and attention to detail, resulting in a reliable and functional outdoor storage solution for your belongings.
- Personalizing the shed’s exterior and organizing the interior maximizes its practicality and integrates it seamlessly into your outdoor space, providing a sense of accomplishment and satisfaction.
Read more: How To Assemble An Arrow Shed
Step 1: Gather all necessary tools and materials
Before embarking on the assembly process, it’s essential to gather all the required tools and materials to ensure a smooth and efficient construction experience. Here’s a comprehensive list of the items you’ll need:
Tools:
- Power drill
- Level
- Adjustable wrench
- Step ladder
- Tape measure
- Utility knife
- Phillips-head screwdriver
- Hammer
Materials:
- Rubbermaid shed kit (including all panels, roof, and hardware)
- Pressure-treated 4×4 lumber for the foundation
- Gravel or concrete pavers for the foundation
- Exterior-grade plywood for the subfloor (if not included in the kit)
- Anchor kit for securing the shed to the foundation
- Sealant/caulk for weatherproofing
By ensuring that you have all the necessary tools and materials on hand, you’ll be well-prepared to proceed with the assembly process without unnecessary interruptions. Additionally, it’s a good practice to carefully review the assembly instructions provided by Rubbermaid to familiarize yourself with the various components and steps involved in the construction.
With your tools and materials at the ready, you’re one step closer to bringing your Rubbermaid shed to life in your outdoor space. Let’s move on to preparing the site for assembly.
Step 2: Prepare the site for assembly
Before commencing the assembly of your Rubbermaid shed, it’s crucial to prepare the site to ensure a stable and level foundation for the structure. Here’s a detailed guide on how to prepare the site for the assembly process:
Clear the Area:
Begin by clearing the designated area where the shed will be installed. Remove any debris, rocks, or vegetation to create a clean and level surface. Ensuring that the site is free from obstructions will facilitate a smoother assembly process.
Mark the Perimeter:
Use stakes and string to mark the perimeter of the shed’s foundation. This will provide a clear outline of the installation area, allowing you to visualize the shed’s placement and ensure that it aligns with your desired layout.
Level the Ground:
Utilize a level and a straight board to check the ground for any unevenness. If the site is not level, consider using gravel or concrete pavers to create a stable and flat foundation. This step is crucial for the long-term stability and structural integrity of the shed.
Prepare the Foundation:
If the shed kit does not include a floor, you may need to prepare a foundation using pressure-treated 4×4 lumber and exterior-grade plywood. Follow the manufacturer’s recommendations for the specific foundation requirements, ensuring that it is solid and level.
Check Local Regulations:
Before proceeding with the assembly, it’s important to check local building codes and regulations regarding shed installation. Some areas may have specific requirements or restrictions related to shed placement, size, or anchoring methods. Compliance with these regulations is essential to avoid potential issues in the future.
By meticulously preparing the site for assembly, you’ll create a solid foundation for your Rubbermaid shed, setting the stage for a successful construction process. With the site ready, you’re now prepared to lay the foundation for your outdoor storage solution.
Step 3: Lay the foundation
With the site prepared, it’s time to lay the foundation for your Rubbermaid shed. A sturdy and level foundation is crucial for the structural integrity and longevity of the structure. Follow these steps to ensure a solid foundation for your shed:
Position the Foundation Materials:
If the shed kit includes a floor, carefully position the floor panels according to the manufacturer’s instructions. Ensure that the panels are aligned and securely connected to form a stable base for the shed. If the kit does not include a floor, place the prepared foundation materials, such as pressure-treated 4×4 lumber and exterior-grade plywood, in the designated area.
Secure the Foundation:
Use the recommended anchoring method to secure the foundation to the ground. This may involve using anchor kits, bolts, or other hardware provided by the manufacturer. Properly anchoring the foundation will enhance the stability of the shed, especially in areas prone to strong winds or inclement weather.
Level the Foundation:
Utilize a level to ensure that the foundation is perfectly level in all directions. Adjust the foundation materials as needed to achieve a uniform and stable base for the shed. A level foundation is essential for the proper assembly and functionality of the shed.
Weatherproofing:
Apply sealant or caulk to the seams and edges of the foundation materials to provide weatherproofing and prevent moisture infiltration. This additional step can help protect the foundation from water damage and prolong its lifespan.
Verify Compliance:
Double-check that the laid foundation complies with any local building codes and regulations. Ensuring compliance with these requirements is essential to avoid potential issues in the future and to maintain a safe and legal outdoor structure.
By meticulously laying the foundation according to the manufacturer’s guidelines and best practices, you’ll establish a solid base for the assembly of your Rubbermaid shed. With the foundation in place, you’re ready to progress to the exciting phase of assembling the shed walls.
When assembling a Rubbermaid shed, start by carefully reading the instructions and laying out all the parts. Make sure to have the necessary tools on hand and follow the step-by-step process to ensure a successful assembly.
Step 4: Assemble the shed walls
Assembling the walls of your Rubbermaid shed is a pivotal step in creating a secure and functional outdoor storage space. Follow these detailed guidelines to effectively construct the shed walls:
Identify and Organize Components:
Begin by identifying and organizing the wall panels, doors, windows, and associated hardware included in the shed kit. Familiarize yourself with the components and carefully review the assembly instructions provided by Rubbermaid.
Start with the Back Wall:
Position the back wall panel in the designated area, ensuring that it aligns with the foundation and is oriented correctly according to the manufacturer’s instructions. Use the provided hardware to securely attach the panel to the foundation and adjacent panels.
Assemble Side Walls:
Proceed to assemble and install the side wall panels, connecting them to the back wall and each other as specified in the assembly instructions. Pay close attention to the alignment and levelness of the panels to ensure a uniform and structurally sound assembly.
Install Doors and Windows:
If your shed includes doors and windows, carefully install them according to the manufacturer’s guidelines. Ensure that they are properly aligned, securely attached, and operate smoothly. Proper installation of doors and windows is essential for the functionality and aesthetics of the shed.
Check for Squareness:
Verify that the assembled walls form a square and true structure. Use a tape measure to check the diagonal measurements of the shed. If the measurements are equal, the structure is square. Adjust the positioning of the panels if necessary to achieve squareness.
Weatherproofing:
Apply sealant or caulk to the seams and edges of the wall panels to enhance weatherproofing and prevent water infiltration. This additional step can help protect the interior of the shed from moisture and external elements.
By meticulously assembling the shed walls according to the manufacturer’s specifications, you’ll create a durable and secure enclosure for your outdoor storage needs. With the walls in place, you’re ready to advance to the next step of installing the shed’s roof.
Read more: How To Take Apart A Rubbermaid Shed
Step 5: Install the roof
Installing the roof of your Rubbermaid shed is a crucial stage in completing the structure and providing protection from the elements. Follow these comprehensive steps to effectively install the shed’s roof:
Prepare Roof Panels:
Organize and prepare the roof panels and associated hardware included in the shed kit. Ensure that all components are readily accessible and review the manufacturer’s instructions for roof assembly.
Position the Roof Panels:
Carefully position the roof panels on top of the assembled walls, ensuring that they align correctly and securely interlock with each other. Follow the recommended fastening method to secure the panels to the walls and each other, creating a unified roof structure.
Attach Roof Hardware:
Utilize the provided hardware to securely attach the roof panels to the shed’s walls. Follow the specified fastening sequence and ensure that the panels are firmly anchored to withstand wind and other external forces.
Seal Joints and Edges:
Apply sealant or caulk to the joints and edges of the roof panels to reinforce weatherproofing and prevent water seepage. Properly sealed joints will help safeguard the interior of the shed from moisture and maintain a dry storage environment.
Check for Overhang and Alignment:
Verify that the roof panels overhang the walls uniformly on all sides. This overhang provides essential protection from rain and directs water away from the shed’s exterior. Additionally, ensure that the roof panels are aligned and parallel to the walls for a professional and finished appearance.
Inspect for Secure Attachment:
Thoroughly inspect the roof panels to confirm that they are securely attached to the walls and each other. Check for any loose or protruding hardware and make adjustments as necessary to ensure a solid and reliable roof structure.
By meticulously installing the shed’s roof according to the manufacturer’s guidelines, you’ll complete the enclosure of your Rubbermaid shed, providing a secure and weather-resistant storage space for your outdoor belongings. With the roof in place, you’re now ready to add the finishing touches to your assembled shed.
Step 6: Add finishing touches
As you near the completion of assembling your Rubbermaid shed, it’s time to add the finishing touches that will enhance the functionality, durability, and aesthetics of the structure. Follow these essential steps to add the final details to your assembled shed:
Anchor the Shed:
Utilize the recommended anchoring method, such as using anchor kits or bolts, to securely fasten the shed to the foundation. Anchoring the shed enhances its stability and resistance to strong winds and external forces, ensuring a long-lasting outdoor storage solution.
Apply Weatherproofing Sealant:
Inspect the shed for any gaps, joints, or exposed edges that may benefit from additional weatherproofing. Apply sealant or caulk to these areas to prevent water infiltration and maintain a dry and protected interior space for your stored items.
Organize the Interior:
Once the shed is fully assembled, take the opportunity to organize the interior space according to your storage needs. Install shelves, hooks, or storage racks to maximize the functionality and efficiency of the shed, allowing for tidy and accessible storage of your outdoor belongings.
Inspect and Secure Hardware:
Thoroughly inspect the shed for any loose or protruding hardware. Ensure that all fasteners, hinges, and latches are securely tightened and adjusted as needed to maintain the structural integrity and security of the shed.
Enhance Accessibility:
If applicable, consider adding lighting fixtures or motion-activated lights to the shed’s interior to improve visibility and accessibility, especially during low-light conditions. A well-lit interior enhances usability and safety when accessing stored items.
Personalize the Exterior:
Add personal touches to the shed’s exterior, such as potted plants, decorative accents, or a coat of weather-resistant paint, to complement your outdoor space and integrate the shed seamlessly into your backyard environment.
By carefully attending to these finishing touches, you’ll elevate the functionality, durability, and visual appeal of your assembled Rubbermaid shed. With the completion of these steps, you’ve successfully transformed a collection of panels and hardware into a reliable and attractive outdoor storage solution, ready to serve your organizational needs for years to come.
Conclusion
Congratulations on successfully assembling your Rubbermaid shed! This journey from a collection of components to a fully functional outdoor storage space has provided you with valuable hands-on experience and a practical storage solution for your outdoor belongings. As you reflect on the assembly process and the transformation of materials into a sturdy and reliable structure, it’s important to acknowledge the following key takeaways:
Persistence and Patience:
Throughout the assembly process, your persistence and patience were essential. From organizing the components to aligning the walls and installing the roof, your commitment to each step ensured a well-constructed and reliable shed.
Attention to Detail:
By meticulously following the manufacturer’s instructions and paying attention to detail, you’ve created a shed that not only meets your storage needs but also stands as a testament to your dedication to quality craftsmanship.
Practicality and Functionality:
Your newly assembled Rubbermaid shed offers a practical and versatile solution for organizing and protecting your outdoor items. Whether it’s gardening tools, sports equipment, or seasonal decorations, the shed provides a dedicated space for convenient storage.
Personalization and Integration:
As you add finishing touches and personalize the shed’s exterior, you’re integrating it into your outdoor environment and making it a seamless part of your backyard space. Your personal touches enhance the shed’s visual appeal and its harmonious coexistence with your outdoor surroundings.
As you stand back and admire the completed shed, take pride in the knowledge that your efforts have resulted in a tangible and functional addition to your property. The skills and insights gained from this assembly experience will serve you well in future projects and endeavors.
With your Rubbermaid shed now standing as a testament to your craftsmanship and determination, you’re poised to enjoy the benefits of a well-organized outdoor space, free from clutter and chaos. Embrace the satisfaction of a job well done, and revel in the newfound convenience and efficiency that your assembled shed brings to your outdoor lifestyle.
Thank you for embarking on this assembly journey with us, and we hope that your Rubbermaid shed serves you well for years to come. Here’s to the joy of a neatly organized outdoor space and the sense of accomplishment that comes with mastering the art of shed assembly!
Frequently Asked Questions about How To Assemble A Rubbermaid Shed
Was this page helpful?
At Storables.com, we guarantee accurate and reliable information. Our content, validated by Expert Board Contributors, is crafted following stringent Editorial Policies. We're committed to providing you with well-researched, expert-backed insights for all your informational needs.


0 thoughts on “How To Assemble A Rubbermaid Shed”