Home>Gardening & Outdoor>Outdoor Structures>How To Build A Simple Wood Shed
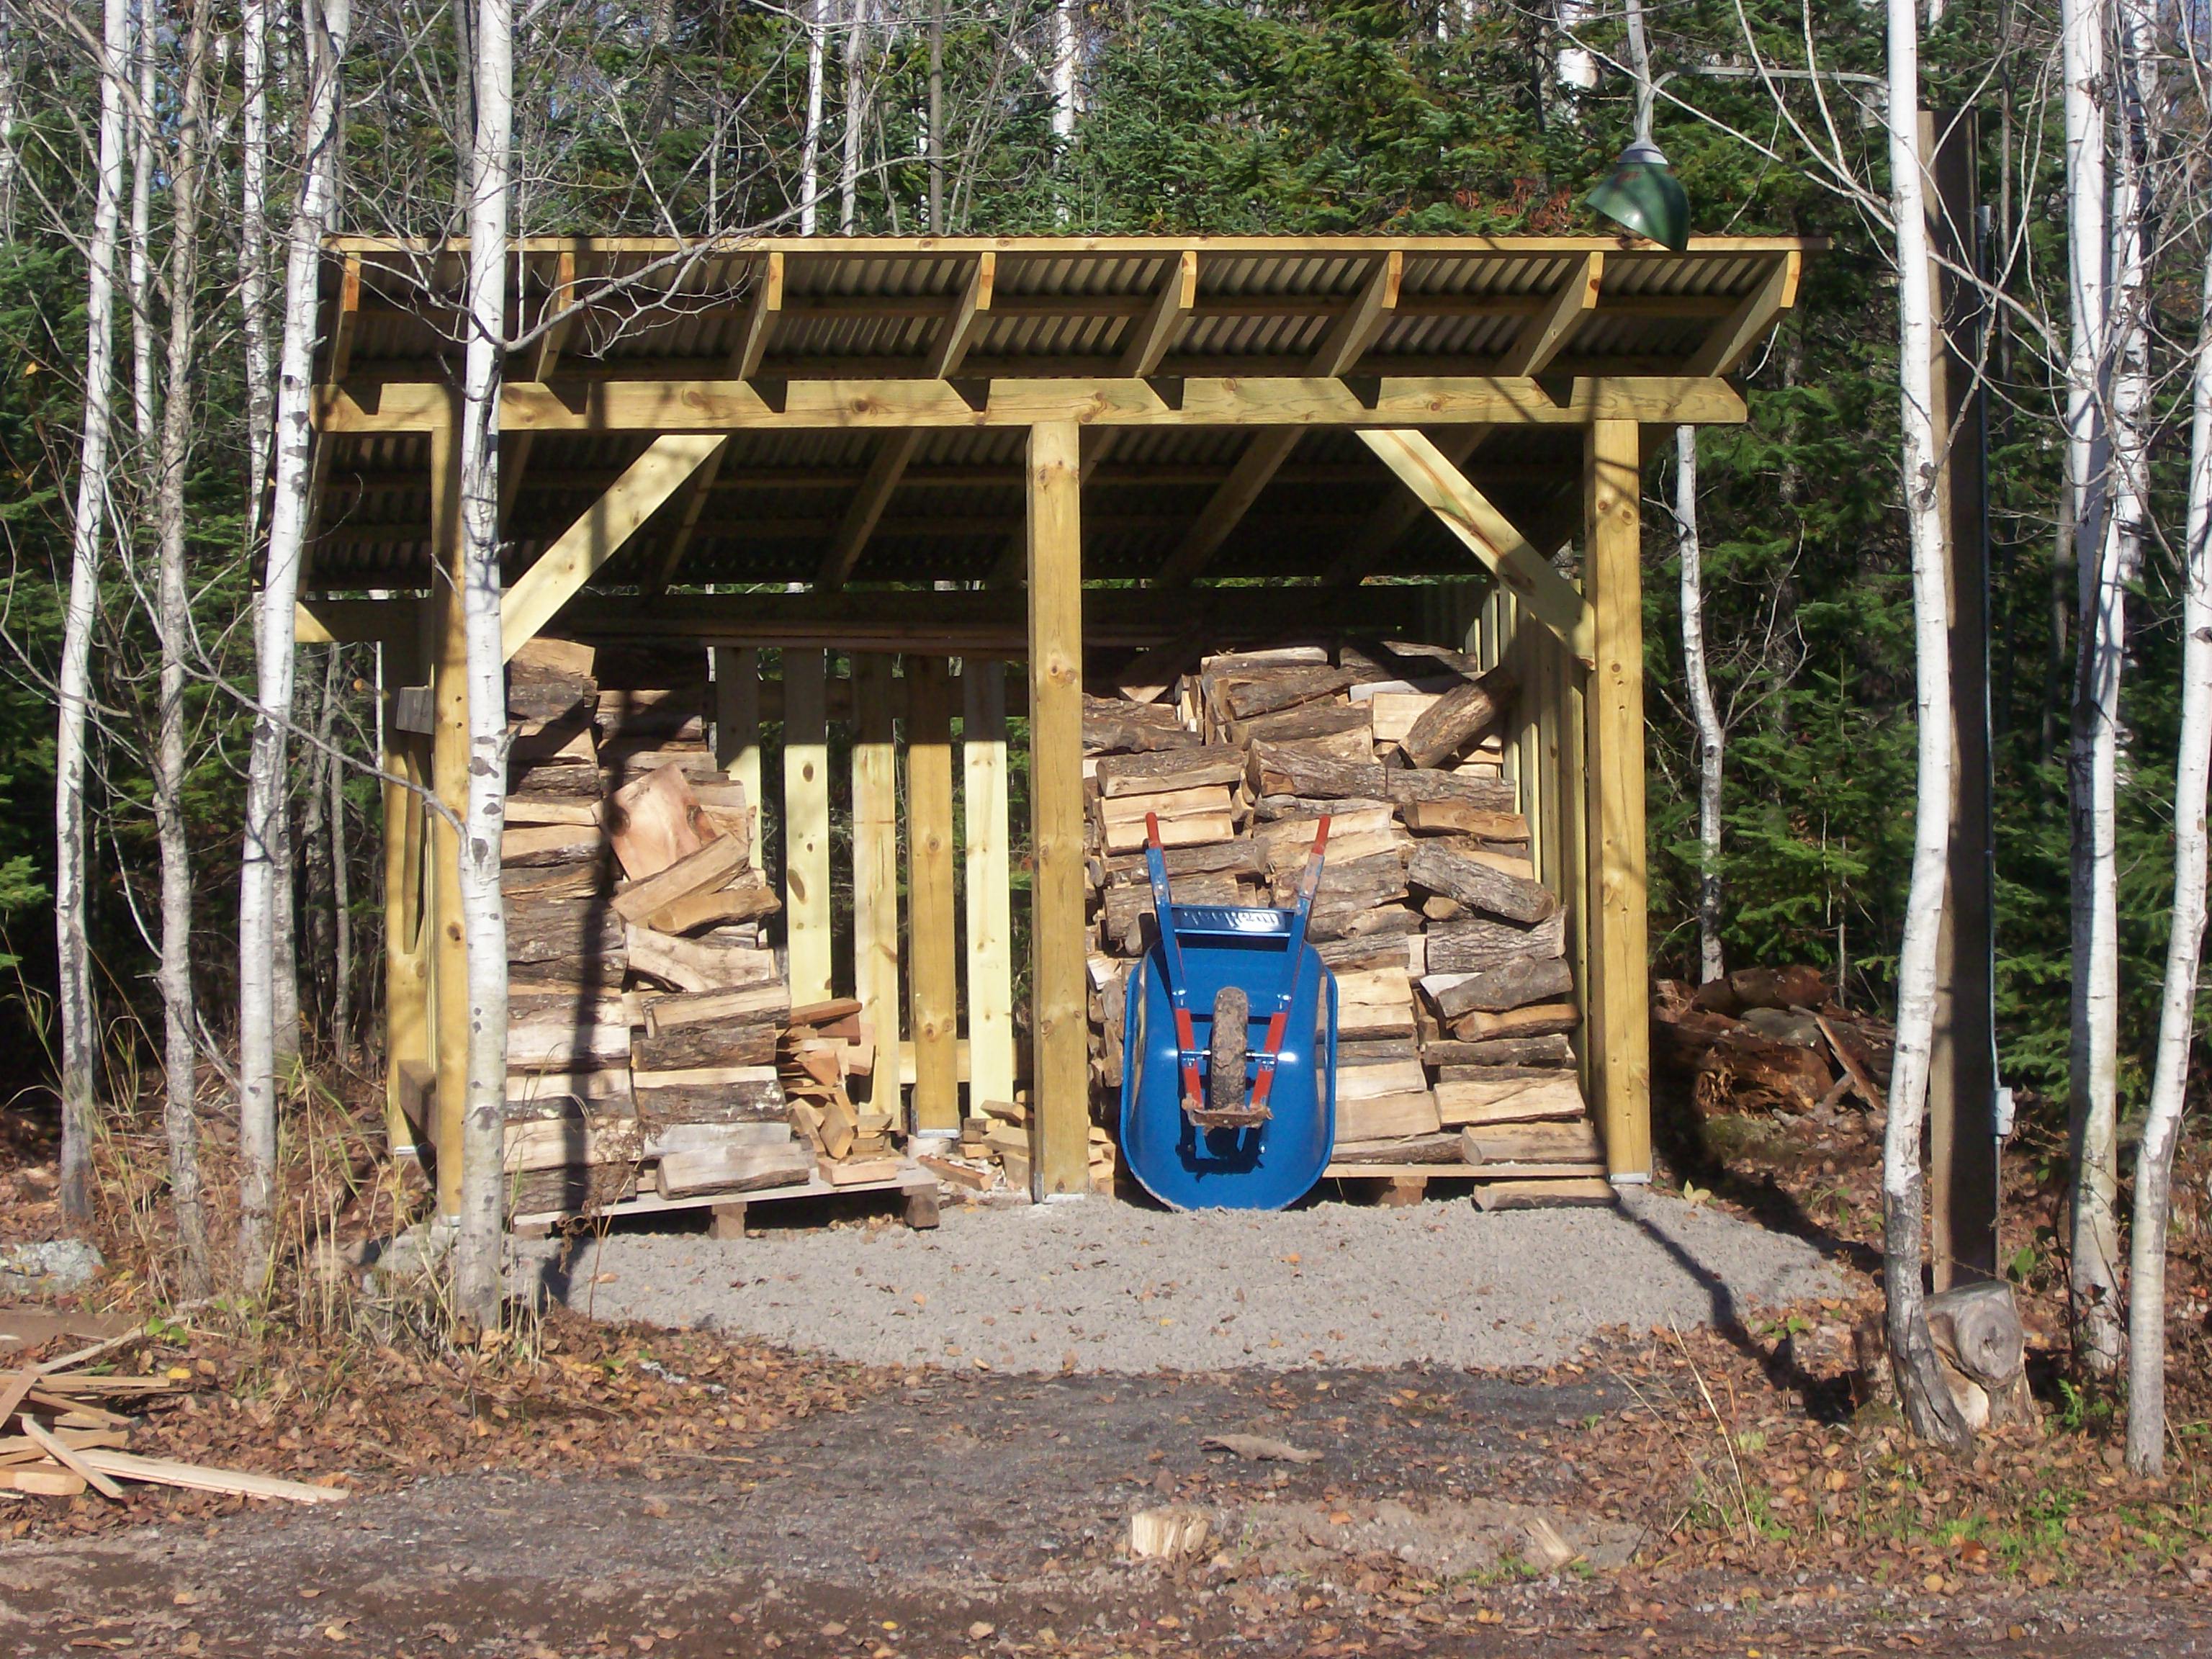

Outdoor Structures
How To Build A Simple Wood Shed
Modified: August 28, 2024
Learn how to build a simple wood shed for your outdoor space with our step-by-step guide. Create a durable and functional outdoor structure with ease.
(Many of the links in this article redirect to a specific reviewed product. Your purchase of these products through affiliate links helps to generate commission for Storables.com, at no extra cost. Learn more)
Introduction
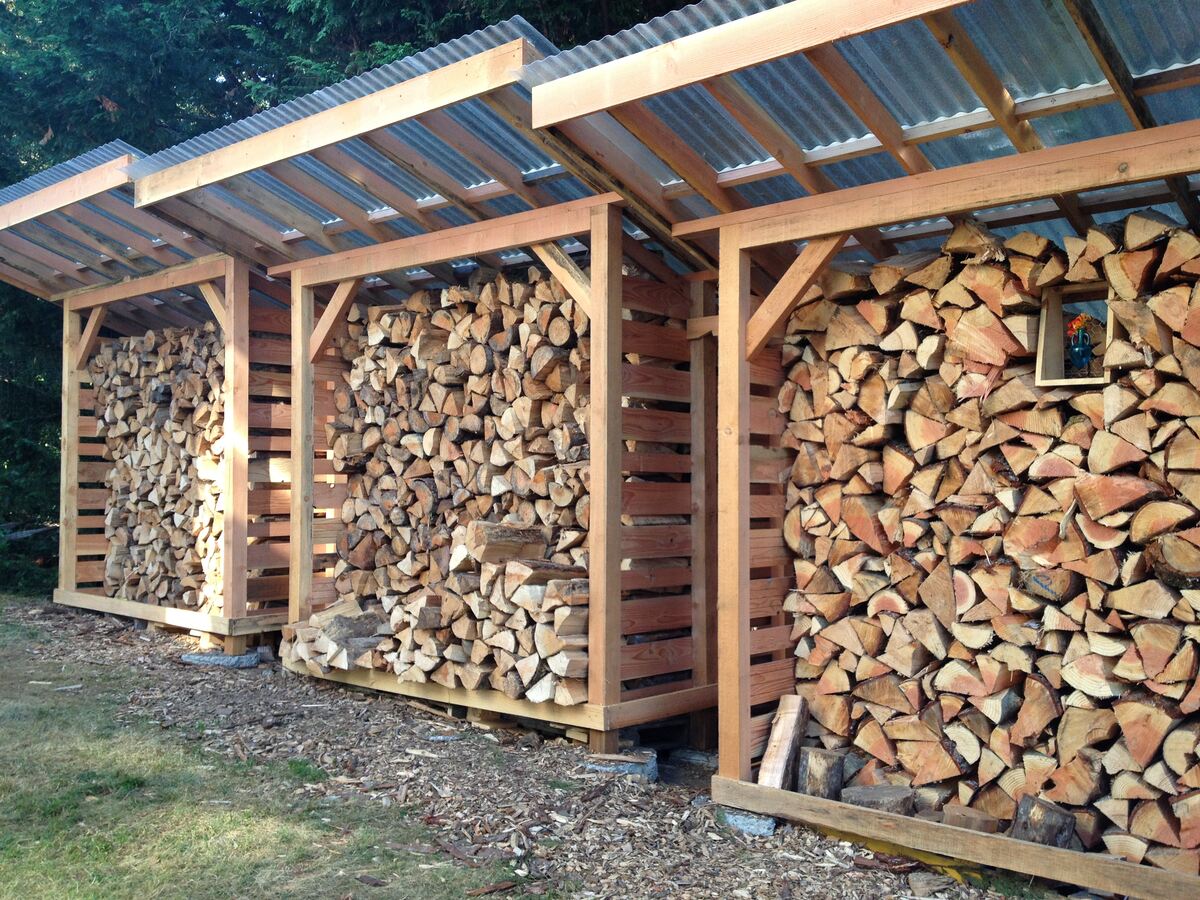
Are you in need of some extra storage space for your outdoor equipment, gardening tools, or firewood? A simple wood shed could be the perfect solution to declutter your yard and protect your belongings from the elements. Building your own wood shed can be a rewarding and cost-effective project that adds both functionality and charm to your outdoor space.
In this guide, we will walk you through the step-by-step process of building a simple wood shed. Whether you're a seasoned DIY enthusiast or a newcomer to woodworking, this project can be tackled with the right tools, materials, and a can-do attitude. By following these instructions, you'll be able to create a sturdy and practical wood shed that complements your outdoor environment.
Not only will constructing a wood shed provide you with valuable storage space, but it can also serve as a creative outlet and a source of pride. As you roll up your sleeves and embark on this endeavor, envision the satisfaction of having a handcrafted structure that serves a functional purpose while enhancing the aesthetic appeal of your property.
So, gather your tools, unleash your creativity, and let's get started on this fulfilling journey of building a simple wood shed.
Key Takeaways:
- Building a simple wood shed is a rewarding DIY project that adds storage space and charm to your outdoor area. It requires careful planning, quality materials, and attention to detail.
- From laying the foundation to adding finishing touches, constructing a wood shed showcases creativity and craftsmanship. It enhances functionality, reflects dedication, and empowers future woodworking endeavors.
Read more: How To Build A Wood Shed
Materials and Tools
Before diving into the construction process, it’s essential to gather the necessary materials and tools. By having everything at your disposal, you can streamline the building process and minimize interruptions. Here’s a comprehensive list of the materials and tools you’ll need:
Materials:
- Pressure-treated lumber for the foundation and framing
- Plywood or oriented strand board (OSB) for the walls and roof
- Wood siding or T1-11 panels
- Roofing materials such as shingles or metal panels
- Concrete blocks or gravel for the foundation
- Galvanized nails, screws, and construction adhesive
- Weather-resistant paint or wood stain
- Roofing felt and drip edge
- Door hinges, latch, and handles
Tools:
- Measuring tape and carpenter's square
- Circular saw and/or miter saw
- Hammer and nail gun
- Power drill with screwdriver bits
- Level and plumb bob
- Shovel and rake for site preparation
- Paint brushes and rollers
- Safety goggles and work gloves
It’s important to select high-quality materials to ensure the durability and longevity of your wood shed. Pressure-treated lumber is ideal for withstanding outdoor conditions and resisting rot, decay, and insect damage. Additionally, investing in weather-resistant paint or wood stain will protect the wood from moisture and UV exposure, prolonging its lifespan.
With these materials and tools in hand, you’re well-equipped to commence the construction of your simple wood shed. The next step involves careful planning and design to bring your vision to life.
Planning and Design
Embarking on the construction of a simple wood shed begins with meticulous planning and thoughtful design. Consider the following key aspects as you map out your project:
1. Shed Size and Layout: Determine the dimensions of your wood shed based on the items you intend to store and the available space in your yard. A common size for a simple wood shed is 8 feet by 10 feet, providing ample room for storage without overwhelming your outdoor area.
2. Foundation Type: Choose between a concrete block or gravel foundation. Concrete blocks offer stability and elevation, while a gravel base allows for efficient water drainage. Evaluate the terrain and soil composition to make an informed decision.
3. Door and Window Placement: Strategically position the door to facilitate easy access to the shed’s interior. If desired, incorporate windows to introduce natural light and ventilation, enhancing the functionality and aesthetics of the structure.
4. Roof Pitch and Overhang: Select a suitable roof pitch to ensure effective water runoff and prevent pooling. An overhang can shield the walls from moisture and contribute to the shed’s visual appeal.
5. Ventilation and Insulation: Plan for adequate ventilation to prevent humidity buildup and mold growth. Depending on your climate, insulation may be necessary to regulate the shed’s internal temperature.
Once you’ve outlined these considerations, sketch a rough design or utilize design software to visualize the layout and features of your wood shed. This phase allows you to refine your ideas, make necessary adjustments, and establish a clear roadmap for the construction process.
Remember, the planning stage is an opportunity to infuse your personal style and preferences into the design. Whether you opt for a traditional gable roof or a modern lean-to design, tailor the shed to harmonize with your outdoor landscape and architectural aesthetic.
With a well-conceived plan in hand, you’re ready to move forward with building the foundation, the fundamental underpinning of your simple wood shed.
Read more: How To Build A Wood Foundation For A Shed
Building the Foundation
The foundation serves as the anchor of your wood shed, providing stability and safeguarding the structure against ground moisture. Depending on your chosen foundation type, follow these steps to lay a solid groundwork for your shed:
Concrete Block Foundation:
- Clear the designated area and ensure it’s level and free of debris.
- Position the concrete blocks in a grid pattern, spacing them evenly to support the shed’s perimeter.
- Use a level to confirm the blocks are aligned and adjust as needed.
- Verify that the blocks are firmly set in place and provide uniform support for the shed’s base.
Gravel Foundation:
- Prepare the site by excavating the area and leveling the ground.
- Spread a layer of gravel to create a stable and well-draining base for the shed.
- Compact the gravel using a tamper to ensure a firm and level surface.
- Add additional layers of gravel as necessary to achieve the desired foundation depth.
Whichever foundation type you choose, it’s crucial to verify that the base is level and stable before proceeding. A properly constructed foundation forms the groundwork for the shed’s structural integrity, ensuring that it remains resilient against shifting soil and moisture infiltration.
With the foundation in place, you’ve established a solid underpinning for your wood shed. The next phase involves constructing the frame, a pivotal stage that shapes the shed’s structure and sets the stage for further assembly.
Constructing the Frame
As you progress with building your simple wood shed, the construction of the frame marks a significant milestone in shaping the structure. Follow these steps to assemble the frame:
- Measure and Cut the Lumber: Utilize a measuring tape and a saw to precisely cut the pressure-treated lumber according to the shed’s design specifications. Ensure accuracy to facilitate seamless assembly.
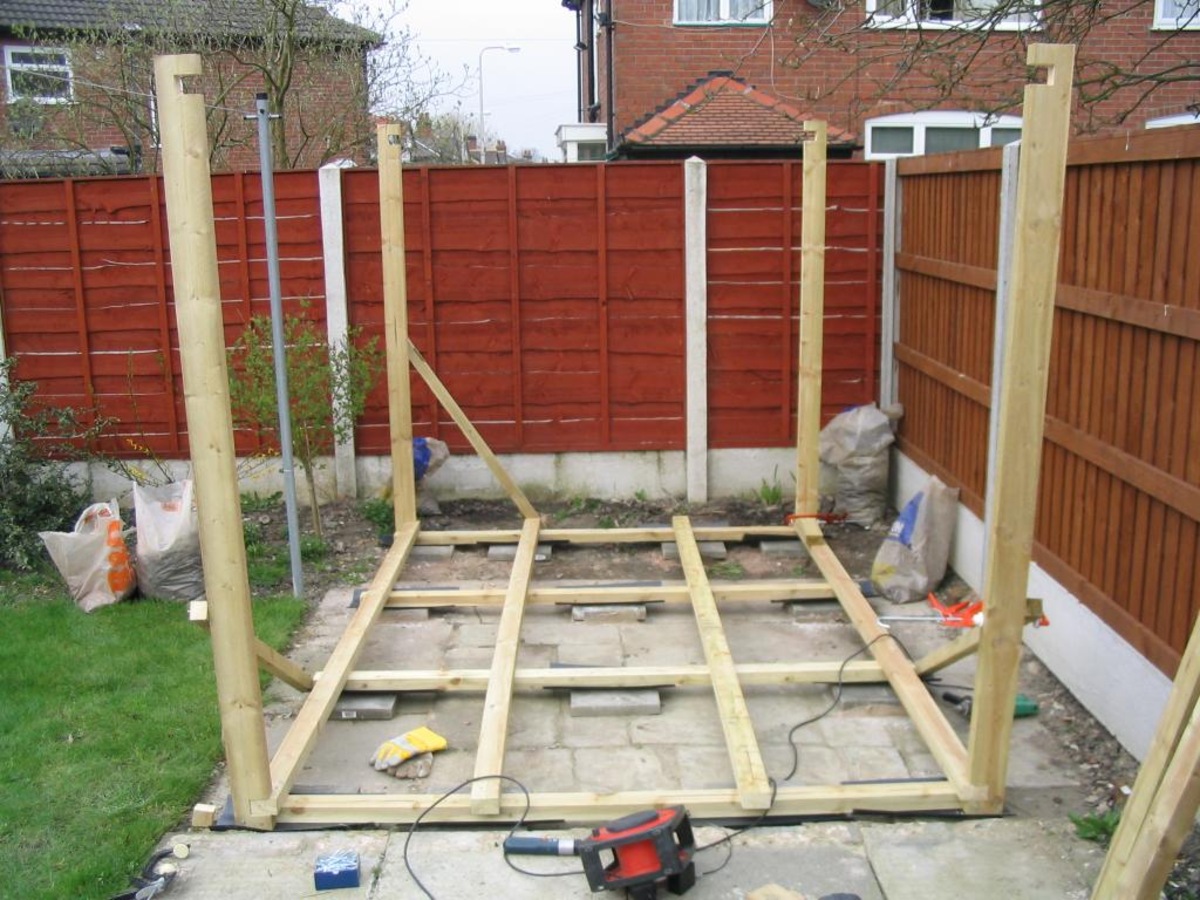
- Assemble the Floor Frame: Lay out the pressure-treated 2×4 or 2×6 boards to form the perimeter of the shed’s floor. Secure the corners with galvanized screws or nails, and add joists at regular intervals to provide structural support.
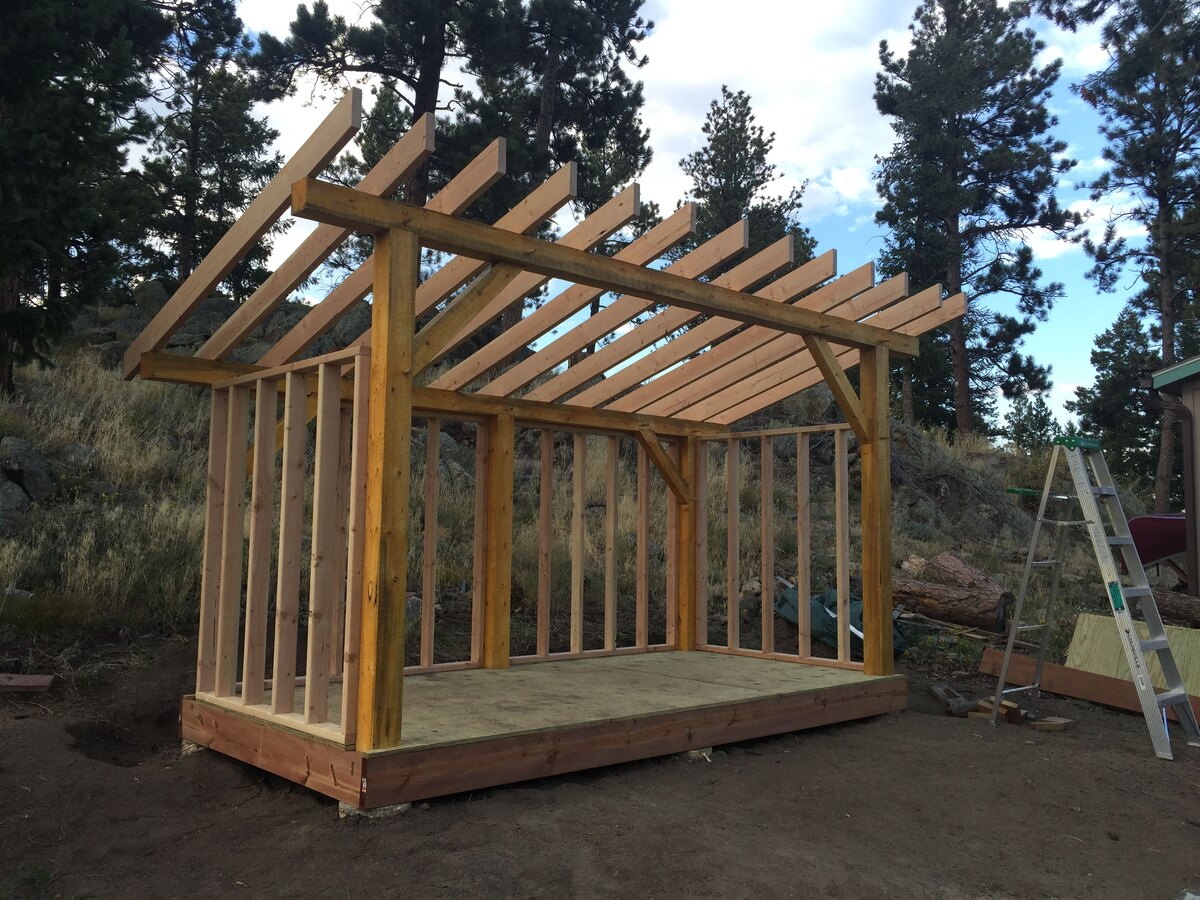
- Erect the Wall Frames: Construct the wall frames using the cut lumber, ensuring that the studs are evenly spaced. Incorporate openings for doors and windows as per your design. Once the frames are assembled, raise them into position and secure them to the floor frame.
- Create the Roof Trusses: Craft the roof trusses using the appropriate lumber dimensions and angles to achieve the desired pitch. Trusses provide the framework for the roof and play a crucial role in distributing weight and supporting the roof structure.
Throughout the frame construction process, prioritize accuracy and attention to detail to ensure the integrity and stability of the shed’s framework. Additionally, enlist the assistance of a friend or family member when maneuvering and securing the larger frame components, fostering a safe and efficient assembly process.
With the frame in place, the next step involves adding the siding to enclose the structure and fortify it against the elements. This transformative phase brings the shed closer to its final form, setting the stage for the subsequent roofing installation.
Adding the Siding
As you approach the enclosure phase of your wood shed construction, adding the siding contributes to both the structural integrity and visual appeal of the structure. Follow these steps to effectively install the siding:
- Prepare the Wall Surface: Ensure the exterior of the frame is clean and free of protrusions. Apply a weather-resistant barrier, such as building wrap, to shield the shed from moisture infiltration.
- Install the Siding Panels: Position the first siding panel at the bottom corner of the shed, ensuring it’s level and plumb. Secure the panel using galvanized nails or screws, placing fasteners at the designated intervals along the studs.
- Overlap and Secure: Install subsequent siding panels, overlapping the edges to create a seamless and weather-resistant barrier. Use a saw to trim panels as needed to fit around doors, windows, and corners.
- Complete the Siding: Work your way around the shed, carefully aligning and securing each siding panel until the entire exterior is covered. Pay attention to detail and maintain consistent alignment for a polished and professional finish.
When selecting siding materials, consider options such as wood siding, T1-11 panels, or engineered wood products, each offering unique aesthetics and durability. Additionally, applying a protective coat of weather-resistant paint or wood stain to the siding enhances its longevity and shields it from the elements.
With the siding installed, your wood shed takes on a defined form, ready to receive the crucial addition of a sturdy and weather-resistant roof. The roofing phase represents the culmination of the shed’s structural assembly, setting the stage for the final touches and functional enhancements.
When building a simple wood shed, make sure to use pressure-treated lumber to prevent rot and decay. This will help your shed last longer and require less maintenance.
Installing the Roof
As you near the completion of your simple wood shed, installing the roof represents a pivotal stage in fortifying the structure against the elements. Follow these steps to effectively install the roof:
- Prepare the Roof Deck: Ensure the roof deck, typically constructed from plywood or oriented strand board (OSB), is securely fastened to the trusses. Verify that the deck is smooth, free of protrusions, and adequately covers the entire roof surface.
- Apply Roofing Underlayment: Install roofing felt over the roof deck, securing it with staples to create a protective barrier against moisture. Additionally, add drip edge along the eaves to facilitate water runoff and prevent water infiltration.
- Install Roofing Materials: Depending on your preference and climate considerations, select asphalt shingles, metal panels, or other roofing materials. Follow the manufacturer’s guidelines to install the roofing material, ensuring it’s securely affixed and aligned for optimal weather resistance.
- Complete Roofing Details: Add ridge caps, hip caps, or other finishing elements to the roof to ensure a cohesive and watertight seal. Pay attention to flashing details around roof penetrations, such as vents and chimneys, to prevent water intrusion.
When selecting roofing materials, prioritize durability, weather resistance, and aesthetic compatibility with your shed’s design. Additionally, consider the roof’s pitch, overhang, and ventilation to optimize its performance and longevity.
With the roof securely in place, your wood shed has reached a significant milestone in its construction journey. The final touches and functional enhancements will further elevate the shed’s utility and visual appeal, bringing your vision to fruition.
Read more: How To Build A Wood Base For A Shed
Finishing Touches
As your simple wood shed nears completion, attention to the finishing touches will enhance its functionality, aesthetics, and longevity. Consider the following steps to add the final details to your wood shed:
- Seal Gaps and Joints: Apply exterior-grade caulk to seal any gaps or joints in the siding, windows, and doors. This helps prevent water infiltration and enhances the shed’s weather resistance.
- Paint or Stain: Apply a weather-resistant paint or wood stain to the exterior siding and trim. Choose a color that complements your outdoor space and provides protection against UV rays and moisture.
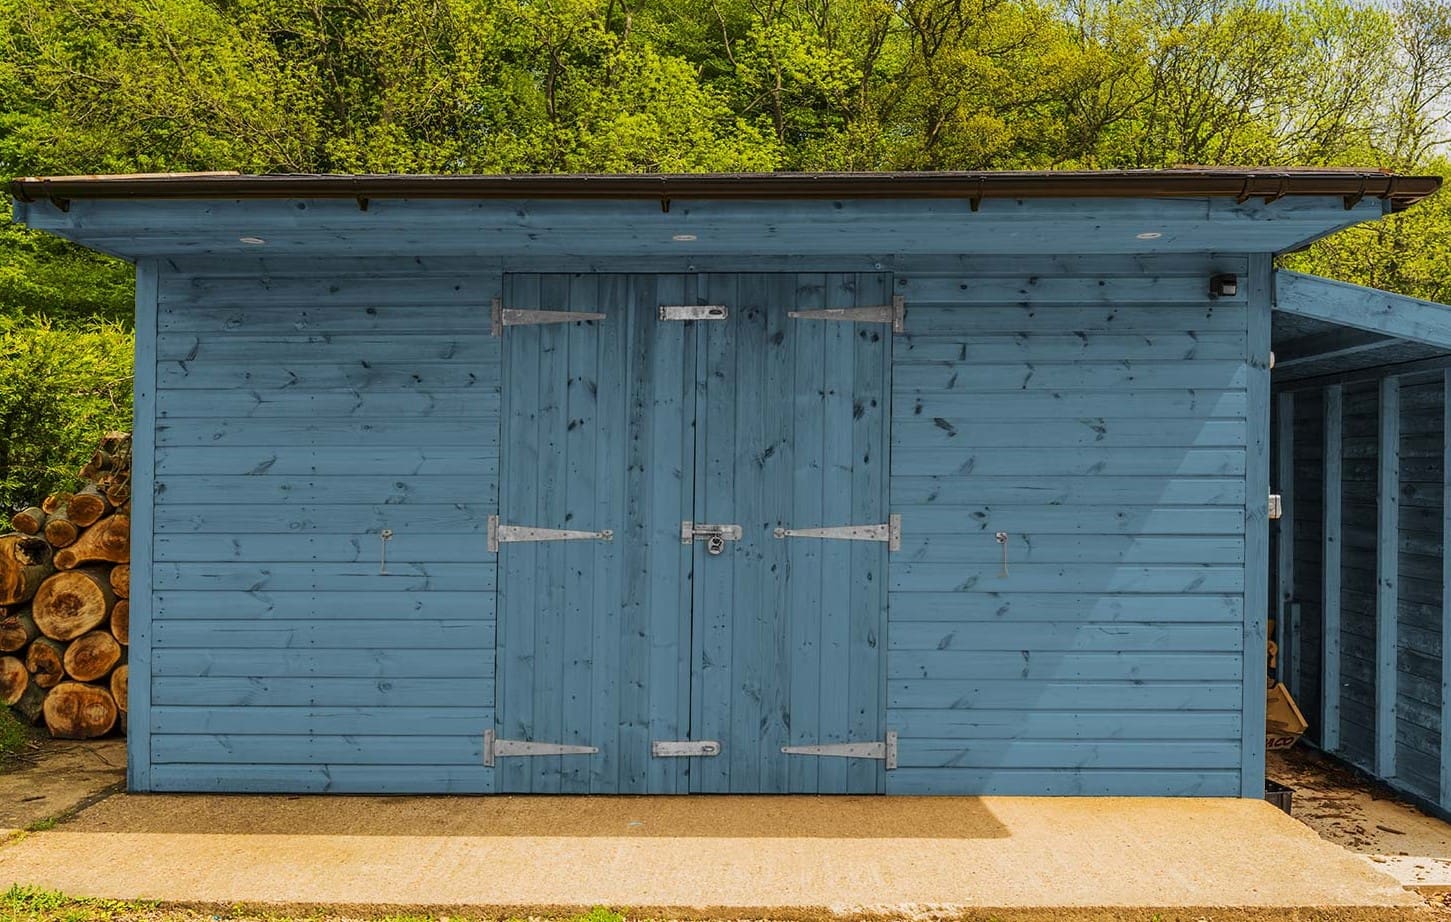
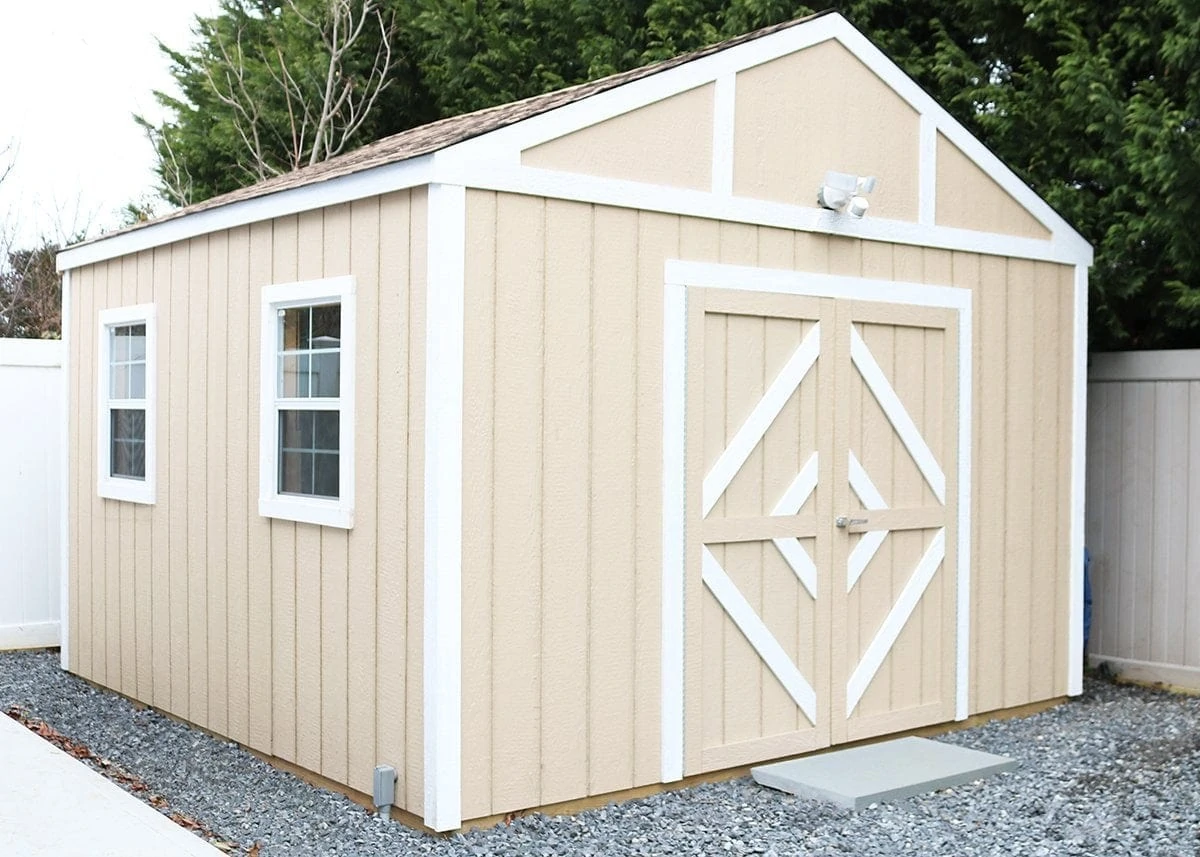
- Install Doors and Windows: Hang the shed doors and install windows, if included in your design. Ensure proper alignment, smooth operation, and weather sealing to create a functional and inviting entryway.
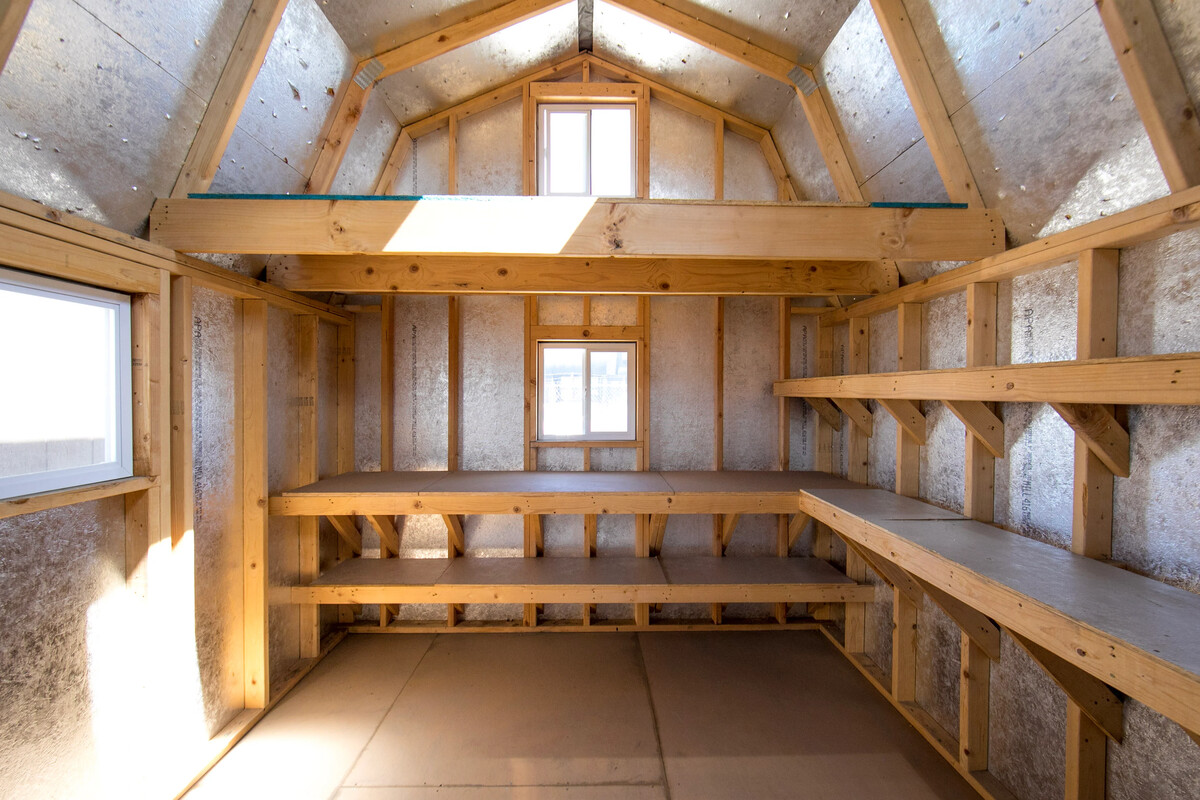
- Add Shelving and Storage: Customize the interior of the shed with shelves, hooks, and storage solutions to maximize organization and utility. Consider your storage needs and optimize the space accordingly.
- Enhance Security: Install a sturdy lock and hardware to secure the shed, providing peace of mind regarding the safety of your stored items.
By attending to these finishing touches, you’ll elevate the functionality, durability, and visual appeal of your wood shed. Additionally, these details contribute to a cohesive and polished end result, reflecting the care and craftsmanship invested in the construction process.
With the completion of these final touches, your simple wood shed stands as a testament to your craftsmanship and vision. It not only provides valuable storage space but also enhances the character and functionality of your outdoor environment.
Conclusion
Congratulations on successfully completing the construction of your simple wood shed! This rewarding endeavor has not only provided valuable storage space but has also allowed you to showcase your creativity and craftsmanship. As you stand back and admire the finished structure, take pride in the tangible result of your hard work and dedication.
Building a wood shed is a testament to the timeless art of woodworking and the satisfaction of creating a functional structure with your own hands. Beyond its practical utility, your wood shed adds charm and character to your outdoor space, becoming an integral part of your property’s landscape.
Throughout the construction process, you’ve navigated the intricacies of planning, designing, and executing each phase with precision and care. From laying the foundation to adding the finishing touches, every step has contributed to the realization of your vision.
As you utilize your wood shed to store gardening tools, outdoor equipment, or firewood, take pride in the fact that it is a reflection of your craftsmanship and ingenuity. Its presence serves as a constant reminder of your ability to transform raw materials into a functional and aesthetically pleasing structure.
Moreover, the skills and knowledge gained from this project empower you to undertake future woodworking endeavors with confidence and proficiency. Whether it’s building furniture, crafting outdoor structures, or engaging in DIY projects, the experience gained from constructing a wood shed serves as a solid foundation for future endeavors.
As you enjoy the fruits of your labor and the enhanced functionality of your outdoor space, remember the journey that led to the completion of your wood shed. It’s a testament to your creativity, perseverance, and commitment to turning ideas into reality.
May your wood shed stand as a beacon of your craftsmanship and a source of pride for years to come, enriching your outdoor environment and serving as a symbol of the artistry and dedication invested in its creation.
Well done on building a simple wood shed that not only meets your practical needs but also enriches your outdoor space with its presence and character.
Frequently Asked Questions about How To Build A Simple Wood Shed
Was this page helpful?
At Storables.com, we guarantee accurate and reliable information. Our content, validated by Expert Board Contributors, is crafted following stringent Editorial Policies. We're committed to providing you with well-researched, expert-backed insights for all your informational needs.


0 thoughts on “How To Build A Simple Wood Shed”