Home>Gardening & Outdoor>Outdoor Structures>How To Build An Outhouse Shed

Outdoor Structures
How To Build An Outhouse Shed
Published: January 20, 2024
Learn how to build an outhouse shed for your outdoor space with our comprehensive guide. Create a functional and stylish outdoor structure with our expert tips.
(Many of the links in this article redirect to a specific reviewed product. Your purchase of these products through affiliate links helps to generate commission for Storables.com, at no extra cost. Learn more)
Introduction
Welcome to the ultimate guide on how to build an outhouse shed! Whether you're a seasoned DIY enthusiast or a novice looking to take on a new project, constructing an outhouse shed can be a rewarding and practical endeavor. An outhouse shed serves as a versatile outdoor structure, providing storage space, a cozy retreat, or even a functional bathroom facility in remote areas where plumbing may not be available. In this comprehensive guide, we will walk you through each step of the process, from choosing the perfect location to adding the finishing touches.
Building an outhouse shed requires careful planning, a bit of elbow grease, and a creative mindset. From selecting the ideal location to gathering the necessary materials and putting everything together, each stage plays a crucial role in the overall success of your project. By following this guide, you will gain valuable insights into the construction process and learn tips and tricks to ensure that your outhouse shed is not only structurally sound but also aesthetically pleasing.
So, roll up your sleeves, grab your tools, and get ready to embark on an exciting journey of craftsmanship and creativity. Whether you envision a rustic retreat nestled in your backyard or a functional storage space on your rural property, this guide will equip you with the knowledge and confidence to bring your outhouse shed dreams to life. Let's dive in and explore the step-by-step process of building an outhouse shed that perfectly suits your needs and reflects your personal style.
Key Takeaways:
- Choosing the right location for your outhouse shed is crucial for convenience, stability, privacy, and compliance with local regulations. It sets the stage for a successful and harmonious addition to your outdoor space.
- Gathering the necessary materials and carefully planning the design of your outhouse shed are essential steps that ensure you’re well-prepared to bring your vision to life. It’s where creativity and practical considerations converge to shape the overall look, functionality, and ambiance of your outdoor structure.
Read more: How Build A Shed
Step 1: Choose a Location
Before you roll up your sleeves and start hammering away, it’s crucial to carefully consider the location of your outhouse shed. The right spot can significantly impact the functionality and visual appeal of your structure. Here are essential factors to keep in mind when selecting the perfect location:
- Accessibility: Choose a location that is easily accessible from your main dwelling or the area where you anticipate the highest foot traffic. This ensures convenience when using the shed for storage, a bathroom, or any other purpose you have in mind.
- Ground Stability: Opt for a level and stable area for the foundation of your outhouse shed. Uneven or soft ground can lead to structural issues down the line, so it’s vital to assess the stability of the chosen location.
- Privacy and Aesthetics: Consider the visual impact of the shed on your property and the level of privacy it offers. You may want to position the shed in a way that complements the overall aesthetics of your outdoor space and provides a sense of seclusion, especially if you plan to use it as a relaxation retreat.
- Local Regulations: Check with local authorities or homeowner’s associations for any regulations or permits required for building an outdoor structure. Compliance with zoning laws and building codes is essential to avoid potential legal issues in the future.
- Utility Connections: If you intend to include amenities such as electricity or plumbing, proximity to utility connections should be a key consideration. Access to these services can impact the feasibility and cost of incorporating such features into your outhouse shed.
By carefully evaluating these factors, you can identify the optimal location for your outhouse shed, setting the stage for a successful and harmonious addition to your outdoor space. Once you’ve chosen the perfect spot, it’s time to move on to the next step: gathering the materials you’ll need for the construction process.
Step 2: Gather Materials
With the location selected, it’s time to gather the materials necessary to bring your outhouse shed to life. The specific materials you’ll need can vary based on your design, size, and intended use of the shed. However, there are some fundamental components that are essential for most outhouse shed construction projects:
- Lumber: The backbone of your shed, lumber will be used for framing, walls, and other structural elements. Pressure-treated lumber is an excellent choice for its durability and resistance to decay.
- Roofing Materials: Depending on your preference and local climate, options for roofing materials include shingles, metal panels, or corrugated fiberglass. Each has its own aesthetic and functional benefits.
- Fasteners: Nails, screws, and other fasteners are essential for securing the various components of your shed. Make sure to select fasteners designed for outdoor use to withstand the elements.
- Foundation Materials: Concrete blocks, gravel, or treated skids may be required to create a stable foundation for your shed, depending on the chosen design and local building codes.
- Doors and Windows: If your design includes openings for doors and windows, be sure to procure these components along with any necessary hardware for installation.
- Siding: Choose from a variety of siding materials such as plywood, vinyl, or cedar to enclose the exterior walls of your shed, providing both protection and visual appeal.
- Tools: Don’t forget to gather essential tools such as a circular saw, hammer, level, tape measure, and a power drill to facilitate the construction process.
While this list covers the foundational materials needed for most outhouse shed projects, your specific design and intended use may require additional items. It’s also important to consider any optional features or amenities you plan to incorporate, such as insulation, electrical wiring, or plumbing fixtures, and ensure you have the necessary materials for these elements as well.
By gathering the right materials upfront, you’ll be well-prepared to move on to the next step: planning the design of your outhouse shed to bring your vision to fruition.
Step 3: Plan Your Design
Now that you have the materials at your disposal, it’s time to dive into the exciting phase of planning the design of your outhouse shed. This step is where your creativity and practical considerations converge to shape the overall look, functionality, and ambiance of your outdoor structure. Here’s how to approach the design planning process:
- Define the Purpose: Consider how you intend to use the outhouse shed. Will it primarily serve as a storage space, a tranquil retreat, or a functional bathroom facility? Clearly defining its purpose will guide the design decisions you make.
- Sketch the Layout: Create a rough sketch or use design software to visualize the layout of the shed. Determine the placement of doors, windows, and any interior partitions based on your intended use and aesthetic preferences.
- Factor in Aesthetics: Explore different exterior finishes, colors, and architectural details that align with your personal style and complement the surrounding landscape. Whether you prefer a traditional, rustic, or modern look, the design should harmonize with its environment.
- Maximize Functionality: Optimize the interior layout to maximize storage space or create a comfortable and inviting environment, depending on the shed’s purpose. Efficient use of space is key, especially for smaller-sized sheds.
- Consider Future Needs: Anticipate any potential future needs, such as expanding the shed or adding amenities. Planning for flexibility can save you time and resources down the road.
- Review Local Regulations: Ensure that your design complies with local building codes and regulations, especially if you plan to include features like plumbing or electricity.
By carefully planning the design of your outhouse shed, you’ll set the stage for a construction process that aligns with your vision and meets your practical needs. Once you’ve finalized the design, it’s time to roll up your sleeves and move on to the next step: building the foundation that will provide a solid base for your shed.
Step 4: Build the Foundation
With the design plan in hand, it’s time to lay the groundwork for your outhouse shed by constructing a sturdy and level foundation. The foundation is a critical element that provides stability and ensures the longevity of your structure. Here’s a step-by-step guide to building the foundation:
- Site Preparation: Clear the chosen area of any debris, rocks, or vegetation. Use a shovel and a level to ensure the ground is flat and free from any obstructions that could impact the foundation’s stability.
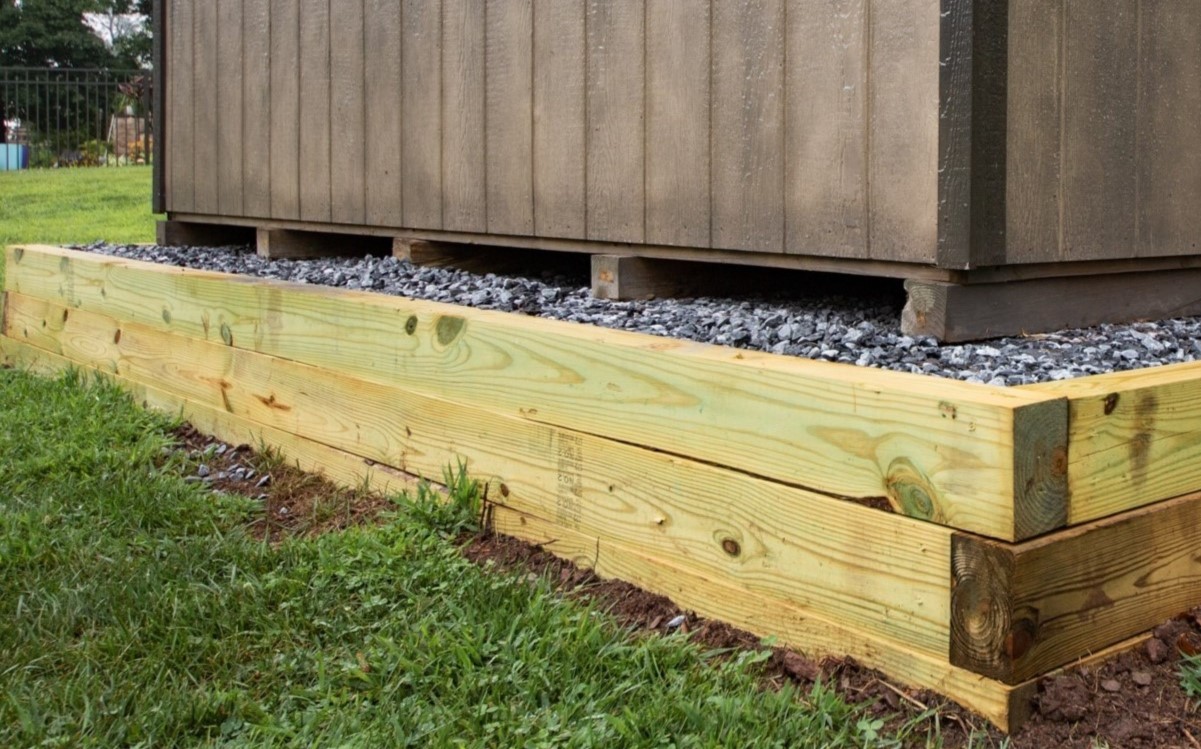
- Choose the Foundation Type: Depending on your shed design and local building codes, select the appropriate foundation type. Common options include concrete piers, concrete blocks, or treated skids placed on a bed of gravel.
- Mark the Layout: Use stakes and string to outline the dimensions of the foundation, ensuring that it aligns with the design plan and that the corners form perfect right angles.
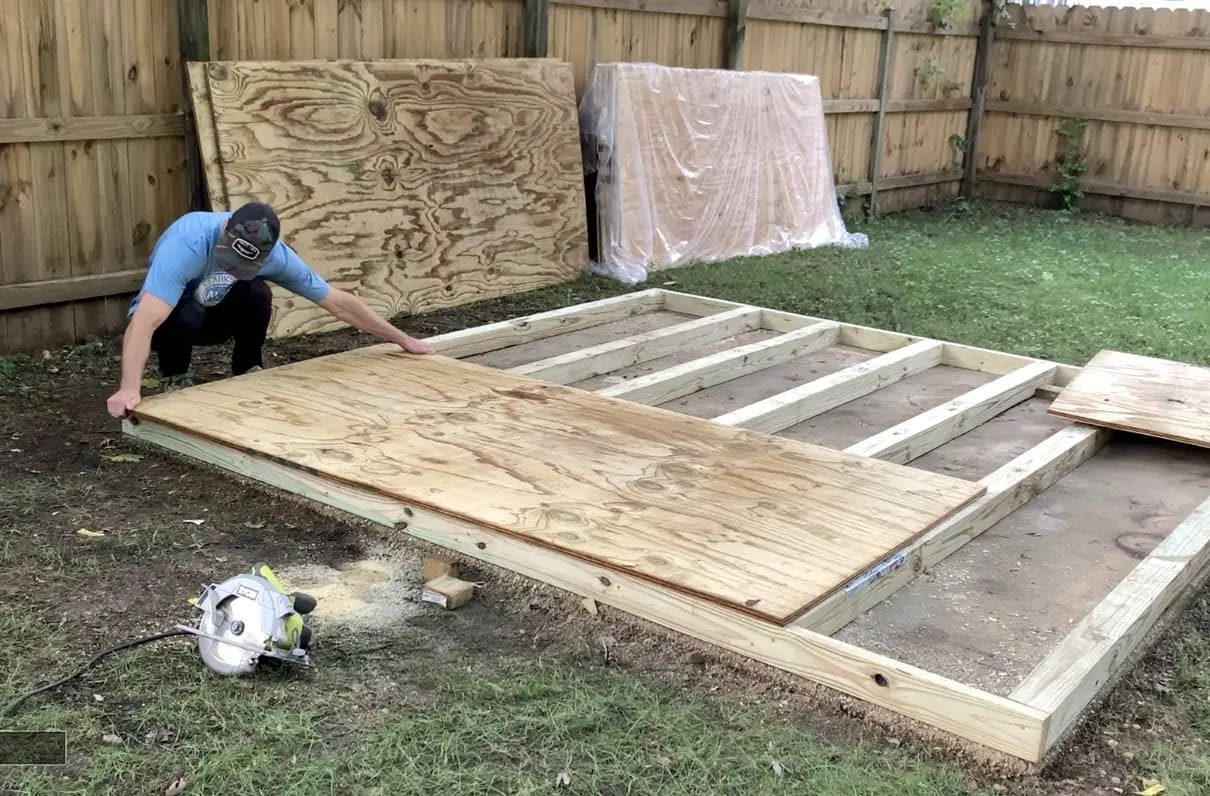
- Excavation and Leveling: If you’re using a concrete foundation, excavate the marked area to the required depth and pour a level layer of compacted gravel. For other foundation types, ensure the ground is leveled and compacted to provide a stable base.
- Install the Foundation Components: Place and secure the chosen foundation components according to the design plan, ensuring they are level and properly aligned. Use a level and measuring tape to verify the accuracy of the installation.
- Anchor the Foundation: Depending on the foundation type, anchor it to the ground using appropriate fasteners or braces to prevent shifting or movement, especially in areas prone to high winds or seismic activity.
Building a solid foundation is a crucial first step that sets the stage for the rest of the construction process. By ensuring that the foundation is level, stable, and compliant with local building codes, you’ll create a reliable base for the next phase: constructing the walls of your outhouse shed.
When building an outhouse shed, make sure to choose a location that is at least 50 feet away from any water source to prevent contamination.
Read more: How To Build A Shed
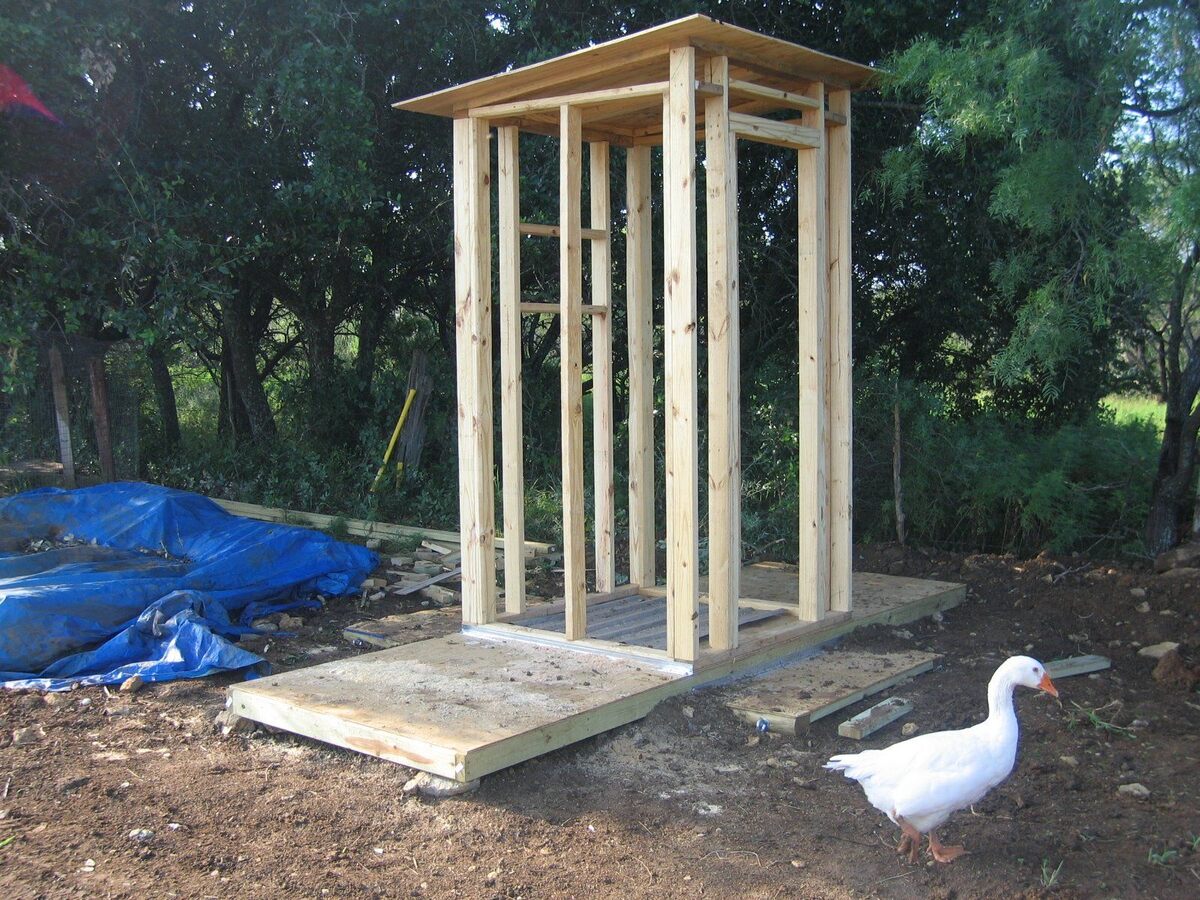
Step 5: Construct the Walls
With the foundation in place, it’s time to bring your outhouse shed to life by constructing its walls. The walls not only define the structure but also provide support and protection from the elements. Here’s a comprehensive guide to constructing the walls of your outhouse shed:
- Measure and Cut the Lumber: Begin by measuring and cutting the lumber according to the dimensions specified in your design plan. Use a circular saw and a measuring tape to ensure precision.
- Assemble the Wall Frames: Lay out the cut lumber to create the wall frames, ensuring that the corners are square and the framing members are securely connected using appropriate fasteners.
- Add Structural Support: Install horizontal and diagonal bracing within the wall frames to enhance structural integrity, especially for larger sheds or those located in areas prone to high winds or seismic activity.
- Incorporate Openings: If your design includes windows and doors, frame these openings within the wall structures, ensuring they are properly aligned and securely supported.
- Position the Walls: With the wall frames assembled, carefully position them on the foundation, ensuring they are plumb and level before securing them in place.
- Secure the Walls: Use appropriate fasteners to secure the walls to the foundation and to each other, creating a cohesive and stable structure that forms the skeleton of your outhouse shed.
As the walls take shape, you’ll witness your outhouse shed begin to assume its intended form and function. Once the walls are securely in place, you’re ready to move on to the next step: installing the essential component that provides shelter and protection—the roof.
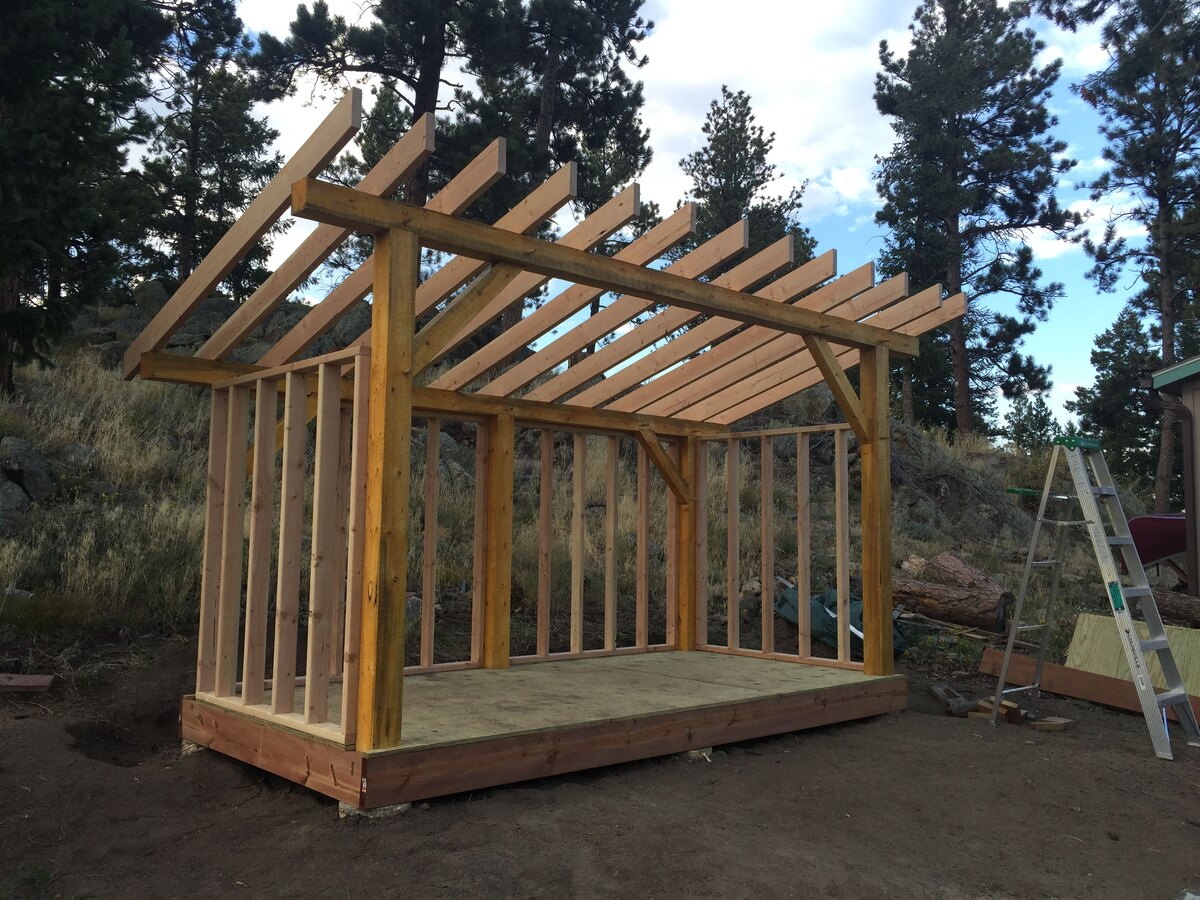
Step 6: Install the Roof
As your outhouse shed nears completion, it’s time to focus on one of its most vital elements—the roof. The roof not only provides shelter and protection from the elements but also contributes to the overall aesthetic and structural integrity of the shed. Here’s a detailed guide to installing the roof of your outhouse shed:
- Select Roofing Materials: Choose the roofing materials best suited to your design and local climate. Options include asphalt shingles, metal panels, or corrugated fiberglass, each offering its own set of benefits and visual appeal.
- Prepare the Roofing Surface: Ensure the top of the walls is properly sheathed and ready to receive the roofing materials. Install drip edge along the eaves to prevent water infiltration and protect the underlying structure.
- Begin Roofing Installation: If using shingles, start at the eaves and work your way up, overlapping each row to create a water-resistant barrier. For metal or fiberglass panels, follow the manufacturer’s guidelines for installation.
- Address Roof Penetrations: If your design includes vents or other roof penetrations, ensure these areas are properly flashed and sealed to prevent water intrusion.
- Complete Ridge and Hip Lines: Install ridge caps or hip shingles to cover the peak and hip lines of the roof, providing a finished and watertight transition between the roof planes.
- Inspect and Secure: Once the roofing materials are in place, thoroughly inspect the installation for any loose components or potential areas of water entry. Secure all roofing elements to ensure they can withstand wind and other environmental factors.
With the roof securely installed, your outhouse shed is well on its way to becoming a fully functional and visually striking outdoor structure. The next step will add the finishing touches that elevate the shed from a mere construction project to a personalized and practical addition to your outdoor space.
Step 7: Add Finishing Touches
As you approach the final stage of your outhouse shed construction, it’s time to add the finishing touches that will elevate its functionality, visual appeal, and overall charm. These details will transform your shed from a basic structure into a personalized and practical outdoor space. Here’s a guide to adding those essential finishing touches:
- Exterior Finishes: Apply exterior finishes such as paint, stain, or sealant to protect the shed from the elements and enhance its aesthetic appeal. Choose colors and finishes that complement your outdoor environment and reflect your personal style.
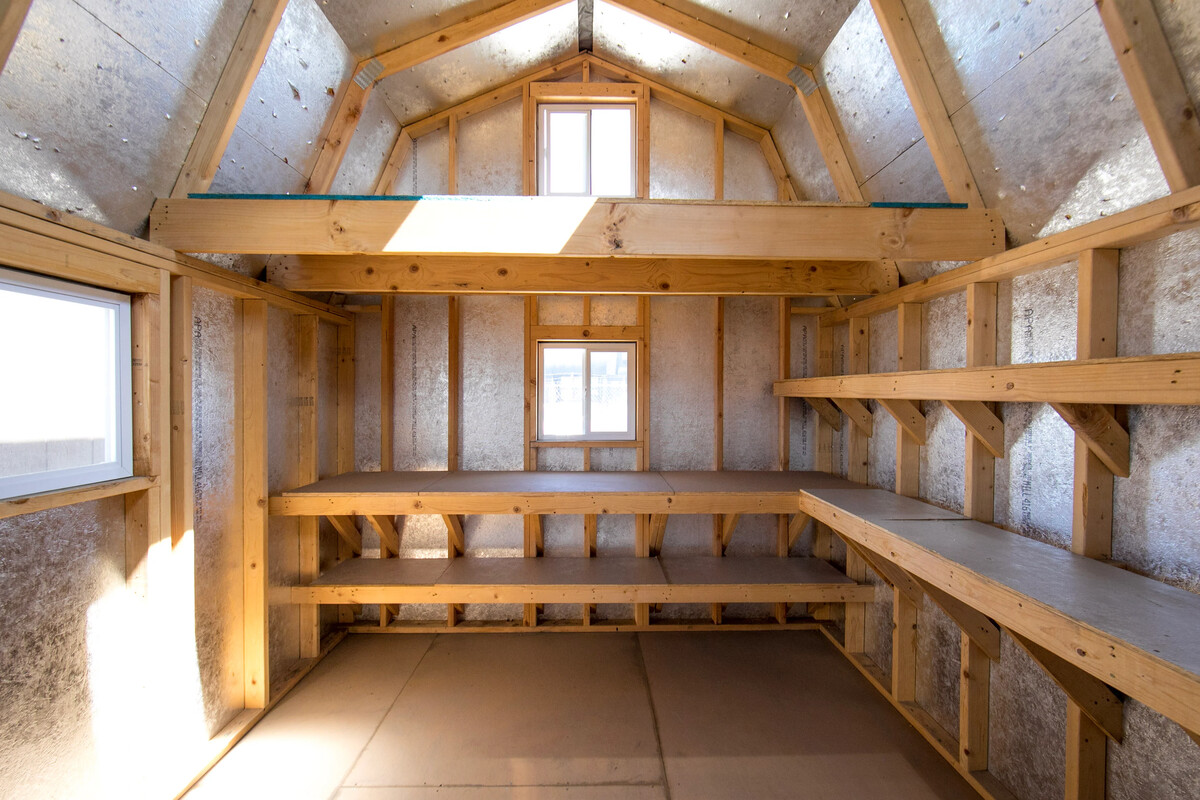
- Interior Features: If your shed serves as a retreat or workspace, consider adding interior features such as shelving, hooks, or a workbench to optimize functionality and organization.
- Lighting and Electrical: Install lighting fixtures and electrical outlets if your shed will be used for extended periods, creating a comfortable and well-lit environment for various activities.
- Security and Accessibility: Add locks, handles, and any necessary accessibility features to ensure the security and usability of your shed, especially if it houses valuable equipment or tools.
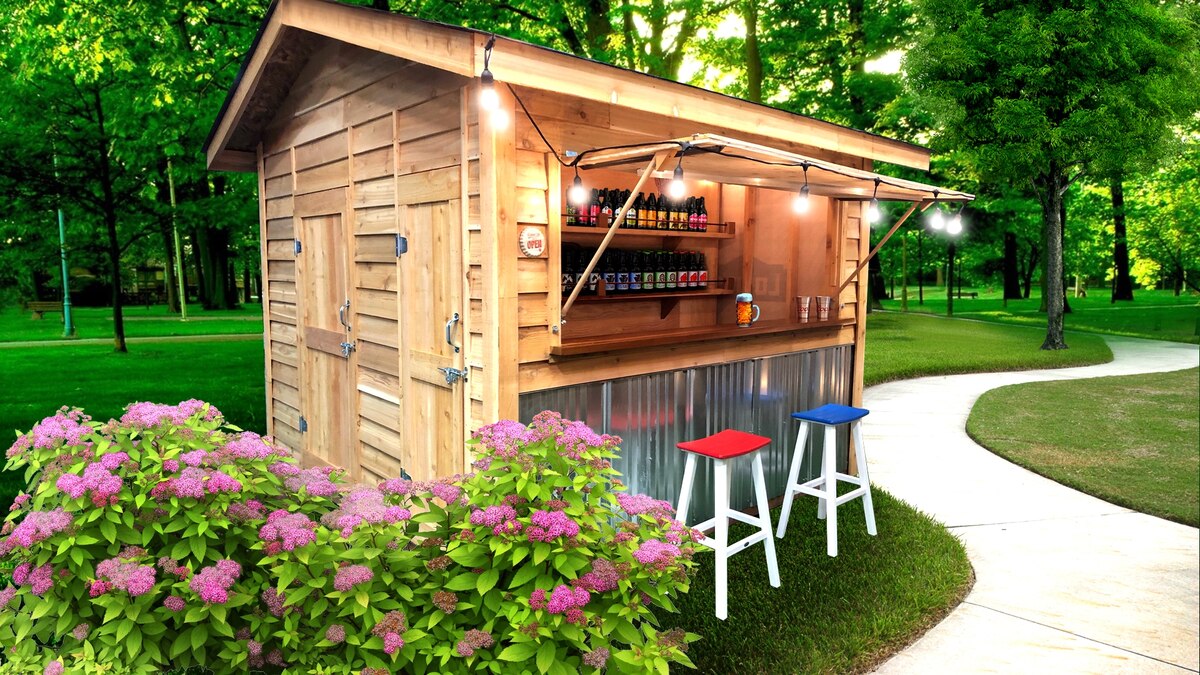
- Personalization: Incorporate personalized elements such as signage, decorative accents, or planters to infuse the shed with your unique style and make it feel like an integral part of your outdoor space.
- Landscaping and Surroundings: Enhance the shed’s surroundings with landscaping elements such as pathways, gardens, or seating areas to create a cohesive and inviting outdoor environment.
By adding these finishing touches, you’ll not only complete the construction process but also infuse your outhouse shed with character and functionality. Whether it serves as a storage space, a retreat, or a functional bathroom facility, these details will ensure that your shed meets your needs and reflects your personal taste. With the finishing touches in place, it’s time to step back and admire the impressive result of your dedication and craftsmanship.
Conclusion
Congratulations on successfully completing the construction of your outhouse shed! Throughout this journey, you’ve transformed raw materials and a vision into a practical, aesthetically pleasing, and versatile outdoor structure. Whether you built a storage shed, a cozy retreat, or a functional bathroom facility, your dedication and craftsmanship have yielded a valuable addition to your outdoor space.
Building an outhouse shed is not just about the physical construction; it’s a testament to your creativity, problem-solving skills, and ability to bring a concept to fruition. As you stand back and admire the finished product, take pride in the knowledge that you’ve created a space that serves a purpose, reflects your personal style, and enhances your outdoor environment.
Remember, the journey doesn’t end with the completion of construction. Your outhouse shed will continue to evolve as you use it, personalize it, and integrate it into your daily life. Whether you’re organizing tools, unwinding in a tranquil retreat, or providing a convenient bathroom solution, your shed will be a testament to your ingenuity and resourcefulness.
As you enjoy the fruits of your labor, take a moment to appreciate the skills you’ve honed, the challenges you’ve overcome, and the satisfaction of creating something tangible and enduring. Your outhouse shed stands as a testament to your ability to turn a vision into reality, and it will continue to serve you for years to come.
So, as you embark on this new chapter with your completed outhouse shed, may it bring you joy, utility, and a sense of accomplishment. Whether you’re storing tools, seeking solace in a peaceful retreat, or providing a convenient facility for guests, your outhouse shed is a testament to your creativity and determination. Embrace the possibilities it offers and the memories it will help create as an integral part of your outdoor lifestyle.
Frequently Asked Questions about How To Build An Outhouse Shed
Was this page helpful?
At Storables.com, we guarantee accurate and reliable information. Our content, validated by Expert Board Contributors, is crafted following stringent Editorial Policies. We're committed to providing you with well-researched, expert-backed insights for all your informational needs.



0 thoughts on “How To Build An Outhouse Shed”