Home>Gardening & Outdoor>Outdoor Structures>How To Build Doors For A Shed
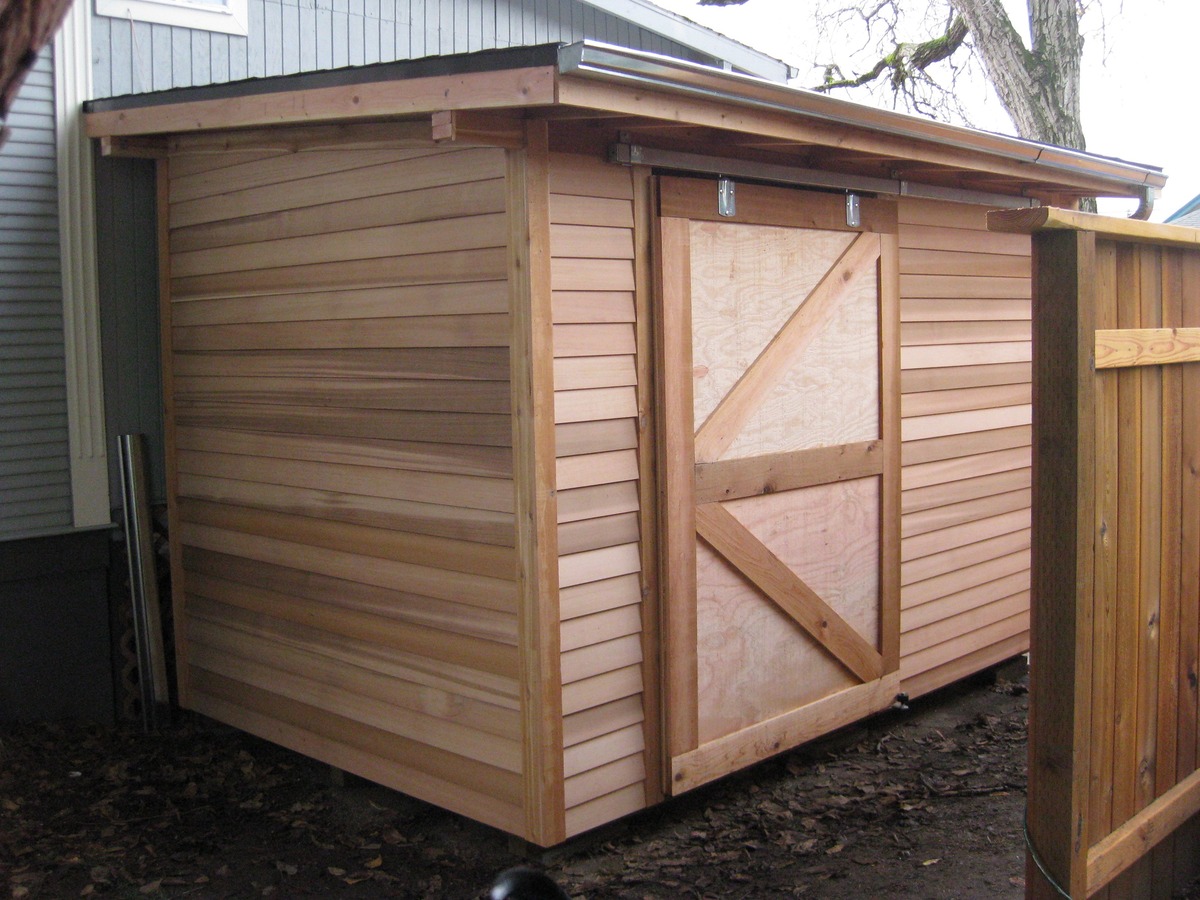

Outdoor Structures
How To Build Doors For A Shed
Modified: October 20, 2024
Learn how to build sturdy and secure doors for your outdoor structures with our step-by-step guide. Create a functional and attractive shed with our expert tips and techniques.
(Many of the links in this article redirect to a specific reviewed product. Your purchase of these products through affiliate links helps to generate commission for Storables.com, at no extra cost. Learn more)
Introduction
Building a shed can significantly expand your outdoor storage space and provide a dedicated area for a variety of activities. Whether you're a seasoned DIY enthusiast or a novice looking to embark on a new project, constructing a shed and its components can be a rewarding and fulfilling experience.
In this article, we'll focus on an essential element of shed construction: building doors. The doors of a shed not only serve as a functional entry point but also contribute to its overall aesthetic appeal. By following these steps, you can create sturdy, well-crafted doors that will enhance the functionality and visual appeal of your shed.
Throughout the process, we will cover the necessary materials, precise measurements, and crucial techniques to ensure that the doors fit seamlessly and operate smoothly. With a clear plan and attention to detail, you can successfully build doors for your shed, adding a personalized touch to your outdoor space.
Now, let's delve into the materials needed for this project.
Key Takeaways:
- Building shed doors requires precise planning, sturdy construction, and attention to detail. It’s a gratifying DIY project that enhances outdoor space and storage functionality.
- By meticulously measuring, constructing, and installing, you can create personalized shed doors that reflect your craftsmanship and attention to detail.
Read more: How To Build A Shed Door
Materials Needed
Before embarking on the construction of shed doors, it’s essential to gather the requisite materials to ensure a smooth and efficient building process. Here’s a comprehensive list of the materials you’ll need:
- Pressure-treated lumber: This will serve as the primary material for constructing the door frame, providing durability and resistance to outdoor elements.
- Exterior-grade plywood or oriented strand board (OSB): These materials will form the door panels, offering strength and stability.
- Hinges: Select heavy-duty, rust-resistant hinges to facilitate smooth door operation and longevity.
- Latch or lock set: Choose a reliable latch or lock set to secure the shed doors, ensuring the safety of the contents within.
- Galvanized screws or nails: These fasteners will be used to assemble the door frame and attach the panels securely.
- Wood glue: Opt for weather-resistant wood glue to reinforce the joints and enhance the overall strength of the doors.
- Measuring tape and carpenter’s square: These tools are essential for accurate measurements and precise angles during the construction process.
- Circular saw or table saw: A reliable saw will be necessary for cutting the lumber and plywood to the required dimensions.
- Sandpaper or electric sander: Smooth any rough edges and surfaces for a professional finish.
- Paint or stain (optional): If desired, choose an exterior-grade paint or stain to protect the doors from the elements and enhance their visual appeal.
By ensuring that you have all the necessary materials on hand, you can streamline the door-building process and minimize interruptions. With the materials in place, the next step involves meticulous planning and precise measurements for the door construction.
Planning and Measurement
Before diving into the physical construction of shed doors, meticulous planning and precise measurements are crucial for ensuring a seamless and accurate building process. Here’s a step-by-step guide to help you plan and measure effectively:
1. Assess the Door Size:
Begin by determining the ideal size for your shed doors based on the shed’s dimensions and your specific requirements. Standard single doors typically measure 3 feet wide, while double doors range from 5 to 6 feet in width. Consider the items you plan to store in the shed and ensure that the door size allows for convenient access.
2. Sketch the Design:
Create a rough sketch or blueprint of the door design, including the dimensions of the frame and panels. This visual representation will serve as a guide during the construction phase and help you visualize the final product.
Read more: How To Build A Double Shed Door
3. Measure Accurately:
Use a measuring tape to take precise measurements for the door frame and panels. Double-check all measurements to ensure accuracy, as even a small discrepancy can affect the fit and functionality of the doors.
4. Consider Clearances:
Factor in the necessary clearances for the door operation, including space for the door to swing open without obstruction. Additionally, account for the door frame’s thickness when measuring the overall dimensions.
5. Account for Panel Overlap:
If you plan to use multiple panels to construct the door, consider the necessary overlap between the panels to ensure a secure and weather-resistant fit.
By meticulously planning the door size, sketching the design, and taking accurate measurements, you’ll establish a solid foundation for the subsequent construction phases. The next crucial step involves building the frame for the shed doors.
Building the Frame
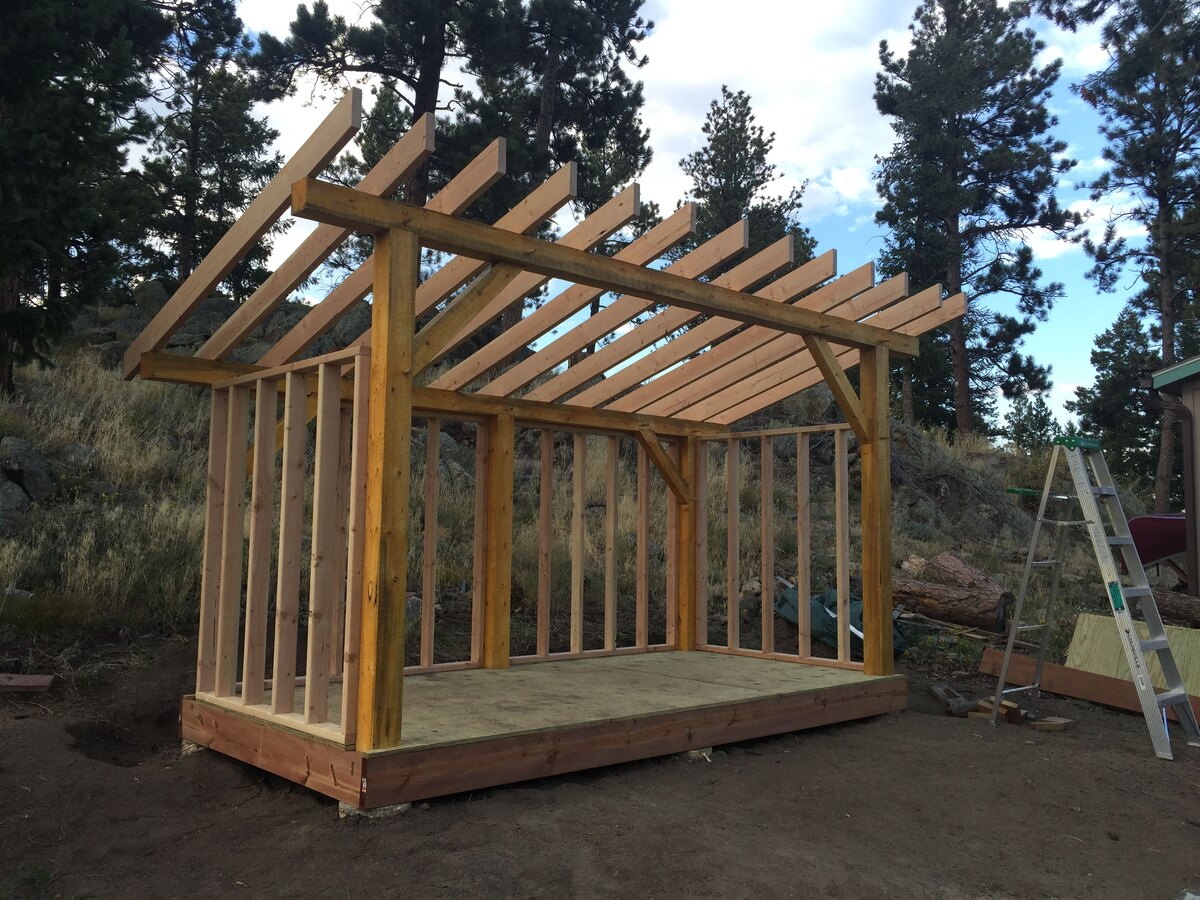
Constructing a sturdy and well-aligned frame is essential for ensuring the structural integrity and functionality of shed doors. Follow these steps to build a robust frame for your shed doors:
Read more: How To Build A Barn Door For A Shed
1. Cut the Lumber to Size:
Using a circular saw or table saw, carefully cut the pressure-treated lumber to the precise dimensions required for the door frame. Ensure that the top and bottom horizontal pieces (rails) are cut to the desired width, while the vertical pieces (stiles) are cut to the appropriate height based on your measurements.
2. Assemble the Frame Components:
Lay out the cut lumber pieces on a flat, level surface, arranging them to form the rectangular frame structure. Use a carpenter’s square to ensure that the corners are perfectly square, and make any necessary adjustments to achieve a precise fit.
3. Reinforce the Joints:
Apply weather-resistant wood glue to the ends of the frame components before joining them together. Secure the joints by driving galvanized screws or nails through the corners, providing additional strength and stability to the frame.
4. Install Cross Bracing (if needed):
If constructing large doors, consider adding diagonal cross braces within the frame to prevent warping and enhance the overall rigidity of the doors. Cut the braces to size and secure them within the frame using appropriate fasteners.
Read more: How To Build A Shed Door With T1-11
5. Verify Squareness and Alignment:
Double-check the frame for squareness and alignment, ensuring that it matches the dimensions outlined in your initial measurements. This step is crucial for guaranteeing that the doors will hang correctly and operate smoothly once installed.
By meticulously constructing the frame with precision and attention to detail, you’ll lay the groundwork for seamlessly integrating the door panels. The next phase involves adding the panels to complete the construction of the shed doors.
Adding the Panels
Once the frame for the shed doors is meticulously constructed, the next crucial step involves adding the panels to complete the door assembly. Follow these steps to seamlessly integrate the panels into the door frame:
1. Measure and Cut the Panels:
Using exterior-grade plywood or oriented strand board (OSB), measure and cut the panels to fit within the dimensions of the door frame. Ensure that the panels are trimmed precisely to achieve a snug and uniform fit within the frame.
2. Apply Wood Glue:
Apply a thin, even layer of weather-resistant wood glue along the edges of the panels that will come into contact with the frame. This adhesive will enhance the bond between the panels and the frame, contributing to the overall stability of the doors.
3. Secure the Panels:
Position the panels within the frame and secure them in place using galvanized screws or nails. Space the fasteners evenly along the perimeter of each panel to ensure a secure attachment to the frame. Additionally, countersink the fasteners slightly to create a smooth, flush surface.
4. Sand and Smooth Edges:
After attaching the panels, use sandpaper or an electric sander to smooth any rough edges and surfaces. This step will not only refine the appearance of the doors but also minimize the risk of splinters and ensure a professional finish.
5. Optional: Add Decorative Trim (if desired):
If you wish to enhance the aesthetic appeal of the doors, consider adding decorative trim along the perimeter of the panels. This decorative touch can elevate the visual impact of the doors and complement the overall design of your shed.
By meticulously adding the panels and attending to the finer details, you’ll complete the structural construction of the shed doors. The subsequent steps involve installing the hinges and latch to enable seamless operation and secure closure of the doors.
Installing the Hinges and Latch
As the structural components of the shed doors near completion, the installation of hinges and a latch is essential for enabling smooth operation and secure closure. Follow these steps to seamlessly install the hinges and latch:
Read more: How Build A Shed
1. Select Heavy-Duty Hinges:
Choose high-quality, heavy-duty hinges that are specifically designed for outdoor use. The hinges should be rust-resistant and capable of supporting the weight of the shed doors to ensure long-term durability.
2. Position the Hinges:
Determine the placement of the hinges on the door frame, ensuring that they are evenly spaced and aligned. Mark the locations for the hinge screws using a pencil or marker, and pre-drill pilot holes to facilitate the installation of the hinges.
3. Attach the Hinges:
Secure the hinges to the door frame using appropriately sized screws, ensuring a firm and stable attachment. Verify that the hinges are level and securely affixed to the frame, as they will support the entire weight of the doors.
4. Install the Latch or Lock Set:
Select a reliable latch or lock set that suits your specific security needs. Position the latch or lock set on the opposing door frame, aligning it with the corresponding component on the shed door. Mark the screw hole locations, pre-drill pilot holes, and securely attach the latch or lock set in place.
Read more: How To Build A Shed
5. Test the Operation:
After installing the hinges and latch, test the operation of the doors to ensure that they swing open and close smoothly. Verify that the latch or lock set securely engages, providing the necessary level of security for the contents within the shed.
By meticulously installing the hinges and latch, you’ll finalize the construction of the shed doors, culminating in a functional and secure entry point for your outdoor storage space. With the doors in place, your shed will be ready to accommodate your storage needs and outdoor activities.
Conclusion
Embarking on the journey of building doors for your shed is a gratifying endeavor that not only enhances the functionality of your outdoor space but also allows for personalization and customization. Throughout this process, attention to detail and precision are paramount, ensuring that the doors are not only visually appealing but also durable and reliable.
By meticulously planning and measuring, constructing a sturdy frame, seamlessly integrating the panels, and installing the necessary hardware, you’ve created a vital component of your shed with your own hands. The doors you’ve built will serve as a gateway to a space where organization, hobbies, and storage converge.
As you stand back and admire the completed doors, take pride in the craftsmanship and dedication that have gone into this project. The doors are not merely functional; they are a testament to your ability to transform raw materials into a practical and aesthetically pleasing element of your outdoor environment.
Remember, the knowledge and skills you’ve gained in this process can be applied to future projects, empowering you to continue enhancing and personalizing your outdoor structures. Whether it’s a garden shed, a workshop, or a storage unit, the ability to construct doors tailored to your specific needs is a valuable skill that will serve you well in your DIY endeavors.
With your newly built shed doors, you’ve added a touch of individuality to your outdoor space, and you’re now better equipped to protect and access the items stored within. As you open and close the doors of your shed, take pride in the fact that you’ve created a functional and inviting entryway that reflects your craftsmanship and attention to detail.
So, as you embark on future projects and continue to explore the world of outdoor structures, remember that the doors you’ve built are a testament to your creativity and determination. With each project, you’ll continue to hone your skills and leave your mark on the spaces you create.
Frequently Asked Questions about How To Build Doors For A Shed
Was this page helpful?
At Storables.com, we guarantee accurate and reliable information. Our content, validated by Expert Board Contributors, is crafted following stringent Editorial Policies. We're committed to providing you with well-researched, expert-backed insights for all your informational needs.



0 thoughts on “How To Build Doors For A Shed”