Home>Furniture>Outdoor Furniture>How To Fix A Pergola To A Patio
Outdoor Furniture
How To Fix A Pergola To A Patio
Modified: October 25, 2024
Learn how to fix an outdoor pergola to your patio with our step-by-step guide. Create a stunning outdoor space with our expert tips and easy-to-follow instructions.
(Many of the links in this article redirect to a specific reviewed product. Your purchase of these products through affiliate links helps to generate commission for Storables.com, at no extra cost. Learn more)
Introduction
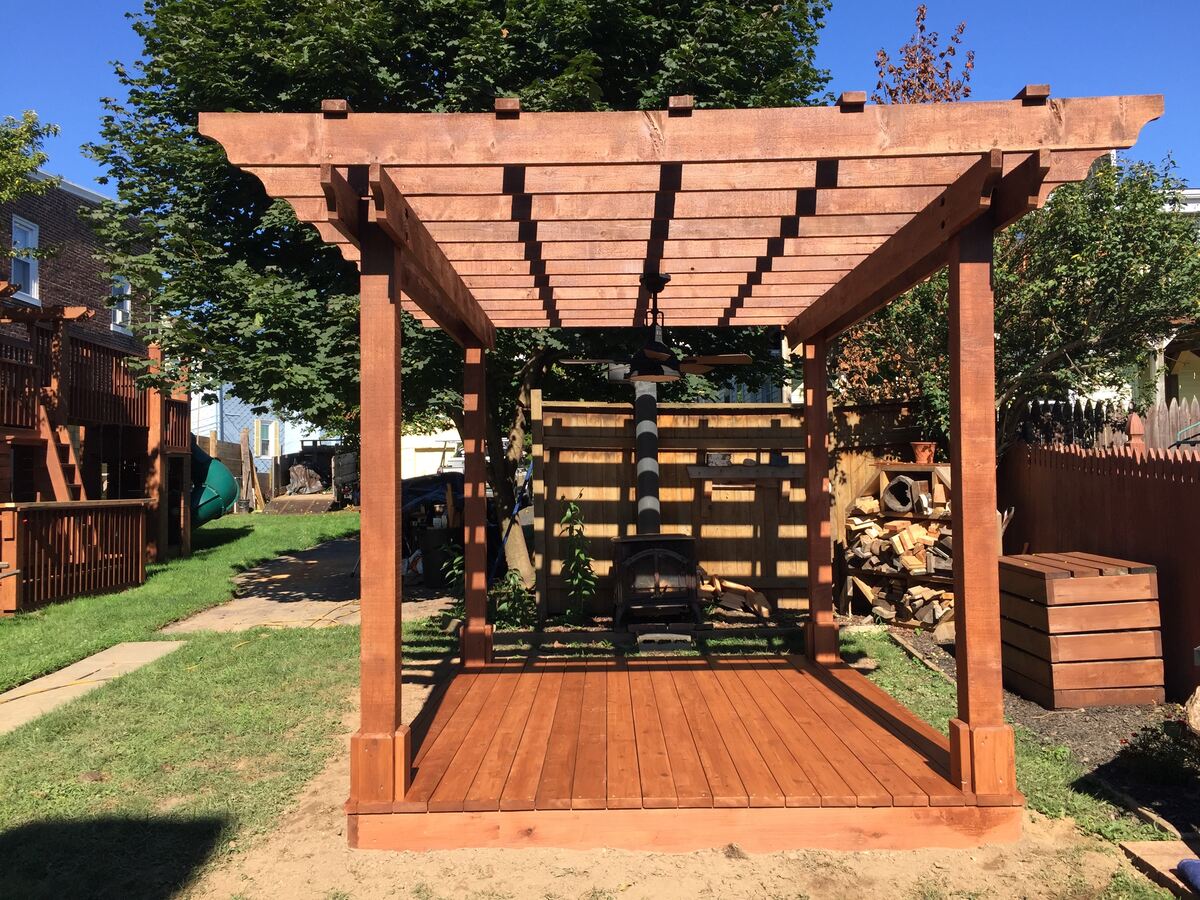
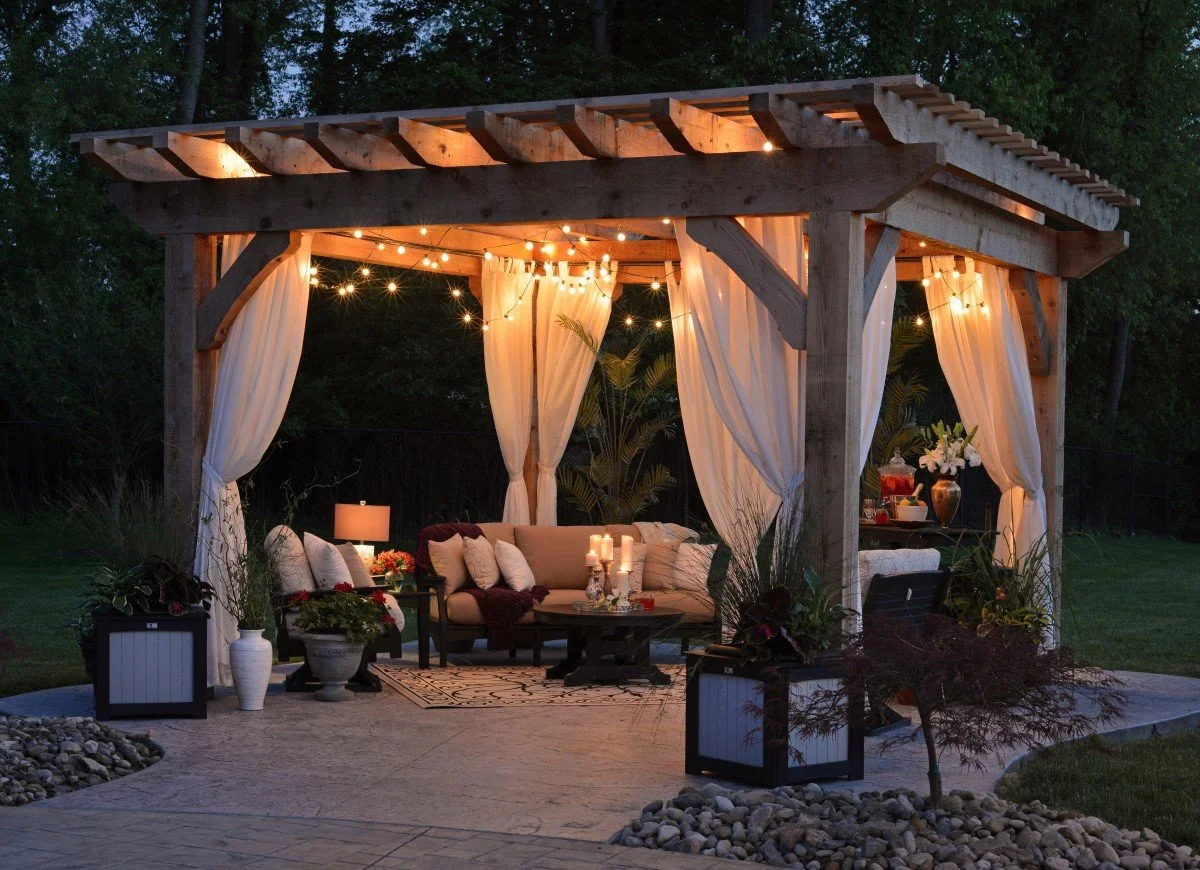
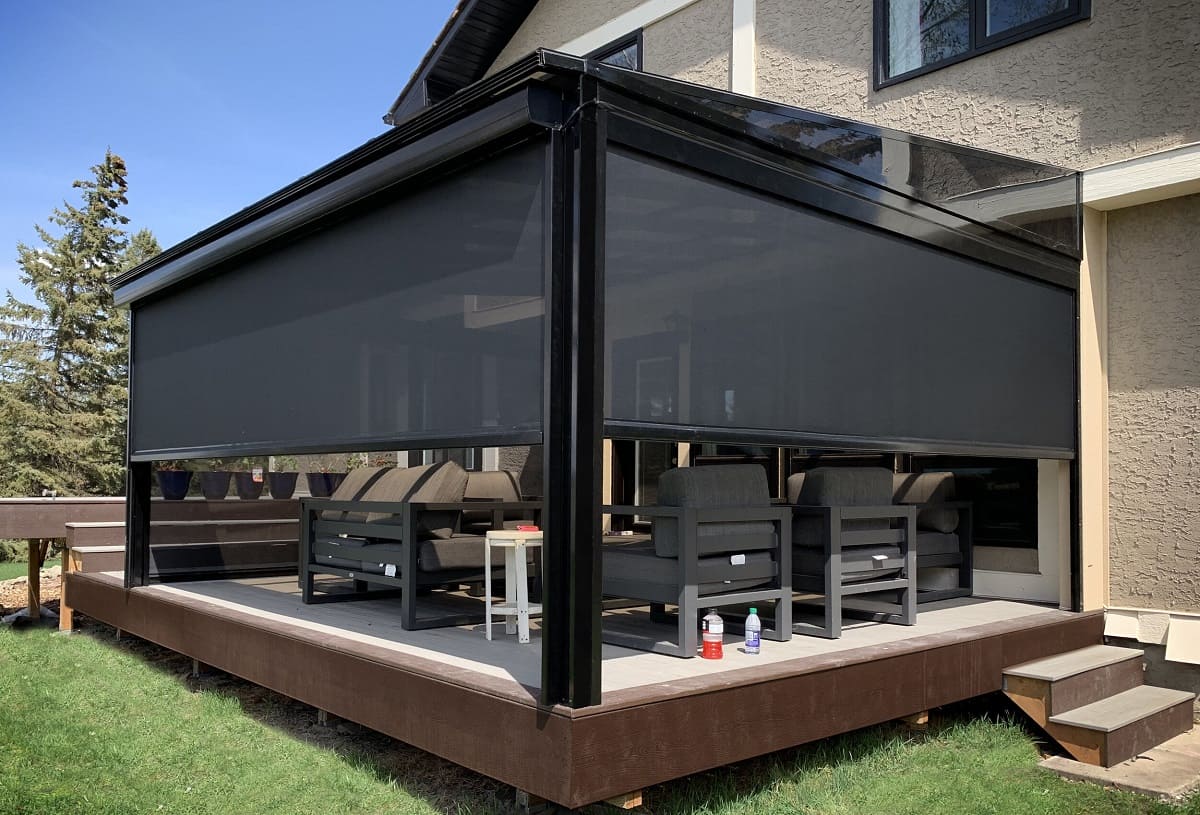
Adding a pergola to your patio can not only enhance the aesthetic appeal of your outdoor space but also provide a functional and inviting area for relaxation and socializing. A pergola offers a shaded retreat where you can enjoy the outdoors, protected from the harsh sun or light rain. Moreover, it can be a stylish structure that adds charm and character to your patio.
However, properly fixing a pergola to a patio requires careful planning and execution. It’s important to ensure that the pergola is securely anchored to the patio surface, providing stability and durability. In this article, we will guide you through the step-by-step process of fixing a pergola to a patio, from preparing the surface to adding finishing touches. So, grab your tools and let’s get started!
Key Takeaways:
- Fixing a pergola to a patio requires careful preparation, accurate measurements, and secure attachment of posts, beams, and rafters. It’s essential to prioritize safety and regular maintenance for a long-lasting and inviting outdoor space.
- Adding finishing touches, such as stain or paint, and implementing regular maintenance practices, like cleaning and inspecting for damage, are crucial for enjoying a beautiful and functional pergola for years to come.
Read more: How To Build A Pergola On A Patio
Tools and Materials Needed
Before you begin fixing a pergola to your patio, gather the necessary tools and materials to ensure a smooth and efficient installation process. Here is a list of what you will need:
Tools:
- Hammer
- Drill
- Level
- Tape Measure
- Socket Wrench
- Adjustable Wrench
- Masonry Drill Bit
- Screwdriver
- Step Ladder
Materials:
- Pergola Kit
- Concrete Anchors
- Lag Screws
- Post Base Brackets
- Wood Screws
- Wood Glue
- Pressure-treated or Cedar Wood Posts
- Beams and Rafters
- Hardware (nuts, bolts, washers)
Make sure to choose high-quality materials that are suitable for outdoor use and can withstand various weather conditions. Pressure-treated or cedar wood is highly recommended for its durability and resistance to rot and insect damage.
Additionally, ensure that you have the appropriate safety gear, such as gloves and safety glasses, to protect yourself during the installation process.
With these tools and materials in hand, you are ready to move on to the next step and start preparing your patio for the pergola installation.
Step 1: Preparing the Patio Surface
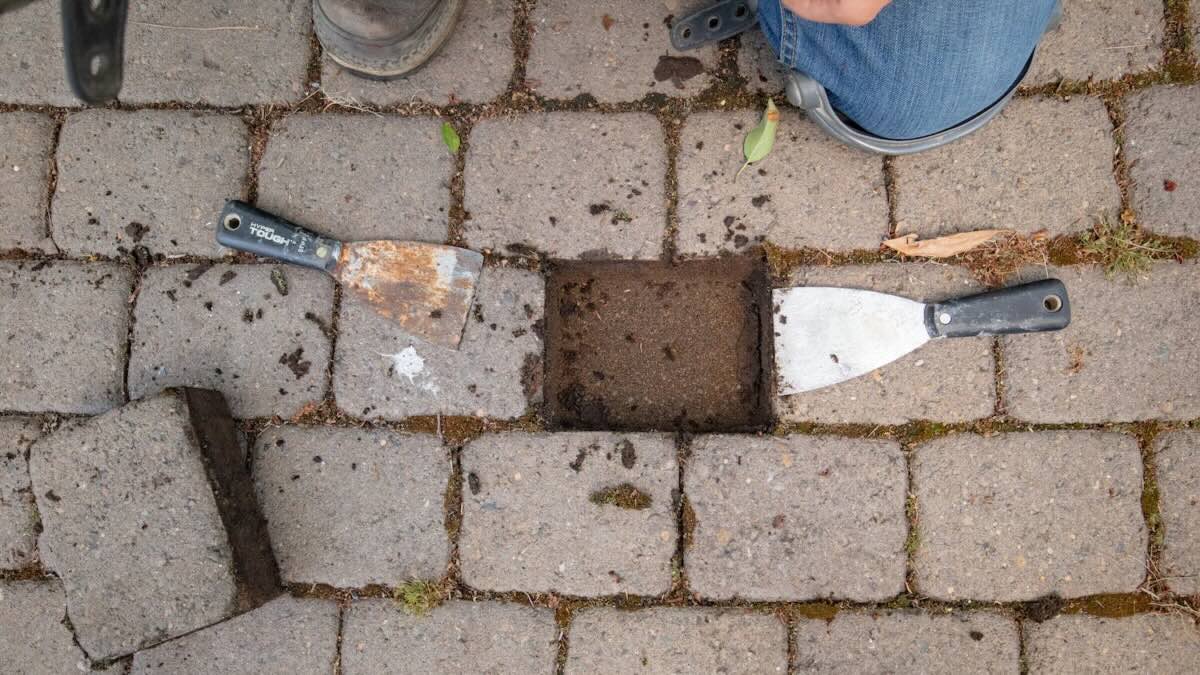
Before fixing a pergola to your patio, it is important to ensure that the surface is properly prepared. This step will help create a stable and level foundation for the pergola installation. Follow these steps to prepare your patio surface:
- Clean the Patio: Remove any debris, dirt, or plants growing on the patio surface. Use a broom or a pressure washer to thoroughly clean the area. This will provide a clean and smooth surface for the pergola installation.
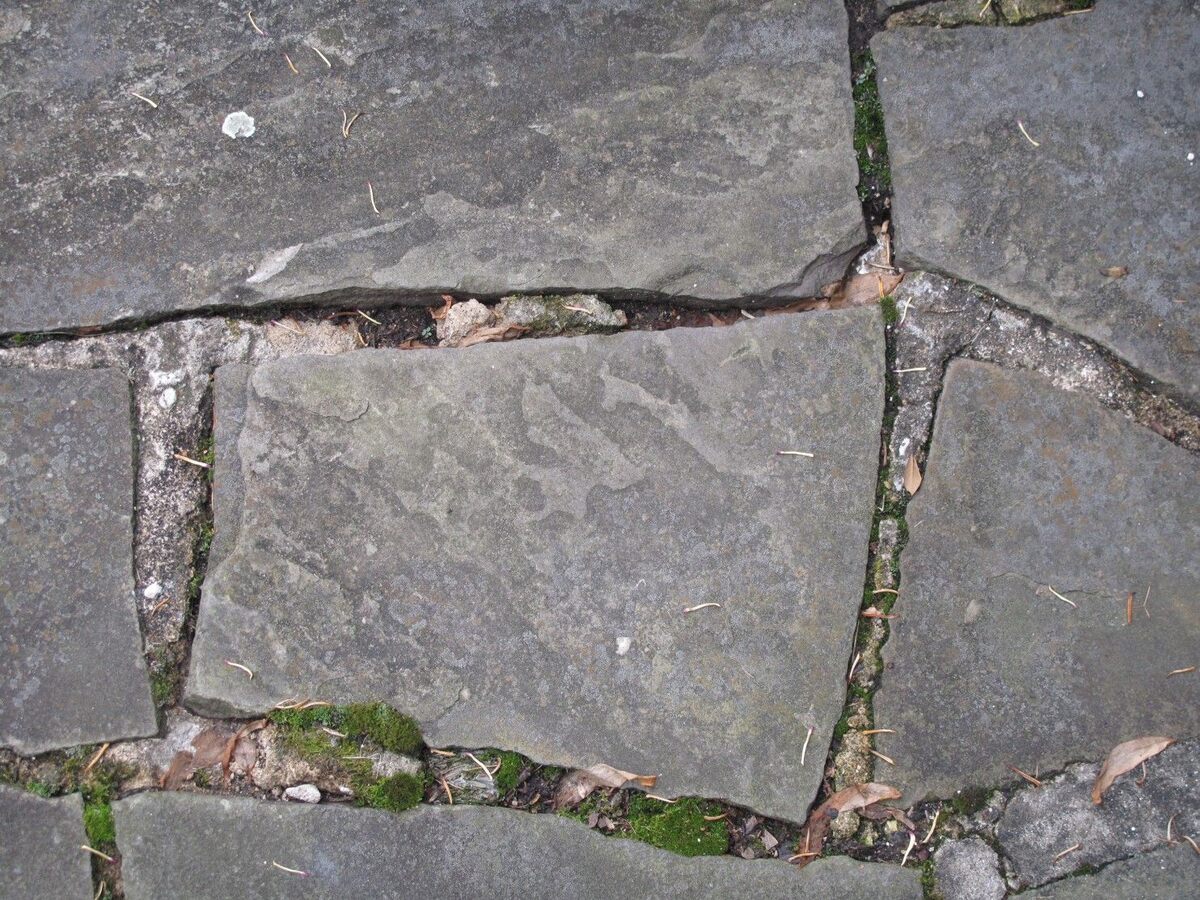
- Inspect the Patio: Check the patio surface for any cracks, damages, or uneven areas. If you come across any issues, consider repairing or resurfacing the patio before proceeding with the installation. A stable and level surface is essential for the long-term stability of the pergola.
- Mark the Placement: Determine where you want the pergola to be positioned on the patio. Use a tape measure and spray paint or chalk to mark the desired location. Ensure that the placement aligns with your patio design and allows enough space for movement and furniture.
- Account for Overhang: If the pergola is designed to have overhanging beams or rafters, make sure to measure and mark the appropriate distance from the edge of the patio. This will ensure that the pergola does not extend beyond the desired boundaries.
- Check for Underground Utilities: Before drilling or digging, it is crucial to check for any underground utilities, such as gas lines or electrical cables. Call your local utility companies to identify and mark the location of these lines to avoid any accidents during the installation process.
By properly preparing the patio surface, you are setting the stage for a successful and sturdy pergola installation. Once you have completed these steps, you can move on to the next step of installing the post base brackets.
Read more: How To Build A Patio Pergola
Step 2: Measuring and Marking the Patio for the Pergola
Once you have prepared the patio surface, it’s time to measure and mark the exact placement of the pergola. This step is crucial to ensure that the pergola is positioned accurately and aligns with your desired patio layout. Follow these steps to measure and mark the patio for the pergola:
- Measure the Dimensions: Using a tape measure, determine the length and width of the pergola you plan to install. Take accurate measurements of the base or footprint of the pergola and note them down.
- Transfer Measurements to the Patio: With the measurements in hand, transfer them to the patio surface. Use a measuring tape, ruler, or straight edge to mark the corners and edges of the pergola on the patio. You can use chalk, spray paint, or temporary markers for these markings.
- Double-Check for Accuracy: Once you have marked the dimensions on the patio, double-check the measurements to ensure accuracy. Use a level or straight edge to confirm that the markings are parallel and square with the patio’s edges.
- Consider Desired Overhang: If your pergola design includes overhanging beams or rafters, take this into account when marking the patio. Measure and mark the appropriate distance from the edge of the patio to ensure the overhang fits within your desired boundaries.
- Review Placement and Visualize: Step back and review the marked placement of the pergola on the patio. Visualize how it will look in the outdoor space and confirm that it aligns with your design aspirations and functional needs.
By precisely measuring and marking the patio for the pergola, you are ensuring that the installation is well-planned and executed. This step helps in achieving accurate placement and a harmonious integration of the pergola into your patio area.
Once you have completed the measuring and marking process, you are ready to move on to the next step of installing the post base brackets.
Step 3: Installing the Post Base Brackets
Now that you have measured and marked the patio for your pergola, it’s time to install the post base brackets. These brackets will serve as the foundation for securing the pergola posts to the patio surface. Follow these steps to install the post base brackets:
- Position the Brackets: Place the post base brackets on the marked locations where the pergola posts will be installed. Ensure that the brackets are aligned with the markings and are square with the patio’s edges.
- Mark the Screw Hole Positions: With the brackets in place, use a marker or pencil to mark the positions of the screw holes on the patio surface. This will guide you when drilling the holes for secure attachment.
- Pre-drill the Holes: Use a masonry drill bit of appropriate size to pre-drill the marked screw hole positions on the patio surface. Be sure to drill to the recommended depth for the concrete anchors or fasteners you will be using.
- Insert the Concrete Anchors: Once the holes are drilled, insert the concrete anchors into the holes. Tap them gently with a hammer if needed to ensure they are snugly fit into the holes. These anchors will provide stability and secure attachment for the brackets.
- Attach the Brackets: Align the holes in the post base brackets with the concrete anchors. Use lag screws or other appropriate fasteners to securely attach the brackets to the patio. Make sure the brackets are level and flush with the surface.
- Repeat for Remaining Brackets: If your pergola design requires multiple brackets, repeat the above steps for each bracket until all are securely installed on the patio.
By installing the post base brackets correctly, you are creating a solid foundation for your pergola. These brackets will provide the necessary support and stability for the pergola posts, ensuring a secure attachment to the patio surface.
Once you have completed the installation of the post base brackets, you are ready to proceed to the next step—attaching the pergola posts to the brackets.
Step 4: Attaching the Pergola Posts to the Brackets
After installing the post base brackets, the next step in fixing a pergola to your patio is attaching the pergola posts to the brackets. This step is crucial as it ensures that the pergola structure remains stable and securely anchored to the patio. Follow these steps to attach the pergola posts:
- Prepare the Posts: Measure and cut the pergola posts to the desired height, taking into consideration any overhead clearance or design preferences. Ensure that the posts are level and free from any defects or imperfections.
- Apply Wood Glue: Apply a generous amount of wood glue to the top surface of each pergola post that will be attached to the brackets. This helps create a strong bond between the post and the bracket, ensuring stability.
- Place the Posts: Carefully place each pergola post onto the corresponding post base bracket. The wood glue will help hold the post in place during the attachment process.
- Secure with Wood Screws: Using a drill or screwdriver, drive wood screws through the holes in the brackets into the pergola posts. Make sure to use screws that are long enough to securely fasten the posts to the brackets without protruding through the other side.
- Check for Plumb and Level: Use a level to ensure that the pergola posts are plumb and level in all directions. Adjust as necessary by slightly loosening or tightening the wood screws, and use shims if needed.
- Tighten the Screws: Once the posts are plumb and level, fully tighten the wood screws to securely attach the posts to the brackets. Check again for stability and make any final adjustments if needed.
- Repeat for Remaining Posts: If your pergola design requires multiple posts, repeat the above steps for each post until all are securely attached to the brackets.
By properly attaching the pergola posts to the brackets, you are ensuring the structural integrity of your pergola. This step provides the foundation for the remaining components of the pergola, such as the beams and rafters, to be securely installed.
Once you have finished attaching the pergola posts to the brackets, you can move on to the next step of securing the pergola beams and rafters.
When fixing a pergola to a patio, use heavy-duty anchors or brackets to secure the posts to the patio surface. This will provide stability and prevent the pergola from shifting or tipping over.
Step 5: Securing the Pergola Beams and Rafters
With the pergola posts securely attached to the brackets, you can now proceed to the next step of fixing the pergola to your patio – securing the beams and rafters. These components provide support, structure, and shade to your pergola. Follow these steps to secure the pergola beams and rafters:
- Measure and Cut the Beams: Determine the length of the beams based on your pergola design. Use a tape measure and saw to accurately cut the beams to the required size. Ensure that the ends are square and free from any rough edges.
- Position the Beams: Place the beams across the pergola posts, ensuring that they are evenly spaced and aligned with the markings on the posts. Use a level to check that they are horizontal and adjust as necessary.
- Attach the Beams: Using wood screws, secure the beams to the pergola posts. Drive the screws through the sides of the beams into the posts, ensuring a strong and secure connection. Use multiple screws at each attachment point for added stability.
- Measure and Cut the Rafters: Measure the length of the rafters based on the spacing and design of your pergola. Cut the rafters to size, making sure they are square at the ends.
- Attach the Rafters: Position the rafters perpendicular to the beams, spacing them evenly and aligning them with the markings on the beams. Secure the rafters to the beams using wood screws, making sure they are firmly attached.
- Check for Plumb and Level: Use a level to ensure that the beams and rafters are plumb and level in all directions. Make any necessary adjustments by slightly loosening or tightening the screws and using shims if needed.
- Double-Check Connections: Go back and inspect all the connections between the beams, rafters, and posts. Ensure that they are secure and stable, tightening any screws if necessary.
Securing the pergola beams and rafters is an important step in the installation process. By ensuring proper attachment and alignment, you are creating a sturdy framework for your pergola that will withstand outdoor elements and provide a long-lasting outdoor living space.
Once you have completed securing the beams and rafters, you can proceed to the next step, which involves adding additional supports or braces.
Read more: How To Attach A Pergola To A Concrete Patio
Step 6: Adding Additional Supports or Braces
To further enhance the stability and durability of your pergola, you may consider adding additional supports or braces. These help reinforce the structure, especially in areas that experience high winds or heavy loads. Follow these steps to add additional supports or braces to your pergola:
- Assess the Need for Supports: Evaluate the specific requirements of your pergola’s design and location. Consider factors such as the size of the pergola, the materials used, and the local weather conditions. If you feel that additional support is necessary, proceed with the following steps.
- Identify Support Locations: Determine where you want to add the additional supports or braces. Common areas for additional support include the corners of the pergola, mid-span along the beams, and where the beams meet the rafters.
- Select the Support Material: Choose appropriate materials for the additional supports or braces, such as metal or wood. Ensure that the material is strong enough to provide the required support and can withstand outdoor conditions.
- Measure and Cut the Supports: Measure the desired length of the supports and cut them to size. Use a saw or appropriate tools to make precise cuts, ensuring that the ends are square.
- Position the Supports: Place the supports in the chosen locations, aligning them with the beams and rafters. Use a level to ensure that they are plumb and straight. Make any necessary adjustments to achieve proper alignment.
- Attach the Supports: Use screws, bolts, or other appropriate fasteners to securely attach the supports to the beams and rafters. Make sure the connections are tight and solid, providing the necessary reinforcement.
- Check for Stability: Confirm that the additional supports or braces have effectively enhanced the stability of the pergola. Wiggle or apply pressure to various parts of the structure to ensure that it remains firm and solid.
By adding additional supports or braces, you are strengthening your pergola and increasing its ability to withstand external forces. This step is particularly important in areas prone to strong winds or heavy snowfall, as it helps prevent damage and ensures the longevity of your outdoor structure.
Once you have completed the process of adding additional supports or braces, you can move on to the final step – adding finishing touches and implementing proper maintenance practices.
Step 7: Finishing Touches and Maintenance Tips
With your pergola now securely fixed to your patio, it’s time to add the finishing touches and implement proper maintenance practices to ensure its long-lasting beauty and functionality. Follow these steps for the final touches and maintenance tips:
- Finishing Touches:
- Stain or Paint: Apply a protective stain or paint to the pergola to enhance its appearance and protect it from the elements. Choose a finish that complements your outdoor space and follows the manufacturer’s recommendations.
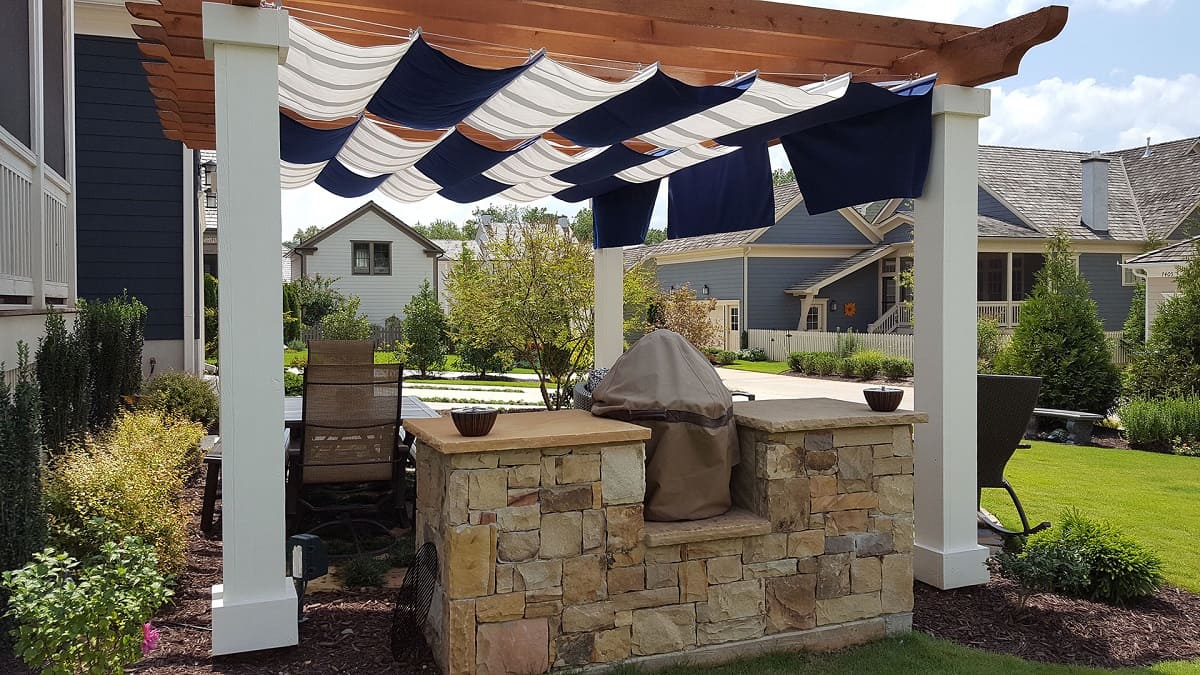
- Add Décor: Personalize your pergola by adding decorations such as hanging plants, string lights, or outdoor curtains to create a cozy and inviting atmosphere.
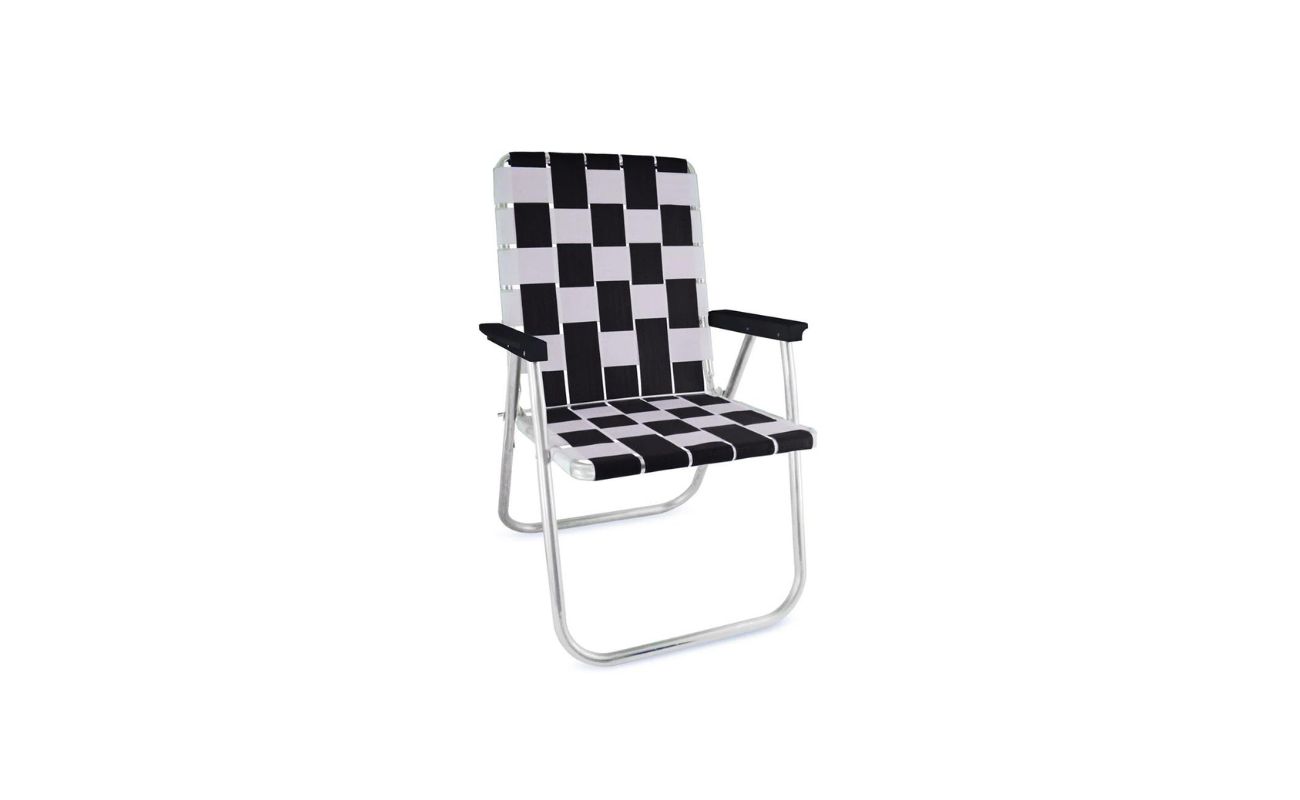
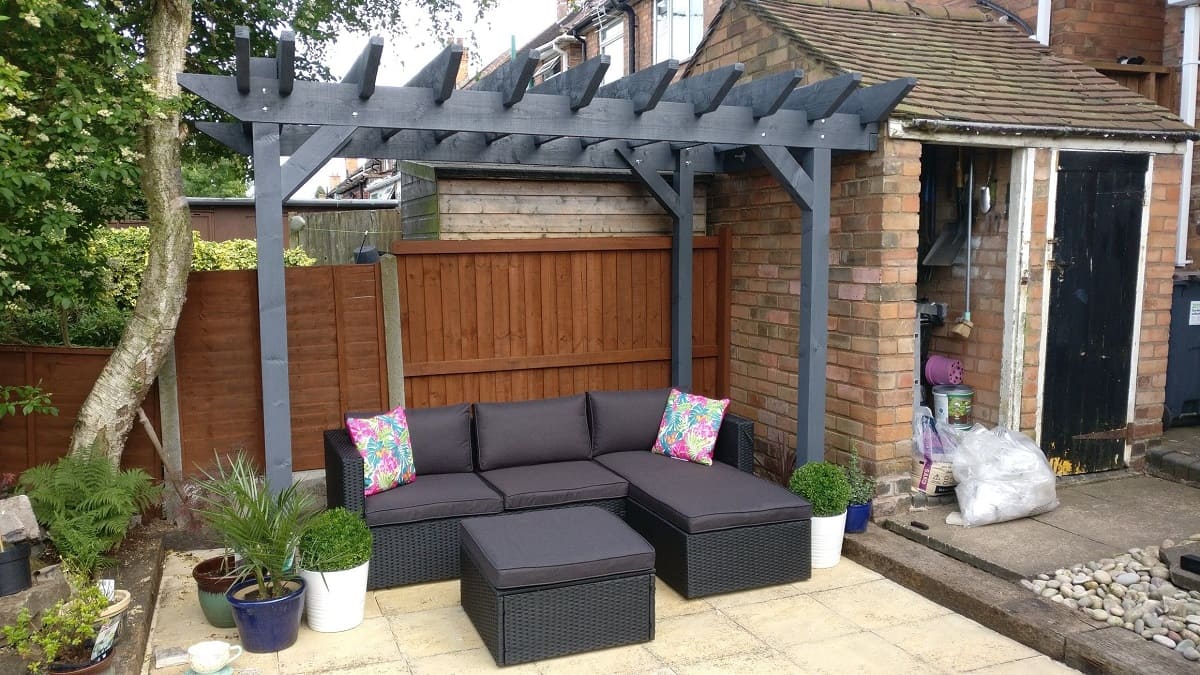
- Furniture and Accessories: Place outdoor furniture, such as chairs, tables, or a cozy seating area, under the pergola to create an outdoor living space where you can relax and entertain.
- Maintenance Tips:
- Regular Cleaning: Regularly clean the pergola by removing leaves, dirt, and debris. Use a brush or broom to sweep away any buildup. This will help prevent staining and maintain the appearance of the structure.
- Inspect for Damage: Periodically inspect the pergola for any signs of damage, such as loose screws, cracks, or rotting wood. Replace or repair any damaged components promptly to prevent further deterioration.
- Weather Protection: During extreme weather conditions, such as heavy storms or harsh winter months, consider using covers or tarps to protect the pergola from excessive moisture or snow buildup.
- Annual Maintenance: Perform annual maintenance tasks, such as reapplying protective coatings or seals, tightening screws and bolts, and inspecting for any structural issues. This will prolong the lifespan of your pergola and keep it looking its best.
By adding the finishing touches and implementing regular maintenance practices, you can enjoy your pergola for years to come. Remember to also follow any specific guidelines provided by the manufacturer to maintain the warranty and ensure optimal performance of your pergola.
Congratulations! You have successfully fixed a pergola to your patio. Now, sit back, relax, and enjoy your beautiful outdoor space.
Conclusion
Fixing a pergola to your patio can transform your outdoor space into a stylish and inviting area for relaxation and entertainment. By following the step-by-step process outlined in this guide, you can ensure a secure and durable installation that will withstand the test of time. From preparing the patio surface to attaching the pergola beams and rafters, each step plays a crucial role in creating a stable and visually appealing structure.
Remember, safety is paramount throughout the installation process. Always wear appropriate safety gear, such as gloves and safety glasses, and exercise caution when using tools and equipment.
Additionally, regular maintenance is key to extending the lifespan of your pergola. Take the time to clean the structure, inspect for any damage, and perform necessary repairs or touch-ups. By implementing proper maintenance practices, you can keep your pergola looking its best and ensure its functionality for many years to come.
Now that you have successfully fixed a pergola to your patio, it’s time to enjoy the fruits of your labor. Personalize your outdoor space with decorative touches, furnish it with comfortable seating, and create a cozy ambiance where you can unwind and make cherished memories with family and friends.
So go ahead, step outside, and bask in the beauty and serenity of your newly transformed patio oasis. Your pergola awaits!
Frequently Asked Questions about How To Fix A Pergola To A Patio
Was this page helpful?
At Storables.com, we guarantee accurate and reliable information. Our content, validated by Expert Board Contributors, is crafted following stringent Editorial Policies. We're committed to providing you with well-researched, expert-backed insights for all your informational needs.
0 thoughts on “How To Fix A Pergola To A Patio”