Home>Gardening & Outdoor>Outdoor Structures>How To Install An Aluminum Awning On A House
Outdoor Structures
How To Install An Aluminum Awning On A House
Modified: February 18, 2024
Learn how to properly install an aluminum awning on your house with our step-by-step guide. Enhance your outdoor space with our expert tips and advice.
(Many of the links in this article redirect to a specific reviewed product. Your purchase of these products through affiliate links helps to generate commission for Storables.com, at no extra cost. Learn more)
Introduction
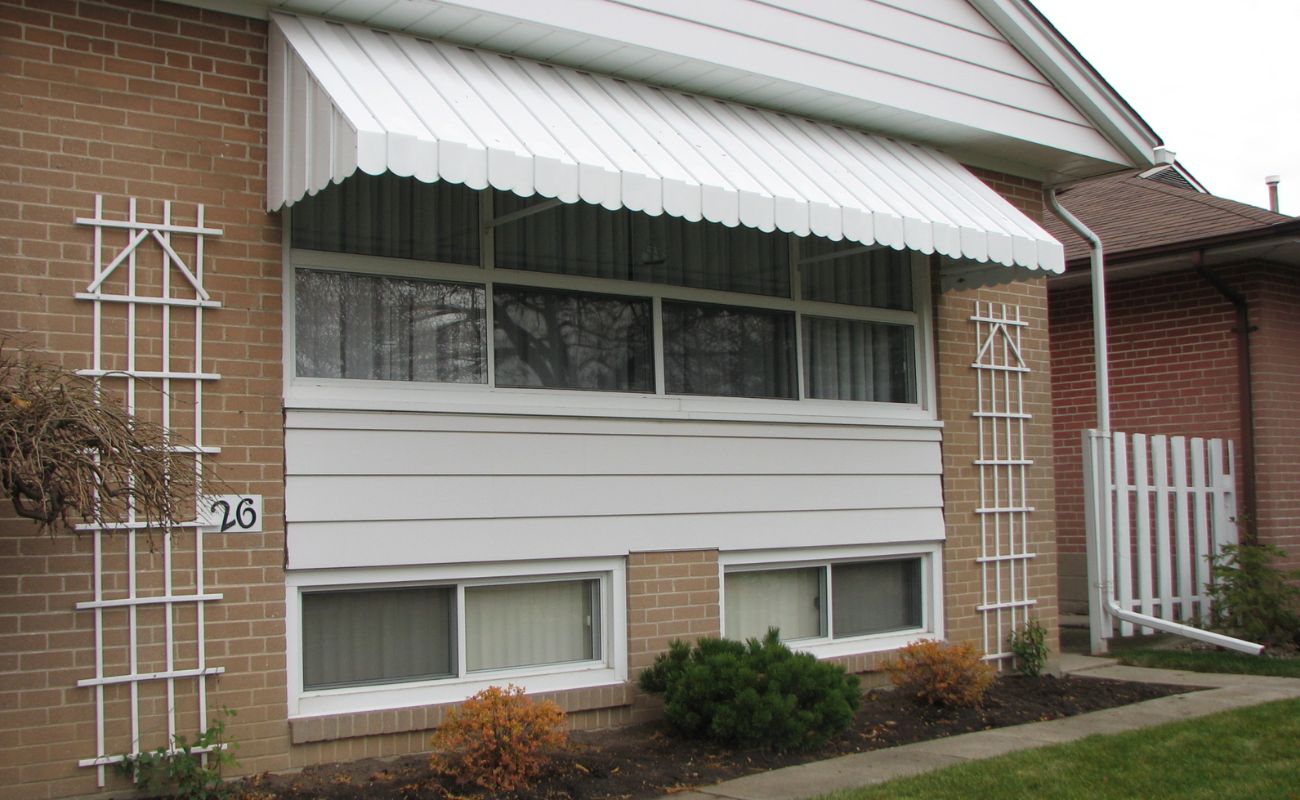
So, you've decided to enhance your home with an aluminum awning. Congratulations! Not only will this addition provide shade and protection from the elements, but it will also boost your home's curb appeal. Installing an aluminum awning may seem like a daunting task, but with the right guidance and a can-do attitude, you can tackle this project with confidence.
In this comprehensive guide, we'll walk you through the step-by-step process of installing an aluminum awning on your house. From gathering the necessary materials and tools to the final adjustments, we've got you covered. By the end of this journey, you'll not only have a stunning new feature adorning your home but also a sense of accomplishment from completing this project yourself.
So, grab your tool belt, put on your DIY hat, and let's dive into the world of aluminum awning installation.
Key Takeaways:
- Installing an aluminum awning involves careful preparation, precise measurements, and secure anchoring. Following the step-by-step process ensures a stylish and functional addition to your home.
- By embracing the DIY spirit and completing the installation, you’ll enjoy the benefits of a shaded retreat and enhanced curb appeal. Regular maintenance will preserve the awning’s longevity and performance.
Read more: How To Attach An Awning To A House
Materials and Tools Needed
Before embarking on any home improvement project, it’s essential to gather all the necessary materials and tools. Here’s what you’ll need to install an aluminum awning on your house:
Materials:
- Aluminum awning kit
- Mounting brackets
- Screws and anchors
- Silicone sealant
- Measuring tape
- Level
- Drill and drill bits
- Screwdriver
- Adjustable wrench
- Ladder
- Safety goggles
- Gloves
- Dust mask
Tools:
- Step ladder or extension ladder
- Power drill
- Adjustable wrench
- Screwdriver set
- Caulking gun
- Protective gear (safety goggles, gloves, dust mask)
Having these materials and tools at your disposal will ensure a smooth and efficient installation process. Now that you’re equipped with everything you need, it’s time to prepare for the installation.
Pre-Installation Preparation
Before you start installing the aluminum awning, it’s crucial to make sure that your house is prepared for the project. Here are the essential steps to take before diving into the installation process:
Read more: How To Install A Sunsetter Awning
Check Local Regulations:
First and foremost, check with your local building department to determine if there are any regulations or permits required for installing an awning on your property. Compliance with local codes and regulations is vital to avoid any issues in the future.
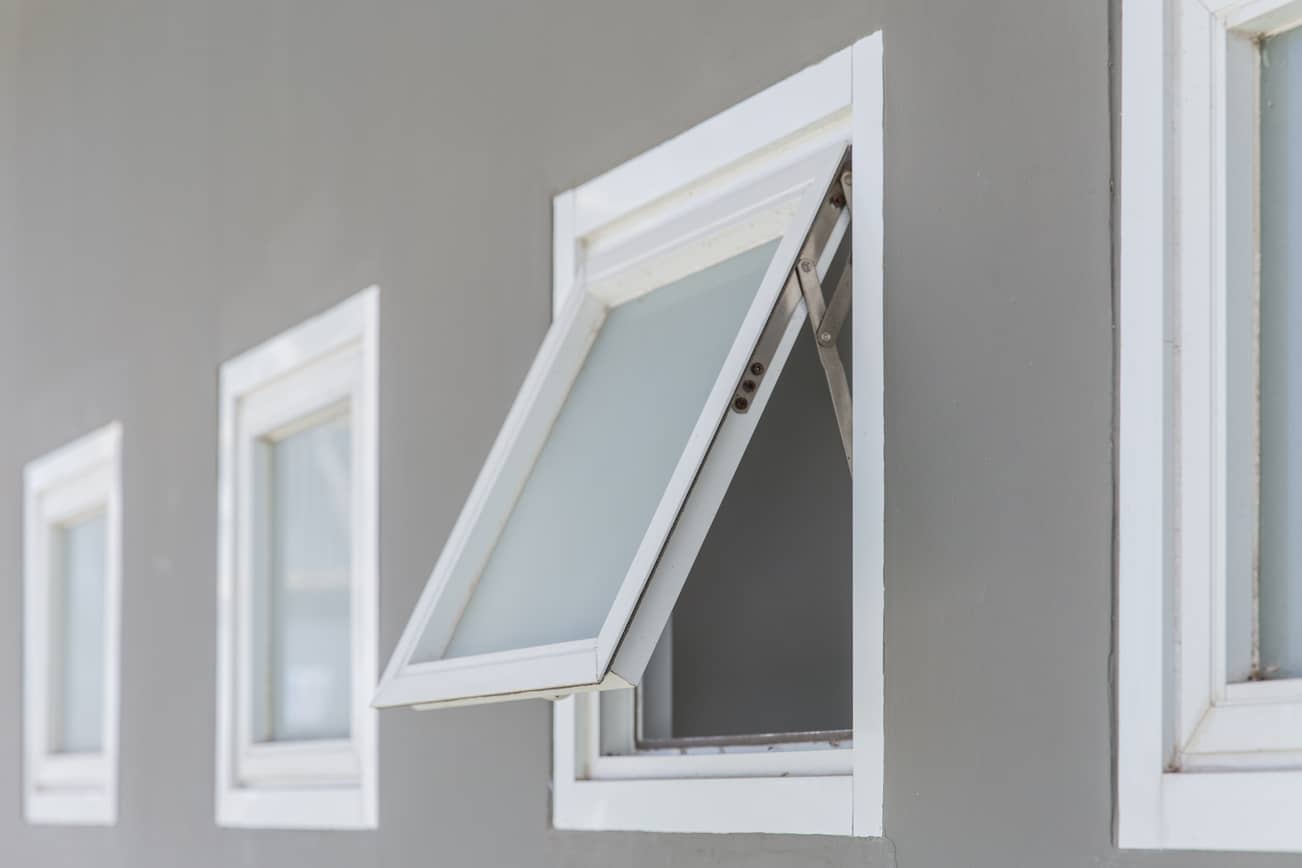
Choose the Right Location:
Carefully select the location where you want to install the awning. Consider factors such as the direction of sunlight, the angle of the awning for optimal shade, and the proximity to doors or windows.
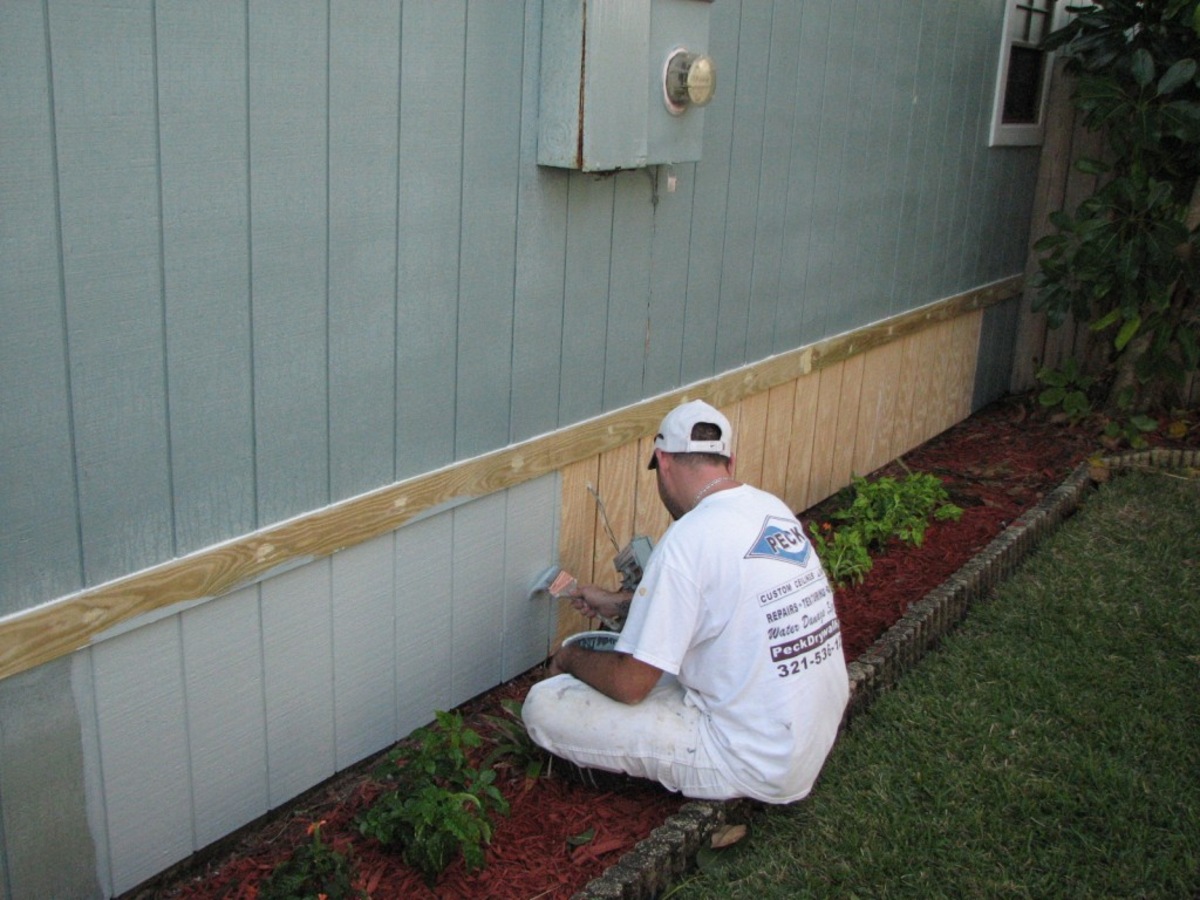
Inspect the Installation Surface:
Thoroughly examine the area where the awning will be mounted. Ensure that the surface is structurally sound and can support the weight of the awning. Additionally, check for any obstacles or obstructions that may impede the installation process.
Gather and Organize Materials:
Lay out all the materials and tools in an organized manner, making it easier to access everything during the installation. This step will save time and prevent any last-minute scrambling for tools or hardware.
Read more: How To Install An Aluminum Fence
Enlist Help if Needed:
Installing an awning may require assistance, especially when handling larger components or during the mounting phase. Enlist the help of a friend or family member to ensure a safe and efficient installation process.
By taking these preparatory steps, you’ll set the stage for a successful and hassle-free installation of your aluminum awning. With the groundwork laid out, you’re now ready to move on to the next phase: marking and measuring for the installation.
Marking and Measuring
Accurate measurements and precise markings are crucial for ensuring that your aluminum awning is installed correctly and functions as intended. Here’s a detailed guide on how to approach the marking and measuring phase:
Measure the Installation Area:
Using a measuring tape, carefully measure the area where the awning will be installed. Take precise measurements of the width and height to ensure that the awning will fit perfectly in the designated space.
Mark the Mounting Locations:
Based on the measurements, mark the locations where the mounting brackets will be installed. Use a pencil or chalk to make clear and visible markings on the wall, indicating the positions for the brackets. Ensure that the markings are level and aligned properly.
Read more: How Much Is Aluminum Siding For A House
Account for Slope and Overhang:
If your awning is designed to have a slope or overhang, factor this into your measurements and markings. The slope should allow for proper drainage of rainwater, and the overhang should provide adequate coverage and shade.
Double-Check Measurements:
Before proceeding to the drilling and anchoring phase, double-check all measurements to avoid any errors. Accuracy at this stage is critical for a seamless installation process.
Consider Aesthetic and Functional Factors:
While marking and measuring, consider the aesthetic and functional aspects of the awning. Ensure that the placement aligns with your aesthetic preferences and provides the desired level of shade and protection.
By diligently marking and measuring the installation area, you’ll lay the groundwork for a precise and visually appealing installation of your aluminum awning. With the mounting locations clearly identified, you’re now ready to move on to the next phase: drilling and anchoring.
Drilling and Anchoring
As you progress with the installation of your aluminum awning, the drilling and anchoring phase is a critical step that requires precision and care. Here’s a detailed guide on how to approach this phase:
Read more: How To Install A Retractable Awning
Select the Appropriate Drill Bit:
Depending on the type of surface where the awning will be mounted, select the appropriate drill bit. For concrete or masonry surfaces, a masonry drill bit is recommended, while wood or siding may require a different type of bit.
Use a Level for Accuracy:
Before drilling, use a level to ensure that the mounting locations are perfectly straight and aligned. This step is crucial for the overall stability and aesthetic appeal of the awning.
Drill Pilot Holes:
Begin by drilling pilot holes at the marked mounting locations. Pilot holes serve as guides for the screws and anchors, allowing for easier and more accurate installation of the mounting brackets.
Anchoring in Concrete or Masonry:
If you’re mounting the awning on a concrete or masonry surface, use appropriate anchors to secure the mounting brackets. Ensure that the anchors are inserted securely and provide a stable foundation for the awning.
Read more: How To Remove An Awning From A House
Secure Brackets on Wood or Siding:
When mounting the awning on wood or siding, use screws to secure the mounting brackets. Make sure the screws are driven in firmly, providing a secure attachment point for the awning.
Apply Silicone Sealant:
To prevent water infiltration and ensure a watertight seal, apply silicone sealant around the drilled holes and the base of the mounting brackets. This additional step helps protect the installation from water damage and enhances its longevity.
By meticulously drilling and anchoring the mounting brackets, you’ll establish a solid foundation for your aluminum awning. With the brackets securely in place, you’re now ready to move on to the next phase: assembling the awning components.
Assembling the Awning
As you progress with the installation of your aluminum awning, the assembly phase is where the individual components come together to form a cohesive and functional structure. Here’s a detailed guide on how to approach this phase:
Lay Out the Awning Components:
Unpack the aluminum awning kit and lay out all the components in an organized manner. Familiarize yourself with the various parts, including the awning panels, support arms, and any additional hardware.
Read more: How To Install An Awning On An RV
Follow the Manufacturer’s Instructions:
Refer to the manufacturer’s instructions provided with the awning kit. Follow the step-by-step assembly guidelines to ensure that the components are assembled correctly and in the intended configuration.
Attach the Support Arms:
If your awning includes support arms, attach them to the main frame according to the manufacturer’s specifications. Ensure that the support arms are securely fastened and aligned properly to provide structural stability.
Secure the Awning Panels:
Position the awning panels in the designated locations, ensuring that they are aligned and securely attached to the frame. Follow the recommended fastening methods provided by the manufacturer to ensure a secure and durable installation.
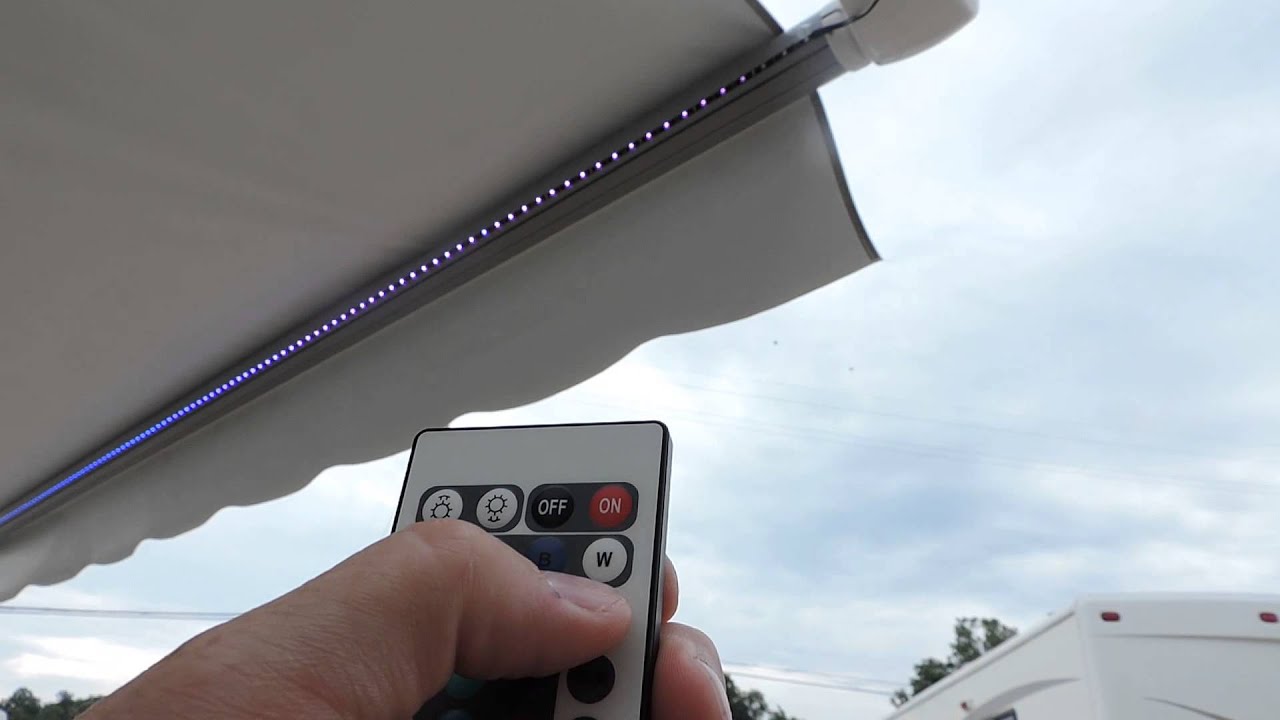
Test the Functionality:
Once the components are assembled, test the functionality of the awning. Extend and retract the awning to ensure smooth operation and proper alignment of the panels and support arms.
Read more: How To Install An Awning On A Mobile Home
Make Final Adjustments:
If necessary, make any final adjustments to the assembly to ensure that the awning operates as intended. This may involve tightening fasteners, aligning components, or addressing any minor discrepancies.
By methodically assembling the components of your aluminum awning, you’ll bring the structure to life and prepare it for the final phase of the installation process. With the awning components seamlessly integrated, you’re now ready to move on to the next phase: mounting the awning.
Mounting the Awning
As you approach the mounting phase of your aluminum awning installation, it’s essential to ensure that the awning is securely and precisely attached to the mounting brackets. Here’s a detailed guide on how to approach this pivotal phase:
Lift and Position the Awning:
With the help of an assistant, carefully lift the assembled awning and position it in alignment with the mounting brackets on the installation surface. Take caution to avoid damage to the awning or the mounting area during this process.
Engage the Mounting Mechanism:
Depending on the design of the awning and the mounting brackets, engage the mounting mechanism to secure the awning in place. This may involve sliding the awning onto the brackets, locking it into position, or following the specific instructions provided by the manufacturer.
Read more: How To Install Awning On Vinyl Siding
Verify Stability and Alignment:
Once the awning is engaged with the mounting brackets, verify its stability and alignment. Ensure that the awning is level, securely attached, and properly seated on the mounting structure for optimal functionality.
Double-Check Fastenings:
Inspect the fastenings and connections between the awning and the mounting brackets. Confirm that all fasteners are tightened securely and that the awning is firmly anchored to the installation surface.
Test Opening and Closing:
Test the opening and closing mechanism of the awning to ensure that it operates smoothly and without any obstructions. Verify that the awning extends and retracts as intended, providing the desired shade and protection.
Confirm Watertight Seal:
Check for any gaps or areas where water could potentially infiltrate. Ensure that the seal between the awning and the installation surface is watertight, especially if the awning is mounted above entryways or windows.
By methodically mounting the awning onto the installation surface, you’ll bring the installation process closer to completion. With the awning securely in place, you’re now ready to move on to the final phase: making any necessary adjustments to perfect the installation.
Read more: How To Install A Slide Out Awning
Final Adjustments
As you near the completion of the aluminum awning installation, the final adjustments phase allows you to fine-tune the installation and ensure that everything is in optimal condition. Here’s a detailed guide on how to approach this crucial phase:
Inspect Overall Alignment:
Step back and inspect the installed awning from various angles. Ensure that it is aligned symmetrically and aesthetically pleasing, complementing the architectural features of your home.
Tighten Any Loose Fasteners:
Check all fasteners, including screws, bolts, and nuts, to ensure that they are tightened securely. Address any loose fasteners to prevent potential issues and maintain the structural integrity of the awning.
Adjust Slope and Overhang:
If your awning features an adjustable slope or overhang, make any necessary adjustments to optimize its functionality. Ensure that the slope allows for proper drainage, and the overhang provides the desired shade coverage.
Test Wind Resistance:
Conduct a test to gauge the awning’s resistance to light wind and ensure that it remains stable and secure. This step is especially important for awnings installed in areas prone to gusty conditions.
Apply Touch-Up Sealant:
Inspect the sealant around the mounting brackets and any drilled holes. Apply additional sealant as needed to reinforce the watertight integrity of the installation and protect against potential water infiltration.
Verify Smooth Operation:
Test the opening and closing mechanism of the awning once more to ensure that it operates smoothly and without any binding or resistance. Verify that the awning extends and retracts seamlessly.
By meticulously addressing the final adjustments, you’ll ensure that your aluminum awning installation is not only visually appealing but also functional and durable. With the finishing touches in place, you can step back and admire your newly installed awning, adding both charm and practicality to your home.
Conclusion
Congratulations on successfully completing the installation of your aluminum awning! By following the step-by-step process outlined in this guide, you’ve transformed your home with a stylish and functional addition that provides shade, protection, and enhanced curb appeal. As you reflect on this accomplishment, consider the following key points:
First and foremost, the preparation phase set the stage for a smooth installation process. By checking local regulations, choosing the right location, and enlisting the necessary help, you ensured that the installation proceeded without unexpected hurdles.
Marking and measuring with precision was pivotal in ensuring that the awning fit seamlessly into the designated space. By carefully drilling and anchoring the mounting brackets, you established a secure foundation for the awning, setting the stage for the assembly phase.
Assembling the awning components and mounting it with care brought the structure to life, culminating in the final adjustments that fine-tuned the installation for optimal performance and aesthetics.
As you bask in the satisfaction of a job well done, take a moment to appreciate the enhanced functionality and visual appeal that your new aluminum awning brings to your home. Whether it’s providing a shaded retreat on sunny days or sheltering entryways from the elements, your awning is a versatile and valuable addition to your living space.
As you enjoy the benefits of your newly installed awning, remember that proper maintenance and periodic inspections will help preserve its longevity and performance. Regularly check for loose fasteners, inspect the sealant, and ensure that the awning continues to operate smoothly.
Lastly, take pride in the fact that you’ve tackled this project with a DIY spirit, enhancing your home with a personal touch. The skills and knowledge gained from this experience will undoubtedly empower you for future home improvement endeavors.
Thank you for joining us on this installation journey. We hope this guide has equipped you with the confidence and know-how to take on similar projects in the future. From all of us, we wish you many enjoyable moments under the shade of your new aluminum awning!
Frequently Asked Questions about How To Install An Aluminum Awning On A House
Was this page helpful?
At Storables.com, we guarantee accurate and reliable information. Our content, validated by Expert Board Contributors, is crafted following stringent Editorial Policies. We're committed to providing you with well-researched, expert-backed insights for all your informational needs.

0 thoughts on “How To Install An Aluminum Awning On A House”