Home>Gardening & Outdoor>Outdoor Structures>How To Transform A Plastic Tool Shed Into A Playhouse
Outdoor Structures
How To Transform A Plastic Tool Shed Into A Playhouse
Modified: October 20, 2024
Transform your plastic tool shed into a delightful playhouse with our outdoor structures guide. Discover creative ideas to repurpose your space today!
(Many of the links in this article redirect to a specific reviewed product. Your purchase of these products through affiliate links helps to generate commission for Storables.com, at no extra cost. Learn more)
Introduction
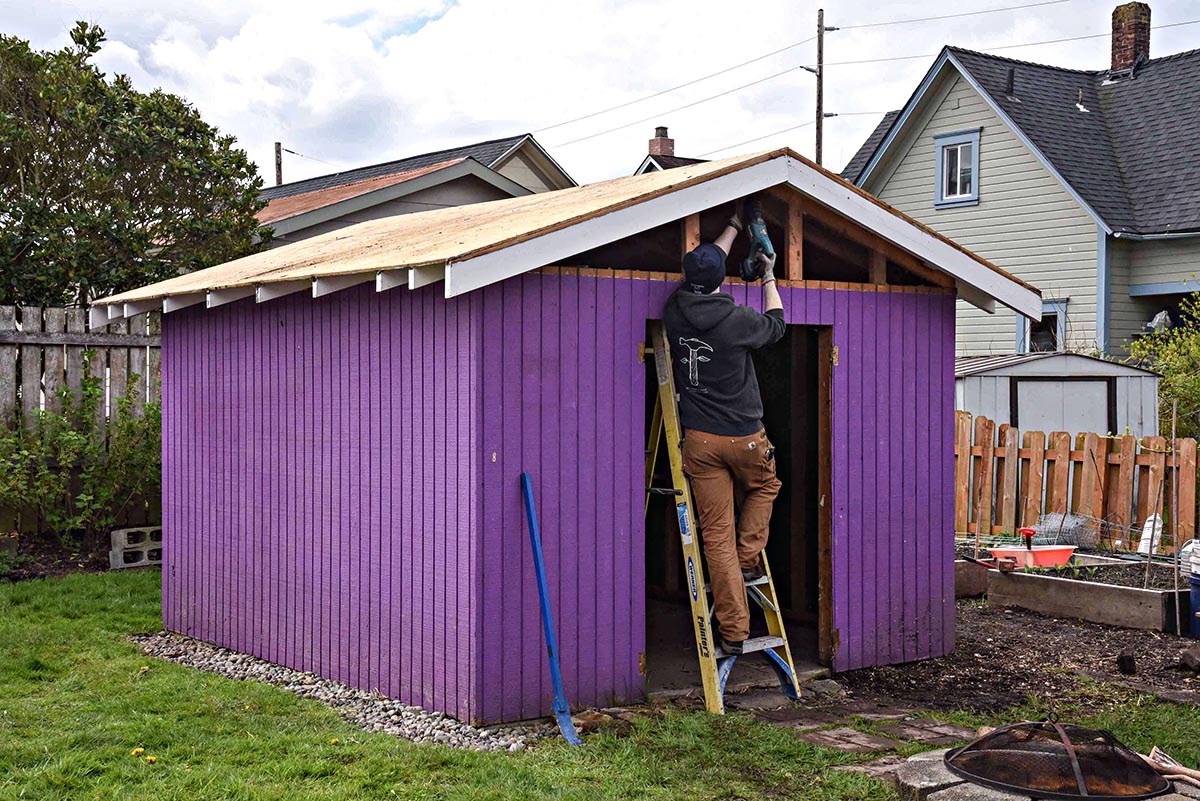
So, you have a plastic tool shed sitting in your backyard, serving its practical purpose of storing garden tools and equipment. But what if we told you that this humble shed has the potential to be transformed into something magical and extraordinary? Yes, you guessed it – a playhouse for your kids! With a little creativity, some elbow grease, and a touch of imagination, you can turn that ordinary plastic shed into a vibrant and enchanting play space that will provide endless hours of joy and adventure for your little ones.
In this guide, we will take you through the step-by-step process of transforming a run-of-the-mill plastic tool shed into a whimsical playhouse that will be the envy of the neighborhood. From clearing out the shed and preparing the space to painting, decorating, and adding fun features, we will cover everything you need to know to undertake this exciting project. Not only will this endeavor breathe new life into an underutilized structure, but it will also foster creativity, imagination, and outdoor play for your children.
So, roll up your sleeves, gather your supplies, and get ready to embark on a journey of creativity and transformation. Let's dive into the first step: clearing out the shed.
Key Takeaways:
- Transforming a plastic tool shed into a playhouse is a fun and creative project that can provide endless joy and adventure for kids, fostering imagination and outdoor play.
- By clearing out, preparing, painting, decorating, and adding fun features to the shed, parents can create a safe and enchanting play space that sparks creativity and provides countless opportunities for play and exploration.
Read more: Sheds & Playhouses
Step 1: Clearing out the Shed
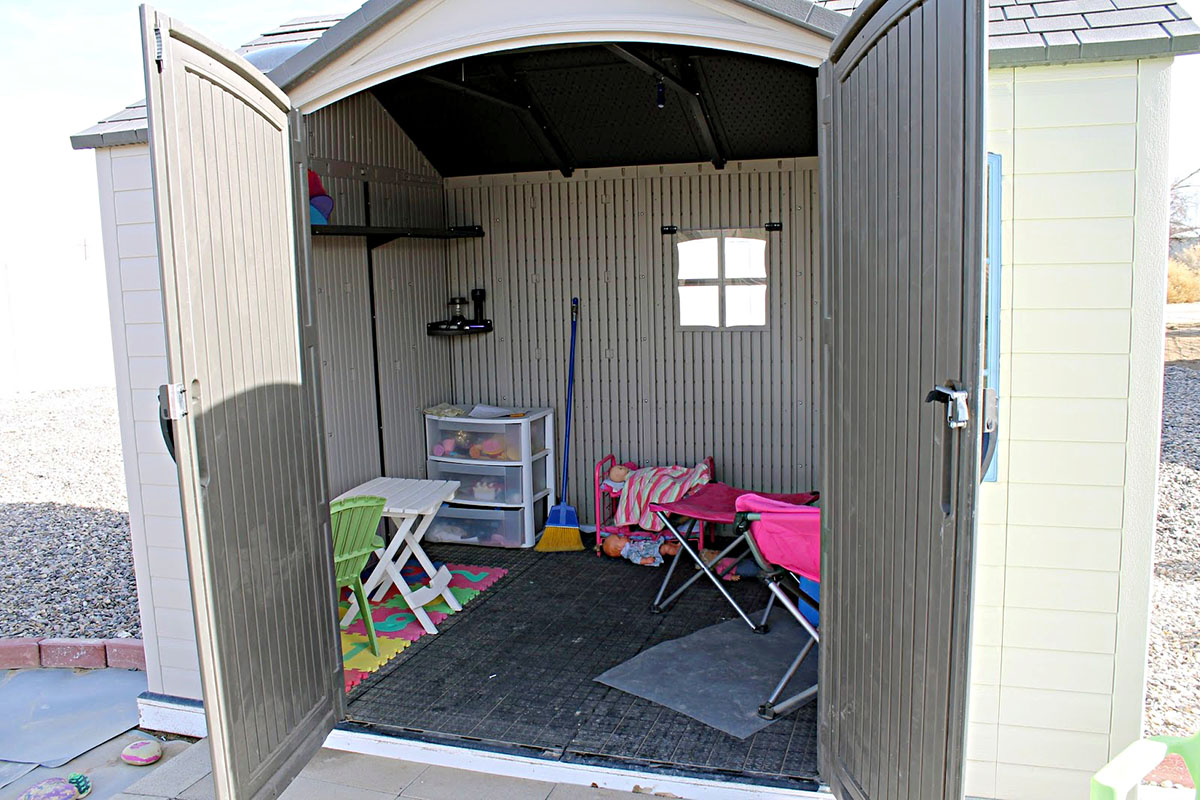
Before you can begin the magical transformation of the plastic tool shed into a playhouse, you need to start with a clean slate. This means clearing out the shed of all its current contents and giving it a thorough cleaning. Start by removing all the tools, equipment, and any other items stored in the shed. Take this opportunity to assess the condition of the shed’s interior and address any maintenance or repairs that may be needed.
Once the shed is emptied, it’s time to roll up your sleeves and get cleaning. Sweep the floors, wipe down the walls, and clear away any cobwebs or debris that may have accumulated. If the shed has windows, be sure to clean them inside and out to allow plenty of natural light to filter in once it’s transformed into a playhouse.
As you clear out the shed, take note of any features that could be repurposed or integrated into the playhouse design. For example, shelves or hooks that were once used for hanging tools could become storage spaces for toys and games. Embracing these existing elements can add character and functionality to the playhouse.
Clearing out the shed not only prepares the space for its new purpose but also allows you to envision the potential of the blank canvas before you. With the shed now empty and clean, you’re ready to move on to the next step: preparing the shed for its playful makeover.
Step 2: Preparing the Shed
With the shed cleared out and sparkling clean, it’s time to lay the groundwork for its transformation into a delightful playhouse. Start by assessing the structural integrity of the shed. Check for any signs of wear, damage, or instability that may need to be addressed before proceeding. This could include repairing cracks, reinforcing weak spots, or ensuring that the shed is securely anchored to the ground.
Next, consider the insulation and ventilation of the shed. Since it will now be used as a play space, it’s important to create a comfortable and safe environment for your children. If the shed lacks adequate insulation, you may want to explore options for adding insulation to regulate the temperature inside the playhouse. Additionally, ensure that the shed has proper ventilation to allow for fresh air circulation.
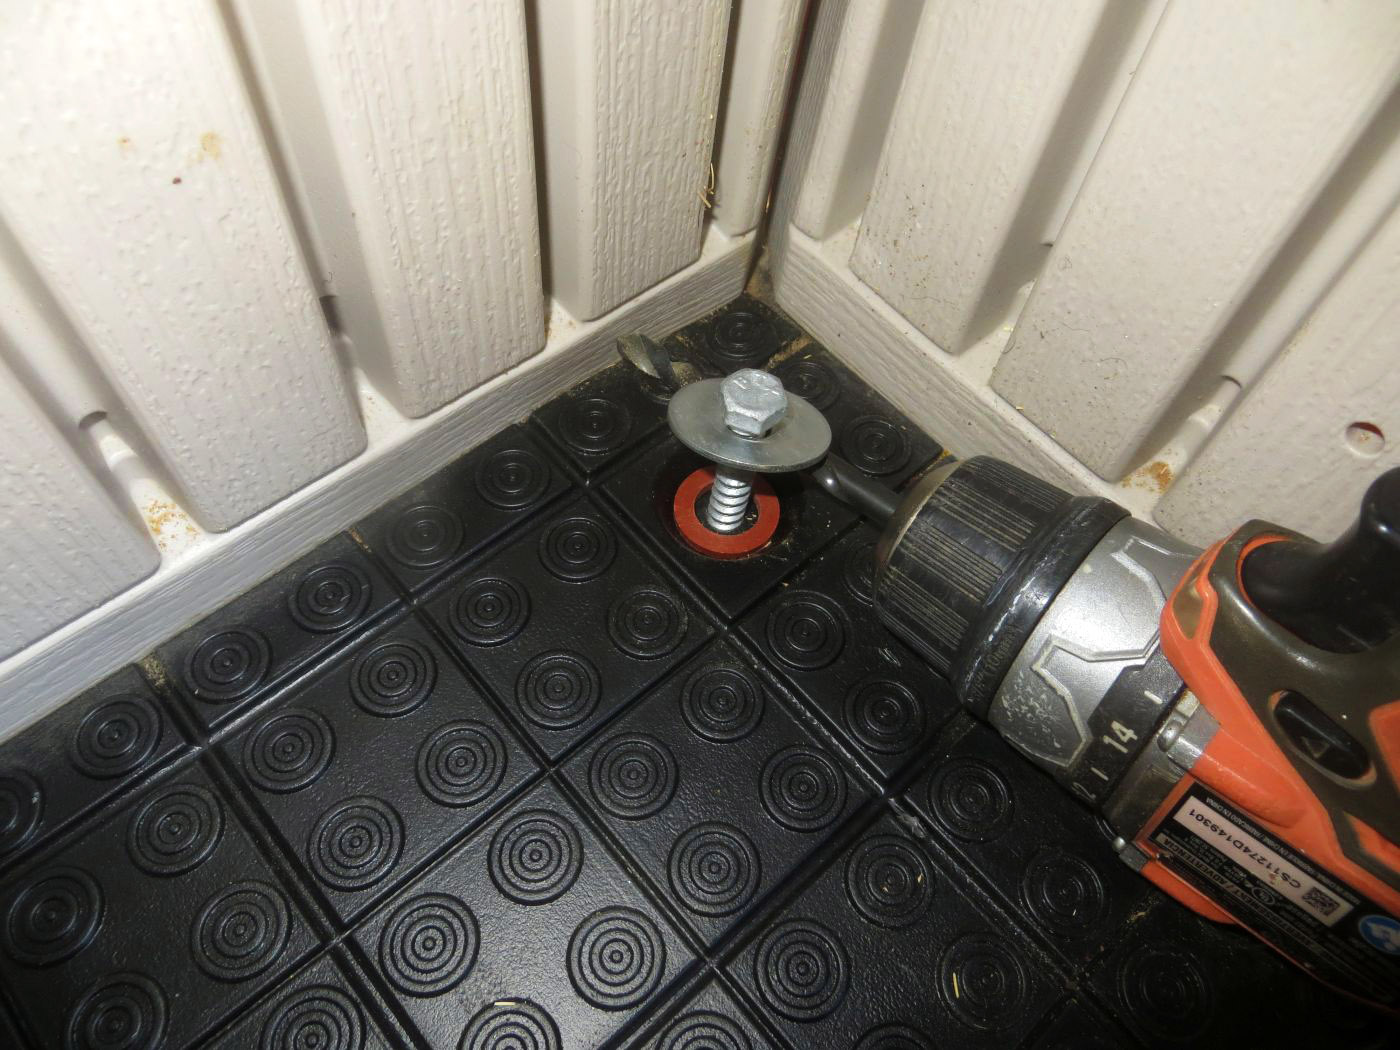
As you prepare the shed, think about the flooring. If the existing floor is hard and unyielding, consider adding a layer of foam or rubber flooring to provide a softer surface for playtime. This simple addition can enhance safety and comfort, especially for energetic activities and games.
Another crucial aspect of preparing the shed is addressing any potential safety hazards. Check for sharp edges, exposed nails, or any other features that could pose a risk to children. Make any necessary modifications to eliminate these hazards and create a secure environment for play.
Finally, consider the entry and exit points of the shed. Ensure that the doors open and close smoothly and that they can be easily operated by children. You may also want to add child-friendly latches or locks to provide a sense of security while allowing easy access.
By thoroughly preparing the shed for its new role as a playhouse, you are setting the stage for a transformation that is not only visually appealing but also safe and functional. With the shed now primed and ready, it’s time to inject some color and personality into the space through painting and decorating, which we’ll explore in the next step.
Step 3: Painting and Decorating
Now that the shed has been cleared out and prepared for its new purpose, it’s time to infuse it with color, creativity, and charm. Painting the interior and exterior of the shed will instantly breathe new life into the space and set the stage for imaginative play. When selecting paint colors, consider vibrant hues that will stimulate your children’s senses and ignite their imagination.
Before diving into painting, it’s essential to properly prepare the surfaces. Clean the walls and exterior panels to ensure that the paint adheres smoothly. If the shed has windows, consider adding decorative window treatments to enhance the visual appeal and create a cozy atmosphere inside the playhouse.
Once the surfaces are prepped, unleash your creativity with paint. Consider incorporating playful themes and designs that resonate with your children’s interests. Whether it’s a whimsical mural, colorful patterns, or themed motifs, the possibilities are endless. Engage your children in the painting process, allowing them to contribute their ideas and artistic flair to make the playhouse truly their own.
As you add color to the interior, think about the ceiling as well. A painted ceiling can add a delightful touch to the playhouse, whether it’s adorned with clouds, stars, or other imaginative elements. This simple detail can elevate the playhouse from a mere shed to a captivating and immersive space for play and exploration.
Once the painting is complete, it’s time to turn your attention to decorating the playhouse. Consider adding whimsical touches such as bunting, fairy lights, or decorative accents that reflect the playhouse’s theme. Incorporate comfortable seating, soft rugs, and cushions to create inviting nooks for reading, storytelling, and imaginative play.
By infusing the playhouse with color, creativity, and personal touches, you are creating a magical retreat where your children can let their imaginations soar. With the playhouse now brimming with character and charm, it’s time to take it a step further by adding fun features that will elevate the play experience, which we’ll explore in the next step.
Consider adding a fresh coat of paint, installing windows for natural light, and adding fun decorations like curtains, a small table and chairs, and a chalkboard for creative play.
Step 4: Adding Fun Features
With the playhouse painted and decorated to perfection, it’s time to introduce a range of fun features that will elevate the play experience and spark endless joy and creativity. Consider incorporating elements that cater to different types of play, from imaginative role-playing to active games and quiet reading nooks.
One exciting addition to the playhouse is a themed play area. Whether it’s a kitchenette, a market stall, a workshop, or a cozy reading corner, creating distinct zones within the playhouse can inspire diverse play scenarios. Add child-sized furniture, such as tables, chairs, and shelves, to delineate these areas and encourage immersive play.
For active play, consider integrating features such as a climbing wall, a slide, or a rope ladder, depending on the available space and your children’s preferences. These elements can transform the playhouse into a dynamic and engaging environment that promotes physical activity and adventure.
Imaginative play can be further enhanced with the inclusion of dress-up costumes, puppets, and a collection of storybooks that invite children to embark on imaginative journeys and creative storytelling. Incorporating a chalkboard or a whiteboard can also encourage artistic expression and collaborative play as children unleash their creativity.
Don’t forget to add a touch of nature to the playhouse. Consider installing window boxes or shelves to display potted plants, creating a connection to the outdoors and nurturing a sense of responsibility as children care for their green companions.
Additionally, consider the potential for customization. Whether it’s a personalized name plaque, a DIY art corner where children can showcase their creations, or a display area for their favorite toys, involving your children in the process of adding personal touches will make the playhouse even more meaningful to them.
By incorporating these fun features, you are transforming the playhouse into a multifaceted and enchanting space that caters to a wide range of play experiences. As the playhouse takes shape with these exciting elements, it’s crucial to ensure that it remains a safe and secure environment for your children, which leads us to the next step: making it safe.
Step 5: Making it Safe
As the playhouse nears completion with its array of delightful features, ensuring its safety is paramount to providing a secure and nurturing environment for your children. By addressing potential hazards and implementing safety measures, you can instill peace of mind while your little ones immerse themselves in imaginative play.
Begin by conducting a thorough safety assessment of the playhouse. Check for any sharp edges, protruding nails, or splinters that may pose a risk. Smooth out rough surfaces, cover exposed hardware, and repair any potential hazards to create a child-friendly environment.
When it comes to furnishings and play features, prioritize stability and durability. Ensure that all furniture, climbing structures, and play equipment are securely anchored and built to withstand the rigors of active play. Regularly inspect these elements to identify and address any signs of wear or damage.
Consider the playhouse’s accessibility and ease of supervision. Ensure that the entry and exit points are easily navigable, and that windows and openings are designed with safety in mind. Implement childproof latches or locks on doors and windows to prevent accidental entrapment or unauthorized access.
When adding decorative elements and accessories, opt for non-toxic materials and child-safe finishes. This includes paints, adhesives, and any items that children may come into contact with during play. Prioritize the use of natural, eco-friendly, and hypoallergenic materials to create a healthy and nurturing play environment.
As an additional safety measure, consider installing soft padding or mats in areas where falls may occur, such as beneath climbing structures or near play equipment. These protective surfaces can minimize the risk of injury during active play and provide added reassurance for both children and parents.
Finally, educate your children about playhouse safety guidelines and encourage responsible play. Teach them to respect the playhouse rules, exercise caution during play, and seek adult assistance when needed. By fostering a culture of safety awareness, you empower your children to enjoy their play space while understanding the importance of responsible behavior.
By making the playhouse safe and secure, you are creating an environment where your children can unleash their creativity, engage in active play, and embark on imaginative adventures with confidence and joy. With the playhouse now transformed into a haven of fun and safety, it’s time to reflect on the journey and the countless opportunities for play and exploration that lie ahead.
Conclusion
Congratulations! You’ve embarked on a remarkable journey of transformation, turning a humble plastic tool shed into a captivating playhouse that is brimming with color, creativity, and endless possibilities for play. This endeavor has not only revitalized an underutilized structure but has also fostered a space where your children can embark on imaginative adventures, engage in active play, and create cherished memories.
As you reflect on the steps taken to achieve this magical metamorphosis, remember the joy and excitement that accompanied each stage of the process. From clearing out the shed and preparing the space to painting, decorating, and adding fun features, every step has contributed to the creation of a unique and enchanting play environment for your children.
Through this project, you’ve not only provided a delightful play space for your children but also imparted valuable lessons and experiences. Your involvement in the transformation process has demonstrated the power of creativity, resourcefulness, and hands-on engagement. By involving your children in the decision-making and creative aspects of the project, you’ve nurtured their sense of ownership and sparked their imagination.
Moreover, the safety measures implemented throughout the transformation underscore your commitment to creating a secure and nurturing play environment. By prioritizing safety, you’ve established a space where your children can play, explore, and learn with confidence and peace of mind.
As the playhouse stands as a testament to your dedication and creativity, it serves as a reminder of the countless adventures and moments of joy that await your children within its vibrant walls. Whether it’s a cozy reading nook, an imaginative play area, or a dynamic space for active play, the playhouse is a canvas for endless exploration and discovery.
As your children step into this whimsical play space, they are entering a world where their imaginations can soar, friendships can blossom, and memories can be woven. The playhouse is not merely a structure but a gateway to boundless creativity, laughter, and the pure delight of childhood.
So, take a moment to savor this achievement and witness the wonder in your children’s eyes as they embrace their new playhouse. As they embark on imaginative journeys, playful escapades, and moments of pure, unbridled joy, know that you have created a space where magic happens, friendships flourish, and childhood dreams come to life.
Embrace the joy, the laughter, and the endless possibilities that the playhouse holds. Cherish the memories that will unfold within its walls, and celebrate the extraordinary transformation that has turned a simple plastic shed into a cherished haven of play and wonder.
Now that you've turned that old plastic tool shed into a charming playhouse, why stop there? Next up, why not explore a variety of outdoor playhouses that can further ignite your kids' imaginations and offer them endless fun right in your backyard? From quaint cottages to adventurous fortresses, there's a perfect fit for every young explorer. Dive into our guide and find ideal ways to keep those little ones entertained for hours on end.
Frequently Asked Questions about How To Transform A Plastic Tool Shed Into A Playhouse
Was this page helpful?
At Storables.com, we guarantee accurate and reliable information. Our content, validated by Expert Board Contributors, is crafted following stringent Editorial Policies. We're committed to providing you with well-researched, expert-backed insights for all your informational needs.


0 thoughts on “How To Transform A Plastic Tool Shed Into A Playhouse”