Home>Home Appliances>Cleaning Appliances>How To Take Apart Electrolux Vacuum Cleaner
Cleaning Appliances
How To Take Apart Electrolux Vacuum Cleaner
Modified: August 20, 2024
Learn the step-by-step process to disassemble your Electrolux vacuum cleaner for cleaning and maintenance. Keep your cleaning appliances in top condition with these expert tips.
(Many of the links in this article redirect to a specific reviewed product. Your purchase of these products through affiliate links helps to generate commission for Storables.com, at no extra cost. Learn more)
Introduction
Welcome to the ultimate guide on how to take apart an Electrolux vacuum cleaner. Whether you’re looking to perform a deep cleaning, replace a faulty component, or simply satisfy your curiosity about the inner workings of your appliance, this step-by-step walkthrough will equip you with the knowledge and confidence to dismantle and reassemble your Electrolux vacuum cleaner.
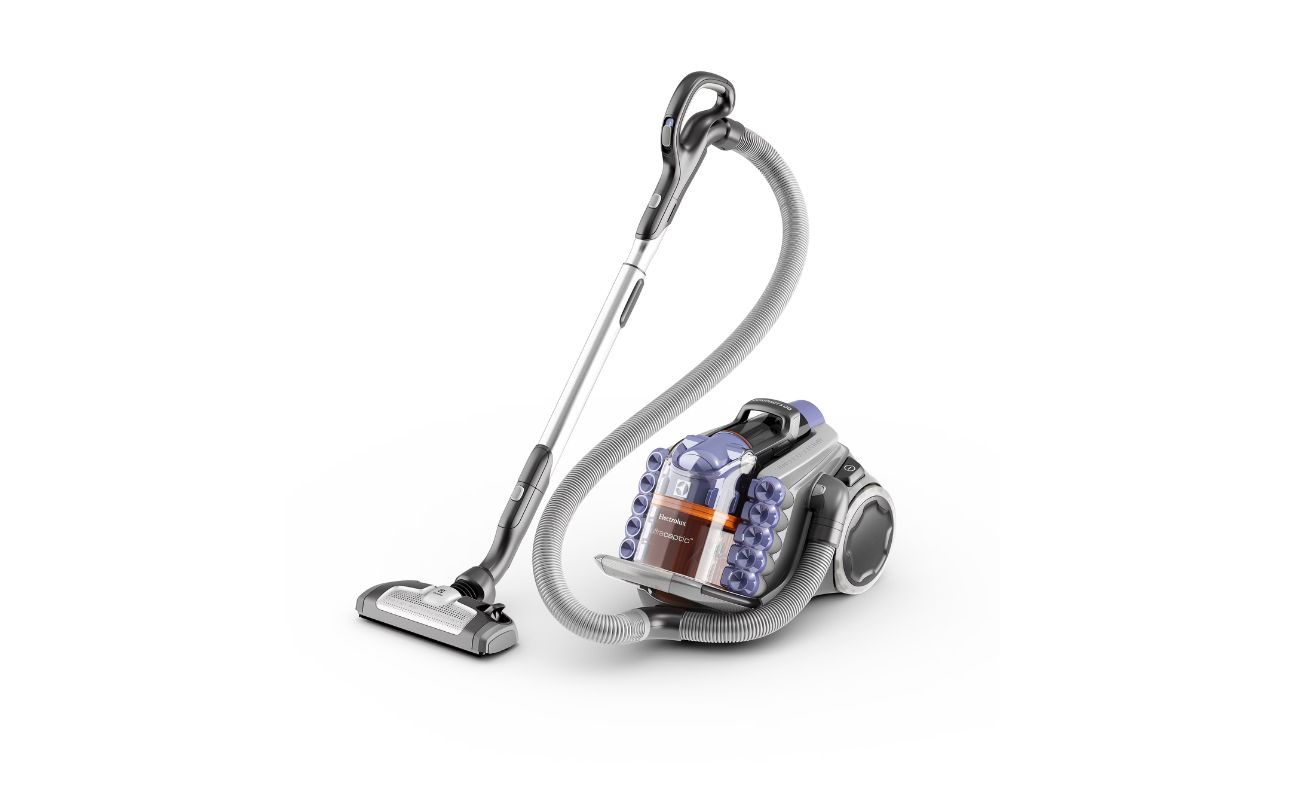
Electrolux vacuum cleaners are renowned for their powerful suction, innovative design, and durability. However, over time, dust, debris, and general wear and tear can affect their performance. By learning how to disassemble and clean your Electrolux vacuum cleaner, you can prolong its lifespan and ensure that it continues to operate at peak efficiency.
Throughout this guide, we’ll cover the essential tools and materials you’ll need, as well as the preparation steps to take before diving into the disassembly process. We’ll then walk you through the systematic dismantling of the outer casing and internal components, providing valuable insights into the cleaning and maintenance of each part. Finally, we’ll guide you through the reassembly process, ensuring that your Electrolux vacuum cleaner is restored to its optimal working condition.
So, whether you’re a cleaning enthusiast, a DIY aficionado, or simply a curious homeowner, join us as we delve into the inner workings of your Electrolux vacuum cleaner, demystifying its construction and empowering you to keep it in pristine condition.
Key Takeaways:
- Empower yourself by learning how to disassemble and clean your Electrolux vacuum cleaner. Understanding its inner workings equips you with the confidence to maintain and extend its lifespan.
- By deep-cleaning and reassembling your vacuum cleaner, you enhance its performance and contribute to a clean, healthy home environment. Your proactive maintenance sets a valuable precedent for appliance care.
Read also: 14 Best Electrolux Vacuum Cleaner For 2025
Tools and Materials Needed
Before embarking on the disassembly of your Electrolux vacuum cleaner, it’s important to gather the necessary tools and materials to ensure a smooth and efficient process. Here’s a comprehensive list of what you’ll need:
- Screwdriver Set: A set of Phillips and flathead screwdrivers in various sizes will be essential for removing screws securing the outer casing and internal components.
- Needle-Nose Pliers: These will come in handy for manipulating small components and reaching into tight spaces.
- Clean, Dry Cloth: Having a soft cloth on hand will enable you to wipe down components and remove any accumulated dust and debris.
- Cleaning Solution: Depending on the material of the components, a mild cleaning solution or a mixture of water and vinegar can be used to clean certain parts.
- Lubricant: A silicone-based lubricant can be applied to moving parts, such as hinges and bearings, to maintain smooth operation.
- Replacement Filters and Bags (if applicable): If your Electrolux vacuum cleaner utilizes disposable bags or filters, it’s advisable to have replacements on hand.
- Work Area: Set up a well-lit and spacious work area where you can lay out the components and work comfortably.
- Protective Gear: Depending on the level of cleaning and maintenance required, you may need gloves and a dust mask to protect yourself from debris and allergens.
- User Manual: Keeping the user manual nearby can provide valuable insights into the specific disassembly and reassembly procedures for your model of Electrolux vacuum cleaner.
By ensuring that you have these tools and materials at your disposal, you’ll be well-prepared to tackle the disassembly process with confidence and thoroughness. Now that you’re equipped with the essentials, let’s move on to the next steps in preparing your Electrolux vacuum cleaner for disassembly.
Preparation
Before diving into the disassembly process, it’s crucial to undertake a few preparatory steps to ensure a seamless and organized experience. By taking the time to prepare your work area and familiarize yourself with the specific features of your Electrolux vacuum cleaner, you’ll set the stage for a successful disassembly and reassembly process.
1. Gather the Necessary Tools and Materials: Refer to the list of tools and materials provided earlier in this guide and ensure that you have everything within reach. This will prevent interruptions during the disassembly process and allow you to focus on the task at hand.
2. Read the User Manual: Take a moment to review the user manual that accompanied your Electrolux vacuum cleaner. The manual often contains valuable information about the disassembly and reassembly procedures specific to your model. Familiarizing yourself with this information can help you approach the process with confidence and clarity.
3. Choose a Suitable Work Area: Select a well-lit and spacious area where you can comfortably lay out the components of the vacuum cleaner. Ensure that the work surface is clean and free of clutter to prevent misplacing small parts during the disassembly process.
4. Perform a Visual Inspection: Examine the exterior of the vacuum cleaner for any visible signs of damage, wear, or accumulated debris. This visual inspection will provide insights into areas that may require focused cleaning or potential component replacement during the disassembly process.
5. Power Off and Unplug the Vacuum Cleaner: Prior to beginning the disassembly, ensure that the vacuum cleaner is powered off and unplugged from the electrical outlet. This precautionary measure is essential for safety and prevents the risk of electrical shock during the disassembly and cleaning process.
By completing these preparatory steps, you’ll establish a solid foundation for the disassembly and cleaning of your Electrolux vacuum cleaner. With the tools and materials at the ready and a clear understanding of the preparatory measures, you’re now prepared to embark on the next phase: removing the outer casing of the vacuum cleaner.
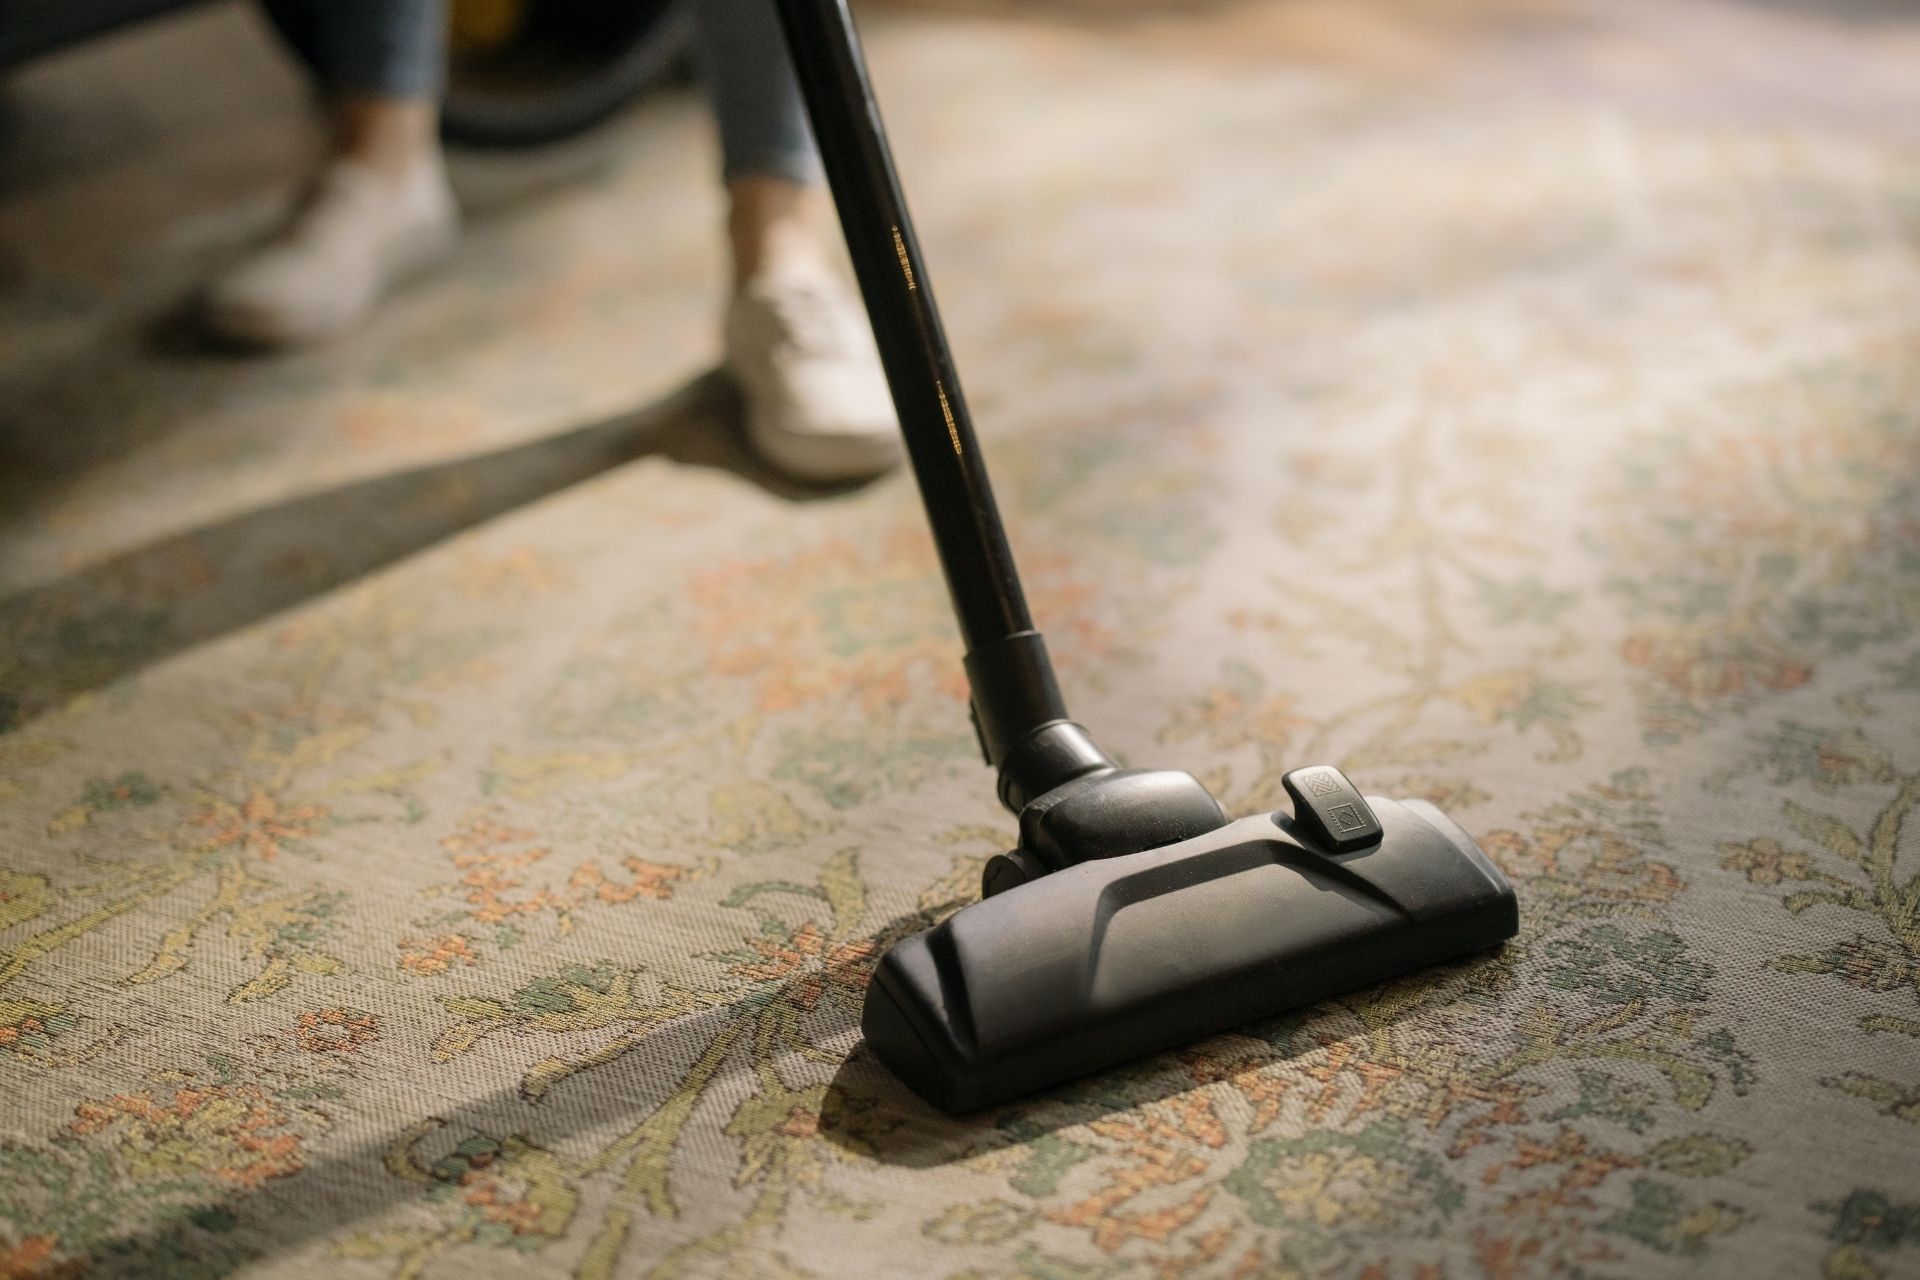
Removing the Outer Casing
With the preparatory steps completed, it’s time to begin the disassembly process by removing the outer casing of your Electrolux vacuum cleaner. The outer casing serves as the protective housing for the internal components and is typically secured in place by screws and latches. Here’s a systematic approach to safely and effectively remove the outer casing:
- Identify and Remove Screws: Using the appropriate screwdriver from your set, carefully locate and remove the screws securing the outer casing. These screws are often positioned along the perimeter of the vacuum cleaner and may be concealed beneath plastic covers or labels. Take care to keep the removed screws in a safe place to prevent misplacement.
- Release Latches or Fasteners: In addition to screws, the outer casing may be secured by latches or fasteners that require release before the casing can be lifted off. Refer to the user manual or visually inspect the casing to identify the locations of these latches. Gently release them to disengage the outer casing from the vacuum cleaner.
- Lift Off the Outer Casing: Once all screws and latches have been addressed, carefully lift off the outer casing from the vacuum cleaner. Take note of any resistance or areas where the casing may be connected to internal components. Avoid using excessive force to prevent damage to the casing or internal parts.
As you remove the outer casing, take the opportunity to inspect the interior for any visible accumulations of dust, debris, or blockages. This initial assessment will provide insights into areas that may require focused cleaning and maintenance during the subsequent stages of disassembly.
With the outer casing successfully removed, you’ve now gained access to the internal components of your Electrolux vacuum cleaner. The next phase will involve systematically disassembling these components to facilitate thorough cleaning and maintenance, ensuring that your vacuum cleaner operates at peak performance. Join us as we delve into the disassembly process and uncover the inner workings of your Electrolux appliance.
Before taking apart your Electrolux vacuum cleaner, make sure to unplug it from the power source to avoid any accidents. Then, refer to the user manual for specific instructions on disassembly. If you don’t have the manual, you can usually find disassembly guides online.
Disassembling the Components
With the outer casing removed, you’re now ready to delve into the disassembly of the internal components of your Electrolux vacuum cleaner. This phase of the process will involve systematically dismantling the various parts to facilitate thorough cleaning and maintenance. Here’s a step-by-step guide to disassembling the components:
- Remove the Filter and Dust Container: If your Electrolux vacuum cleaner is equipped with a dust container and filter, carefully remove these components from the appliance. The filter may be housed within the dust container or positioned in a separate compartment. Take note of the orientation of the filter for correct reassembly.
- Detach the Hose and Attachments: Unhook the hose and detach any accessories or attachments from the vacuum cleaner. These components may require individual cleaning and maintenance to ensure optimal performance and suction power.
- Access the Motor and Internal Components: Depending on the specific model of your Electrolux vacuum cleaner, you may gain access to the motor and internal components upon removing the outer casing. Carefully inspect the interior for any visible accumulations of dust, debris, or blockages that may impede the appliance’s performance.
- Disassemble the Powerhead (if applicable): If your Electrolux vacuum cleaner features a powerhead or motorized brush roll, follow the manufacturer’s guidelines to disassemble this component for thorough cleaning. Pay attention to the arrangement of the brush roll and drive belt for correct reassembly.
- Addressing Additional Components: Depending on the specific features of your Electrolux vacuum cleaner, there may be additional components, such as switches, wiring harnesses, or specialized filters, that require attention. Take a methodical approach to disassembling these parts, keeping track of the disassembly sequence to aid in reassembly.
As you systematically disassemble the internal components, take the opportunity to inspect each part for signs of wear, damage, or accumulated debris. This visual assessment will guide your cleaning and maintenance efforts, ensuring that each component is restored to optimal condition before reassembly.
By carefully disassembling the components of your Electrolux vacuum cleaner, you’re taking proactive steps to maintain its performance and extend its lifespan. With the internal components now ready for cleaning and maintenance, join us as we explore the essential steps for thorough cleaning and upkeep of your appliance.
Cleaning and Maintenance
Now that the internal components of your Electrolux vacuum cleaner have been disassembled, it’s time to focus on thorough cleaning and maintenance to ensure optimal performance and longevity. By addressing each component with care and attention to detail, you’ll effectively remove accumulated dust, debris, and potential blockages, restoring your vacuum cleaner to peak operating condition. Here’s a comprehensive approach to cleaning and maintaining the various parts:
- Cleaning the Filter and Dust Container: If your vacuum cleaner features a reusable filter, carefully wash it with mild soap and water, ensuring thorough rinsing and complete drying before reassembly. For the dust container, empty any contents and wipe it clean with a damp cloth, allowing it to dry completely before reinstalling.
- Addressing the Hose and Attachments: Inspect the hose for any obstructions or blockages, using a straightened wire hanger or pipe cleaner to remove debris if necessary. Wipe down the attachments with a damp cloth and ensure that they are completely dry before reattaching to the vacuum cleaner.
- Cleaning the Motor and Internal Components: Use a soft brush or compressed air to gently dislodge and remove dust and debris from the motor and internal components. Take care to avoid direct contact with electrical connections and delicate parts while cleaning. Inspect for any worn or damaged components that may require replacement.
- Thorough Cleaning of the Powerhead (if applicable): Disassemble the powerhead according to the manufacturer’s guidelines and carefully remove any tangled hair, threads, or debris from the brush roll and drive belt. Wipe down the powerhead housing and components before reassembly.
- Inspecting and Addressing Additional Components: Take the time to visually inspect switches, wiring harnesses, and specialized filters for signs of wear or damage. Clean these components as needed and replace any worn or damaged parts to ensure the appliance’s optimal functionality.
Throughout the cleaning and maintenance process, it’s important to exercise caution and attention to detail. By meticulously addressing each component, you’ll effectively remove accumulated debris and ensure that the internal parts of your Electrolux vacuum cleaner are in prime condition for reassembly.
With the cleaning and maintenance steps completed, you’re now prepared to reassemble the components of your Electrolux vacuum cleaner, restoring it to its optimal working state. Join us as we guide you through the systematic reassembly process, ensuring that each part is securely and correctly installed for seamless operation.
Reassembling the Vacuum Cleaner
With the internal components of your Electrolux vacuum cleaner thoroughly cleaned and maintained, it’s time to embark on the reassembly process. By methodically reassembling each part with care and precision, you’ll restore your vacuum cleaner to its optimal working state. Here’s a systematic guide to reassembling the components:
- Reassembling the Powerhead (if applicable): If you disassembled the powerhead or motorized brush roll, carefully reassemble these components according to the manufacturer’s guidelines. Ensure that the brush roll and drive belt are correctly positioned and secured for efficient operation.
- Reattaching the Hose and Attachments: Securely reattach the hose and any accessories or attachments to the vacuum cleaner. Verify that each component is properly connected and in good working condition before proceeding.
- Installing the Filter and Dust Container: If your vacuum cleaner features a reusable filter and dust container, reinstall these components according to the manufacturer’s specifications. Ensure that the filter is correctly oriented and securely in place within the dust container.
- Addressing Additional Components: As you reassemble switches, wiring harnesses, and specialized filters, refer to the user manual for specific instructions and proper placement. Take care to secure each component according to the manufacturer’s guidelines.
- Securing the Outer Casing: Carefully position the outer casing over the internal components, aligning it properly before securing it in place. Reinsert any screws and fasten any latches according to their original positions. Verify that the outer casing is securely attached to the vacuum cleaner.
As you systematically reassemble each component, take the time to ensure that all connections are secure and that no parts have been overlooked. Double-check the alignment and placement of internal components to guarantee smooth operation once the reassembly is complete.
With the components of your Electrolux vacuum cleaner successfully reassembled, you’ve effectively restored the appliance to its optimal working condition. The final step involves testing the vacuum cleaner to verify its performance and suction power, ensuring that all components are functioning as intended.
By following this comprehensive reassembly process, you’ve not only deep-cleaned and maintained your Electrolux vacuum cleaner but also gained valuable insights into its inner workings. With your appliance now restored to peak performance, you’re ready to enjoy its powerful suction and efficient operation in keeping your living spaces clean and fresh.
Conclusion
Congratulations on successfully navigating the process of disassembling, cleaning, and reassembling your Electrolux vacuum cleaner. By taking a proactive approach to maintaining your appliance, you’ve not only extended its lifespan but also ensured that it continues to operate at peak efficiency, keeping your home clean and inviting. As you conclude this comprehensive maintenance endeavor, it’s essential to reflect on the key takeaways and the impact of your efforts.
Empowerment through Knowledge: By gaining insights into the inner workings of your Electrolux vacuum cleaner, you’ve empowered yourself to take proactive steps in its maintenance and care. Understanding the disassembly and reassembly process equips you with the confidence to address any future cleaning or maintenance needs that may arise.
Prolonged Appliance Lifespan: Through thorough cleaning and maintenance, you’ve effectively extended the lifespan of your vacuum cleaner. By systematically addressing each component and ensuring that it operates at optimal capacity, you’ve set the stage for continued reliable performance in the years to come.
Enhanced Performance and Efficiency: The meticulous cleaning and reassembly of your Electrolux vacuum cleaner have resulted in enhanced performance and suction power. By removing accumulated dust, debris, and potential blockages, you’ve restored the appliance to its peak operating condition, ensuring efficient cleaning results.
Commitment to Home Maintenance: Your dedication to maintaining and deep-cleaning your Electrolux vacuum cleaner reflects a broader commitment to home maintenance and care. By investing time and effort into the upkeep of essential appliances, you contribute to a clean, healthy, and harmonious living environment for yourself and your family.
As you reflect on the journey from disassembly to reassembly, it’s evident that your efforts have not only revitalized your Electrolux vacuum cleaner but also deepened your understanding of its functionality and maintenance requirements. Your commitment to proactive appliance care sets a valuable precedent for maintaining a functional and inviting home environment.
Now, with your Electrolux vacuum cleaner restored to its optimal working state, you can confidently resume your cleaning routines, knowing that your appliance is equipped to tackle household maintenance tasks with ease. As you enjoy the efficient performance of your freshly maintained vacuum cleaner, remember the knowledge and empowerment gained through this maintenance endeavor, setting the stage for continued care and upkeep of essential home appliances.
Thank you for embarking on this maintenance journey with us, and may your refreshed Electrolux vacuum cleaner continue to serve as a reliable ally in maintaining the cleanliness and comfort of your living spaces.
Frequently Asked Questions about How To Take Apart Electrolux Vacuum Cleaner
Was this page helpful?
At Storables.com, we guarantee accurate and reliable information. Our content, validated by Expert Board Contributors, is crafted following stringent Editorial Policies. We're committed to providing you with well-researched, expert-backed insights for all your informational needs.


0 thoughts on “How To Take Apart Electrolux Vacuum Cleaner”