Home>Home Appliances>Home Automation Appliances>How To Replace A Lennox Thermostat

Home Automation Appliances
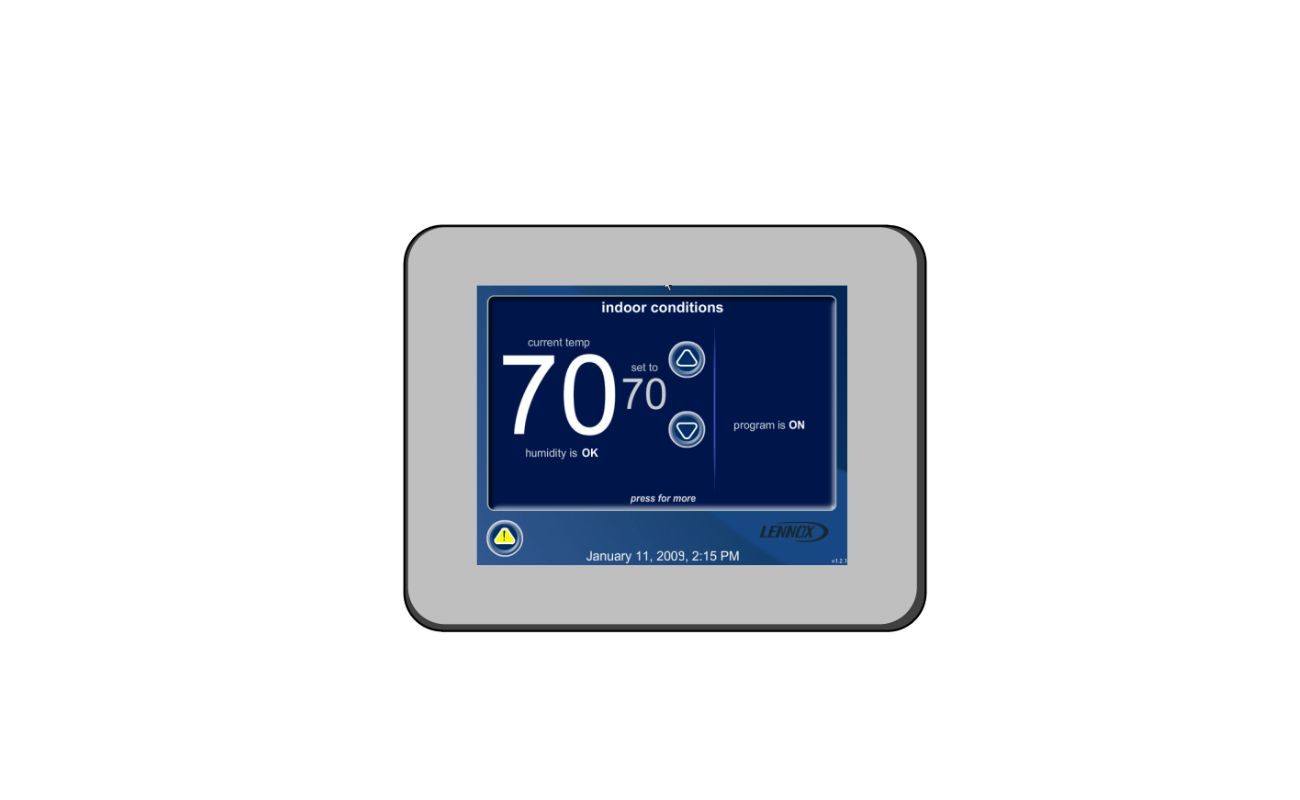
How To Replace A Lennox Thermostat
Modified: March 1, 2024
Learn how to replace a Lennox thermostat and improve your home automation appliances with our step-by-step guide. Upgrade your home with ease!
(Many of the links in this article redirect to a specific reviewed product. Your purchase of these products through affiliate links helps to generate commission for Storables.com, at no extra cost. Learn more)
Introduction
Welcome to the ultimate guide on replacing a Lennox thermostat! Whether you're looking to upgrade to a smart thermostat or simply need to replace a malfunctioning unit, this comprehensive walkthrough will equip you with the knowledge and confidence to tackle the task with ease.
A properly functioning thermostat is crucial for maintaining a comfortable and energy-efficient home. With advancements in technology, the options for thermostats have expanded, offering features such as programmable settings, Wi-Fi connectivity, and energy usage tracking. By learning how to replace your Lennox thermostat, you can take advantage of these modern conveniences while ensuring precise control over your home's heating and cooling systems.
In this guide, we'll cover each step of the replacement process in detail, from preparing the necessary tools and materials to safely turning off the power, removing the old thermostat, labeling wires, installing the new thermostat, and finally, testing its functionality. By following these steps, you'll be well-equipped to upgrade your home's thermostat and enjoy the benefits of a more efficient and responsive heating and cooling system.
So, gather your tools, prepare for a hands-on experience, and get ready to transform your home's comfort control system. Let's dive into the process of replacing your Lennox thermostat and take the first step toward a more sophisticated and efficient home environment.
Key Takeaways:
- Replacing a Lennox thermostat involves turning off the power, removing the old unit, labeling wires, installing the new thermostat, and testing its functionality. This ensures a safe and successful upgrade to a more advanced and efficient home climate control system.
- Gathering the necessary tools and materials, such as screwdrivers, labels, and a new Lennox thermostat, is crucial for a smooth replacement process. Following each step with precision and care leads to a more comfortable and technologically advanced living environment.
Read more: How To Turn Off A Lennox Thermostat
Tools and Materials Needed
Before embarking on the journey of replacing your Lennox thermostat, it's essential to gather the necessary tools and materials to ensure a smooth and efficient process. Here's a comprehensive list of what you'll need:
Tools:
- Flathead screwdriver
- Phillips screwdriver
- Drill and bits (if necessary for mounting the new thermostat)
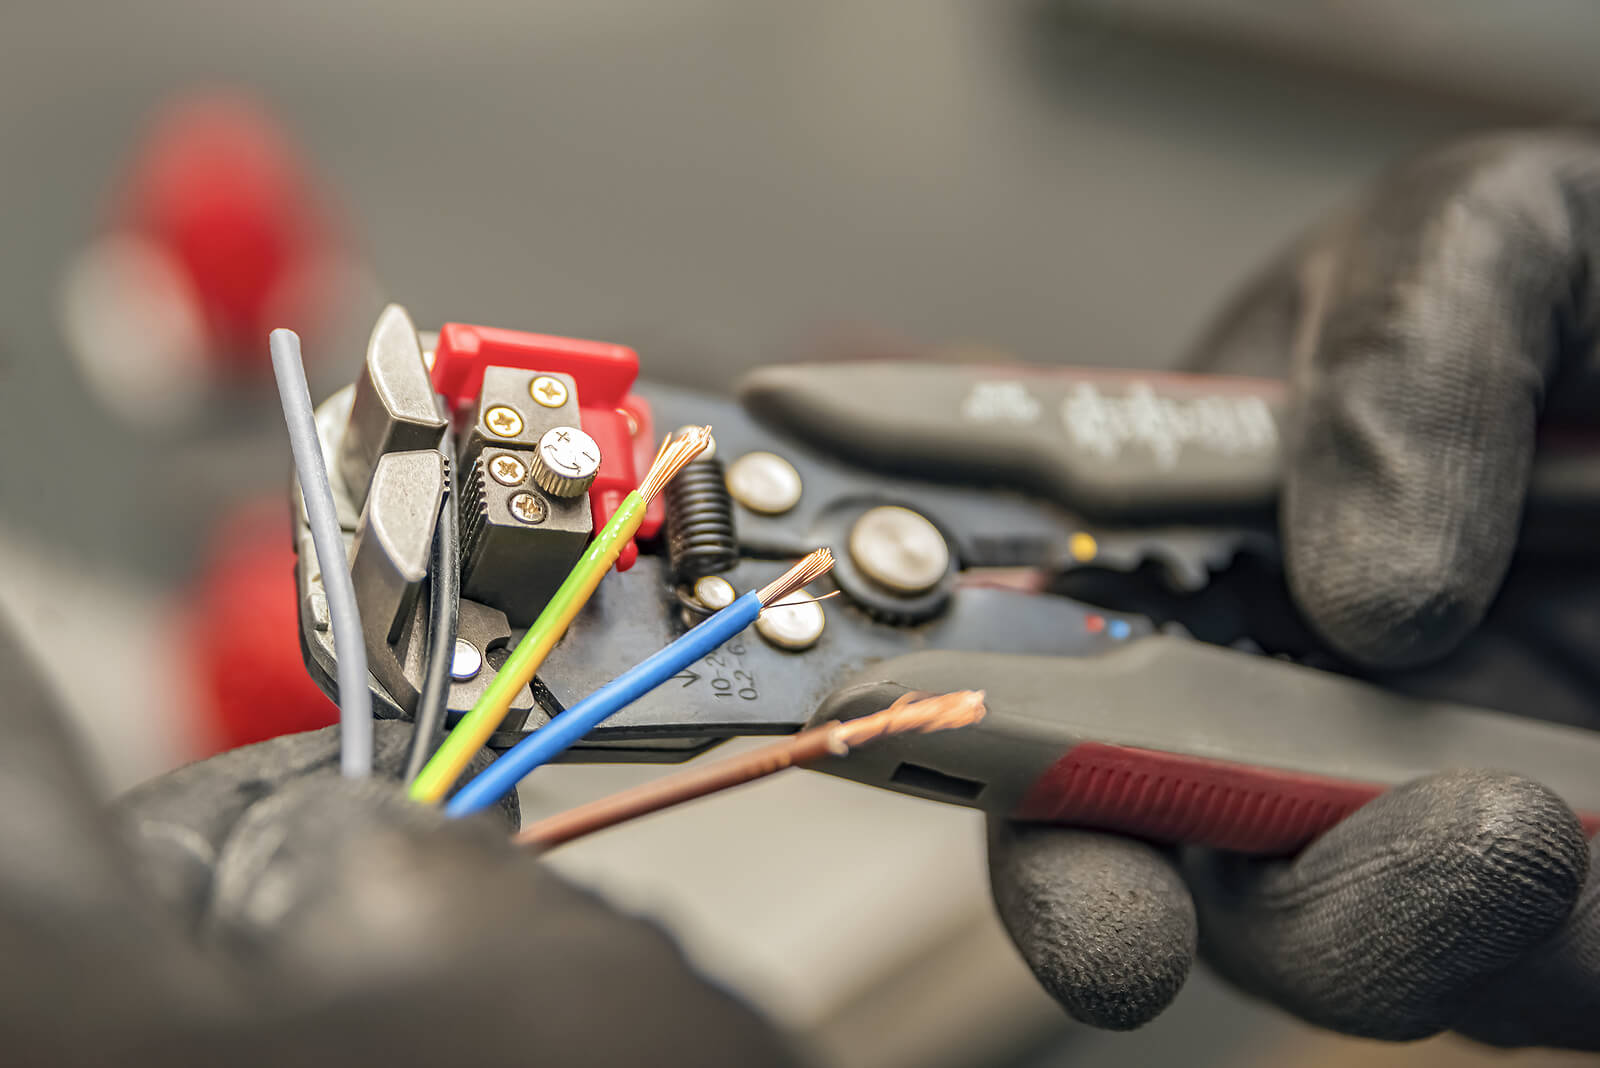
- Wire cutter/stripper (if needed for wire adjustments)
- Level (for ensuring the new thermostat is installed straight)
- Electrical tape
- Marker or pen for labeling wires
- Smartphone or tablet (for setup and testing if installing a smart thermostat)
Materials:
- New Lennox thermostat (ensure compatibility with your HVAC system)
- Batteries (if required for the new thermostat)
- Screws and drywall anchors (if necessary for mounting the new thermostat)
- Labels or stickers for wiring identification
- Owner's manual for the new thermostat
- Electrical tape
By having these tools and materials at your disposal, you'll be well-prepared to tackle each step of the replacement process with confidence and precision. Ensuring that you have everything you need beforehand will streamline the installation and help you avoid any unnecessary delays or complications.
Now that you're equipped with the essential tools and materials, it's time to proceed to the first step of the replacement process: turning off the power to the existing thermostat.
Step 1: Turn off Power
Before beginning the replacement of your Lennox thermostat, it’s crucial to prioritize safety by turning off the power to the existing unit. This step will help prevent electrical hazards and ensure a secure environment for the replacement process. Here’s how to safely turn off the power:
Locate the Circuit Breaker: Head to your home’s electrical panel and locate the circuit breaker that controls the power supply to your HVAC system. Typically, the breaker will be labeled for the furnace or air conditioning unit. If the circuits are not clearly labeled, it’s advisable to consult the user manual for your HVAC system or seek assistance from a qualified professional.
Switch Off the Power: Once you’ve identified the correct circuit breaker, switch it to the “off” position to cut off the power supply to the HVAC system. It’s essential to verify that the power is completely shut off before proceeding to the next steps. You can do this by attempting to adjust the temperature on the existing thermostat or by testing the heating and cooling systems to ensure they do not activate.
Double-Check the Power: As an additional safety measure, use a non-contact voltage tester to confirm that the power is indeed off. This tool can detect the presence of electrical current without direct contact, providing added reassurance that it’s safe to proceed with the replacement.
By following these steps to turn off the power, you’ll create a secure environment for replacing your Lennox thermostat. Ensuring that the power supply is disconnected is a critical first step that sets the stage for a smooth and safe installation process. With the power turned off, you’re ready to move on to the next step: removing the old thermostat.
Read more: Why Is My Lennox Thermostat Not Working
Step 2: Remove Old Thermostat
With the power safely turned off, it’s time to begin the process of removing the old Lennox thermostat. This step involves carefully detaching the existing unit from the wall and exposing the wiring for the upcoming installation of the new thermostat. Follow these steps to remove the old thermostat:
Detach the Faceplate: Start by gently removing the faceplate or cover of the thermostat. In most cases, the faceplate can be easily unclipped or unscrewed from the base, revealing the internal components and wiring. Take care during this step to avoid damaging the faceplate or the wall surface behind it.
Identify and Label the Wires: Once the faceplate is removed, you’ll see a series of wires connected to terminal screws on the thermostat base. It’s crucial to identify and label each wire according to its corresponding terminal. Using small stickers or masking tape, carefully mark each wire based on its terminal designation. This step is essential for ensuring a smooth transition when installing the new thermostat.
Remove the Thermostat Base: After labeling the wires, proceed to detach the thermostat base from the wall. This may involve unscrewing it from the wall mount or releasing any locking tabs that secure it in place. As you remove the base, be mindful of the wires and ensure they don’t slip back into the wall opening. Keep the wires and base accessible for the next steps of the replacement process.
Inspect the Wiring: Take a moment to inspect the condition of the wiring and terminals. Look for any signs of damage or wear that may require attention before installing the new thermostat. If you notice any issues with the wiring, it’s advisable to address them promptly to ensure a reliable connection with the new unit.
By carefully removing the old thermostat and preparing the wiring for the next phase, you’re laying the groundwork for a successful installation of the new Lennox thermostat. With the old unit removed and the wires labeled, you’re ready to proceed to the next step: labeling the wires for the new thermostat installation.
Step 3: Label Wires
With the old thermostat removed, the next crucial step in the replacement process is to label the wires that were previously connected to the unit. Properly identifying and labeling the wires will facilitate a seamless transition when installing the new Lennox thermostat. Follow these steps to label the wires effectively:
Refer to the Terminal Designations: Each wire from the old thermostat will be connected to a specific terminal, often labeled with letters such as R, C, W, Y, G, and so on. Refer to the user manual of your HVAC system or the labeling on the thermostat base to determine the corresponding designations for each wire.
Use Clear and Consistent Labels: Employ small stickers, masking tape, or adhesive labels to mark each wire based on its terminal designation. For example, if a wire was connected to the terminal labeled “R” on the old thermostat, affix a label with “R” to that particular wire. Similarly, label each wire according to its corresponding terminal designation to avoid confusion during the installation of the new thermostat.
Record the Wire Labels: It’s beneficial to create a reference document or diagram that indicates the terminal designations and their corresponding wire labels. This documentation can serve as a helpful guide during the installation of the new thermostat, ensuring that each wire is connected to the correct terminal on the new unit.
Secure the Labels: Once the wires are labeled, ensure that the labels are securely attached to each wire. This will prevent them from getting dislodged or mixed up during the installation process. Additionally, organizing the labeled wires in a neat and orderly manner will streamline the installation of the new thermostat.
By carefully labeling the wires according to their terminal designations, you’re setting the stage for a smooth and precise installation of the new Lennox thermostat. With the wires clearly identified and labeled, you’re now prepared to move on to the next step: installing the new thermostat.
When replacing a Lennox thermostat, make sure to turn off the power to the HVAC system before starting. Follow the manufacturer’s instructions carefully to ensure proper installation.
Step 4: Install New Thermostat
Now that the old thermostat has been removed and the wires have been labeled, it’s time to embark on the installation of your new Lennox thermostat. This step involves mounting the new unit to the wall, connecting the labeled wires to their respective terminals, and configuring the thermostat settings. Follow these guidelines to ensure a successful installation:
Mount the Thermostat Base: Begin by positioning the thermostat base on the wall, aligning it with the existing screw holes or using drywall anchors if necessary. Ensure that the base is level to maintain a professional and aesthetically pleasing installation. Once aligned, secure the base in place using screws or other provided mounting hardware.
Connect the Labeled Wires: With the base mounted, refer to the labels you created for the wires during the previous step. Connect each wire to its corresponding terminal on the new thermostat base, ensuring a snug and secure connection. Follow the manufacturer’s instructions or the included wiring diagram to correctly attach each wire, maintaining consistency with the labeling from the previous step.
Insert Batteries (If Applicable): If your new Lennox thermostat requires batteries for operation, insert them into the designated compartment according to the manufacturer’s guidelines. Confirm that the batteries are properly installed and that the thermostat powers on upon completion.
Configure Thermostat Settings: Once the wiring is in place, follow the instructions provided with the new thermostat to configure its settings. This may involve setting the date and time, selecting heating and cooling preferences, and customizing any additional features offered by the thermostat. If you’re installing a smart thermostat, you may need to download the corresponding mobile app and complete the setup process as directed.
Test the Thermostat: After configuring the settings, perform a comprehensive test of the thermostat to ensure that it operates as expected. Verify that the heating and cooling systems respond to the thermostat’s commands, and confirm that the display and interface function correctly. This testing phase is crucial for identifying any potential issues and ensuring that the new thermostat is fully operational.
By successfully installing the new Lennox thermostat and verifying its functionality, you’ve completed a significant milestone in the replacement process. With the new unit securely mounted and the wiring correctly connected, you’re now prepared to move on to the final step: testing the new thermostat to confirm its performance and integration with your HVAC system.
Step 5: Test the New Thermostat
With the new Lennox thermostat installed and configured, it’s time to conduct thorough testing to ensure its seamless integration with your HVAC system. This critical step involves verifying the functionality of the thermostat, testing its responsiveness to temperature adjustments, and confirming that it effectively controls your heating and cooling systems. Follow these steps to comprehensively test the new thermostat:
Temperature Adjustment Test: Begin by adjusting the temperature settings on the thermostat to activate the heating or cooling systems. Observe the response of your HVAC system as the thermostat commands it to raise or lower the temperature. Listen for the activation of the furnace or air conditioning unit and ensure that the temperature adjustments are accurately reflected in your home’s climate control.
Mode Selection Test: Test the different operating modes of the thermostat, such as heating, cooling, and fan settings. Verify that the thermostat effectively triggers the corresponding systems based on the selected mode. This step ensures that the thermostat accurately communicates with your HVAC equipment and facilitates the desired climate control within your home.
Programmable Settings Test (If Applicable): If your new thermostat offers programmable settings or scheduling features, take the time to program specific temperature profiles for different times of the day. Test the thermostat’s ability to follow the programmed schedule, adjusting the temperature settings automatically according to your preferences. This functionality can significantly enhance energy efficiency and comfort within your home.
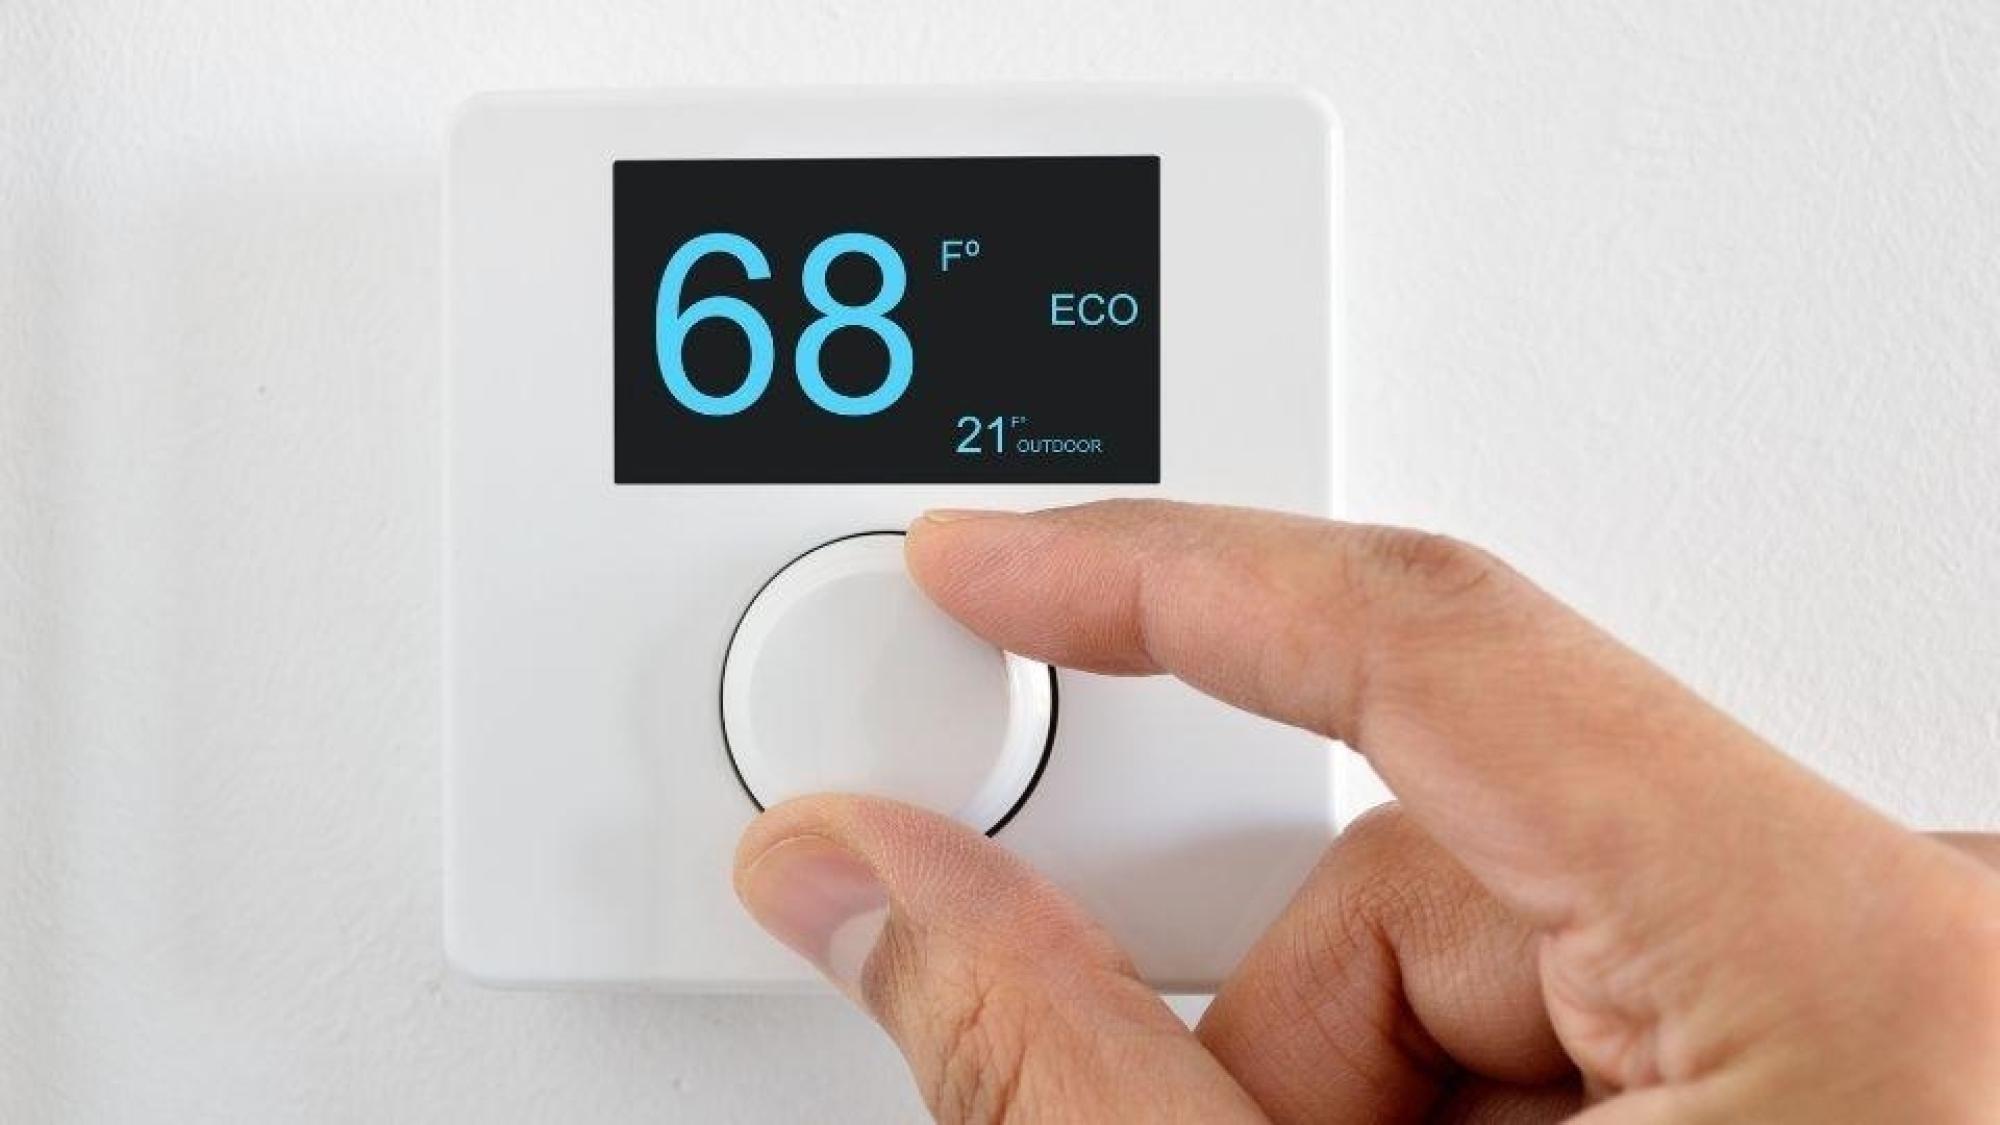
Wi-Fi Connectivity Test (If Applicable): For smart thermostats equipped with Wi-Fi connectivity, ensure that the unit successfully connects to your home network and communicates with the corresponding mobile app. Test the remote control and monitoring features offered by the smart thermostat, confirming that you can adjust settings and receive status updates from your smartphone or tablet. This step validates the connectivity and remote accessibility of the thermostat.
Display and Interface Test: Evaluate the clarity and responsiveness of the thermostat’s display and user interface. Confirm that the information displayed on the screen is accurate and easily readable, and that the interface operates smoothly when navigating through settings and options. A well-functioning display and interface are essential for user-friendly interaction with the thermostat.
By conducting these comprehensive tests, you can ensure that your new Lennox thermostat operates flawlessly and meets your expectations for precise climate control within your home. Thoroughly assessing its performance and features will provide peace of mind and confidence in the reliability of your upgraded thermostat.
With the successful completion of the testing phase, you’ve accomplished the final step in replacing your Lennox thermostat. Your dedication to ensuring the proper functionality of the new unit will undoubtedly contribute to a more comfortable, efficient, and technologically advanced home environment.
Read also: 9 Amazing Lennox Thermostat For 2024
Conclusion
Congratulations on successfully completing the replacement of your Lennox thermostat! By following the comprehensive steps outlined in this guide, you’ve taken a significant stride toward enhancing the comfort, efficiency, and control of your home’s heating and cooling systems. The process of replacing your thermostat may initially seem daunting, but your dedication to learning and executing each step has undoubtedly empowered you to achieve a successful outcome.
As you reflect on the journey of replacing your thermostat, it’s essential to acknowledge the benefits that await you with the installation of a new and advanced unit. Whether you’ve upgraded to a smart thermostat with Wi-Fi connectivity and programmable features or opted for a modern digital thermostat, you’re now positioned to experience the advantages of precise climate control and energy-efficient operation within your home.
By turning off the power, removing the old thermostat, labeling the wires, installing the new unit, and thoroughly testing its functionality, you’ve demonstrated a commendable commitment to ensuring a seamless and reliable transition. Your proactive approach to each step of the replacement process has not only enhanced the safety and efficiency of the installation but has also deepened your understanding of your home’s heating and cooling infrastructure.
As you enjoy the benefits of your new Lennox thermostat, take pride in the knowledge and skills you’ve gained throughout this experience. Embrace the convenience of remote access and intelligent climate control if you’ve chosen a smart thermostat, and revel in the precise temperature adjustments and energy-saving capabilities it offers. Your dedication to optimizing your home’s comfort and efficiency is a testament to your commitment to creating a modern and sophisticated living environment.
Should you encounter any challenges or uncertainties in the future, remember that you’ve equipped yourself with valuable insights and practical expertise through this endeavor. Your ability to navigate the intricacies of thermostat replacement reflects your proactive and resourceful approach to home maintenance and improvement.
As you bask in the comfort and control facilitated by your new Lennox thermostat, may you find satisfaction in the knowledge that you’ve successfully completed a significant home enhancement project. Your dedication to excellence and your commitment to a more advanced and efficient living space are truly commendable.
With your new thermostat in place and your home’s climate control optimized, you’re poised to enjoy a more comfortable, convenient, and energy-conscious lifestyle. Embrace the transformative impact of your upgraded thermostat and relish the enhanced living experience it brings to your home.
Frequently Asked Questions about How To Replace A Lennox Thermostat
Was this page helpful?
At Storables.com, we guarantee accurate and reliable information. Our content, validated by Expert Board Contributors, is crafted following stringent Editorial Policies. We're committed to providing you with well-researched, expert-backed insights for all your informational needs.


0 thoughts on “How To Replace A Lennox Thermostat”