
Articles
How To Change Ceiling Fan Light Bulb
Modified: March 1, 2024
Learn how to easily change a ceiling fan light bulb with our informative articles. Find step-by-step instructions and helpful tips for a quick and hassle-free process.
(Many of the links in this article redirect to a specific reviewed product. Your purchase of these products through affiliate links helps to generate commission for Storables.com, at no extra cost. Learn more)
Introduction
Having a ceiling fan with a light fixture adds both functionality and style to any room. However, like any light bulb, eventually the one in your ceiling fan will burn out and need to be replaced. While the task may seem daunting at first, changing the light bulb in a ceiling fan is actually a simple process that can be done with a few basic steps and tools.
In this article, we will guide you through the process of changing a ceiling fan light bulb. Whether you are a seasoned DIY homeowner or a beginner, you will find the instructions easy to follow. So, let’s get started on bringing back the light to your ceiling fan!
Before we begin, it’s important to note that safety should always be a priority. Make sure to turn off the power before attempting any work on the ceiling fan. Additionally, it’s a good idea to have a stepladder or step stool handy to access the light fixture cover. Now that we have the essentials covered, let’s move on to the first step – preparation.
Key Takeaways:
- Easily replace your ceiling fan light bulb by following simple steps and ensuring safety. Identify the correct bulb type, turn off the power, and install the new bulb for renewed illumination.
- With basic tools and preparation, changing a ceiling fan light bulb is a manageable DIY task. Prioritize safety, gather necessary items, and enjoy a well-lit space.
Read more: How To Change Light Bulb In Ceiling Fan
Preparation
Before you start changing the light bulb in your ceiling fan, it’s important to gather a few items to make the process smoother. Here’s what you’ll need:
- A stepladder or step stool
- A new light bulb suitable for your ceiling fan
Once you have these items ready, find a safe and stable place to set up your ladder or step stool near the ceiling fan. Make sure the ladder is positioned securely and that you can reach the light fixture comfortably.
Next, inspect the ceiling fan to determine the type of bulb it uses. Ceiling fans typically use one of three common types of light bulbs:
- Incandescent bulbs: These are the traditional light bulbs with a filament inside. They produce a warm, yellowish light and are available in different wattages.
- CFL (Compact Fluorescent Lamp) bulbs: These bulbs are energy-efficient alternatives to incandescent bulbs. They use less energy and have a longer lifespan.
- LED (Light Emitting Diode) bulbs: LED bulbs are also energy-efficient and have a longer lifespan than both incandescent and CFL bulbs. They produce a bright, white light and are available in various color temperatures.
Identifying the type of bulb used in your ceiling fan will help ensure that you purchase the correct replacement. You can usually find this information in the owner’s manual or on the packaging of the existing bulb.
Now that you have gathered the necessary items and identified the type of bulb, you are ready to proceed to the next step – turning off the power.
Identify the Bulb Type
Before you can change the light bulb in your ceiling fan, it’s important to correctly identify the type of bulb that needs to be replaced. Different ceiling fans may use different types of bulbs, such as incandescent, CFL, or LED bulbs. Knowing the correct bulb type will ensure that you purchase the right replacement.
To identify the bulb type, you can start by referring to the owner’s manual of your ceiling fan. The manual should contain information about the appropriate bulb type and wattage for your specific fan model. Look for a section that describes the light fixture or bulb requirements.
If you no longer have the owner’s manual or cannot find the information you need, you can take a closer look at the existing bulb. Most bulbs will have markings or labels that indicate their type, such as “incandescent,” “CFL,” or “LED.” Additionally, check the wattage of the bulb, which is often indicated on the base or side of the bulb.
If the bulb is not clearly labeled, you can also try removing it and taking it to a local hardware or home improvement store. The knowledgeable staff there will be able to assist you in identifying the bulb type and finding a suitable replacement.
Lastly, you can search for the make and model of your ceiling fan online. Many manufacturers provide detailed specifications for their products, including the compatible bulb types. Look for the official website of the manufacturer or online forums where other owners of the same ceiling fan model may have discussed the bulb requirements.
Once you have identified the correct bulb type, you can move on to the next step – turning off the power to the ceiling fan.
Turn off the Power
Before starting any work on your ceiling fan, it is crucial to ensure your safety by turning off the power supply. This step will prevent any accidental electrical shock or damage to the fan.
To turn off the power to your ceiling fan, you can follow these steps:
- Locate the circuit breaker or fuse box in your home. It is usually found in the basement, utility room, or garage.
- Identify the circuit breaker or fuse that controls the power to the room where the ceiling fan is located.
- If you have a circuit breaker, flip the switch to the “off” position. If you have a fuse box, remove the fuse that corresponds to the fan’s circuit.
Once the power has been turned off, it is a good practice to test if the fan’s lights and motor no longer work. This will serve as a confirmation that the power supply has been successfully disconnected.
It’s important to remember that even with the power turned off, you should never touch any exposed wires or connectors inside the fan. Always handle the fan and its components with caution to avoid any potential risks.
Now that you have turned off the power, the next step is to remove the light fixture cover from the ceiling fan.
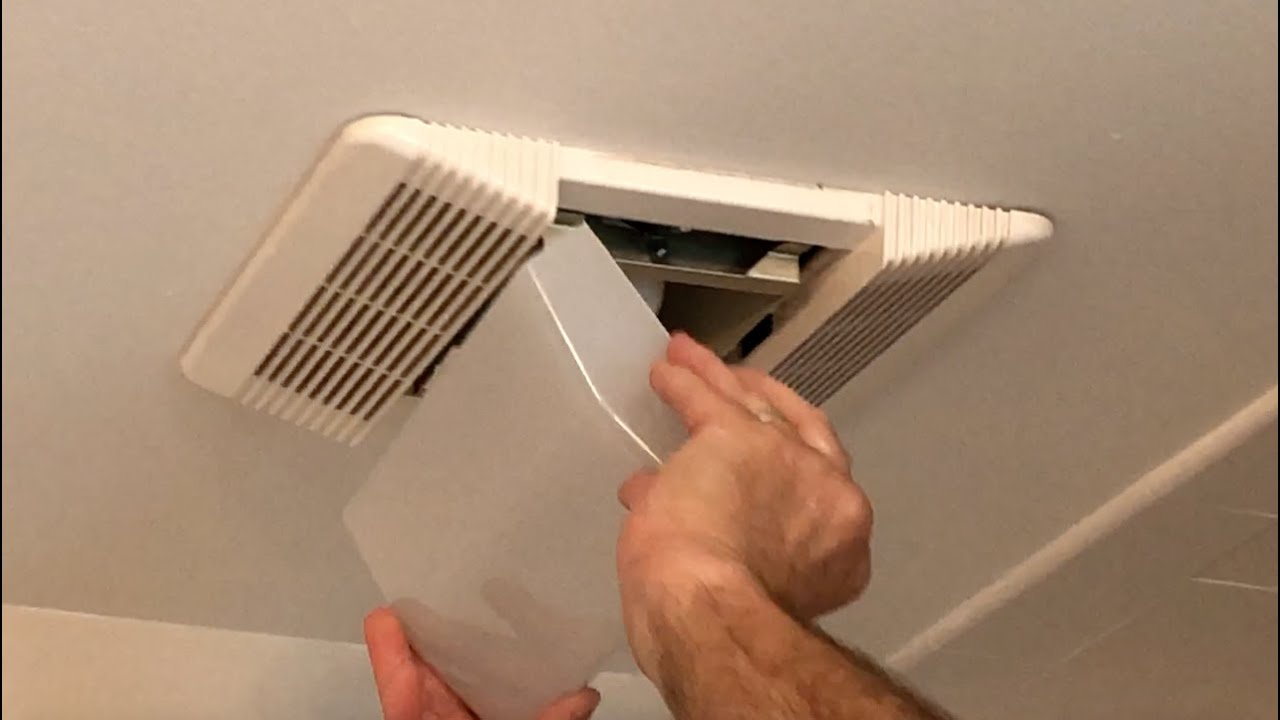
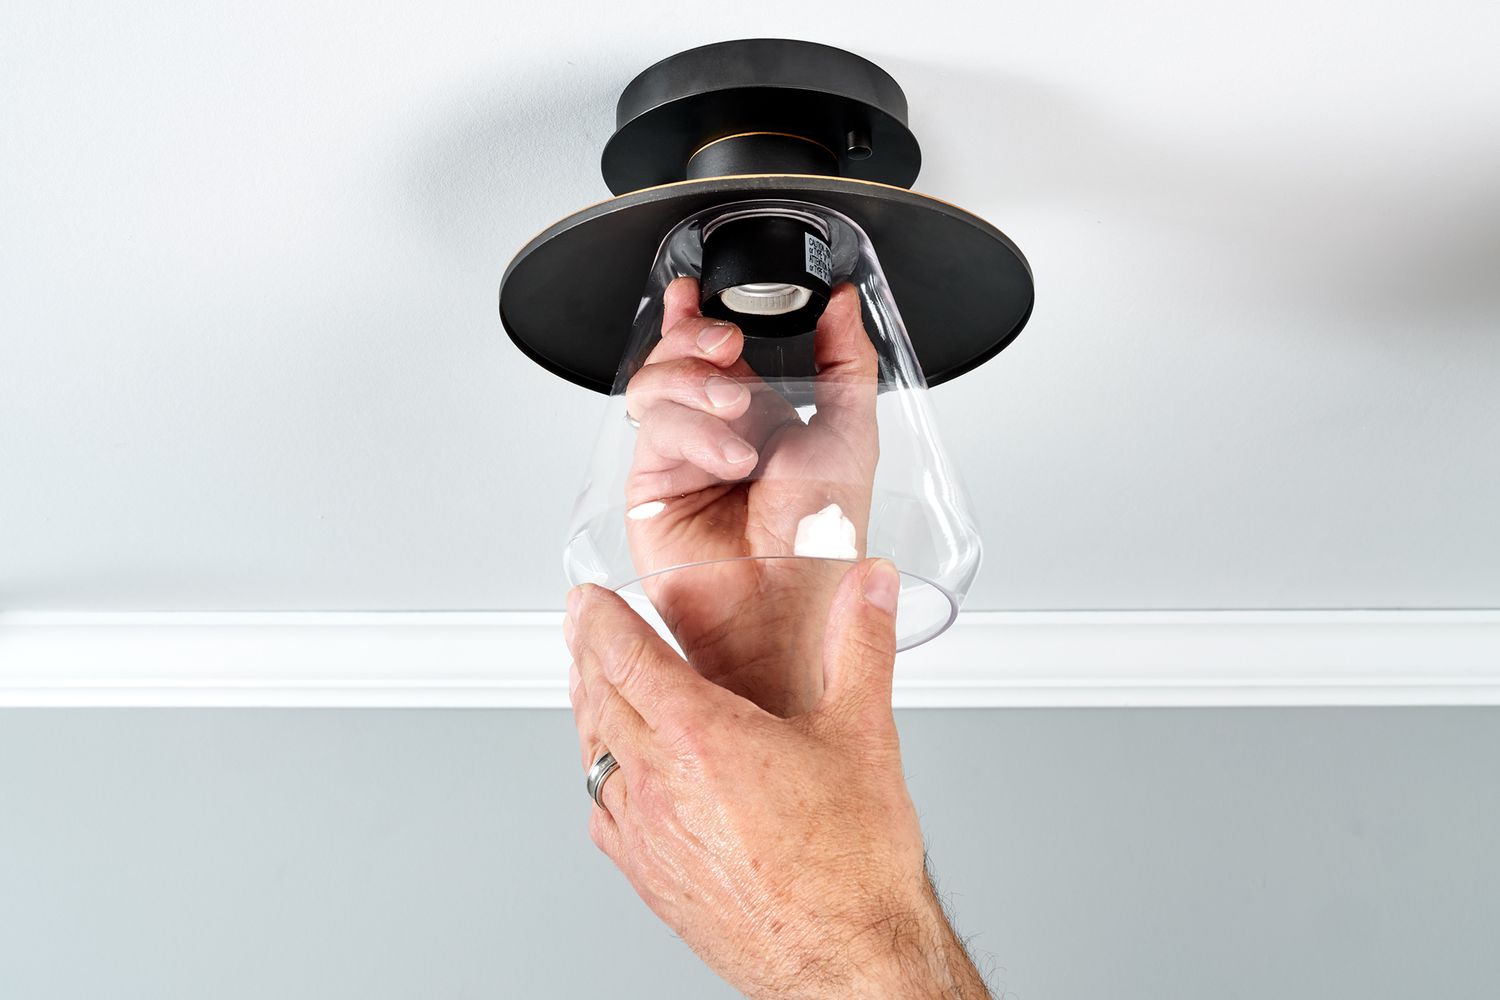
Remove the Light Fixture Cover
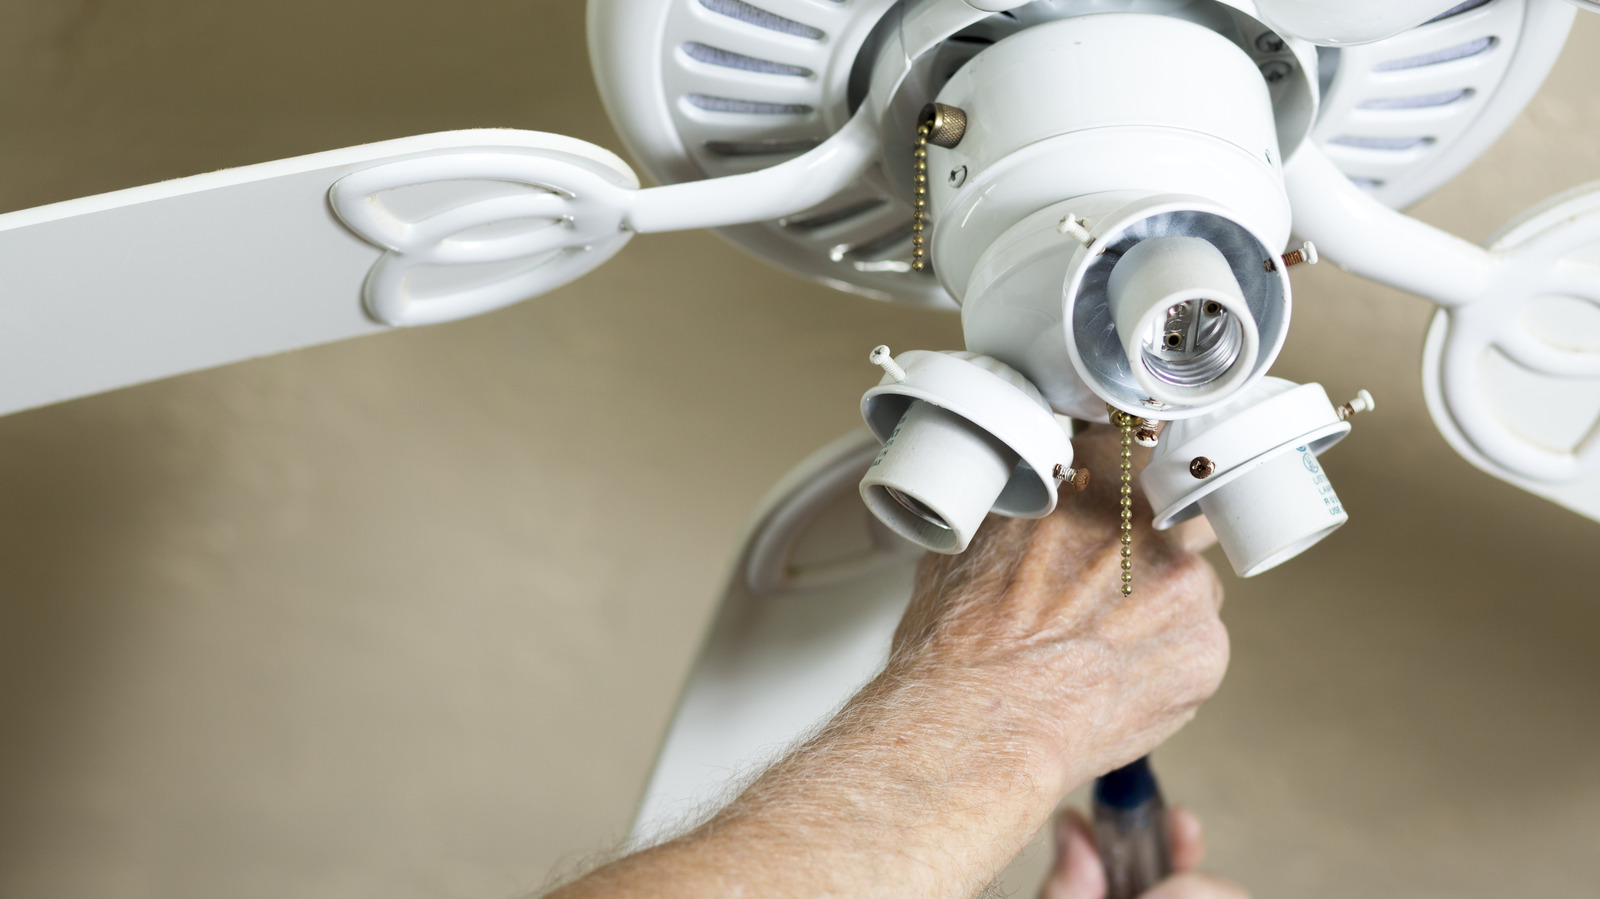
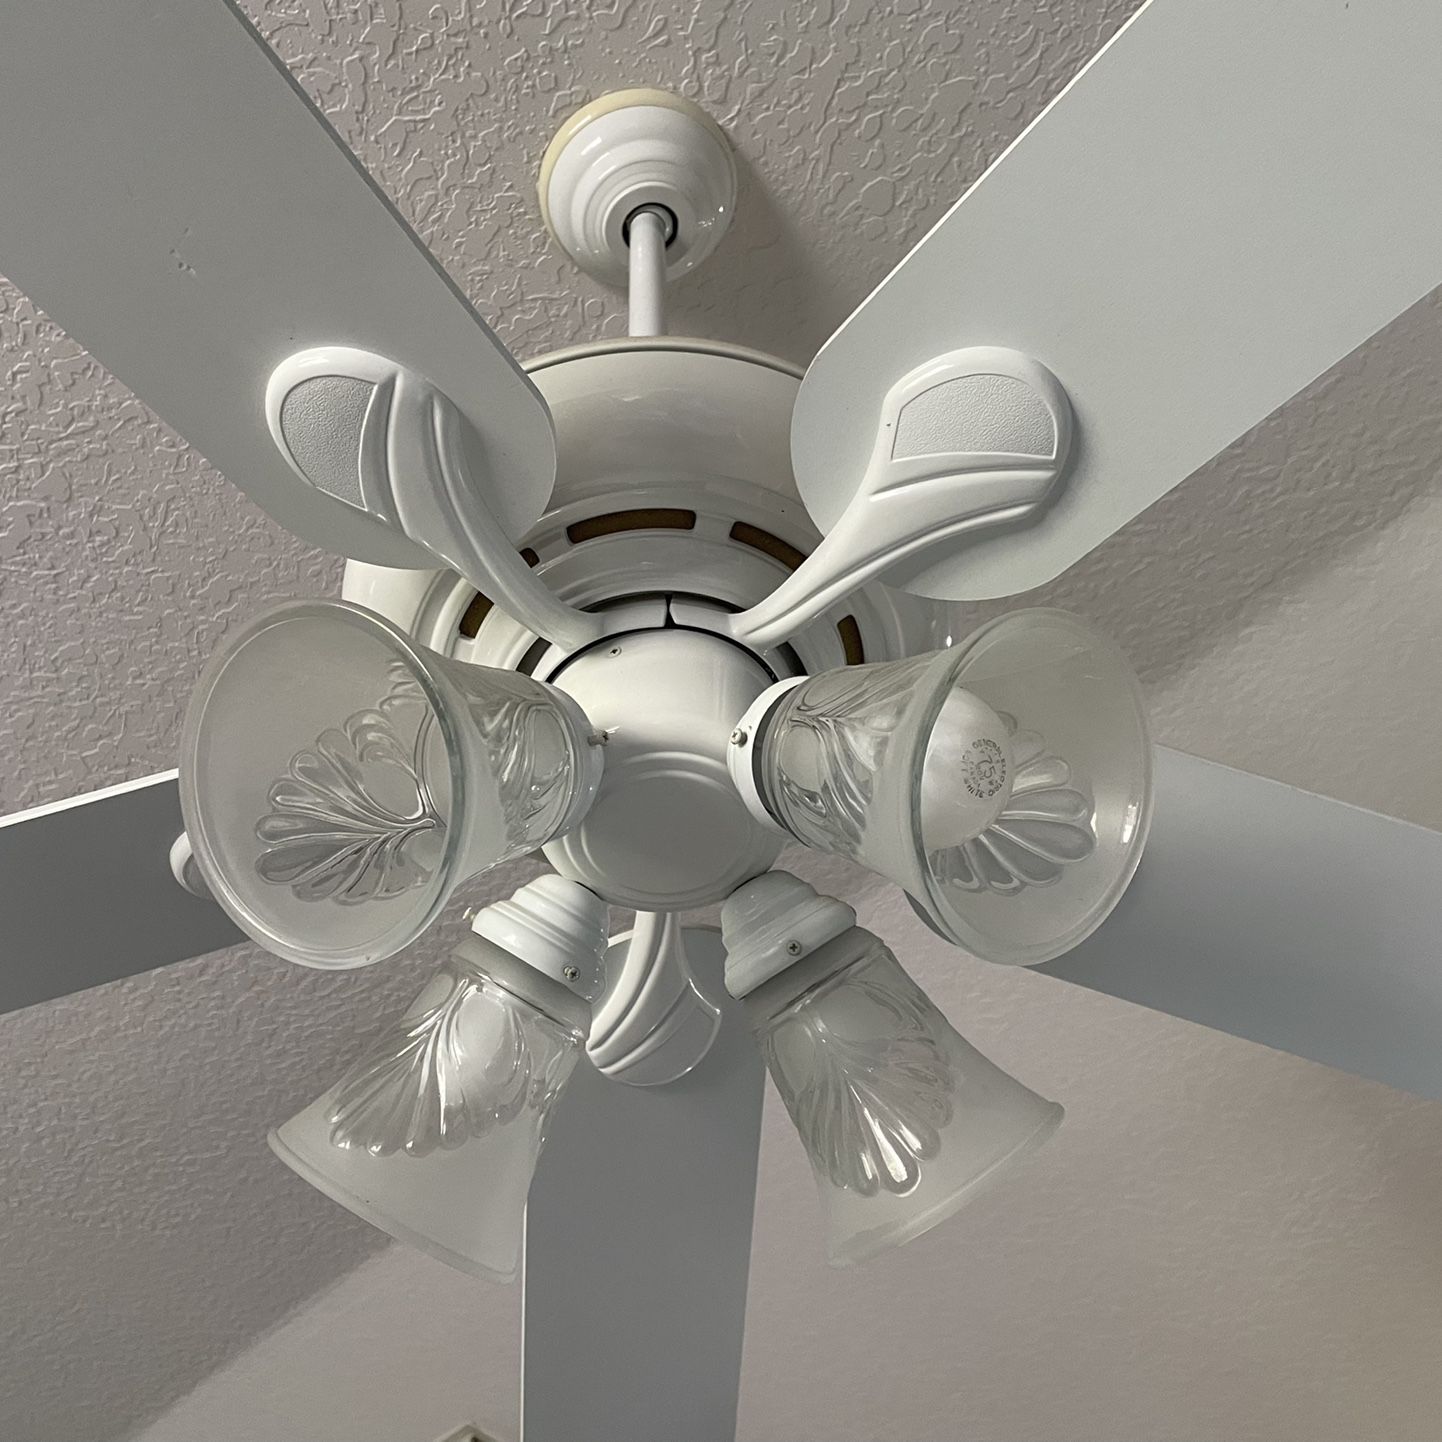
With the power to the ceiling fan turned off, you can now proceed to remove the light fixture cover. The cover is typically located underneath the fan blades and houses the light bulb.
To remove the light fixture cover, follow these steps:
- Locate the screws or clips that secure the cover to the ceiling fan. These are typically found along the edges of the cover.
- Using a screwdriver or your fingers, carefully unscrew or unclip the cover from the fan. Be gentle to avoid any damage to the cover or fan.
- Once the screws or clips are undone, slide or lift the cover off the fan. Set it aside in a safe place, as you will need to replace it later.
If the light fixture cover appears to be stuck or stubborn, do not force it. Take a moment to assess the situation and look for any additional screws, clips, or locking mechanisms that may be holding it in place. Some fan models may have different methods of attaching the cover, so refer to the fan’s manual if necessary.
After successfully removing the light fixture cover, you will have clear access to the old light bulb. The next step is to carefully remove the old bulb from the socket.
Make sure to turn off the power to the ceiling fan before attempting to change the light bulb. Use a stable ladder and a compatible replacement bulb to avoid any accidents.
Remove the Old Bulb
Now that the light fixture cover has been removed, it’s time to remove the old bulb from the ceiling fan. Follow these steps:
- Gently grasp the base of the old bulb with your hand, taking care not to apply excessive force.
- Rotate the bulb counterclockwise to loosen it from the socket. Most bulbs require a simple twist to remove.
- Continue loosening the bulb until it is free from the socket. Make sure to hold onto the bulb securely as you remove it to prevent it from falling and potentially shattering.
- Once the old bulb is detached, set it aside for proper disposal.
It’s important to note that some ceiling fan models may have a different method of securing or removing the light bulb. If you experience any difficulty or are unsure about the removal process, refer to the owner’s manual for specific instructions related to your fan model.
Additionally, take a moment to examine the socket and surrounding area for any signs of damage or corrosion. If you notice any issues, it is recommended to consult a professional electrician for further assistance.
Now that the old bulb has been safely removed, it’s time to proceed to the next step – installing the new bulb.
Install the New Bulb
With the old bulb removed, it’s time to install a new bulb in your ceiling fan. Follow these steps:
- Take the new light bulb and ensure it is the correct type and wattage for your ceiling fan. Refer to the bulb packaging or the owner’s manual for confirmation.
- Hold the base of the new bulb and align the threads on the bulb with the socket in the ceiling fan.
- Gently insert the bulb into the socket and rotate it clockwise to secure it. Be careful not to overtighten the bulb, as this could damage the socket or bulb.
- Continue twisting the bulb until it is snugly in place.
It’s crucial to use caution when handling the new bulb. Avoid touching the glass portion of the bulb with your bare hands, as this can leave oils or contaminants that may shorten the bulb’s lifespan. If you accidentally touch the bulb, wipe it clean with a dry cloth before installation.
Once the new bulb is securely installed, take a moment to ensure it is properly seated and aligned within the socket. This will ensure optimal illumination and performance.
Now that the new bulb is in place, it’s time to replace the light fixture cover on the ceiling fan.
Replace the Light Fixture Cover
Now that you have successfully installed the new bulb in your ceiling fan, it’s time to replace the light fixture cover. Follow these steps:
- Take the light fixture cover that you had set aside earlier.
- Align the cover with the screw holes or clips on the fan.
- Gently slide or press the cover into place, making sure it sits flush against the fan’s body.
- Once aligned, secure the cover by screwing in the screws or clipping it into place.
Double-check that the cover is securely fastened and does not wobble or move. This will ensure its stability and prevent it from accidentally falling off.
If your light fixture cover relies on screws, make sure not to overtighten them, as this may damage the cover or fan. Tighten the screws until they are snug but not excessively tight.
With the light fixture cover securely back in place, your ceiling fan is now ready to be powered on again.
However, before restoring power, it’s important to ensure that you have taken all the necessary precautions and complete the final step – restoring the power supply.
Restore Power
After successfully replacing the light fixture cover, it’s time to restore power to your ceiling fan. Follow these steps:
- Locate the circuit breaker or fuse box in your home.
- Identify the circuit breaker or fuse that controls the power to the room where the ceiling fan is located.
- If you have a circuit breaker, flip the switch to the “on” position. If you have a fuse box, reinsert the fuse that corresponds to the fan’s circuit.
Once you have restored power, it’s time to test the newly installed light bulb. Flip the switch or use the fan’s remote control to turn on the light. The room should be illuminated by the new bulb, indicating that it has been successfully installed and is functioning properly.
If the light does not turn on, double-check that the power supply has been fully restored. If you are still having issues, ensure that the light bulb is securely installed, and refer to the troubleshooting section in your ceiling fan’s owner’s manual or contact the manufacturer for further assistance.
With the power restored and the light functioning, take a moment to admire the renewed illumination and beauty that the ceiling fan brings to your room.
Congratulations! You have successfully changed the light bulb in your ceiling fan. By following these simple steps, you can easily maintain and enjoy the lighting features of your fan for years to come.
Remember, always prioritize safety and consult professional help if you are unsure or uncomfortable with any electrical work.
Thank you for reading this guide. Enjoy your well-lit and comfortable space!
Do you want to learn about anything else?
Conclusion
Changing a ceiling fan light bulb doesn’t have to be a daunting task. With a little preparation and some basic tools, you can easily replace the bulb and restore the illumination in your room. By following the steps outlined in this article, you can confidently tackle this DIY project and keep your ceiling fan shining brightly.
Remember to always prioritize your safety by turning off the power before beginning any work on the ceiling fan. Take the time to identify the correct bulb type and gather the necessary tools. Carefully remove the light fixture cover, unscrew the old bulb, and replace it with a new one of the same type and wattage.
Once the new bulb is securely installed, replace the light fixture cover, ensuring it is properly aligned and fastened. Finally, restore power and test the new bulb to confirm functionality.
By following these steps, you can maintain the functionality and aesthetic appeal of your ceiling fan for years to come. Don’t let a burnt-out light bulb dim the beauty of your fan – take action and replace it with ease.
As always, remember to prioritize safety and consult professionals if you are unsure or uncomfortable with electrical work. Enjoy your well-illuminated space and bask in the comforting ambiance provided by your ceiling fan!
Do you have any more questions or need assistance with any other topics? Feel free to ask!
Frequently Asked Questions about How To Change Ceiling Fan Light Bulb
Was this page helpful?
At Storables.com, we guarantee accurate and reliable information. Our content, validated by Expert Board Contributors, is crafted following stringent Editorial Policies. We're committed to providing you with well-researched, expert-backed insights for all your informational needs.





0 thoughts on “How To Change Ceiling Fan Light Bulb”