Home>Home Appliances>Lighting Appliances>How To Change A Recessed Ceiling Light Bulb

Lighting Appliances
How To Change A Recessed Ceiling Light Bulb
Modified: March 2, 2024
Learn how to easily change a recessed ceiling light bulb with our step-by-step guide. Keep your lighting appliances shining bright with these simple tips.
(Many of the links in this article redirect to a specific reviewed product. Your purchase of these products through affiliate links helps to generate commission for Storables.com, at no extra cost. Learn more)
Introduction
Changing a recessed ceiling light bulb may seem like a daunting task, but with the right guidance, it can be a straightforward and rewarding experience. Whether you're a seasoned DIY enthusiast or a novice homeowner, understanding the process of replacing a recessed ceiling light bulb is essential for maintaining a well-lit and inviting living space.
In this comprehensive guide, we will walk you through the step-by-step process of changing a recessed ceiling light bulb. From ensuring safety by turning off the power to seamlessly replacing the bulb and reattaching the trim, each step is crucial for a successful outcome. By following these instructions, you can confidently tackle this task and illuminate your home with a renewed sense of brightness.
Let's embark on this enlightening journey and empower ourselves with the knowledge and skills needed to conquer the challenge of changing a recessed ceiling light bulb. Whether you're seeking to enhance the ambiance of your living room, kitchen, or any other space, this guide will equip you with the expertise to accomplish this task with ease and confidence. So, let's dive in and shed some light on the process of changing a recessed ceiling light bulb!
Key Takeaways:
- Safety First!
Turning off the power and handling the bulb with care are crucial for a successful recessed ceiling light bulb replacement. Prioritize safety to ensure a stress-free and rewarding experience. - Illuminate with Confidence
By following the step-by-step instructions, anyone can confidently change a recessed ceiling light bulb and revitalize their living space with renewed brightness and warmth.
Read more: How To Change Recessed Light Bulb
Step 1: Turn off the power
Before embarking on the task of changing a recessed ceiling light bulb, it is imperative to prioritize safety by turning off the power to the fixture. This crucial step ensures that you can work on the light without the risk of electrical shock. Follow these detailed instructions to safely turn off the power:
-
Locate the Circuit Breaker: Begin by identifying the circuit breaker that controls the electricity supply to the recessed ceiling light. Circuit breakers are typically located in the electrical panel of your home. If you are unsure which breaker controls the specific light fixture, it's advisable to turn off the main power to the entire house for added safety.
-
Switch Off the Circuit Breaker: Once you have located the correct circuit breaker, switch it to the "off" position. This action effectively cuts off the electricity supply to the recessed ceiling light, ensuring that there is no power running to the fixture.
-
Verify the Power Supply: After turning off the circuit breaker, it's essential to verify that the power to the light fixture has been successfully disconnected. You can do this by attempting to turn on the light switch associated with the recessed ceiling light. If the power has been effectively turned off, the light should not illuminate when the switch is flipped.
-
Use a Voltage Tester (Optional): For an added layer of precaution, consider using a voltage tester to confirm that there is no electrical current flowing to the fixture. This handheld device can detect the presence of electrical voltage, providing peace of mind before proceeding with the task.
By diligently following these steps to turn off the power, you can create a safe working environment for changing the recessed ceiling light bulb. Prioritizing safety at the outset of the process sets the stage for a successful and stress-free bulb replacement experience. Now that the power is safely turned off, we can proceed to the next step of removing the trim and bulb from the recessed ceiling light fixture.
Step 2: Remove the trim and bulb
With the power safely turned off, the next step in changing a recessed ceiling light bulb is to remove the trim and the existing bulb from the fixture. This process requires attention to detail and a gentle touch to avoid damaging the components. Follow these detailed instructions to seamlessly remove the trim and bulb:
-
Identify the Trim Type: Recessed ceiling lights typically feature different types of trims, such as baffle, reflector, or adjustable trims. Before proceeding, it's essential to identify the specific type of trim used in your fixture. This information will guide you in understanding the method for removing the trim without causing any damage.
-
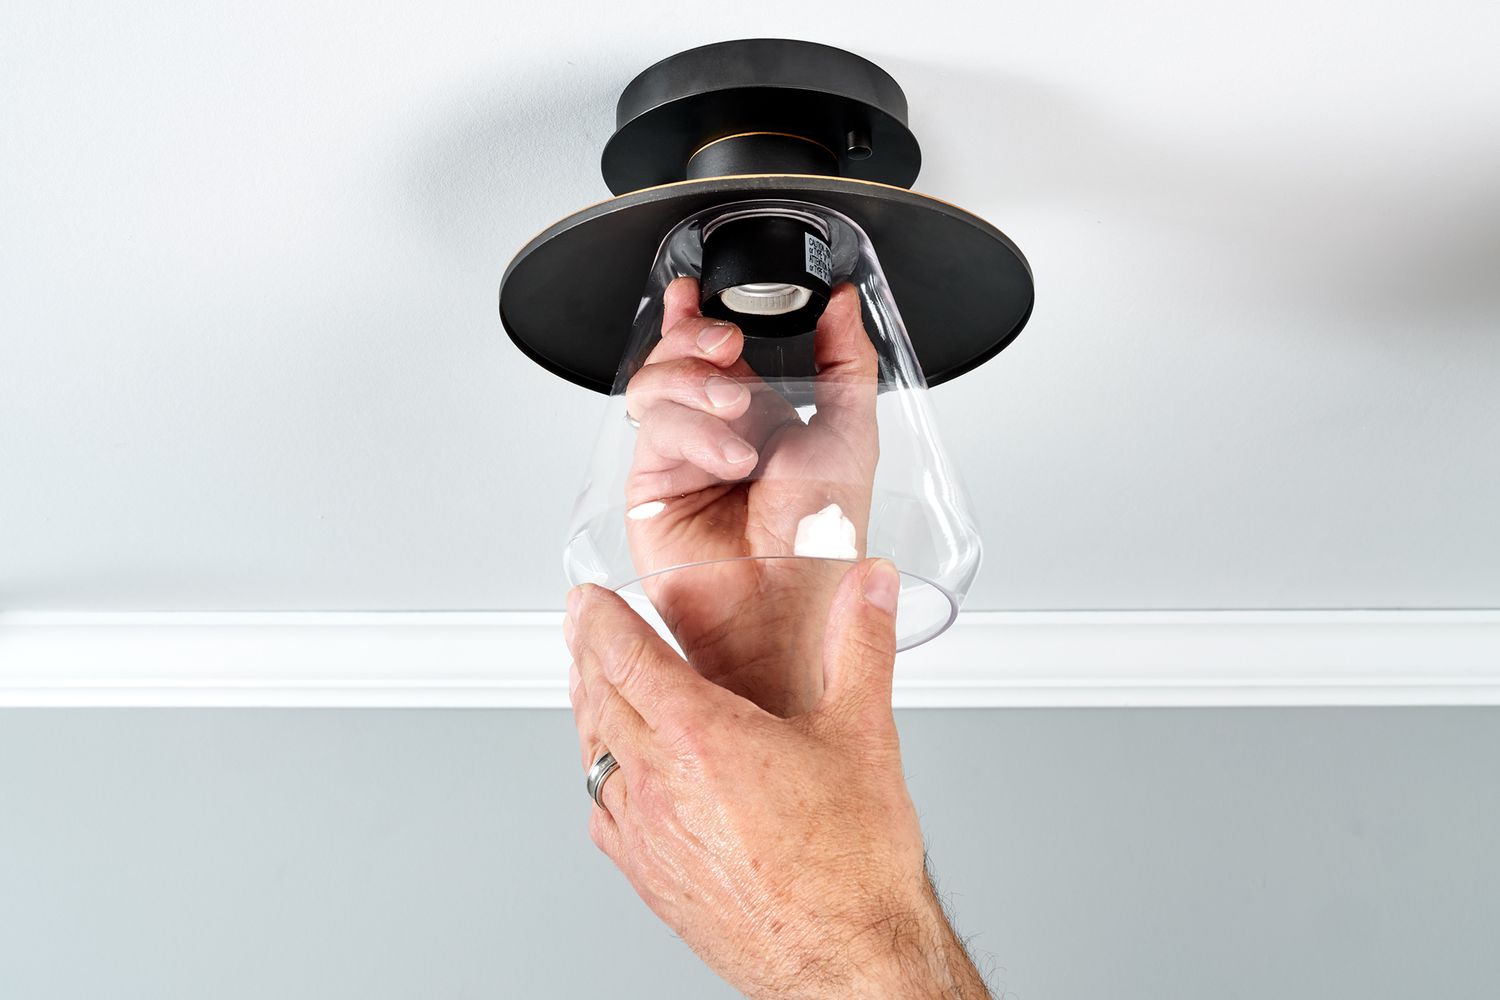
Gently Detach the Trim: Depending on the trim type, carefully detach the trim from the recessed fixture. Some trims are designed to be removed by gently pulling them away from the ceiling, while others may require a slight counterclockwise twist to release them from the fixture. Exercise caution to avoid applying excessive force, as this could lead to breakage or damage to the trim.
-
Access the Bulb: Once the trim is removed, you will gain access to the existing bulb within the recessed fixture. Take a moment to inspect the interior of the fixture and familiarize yourself with the positioning of the bulb. This visual assessment will prepare you for the next step of removing the bulb safely.
-
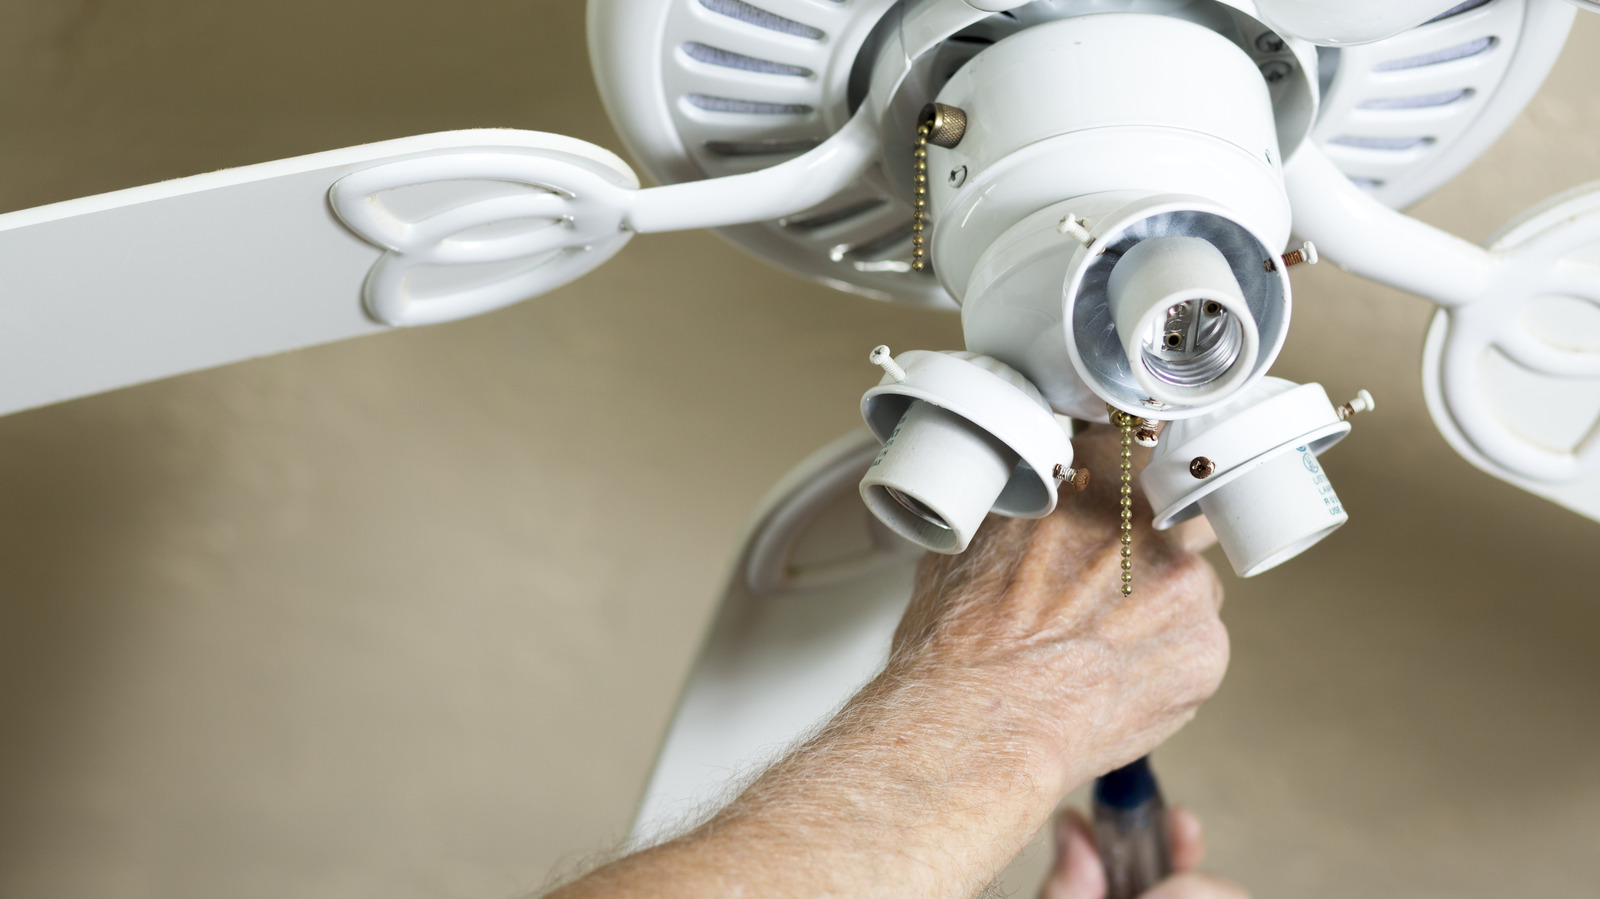
Unscrew or Unclip the Bulb: Depending on the design of the recessed fixture, the existing bulb may be secured in place by screws or spring clips. Carefully unscrew the bulb if it is held in position by screws, or gently unclip it if spring clips are utilized. Exercise patience and precision to avoid any accidental damage to the bulb during this process.
-
Handle the Bulb with Care: As you remove the bulb from the fixture, handle it with care to prevent breakage or injury. If the bulb is still functional, set it aside in a safe location for proper disposal or recycling. If the bulb is damaged or burnt out, handle it with caution to avoid any potential contact with skin.
By following these meticulous steps to remove the trim and bulb from the recessed ceiling light fixture, you can proceed to the next phase of the bulb replacement process with confidence and precision. With the trim and bulb successfully removed, you are now ready to proceed to the subsequent step of replacing the bulb with a new one.
Step 3: Replace the bulb
With the existing bulb and trim safely removed, the next pivotal step in the process of changing a recessed ceiling light bulb is to seamlessly replace the old bulb with a new one. This phase requires precision and attention to detail to ensure a smooth transition to the new bulb. Follow these comprehensive instructions to expertly replace the bulb and illuminate your space with renewed brilliance:
-
Select the Correct Bulb Type: Before proceeding, it's crucial to identify the appropriate replacement bulb for your recessed ceiling light fixture. Consider factors such as the bulb's wattage, size, and compatibility with the fixture. Common bulb types for recessed lighting include LED, incandescent, and halogen bulbs. Ensure that the replacement bulb aligns with the specifications recommended for your specific fixture.
-
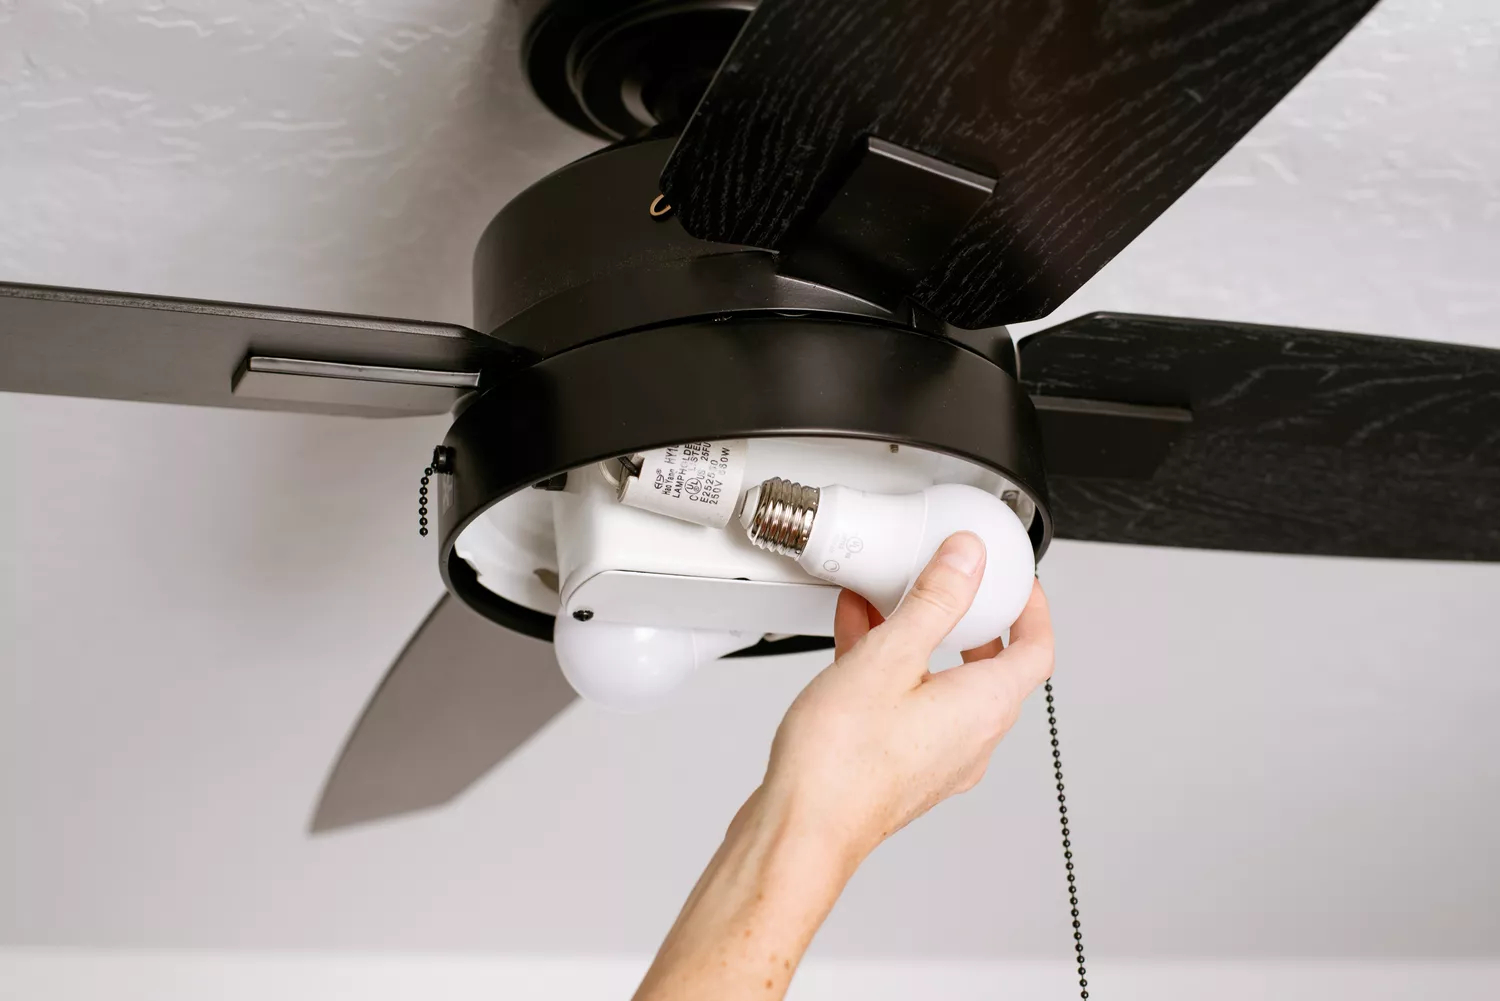
Position the New Bulb: Carefully position the new bulb in the socket within the recessed fixture. Align the bulb securely to ensure a proper connection, taking care not to force it into place. If the bulb features prongs or pins, ensure that they align with the corresponding socket slots for a secure fit.
-
Secure the Bulb: Depending on the design of the recessed fixture, secure the new bulb in place using the appropriate method. If the bulb is designed to be screwed into the socket, gently rotate it clockwise until it is snugly secured. For bulbs with spring clips, ensure that they are properly engaged to hold the bulb in position without any wobbling or instability.
-
Test the Bulb: Before reattaching the trim, it's advisable to test the newly installed bulb to verify that it functions as expected. Turn the power back on temporarily to ensure that the bulb illuminates without any flickering or issues. This quick test allows you to confirm the successful installation of the new bulb before proceeding to the next step.
-
Inspect the Connection: Take a moment to inspect the connection between the new bulb and the socket to ensure that it is secure and stable. Verify that the bulb is positioned correctly and that there are no visible signs of damage or misalignment. This visual inspection provides peace of mind and ensures a reliable connection for optimal performance.
By meticulously following these detailed steps to replace the bulb in your recessed ceiling light fixture, you can elevate the ambiance of your living space with a renewed sense of illumination. With the new bulb seamlessly installed and tested, you are now prepared to proceed to the final step of reattaching the trim and completing the bulb replacement process.
Make sure to turn off the power to the light fixture before attempting to change the bulb. Use a ladder to reach the fixture and carefully unscrew the old bulb, then replace it with a new one of the same wattage and type.
Step 4: Reattach the trim
After successfully replacing the bulb in your recessed ceiling light fixture, the next crucial step is to reattach the trim to complete the bulb replacement process. This phase requires precision and attention to detail to ensure that the trim is securely positioned, enhancing the aesthetic appeal of the fixture while providing structural support. Follow these comprehensive instructions to expertly reattach the trim and elevate the visual impact of your lighting installation:
-
Align the Trim: Begin by aligning the trim with the recessed fixture, ensuring that it is positioned correctly for reattachment. Take note of any grooves or notches that indicate the proper alignment of the trim with the fixture. This initial step sets the foundation for a seamless and secure reattachment process.
-
Gently Insert the Trim: With the trim properly aligned, gently insert it into the recessed fixture, taking care to align any spring clips or retention springs with their corresponding slots. Exercise caution to avoid applying excessive force, as the trim should fit snugly into place without requiring excessive pressure.
-
Twist or Push the Trim: Depending on the specific design of the recessed fixture, twist or push the trim to engage it with the fixture. Some trims feature a twist-and-lock mechanism, requiring a gentle clockwise rotation to secure them in place. Others may simply require a firm push to ensure a secure fit against the ceiling.
-
Verify Stability: Once the trim is reattached, take a moment to verify its stability and alignment with the recessed fixture. Gently press on the trim to ensure that it is securely positioned without any wobbling or movement. This step is essential for confirming that the trim is properly reattached and contributes to the overall structural integrity of the fixture.
-
Inspect the Aesthetic Appeal: With the trim securely reattached, step back and visually inspect the aesthetic appeal of the recessed ceiling light fixture. Ensure that the trim is flush with the ceiling and complements the overall design of the space. This visual assessment allows you to appreciate the impact of the reattached trim on the ambiance of the room.
By meticulously following these detailed steps to reattach the trim to your recessed ceiling light fixture, you can elevate the visual appeal of your lighting installation while ensuring structural stability. With the trim seamlessly reattached, you have successfully completed the bulb replacement process, transforming your living space with renewed illumination and aesthetic charm.
Step 5: Turn the power back on
With the bulb successfully replaced and the trim securely reattached, the final step in the process of changing a recessed ceiling light bulb is to restore power to the fixture. This pivotal phase ensures that the newly installed bulb can illuminate your living space, creating a welcoming and well-lit environment. Follow these essential instructions to safely turn the power back on and bask in the renewed brilliance of your recessed ceiling light:
-
Locate the Circuit Breaker: Begin by locating the circuit breaker that controls the electricity supply to the recessed ceiling light. If you had turned off the main power to the entire house earlier, locate the specific circuit breaker associated with the light fixture.
-
Switch On the Circuit Breaker: With caution and attentiveness, switch the circuit breaker to the "on" position. This action restores the electricity supply to the recessed ceiling light, allowing the newly installed bulb to receive power and illuminate the space.
-
Verify the Power Supply: After turning on the circuit breaker, it's essential to verify that the power to the light fixture has been successfully restored. You can do this by flipping the light switch associated with the recessed ceiling light. If the power has been effectively turned on, the light should illuminate, signaling the successful restoration of power.
-
Test the Light: Once the power is restored, take a moment to test the recessed ceiling light to ensure that the newly installed bulb functions as expected. Verify that the light illuminates without any flickering or issues, indicating a successful bulb replacement and power restoration.
-
Inspect the Illumination: With the light shining brightly, take a moment to appreciate the renewed illumination in your living space. Observe the quality of light emitted by the newly installed bulb, noting any improvements in brightness or color rendering that enhance the ambiance of the room.
By diligently following these steps to turn the power back on, you can revel in the satisfaction of successfully completing the process of changing a recessed ceiling light bulb. With the power restored and the light shining brightly, you have effectively revitalized your living space with a renewed sense of illumination and warmth.
Conclusion
In conclusion, the process of changing a recessed ceiling light bulb encompasses a series of essential steps that culminate in a seamless and rewarding experience. By prioritizing safety and attention to detail, homeowners and DIY enthusiasts can confidently navigate the task of replacing a recessed ceiling light bulb, revitalizing their living spaces with renewed illumination.
From the initial step of turning off the power to the final phase of restoring power to the fixture, each stage of the process plays a pivotal role in ensuring a successful bulb replacement. By adhering to the detailed instructions provided in this guide, individuals can approach the task with confidence and expertise, transforming their living spaces with enhanced brightness and visual appeal.
The journey begins with a focus on safety, as turning off the power to the recessed ceiling light fixture creates a secure working environment for the subsequent steps. This foundational measure sets the stage for a smooth and stress-free bulb replacement process, mitigating the risk of electrical hazards and ensuring peace of mind throughout the task.
The meticulous removal of the trim and existing bulb showcases the importance of gentle handling and precision, safeguarding the components of the fixture while preparing for the installation of the new bulb. This phase underscores the significance of familiarity with the specific trim type and a delicate touch to avoid any damage during the removal process.
The seamless replacement of the bulb with a new one highlights the transformative impact of a well-chosen and properly installed light source. By selecting the correct bulb type and ensuring a secure connection, individuals can elevate the ambiance of their living spaces, infusing them with a renewed sense of brightness and warmth.
The reattachment of the trim serves as the final touch, enhancing the visual appeal of the recessed ceiling light fixture while providing structural support. This step underscores the importance of alignment and stability, ensuring that the trim complements the overall design of the space and contributes to the fixture's aesthetic charm.
Ultimately, the restoration of power to the fixture marks the culmination of the bulb replacement process, illuminating the living space with renewed brilliance and creating a welcoming environment. This final step allows individuals to bask in the satisfaction of a successfully completed task, appreciating the transformative impact of the newly installed bulb on the ambiance of their home.
In essence, changing a recessed ceiling light bulb is not merely a maintenance task; it is an opportunity to revitalize and illuminate the living space, infusing it with a renewed sense of warmth and visual allure. By following the comprehensive instructions outlined in this guide, individuals can embark on this enlightening journey with confidence, empowering themselves to conquer the challenge of changing a recessed ceiling light bulb and reveling in the transformative power of renewed illumination.
Frequently Asked Questions about How To Change A Recessed Ceiling Light Bulb
Was this page helpful?
At Storables.com, we guarantee accurate and reliable information. Our content, validated by Expert Board Contributors, is crafted following stringent Editorial Policies. We're committed to providing you with well-researched, expert-backed insights for all your informational needs.


0 thoughts on “How To Change A Recessed Ceiling Light Bulb”