Articles
How To Measure A Ceiling Light
Modified: September 2, 2024
Learn how to measure for a ceiling light in our informative articles. Discover expert tips and tricks to ensure the perfect fit for your space.
(Many of the links in this article redirect to a specific reviewed product. Your purchase of these products through affiliate links helps to generate commission for Storables.com, at no extra cost. Learn more)
Introduction
When it comes to choosing the perfect ceiling light for your space, proper measurements are crucial. Whether you’re replacing an existing fixture or installing a new one, accurately measuring for a ceiling light ensures a seamless installation and creates the desired ambiance in your room.
Measuring for a ceiling light may seem like a daunting task, but fear not! In this comprehensive guide, we’ll take you through the step-by-step process of measuring for a ceiling light. By following these simple instructions and using the right tools, you’ll be able to find the ideal light fixture that perfectly fits your space.
From gathering the necessary tools and materials to considering the style and design, we’ll cover everything you need to know to measure for the perfect ceiling light.
So, let’s dive in and learn how to measure for a ceiling light!
Key Takeaways:
- Proper measurements are crucial for selecting the perfect ceiling light. From gathering tools to considering style, each step ensures a seamless and visually pleasing installation.
- Measuring the ceiling height, determining the light fixture type, and considering style and design are essential for finding the ideal ceiling light. Each step contributes to creating the desired ambiance and functionality in your space.
Read more: How To Move Ceiling Light
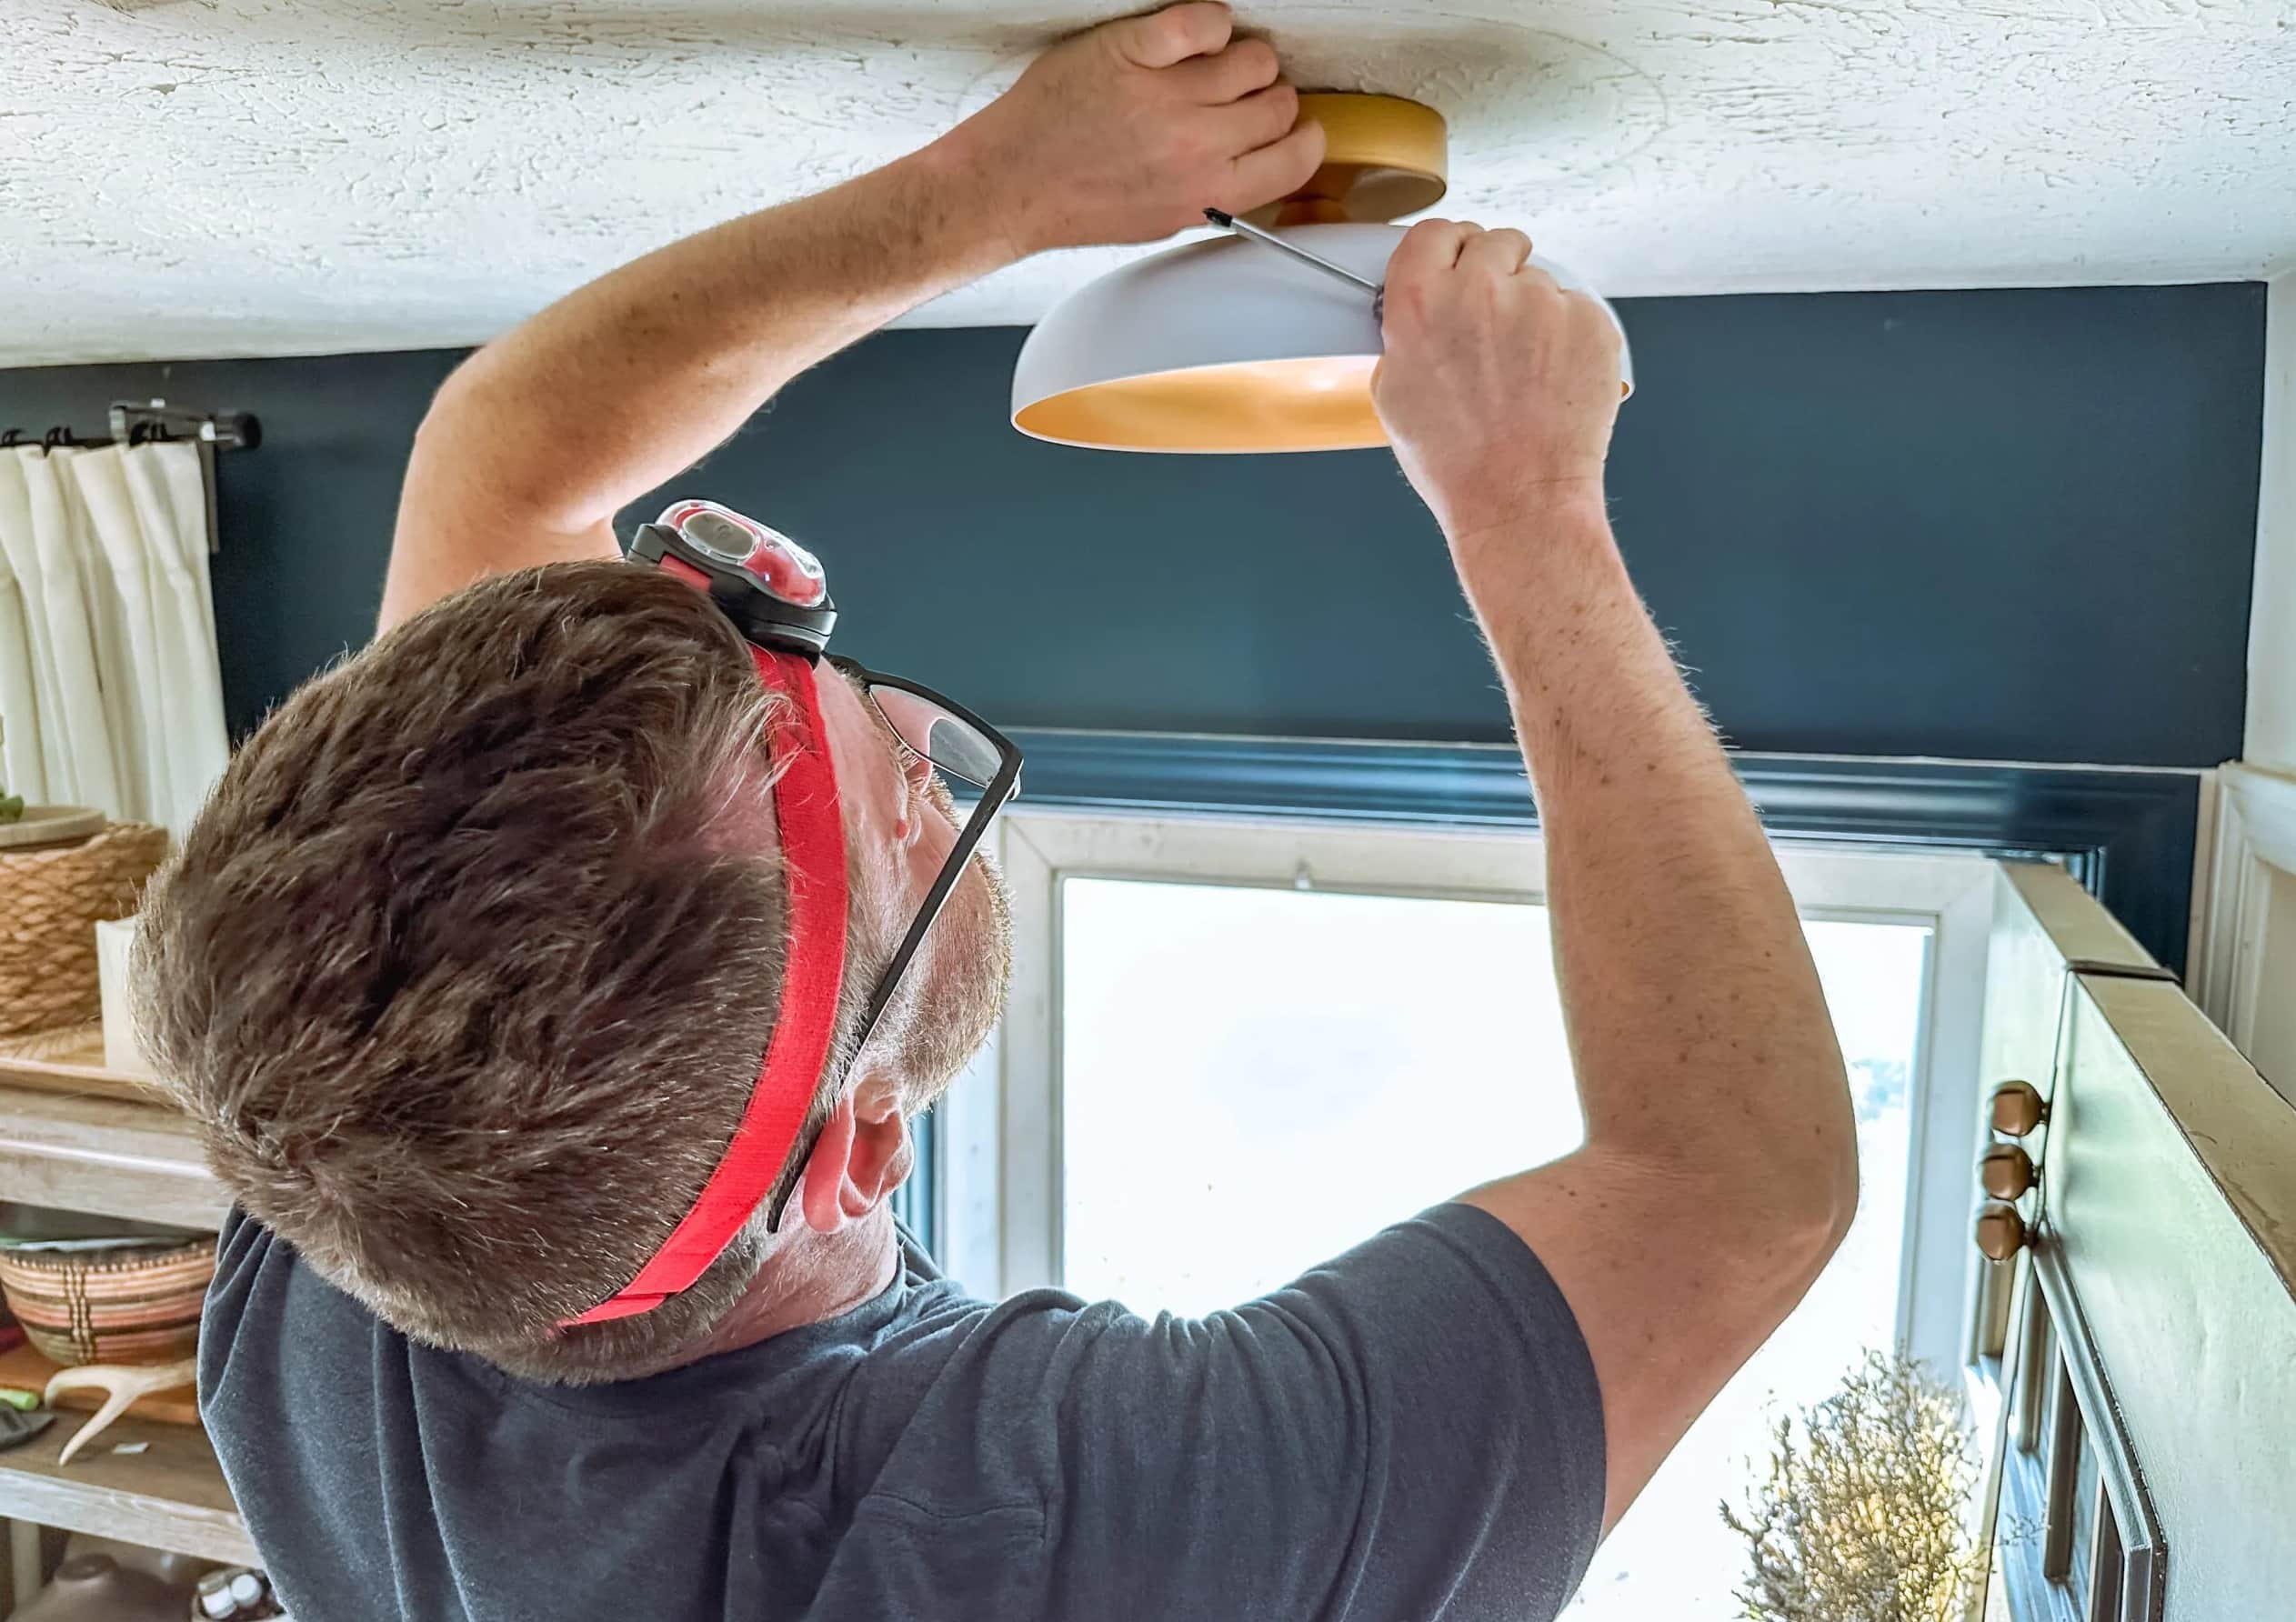
Step 1: Gather the Tools and Materials
Before you begin measuring for a ceiling light, it’s important to gather the necessary tools and materials. Having everything on hand will save you time and ensure a smooth measurement process.
Here are the tools and materials you’ll need:
- Tape Measure: A reliable tape measure is essential for accurate measurements. Make sure it’s long enough to reach various points on the ceiling.
- Ladder or Step Stool: Depending on the height of your ceiling, you may need a ladder or step stool to reach the mounting location and take measurements.
- Pen and Paper: Keep a pen and paper handy to jot down measurements and notes.
- Optional: Camera or Smartphone: Having a camera or smartphone with you can be helpful in capturing images or measurements for reference.
- Optional: Additional Lighting: It may be helpful to have a portable light source nearby to assist you in measuring dark areas or corners.
With these tools and materials ready, you’re well-equipped to proceed to the next step of measuring for a ceiling light.
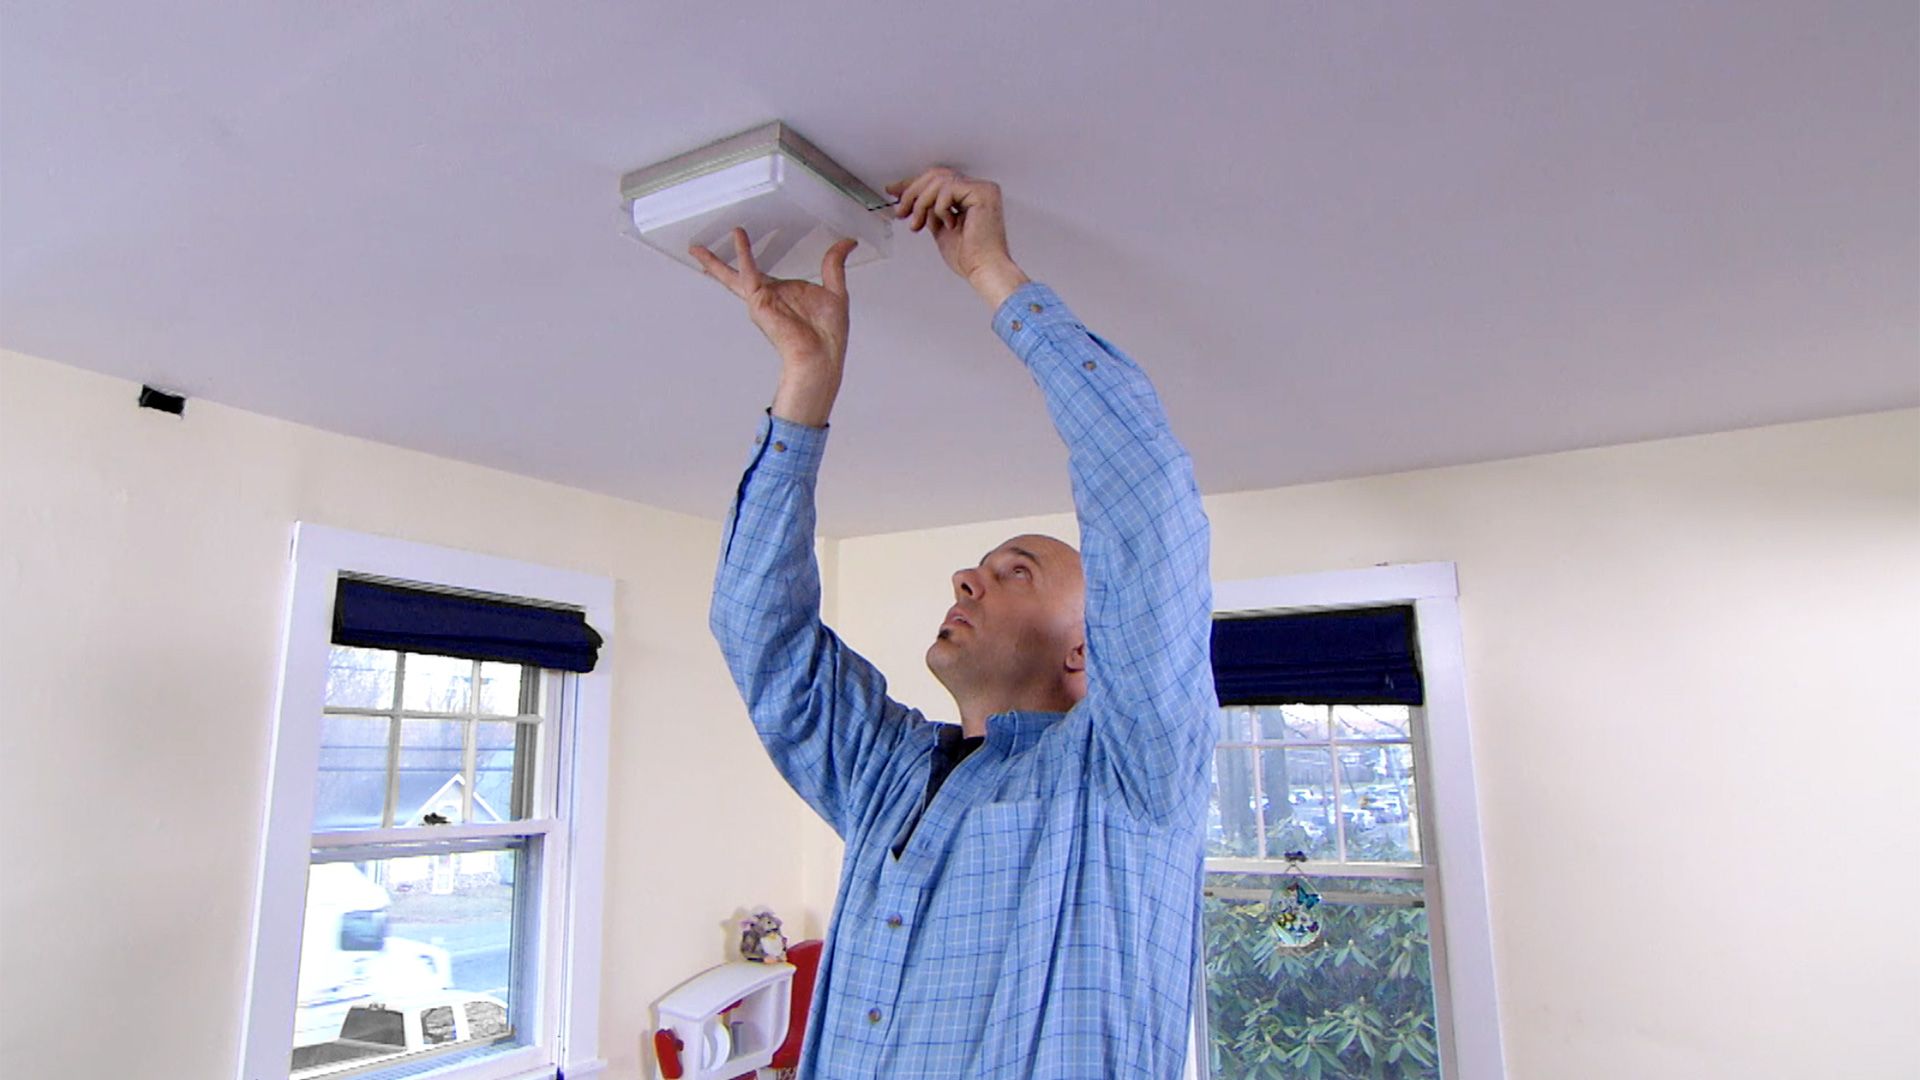
Step 2: Measure the Ceiling Height
Measuring the height of your ceiling is an important step in ensuring the right size and placement of your ceiling light. Here’s how to do it:
- Position your ladder or step stool directly beneath the area you want to measure.
- Extend your tape measure all the way to the floor and align it vertically with the ceiling.
- Make sure the tape measure is straight and not slanted.
- Read the measurement where the tape measure touches the floor.
- Jot down the measurement as the ceiling height.
- If you have a sloped or vaulted ceiling, measure the height at the highest point and the lowest point to ensure accuracy.
Knowing the height of your ceiling will help you determine the appropriate size and length of the light fixture you choose. It will also help you determine if there are any height restrictions or clearance requirements in the area where you plan to install the ceiling light.
Once you have the measurements, you can move on to the next step of determining the type of light fixture that suits your needs.
Step 3: Determine the Light Fixture Type
After measuring the ceiling height, it’s time to determine the type of light fixture that will best suit your space. There are various types of ceiling lights available, each with its own unique features and benefits. Here are a few popular options:
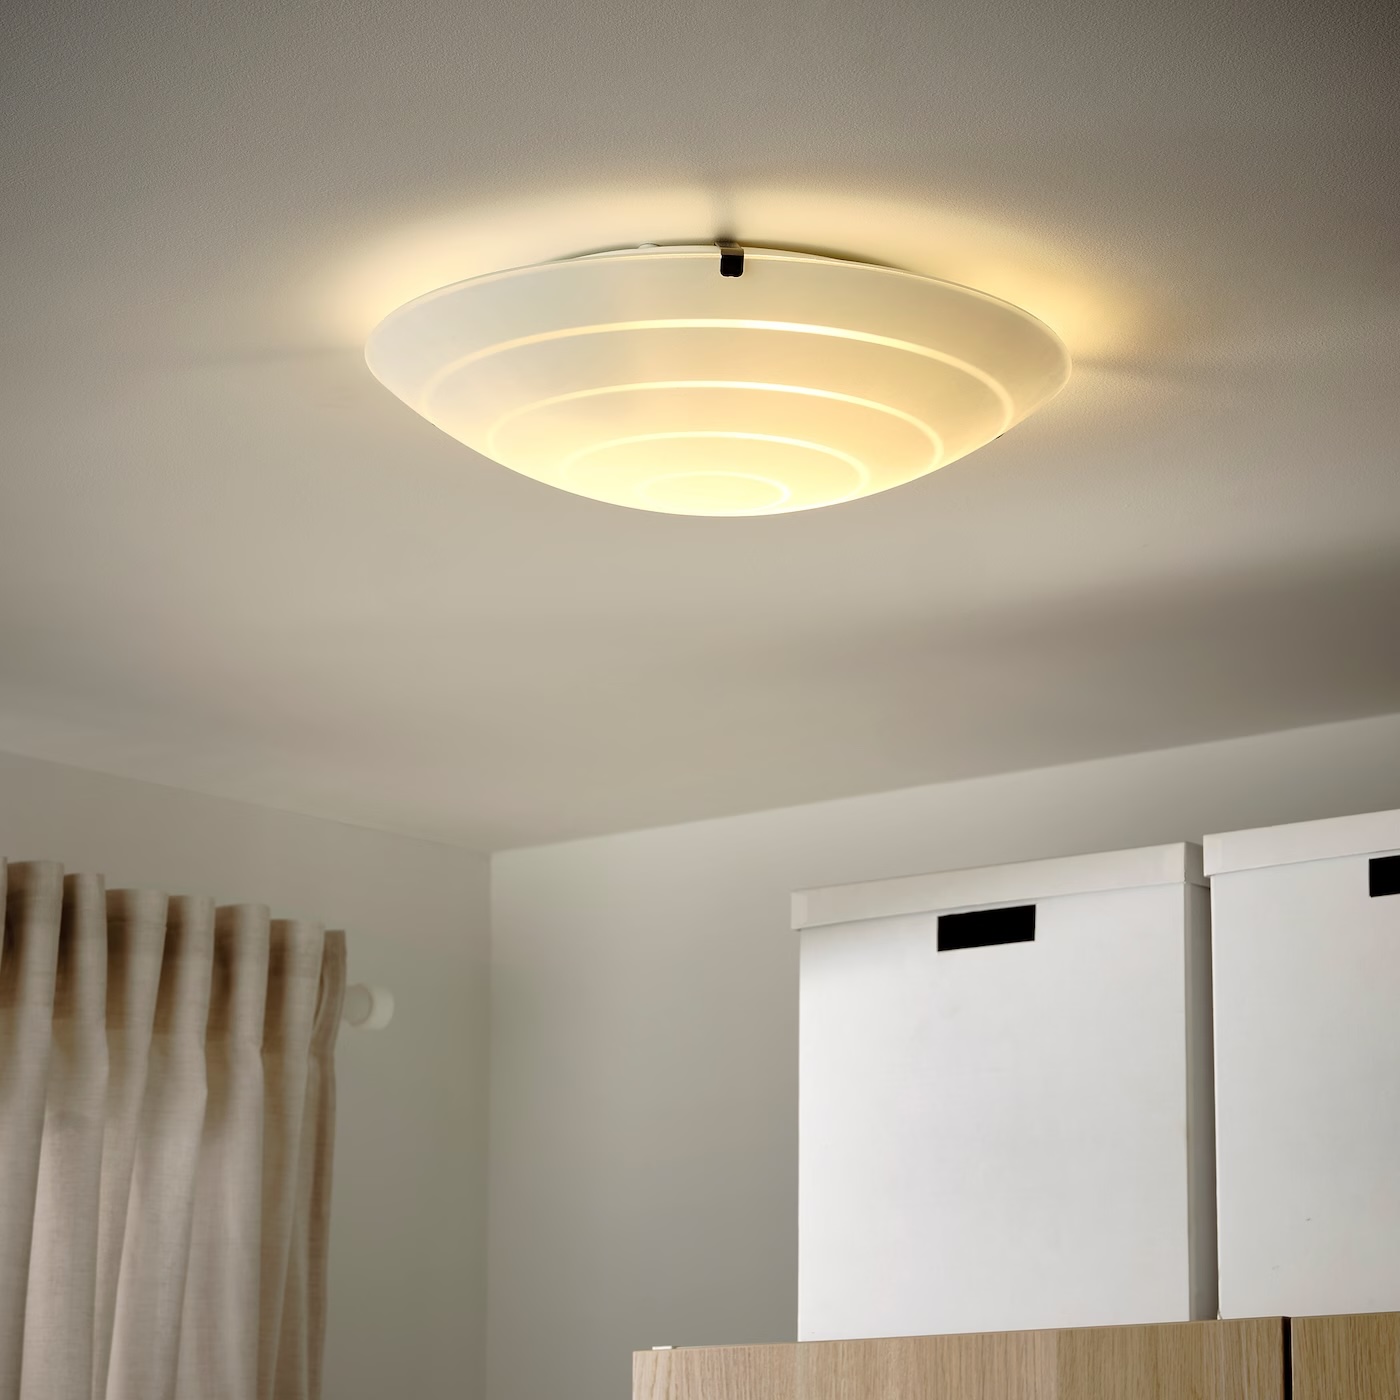
- Flush Mount Lights: These fixtures are installed directly against the ceiling, providing a seamless and clean look. They are a great choice for rooms with lower ceilings or where a minimalistic style is desired.
- Semi-Flush Mount Lights: Similar to flush mount lights, semi-flush mount lights hang slightly away from the ceiling. They offer a bit more depth and style while still providing a compact appearance.
- Pendant Lights: Pendant lights are suspended from the ceiling by a rod or chain. They come in various sizes and styles, making them a versatile choice for both ambient and task lighting.
- Chandeliers: Chandeliers are grand and elegant light fixtures with multiple arms or tiers. They are often used to create a focal point in dining rooms, entryways, or formal living areas.
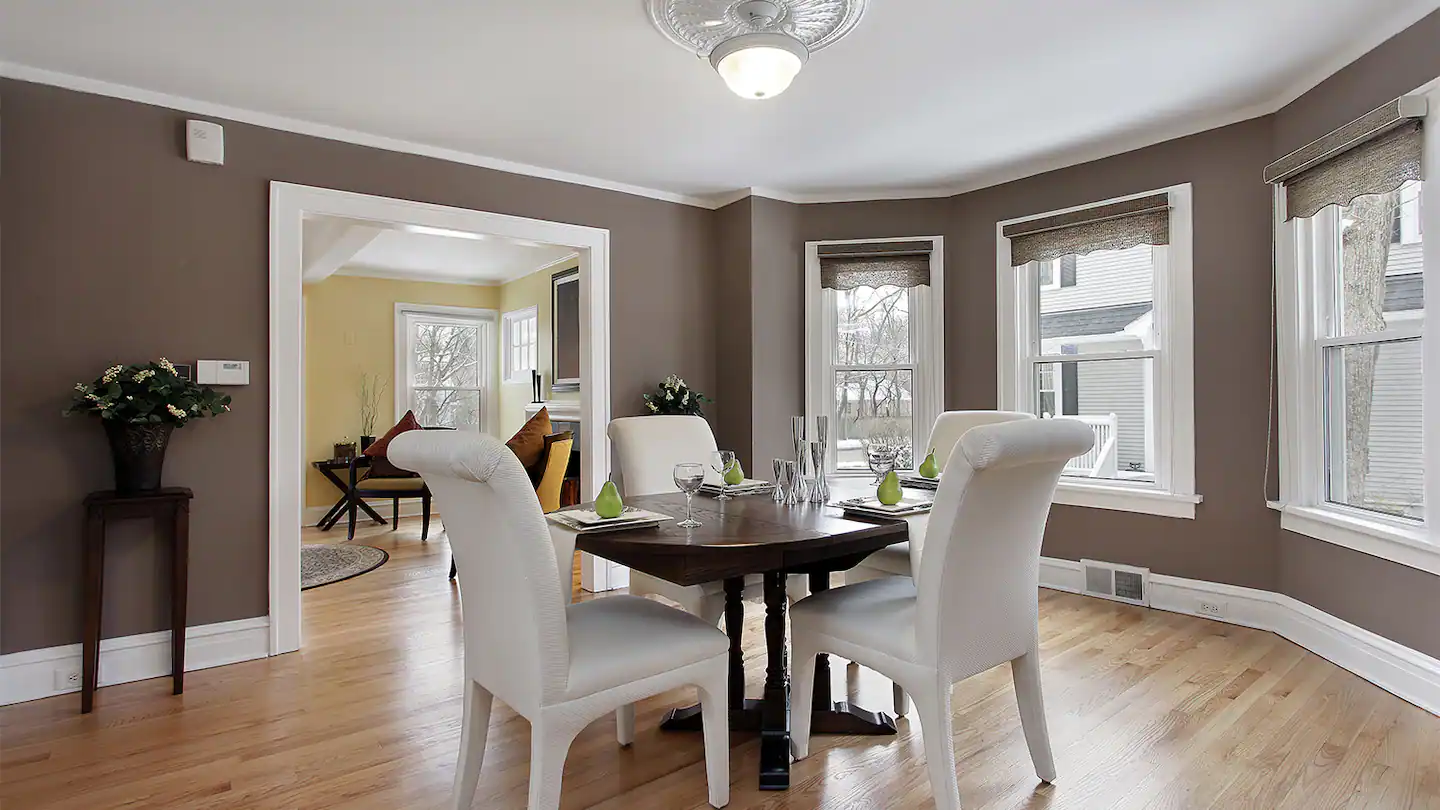
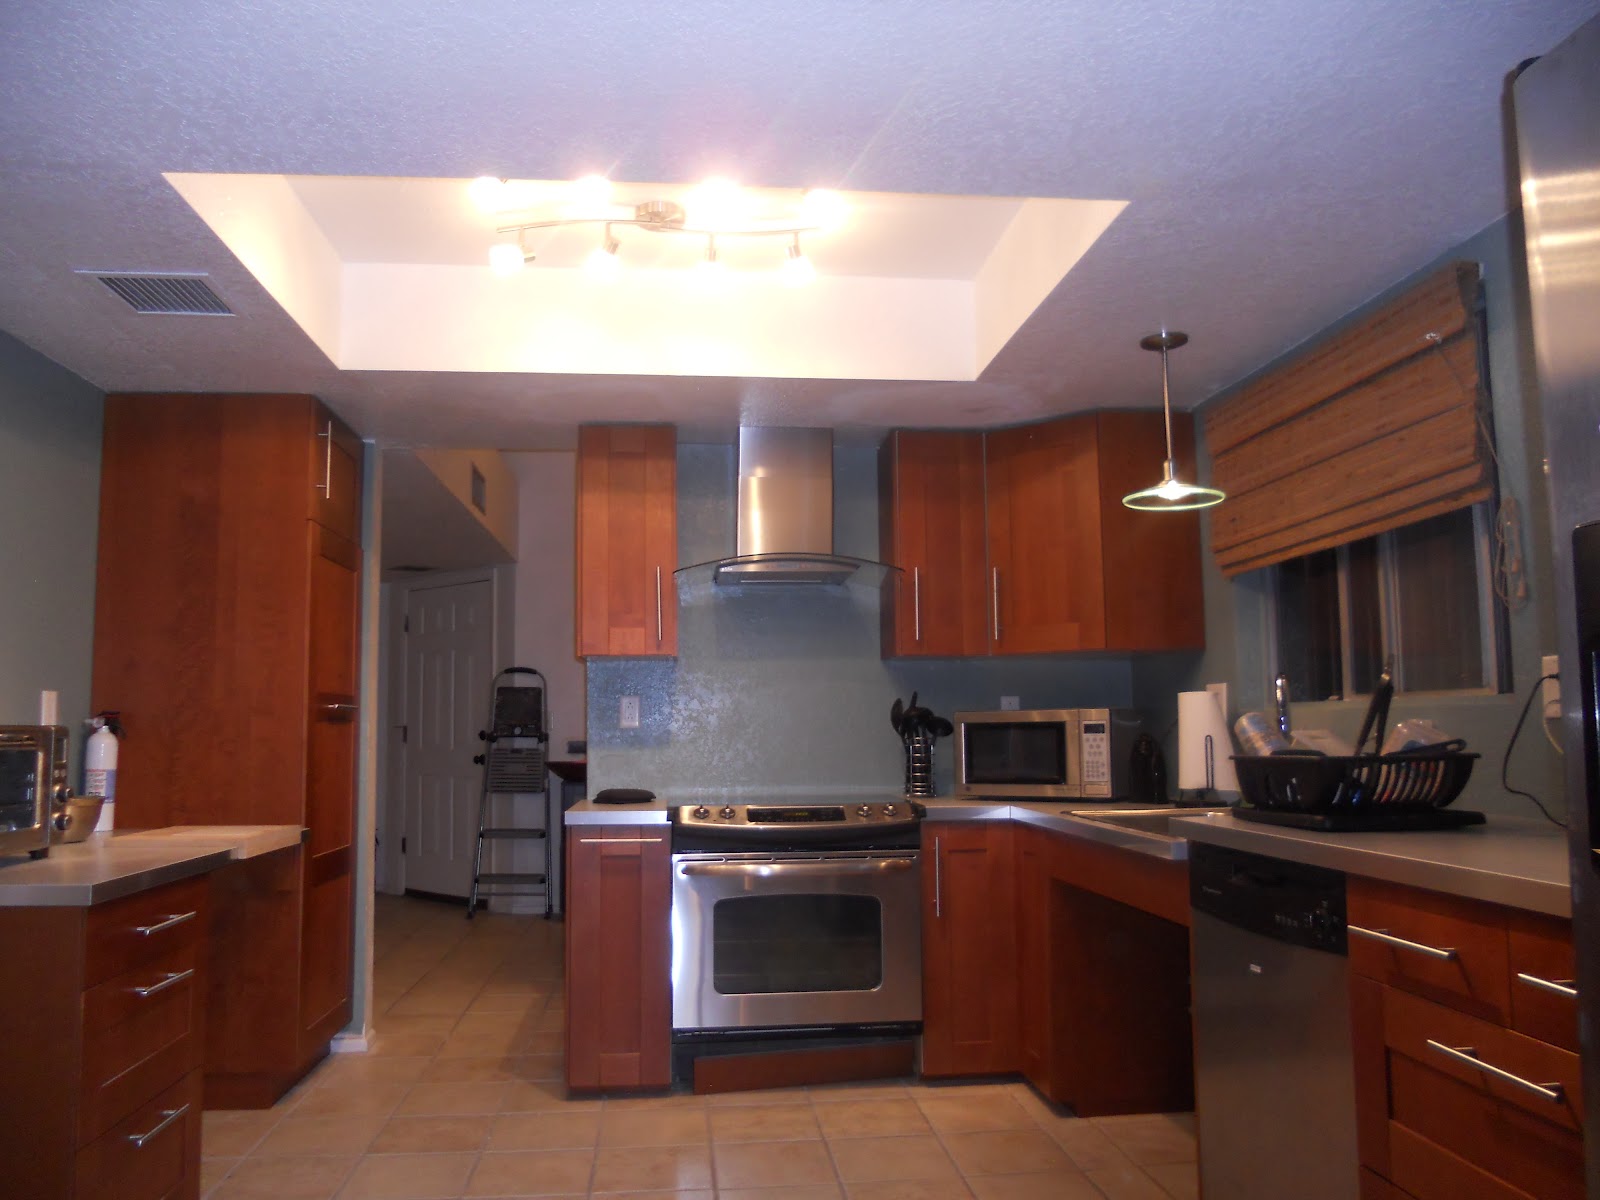
- Recessed Lights: Also known as can lights or downlights, recessed lights are installed within the ceiling, giving a sleek and modern look. They are particularly popular for providing ambient lighting in kitchens and bathrooms.
Consider the style, functionality, and ambiance you want to achieve in your space when choosing the type of light fixture. Also, keep in mind any specific requirements, such as the need for directional lighting or dimming capabilities.
Once you’ve determined the light fixture type, you can proceed to the next step of measuring the ceiling area.
Step 4: Measure the Ceiling Area
Measuring the ceiling area is essential for selecting the right size of a light fixture. This step will help you ensure that the fixture is proportionate to the space and provides adequate illumination. Here’s how you can measure the ceiling area:
- Using your tape measure, measure the length and width of the room where you plan to install the ceiling light.
- Multiply the length by the width to determine the total square footage of the room’s ceiling.
- Jot down the square footage as it will help you determine the appropriate light output needed for the room.
Knowing the square footage of the ceiling area will assist you in calculating the required lumens (amount of light) for the space. As a general rule of thumb, a room with an average ceiling height of 8 to 9 feet typically requires around 20 lumens per square foot for adequate illumination.
Keep in mind that higher ceilings may require more lumens, while lower ceilings may need fewer lumens. It’s also important to consider the intended purpose of the room and any specific lighting needs, such as task lighting for a kitchen or softer ambient lighting for a bedroom.
With the ceiling area measured and the required light output in mind, you can move on to the next step of determining the mounting location for your ceiling light.
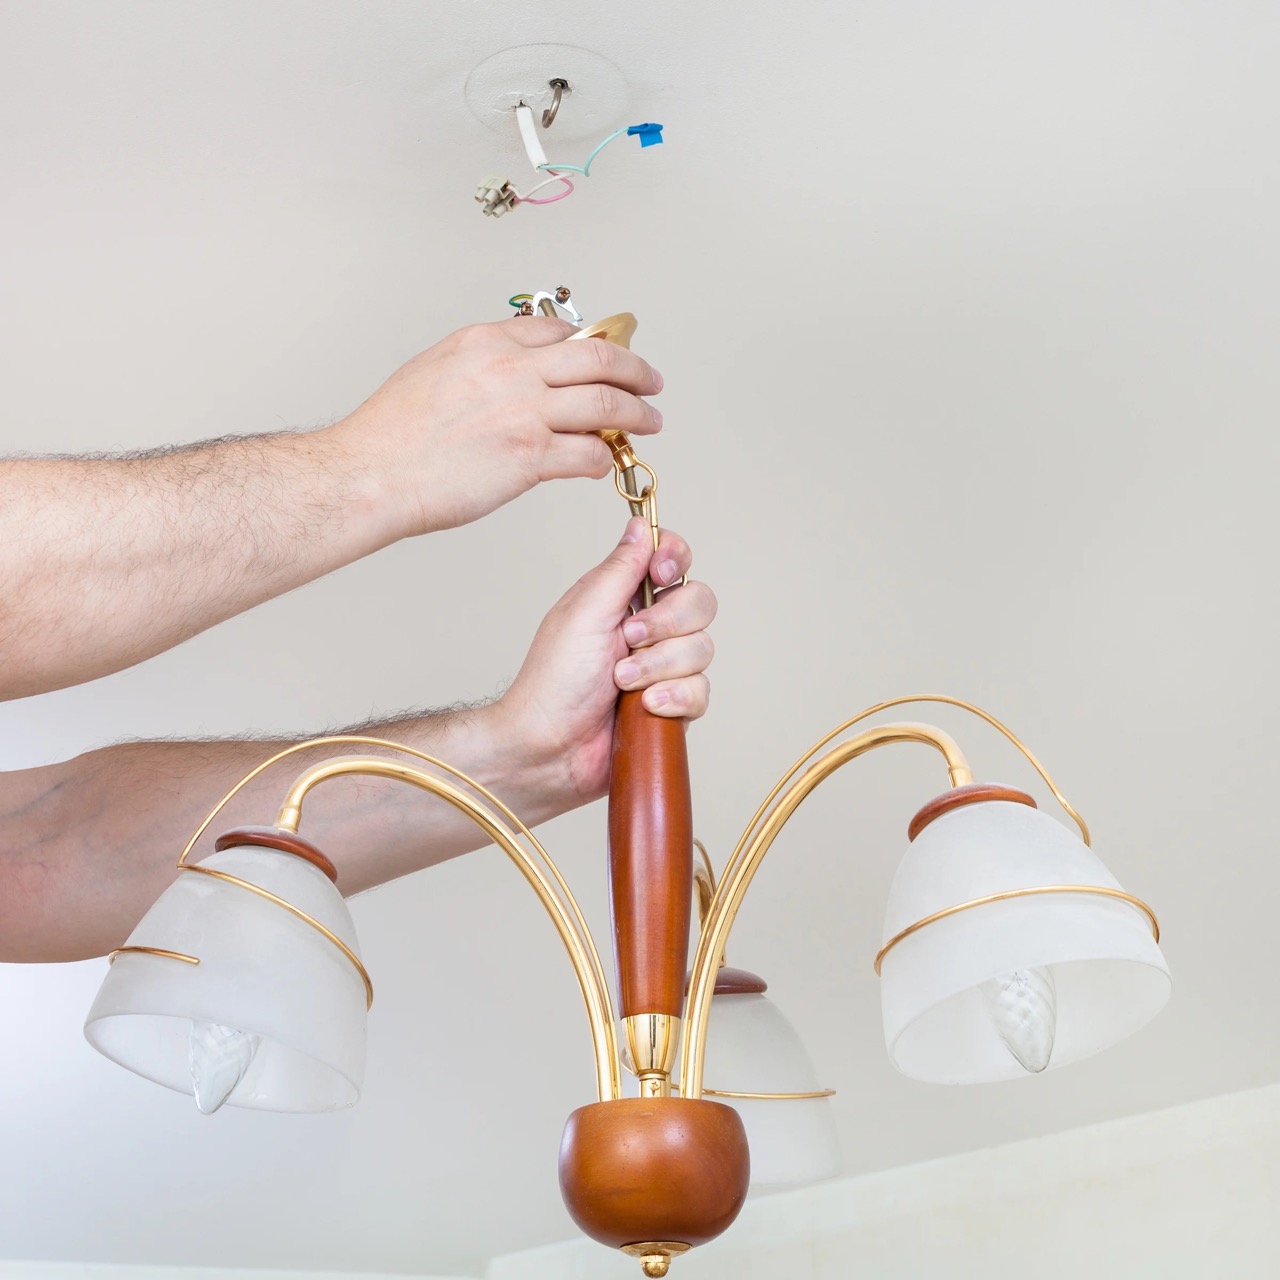
Step 5: Measure the Mounting Location
Measuring the mounting location is crucial to ensure that your ceiling light is properly centered and installed in the desired area of the room. Here’s how you can measure the mounting location:
- Using your tape measure, locate the center of the ceiling where you want to install the light fixture.
- Measure the distance from the wall to the center of the mounting location.
- Jot down this measurement as the horizontal distance.
- Next, measure the distance from the ceiling to the center of the mounting location.
- Jot down this measurement as the vertical distance.
By accurately measuring the horizontal and vertical distances from the center of the mounting location, you’ll ensure that the ceiling light is perfectly centered in the room and aligns with your design intentions.
It’s important to consider any other elements in the room, such as furniture or architectural features, that may impact the positioning of the light fixture. Aim to create a balanced and well-proportioned look with the surrounding space.
Once you have measured the mounting location, you can proceed to the next step of determining the hanging height of your ceiling light.
When measuring for a ceiling light, always consider the size of the room and the height of the ceiling. A general rule of thumb is to choose a light fixture that is proportional to the room size and ceiling height.
Step 6: Determine the Hanging Height
Deciding on the hanging height of your ceiling light is crucial as it affects the overall look and functionality of the fixture. Whether you’re installing a pendant light, chandelier, or any other hanging fixture, here’s how you can determine the appropriate hanging height:
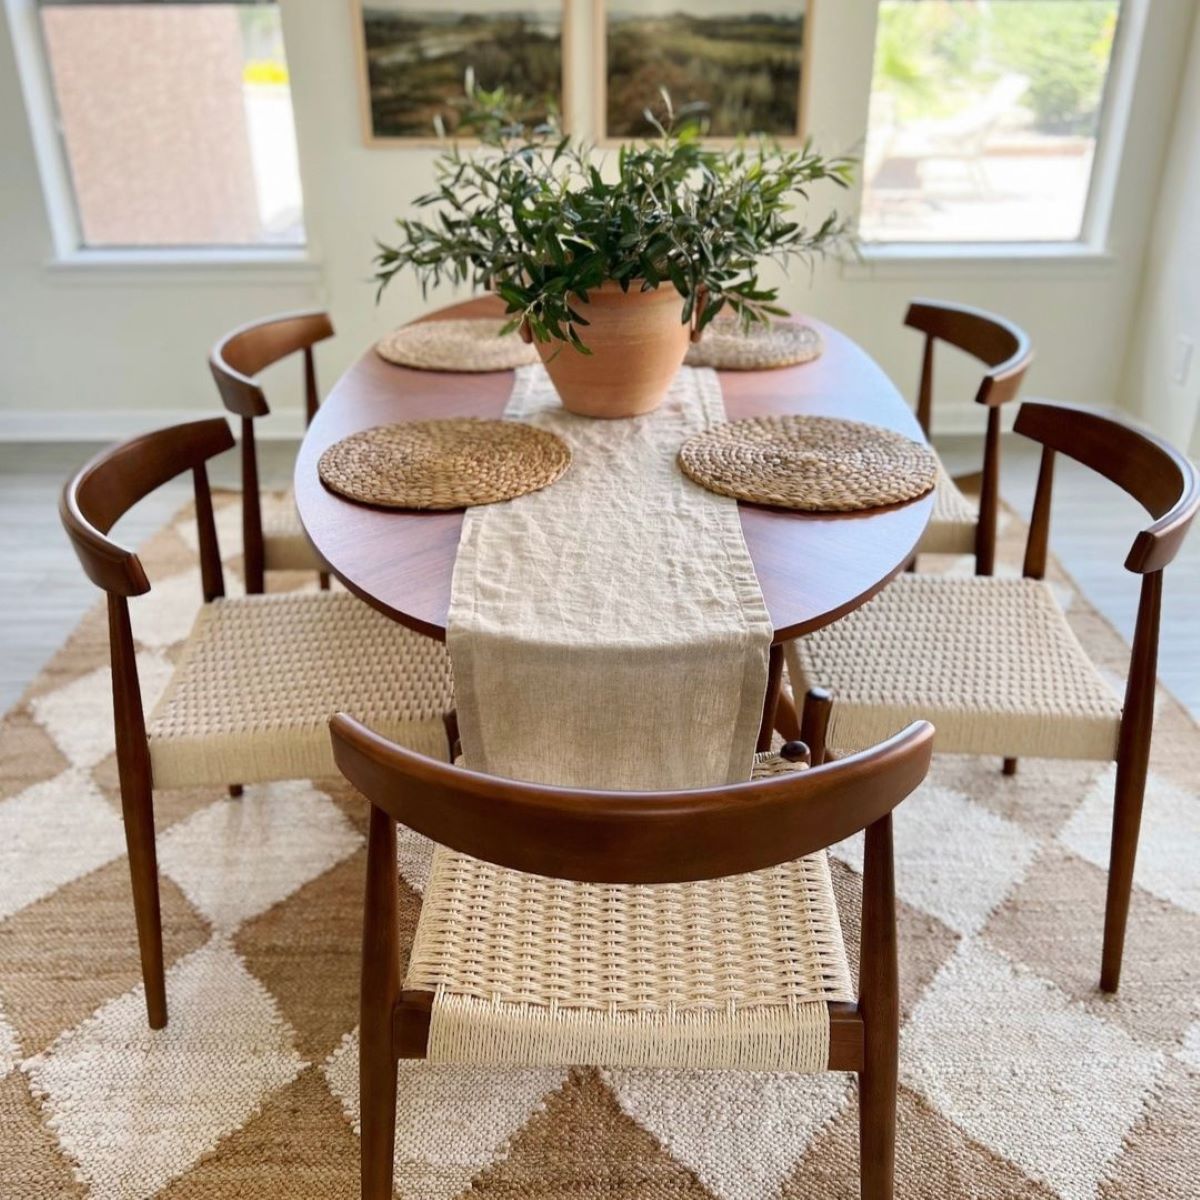
- Consider the purpose of the room and the function of the light fixture. For example, in a dining room, you’ll want the fixture to hang low enough to illuminate the table, while in a hallway, you’ll want it to hang higher for general ambient lighting.
- Measure the ceiling height (as determined in Step 2) and subtract the desired hanging height. This will give you the remaining space available for the length of the fixture.
- If there are other objects or furniture in the room, consider their height and clearance requirements. You don’t want the light fixture to interfere with people walking or obstruct any views.
- Follow general guidelines for hanging heights. For example, in a dining room, the bottom of the chandelier should typically hang around 30 to 36 inches above the tabletop.
Remember that these are general recommendations, and personal preferences and the specific style of the light fixture can also influence the hanging height. It’s important to find a balance between practicality and aesthetics to create the desired ambiance in the space.
Once you have determined the hanging height, you can move on to Step 7, where you will choose the right size fixture for your space.
Step 7: Choose the Right Size Fixture
Choosing the right size fixture is crucial to ensure that it fits proportionally within your space and complements the overall design. Here’s how you can determine the appropriate size for your ceiling light:
- Consider the dimensions of the room. Larger rooms typically require larger fixtures, while smaller rooms may benefit from smaller or more compact options.
- Refer to the square footage of the ceiling area (as calculated in Step 4). This will give you a rough idea of the scale of the fixture needed.
- Take into account the height of the ceiling. Higher ceilings generally allow for more flexibility in choosing larger fixtures, while lower ceilings may require more compact options.
- Consider the style and design of the room. The light fixture should complement the existing decor and enhance the overall aesthetic.
- For pendant lights or chandeliers, consider the number of tiers or arms. A multi-tiered chandelier may require more vertical space and a larger size compared to a single-tier pendant.
Keep in mind that these are general guidelines, and personal preferences play a significant role in selecting the right size fixture. It’s essential to consider the desired visual impact and overall balance within the space.
If you’re unsure about the appropriate size, it can be helpful to consult with lighting professionals or refer to size charts provided by manufacturers. They can offer valuable insights and recommendations based on the specific dimensions and requirements of your room.
Once you have chosen the right size fixture, you can move on to Step 8, where you will consider the style and design of the ceiling light.
Step 8: Consider Style and Design
When selecting a ceiling light, it’s important to consider the style and design to ensure it enhances the overall aesthetic of your space. Here are some factors to consider:
- Interior Design Style: Take into account the existing interior design style of the room. Is it modern and minimalist, traditional and ornate, or eclectic and bohemian? Choose a light fixture that complements the overall style and contributes to the desired ambiance.
- Finish and Materials: Pay attention to the finish and materials of the fixture. Consider the colors and textures in the room and choose a finish that harmonizes with the existing decor. Common finishes include chrome, brass, brushed nickel, and matte black.
- Shape and Form: Determine the desired shape and form of the fixture. Do you prefer a sleek and streamlined design or a more intricate and decorative piece? Consider the lines, curves, and overall silhouette of the fixture in relation to the room’s design elements.
- Light Distribution: Consider how the light is distributed and diffused from the fixture. Some fixtures provide direct downward lighting, while others have a more ambient and diffused illumination. Choose a style that aligns with your lighting needs and preferences.
- Statement or Subtle: Decide if you want the ceiling light to be a statement piece or a subtle addition to the room. A larger, more dramatic fixture can be a focal point, while a smaller, understated fixture can blend seamlessly into the overall design.
By considering the style and design of the ceiling light, you can create a cohesive and visually appealing space. Remember to take into account your personal taste and the overall mood you want to establish in the room.
Once you have chosen the style and design, we can move on to Step 9, where we will discuss making adjustments for sloped ceilings.
Read more: How To Choose A Ceiling Light
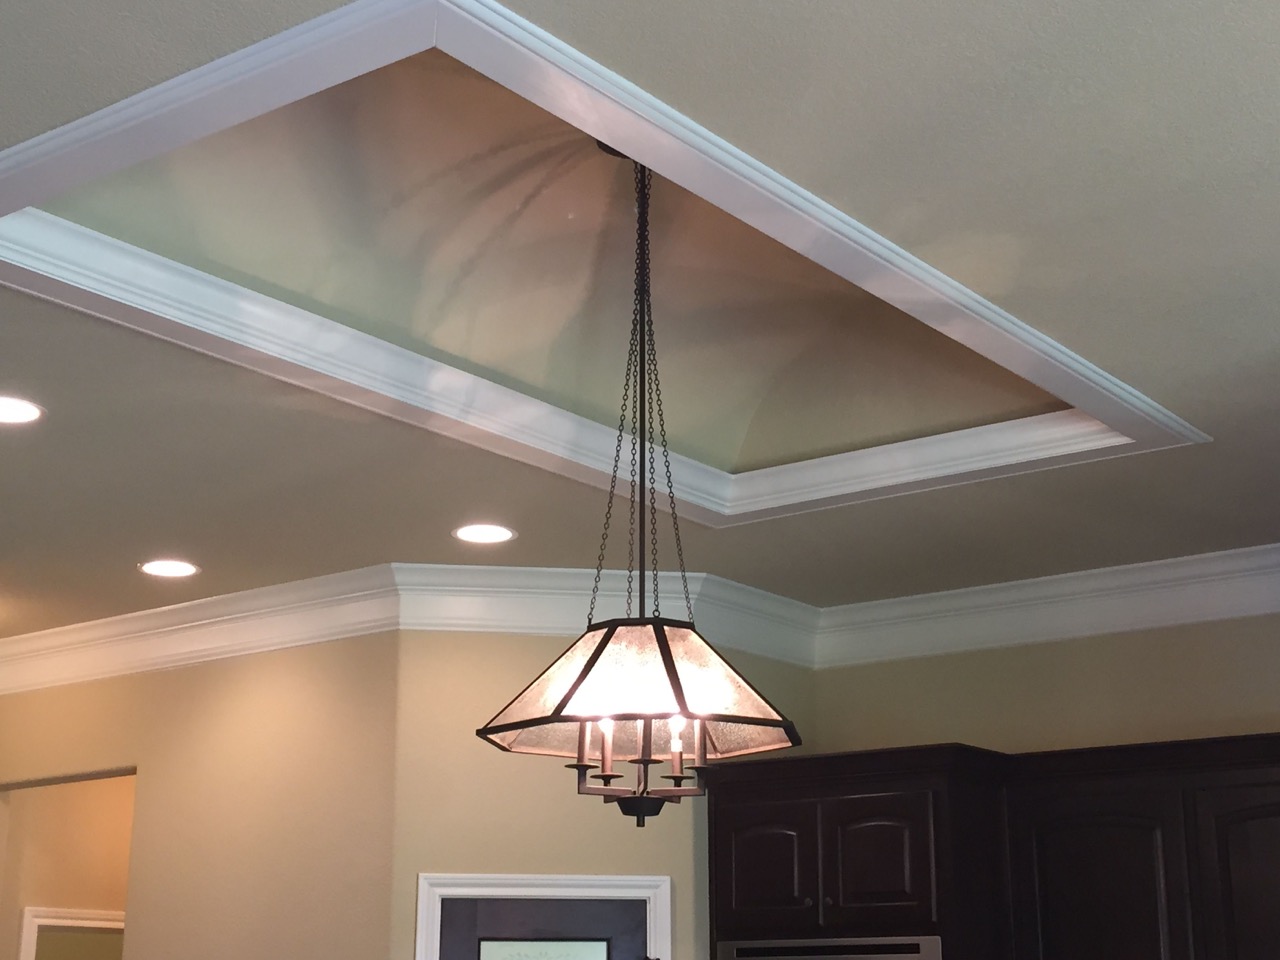
Step 9: Make Adjustments for Sloped Ceilings
If you have a sloped or vaulted ceiling, it’s important to make adjustments when measuring and installing your ceiling light to ensure a proper fit and aesthetic appeal. Here’s how you can make adjustments for sloped ceilings:
- Measure the Pitch Angle: Determine the pitch angle of your sloped ceiling. You can do this by using a digital angle finder or a protractor. Measure the angle at the steepest point of the slope.
- Calculate the Drop Length: Multiply the height from the mounting location (Step 5) by the sine of the pitch angle to calculate the drop length. This will give you the vertical distance that the fixture needs to hang down from the mounting location.
- Adjust Hanging Height: Adjust the hanging height of the fixture by subtracting the drop length calculated in the previous step. This adjustment ensures that the bottom of the fixture hangs at the desired level despite the sloped ceiling.
- Consider Adjustable Fixtures: Look for light fixtures specifically designed for sloped ceilings. These fixtures often come with a swivel or adjustable canopy that allows them to hang straight even on angled ceilings.
- Consult a Professional: If you’re unsure about making adjustments for sloped ceilings, it’s best to consult with a professional electrician or lighting specialist. They can provide expert advice and ensure a safe and proper installation.
It’s important to make these adjustments to maintain the balance and visual appeal of the light fixture, even on a sloped ceiling. By following these steps, you can ensure that the ceiling light hangs correctly and complements the unique architectural features of your space.
Once you have made the necessary adjustments, you’re ready to finalize the ceiling light measurements in Step 10.
Step 10: Finalize the Ceiling Light Measurements
Now that you have completed all the necessary steps to measure for a ceiling light, it’s time to finalize the measurements before making a purchase or installation. Here’s what you need to do:
- Review Your Measurements: Double-check all the measurements you have taken throughout the process. Make sure you have accurate figures for the ceiling height, mounting location, ceiling area, hanging height, and any adjustments for sloped ceilings.
- Consider Clearance and Safety: Ensure that the chosen light fixture provides adequate clearance from any surrounding objects or furniture. Consider safety regulations and ensure there is enough space between the fixture and any flammable materials.
- Account for Installation Specifications: Take into account any specific installation requirements or guidelines provided by the manufacturer. This includes the necessary wiring, mounting brackets, and assembly instructions.
- Verify Compatibility: Make sure the chosen light fixture is compatible with your electrical system and meets all safety standards. Check for appropriate voltage, bulb wattage, and any additional compatibility considerations.
- Consult Experts if Needed: If you have any doubts or questions, consult with professionals such as electricians or lighting specialists. They can provide valuable insights based on their expertise and ensure a successful installation.
By finalizing the measurements and considering all relevant factors, you can confidently proceed with purchasing or installing the ceiling light. Remember, accurate measurements are key to achieving the desired aesthetics and functionality in your space.
Now that you have completed all the steps, you’re well-prepared to find the perfect ceiling light for your room. Enjoy the process and the beautiful illumination it will bring to your space!
With the measurements finalized, you can move forward with confidence in your selection and installation of a ceiling light that perfectly fits and enhances your space.
Conclusion
Measuring for a ceiling light is a vital step in ensuring a seamless and visually pleasing installation. By following the steps outlined in this guide, you can confidently select the right size, style, and placement of your ceiling light, enhancing the overall ambiance and functionality of your space.
From gathering the necessary tools and materials to making adjustments for sloped ceilings, each step plays a crucial role in achieving a well-balanced and aesthetically pleasing result. By measuring the ceiling height, determining the light fixture type, measuring the ceiling area, and considering the mounting location and hanging height, you ensure that the ceiling light fits perfectly within the room’s dimensions and design.
Additionally, considering the style and design of the light fixture allows you to align it with the overall aesthetics of the space. Whether you prefer a modern, minimalist look or a more elaborate, traditional design, there’s a ceiling light that suits your taste and complements your interior décor.
It’s important to remember that these steps serve as general guidelines, and personal preferences and room-specific requirements should also be taken into account. Consulting professionals when needed can provide additional expertise and ensure a safe and successful installation.
Now that you are equipped with the knowledge and understanding of how to measure for a ceiling light, you can confidently embark on your search for the perfect fixture. Enjoy the process and the beautiful illumination it will bring to your space!
Frequently Asked Questions about How To Measure A Ceiling Light
Was this page helpful?
At Storables.com, we guarantee accurate and reliable information. Our content, validated by Expert Board Contributors, is crafted following stringent Editorial Policies. We're committed to providing you with well-researched, expert-backed insights for all your informational needs.


0 thoughts on “How To Measure A Ceiling Light”