Home>diy>Architecture & Design>How To Change The Light In Design House Recessed Light For The Shower
Architecture & Design
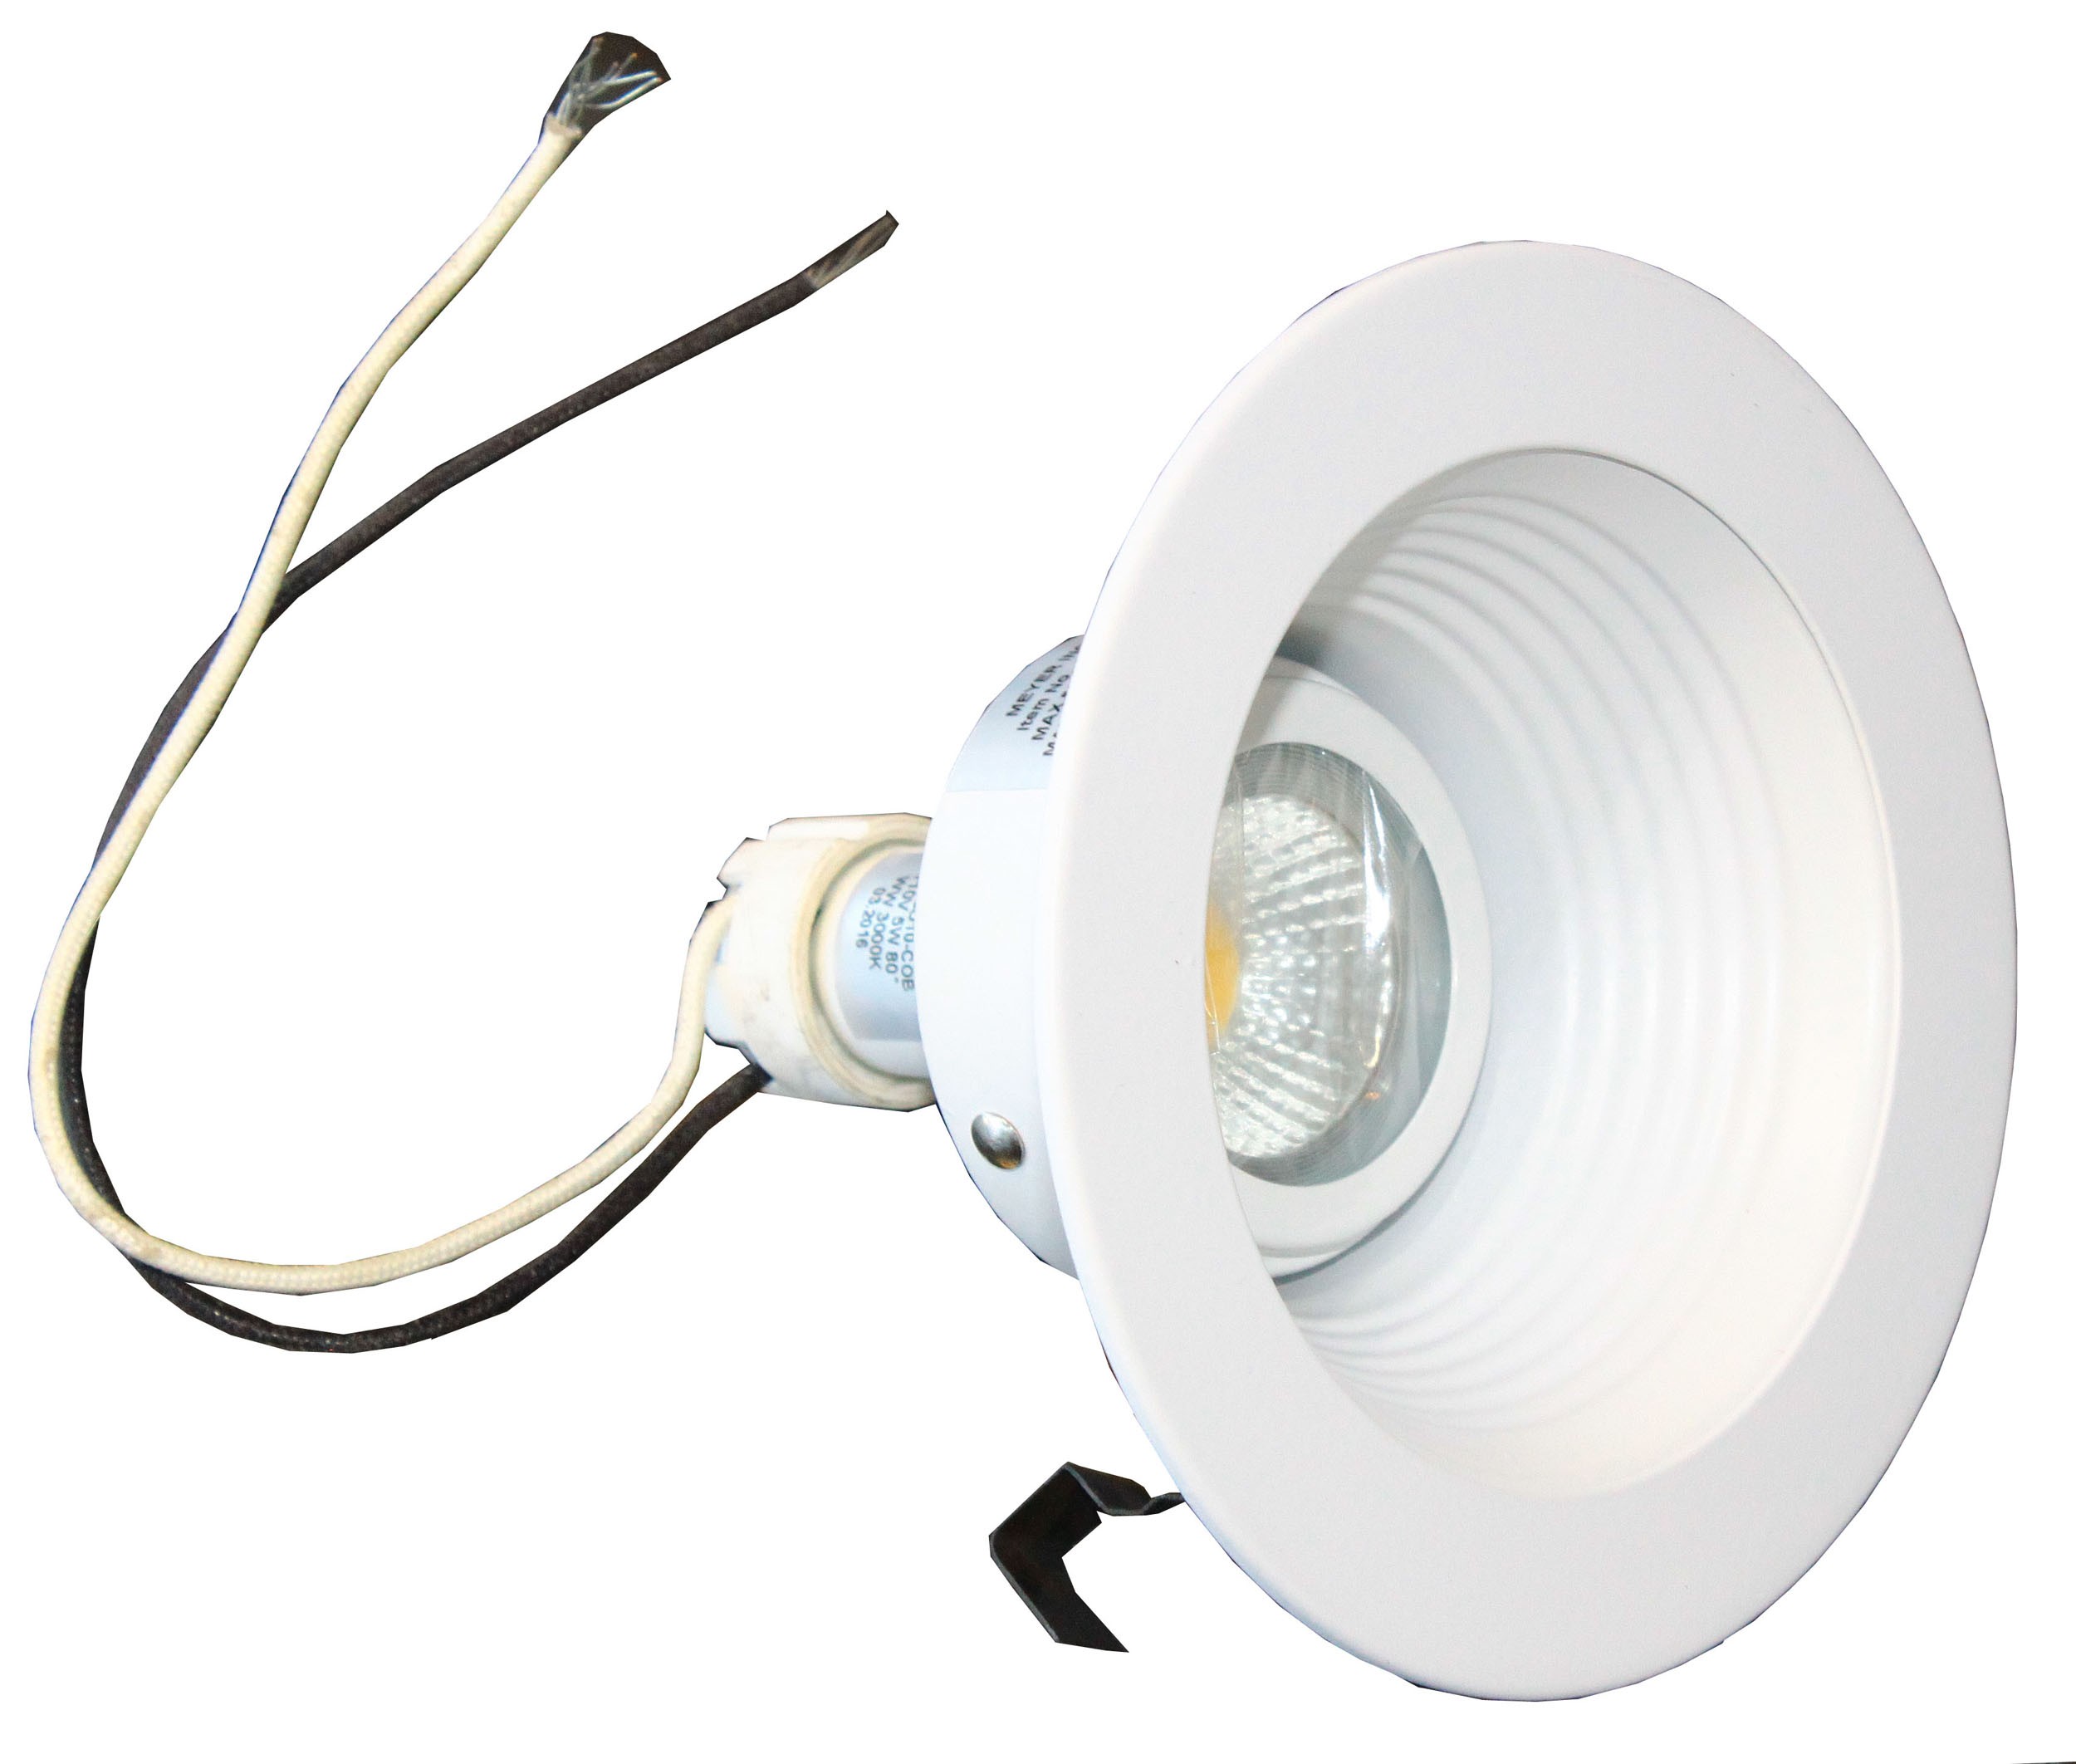
How To Change The Light In Design House Recessed Light For The Shower
Modified: January 4, 2024
Learn how to change the light in Design House recessed light for your shower. Transform the architecture design and create a soothing ambiance.
(Many of the links in this article redirect to a specific reviewed product. Your purchase of these products through affiliate links helps to generate commission for Storables.com, at no extra cost. Learn more)
Introduction
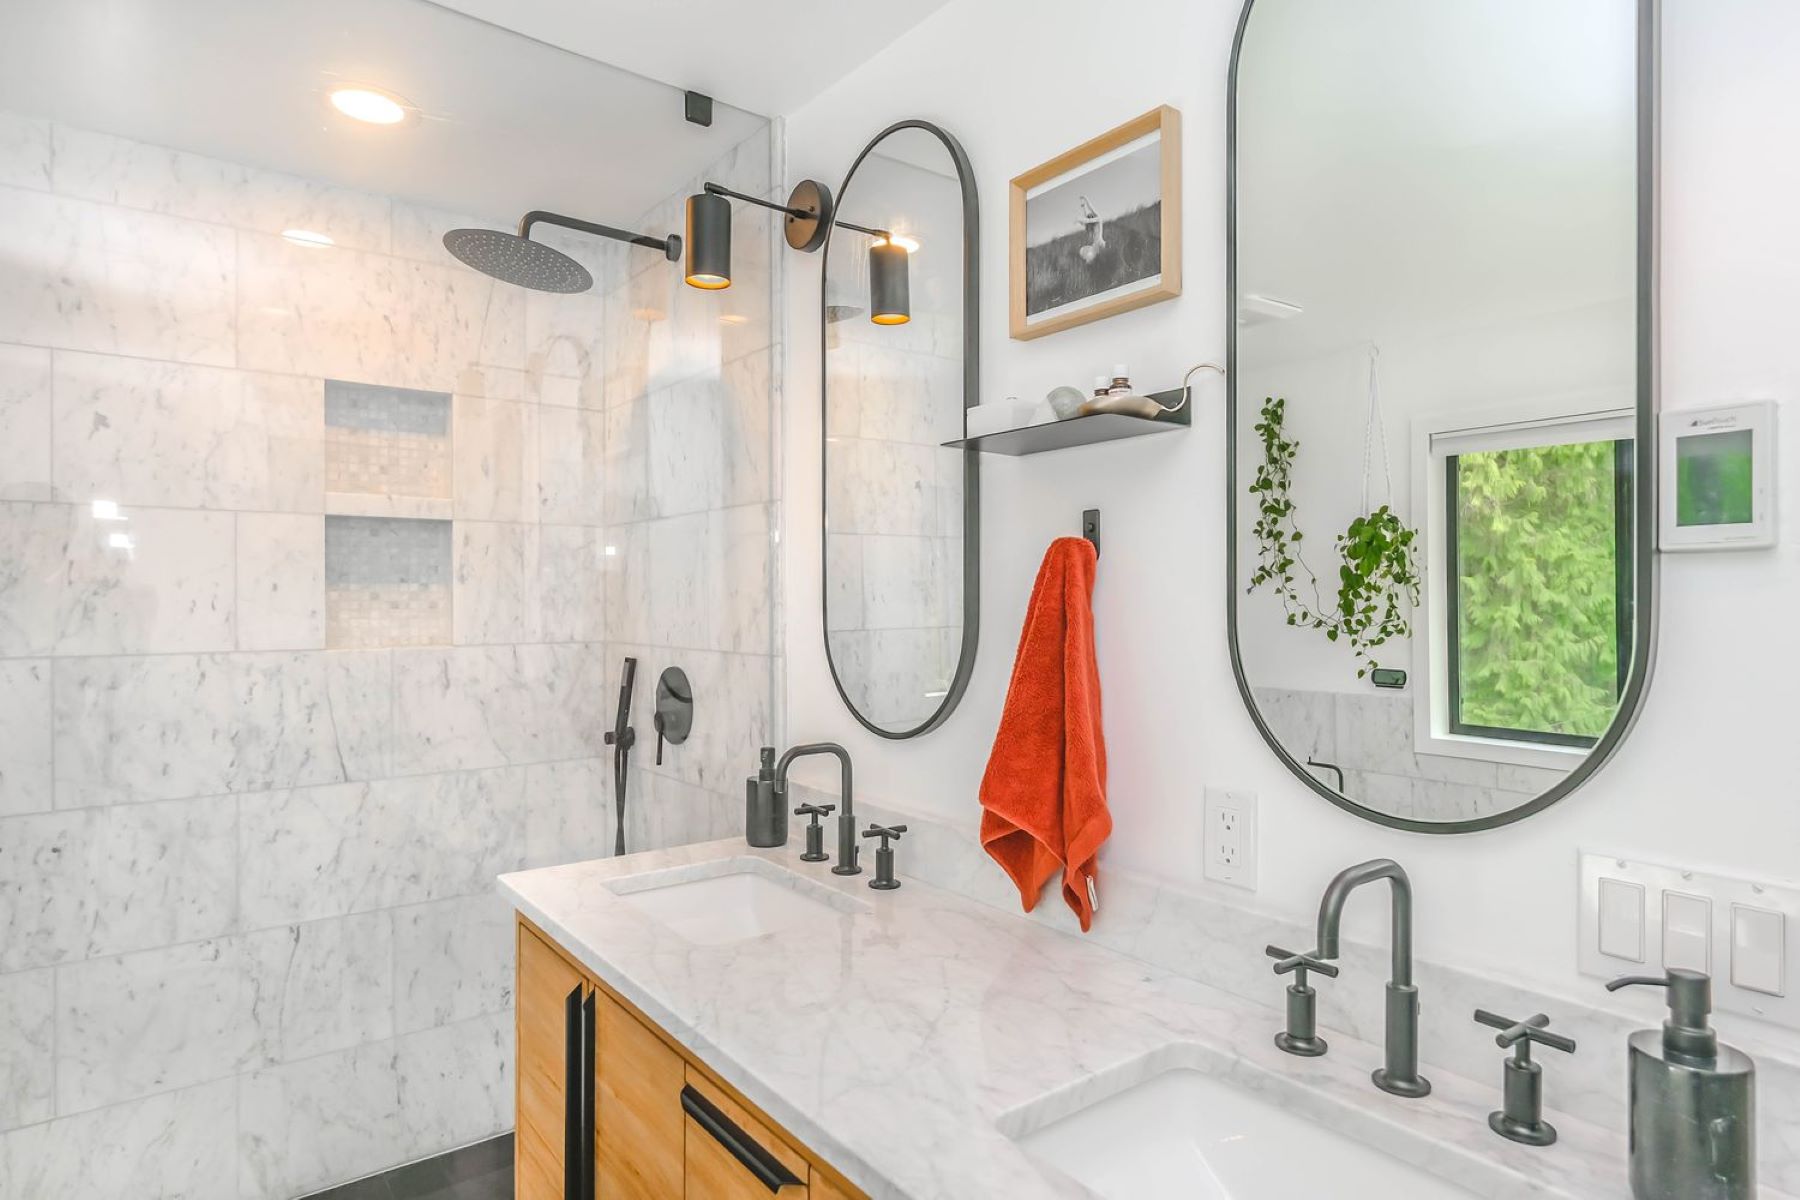
Changing the light in a design house recessed light for the shower can be a simple and satisfying task that can enhance the overall look and functionality of your bathroom. Whether you are replacing a burnt-out bulb or looking to upgrade to a more energy-efficient option, this article will guide you through the step-by-step process.
Before we dive into the details, it’s important to note that safety should always be your top priority when working with electricity. Make sure to follow the manufacturer’s instructions and take necessary precautions to avoid any mishaps. Additionally, if you feel uncomfortable or unsure about any step, we highly recommend hiring a licensed electrician to perform the task for you.
Now, let’s gather the necessary tools and materials to get started on this DIY project.
Key Takeaways:
- Safely and confidently change the light in your design house recessed light for the shower by following step-by-step instructions, prioritizing safety, and ensuring proper installation for an enhanced bathroom ambiance.
- Prioritize safety, gather necessary tools, and follow detailed steps to successfully change the light in your design house recessed light for the shower, creating a well-lit and inviting bathroom space.
Read more: How To Change Recessed Light Bulb
Tools and Materials Needed
Before you begin changing the light in your design house recessed light for the shower, it’s important to gather all the necessary tools and materials. Having everything ready beforehand will make the process smoother and more efficient. Here’s a list of what you’ll need:
- Screwdriver – You’ll need a screwdriver, typically a Phillips or flathead, depending on the type of screws used to secure the light fixture.
- Replacement Bulb – Make sure to purchase a bulb that is compatible with your recessed light fixture. Check the wattage and type of bulb required and choose a suitable replacement.
- Step Stool or Ladder – Depending on the height of your shower, you may need a step stool or ladder to reach the recessed light fixture safely.
- Safety Gloves – It’s always a good idea to wear safety gloves while handling electrical components to protect yourself from any potential hazards.
- Headlamp or Flashlight – Since you’ll be working in a shower area, it’s essential to have adequate lighting to see what you’re doing. A headlamp or flashlight will come in handy.
With these tools and materials in hand, you’re ready to proceed with changing the light in your design house recessed light for the shower. But before you do, let’s go over some important safety precautions to ensure a safe working environment.
Safety Precautions
Working with electricity always comes with a certain level of risk, so it’s crucial to prioritize your safety. Before you start changing the light in your design house recessed light for the shower, take note of the following safety precautions:
- Turn Off the Power – Before you begin any work, make sure to turn off the power to the light fixture at the breaker box. This will prevent any accidental electrical shocks.
- Test the Power – After turning off the power, use a non-contact voltage tester to verify that the wires are not live. This will provide an extra layer of safety.
- Wear Safety Gear – Always wear safety gloves when working with electrical components to protect yourself from potential harm. Additionally, consider wearing safety glasses to shield your eyes from any debris or particles.
- Avoid Wet Surfaces – Since you’ll be working in a shower area, ensure that the floor and surrounding surfaces are dry to prevent any slips or accidents.
- Use Stable Support – If you need to use a step stool or ladder, ensure it is stable and on a level surface. Always maintain three points of contact to prevent falls.
- Follow Manufacturer’s Instructions – Make sure to follow the manufacturer’s instructions carefully when handling the recessed light fixture and the replacement bulb. This will ensure proper installation and reduce the risk of damage or malfunction.
- Ask for Help if Needed – If you’re unsure about any step or feel uncomfortable performing the task, it’s best to seek help from a licensed electrician. Your safety should always be a top priority.
By following these safety precautions, you can minimize the risks involved and proceed with changing the light in your design house recessed light for the shower confidently. Next, let’s move on to the step-by-step process.
Step 1: Turn off the Power
Before you begin changing the light in your design house recessed light for the shower, it’s crucial to turn off the power to the fixture. This will ensure your safety and prevent any potential electrical shocks.
To turn off the power, locate your home’s breaker box. It is usually located in the basement, garage, or utility room. Open the breaker box and look for the breaker that controls the circuit for the shower light. It is typically labeled as “bathroom” or “shower” on the breaker list.
Once you’ve identified the correct breaker, switch it off by flipping it to the “off” position. You can double-check if the power is indeed off by attempting to turn on the light switch in the shower. If the light remains off, then you have successfully turned off the power.
For an extra layer of safety, use a non-contact voltage tester to verify that the wires are not live. This handheld device can detect the presence of electrical current without direct contact. Place the tester near the light fixture’s wires to ensure that they are not energized. If the tester does not detect any electrical current, you can proceed with confidence.
Remember, never skip this step or underestimate the importance of turning off the power. It is crucial for your safety and the well-being of your electrical system. With the power off, you can now move on to the next step, which is removing the old light bulb.
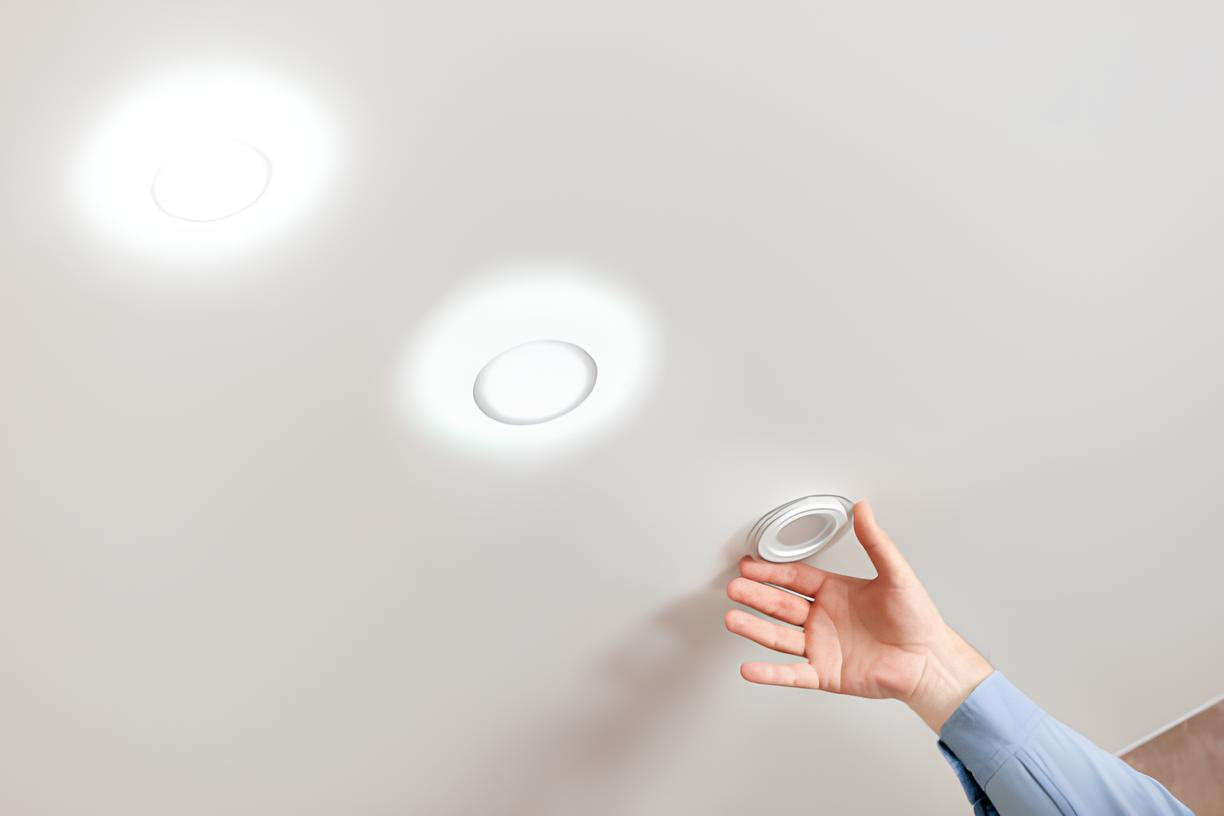
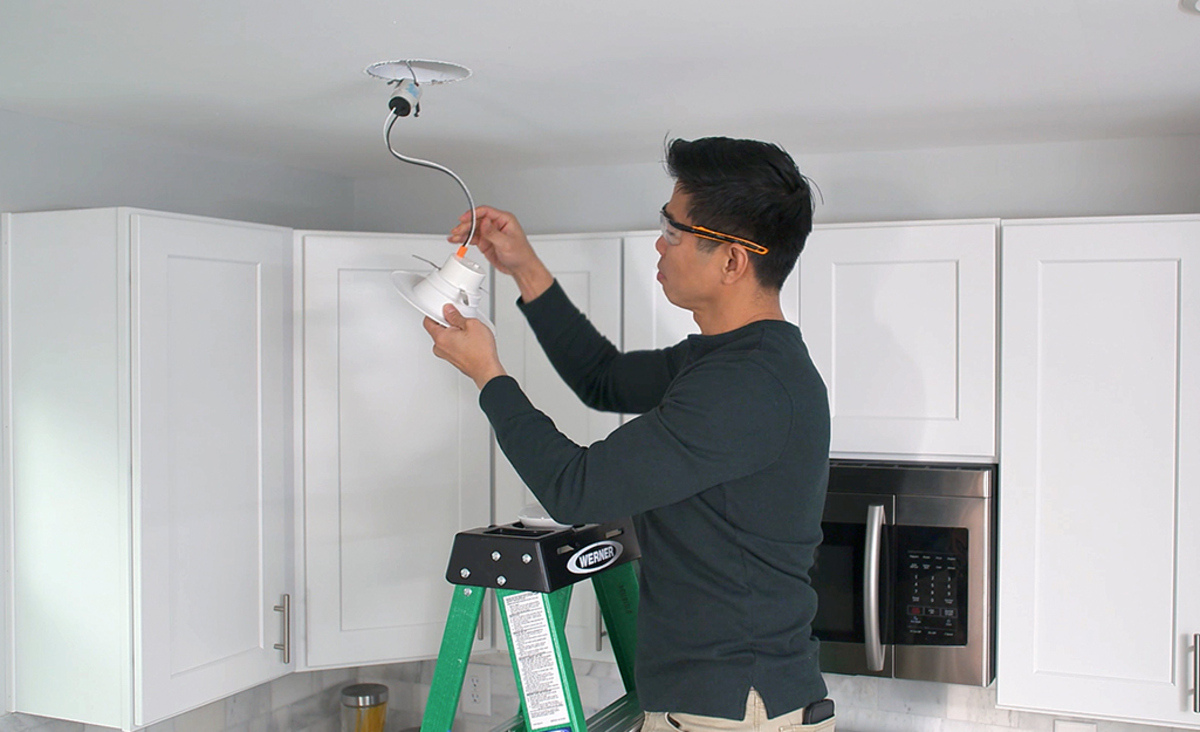
Step 2: Remove the Old Light Bulb
With the power turned off, it’s now time to remove the old light bulb from your design house recessed light for the shower. Follow these steps to safely remove the bulb:
- Put on Safety Gloves – Before you begin, put on a pair of safety gloves to protect your hands from broken glass or other debris.
- Get a Steady Grip – Carefully grasp the glass portion of the old bulb with your gloved hand. Make sure to grip it firmly but not too tight as to risk breaking it.
- Twist the Bulb – Gently twist the bulb counterclockwise. Most recessed light bulbs have a standard screw-in base, so a simple twist should loosen it from the socket.
- Remove the Bulb – Once the bulb is loose, carefully pull it straight out of the socket. If it feels stuck, try twisting it a bit more before pulling it out.
- Dispose of the Old Bulb – Place the old bulb in a safe container or wrap it in a plastic bag to prevent injury from broken glass. Dispose of it according to your local regulations for proper bulb disposal.
By following these steps, you can safely remove the old light bulb from your design house recessed light for the shower. Now, it’s time to move on to the next step, which is detaching the trim or cover.
When changing the light in a Design House recessed light for the shower, make sure to turn off the power to the fixture before attempting to remove the old light and install the new one. It’s also important to use a waterproof or damp-rated light fixture for safety.
Read more: How To Change A Recessed Ceiling Light Bulb
Step 3: Detach the Trim or Cover
After removing the old light bulb, the next step in changing the light in your design house recessed light for the shower is to detach the trim or cover. The trim or cover is the decorative piece that surrounds the bulb and gives the fixture a finished look. Follow these steps to detach it:
- Identify the Type of Trim – Recessed light fixtures can have different types of trims or covers, such as spring clips, tension springs, or screws. Take a close look at your fixture to determine the type of trim you have.
- Release the Spring Clips – If your trim has spring clips, gently pull them outward to release them from the recessed housing. You may need to use a small screwdriver or your fingers to push the clips apart. Once released, the trim should come off easily.
- Release the Tension Springs – For fixtures with tension springs, locate the springs on opposite sides of the trim. Using your fingers or a small screwdriver, push the springs upward or inward to release them from the recessed housing. With the springs released, you can remove the trim.
- Unscrew the Trim – Some trims are secured with screws. If your trim has screws, use a screwdriver to carefully remove them. Once the screws are undone, you can lift off the trim.
Depending on the type of trim or cover in your recessed light fixture, the detaching process may vary. Refer to the manufacturer’s instructions for specific guidance if needed.
With the trim or cover detached, you are one step closer to changing the light in your design house recessed light for the shower. The next step is to replace the light bulb, which we will cover in the following step.
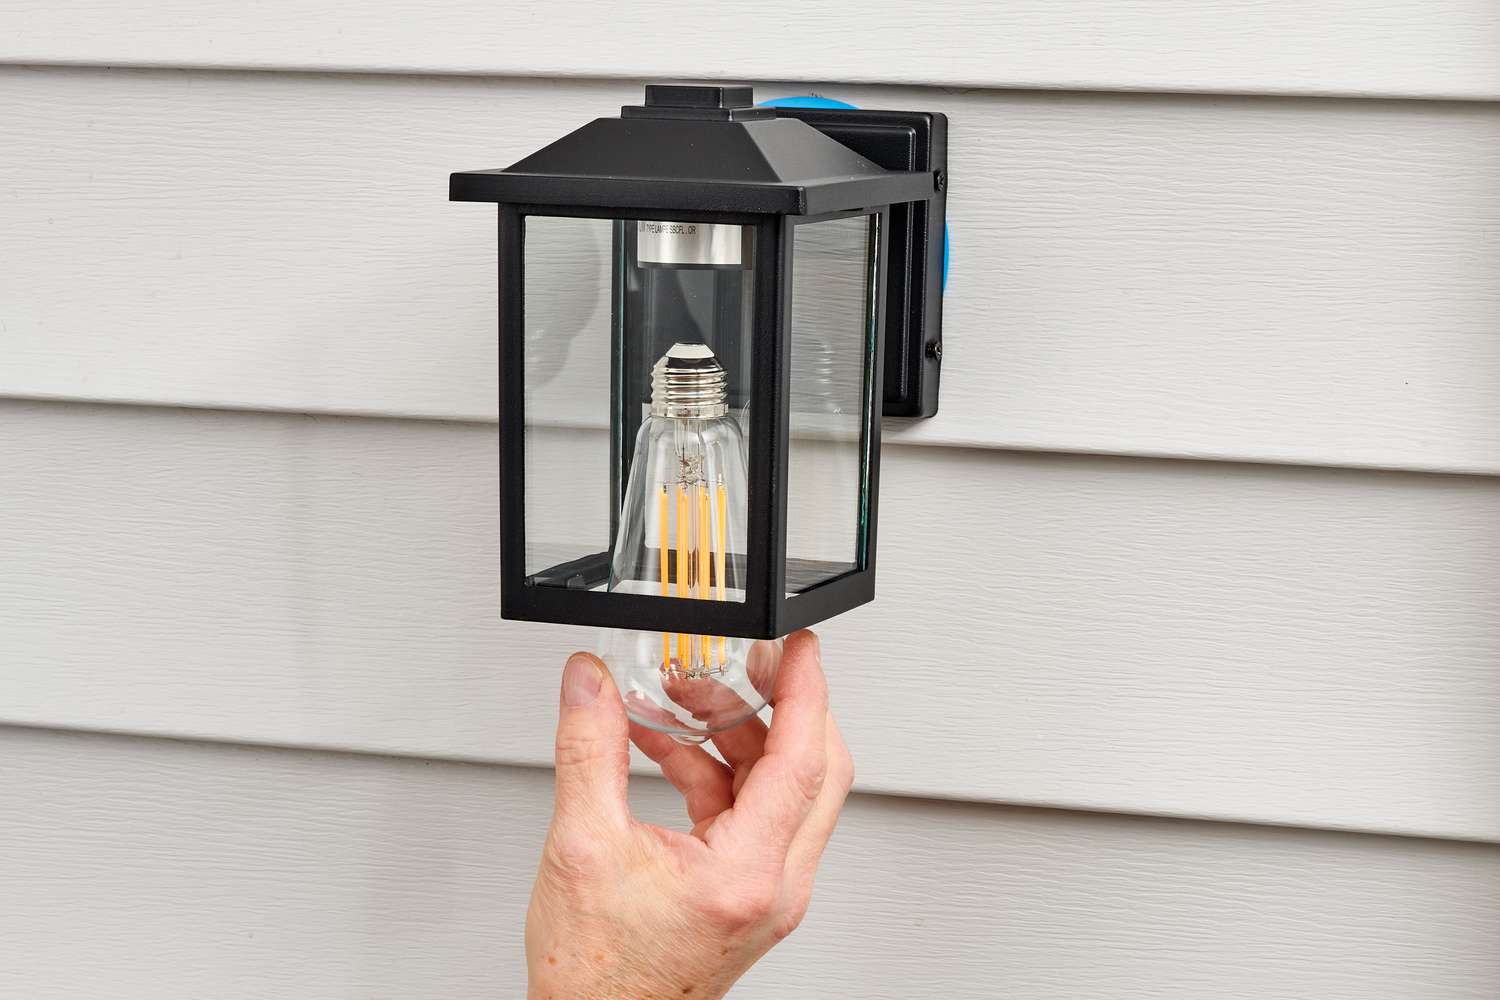
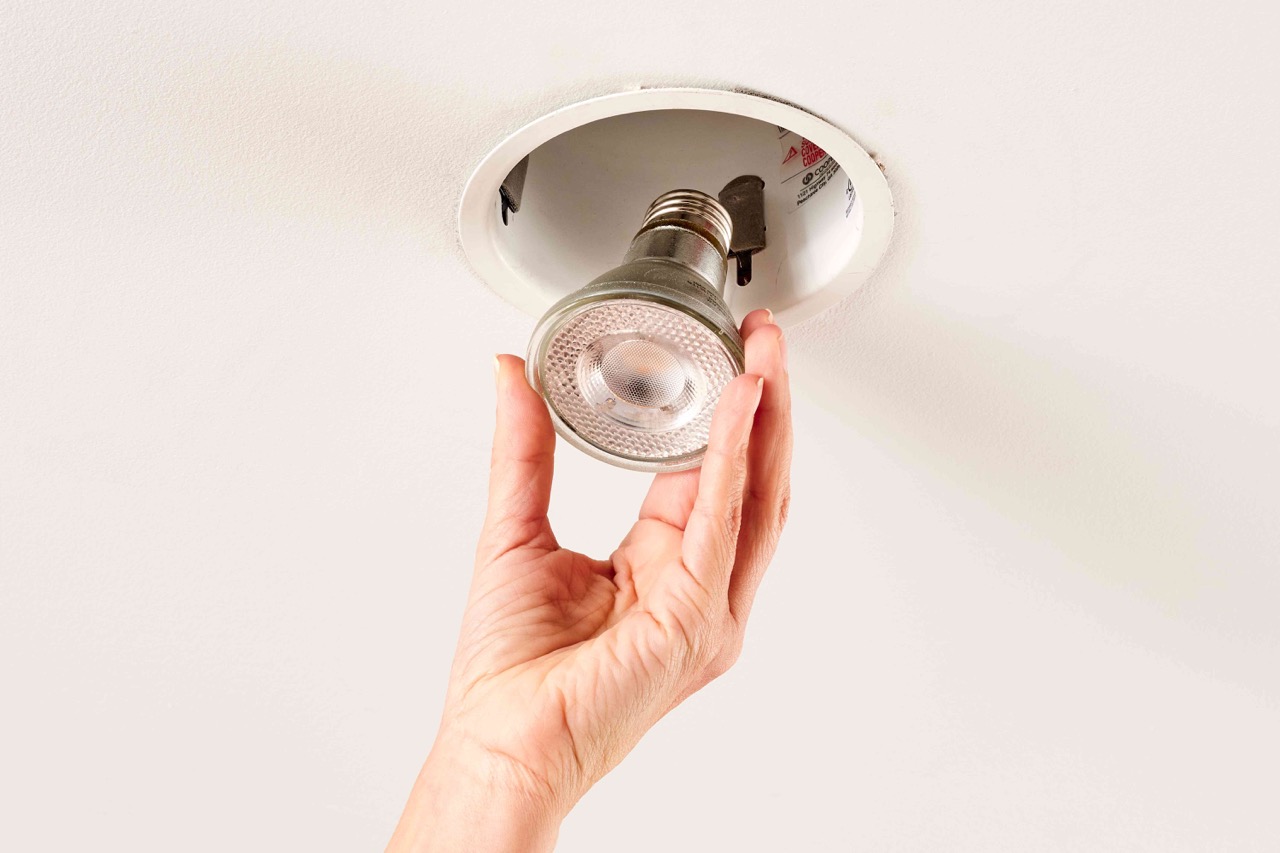
Step 4: Replace the Light Bulb
Now that you’ve successfully detached the trim or cover from your design house recessed light for the shower, it’s time to replace the light bulb. Follow these steps to ensure a seamless installation:
- Select the Right Bulb – Before inserting the new bulb, make sure it is the correct type, wattage, and size for your recessed light fixture. Refer to the manufacturer’s guidelines or the old bulb for reference.
- Hold the New Bulb Correctly – When handling the new bulb, avoid touching the glass with bare hands. Oils or dirt from your fingers can cause the bulb to heat unevenly and shorten its lifespan. Use a tissue or cloth to hold the bulb instead.
- Insert the Bulb – Align the base of the new bulb with the socket in the recessed housing. Gently push the bulb into the socket and give it a slight twist clockwise to secure it. Ensure that the bulb is fully inserted and snugly in place.
- Double-Check the Bulb’s Position – After installing the new bulb, check to make sure it is in the correct position. It should be aligned straight and evenly in the socket without any wobbling or loose connections.
It is important to note that some recessed light fixtures may have additional installation steps or specific instructions for bulb replacement. Refer to the manufacturer’s guidelines or consult the fixture’s manual if you encounter any difficulties or uncertainties.
With the new bulb successfully installed, you’re almost done with the process. The next step is to reattach the trim or cover, which we will cover in the following step.
Step 5: Reattach the Trim or Cover
With the new light bulb securely in place, the next step in changing the light in your design house recessed light for the shower is to reattach the trim or cover. Follow these steps to ensure a proper and secure installation:
- Align the Trim – Take the trim or cover that you detached earlier and align it with the recessed housing. Make sure it is positioned correctly, with any screw holes or spring clips aligning with their respective locations.
- Secure with Spring Clips – If your trim uses spring clips, gently push them back into their respective recessed housing slots. Press the trim against the ceiling, making sure the clips engage and hold it firmly in place.
- Secure with Tension Springs – For fixtures with tension springs, position the trim against the ceiling and align the springs with their respective recessed housing slots. Apply slight pressure or push the trim upward to engage the springs and hold the trim securely.
- Secure with Screws – If your trim is secured with screws, insert the screws into their respective holes and use a screwdriver to tighten them until they are snug but not overly tight. Make sure the trim is flush against the ceiling.
Ensure that the trim is securely attached and properly aligned. Gently give it a slight tug or push to confirm that it is firmly in place. A properly attached trim will enhance the overall appearance and functionality of your design house recessed light for the shower.
Now that you’ve reattached the trim or cover, you’re almost done with the process. The final step is to restore the power to the fixture, which we will cover in the following step.
Step 6: Restore the Power
After successfully reattaching the trim or cover, the final step in changing the light in your design house recessed light for the shower is to restore the power. Follow these steps to ensure a safe and functional reconnection:
- Double-Check the Fixture – Before restoring the power, visually inspect the recessed light fixture to ensure everything is properly installed and in place. Make sure the trim or cover is securely attached, and there are no loose wires or exposed components.
- Return to the Breaker Box – Go back to the breaker box where you previously turned off the power for the shower light. Locate the breaker that controls the circuit and switch it back to the “on” position.
- Turn on the Light Switch – Once the power is restored, go to the shower area and turn on the light switch. The newly installed light bulb should illuminate, indicating that the power has been successfully restored.
- Test the Functionality – To ensure proper functionality, test the light by switching it on and off a few times. Check for any flickering or dimming issues, which may indicate a loose connection or faulty bulb.
If everything appears to be working properly, congratulations! You have successfully changed the light in your design house recessed light for the shower. Enjoy the enhanced brightness and ambiance it brings to your bathroom.
However, if you encounter any problems or issues during the testing phase, it is advisable to consult a licensed electrician for further assistance. They can help troubleshoot and resolve any electrical problems that may be causing the malfunction.
With the power restored and the light functioning correctly, you can now appreciate the refreshed and improved lighting in your design house shower area. Remember to keep the necessary tools and materials for future bulb replacements or maintenance.
Thank you for following this step-by-step guide on changing the light in your design house recessed light for the shower. We hope it has been informative and helpful in completing your DIY project.
And as always, stay safe and enjoy your beautifully lit shower space!
Read more: How To Change A Shower Light Bulb
Conclusion
Changing the light in your design house recessed light for the shower can be a rewarding and relatively simple task. By following the step-by-step process outlined in this guide, you can enhance the functionality and aesthetics of your bathroom while ensuring a safe and efficient installation.
We started by gathering the necessary tools and materials, including a screwdriver, replacement bulb, step stool or ladder, safety gloves, and a headlamp or flashlight. Safety precautions were emphasized throughout the process, which included turning off the power, wearing protective gear, and avoiding wet surfaces.
The step-by-step process covered in detail how to turn off the power, remove the old light bulb, detach the trim or cover, replace the light bulb, and reattach the trim or cover. Each step was carefully explained to facilitate a seamless and successful transition.
Finally, we emphasized the importance of restoring the power safely, testing the functionality of the new light bulb, and seeking professional assistance if needed.
By following this comprehensive guide, you can confidently change the light in your design house recessed light for the shower, transforming your bathroom into a well-lit and inviting space.
Remember to always prioritize safety, follow manufacturer’s guidelines, and consult a licensed electrician if you have any doubts or concerns during the process.
Enjoy your newly installed light and the enhanced atmosphere it brings to your shower area!
Frequently Asked Questions about How To Change The Light In Design House Recessed Light For The Shower
Was this page helpful?
At Storables.com, we guarantee accurate and reliable information. Our content, validated by Expert Board Contributors, is crafted following stringent Editorial Policies. We're committed to providing you with well-researched, expert-backed insights for all your informational needs.


0 thoughts on “How To Change The Light In Design House Recessed Light For The Shower”