Home>Home Appliances>Lighting Appliances>How To Remove A Recessed Ceiling Light

Lighting Appliances
How To Remove A Recessed Ceiling Light
Modified: March 1, 2024
Learn how to safely remove a recessed ceiling light with our step-by-step guide. Upgrade your lighting appliances with ease. Expert tips and tricks included!
(Many of the links in this article redirect to a specific reviewed product. Your purchase of these products through affiliate links helps to generate commission for Storables.com, at no extra cost. Learn more)
Introduction
Removing a recessed ceiling light may seem like a daunting task, but with the right guidance and a bit of know-how, it can be a straightforward process. Whether you're looking to upgrade your lighting fixture or make repairs, understanding the steps involved in removing a recessed ceiling light is essential for a safe and successful outcome.
In this comprehensive guide, we will walk you through the step-by-step process of removing a recessed ceiling light fixture. From turning off the power to disconnecting the wiring and installing a new light fixture, each stage is crucial to ensure a smooth transition. By following these instructions, you can confidently tackle this home improvement project and achieve the desired results.
So, roll up your sleeves and get ready to embark on this illuminating journey. With a few tools, a dash of patience, and a sprinkle of determination, you'll soon be on your way to removing that old recessed ceiling light and ushering in a fresh new look to your living space. Let's dive into the details and illuminate the path to a brighter, more inviting home ambiance.
Key Takeaways:
- Safety First!
Before removing a recessed ceiling light, always turn off the power supply and use a voltage tester to ensure it’s safe. Patience and caution are key to a successful and hazard-free removal process. - Attention to Detail
Removing and installing a new light fixture requires careful handling of the trim, bulb, housing, and wiring. Following each step with precision and care ensures a seamless and visually captivating lighting transformation.
Step 1: Turn off the Power
Before embarking on the task of removing a recessed ceiling light, it is crucial to prioritize safety by turning off the power supply to the fixture. This step is paramount to prevent any electrical mishaps and ensure a secure working environment.
To begin, head to your electrical panel or circuit breaker box. It's essential to identify the correct breaker that controls the power supply to the recessed ceiling light. If your circuit breaker box is labeled, look for the specific breaker labeled "ceiling lights" or "recessed lighting." In the absence of clear labels, you may need to enlist the assistance of a voltage tester to determine the correct breaker.
Once you've located the appropriate breaker, switch it to the "off" position. To provide an extra layer of safety, it's advisable to use a non-contact voltage tester to verify that the power has indeed been cut off. This handheld device can detect the presence of electrical current, allowing you to confirm that the recessed ceiling light is no longer receiving power.
After ensuring that the power supply has been successfully turned off, it's prudent to wait a few minutes to allow any residual electrical charge to dissipate. This precautionary measure minimizes the risk of accidental shocks or electrical discharge during the subsequent steps of the removal process.
By diligently following these initial steps to deactivate the power supply, you are laying a secure foundation for the subsequent stages of removing the recessed ceiling light. Prioritizing safety at the outset sets the stage for a smooth and hazard-free removal process, allowing you to proceed with confidence and peace of mind.
With the power supply safely turned off, you are now ready to advance to the next phase of removing the trim and bulb from the recessed ceiling light fixture. This pivotal step brings you one step closer to achieving your goal of updating or replacing the fixture, enhancing the aesthetic appeal of your living space.
Remember, safety always comes first when dealing with electrical components, and taking the time to properly deactivate the power supply is a non-negotiable aspect of this home improvement endeavor. Now that the power is off, let's move on to the next stage and continue our journey toward a transformed lighting setup.
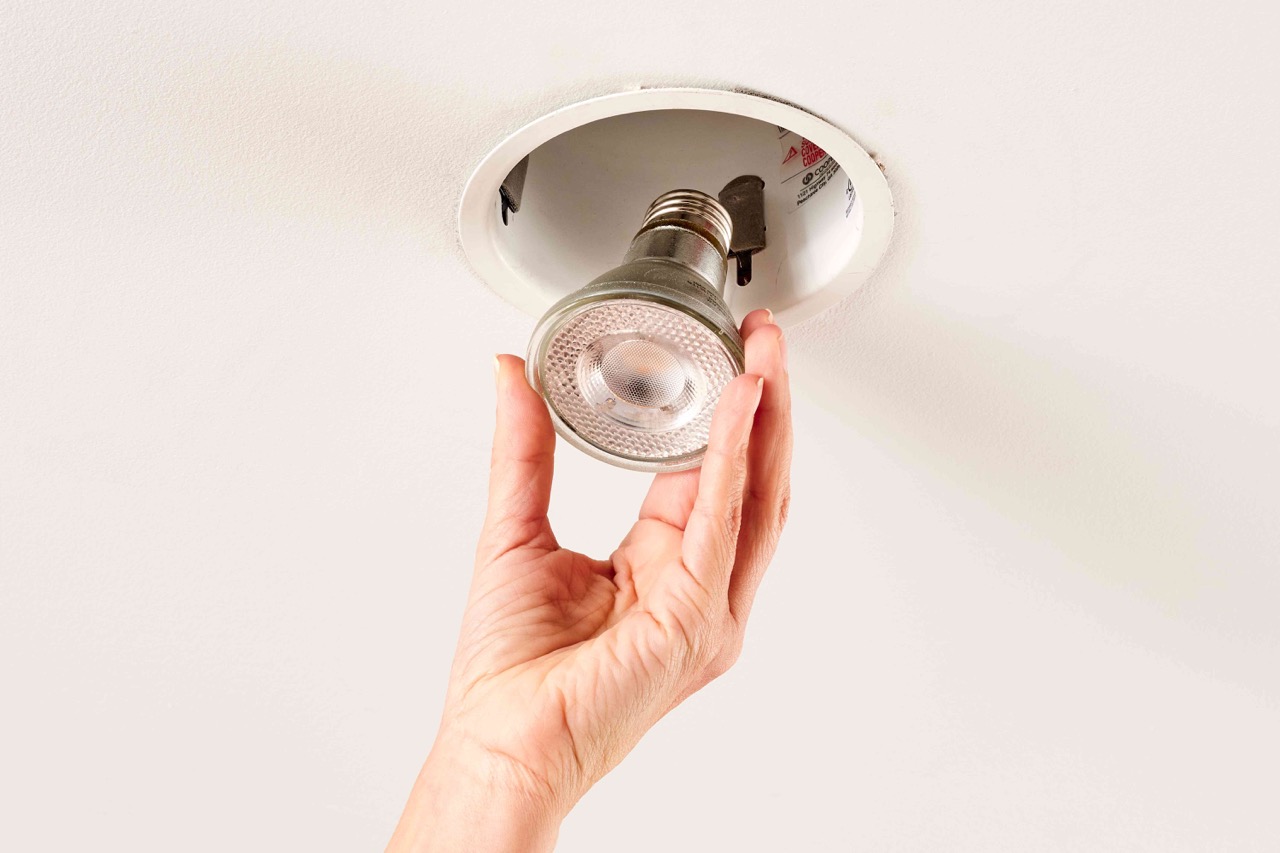
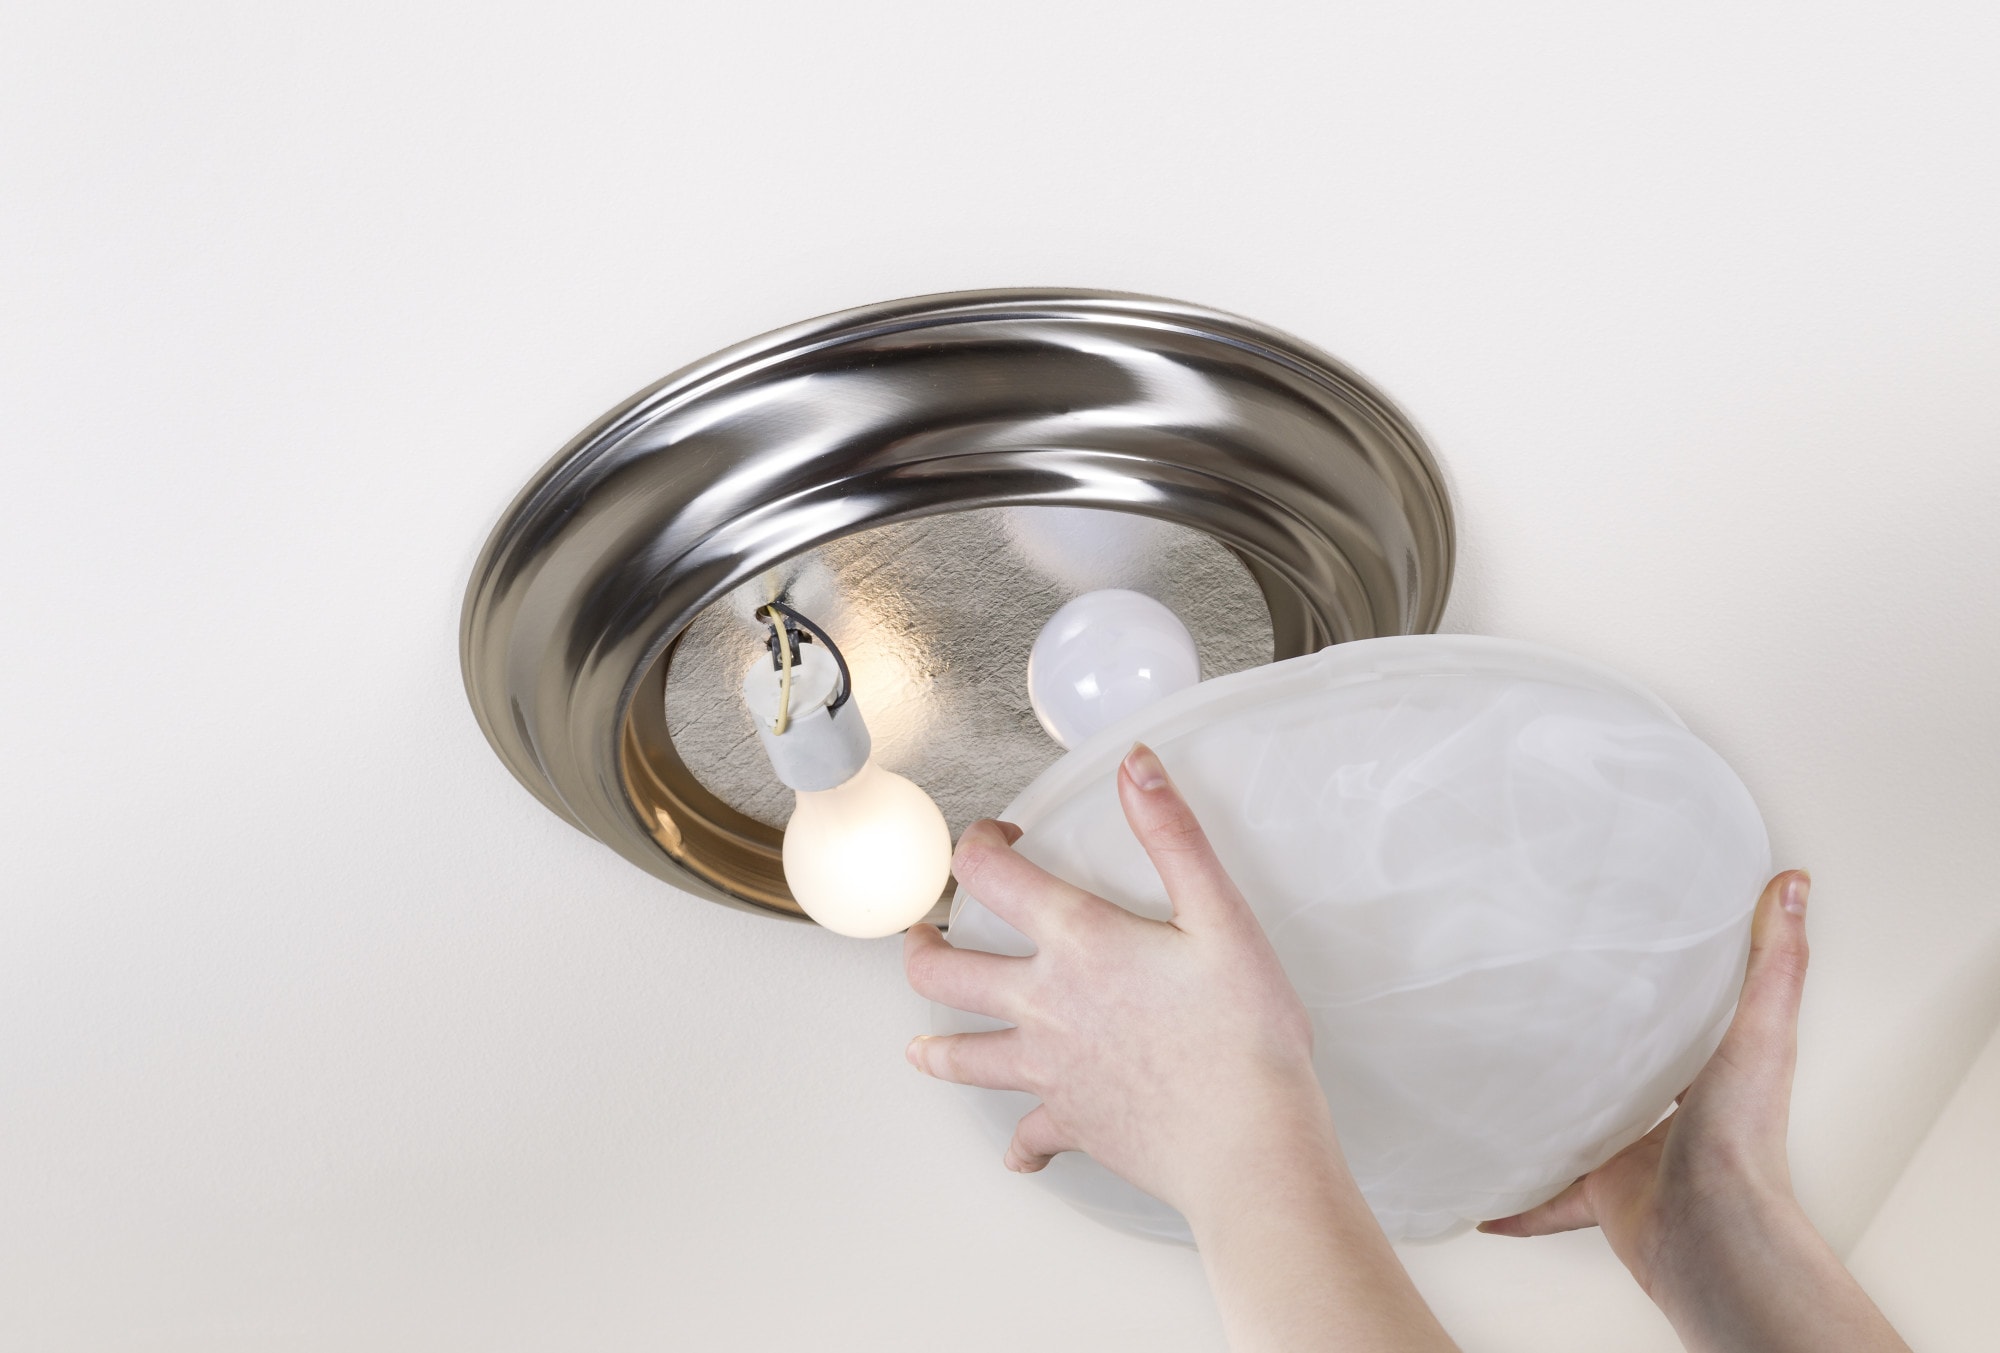
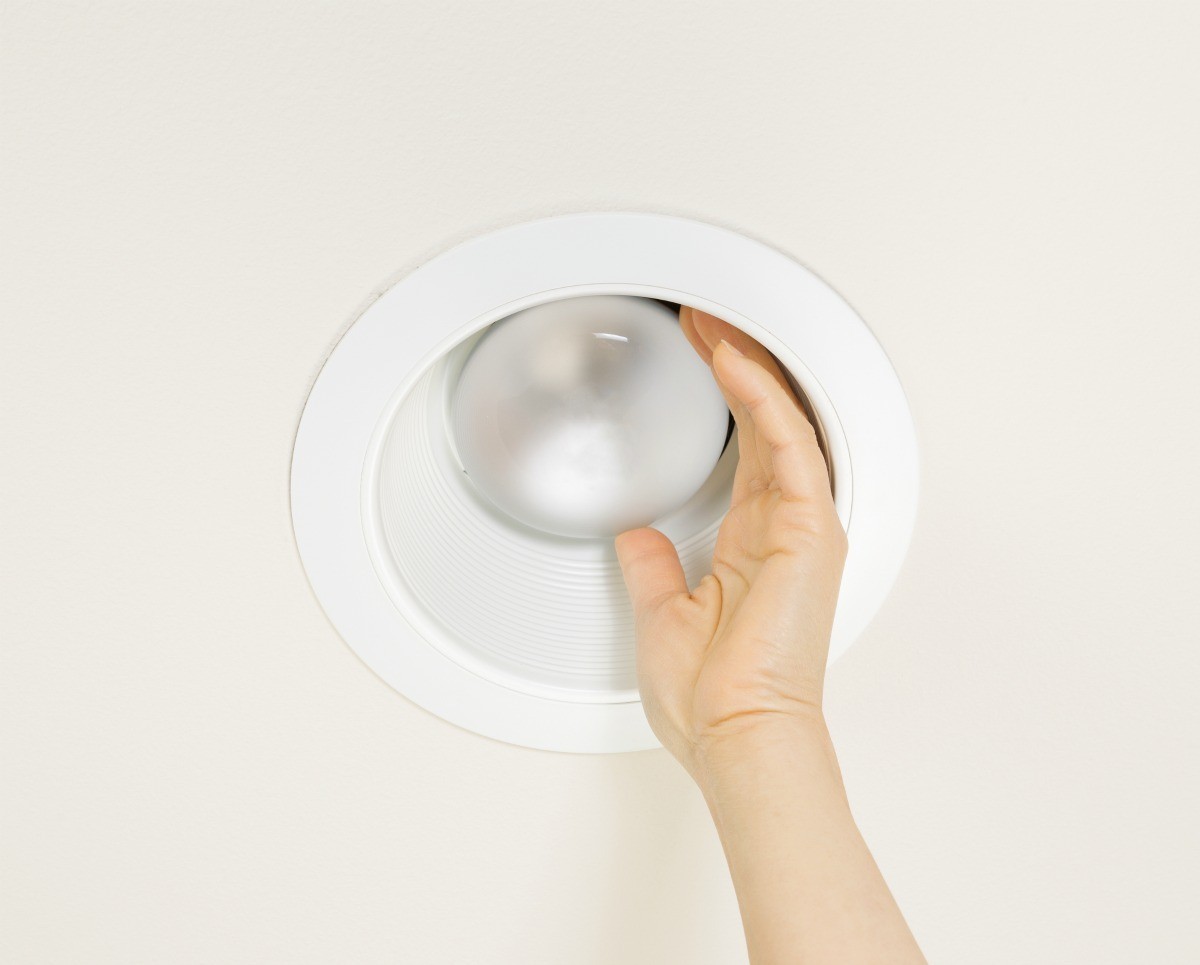
Step 2: Remove the Trim and Bulb
With the power supply safely turned off, the next crucial step in removing a recessed ceiling light fixture involves removing the trim and bulb. This phase of the process requires attention to detail and a gentle touch to ensure that the components are detached without causing any damage.
To begin, carefully reach up and locate the trim surrounding the recessed light fixture. Depending on the specific design of your fixture, the trim may be secured in place using spring clips or screws. If your trim features spring clips, gently push or squeeze them to release the trim from the housing. In the case of screws, utilize a suitable screwdriver to loosen and remove them, allowing the trim to be separated from the fixture.
Once the trim is detached, set it aside in a safe location to prevent any accidental damage. With the trim removed, the next focus is on the bulb within the recessed fixture. Depending on the type of bulb used, it may be a screw-in, pin-based, or twist-and-lock variety. Carefully unscrew or unclip the bulb from its socket, taking care not to apply excessive force that could lead to breakage.
After removing the bulb, take a moment to inspect the interior of the recessed fixture. This is an opportune time to clean any accumulated dust or debris that may have gathered within the housing. A soft, dry cloth or a gentle vacuum attachment can be used to carefully remove any particles, ensuring that the interior of the fixture is clean and ready for the next steps.
With the trim and bulb successfully removed and the fixture interior tidied up, you have completed a significant phase of the removal process. These meticulous actions pave the way for the subsequent stages, bringing you closer to the ultimate goal of updating or replacing the recessed ceiling light fixture.
By delicately handling the trim and bulb removal, you are demonstrating a keen eye for detail and a commitment to executing each step with precision. With these components safely removed, you are now poised to progress to the next pivotal stage of removing the housing and disconnecting the wiring, marking a significant stride toward achieving your desired lighting transformation.
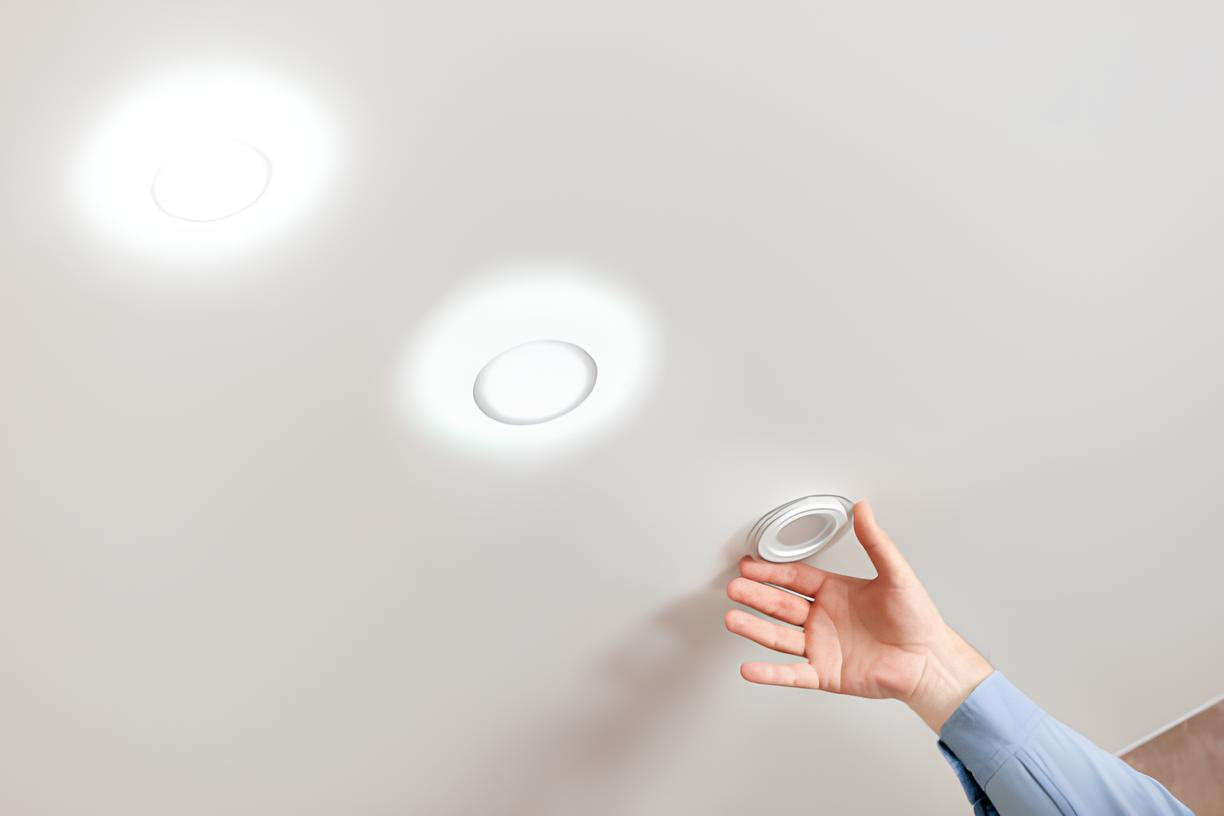
Step 3: Remove the Housing
With the trim and bulb successfully removed, the next critical phase in the process of removing a recessed ceiling light fixture involves the extraction of the housing. This step requires a methodical approach and attention to detail to ensure the safe and efficient removal of the fixture's housing.
To commence this phase, carefully inspect the housing to identify the method of attachment. Recessed light housings are typically secured in place by spring clips or screws. If your fixture utilizes spring clips, gently push or squeeze them to release the housing from its position within the ceiling. In the case of screws, utilize an appropriate screwdriver to carefully loosen and remove them, allowing the housing to be detached from the ceiling.
As you proceed with removing the housing, it's essential to exercise caution and avoid placing undue pressure on the ceiling material. By gently maneuvering the housing, you can gradually disengage it from its position, taking care to support its weight and prevent any sudden movements that could cause damage to the ceiling surface.
Once the housing is successfully detached, carefully lower it from the ceiling, ensuring a steady and controlled descent to prevent any accidental damage. It's advisable to have a helping hand to assist with this step, particularly if the housing is bulky or cumbersome.
With the housing removed, take a moment to inspect the surrounding area within the ceiling. This presents an opportune time to clean any accumulated dust or debris and assess the condition of the ceiling material. A soft, dry cloth or a gentle vacuum attachment can be used to tidy up the area, ensuring that it is clean and free from any residual particles.
The successful removal of the housing marks a significant milestone in the process of updating or replacing the recessed ceiling light fixture. By executing this step with precision and care, you are advancing toward the realization of your desired lighting transformation.
With the housing safely removed, you are now prepared to progress to the subsequent stage of disconnecting the wiring, a pivotal step that brings you closer to achieving your goal of installing a new light fixture and revitalizing the ambiance of your living space.
Before removing a recessed ceiling light, make sure to turn off the power at the circuit breaker to avoid any electrical hazards. Use a screwdriver to remove the trim and then unscrew the light bulb. Next, locate the clips or springs holding the fixture in place and carefully release them. Finally, disconnect the wires and remove the fixture from the ceiling.
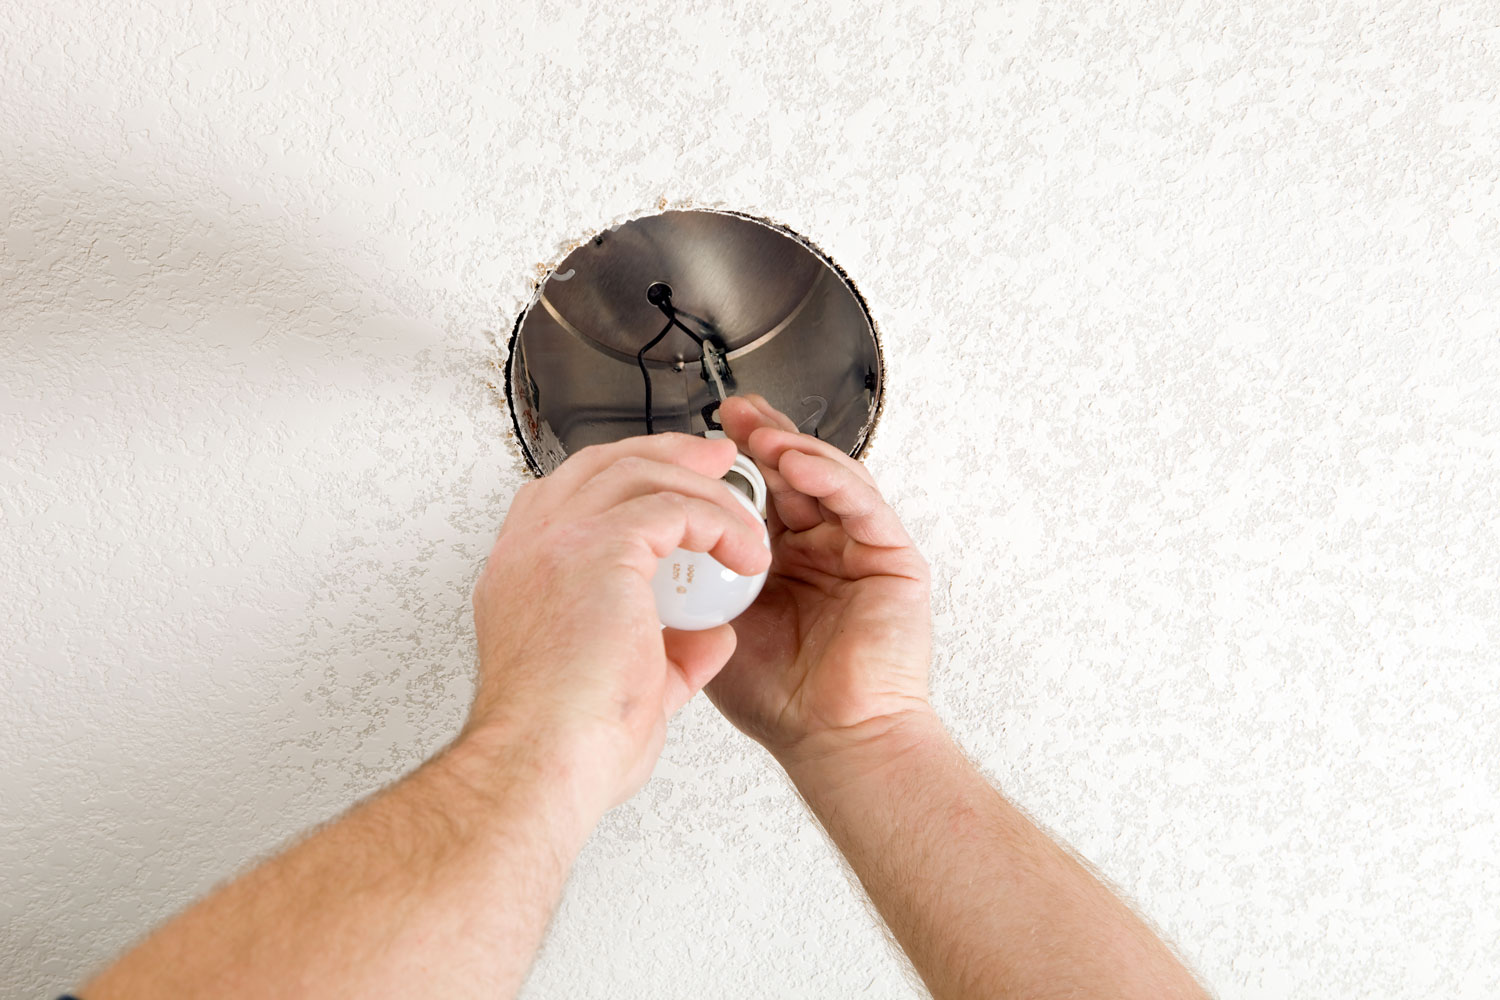
Step 4: Disconnect the Wiring
As you embark on the crucial stage of disconnecting the wiring from the recessed ceiling light fixture, meticulous attention to detail and a methodical approach are paramount. This step is integral to ensuring a safe and seamless transition as you prepare to install a new light fixture or make necessary adjustments to the wiring configuration.
To commence the process, carefully examine the wiring connections within the housing of the recessed light fixture. Depending on the specific design and installation, you may encounter a variety of wiring configurations, including black (hot) wires, white (neutral) wires, and green or bare (ground) wires. It's essential to approach the disconnection of these wires with caution and precision to avoid any damage or disruption to the electrical components.
Before proceeding with the disconnection, it's advisable to use a voltage tester to verify that the power supply to the fixture has been effectively turned off. This precautionary measure provides an added layer of safety, ensuring that there is no electrical current flowing through the wires at the time of disconnection.
Once the power supply is confirmed to be deactivated, carefully loosen the wire connectors or terminal screws that secure the wiring in place. Exercise care and attention to detail as you disconnect each wire, taking note of their respective positions and ensuring that they are safely separated without causing any strain or damage to the connections.
As you proceed with disconnecting the wiring, it's prudent to label or make note of the specific wires and their corresponding functions. This proactive approach can facilitate a smoother reconnection process when installing the new light fixture, minimizing any potential confusion or errors during the subsequent stages.
After the wiring has been safely disconnected, take a moment to inspect the exposed wires and terminals within the housing. This presents an opportune time to assess the condition of the wiring, ensuring that there are no signs of wear, damage, or corrosion that may necessitate further attention or repairs.
With the wiring successfully disconnected and the electrical components carefully handled, you have completed a pivotal phase in the process of removing the recessed ceiling light fixture. This meticulous approach sets the stage for the subsequent stage of installing the new light fixture, bringing you closer to achieving your desired lighting transformation.
By navigating the disconnection of the wiring with precision and caution, you are demonstrating a commitment to safety and a thorough understanding of the electrical components involved. With the wiring safely disconnected, you are now poised to advance to the final stage of installing the new light fixture, marking a significant stride toward revitalizing the ambiance of your living space.
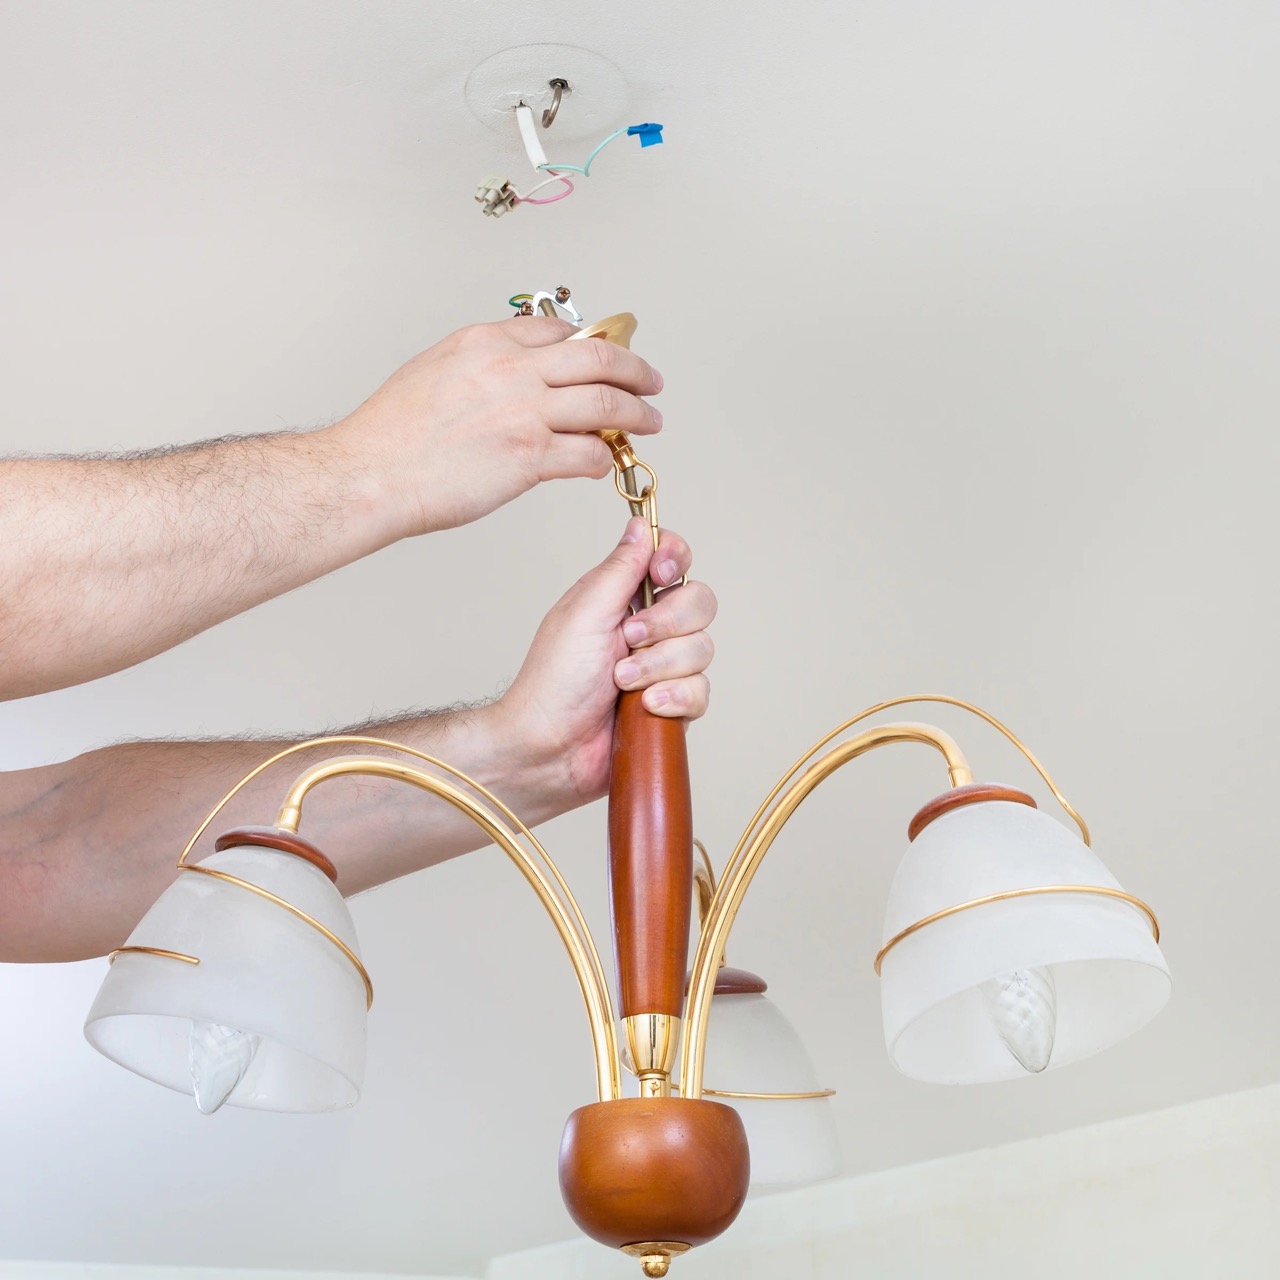
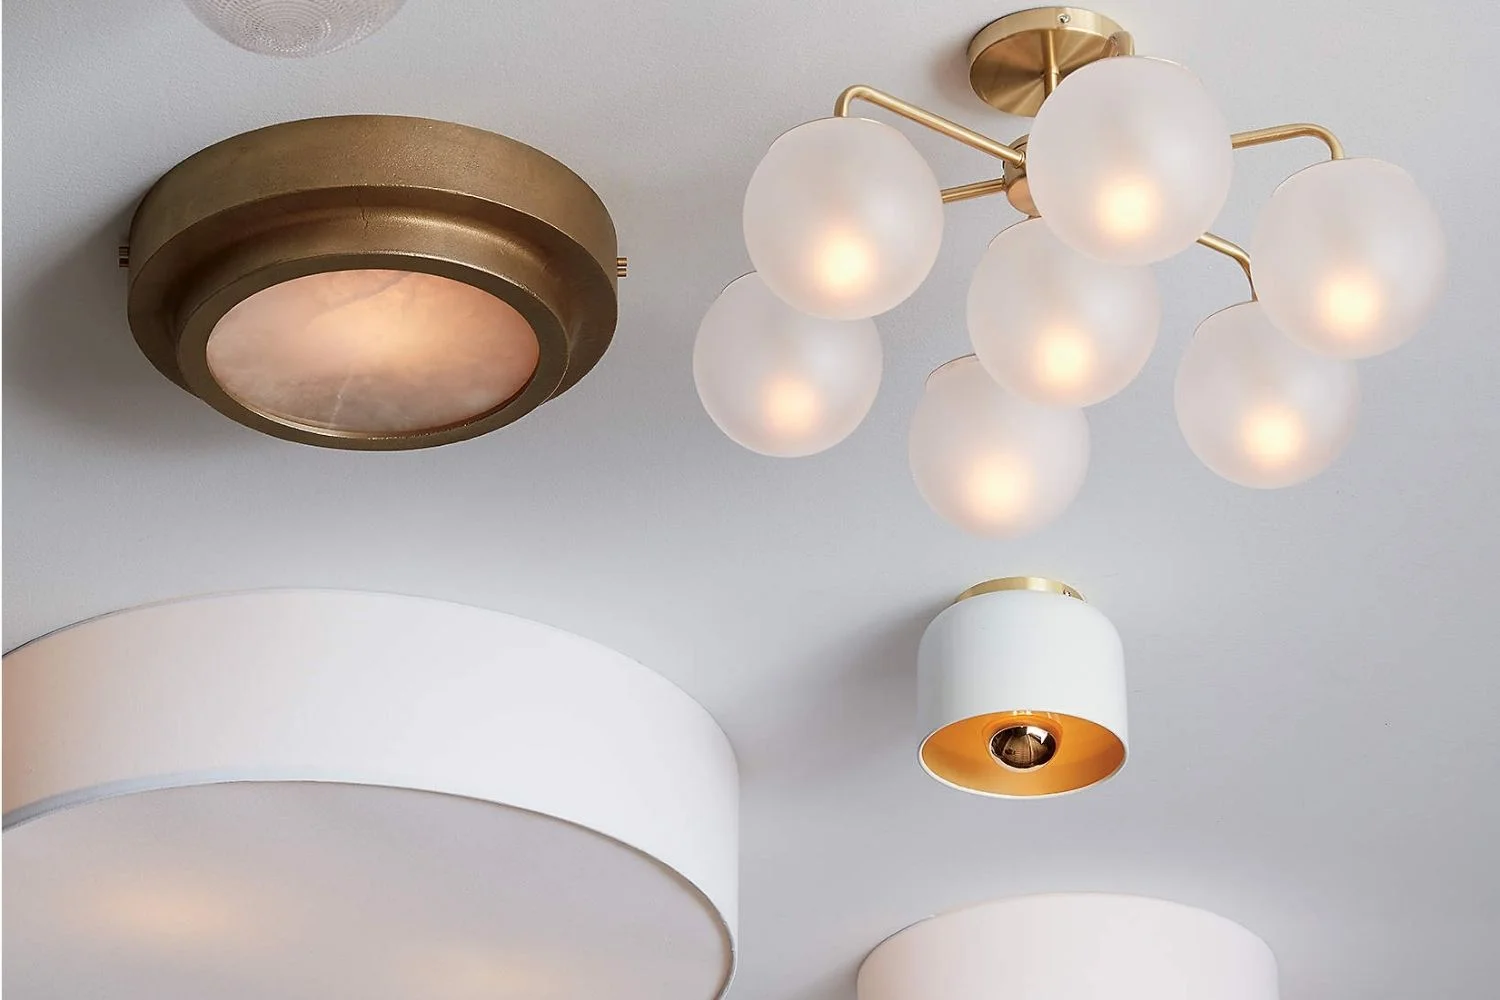
Step 5: Install the New Light Fixture
With the previous steps completed, you are now ready to embark on the exciting phase of installing the new light fixture, marking the culmination of your efforts to update and revitalize the lighting in your living space. This pivotal stage requires a meticulous approach and a keen eye for detail to ensure a seamless transition from the old fixture to the new, enhancing the ambiance and functionality of the room.
To commence the installation process, carefully position the new light fixture in the designated location within the ceiling. Depending on the specific design and mounting mechanism of the fixture, you may need to secure it in place using screws, spring clips, or other fastening methods. It's essential to refer to the manufacturer's instructions and recommendations to ensure that the fixture is installed in accordance with the prescribed guidelines.
As you position the new light fixture, take care to align it securely with the housing and ensure that it is level and flush with the ceiling surface. This attention to detail contributes to a polished and professional installation, enhancing the overall aesthetic appeal of the fixture within the room.
Once the fixture is securely positioned, proceed to reconnect the wiring in accordance with the designated color-coded or labeled connections. Carefully match the corresponding wires, ensuring that the black (hot) wire is connected to the black or designated hot terminal, the white (neutral) wire is connected to the white or neutral terminal, and the green or bare (ground) wire is securely attached to the grounding terminal. Exercise caution and precision as you fasten the wire connectors or terminal screws, ensuring that the connections are secure and free from any exposed wiring.
After the wiring is successfully reconnected, take a moment to conduct a thorough inspection of the fixture and its components. Verify that all connections are secure, and there are no loose or protruding wires that could pose a safety hazard. This proactive assessment ensures that the new light fixture is installed with the utmost attention to safety and functionality, setting the stage for reliable and efficient operation.
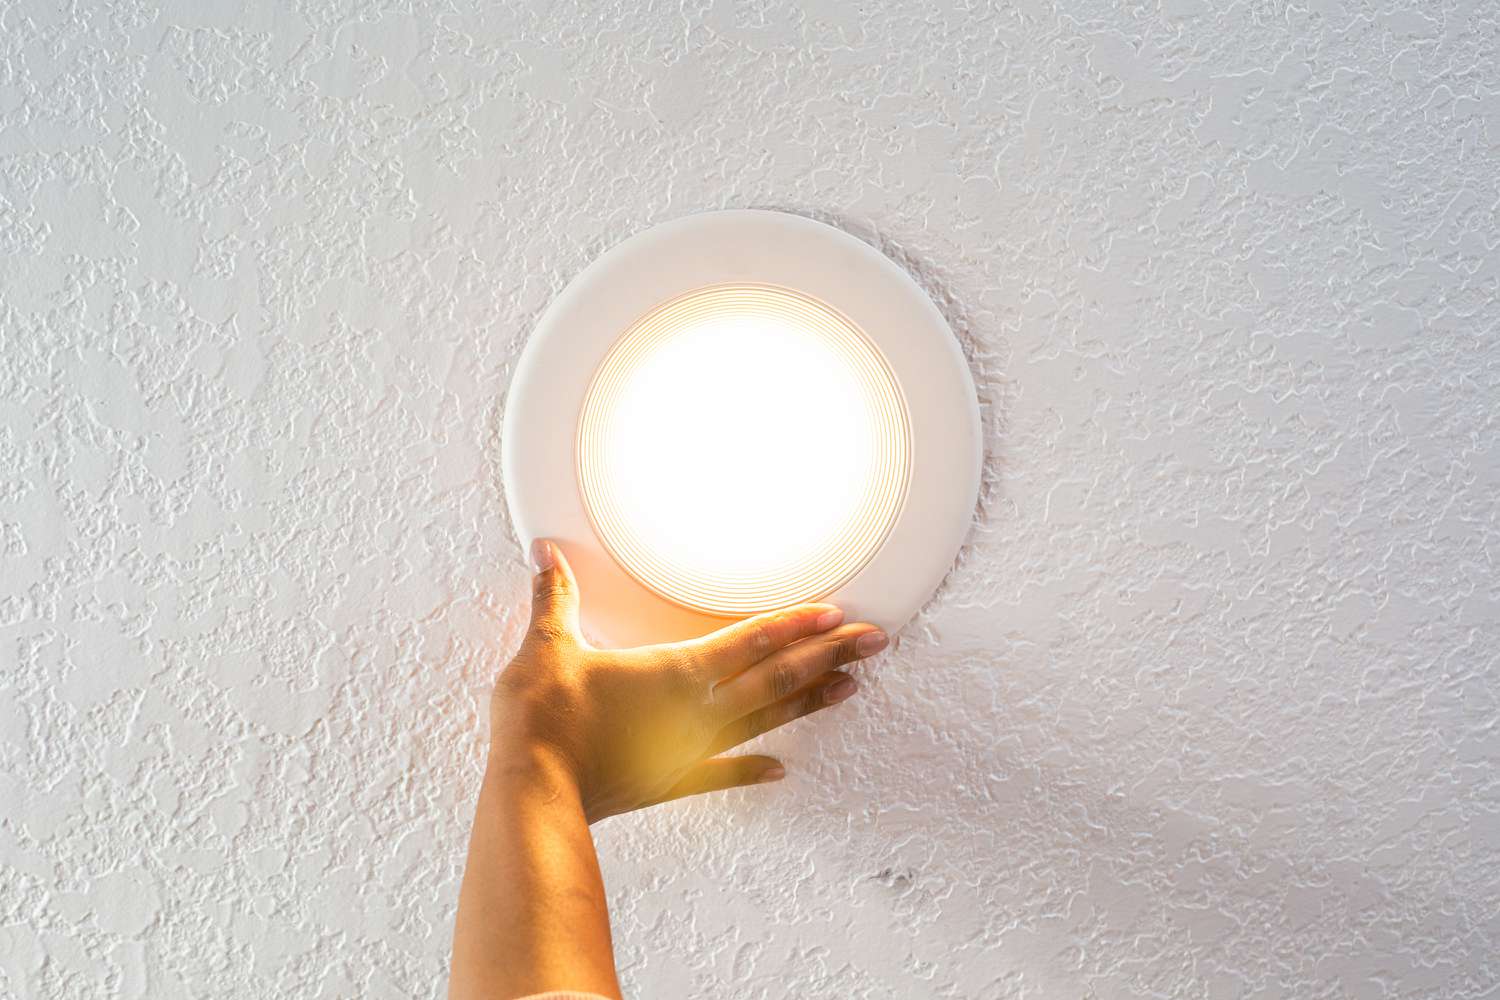
With the new light fixture securely installed and the wiring connections meticulously handled, take a moment to insert the appropriate light bulbs or lamps as specified by the manufacturer. Ensure that the bulbs are compatible with the fixture and are inserted securely to provide optimal illumination within the room.
As the final step in the installation process, restore the power supply to the fixture by switching on the designated breaker in the electrical panel or circuit breaker box. With the power reinstated, take a moment to bask in the warm glow of your newly installed light fixture, appreciating the transformative impact it has on the ambiance and visual appeal of your living space.
By navigating the installation of the new light fixture with precision and care, you have successfully completed a significant phase in the process of updating and enhancing the lighting within your home. Your dedication to executing each step with meticulous attention to detail has culminated in the successful installation of a new fixture, bringing a renewed sense of brightness and allure to your living space.
Conclusion
In conclusion, the process of removing a recessed ceiling light fixture encompasses a series of meticulous steps that culminate in the successful transformation of the lighting within your living space. By following the comprehensive guide outlined in this article, you have gained valuable insights into the essential stages of safely and effectively removing a recessed ceiling light, paving the way for the installation of a new fixture that enhances the ambiance and functionality of your home.
Throughout this illuminating journey, you have prioritized safety at every turn, beginning with the crucial step of turning off the power supply to the fixture. By diligently deactivating the electrical current and proceeding with caution, you have established a secure working environment, laying the groundwork for a smooth and hazard-free removal process.
The subsequent stages of removing the trim and bulb, extracting the housing, and disconnecting the wiring have showcased your meticulous attention to detail and a methodical approach to handling the components of the recessed ceiling light fixture. Your commitment to executing each step with precision has contributed to a seamless transition, preparing the space for the installation of a new light fixture.
As you progressed to the final stage of installing the new light fixture, your dedication to following the manufacturer's instructions and ensuring secure wiring connections has resulted in the successful integration of a fresh, modern fixture. The renewed glow emanating from the newly installed light fixture serves as a testament to your perseverance and commitment to achieving a brighter, more inviting living space.
With the power reinstated and the new light fixture illuminating the room, you can take pride in the transformative impact of your efforts. The updated lighting not only enhances the visual appeal of the space but also contributes to a welcoming and functional environment for daily activities and gatherings.
As you reflect on the journey from removing the old recessed ceiling light to installing a new fixture, you have demonstrated a keen understanding of the intricacies involved in home improvement projects. Your dedication to safety, attention to detail, and commitment to achieving a successful outcome have resulted in a revitalized living space that exudes warmth and charm.
In embracing the process of updating your lighting fixtures, you have not only enhanced the aesthetic appeal of your home but also cultivated a sense of accomplishment and pride in your ability to undertake and complete a rewarding home improvement project. The newly installed light fixture stands as a beacon of your dedication to creating a space that is both visually captivating and functionally efficient, enriching the daily experience within your home.
As you bask in the radiant glow of your updated lighting, may it serve as a reminder of the transformative power of perseverance, attention to detail, and the rewarding journey of enhancing your living space through thoughtful and purposeful home improvement endeavors.
Frequently Asked Questions about How To Remove A Recessed Ceiling Light
Was this page helpful?
At Storables.com, we guarantee accurate and reliable information. Our content, validated by Expert Board Contributors, is crafted following stringent Editorial Policies. We're committed to providing you with well-researched, expert-backed insights for all your informational needs.


0 thoughts on “How To Remove A Recessed Ceiling Light”