Home>Home Maintenance>How To Clean A Carrier Air Conditioner

Home Maintenance
How To Clean A Carrier Air Conditioner
Modified: August 25, 2024
Learn how to clean your Carrier air conditioner with simple home maintenance tips. Improve its performance and extend its lifespan.
(Many of the links in this article redirect to a specific reviewed product. Your purchase of these products through affiliate links helps to generate commission for Storables.com, at no extra cost. Learn more)
Introduction
Welcome to the ultimate guide on how to clean a Carrier air conditioner. Regular maintenance and cleaning of your air conditioner not only ensure its optimal performance but also prolong its lifespan. Carrier air conditioners are known for their efficiency and durability, but they can still accumulate dirt, dust, and debris over time. Cleaning your Carrier air conditioner is a simple and cost-effective way to keep it running smoothly and maintain the air quality in your home.
In this article, we will walk you through a step-by-step process to clean your Carrier air conditioner correctly. We will provide you with safety precautions to follow, list the tools and materials needed, and guide you through each cleaning step in detail.
Before we dive into the cleaning process, it’s essential to understand the importance of routine maintenance for your air conditioner. Regular cleaning helps improve the unit’s energy efficiency and airflow, prevents clogs and blockages, and reduces the risk of costly repairs. Moreover, a clean air conditioner promotes better indoor air quality, keeping you and your family healthy and comfortable.
Now, let’s get started with the safety precautions to ensure your well-being while cleaning your Carrier air conditioner.
Key Takeaways:
- Regularly cleaning your Carrier air conditioner ensures efficient performance, healthier indoor air, and extends its lifespan, saving you from costly repairs.
- Follow safety precautions, gather necessary tools, and meticulously clean each component to maintain your Carrier air conditioner’s optimal functionality and cooling performance.
Safety Precautions
Before you begin cleaning your Carrier air conditioner, it’s crucial to prioritize safety. Follow these safety precautions to prevent accidents and injuries:
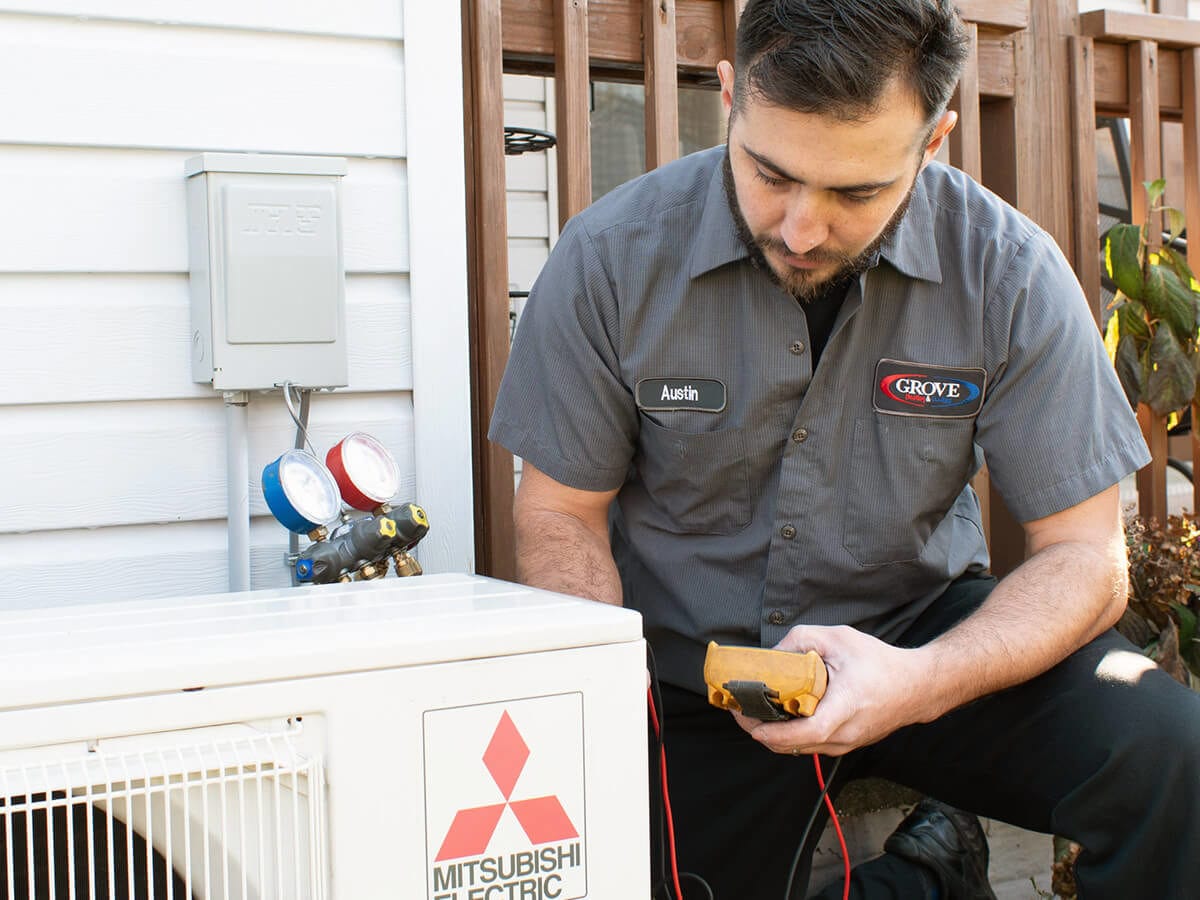
- Turn off the power: Before you start any maintenance or cleaning, ensure that the power to your air conditioner is completely turned off. This will reduce the risk of electric shock. Locate the main power switch or breaker for your air conditioner and switch it off. It’s also advisable to double-check using a voltage tester to confirm that there is no electricity flowing to the unit.
- Wear protective gear: Cleaning an air conditioner can involve exposure to dust, debris, and potentially harmful chemicals. Protect yourself by wearing safety goggles, gloves, long sleeves, and a face mask. This will prevent any particles from entering your eyes, skin, or respiratory system.
- Work in a well-ventilated area: Proper ventilation is essential when working with cleaning agents or chemicals. Make sure the area where you’re cleaning your air conditioner is well-ventilated to avoid inhaling any fumes.
- Use a stable ladder or platform: If you need to climb to access certain components of your air conditioner, ensure that you use a sturdy and stable ladder or platform. This will prevent falls and injuries.
- Read the manufacturer’s instructions: Familiarize yourself with the user manual or instructions provided by Carrier for your specific air conditioner model. Follow any guidelines or precautions provided by the manufacturer for cleaning and maintenance.
- Avoid excessive force or pressure: While cleaning the various components of your air conditioner, avoid using excessive force or pressure. Delicate parts, such as fins and coils, can be easily damaged if not handled with care.
- Keep children and pets away: To prevent any accidents, ensure that children and pets are kept away from the area where you’re cleaning your air conditioner. Store all tools and cleaning products out of their reach.
- Consult a professional if unsure: If you’re unsure about any aspect of cleaning or maintenance, it’s better to seek professional assistance. They can provide guidance and ensure that the cleaning process is carried out correctly.
By following these safety precautions, you can carry out the cleaning process with confidence and minimize potential risks. Now, let’s move on to discussing the tools and materials you’ll need to clean your Carrier air conditioner.
Tools and Materials Needed
Before you begin cleaning your Carrier air conditioner, gather the following tools and materials:
- Screwdriver: You may need a screwdriver to remove any screws or fasteners holding the air conditioner unit together.
- Vacuum cleaner with brush attachment: A vacuum cleaner with a brush attachment will help you remove loose dirt, dust, and debris from the air conditioner components.
- Soft brush or cloth: A soft brush or cloth will be used to clean the filter, vents, grilles, and fan blades without causing any damage.
- Foaming cleaner or mild detergent: Choose a foaming cleaner specifically designed for air conditioners or use a mild detergent mixed with water to clean the unit’s exterior and components.
- Spray bottle: Fill a spray bottle with water to rinse off the cleaning solution and remove any residue.
- Water hose: If your air conditioner’s condenser coils are heavily soiled, you may need a water hose with a nozzle attachment to spray water and remove stubborn dirt and debris.
- Disposable gloves: Disposable gloves will protect your hands from any chemicals or cleaning agents.
- Bucket: A bucket will come in handy when collecting any dirty water or debris during the cleaning process.
- Drop cloth or plastic sheet: Place a drop cloth or plastic sheet under the air conditioner unit to catch any water, debris, or cleaning solution that may spill during the process.
Ensure that you have all these tools and materials readily available before you start cleaning. Now, let’s move on to the step-by-step cleaning process for your Carrier air conditioner.
Step 1: Turn off the Power
The first step in cleaning your Carrier air conditioner is to turn off the power supply to the unit. This prevents any risk of electric shock or damage to the components during the cleaning process.
Locate the main power switch or circuit breaker for your air conditioner. It is usually located near the indoor unit or in a separate electrical panel in your home. Turn off the switch or flip the circuit breaker to the “OFF” position.
It’s essential to double-check that the power is completely off before proceeding with the cleaning. You can use a voltage tester to confirm that there is no electricity flowing to the unit.
Once you’re confident that the power is off, you can move on to the next step of removing the filter.
Note: Some air conditioner models may have a separate power switch on the unit itself. If you have trouble locating the main power switch, refer to the user manual or instructions provided by Carrier for your specific model.
Now, let’s move on to step 2 and learn how to remove the filter for cleaning.
Step 2: Remove the Filter
After turning off the power to your Carrier air conditioner, the next step is to remove the filter. The filter is responsible for capturing dust, pollen, and other airborne particles, preventing them from entering your home.
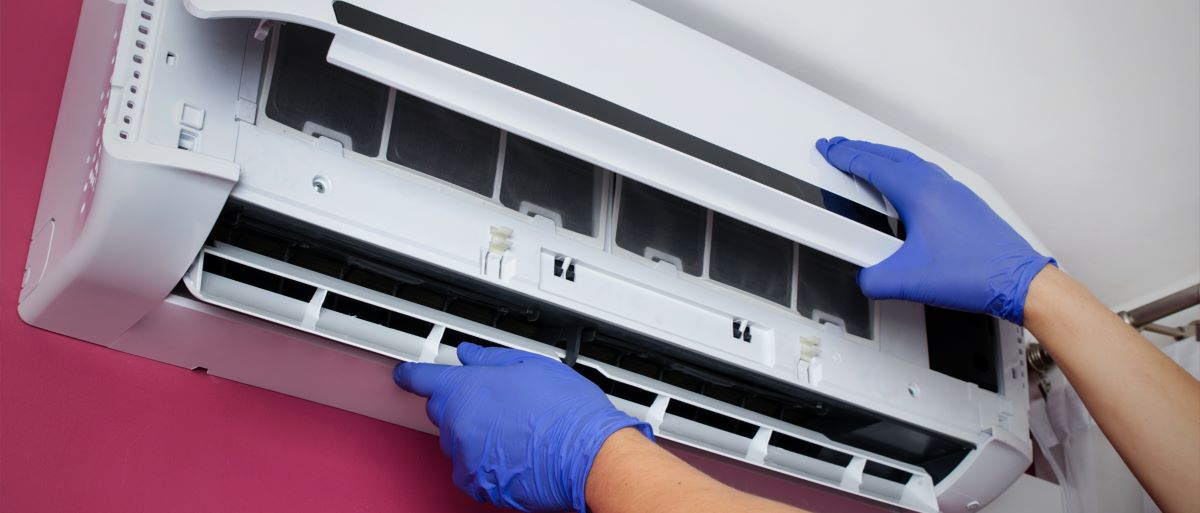
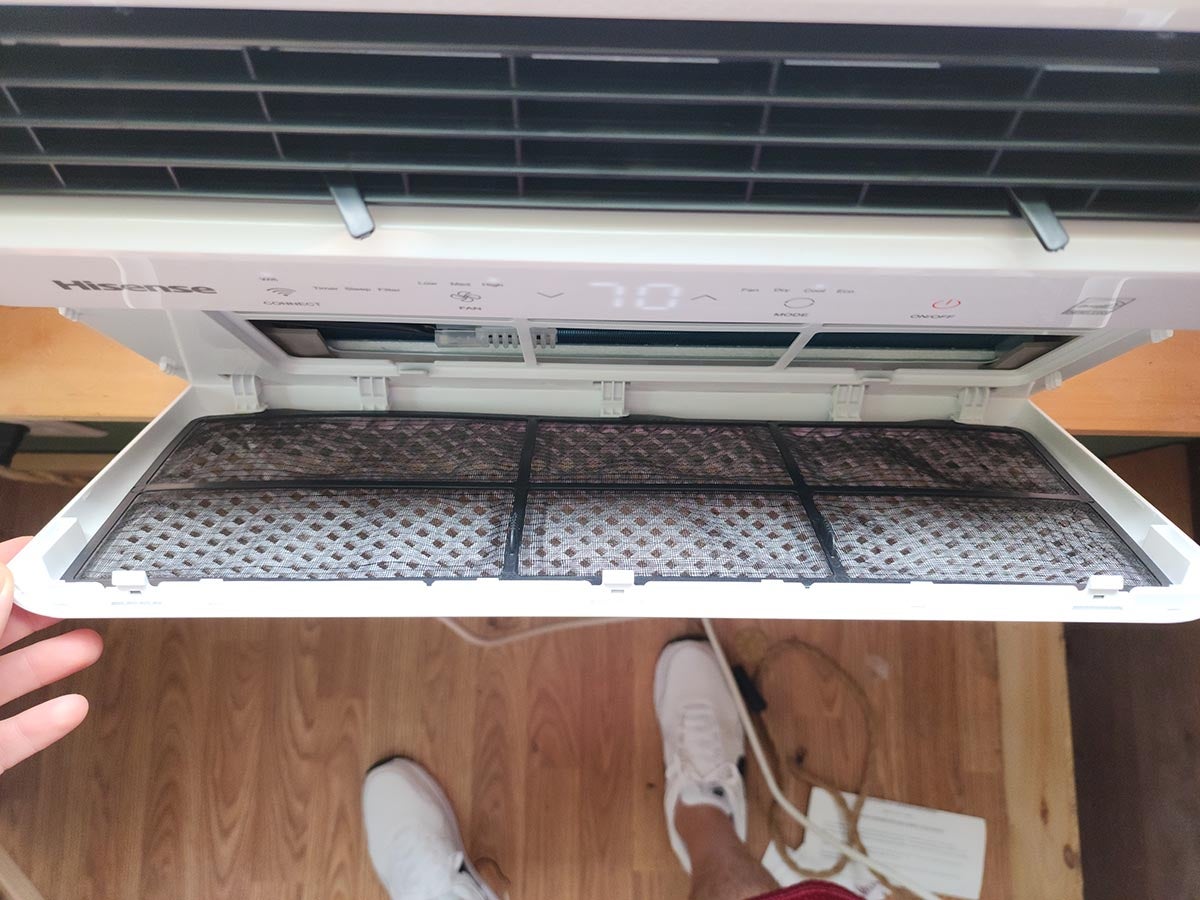
Locate the filter compartment, which is typically located behind a front panel or grille on the indoor unit. Open the compartment to access the filter.
Depending on your air conditioner model, the filter may be secured with clips or brackets. Carefully remove any attachments holding the filter in place and gently pull out the filter.
Inspect the filter for any visible dirt, dust, or debris. If the filter appears clogged or excessively dirty, it’s time to clean or replace it. Cleaning the filter regularly is essential for optimal airflow and energy efficiency.
If your filter is reusable, proceed to Step 3 to learn how to clean it. If it is a disposable filter or if it is damaged and needs replacement, you can purchase a new filter from your local HVAC supply store or contact Carrier for a replacement.
Remember to refer to the user manual or instructions provided by Carrier for your specific air conditioner model for guidance on the type of filter it requires.
Now that you’ve successfully removed the filter, let’s move on to the next step of cleaning it.
Read more: How Much Does A Carrier Air Conditioner Cost
Step 3: Clean the Filter
Now that you have removed the filter from your Carrier air conditioner, it’s time to clean it. Cleaning the filter regularly is essential to maintain good indoor air quality and optimize the performance of your air conditioner.
If your filter is reusable, follow these steps to clean it:
- Inspect the filter: Examine the filter for any visible dirt, dust, or debris. If there is a significant buildup of dirt, it’s time for a thorough cleaning.
- Vacuum the filter: Use a vacuum cleaner with a brush attachment to remove loose dirt and debris from the filter. Start from the outer surface and work your way towards the center. Be gentle to avoid damaging the filter.
- Wash the filter: Fill a sink or basin with lukewarm water and add a mild detergent. Submerge the filter in the soapy water and gently agitate it to remove any remaining dirt or grime. Avoid using harsh chemicals or abrasive cleaners, as they may damage the filter.
- Rinse the filter: After washing, thoroughly rinse the filter with clean water to remove any soap residue. Make sure to remove all the detergent, as it can clog the filter and affect its efficiency.
- Allow the filter to dry: Gently shake off any excess water from the filter and place it on a clean towel or drying rack. Leave it to air dry completely before reinstalling it in your air conditioner. Ensure that the filter is completely dry to prevent mold or mildew growth.
If your filter is disposable or damaged and needs replacement, discard it and replace it with a new filter. Check the user manual or instructions provided by Carrier for your specific air conditioner model to determine the appropriate type and size of filter to use.
Cleaning or replacing the filter is essential to maintain proper airflow and keep your air conditioner running efficiently. Let’s move on to the next step to clean the vents and grilles of your Carrier air conditioner.
Regularly clean or replace the air filters in your Carrier air conditioner to maintain efficient airflow and improve indoor air quality.
Step 4: Clean the Vents and Grilles
After cleaning the filter, it’s time to focus on cleaning the vents and grilles of your Carrier air conditioner. Over time, dust and debris can accumulate on these surfaces, restricting airflow and reducing the unit’s efficiency.
Follow these steps to clean the vents and grilles:
- Inspect the vents and grilles: Examine the vents and grilles for any visible dirt, dust, or debris. Use a flashlight if needed to get a clear view.
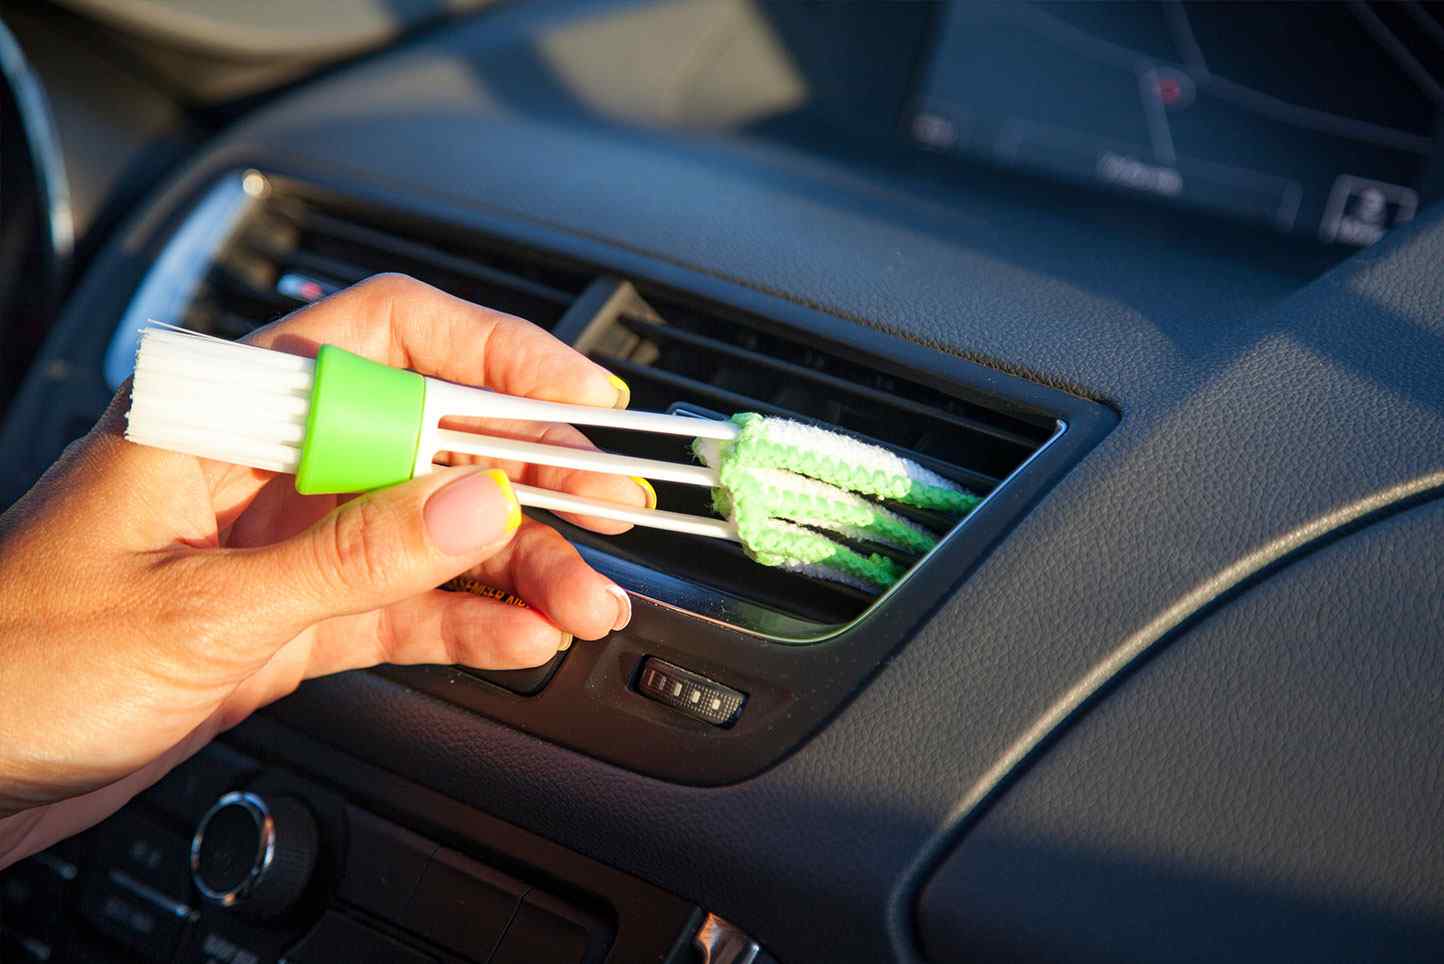
- Remove loose debris: Use a soft brush or cloth to gently remove any loose dirt or debris from the vents and grilles. Be careful not to push the debris further into the unit.
- Vacuum the vents and grilles: Using a vacuum cleaner with a brush attachment, carefully vacuum the vents and grilles to remove any remaining dust or dirt. Start from the top and work your way down.
- Wipe with a damp cloth: Dampen a soft cloth with water or a mild cleaning solution. Wipe the vents and grilles thoroughly to remove any stubborn dirt or stains. Avoid using excessive moisture, as it can damage the unit.
- Dry the vents and grilles: Once you have wiped the vents and grilles, use a dry cloth or allow them to air dry completely.
Make sure to clean both the supply vents (where cool air comes out) and the return air grilles (where air is pulled in). Clean vents and grilles promote unrestricted airflow and help maintain optimal performance.
Now that the vents and grilles are clean, it’s time to move on to Step 5 and clean the condenser coils of your Carrier air conditioner.
Step 5: Clean the Condenser Coils
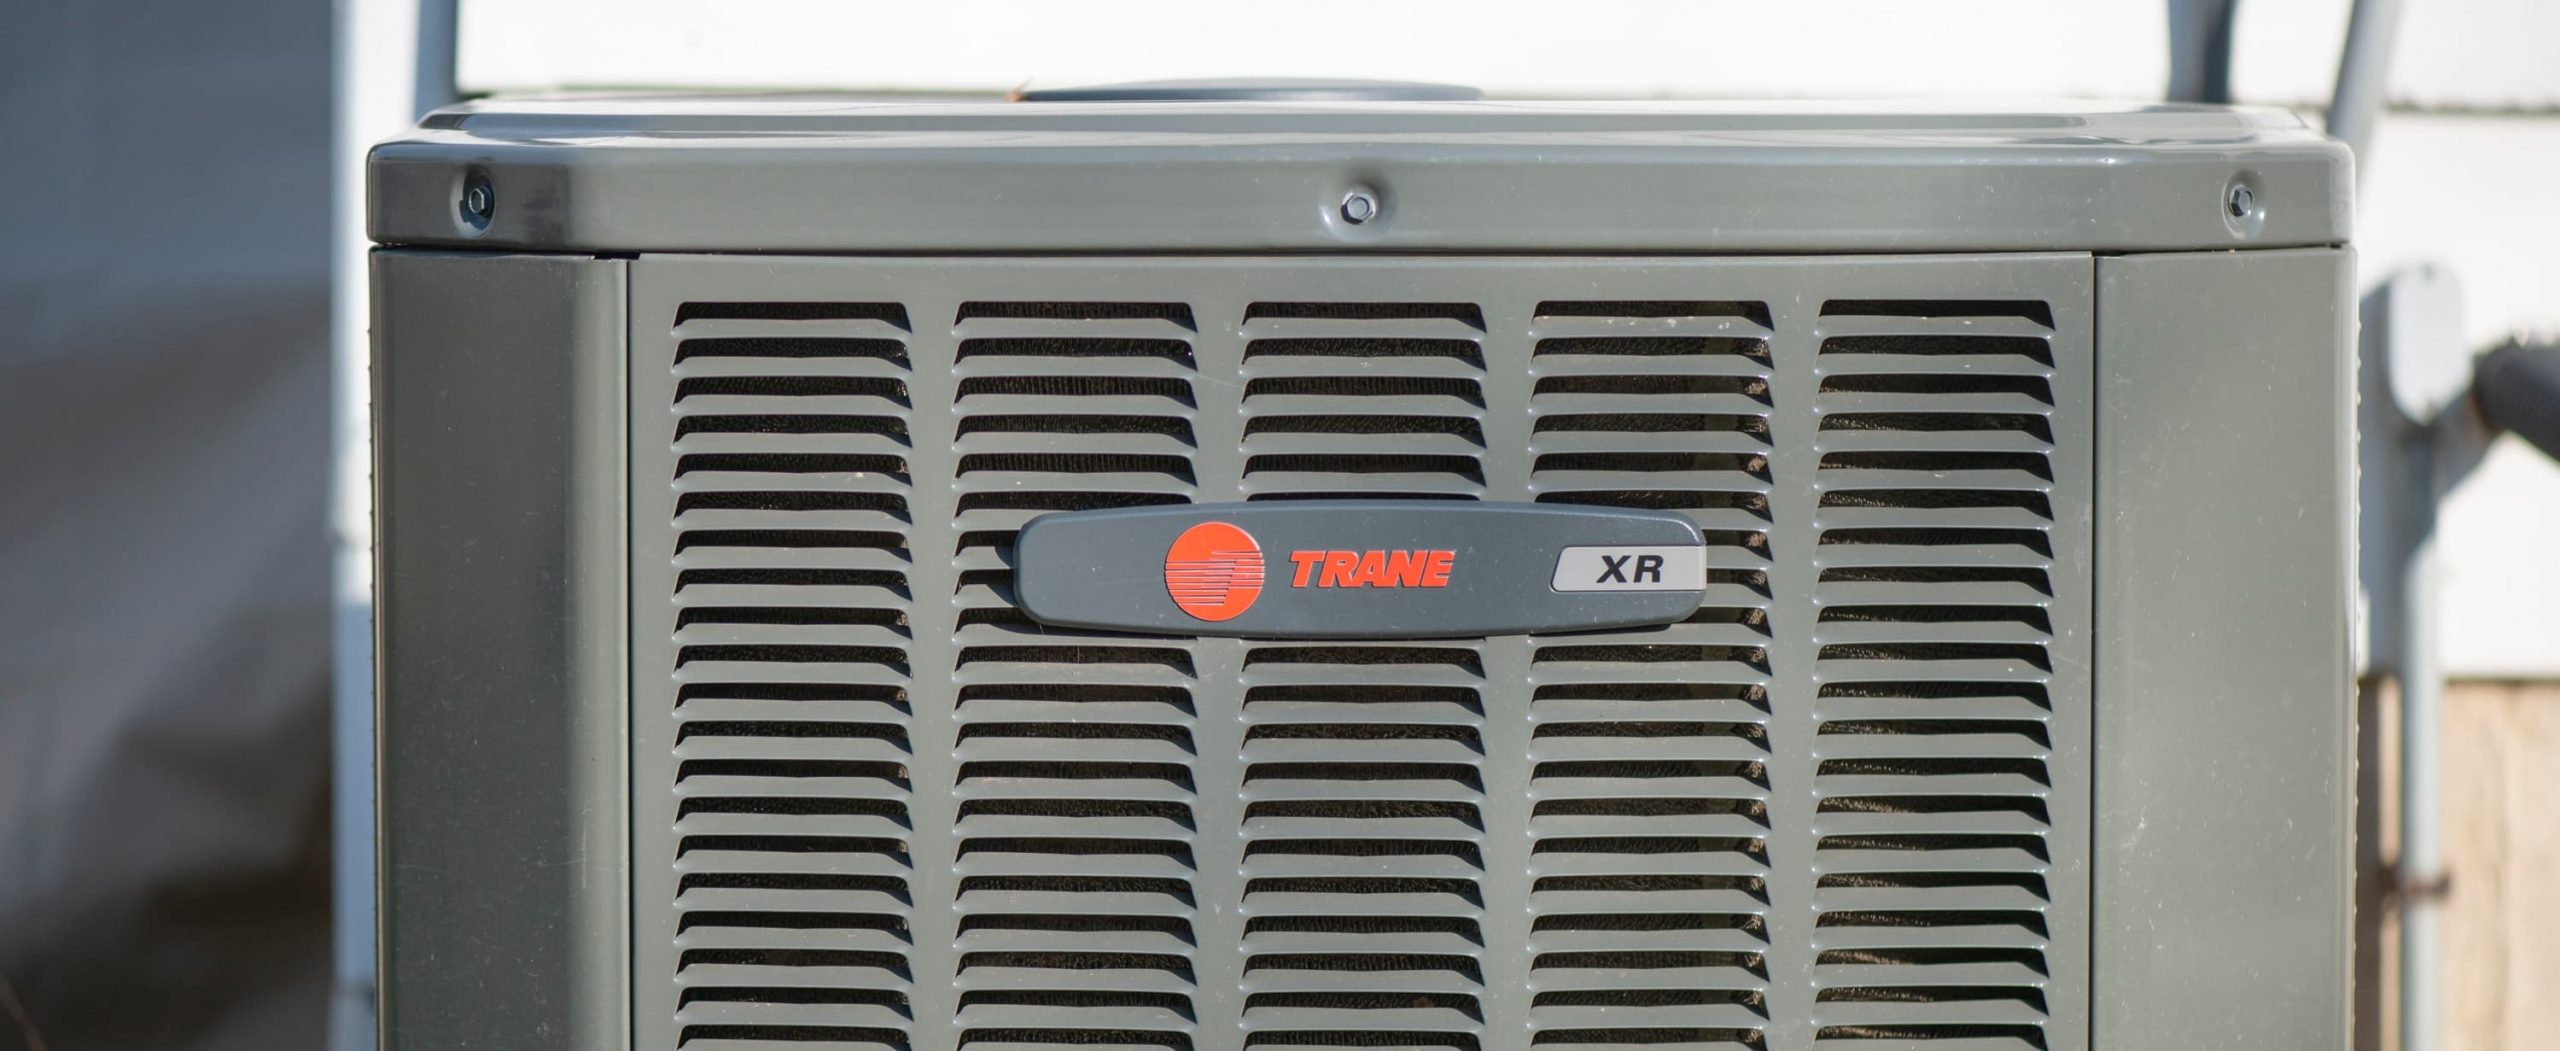
The condenser coils of your Carrier air conditioner play a crucial role in extracting heat from your home’s air. However, dust, dirt, and debris can accumulate on these coils over time, reducing their efficiency and hindering the cooling process.
Follow these steps to clean the condenser coils:
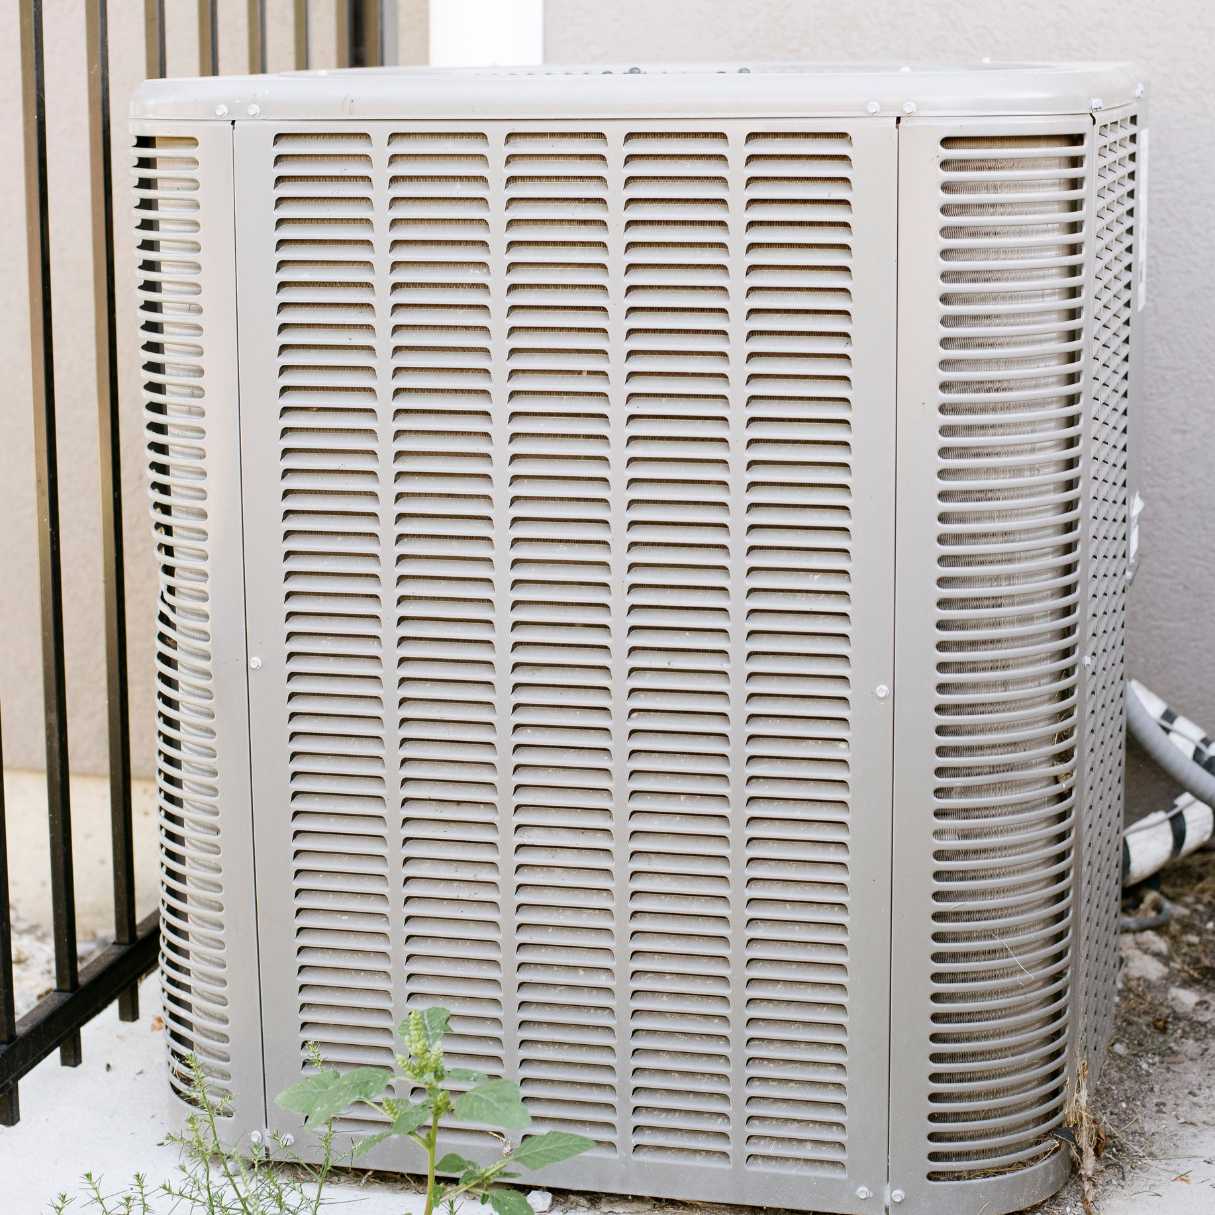
- Access the condenser coils: The condenser coils are typically located in the outdoor unit of your air conditioner. Remove any debris or obstructions around the unit to access the coils easily.
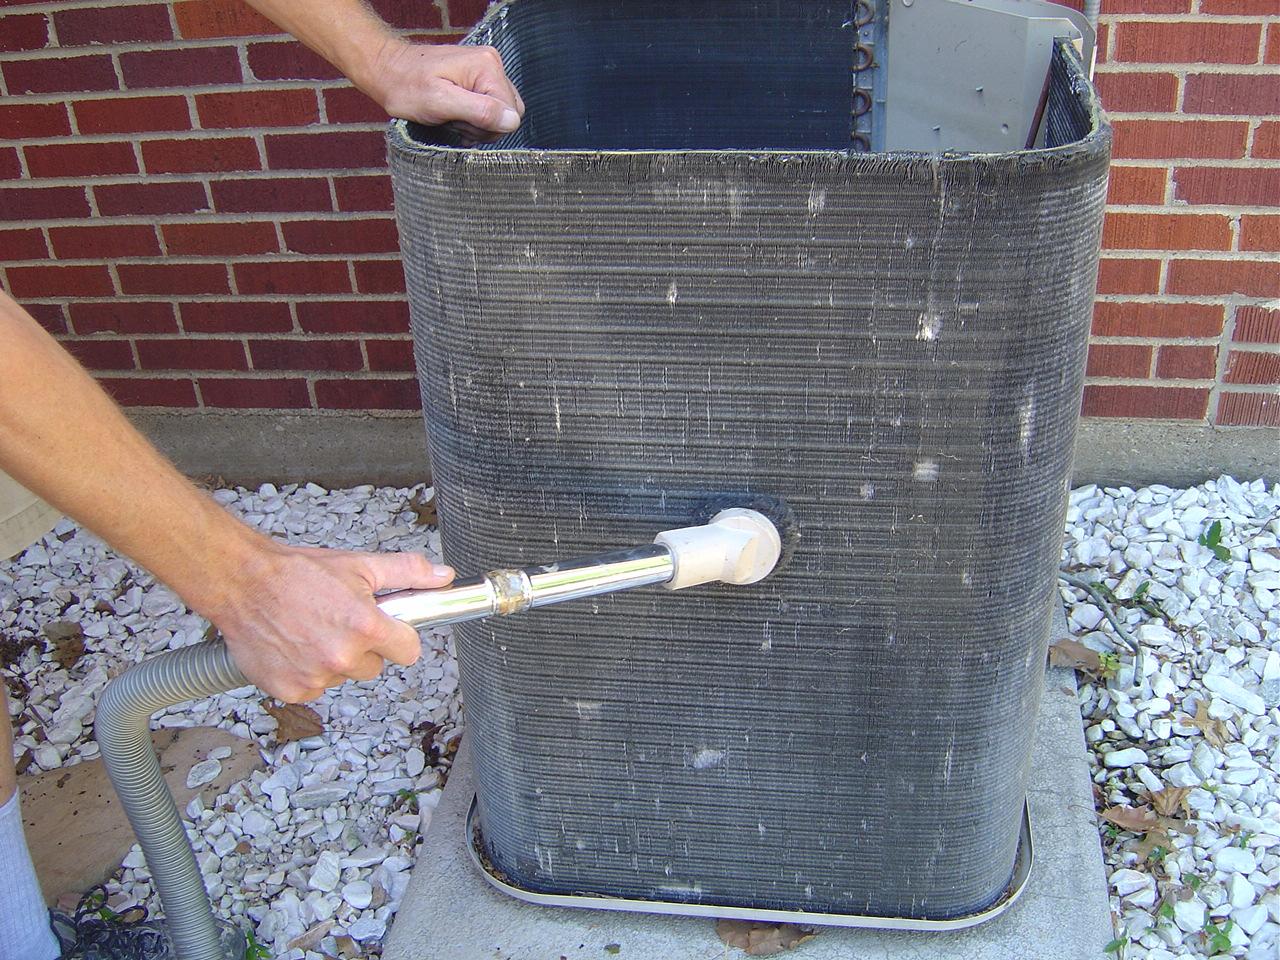
- Remove loose debris: Use a soft brush or cloth to gently remove any loose dirt, leaves, or grass clippings from the condenser coils. Be careful not to damage the delicate fins.
- Use a foaming cleaner or mild detergent: Apply a foaming cleaner specifically designed for air conditioners or use a mild detergent mixed with water. Spray the cleaning solution onto the condenser coils, ensuring thorough coverage.
- Let the cleaner sit: Allow the foaming cleaner or detergent to sit on the coils for a few minutes to break down stubborn dirt and grime. Refer to the instructions on the cleaner for the recommended duration.
- Rinse with water: Use a water hose with a nozzle attachment to rinse off the cleaning solution and remove any loosened dirt or debris. Start from the top of the coils and work your way down. Avoid using high-pressure water, as it can damage the fins and coil tubing.
- Inspect the coil fins: After rinsing, take a close look at the coil fins. Straighten any bent fins gently using a fin comb or a small screwdriver. This helps ensure proper airflow through the coils.
- Allow the coils to dry: Once you have finished cleaning and inspecting the condenser coils, allow them to air dry completely before turning on the power.
Cleaning the condenser coils improves the efficiency of your air conditioner and helps it cool your home more effectively. Remember to repeat this cleaning process at least once a year or as needed, depending on your air conditioner’s usage and the surrounding environment.
With the condenser coils cleaned, it’s time to move on to Step 6 and check and clean the drainage system of your Carrier air conditioner.
Step 6: Check and Clean the Drainage System
The drainage system of your Carrier air conditioner is responsible for removing condensation that builds up during the cooling process. Over time, this system can become clogged with dirt, algae, and other debris, leading to water leakage or inefficient drainage.
Follow these steps to check and clean the drainage system:
- Locate the drainage pipe: The drainage pipe is usually located at the back or bottom of the indoor unit. It may be connected to a drain pan or directly to a drain line.
- Remove any visible blockages: Inspect the drainage pipe for any visible blockages, such as dirt or debris. Use a small brush or pipe cleaner to remove any obstructions gently. Be careful not to push the blockages further into the pipe.
- Clean the drain pan: If your air conditioner has a drain pan, remove it and clean it thoroughly. Wash it with a mixture of mild detergent and water, and rinse it with clean water. Ensure that the drain pan is free from dirt, mold, or algae buildup.
- Flush the drainage pipe: Once the visible blockages are removed and the drain pan is clean, it’s time to flush the drainage pipe. You can use a mixture of one part bleach and three parts water or a pipe cleaning solution specifically designed for air conditioners. Pour the solution into the pipe and let it sit for a few minutes to dissolve any remaining debris or algae.
- Rinse with water: After the solution has had time to work, flush the drainage pipe with clean water. Pour water into the pipe to ensure thorough rinsing and remove any traces of the cleaning solution.
- Ensure proper drainage: After cleaning, run your air conditioner for a while and observe if the drainage pipe is functioning correctly. Check for any leaks or water buildup. If you still notice any issues, it’s advisable to contact a professional technician for further assistance.
Regularly checking and cleaning the drainage system helps prevent water damage, maintains proper humidity levels, and ensures the efficient operation of your Carrier air conditioner.
Now that the drainage system is clean, let’s move on to Step 7 and clean the fan blades of your air conditioner.
Read more: How To Clean A Lennox Air Conditioner
Step 7: Clean the Fan Blades
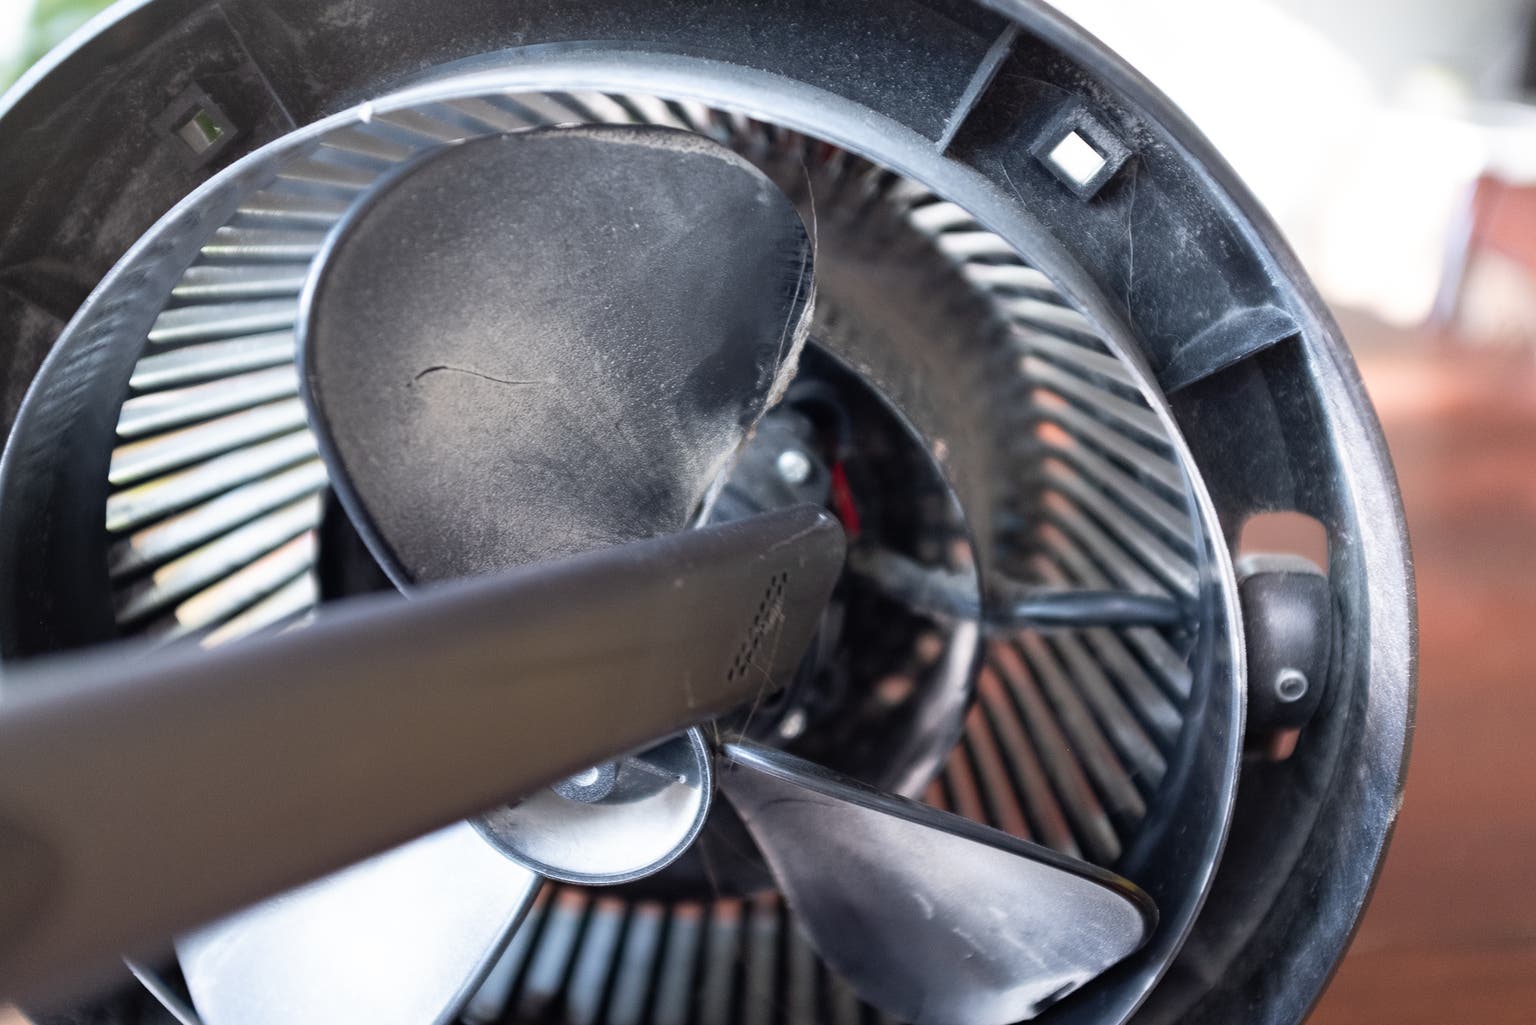
Cleaning the fan blades of your Carrier air conditioner is essential for maintaining optimal airflow and preventing the buildup of dirt and debris. Over time, dust and grime can accumulate on the fan blades, affecting the unit’s efficiency and performance.
Follow these steps to clean the fan blades:
- Access the fan blades: Depending on your air conditioner model, you may need to remove a panel or grille to access the fan blades. Refer to the user manual or instructions provided by Carrier for your specific model.
- Inspect the fan blades: Examine the fan blades for any visible dirt or debris. Look for signs of dust, dirt, or grease buildup.
- Remove loose dirt and debris: Use a soft brush or cloth to gently remove any loose dirt or debris from the fan blades. Be careful not to bend or damage the blades during this process.
- Clean with a mild detergent: Mix a mild detergent with water to create a cleaning solution. Dampen a cloth with the solution and gently wipe the fan blades. Pay close attention to any areas with stubborn dirt or grease. Avoid using excessive moisture, as it can damage the motor or other components of the air conditioner.
- Rinse with clean water: After cleaning, rinse the fan blades with clean water to remove any residual detergent. Make sure to remove all the cleaning solution to prevent it from being circulated in the air conditioner.
- Dry the fan blades: Once you have rinsed the fan blades, use a dry cloth or allow them to air dry completely.
By cleaning the fan blades, you ensure the efficient operation of your air conditioner and maintain proper airflow throughout your home. Regular cleaning will help prevent the buildup of dirt and debris, allowing your Carrier air conditioner to cool your space effectively.
Now that the fan blades are clean, let’s move on to the final step of reassembling the components and turning on the power.
Step 8: Reassemble and Turn on the Power
Congratulations! You’ve successfully completed the cleaning process for your Carrier air conditioner. Now it’s time to reassemble the components and turn the power back on.
Follow these final steps to complete the process:
- Reinstall the filter: If you cleaned the reusable filter in Step 3, make sure it is completely dry before reinserting it back into the filter compartment. Secure it with any clips or brackets as necessary.
- Reattach the vents and grilles: If you removed any vents or grilles in Step 4, securely reattach them to the air conditioner’s indoor unit. Ensure that they are properly aligned and fastened.
- Replace the drain pan: If you cleaned the drain pan in Step 6, make sure it is dry and correctly positioned in the air conditioner. Double-check that the drainage pipe is securely connected and free from any blockages.
- Close the access panels: If you removed any access panels or grilles during the cleaning process, securely close and fasten them.
- Turn on the power supply: Locate the main power switch or circuit breaker for your air conditioner and flip it back to the “ON” position. Make sure that the power is restored to the unit.
- Test the air conditioner: After turning on the power, wait for a few minutes and then turn on your air conditioner. Observe its operation to ensure that everything is functioning properly. Check for any unusual noises, leaks, or malfunctions. If you notice anything out of the ordinary, it’s advisable to contact a professional technician for further inspection.
Congratulations! You have successfully cleaned your Carrier air conditioner and restored its optimal performance. By performing regular maintenance and cleaning, you can enjoy cool and comfortable indoor air while extending the lifespan of your unit.
Remember to follow the manufacturer’s recommended cleaning schedule and refer to the user manual or instructions provided by Carrier for any specific guidelines or precautions for your air conditioner model.
If you have any concerns about the cleaning process or if you are unsure about any steps, it’s always best to seek professional assistance. They can provide guidance, answer any questions you may have, and ensure that the cleaning is carried out safely and effectively.
Thank you for following this comprehensive guide on how to clean your Carrier air conditioner. We hope it has been helpful in maintaining the efficiency and performance of your air conditioning system.
Conclusion
Cleaning your Carrier air conditioner is a crucial part of regular maintenance that ensures its optimal performance and prolongs its lifespan. By following the step-by-step guide in this article, you can effectively clean your air conditioner and maintain a healthy and comfortable indoor environment.
We started by emphasizing the importance of routine maintenance for your air conditioner and the benefits it brings, such as improved energy efficiency, better airflow, and enhanced indoor air quality.
Throughout the cleaning process, we provided you with safety precautions to follow to protect yourself and prevent any accidents or injuries. We also listed the tools and materials you will need to effectively clean your Carrier air conditioner.
We then walked you through each step, from turning off the power and removing the filter to cleaning the vents and grilles, condenser coils, drainage system, and fan blades. Each step was detailed with clear instructions on how to properly clean each component.
Finally, we concluded with the important final step of reassembling the components and turning on the power, ensuring that everything is functioning correctly and safely.
Regular cleaning and maintenance of your Carrier air conditioner not only keeps it running efficiently but also improves its longevity. By incorporating these cleaning practices into your routine, you can enjoy consistent cooling performance while reducing the risk of costly repairs.
If you have any concerns or are unsure about any cleaning steps, we recommend consulting the user manual or contacting a professional technician for assistance. They can provide additional guidance tailored to your specific air conditioner model.
Thank you for choosing this comprehensive guide on how to clean a Carrier air conditioner. We hope it has been informative and helpful in maintaining your air conditioner and keeping your indoor environment comfortable. Enjoy the cool and refreshing air!
Frequently Asked Questions about How To Clean A Carrier Air Conditioner
Was this page helpful?
At Storables.com, we guarantee accurate and reliable information. Our content, validated by Expert Board Contributors, is crafted following stringent Editorial Policies. We're committed to providing you with well-researched, expert-backed insights for all your informational needs.
