Home>Home Maintenance>How To Clean Black Mold In Air Conditioner
Home Maintenance
How To Clean Black Mold In Air Conditioner
Modified: March 7, 2024
Learn how to clean black mold in your air conditioner with these easy home maintenance tips. Say goodbye to unhealthy air and enjoy a fresh and clean cooling system.
(Many of the links in this article redirect to a specific reviewed product. Your purchase of these products through affiliate links helps to generate commission for Storables.com, at no extra cost. Learn more)
Introduction
As the summer months approach, many homeowners rely on their air conditioners to provide relief from the sweltering heat. However, one common issue that can arise is the presence of black mold in air conditioning systems. Black mold, also known as Stachybotrys chartarum, is a type of toxic mold that can cause various health problems, such as respiratory issues and allergies.
Dealing with black mold in your air conditioner is not only essential for the health and well-being of your family but also crucial for maintaining the efficiency and longevity of your cooling system. In this article, we will provide you with a comprehensive guide on how to clean black mold in your air conditioner, ensuring a safe and mold-free environment in your home.
Please note that dealing with black mold can be hazardous, and it is recommended to seek professional help if you are unsure or uncomfortable with performing the cleaning process yourself. However, if you are confident in your abilities and follow the necessary safety precautions, you can effectively tackle the mold issue on your own.
Before diving into the cleaning process, it is essential to understand the nature of black mold in air conditioners and the safety precautions you need to take. Let’s explore further.
Key Takeaways:
- Cleaning black mold in your air conditioner is crucial for your family’s health and the system’s efficiency. Follow safety precautions, use the right materials, and take preventive measures to ensure a mold-free environment.
- Regular maintenance, proper ventilation, and controlling humidity levels are key to preventing future mold growth in your air conditioner. Stay proactive to keep your cooling system clean and your home healthy.
Understanding Black Mold in Air Conditioners
Black mold is a type of fungus that thrives in damp and humid environments. It typically appears as a black, green, or grayish-green discoloration on surfaces. In the case of air conditioners, black mold can often be found growing on the cooling coils, inside the air ducts, or even on the air filters.
When the air conditioner operates, it draws in warm air from the surroundings and cools it down before circulating it back into the room. This process generates condensation on the cooling coils, providing a moist environment where black mold can thrive. Additionally, dust and debris that accumulate on the air filters and inside the air ducts can also contribute to mold growth.
Black mold in air conditioners can pose several health risks, especially to those with respiratory conditions or weakened immune systems. Exposure to black mold spores can lead to symptoms such as coughing, sneezing, wheezing, headaches, and allergic reactions.
To effectively tackle black mold in your air conditioner, it is crucial to take preventive measures and regularly maintain your cooling system. This includes cleaning and replacing air filters, keeping the area around the outdoor unit clean and free from debris, and ensuring the proper drainage of condensation.
In the next section, we will discuss the safety precautions you should take before attempting to clean black mold in your air conditioner.
Safety Precautions
Dealing with black mold in your air conditioner requires careful handling and adherence to safety precautions to protect yourself from potential health risks. Here are some essential safety measures to consider before starting the cleaning process:
- Wear Protective Gear: It is crucial to wear proper protective gear to prevent direct contact with mold spores. This includes wearing gloves, safety goggles, and a respirator mask.
- Ventilation: Ensure that the area where you will be working is well-ventilated to allow for the proper circulation of fresh air.
- Isolate the Area: Seal off the area around the air conditioner to prevent the spread of mold spores to other parts of your home. Use plastic sheets or tarps to cover nearby surfaces and furniture.
- Avoid Agitation: Avoid directly disturbing the mold growth as it can release a significant amount of spores into the air. Instead, focus on gently cleaning and removing the mold without causing excessive agitation.
- Dispose of Contaminated Materials Properly: Use sealed plastic bags to dispose of any contaminated materials, such as the air filter or cleaning cloths, to prevent further contamination.
- Seek Professional Help: If you have significant mold growth or if you are unsure about handling the cleaning process yourself, it is best to seek professional help to ensure a safe and thorough removal.
By following these safety precautions, you can minimize the risks associated with cleaning black mold in your air conditioner. Now that you are aware of the necessary safety measures, let’s move on to the materials you will need for the cleaning process.
Materials Needed
Before starting the process of cleaning black mold in your air conditioner, ensure that you have the necessary materials to effectively and safely carry out the task. Here is a list of essential materials:
- Gloves: Wear rubber gloves to protect your hands from direct contact with mold spores and cleaning solutions.
- Safety Goggles: Safety goggles will protect your eyes from any splashes or airborne particles.
- Respirator Mask: A respirator mask with a HEPA (high-efficiency particulate air) filter will prevent you from inhaling mold spores.
- Plastic Sheets or Tarps: Use plastic sheets or tarps to cover and isolate the area around the air conditioner to prevent the spread of mold spores.
- Plastic Bags: Have sealed plastic bags ready to dispose of any contaminated materials, such as the air filter or cleaning cloths.
- Mild Detergent: Use a mild detergent to clean the moldy surfaces. Avoid using bleach, as it can be too harsh and may damage the components of your air conditioner.
- Cleaning Cloth or Sponge: Use a cloth or sponge to apply the cleaning solution and gently scrub away the mold.
- Brush with Soft Bristles: A soft-bristle brush can be helpful in reaching corners and crevices where mold may be hiding.
- Water Spray Bottle: Fill a spray bottle with water to rinse off the cleaning solution and mold residue.
It is important to gather all these materials before you start the cleaning process to ensure a smooth and efficient operation. Once you have everything ready, you can proceed with the step-by-step guide on cleaning black mold in your air conditioner, which we will discuss in the upcoming sections.
Step 1: Turn Off the Air Conditioner
Before you begin cleaning the black mold in your air conditioner, the first step is to turn off the unit completely. This is essential for your safety and to prevent any accidents or damage to the system.
Locate the power switch or breaker associated with your air conditioning unit and turn it off. If you can’t find a specific switch for the air conditioner, you can turn off the main power supply to ensure that the unit is completely shut off.
It is also a good idea to unplug the air conditioner from the power source to provide an extra level of safety while you work.
By turning off the air conditioner, you ensure that there is no risk of electrical shock or accidental activation of the cooling system while you are cleaning the moldy areas.
Once you have turned off the air conditioner and disconnected it from the power source, you can proceed to the next step of removing the filter for cleaning.
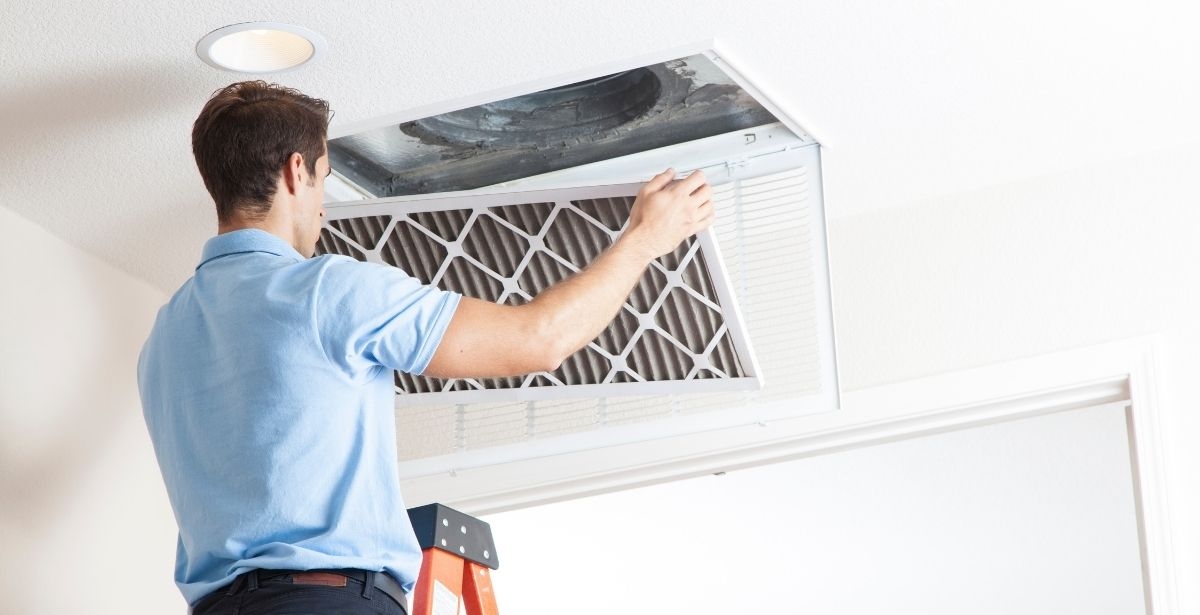
Step 2: Remove the Filter
With the air conditioner turned off, it’s time to remove the filter. The filter is responsible for trapping dust, debris, and potentially mold spores, so it’s important to clean or replace it regularly.
The location of the filter may vary depending on the type and model of your air conditioner. In most cases, the filter can be found behind a cover or grille on the front or side of the unit.
To remove the filter, follow these steps:
- Refer to the user manual provided by the manufacturer for specific instructions on how to remove the filter.
- Locate the filter cover or grille and carefully remove any screws or clips holding it in place.
- Gently pull the filter out of its slot, being mindful not to damage it.
Inspect the filter for any signs of dirt, debris, or mold growth. If the filter appears to be heavily contaminated or if you notice visible mold growth, it is recommended to replace it with a new one. Consult the manufacturer’s instructions or contact a professional if you are unsure.
Set the filter aside for cleaning or disposal, depending on its condition. We will address how to clean the filter in the next step.
By removing the filter, you gain easier access to the internal components of the air conditioner, making it more convenient to clean the mold-infested areas. With the filter out of the way, you can proceed to the next step of cleaning it thoroughly.
Step 3: Clean the Filter
Now that you have removed the filter from your air conditioner, it’s time to clean it. Cleaning the filter is essential to maintain proper airflow and prevent the circulation of mold spores.
Here are the steps to effectively clean the filter:
- If the filter is lightly soiled with dust or debris, you can start by vacuuming it with a brush attachment to remove loose particles.
- Fill a sink or basin with warm water and add a small amount of mild detergent.
- Place the filter in the soapy water and gently agitate it to dislodge any stubborn dirt or mold. Use a soft brush or sponge to scrub gently if necessary.
- Rinse the filter thoroughly under running water to remove any soap residue.
- Inspect the filter to ensure that all visible dirt and mold have been removed. If there are still stubborn stains or mold growth, you may need to repeat the cleaning process or consider replacing the filter.
- Allow the filter to air dry completely before reinstalling it. Avoid putting it back into the air conditioner while it is still wet, as this can lead to mold growth and reduced efficiency.
It is important to clean the filter regularly to maintain the efficiency of your air conditioning system and prevent mold growth. In cases where the filter is heavily contaminated or difficult to clean, it is recommended to replace it altogether.
With the filter clean and dry, you are ready to move on to the next step of locating the mold growth in your air conditioner.
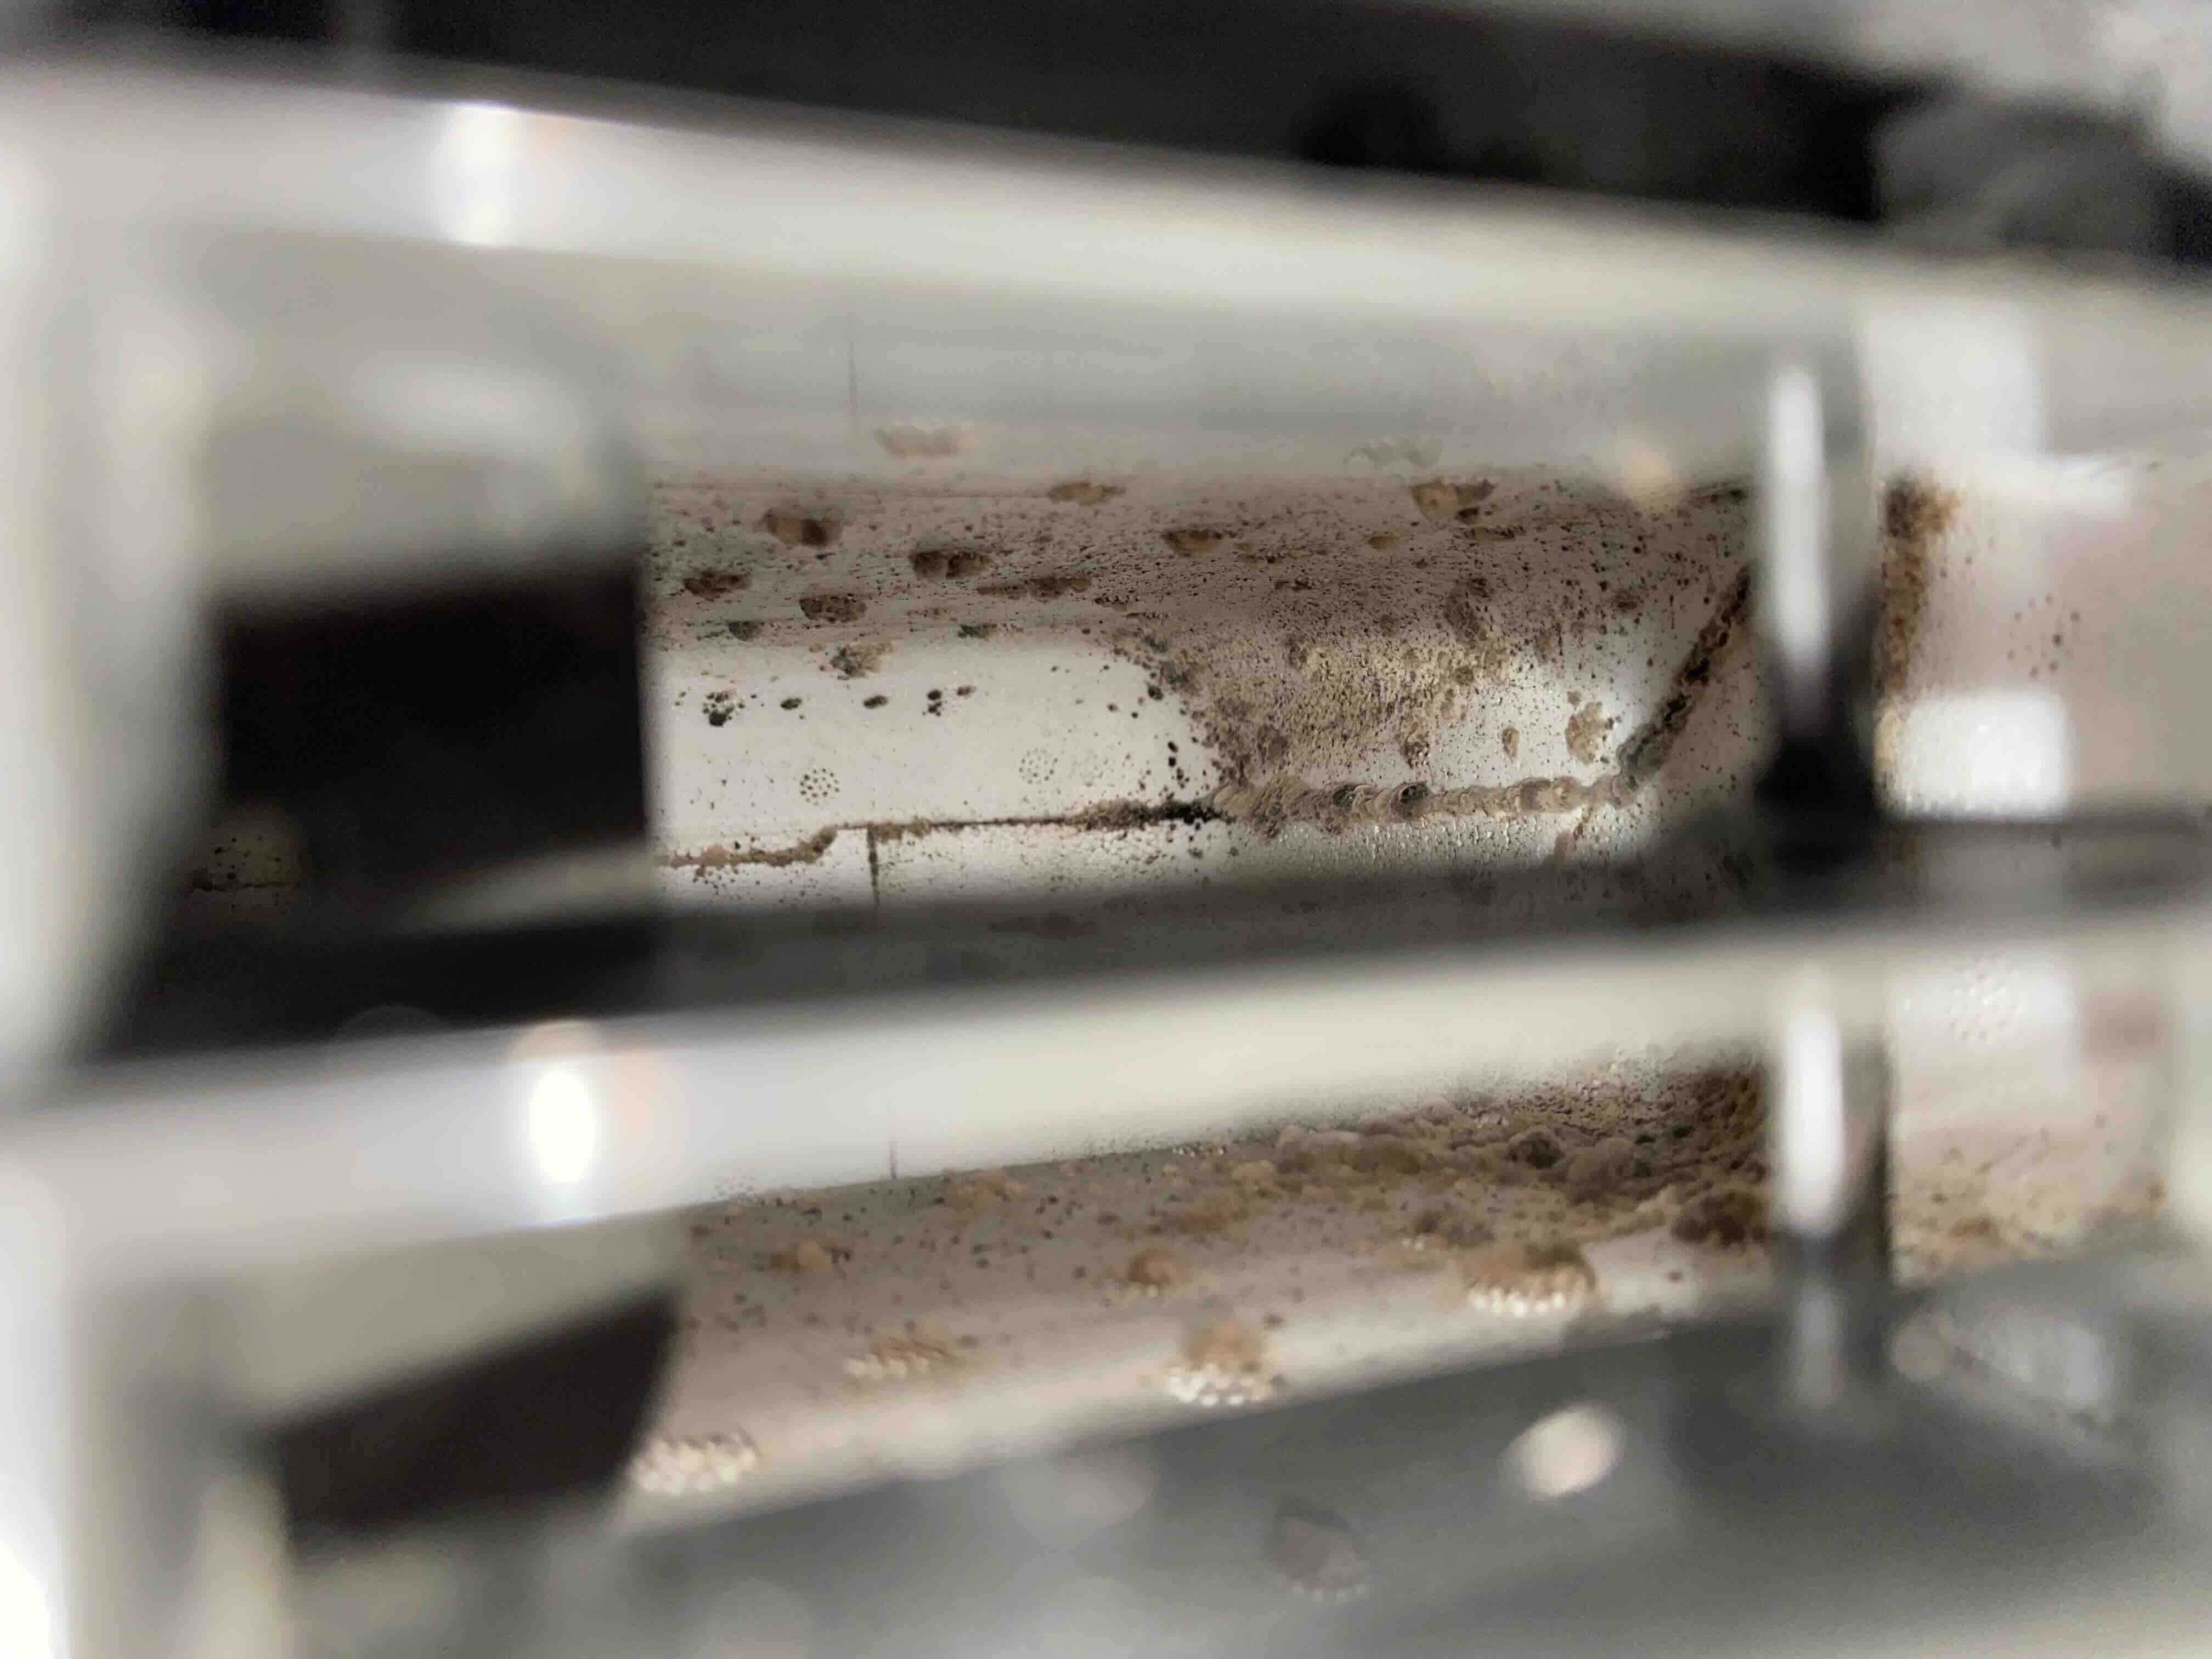
Step 4: Locate the Mold Growth
Now that you have cleaned the air filter, it’s time to locate the areas in your air conditioner where mold growth is present. Black mold can commonly be found on the cooling coils, inside the air ducts, or on other surfaces within the unit.
To locate the mold growth, follow these steps:
- Carefully inspect the interior of the air conditioner, paying close attention to the cooling coils. These are typically located behind the filter or in an enclosed compartment.
- Look for any visible signs of black mold, such as discoloration or dark patches on the coils or other components. Mold can appear black, green, or grayish-green in color.
- Check the air ducts for any visible mold growth. Shine a flashlight into the ductwork to look for signs of mold on the surfaces.
- Inspect other components of the air conditioner, such as the blower fan, housing, or vents, for any signs of mold.
- If you have detected mold growth in any specific areas, mark those areas for further cleaning and treatment.
It’s important to note that mold growth may not always be visible to the naked eye. If you suspect mold growth but cannot locate it, or if you notice a persistent musty odor coming from your air conditioner, it may be necessary to consult a professional for a thorough inspection.
Once you have identified the areas with mold growth, you can proceed to the next step of preparing a cleaning solution to effectively remove the mold.
Regularly clean and maintain your air conditioner to prevent black mold growth. Use a mixture of water and vinegar to clean the coils and drip pans, and ensure proper ventilation to reduce moisture.
Step 5: Prepare the Cleaning Solution
Now that you have identified the areas with mold growth in your air conditioner, it’s time to prepare a cleaning solution that will effectively eliminate the mold. The cleaning solution will help to kill the mold spores and remove any stains or residue left behind.
Here’s how you can prepare a homemade cleaning solution:
- Fill a bucket or a spray bottle with warm water.
- Add a small amount of mild detergent or dish soap to the water. Avoid using bleach, as it can be too harsh and may damage the components of your air conditioner.
- Consider adding a natural mold-fighting agent, such as vinegar or hydrogen peroxide, to enhance the cleaning power. These substances have antimicrobial properties that can help to kill mold spores.
- Stir or shake the mixture gently to ensure that the detergent and any additional mold-fighting agents are well incorporated.
It’s important to note that if you prefer to use a commercial mold cleaner, make sure to follow the instructions provided by the manufacturer and take precautions as necessary.
With the cleaning solution ready, you are prepared to move on to the next step of the cleaning process, where you will apply the solution to the moldy surfaces of your air conditioner.
Read more: How To Get Mold Out Of An Air Conditioner
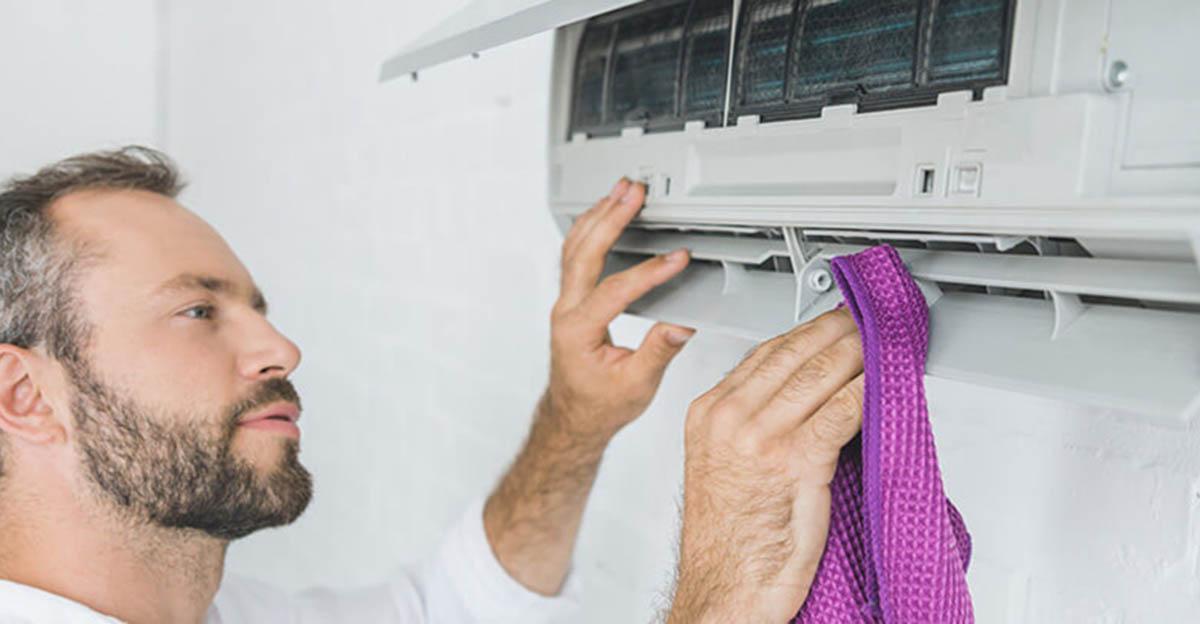
Step 6: Clean the Moldy Surfaces
Now that you have prepared the cleaning solution, it’s time to tackle the moldy surfaces of your air conditioner. Cleaning these surfaces will help to eliminate the mold growth and prevent it from spreading further.
- Put on your protective gloves, safety goggles, and respirator mask to safeguard yourself during the cleaning process.
- Dip a cleaning cloth or sponge into the prepared cleaning solution, making sure to wring out any excess liquid.
- Gently scrub the moldy surfaces, paying particular attention to the areas marked for cleaning earlier. Apply enough pressure to remove the mold, but avoid excessive agitation that may release more spores into the air.
- Use a soft-bristle brush to reach into corners and crevices where mold may be hiding. Be careful not to damage any delicate components.
- Continue cleaning until you have removed as much of the visible mold as possible.
- If necessary, reapply the cleaning solution and repeat the scrubbing process for stubborn mold stains.
During the cleaning process, periodically rinse the cloth or sponge in clean water to remove any mold residue and prevent cross-contamination. This will help to ensure that you are not spreading mold spores to different areas of your air conditioner.
It’s important to note that if the mold growth is extensive or difficult to clean, it may be necessary to seek professional assistance. Professionals have the expertise and equipment to handle severe mold infestations safely and effectively.
Once you have finished cleaning the moldy surfaces, it’s time to proceed to the next step: rinsing and wiping down the areas to remove any remaining cleaning solution and mold residue.
Step 7: Rinse and Wipe Down
After thoroughly cleaning the moldy surfaces of your air conditioner, it’s important to rinse and wipe down the areas to remove any remaining cleaning solution, mold residue, and debris.
- Dampen a clean cloth or sponge with fresh water.
- Gently wipe down the surfaces that you previously cleaned, ensuring that you remove any residual cleaning solution.
- Rinse the cloth or sponge frequently in clean water to prevent spreading any remaining mold or contaminants.
- Pay special attention to any hard-to-reach areas or crevices to ensure a thorough cleaning.
By rinsing and wiping down the moldy surfaces, you help to ensure that no cleaning residue or mold spores are left behind, promoting a healthier and mold-free environment.
Once you have completed this step, you are ready to proceed to the next step of reinstalling the filter in your air conditioner.
Step 8: Reinstall the Filter
Now that you have thoroughly cleaned the moldy areas of your air conditioner, it’s time to reinstall the filter. The filter plays a crucial role in maintaining proper airflow and preventing the circulation of mold spores.
- Take the clean and dry filter that you set aside earlier.
- Align the filter with its designated slot, ensuring that it fits securely.
- Push the filter gently but firmly into place, making sure it is properly seated and secured.
- If necessary, refer to the user manual provided by the manufacturer for specific instructions on how to properly install the filter.
Once the filter is installed, double-check to ensure that it is properly in place and that all screws, clips, or covers are securely fastened. This will help to prevent any air leaks or the entry of dust or debris into your air conditioning system.
By reinstalling the filter, you restore proper airflow and filtration in your air conditioner, ensuring its optimal performance. With the filter back in place, you can now move on to the next step of disposing of any contaminated materials.
Step 9: Dispose of Contaminated Materials
After cleaning and reinstalling the filter, it’s important to properly dispose of any contaminated materials that have come into contact with mold. This includes the old filter, cleaning cloths, sponges, or any other items that have been used during the cleaning process.
- Carefully remove the old filter that you replaced and place it in a sealed plastic bag.
- Seal the bag tightly to prevent any mold spores from escaping.
- Dispose of the bag in a proper waste bin.
- If you have used cleaning cloths or sponges, place them into separate sealed plastic bags as well.
- Label the bags as “Contaminated” and dispose of them in the appropriate waste container.
It’s essential to dispose of these materials properly to prevent any cross-contamination or the spread of mold spores to other areas of your home. Be sure to follow your local waste management guidelines for the proper disposal of mold-contaminated materials.
Once all the contaminated materials have been properly disposed of, you can move on to the final step: implementing preventive measures to avoid future mold growth in your air conditioner.
Step 10: Preventing Future Mold Growth
After successfully cleaning your air conditioner and removing the mold, it’s crucial to take preventive measures to avoid future mold growth. By implementing these preventive steps, you can maintain a mold-free and healthy environment in your home:
- Maintain Proper Airflow: Ensure that there is proper airflow in your air conditioner by regularly cleaning or replacing the filter. A clean filter allows for efficient air circulation and helps to prevent the accumulation of dust and debris that can contribute to mold growth.
- Control Humidity Levels: Keep the humidity levels in your home under control. Ideally, the humidity should be below 50% to deter mold growth. Use dehumidifiers in damp areas, such as basements or bathrooms, and ensure proper ventilation throughout your home.
- Prevent Moisture Build-up: Regularly inspect your air conditioning system for any signs of moisture build-up or leaks. Repair any leaks promptly and ensure proper drainage to prevent the development of a moist environment that promotes mold growth.
- Clean and Maintain Ductwork: Regularly clean and maintain your air ducts to prevent the build-up of dust, debris, and mold spores. Consider professional duct cleaning every few years to ensure optimal indoor air quality.
- Keep Surrounding Areas Clean: Maintain cleanliness around your air conditioner, both indoors and outdoors. Keep the area around the outdoor unit clear from debris or vegetation that may inhibit proper airflow. Indoors, keep the air conditioner’s surroundings clean and free from dust and dirt.
- Perform Regular Inspections: Conduct regular inspections of your air conditioner to identify any signs of mold growth or other issues. Promptly address any concerns to prevent further mold contamination and to ensure the efficient functioning of your air conditioner.
By following these preventive measures, you can minimize the risk of future mold growth in your air conditioner and maintain a healthy and comfortable living environment for you and your family.
Congratulations! By completing these ten steps, you have successfully cleaned black mold from your air conditioner and taken important measures to prevent its recurrence. Remember to continue regular maintenance and monitoring to ensure the ongoing health and efficiency of your cooling system.
If you encounter significant mold growth or face difficulties during the cleaning process, it’s advisable to seek professional assistance for a thorough evaluation and remediation. Professional help can ensure the safe and effective removal of mold, protecting both your health and your air conditioning system.
Thank you for following this comprehensive guide, and we hope it has been helpful in your efforts to clean and maintain a mold-free air conditioner!
Conclusion
Mold growth in an air conditioner can pose serious health risks and compromise the efficiency of your cooling system. However, with the right knowledge and proper cleaning techniques, you can effectively remove black mold and prevent its recurrence.
In this comprehensive guide, we have provided you with step-by-step instructions on how to clean black mold in your air conditioner. From turning off the unit to locating the mold growth, preparing a cleaning solution, and cleaning the moldy surfaces, we have covered each important step in detail.
Throughout the process, we emphasized the need for safety precautions, such as wearing protective gear, ensuring proper ventilation, and avoiding excessive agitation of the mold. Your safety and well-being are of utmost importance, so it’s crucial to take these measures seriously.
We also discussed the importance of using the right materials, such as gloves, safety goggles, cleaning cloths, and a mild detergent. These materials help to effectively remove the mold and ensure a thorough cleaning process.
Furthermore, we highlighted the importance of preventive measures in order to minimize the risk of future mold growth. By maintaining proper airflow, controlling humidity levels, preventing moisture build-up, and performing regular inspections, you can keep your air conditioner mold-free and functioning optimally.
Remember, if the mold growth is severe or if you are unsure about handling the cleaning process yourself, it is best to seek professional assistance. Professionals have the expertise and equipment to safely and effectively remove mold from your air conditioning system.
By following this guide and implementing the preventive measures outlined, you can enjoy a clean, efficient, and mold-free air conditioner, ensuring a healthy and comfortable living environment for you and your family.
Thank you for reading, and we wish you success in cleaning and maintaining your air conditioner!
Frequently Asked Questions about How To Clean Black Mold In Air Conditioner
Was this page helpful?
At Storables.com, we guarantee accurate and reliable information. Our content, validated by Expert Board Contributors, is crafted following stringent Editorial Policies. We're committed to providing you with well-researched, expert-backed insights for all your informational needs.