Home>Home Maintenance>How To Tell If The Dryer Vent Is Clogged

Home Maintenance
How To Tell If The Dryer Vent Is Clogged
Modified: October 26, 2024
Learn how to determine if your dryer vent is clogged with these home maintenance tips. Prevent potential hazards and keep your dryer running efficiently.
(Many of the links in this article redirect to a specific reviewed product. Your purchase of these products through affiliate links helps to generate commission for Storables.com, at no extra cost. Learn more)
Introduction
Having a well-functioning dryer is essential for efficient and effective laundry care. However, a clogged dryer vent can cause numerous issues, ranging from increased drying time to potential fire hazards. Recognizing the signs of a clogged dryer vent and knowing how to check for it can help you avoid these problems and keep your dryer running smoothly.
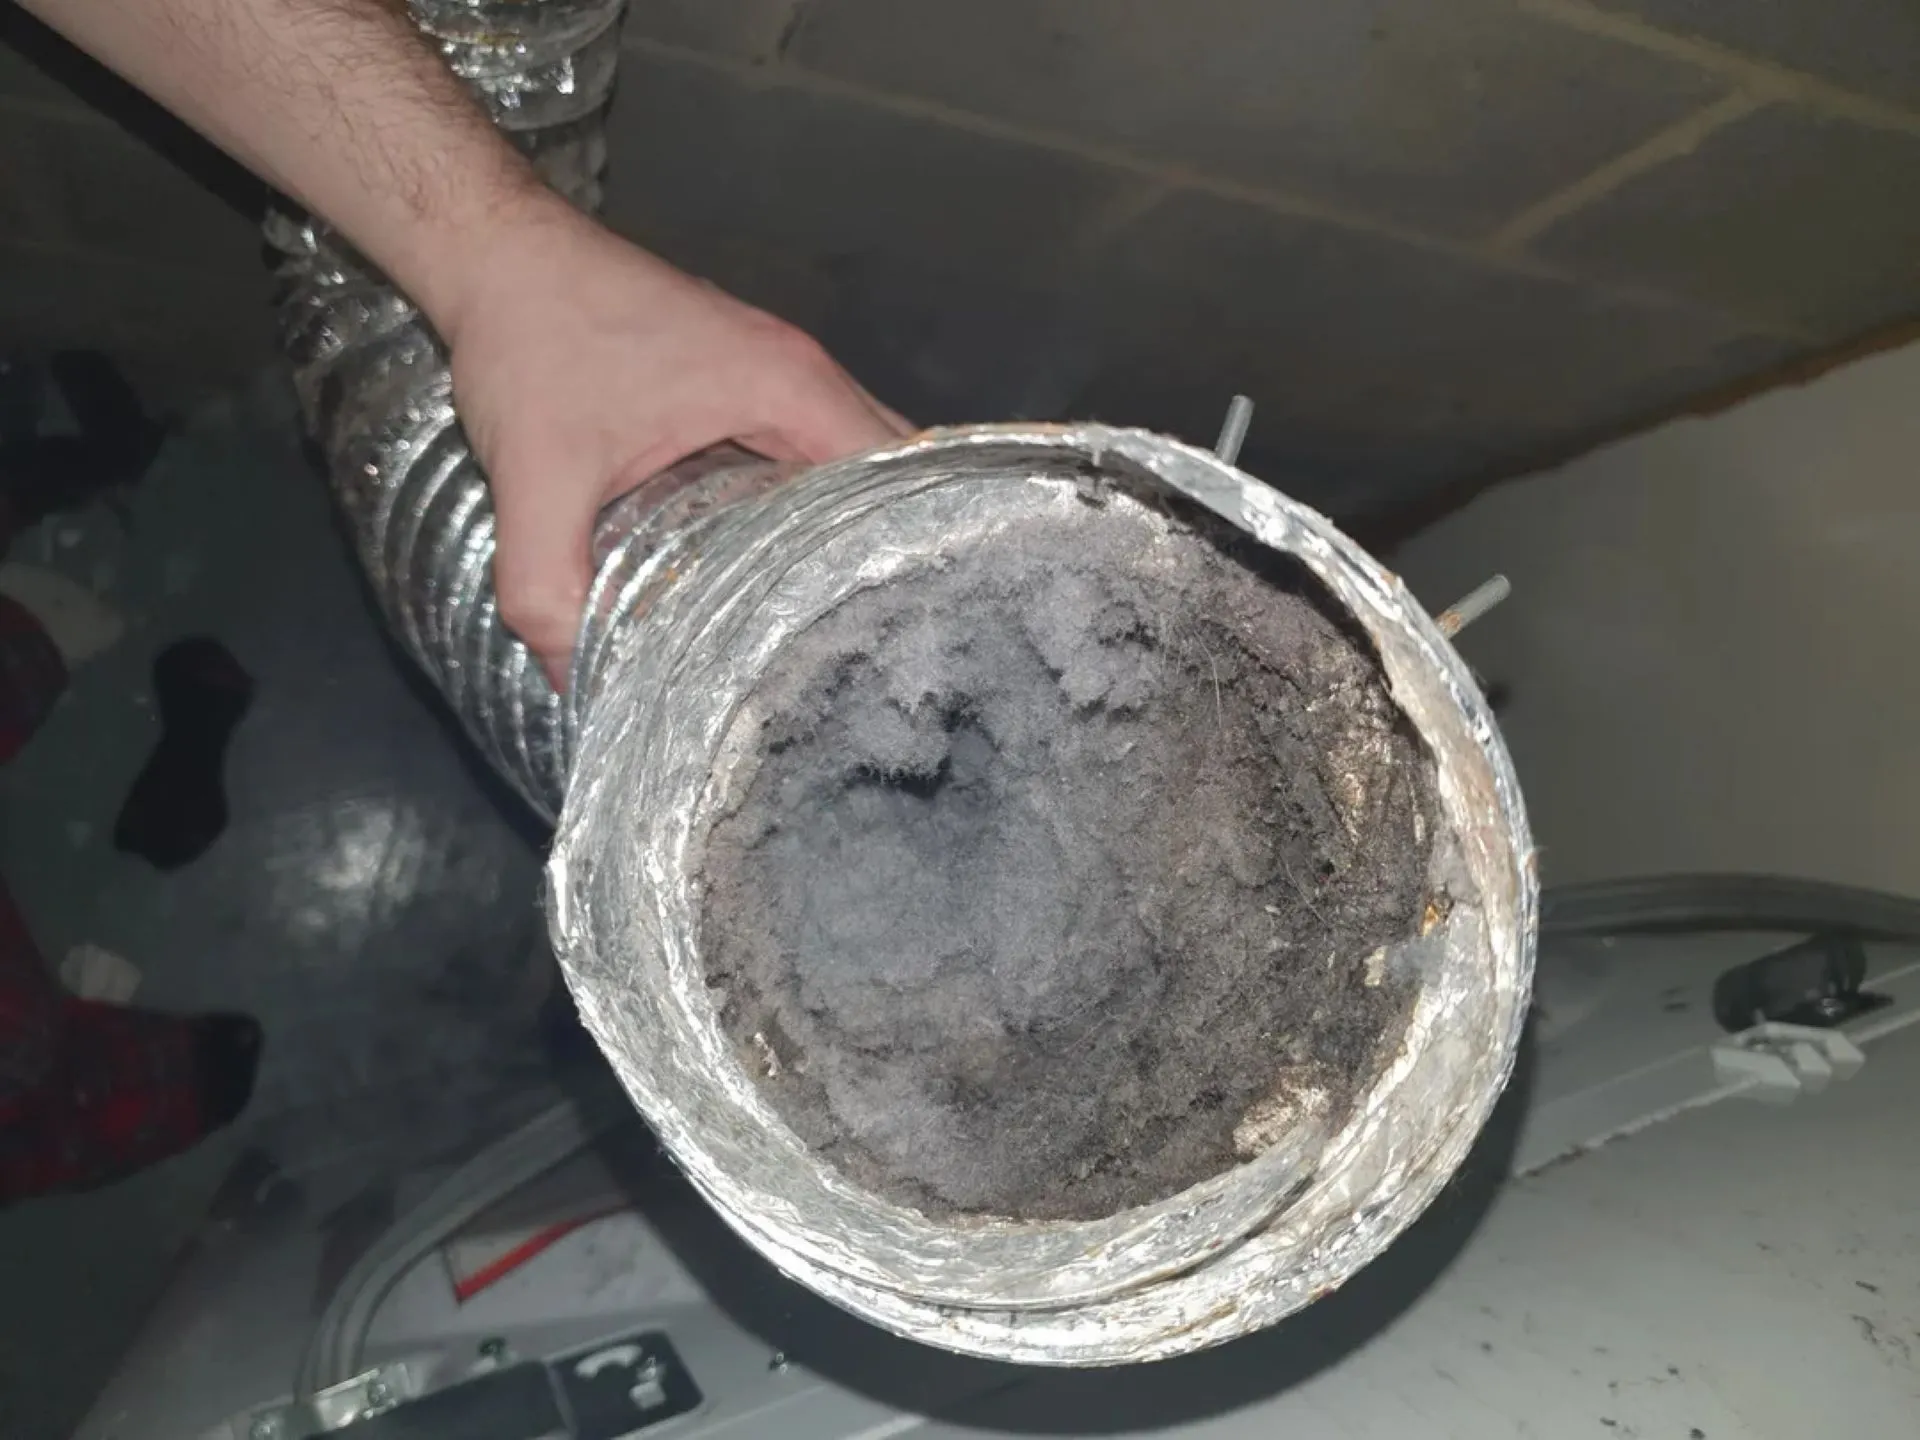
A clogged dryer vent occurs when lint, debris, or other obstructions accumulate in the vent pipe, preventing proper airflow. This blockage inhibits the dryer’s ability to expel moist air and can lead to a range of issues that impact performance, energy efficiency, and safety.
In this article, we will discuss the telltale signs of a clogged dryer vent and provide step-by-step instructions on how to check for and address this common issue.
Key Takeaways:
- Regularly checking and cleaning your dryer vent prevents issues like longer drying times, excessive heat, and potential fire hazards, ensuring your dryer runs smoothly and safely.
- Signs of a clogged dryer vent include increased drying time, hot laundry rooms, burning smells, lint accumulation, and decreased performance. Regular maintenance is crucial for safety and efficiency.
Read more: How To Tell If A Plumbing Vent Is Clogged
Signs of a Clogged Dryer Vent
Identifying the signs of a clogged dryer vent early on can help you address the issue before it causes major problems. Here are some common indicators to look out for:
- Increased Drying Time: If your dryer is taking longer than usual to dry a load of laundry, it could be a sign of a clogged vent. Restricted airflow prevents proper drying, forcing the dryer to work harder and prolonging the drying process.
- Excessive Heat in the Laundry Room: A clogged vent can cause the heat generated by the dryer to build up in the laundry room, making it uncomfortably hot. This not only affects the comfort of the space but can also be a safety concern.
- Clothes Feeling Hot to the Touch: When a dryer vent is clogged, the moist air cannot escape properly, causing clothes to remain hot even after the drying cycle has completed. If your clothes feel hotter than usual when you remove them from the dryer, it may be due to a clog.
- Burning Smell: A strong burning odor coming from the dryer or the laundry room is a serious warning sign of a clogged vent. Lint or debris may be trapped in the vent and can ignite when exposed to high temperatures, posing a fire hazard.
- Lint Accumulation around the Dryer: Noticeable lint buildup around the dryer or on the floor is a clear indication of a clogged vent. This lint is usually expelled through the vent, but when the airflow is hindered, it starts to accumulate in the surrounding area.
Noticing any of these signs should prompt you to check the condition of your dryer vent and take the necessary steps to address the issue. By doing so, you can ensure the efficient and safe operation of your dryer.
Increased Drying Time
One of the most common signs of a clogged dryer vent is increased drying time. If you’ve noticed that your dryer is taking longer than usual to dry a load of laundry, it may be a clear indication of a vent obstruction.
When a dryer vent is clogged, airflow is restricted, preventing moist air from being effectively expelled. As a result, the drying process becomes less efficient, and clothes take longer to dry. What would normally take one cycle to dry may now require multiple cycles to achieve the desired results.
There are several factors that contribute to increased drying time when the dryer vent is clogged:
- Inadequate Airflow: The purpose of the dryer vent is to expel moist air and allow fresh air to enter, promoting efficient drying. When the vent is clogged, the escape of moist air is impeded, preventing optimal airflow and delaying the drying process.
- Heat Buildup: As the moist air remains trapped due to the clogged vent, heat can build up inside the dryer drum. This excessive heat can make it more difficult for the dryer to remove moisture from the clothes, resulting in longer drying times.
- Overloading the Dryer: When the dryer vent is clear, an appropriately sized load can dry efficiently. However, a clogged vent reduces the dryer’s ability to handle larger loads effectively. Overloading the dryer can further impede airflow, prolonging drying times.
To reduce the risk of extended drying times due to a clogged vent, it is important to regularly clean and maintain your dryer vent system. By doing so, you can ensure proper airflow, optimize your dryer’s performance, and save both time and energy.
Excessive Heat in the Laundry Room
Feeling excessive heat in the laundry room while your dryer is operating could be a sign of a clogged vent. A properly functioning dryer should expel hot air outside, but when the vent is obstructed, the heat can build up and linger in the room.
Here are some reasons why a clogged dryer vent can lead to excessive heat in the laundry room:
- Inefficient Airflow: A clogged vent restricts the airflow, preventing the hot air generated by the dryer from being efficiently expelled. As a result, the heat accumulates in the laundry room, causing discomfort and potentially raising the temperature to unsafe levels.
- Inadequate Ventilation: The purpose of the dryer vent is not only to expel moisture but also to remove excess heat. When the vent is clogged, the heat has nowhere to escape, leading to an increase in temperature within the laundry room.
- Heat Transfer: A clogged dryer vent can cause heat to transfer back into the dryer itself. This can impact the dryer’s ability to regulate its own temperature, leading to overheating and potentially damaging the appliance.
Excessive heat in the laundry room poses several risks, including discomfort, potential damage to the dryer, and increased energy consumption. Additionally, it can also result in a higher electricity bill as the dryer works harder to overcome the obstruction and maintain proper functionality.
If you notice that the laundry room feels excessively hot while the dryer is running, it’s crucial to investigate the issue promptly. Checking the condition of the dryer vent and removing any obstructions can help restore proper airflow and prevent potential hazards.
Clothes Feeling Hot to the Touch
If you notice that your clothes feel unusually hot to the touch after being dried in the machine, it could be a clear indication of a clogged dryer vent. Normally, the dryer’s hot air is expelled through the vent, allowing the clothes to dry efficiently and cool down. However, when the vent is obstructed, the proper airflow is disrupted, resulting in clothes retaining more heat than usual.
Here are some reasons why clothes may feel hot to the touch when the dryer vent is clogged:
- Inadequate Airflow: A clogged vent restricts the flow of air, preventing the moist air from being effectively expelled. This leads to a build-up of heat within the dryer, causing clothes to remain hotter even after the drying cycle.
- Inefficient Moisture Removal: When a vent is obstructed, the moisture-laden air from the drying process cannot escape properly. As a result, the drying efficiency is compromised, and clothes may retain more moisture, resulting in them feeling hotter.
- Heat Trapped in the Dryer Drum: With restricted airflow, the heat generated during the drying process can become trapped inside the dryer drum. This excess heat can then transfer to the clothes, leaving them hotter than usual.
It’s important to address this issue promptly since clothes that remain hot for an extended period can end up wrinkled, and excessive heat can potentially damage delicate fabrics. Additionally, the retained heat can lead to faster color fading and wear and tear on the clothes over time.
To ensure your clothes are properly dried and cooled down, regularly inspect and clean your dryer vent. By removing any obstructions, you can restore the airflow and prevent clothes from feeling excessively hot once they come out of the dryer.
Read more: How To Clean Clogged Dryer Vent
Burning Smell
A strong burning odor coming from your dryer or the laundry room is a serious warning sign of a clogged dryer vent. This distinct smell should never be ignored as it indicates a potential fire hazard. Ignoring the issue can lead to dangerous situations and significant damage to your home.
Here are some reasons why a clogged dryer vent can cause a burning smell:
- Lint Accumulation: Lint is a highly flammable material that can easily accumulate in the dryer vent. Over time, as the vent becomes clogged with lint and debris, the accumulated materials can overheat and ignite, resulting in a burning smell.
- Overheating Components: A clogged dryer vent inhibits the proper airflow, causing the dryer’s components, such as heating elements and motors, to work harder to compensate. This increased strain can lead to overheating, resulting in a burning smell.
- Electrical Issues: In some cases, a clogged vent can cause electrical connections within the dryer to overheat. When wires or electrical components become excessively hot, it can produce a burning odor.
A burning smell should never be taken lightly, as it could be an indication of a potential fire hazard. If you notice this smell, it is crucial to immediately turn off the dryer, unplug it from the power source, and address the issue before using the appliance again.
Regularly cleaning the dryer vent and ensuring proper airflow is essential in preventing lint buildup and maintaining a safe and efficient drying process. By doing so, you can minimize the risk of a clogged vent and reduce the chance of experiencing a burning smell or more severe fire-related incidents.
Lint Accumulation around the Dryer
Finding noticeable lint buildup around your dryer or on the floor is a clear sign of a clogged dryer vent. Normally, lint is expelled through the dryer vent along with the moist air. However, when the vent is obstructed, lint can accumulate and become visible around the dryer area.
Here are some reasons why lint accumulation occurs when the dryer vent is clogged:
- Limited Airflow: When the vent is obstructed, the airflow is limited, causing the lint to get trapped inside the dryer and the vent pipe. As a result, the lint cannot be properly expelled, leading to its accumulation around the dryer.
- Inefficient Lint Trap: A clogged vent can also impact the efficiency of the lint trap, which is designed to catch lint before it enters the vent system. When the vent is obstructed, some lint may bypass the lint trap and accumulate around the dryer instead.
- Lint Backflow: With a clogged vent, the airflow can be reversed, allowing lint to flow back into the dryer and get dispersed in the surrounding area. This backflow of lint can contribute to the visible accumulation around the dryer.
Lint accumulation around the dryer is not only unsightly but also poses potential risks. Excessive lint can be highly flammable and increase the risk of a dryer fire. Additionally, lint buildup can obstruct airflow, resulting in decreased drying efficiency and potentially causing damage to the dryer itself.
To prevent lint accumulation and maintain the proper functioning of your dryer, it is essential to regularly clean the lint trap and thoroughly inspect and clean the dryer vent. By doing so, you can ensure the efficient removal of lint, reduce the risk of fires, and extend the lifespan of your dryer.
Insufficient Airflow
Insufficient airflow is a common issue associated with a clogged dryer vent. When the vent is obstructed, the normal airflow necessary for proper drying is compromised, leading to a range of problems.
Here are some reasons why a clogged dryer vent can result in insufficient airflow:
- Blockage: Obstructions such as lint, debris, or even small animals can accumulate in the vent pipe, restricting the airflow and preventing the moist air from escaping properly.
- Bent or Crushed Vent Pipe: In some cases, the vent pipe can become bent or crushed, hindering the airflow. This can happen due to improper installation or accidental damage.
- Poor Ventilation Design: A poorly designed or inadequate ventilation system can also contribute to insufficient airflow. If the vent pipe is too long, has too many turns, or is not positioned correctly, it can impede the flow of air and cause ventilation issues.
Insufficient airflow can have several consequences, including:
- Prolonged Drying Times: When the dryer vent is clogged, moist air lingers inside the dryer drum, slowing down the drying process. Clothes may not dry completely, requiring multiple drying cycles.
- Increased Energy Consumption: Inefficiency resulting from a lack of airflow can cause the dryer to work harder and consume more energy. This can lead to higher utility bills and unnecessary energy waste.
- Overheating: Inadequate airflow can cause heat to build up within the dryer, potentially leading to overheating. This can damage the dryer’s components and increase the risk of fire.
- Deterioration of Fabric: Insufficient airflow can cause clothes to stay damp for longer periods, which can result in the growth of mold or mildew and cause the fabric to deteriorate over time.
To ensure sufficient airflow and maintain optimal drying performance, it is essential to regularly inspect and clean your dryer vent. Removing any obstructions and ensuring the vent pipe is in good condition will promote proper airflow, enhance energy efficiency, and extend the lifespan of your dryer.
Decreased Dryer Performance
A clogged dryer vent can significantly decrease the performance of your dryer, affecting its ability to efficiently dry your clothes. When the vent is obstructed, several factors contribute to the decreased performance:
- Extended Drying Times: As moist air is trapped inside the dryer drum due to the clogged vent, clothes take longer to dry. This leads to multiple drying cycles, wasted energy, and increased wear and tear on your clothes.
- Inefficient Moisture Removal: With limited airflow, the moisture-laden air from the drying process cannot be effectively expelled. This results in clothes retaining more moisture, leaving them damp or not fully dried at the end of the drying cycle.
- Uneven Drying: A clogged vent can cause hot air to become trapped in certain areas of the dryer drum, while other areas receive insufficient heat. This uneven distribution of heat leads to inconsistent drying and may result in some clothes being over-dried while others remain damp.
- Wrinkled Clothes: When a clogged vent prevents proper airflow, clothes can become tangled and twisted in the dryer drum. This can lead to increased wrinkling and the need for additional ironing or steaming.
The decreased performance of your dryer not only affects its efficiency but also has practical implications. It can be frustrating to find that your clothes are not adequately dried, requiring additional time and effort to achieve desired results.
To restore the performance of your dryer and ensure effective drying, it is crucial to address the issue of a clogged vent promptly. Regularly cleaning and maintaining the dryer vent system will promote proper airflow, optimize drying performance, and save you time and energy in the long run.
Regularly check the outside vent for lint buildup. If the dryer takes longer to dry clothes or feels hot to the touch, it may be clogged.
Read more: How To Clear A Clogged Dryer Vent
Potential Fire Hazard
A clogged dryer vent poses a significant fire hazard in your home. Lint, a highly flammable material, can accumulate in the vent pipe, leading to the potential risk of a devastating fire. Understanding the fire hazards associated with a clogged dryer vent is crucial for the safety of your household.
Here’s why a clogged dryer vent can be a fire hazard:
- Lint Ignition: Lint is produced during the drying process and is typically expelled through the dryer vent. However, when the vent is obstructed, lint can accumulate inside the vent pipe, ducts, and even the dryer itself. If the accumulated lint comes into contact with the heat generated by the dryer or sparks from electrical components, it can ignite and cause a fire.
- Rapid Fire Spread: Once ignited, lint fires can spread rapidly due to the abundance of highly flammable material. The fire can quickly move through the vent system, potentially reaching other areas of your home, such as walls or ceilings.
- Combustible Materials: In addition to lint, other combustible materials like dust, debris, or even small animal nests can accumulate in the vent pipe. These materials can also contribute to the risk of fire when combined with the heat generated by the dryer.
To minimize the fire hazard associated with a clogged dryer vent, it’s important to take preventative measures:
- Regular Maintenance: Schedule regular cleaning and maintenance of your dryer vent system. This includes cleaning the lint trap after every use and periodically inspecting and cleaning the vent pipe to remove any accumulated lint or obstructions.
- Proper Installation: Ensure that your dryer vent is correctly installed according to manufacturer guidelines and local building codes. Improper installation can increase the risk of lint accumulation and hinder proper airflow.
- Monitoring: Keep a watchful eye for signs of a clogged dryer vent, such as reduced airflow, longer drying times, or unusual odors. Address any issues promptly to prevent the accumulation of lint and the risk of fire.
By taking precautions and proactively maintaining your dryer vent, you can greatly reduce the risk of a fire hazard, ensuring the safety of your home and loved ones.
How to Check for a Clogged Dryer Vent
Regularly checking your dryer vent for obstructions is essential for maintaining its efficiency and safety. Here are step-by-step instructions on how to check for a clogged dryer vent:
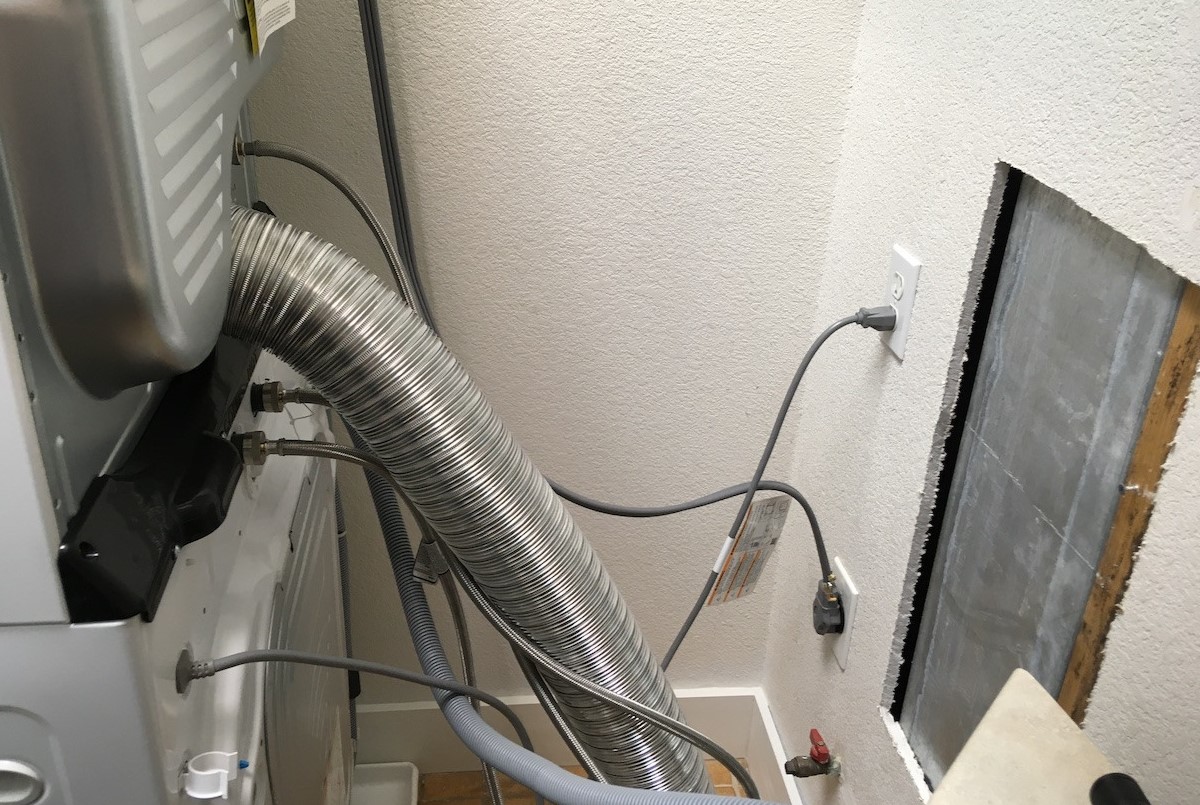
- Step 1: Disconnect the Dryer: Start by unplugging your dryer from the power source and pulling it away from the wall. This will allow you to access the vent pipe and inspect it more closely.
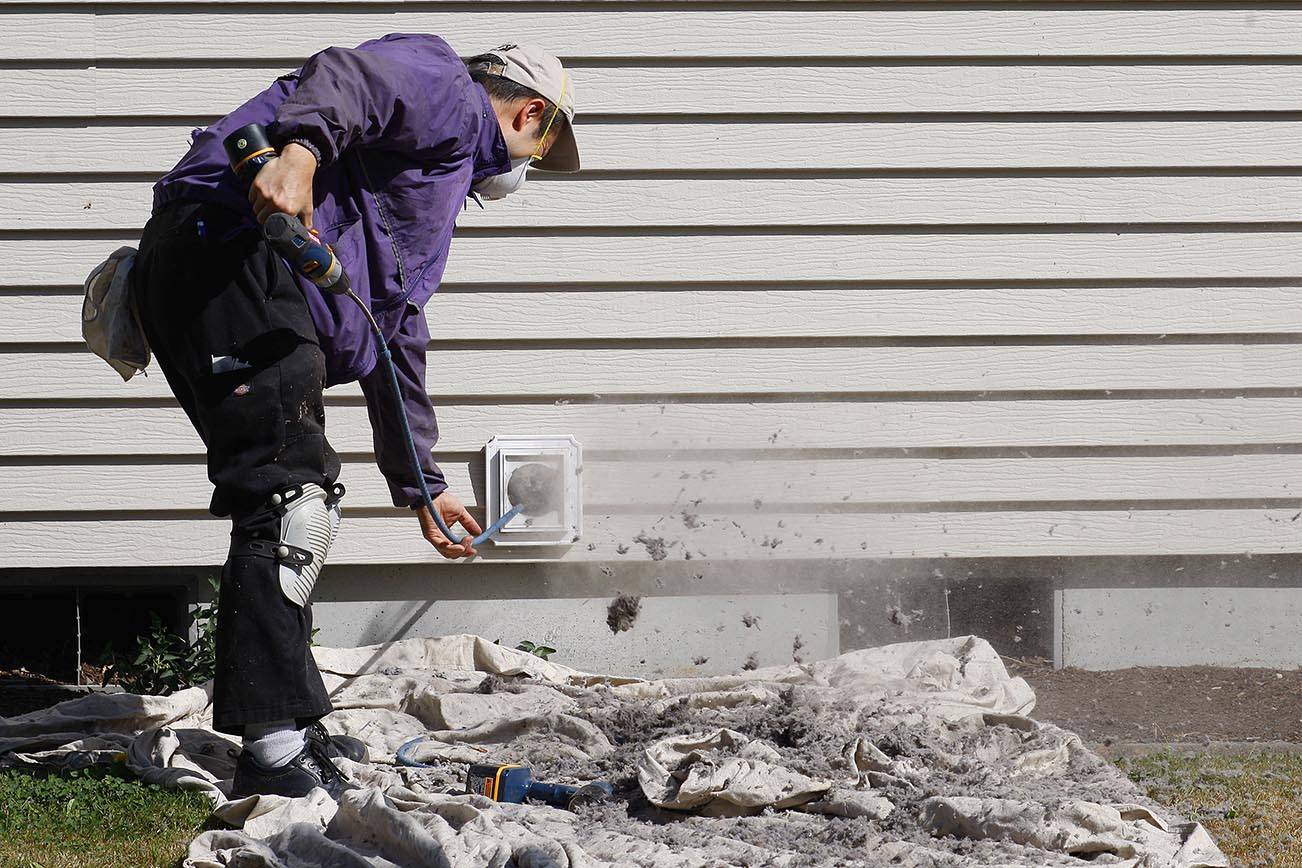
- Step 2: Inspect the Exterior Vent: Go outside and locate the exterior vent where moist air is expelled from your dryer. Check for any visible obstructions, such as lint buildup or debris blocking the vent opening. Clear away any obstructions that you can safely remove.
- Step 3: Check the Lint Trap: Open the dryer door and locate the lint trap or lint filter. Remove the lint trap and clean out any lint accumulated on the screen. Ensure there are no obstructions within the lint trap housing. Use a vacuum or lint brush to remove any stubborn lint or debris.
- Step 4: Clean the Vent Pipe: Using a flashlight, inspect the vent pipe behind your dryer. Look for any signs of excessive lint buildup, obstructions, or damage. If you notice significant lint accumulation, it’s time to clean the vent pipe thoroughly. Disconnect the vent pipe from the dryer and use a vent cleaning brush or vacuum to remove any lint or debris. Be thorough in cleaning both ends of the vent pipe.
- Step 5: Reconnect the Dryer: Once you have cleaned the vent pipe and ensured it’s free from obstructions, reconnect it to the dryer securely. Push the dryer back against the wall, making sure there’s enough space for proper airflow. Plug the dryer back into the power source.
It’s recommended to perform these checks and cleanings at least once a year, although it may be necessary to do it more frequently if you notice any signs of a clogged vent.
Remember, if you’re uncomfortable or unsure about checking or cleaning your dryer vent, it’s best to seek the assistance of a professional. They have the necessary expertise and tools to safely and effectively inspect and clean your dryer vent system.
Regularly checking and maintaining your dryer vent will help prevent clogs, improve drying performance, and reduce the risk of dryer fires, ensuring the safety and efficiency of your dryer.
Step 1: Disconnect the Dryer
Before checking your dryer vent for obstructions, it’s crucial to disconnect the dryer from its power source. Ensuring the dryer is safely disconnected will allow you to access the vent pipe and inspect it more thoroughly. Follow these steps:
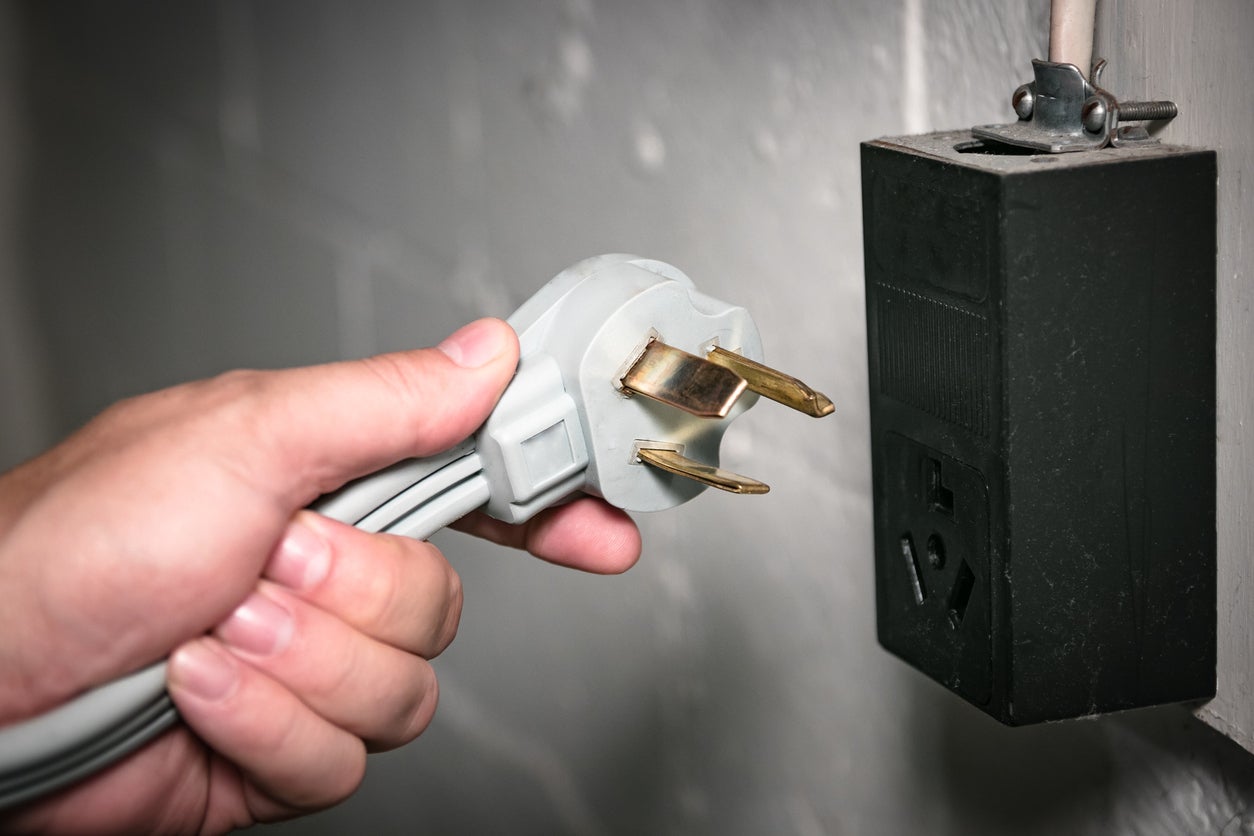
- Unplug the Dryer: Locate the power cord connected to your dryer and unplug it from the electrical outlet. This will prevent any electrical accidents or shocks during the inspection process.
- Gas Dryers: If you have a gas dryer, make sure to turn off the gas supply before disconnecting the dryer. The gas supply valve should be located near the dryer or in a utility room close by. Use caution and follow the manufacturer’s instructions for safely shutting off the gas supply.
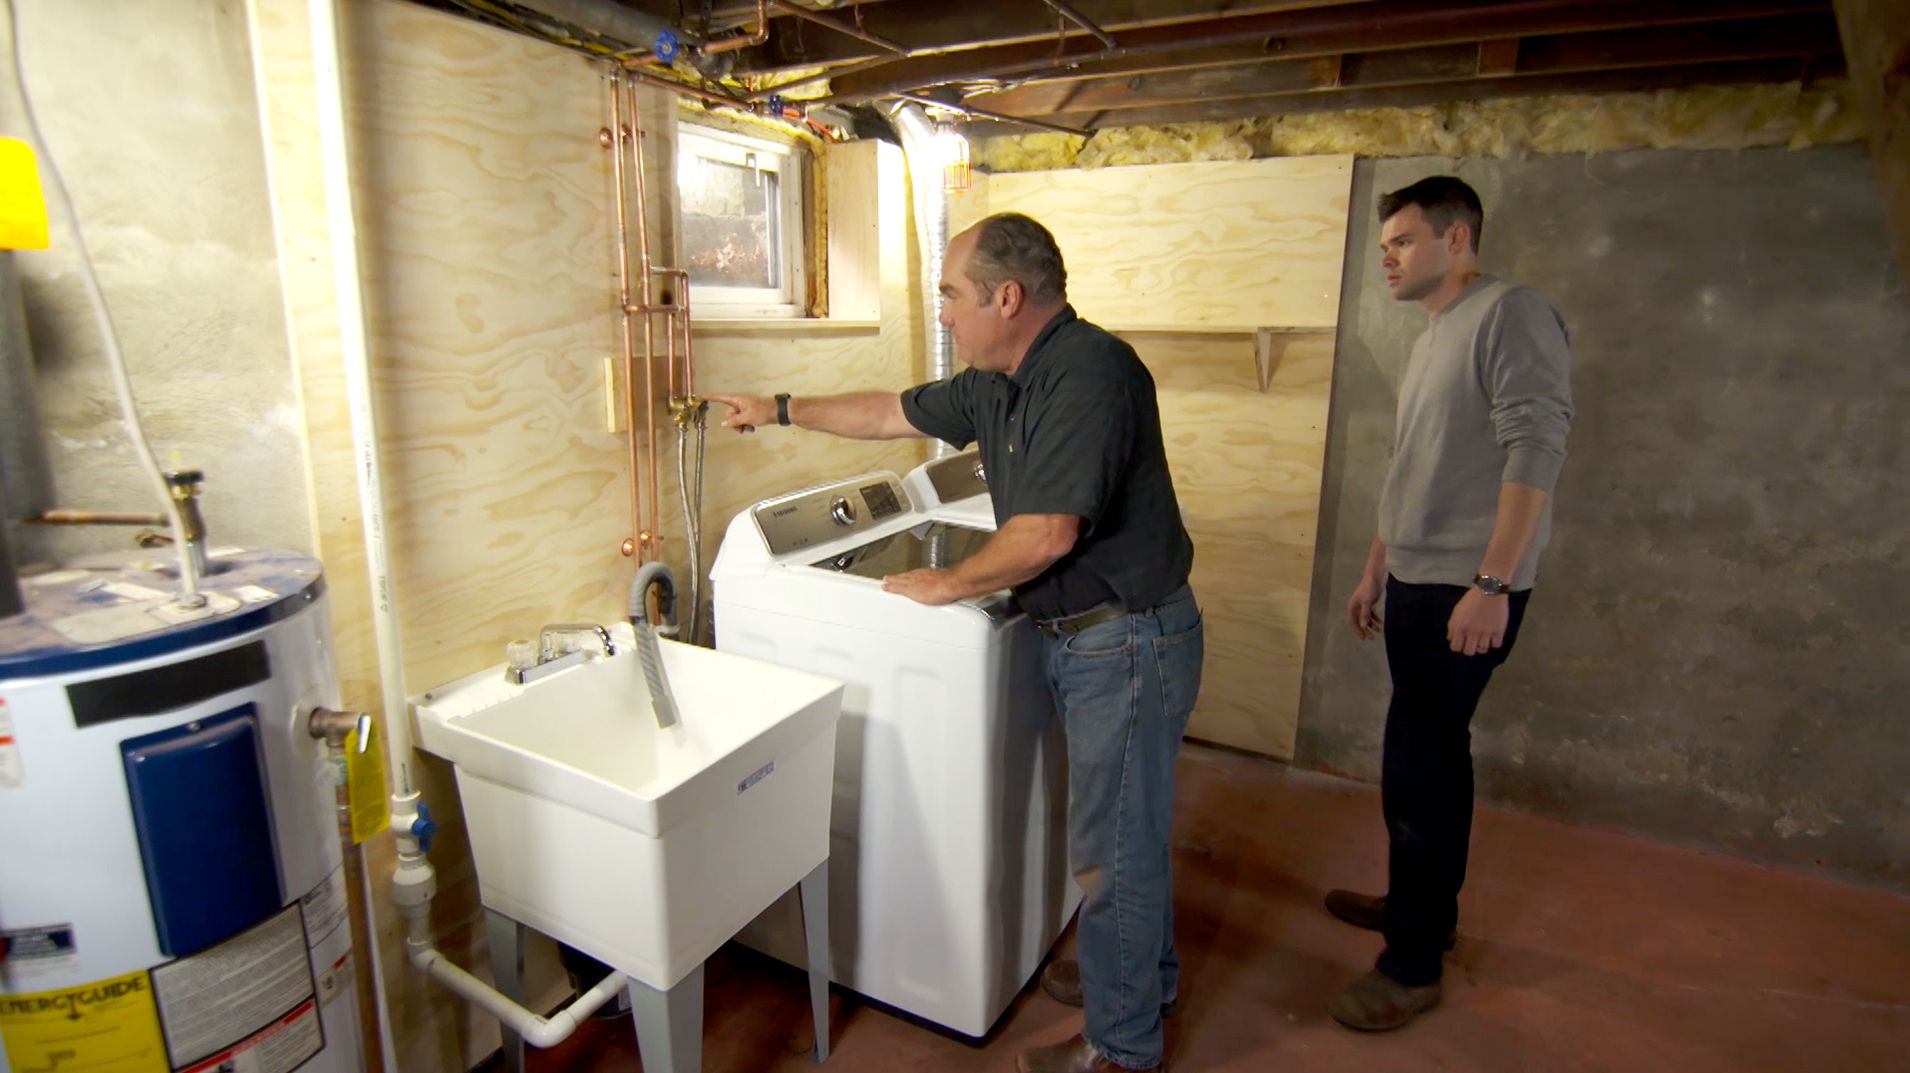
- Slide the Dryer Away from the Wall: Carefully pull the dryer away from the wall, creating enough space to access the back of the appliance. Take caution not to damage the flooring or strain the dryer’s connections.
By disconnecting the dryer and creating space to work, you can safely and effectively inspect the vent pipe for any obstructions or build-up.
Remember, safety should always be a priority when working with any electrical or gas appliances. If you are uncomfortable or unsure about disconnecting the dryer, it’s best to seek professional assistance to avoid any potential hazards.
Step 2: Inspect the Exterior Vent
After disconnecting the dryer, the next step is to inspect the exterior vent where moist air is expelled from the dryer. This vent is typically located on an exterior wall of your home. Follow these steps to inspect the exterior vent:
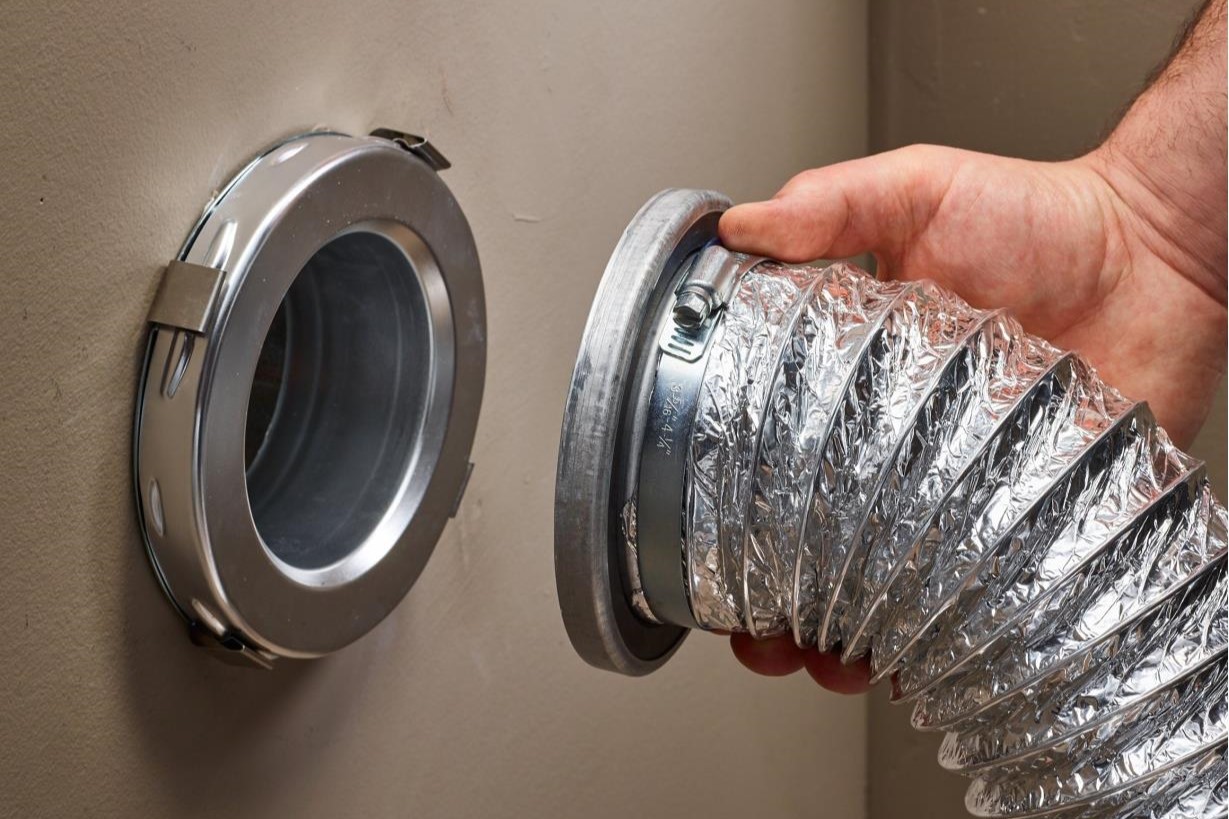
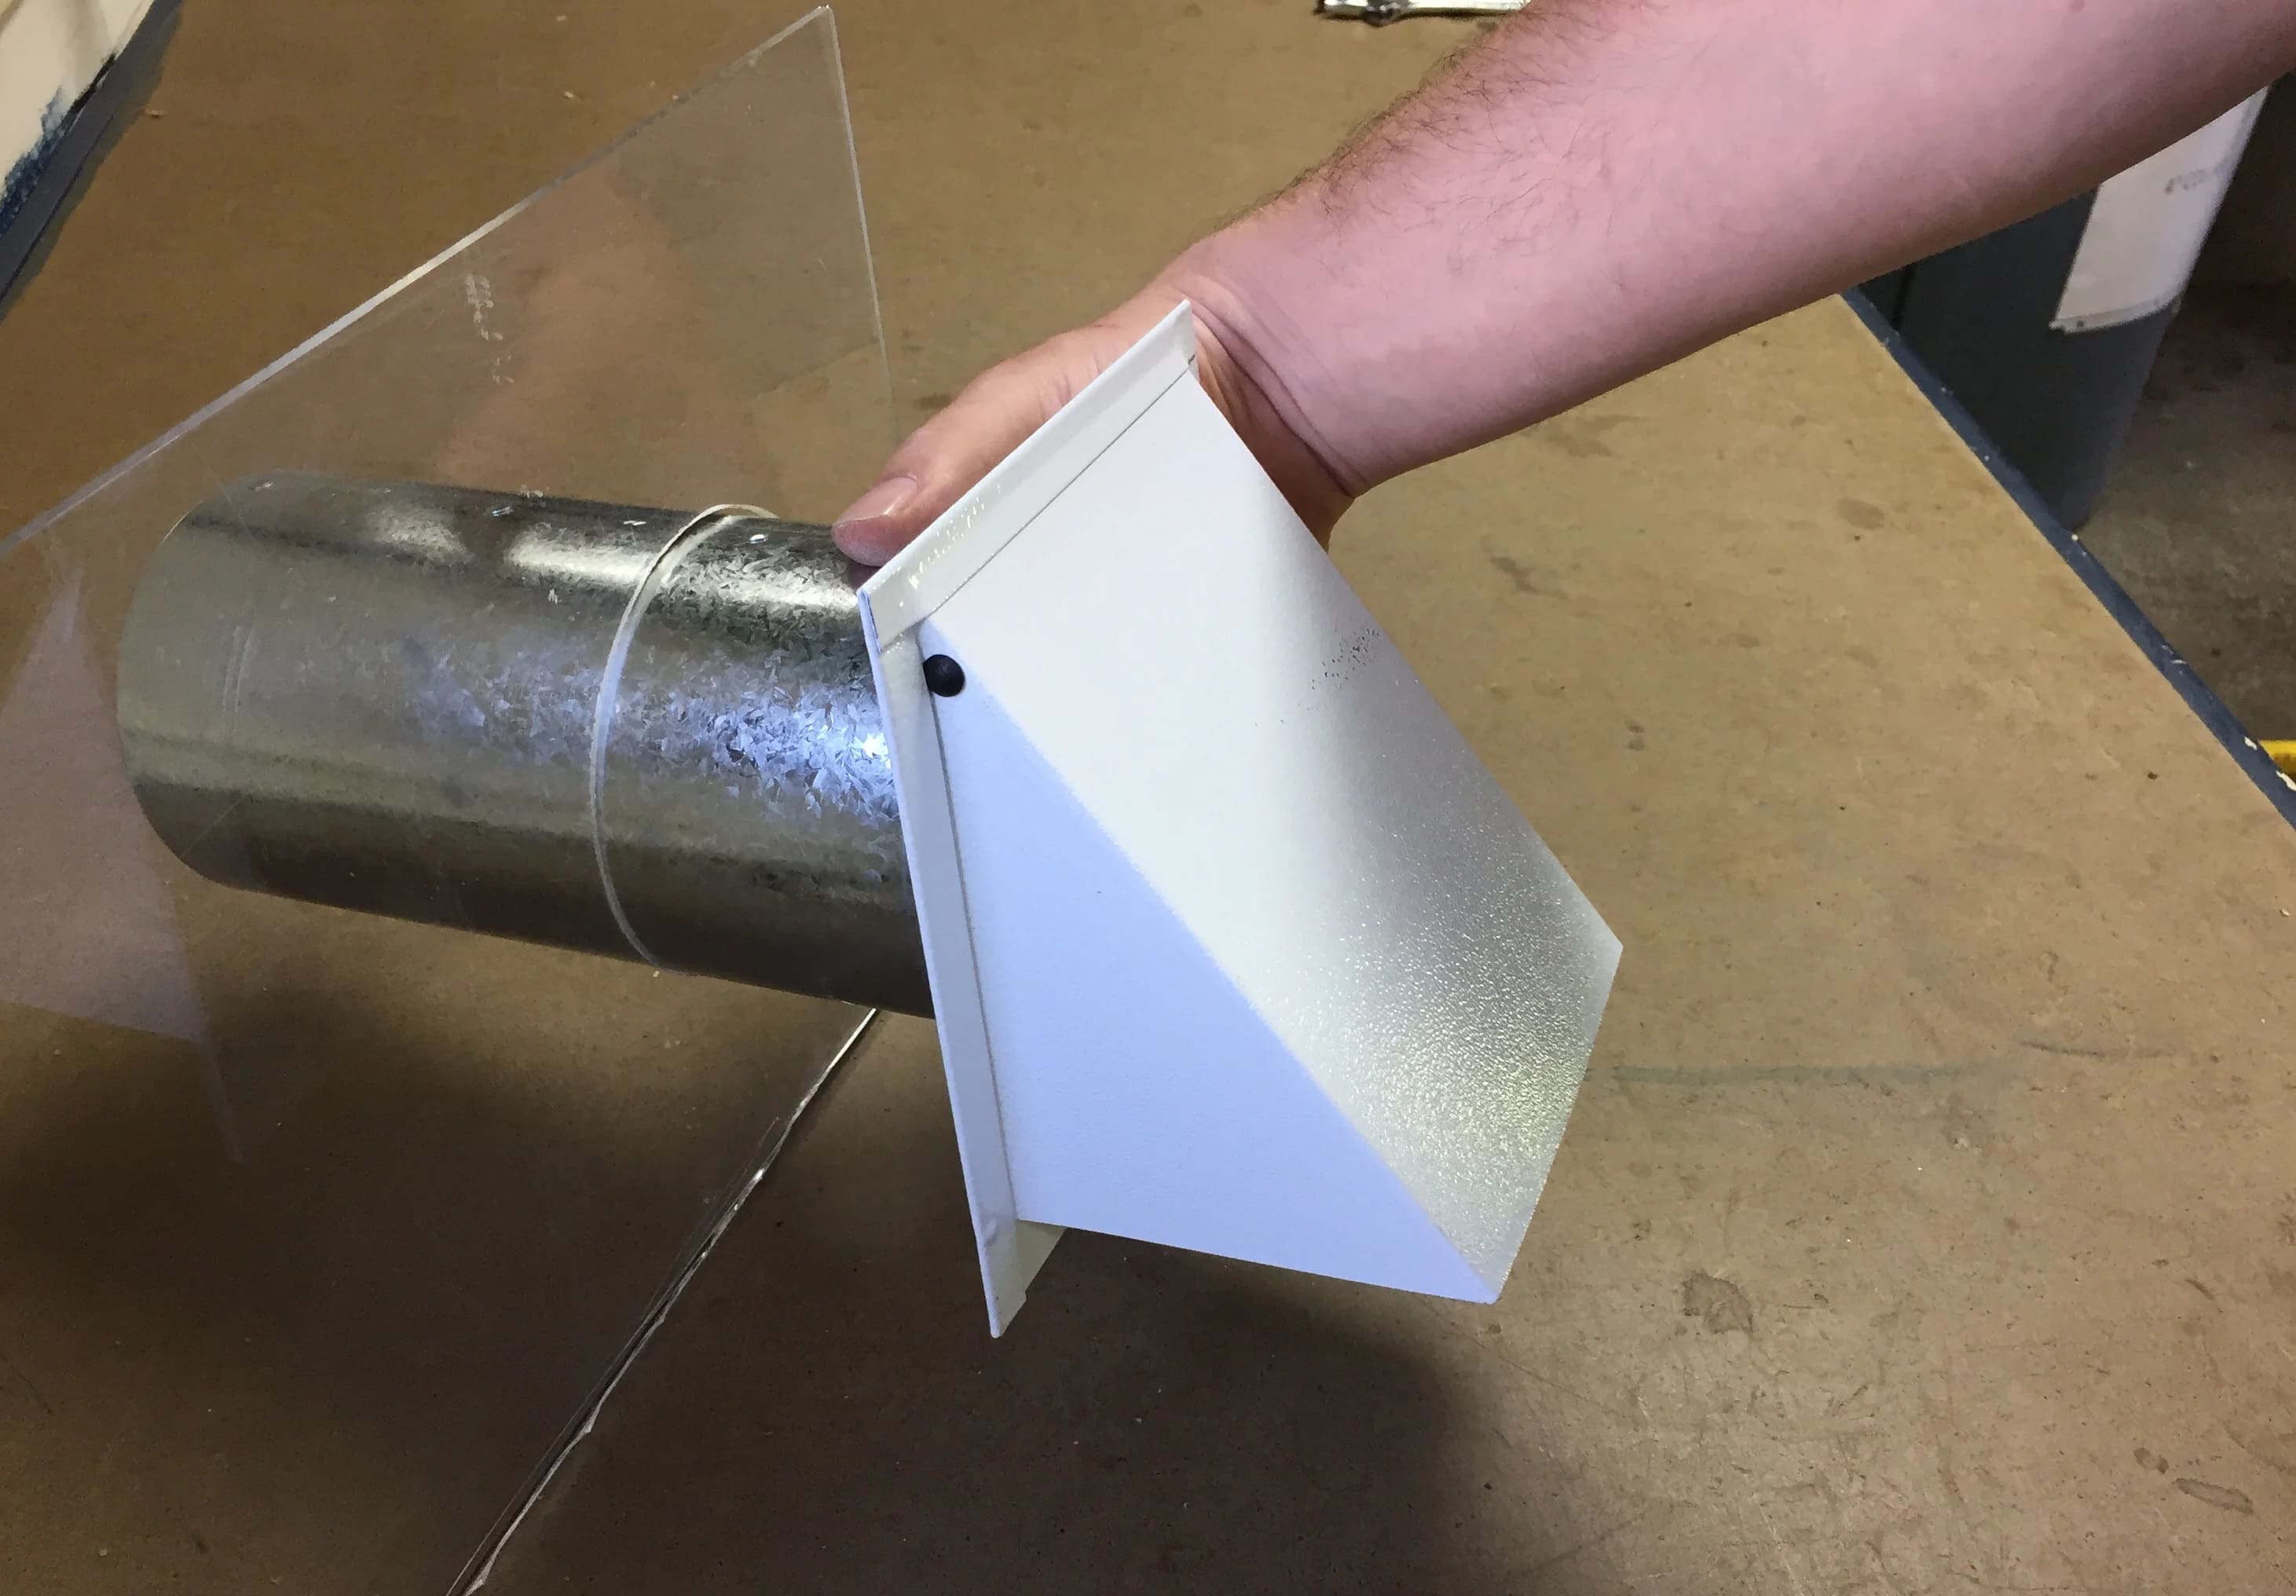
- Locate the Exterior Vent: Go outside and identify the location of the vent where the dryer expels moist air. It is usually a small opening with a vent cover.
- Visual Inspection: Carefully examine the vent cover and surrounding area for any visible signs of obstruction, such as lint buildup or debris. Look for anything that may be blocking or restricting the airflow. Common obstructions include lint, leaves, bird nests, or other debris.
- Clear Away Obstructions: If you notice any visible obstructions that can be safely removed, take the necessary precautions to clear them away. Use gloves to protect your hands and a brush or cloth to wipe away any lint or debris. Avoid using sharp objects or excessive force, as it may damage the vent cover or the vent itself.
It’s important to keep the exterior vent clear of obstructions to allow proper airflow and prevent clogs. An obstructed exterior vent can cause backflow of moist air into the dryer, leading to moisture problems and potential damage.
If you encounter significant obstruction or are unable to clear the vent on your own, it’s recommended to seek the assistance of a professional dryer vent cleaning service. They have the expertise and equipment necessary to safely and effectively clean the vent and restore proper airflow.
By inspecting and clearing the exterior vent, you can help ensure efficient airflow and reduce the risk of a clogged dryer vent. This step is an essential part of maintaining the performance and safety of your dryer.
Step 3: Check the Lint Trap
As part of the process to check for a clogged dryer vent, it’s important to inspect and clean the lint trap. The lint trap, also known as the lint filter, plays a crucial role in capturing lint and preventing it from entering the vent system. Follow these steps to check the lint trap:
- Locate the Lint Trap: Open the door of your dryer and locate the lint trap. It is typically located on the top or inside the dryer drum, near the door opening. The lint trap is a screen or mesh that catches lint as the clothes tumble during the drying cycle.
- Remove the Lint Trap: Gently pull out the lint trap from its housing. Some lint traps may have a handle or notch for easy removal, while others may require you to lift or slide it out.
- Inspect the Lint Trap: Examine the lint trap for any visible lint accumulation. Lint may appear as a layer of fuzz or debris covering the screen or mesh. If you notice a significant amount of lint, it is a sign that your dryer vent may be partially obstructed.
- Clean the Lint Trap: Use your fingers or a soft brush to remove the lint from the trap. Ensure that any lint or debris caught in the screen or mesh is completely cleared. For stubborn lint, you can also rinse the lint trap with warm water and mild soap, then dry it thoroughly before placing it back.
The lint trap should be cleaned after every drying cycle to maintain its efficiency. A clogged lint trap can restrict airflow and contribute to a clogged dryer vent. Regular cleaning of the lint trap will help prevent lint from entering the vent system and reduce the risk of lint buildup.
It’s also a good practice to occasionally wash the lint trap with soap and water to remove any residue or film that may interfere with its performance.
Remember, a clean and well-maintained lint trap is an important part of preventing a clogged dryer vent. Take the time to check and clean the lint trap regularly to ensure proper airflow and efficient drying.
Step 4: Clean the Vent Pipe
Cleaning the vent pipe is a crucial step in checking for a clogged dryer vent. The vent pipe is responsible for carrying moist air from the dryer to the exterior of your home. When it becomes clogged with lint or debris, it can hinder proper airflow and increase the risk of a dryer vent blockage. Follow these steps to clean the vent pipe:
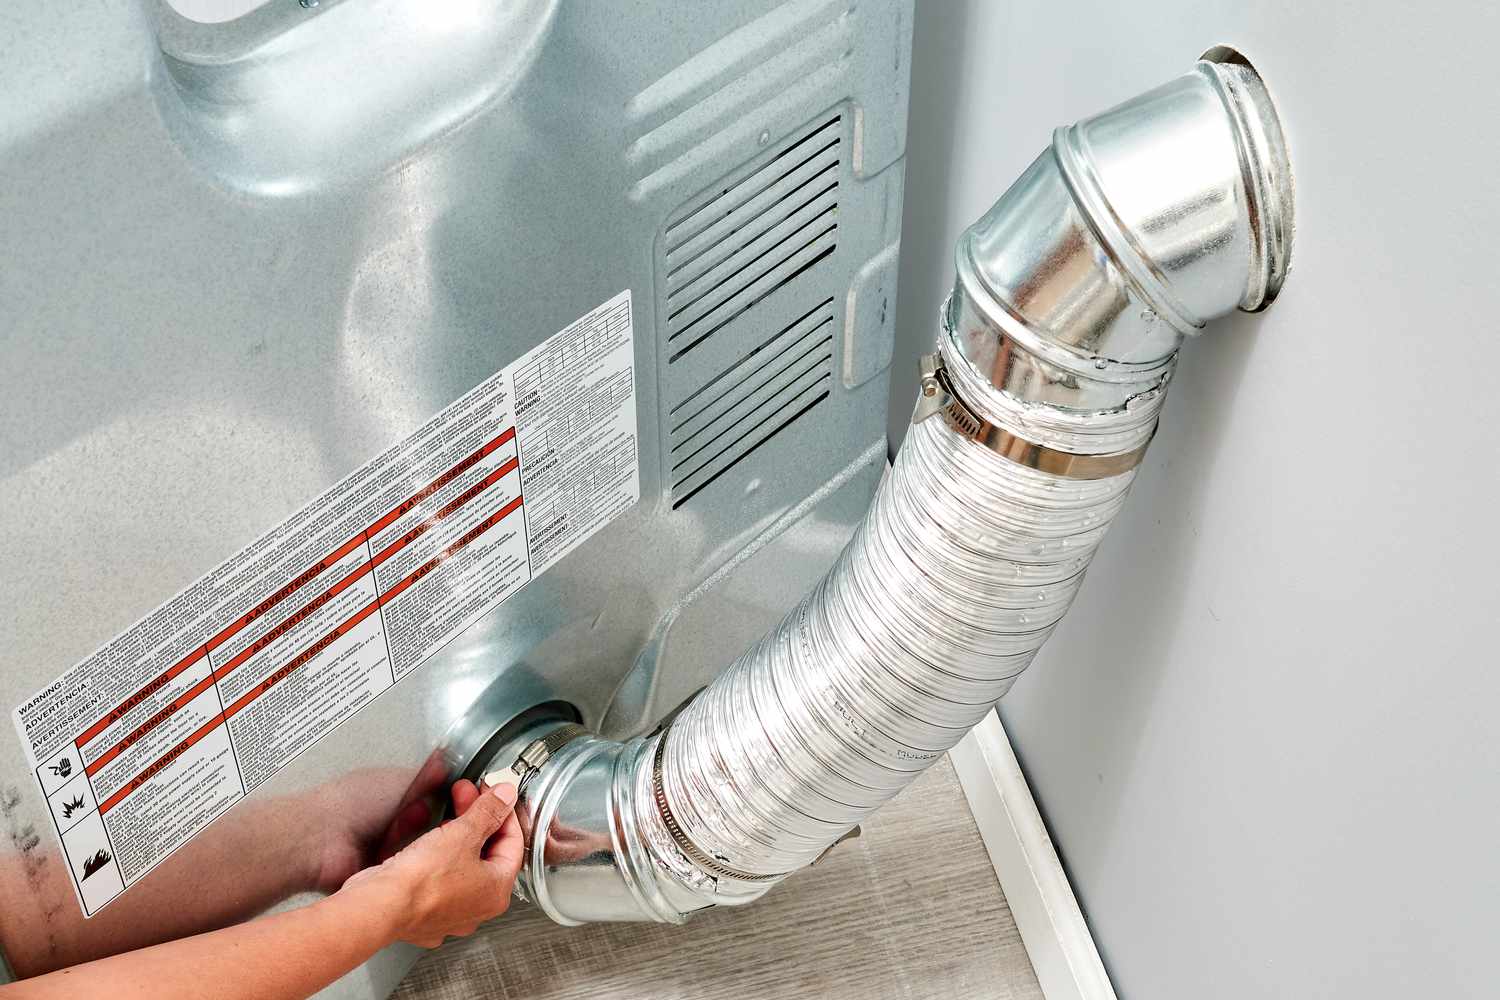
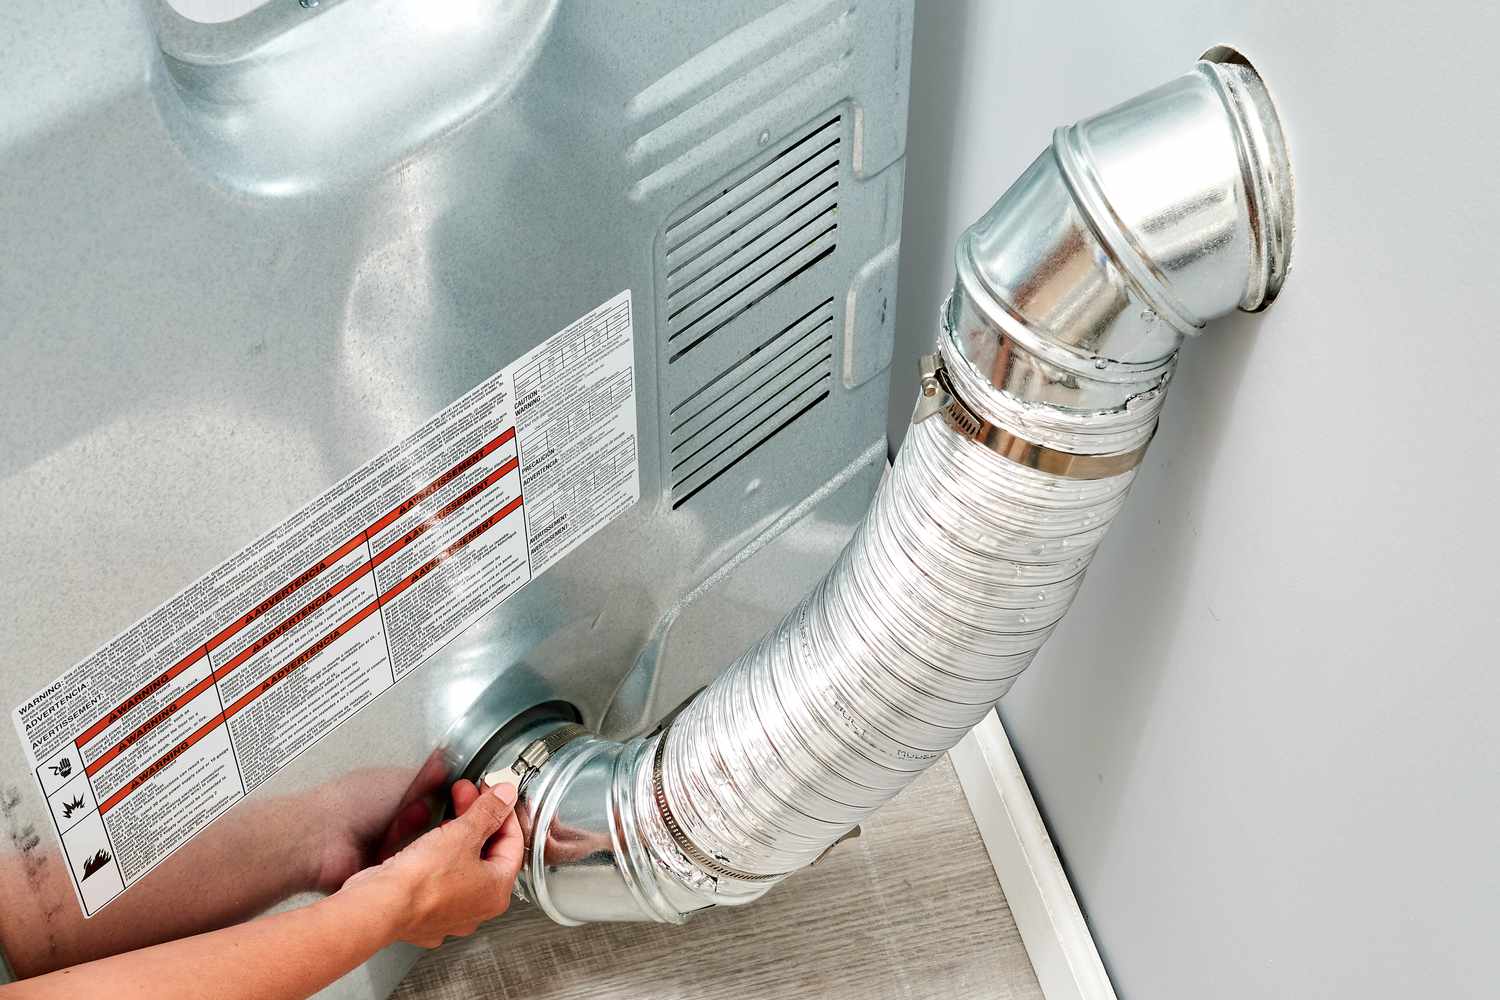
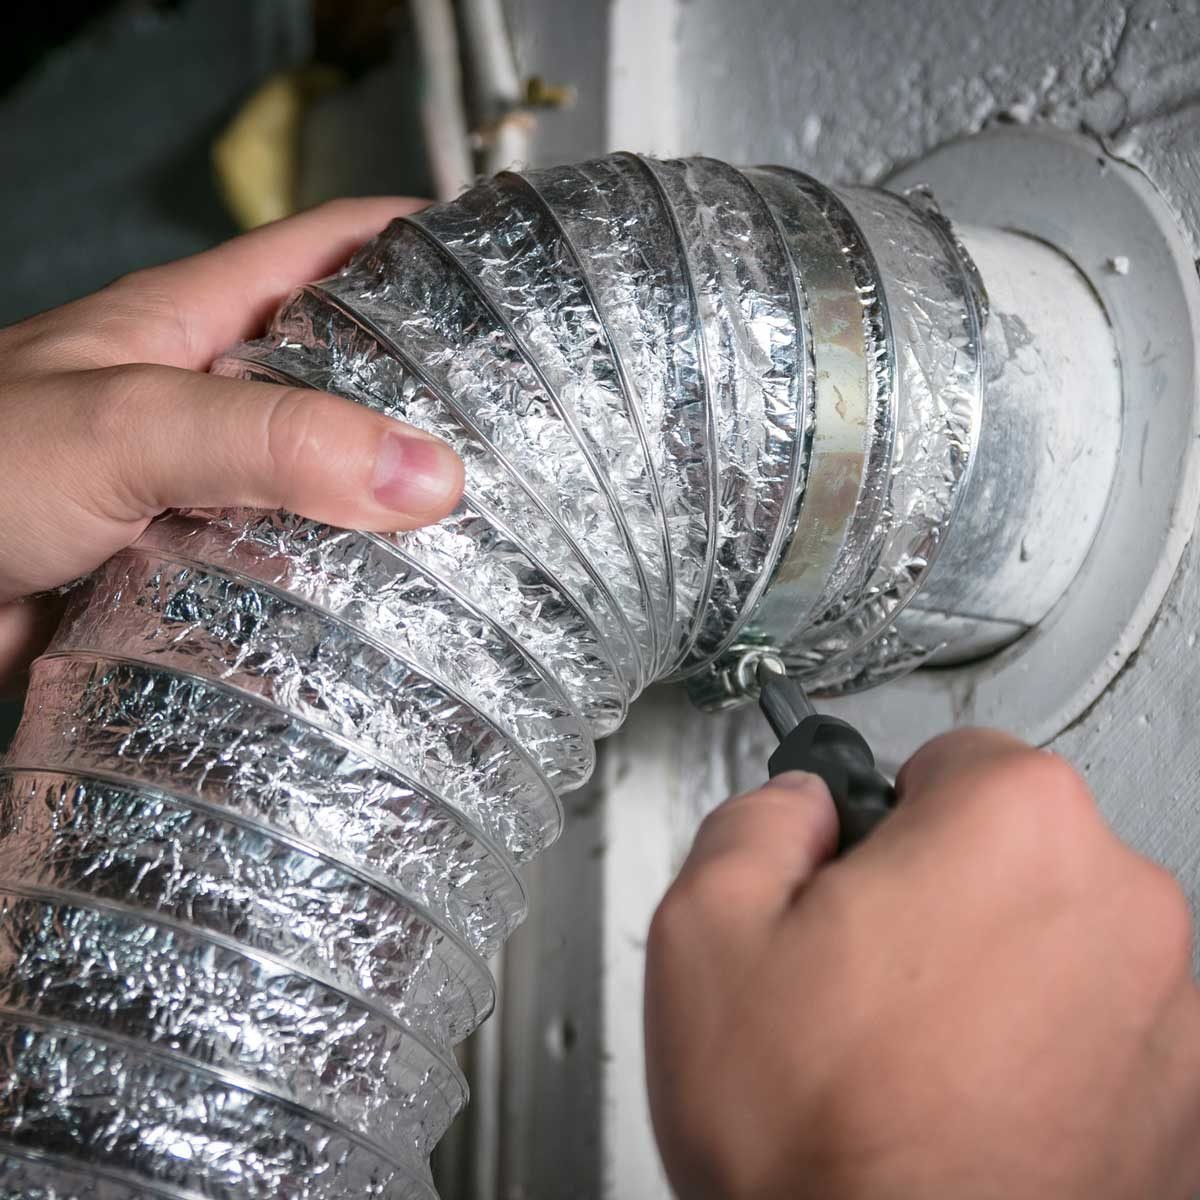
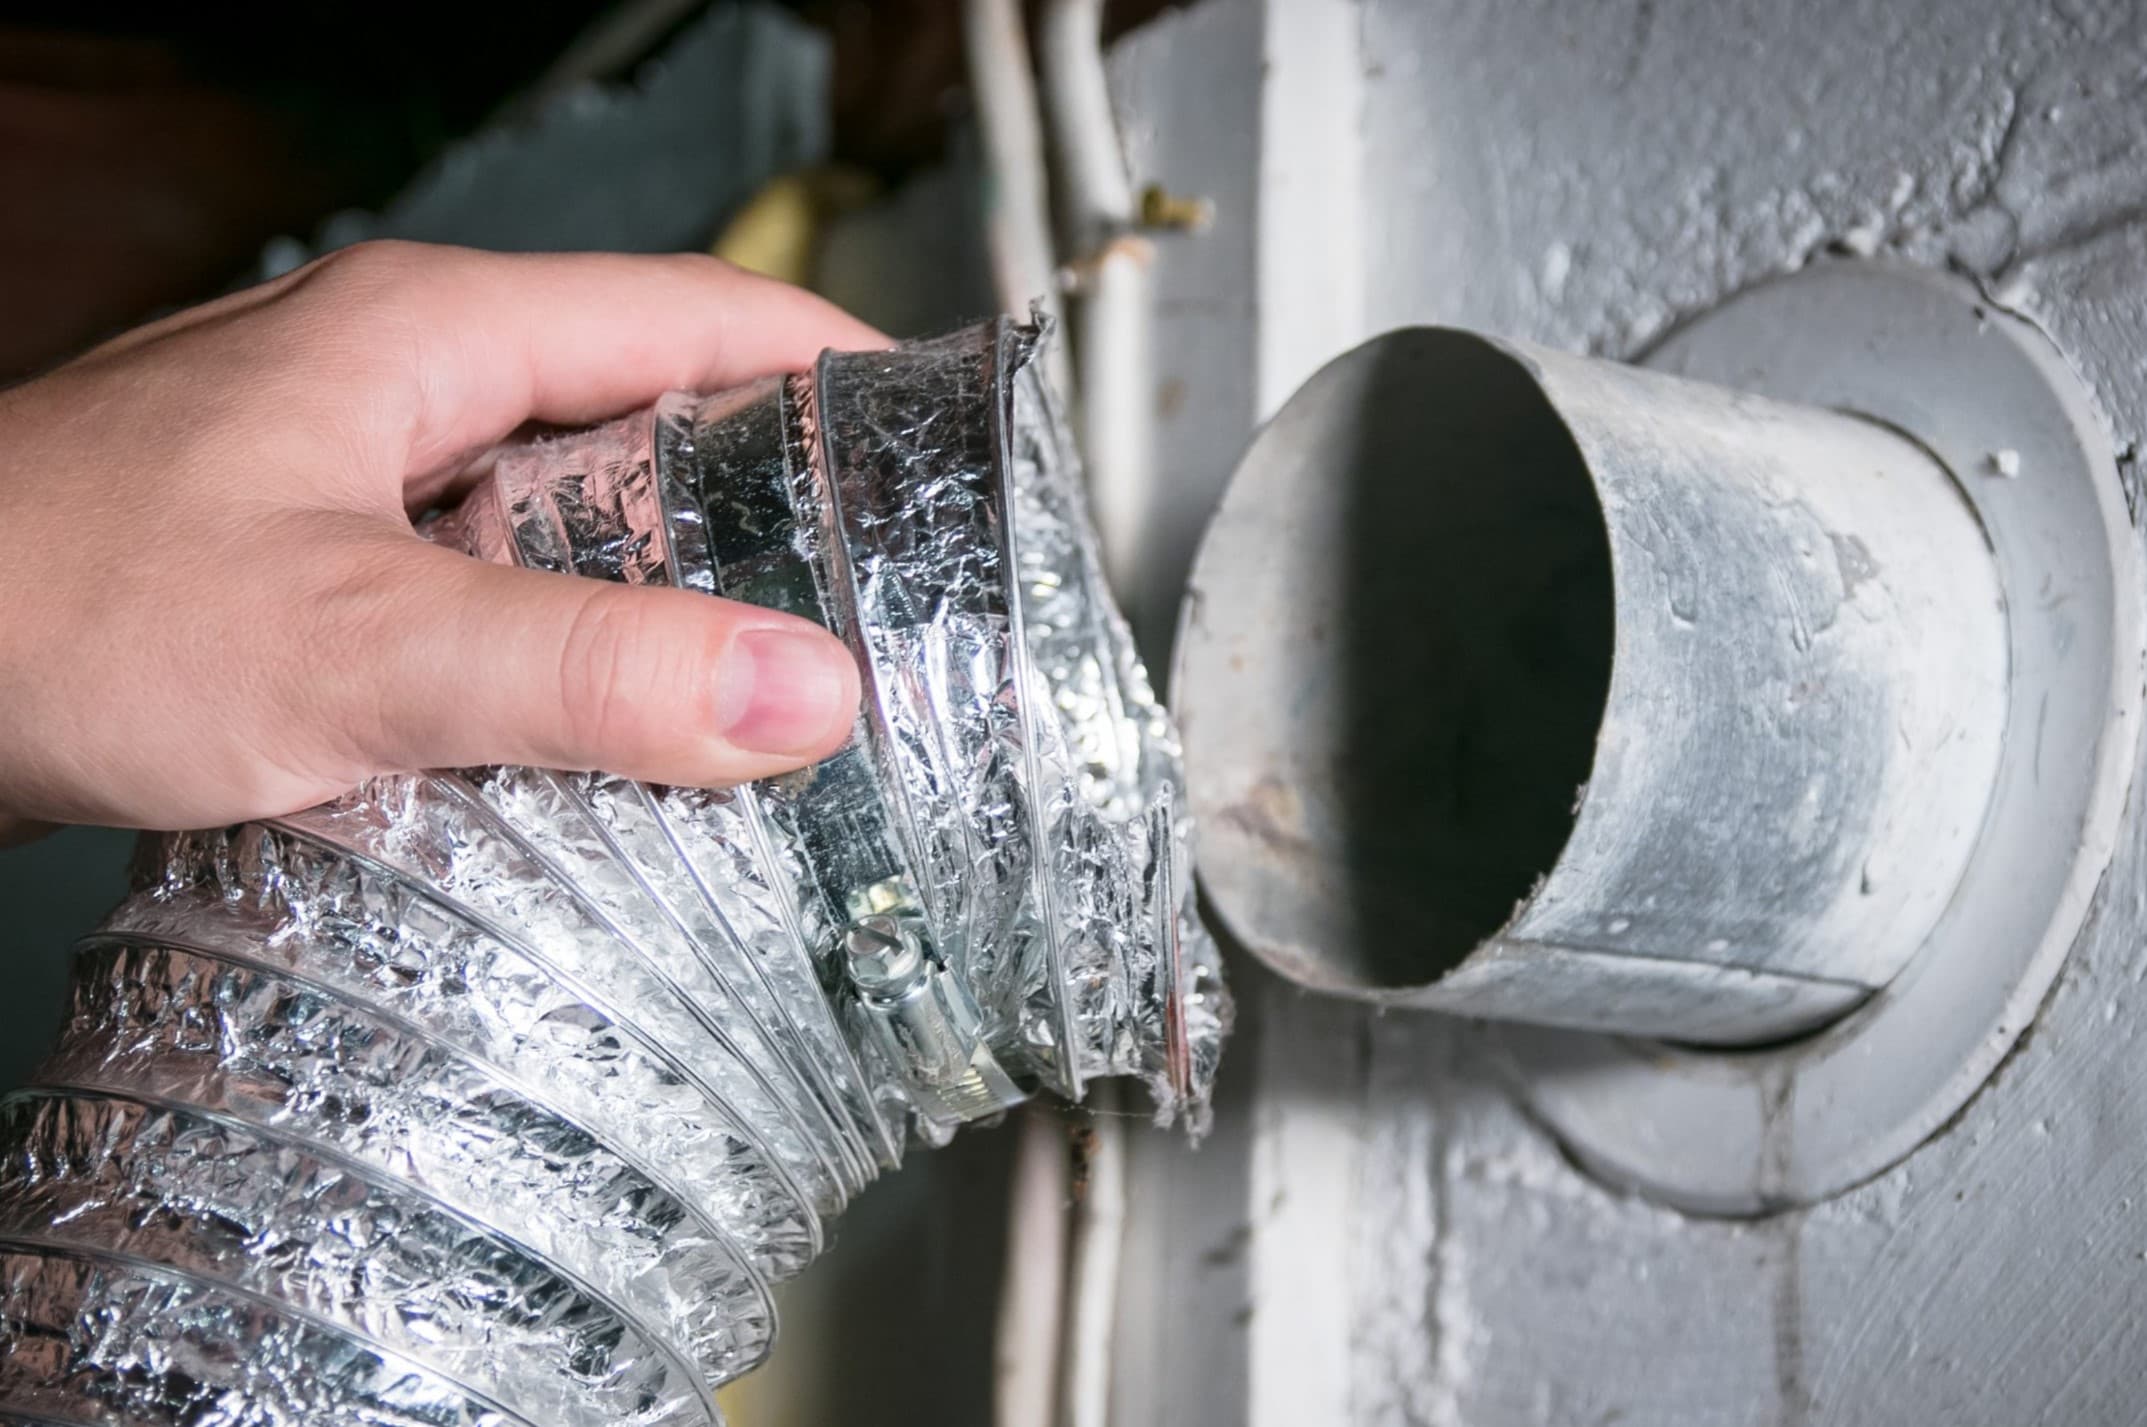
- Disconnect the Vent Pipe: Carefully disconnect the vent pipe from the back of the dryer. This may involve loosening a clamp or disconnecting a fastening mechanism. Take caution not to damage the vent pipe or strain any connections.
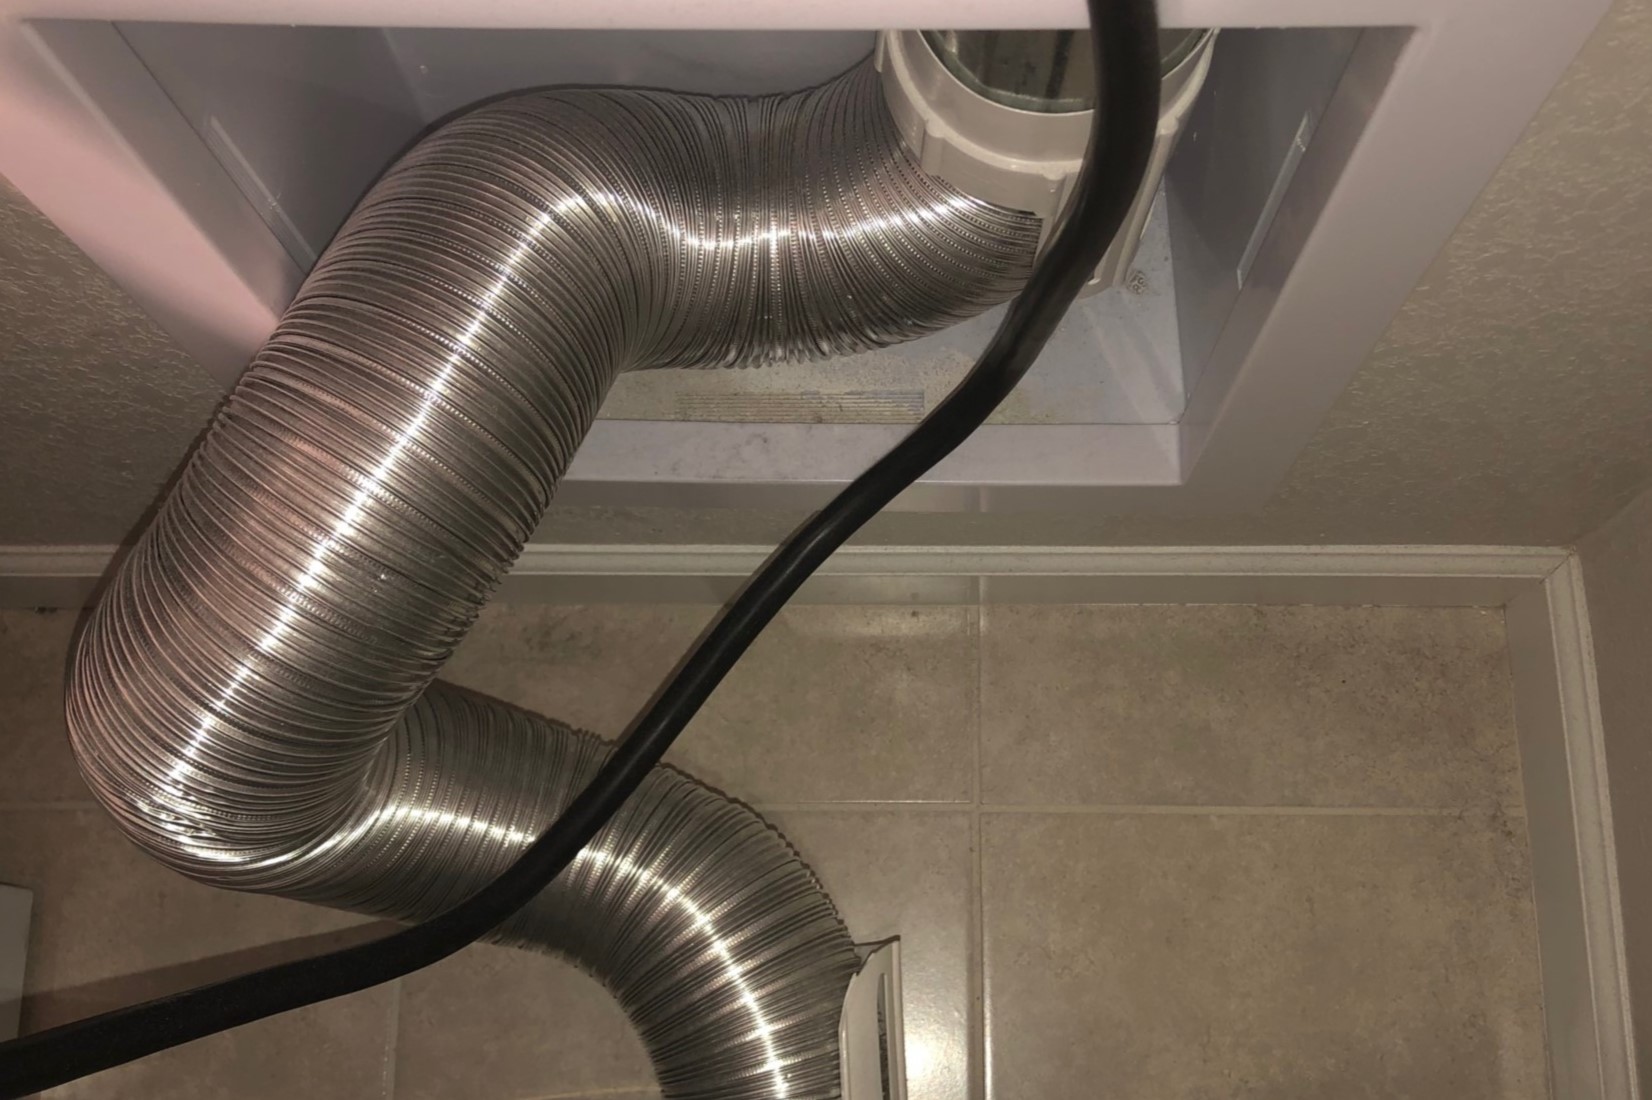
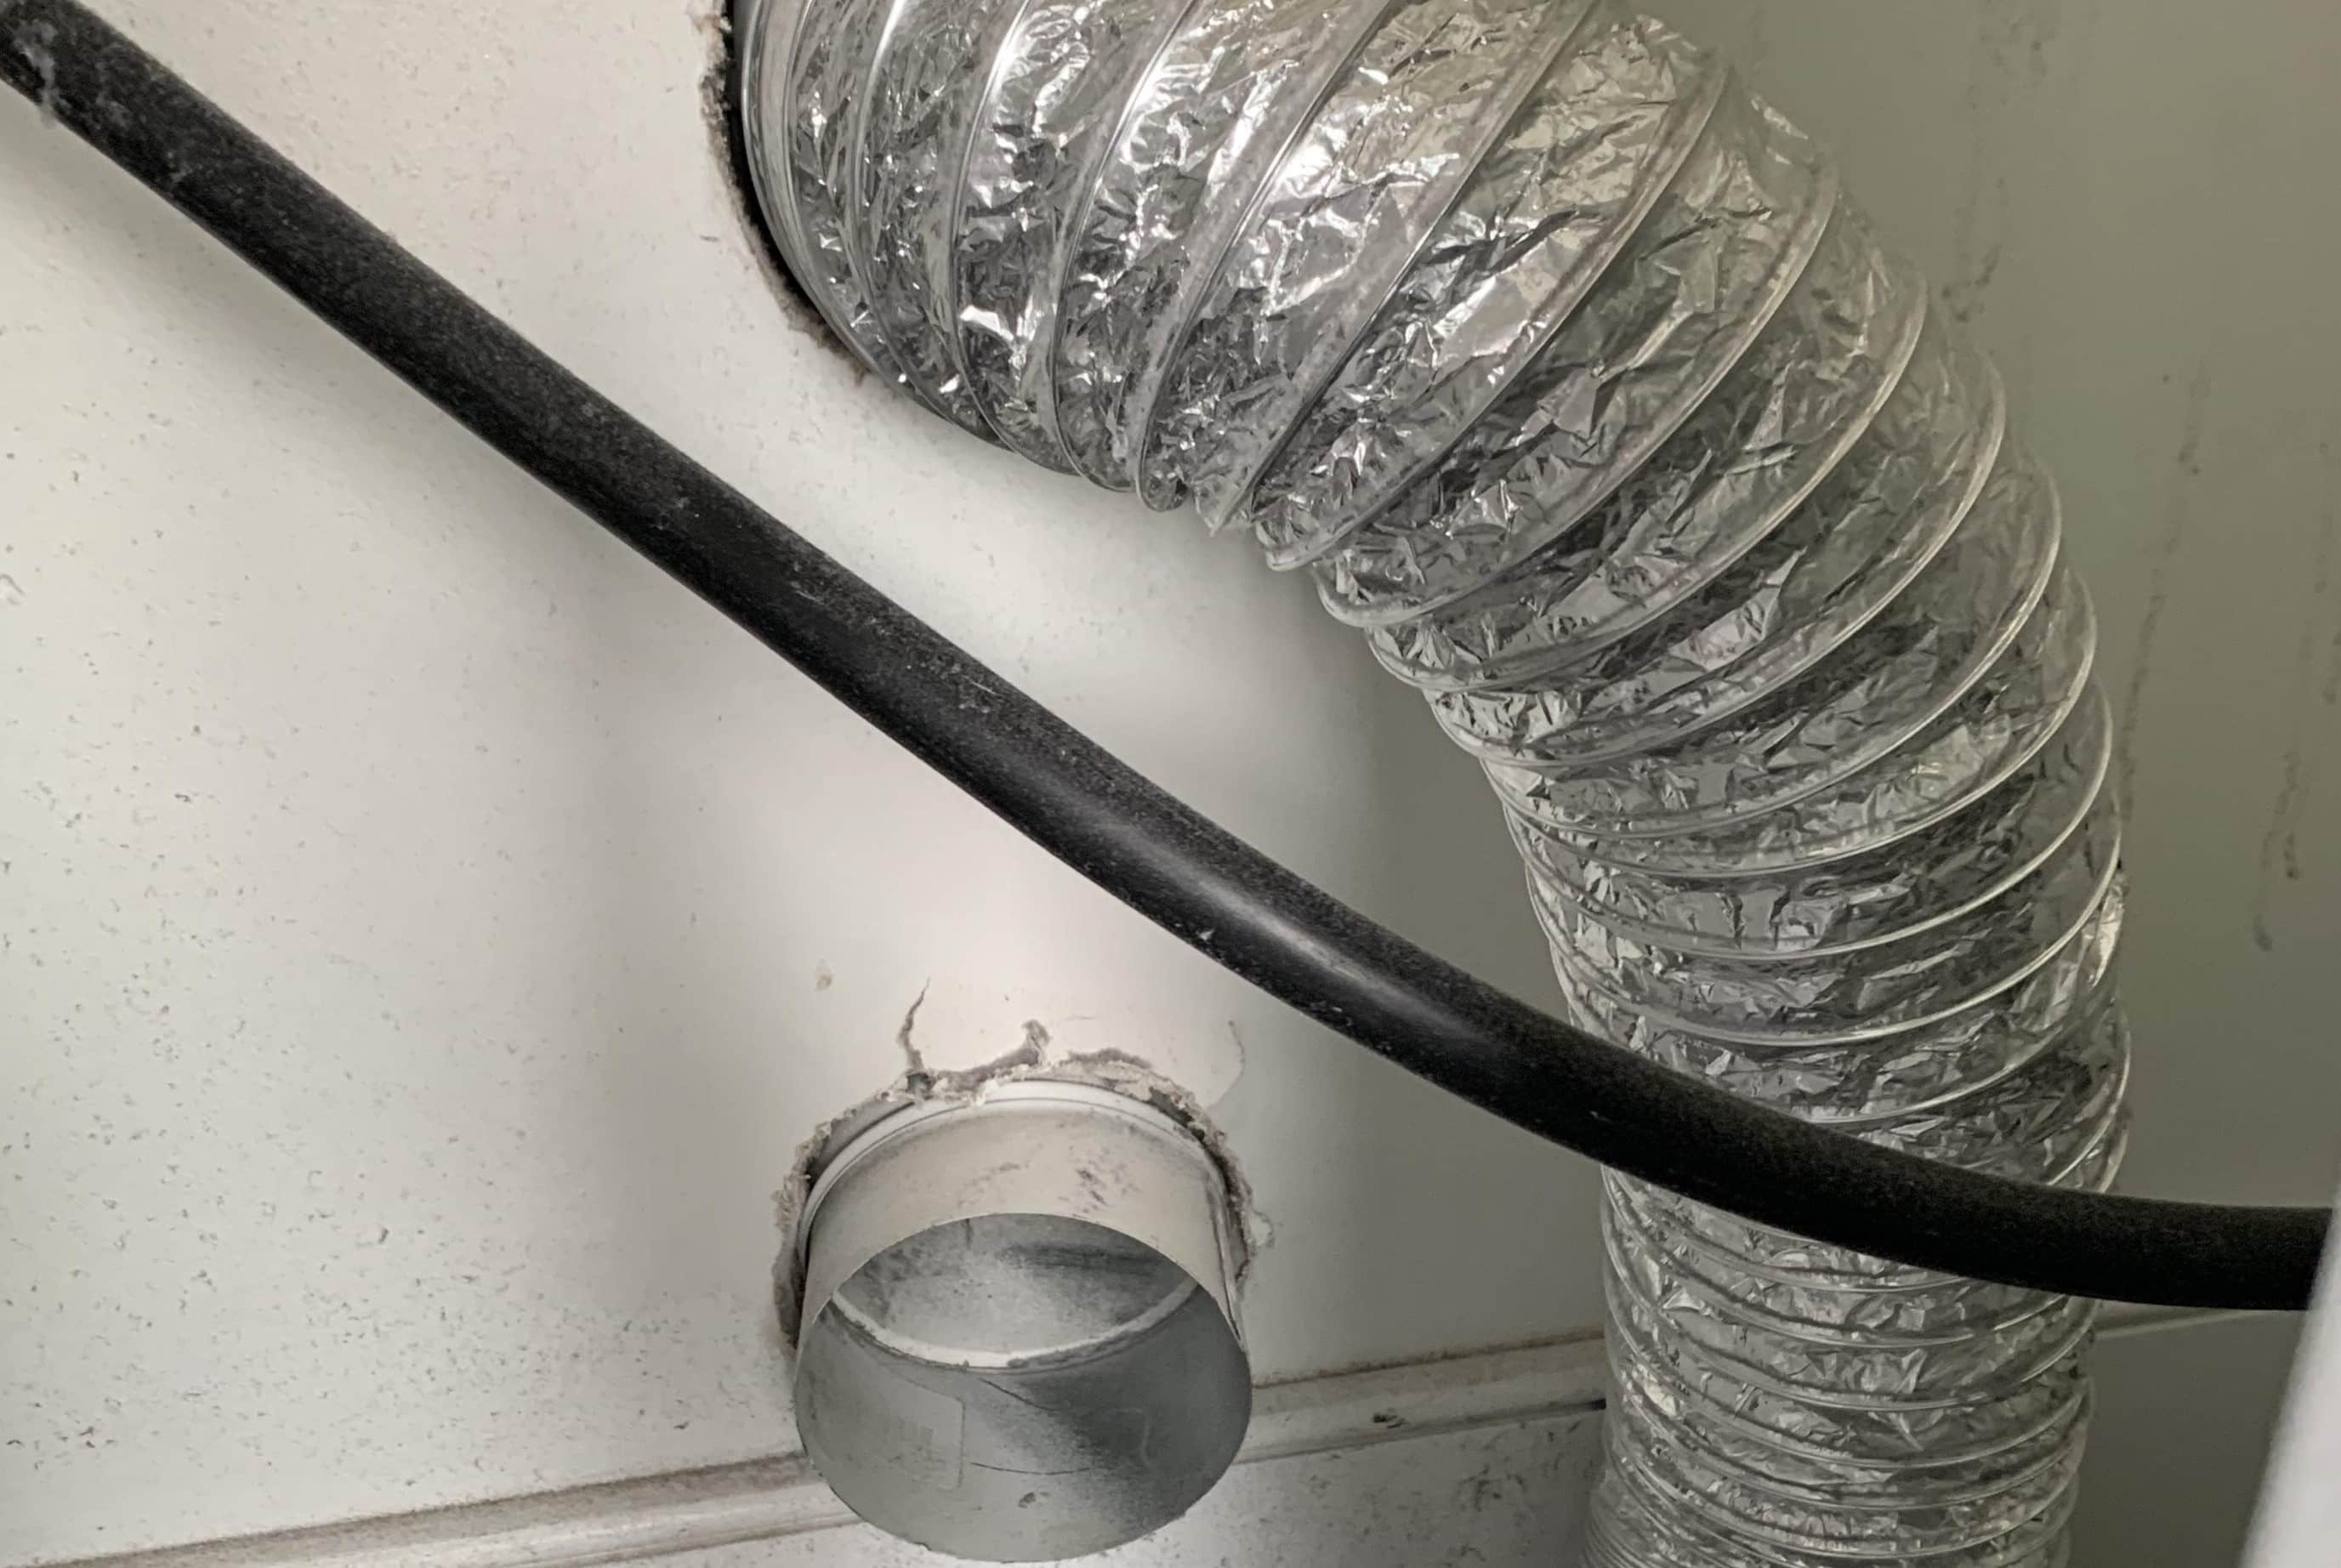
- Inspect the Vent Pipe: Use a flashlight to inspect the inside of the vent pipe. Look for any signs of lint buildup, obstructions, or damage. Pay close attention to any areas where the vent pipe may be bent or crushed, as this can restrict airflow.
- Remove Lint and Debris: Use a vent cleaning brush or a vacuum with a long hose attachment to remove any lint or debris from the vent pipe. Start from one end and work your way through to the other end. Be thorough in cleaning the entire length of the vent pipe.
- Clean the Exterior Vent Opening: Go outside and locate the exterior vent opening. Use the vent cleaning brush or vacuum to remove any lint or debris that may be visible around the opening. Ensure proper airflow by clearing away any obstructions that you can safely reach.
It’s important to note that the vent pipe may vary in length and configuration depending on your home’s layout. Some vent pipes may be rigid, while others may be flexible or semi-rigid. Adjust your cleaning method accordingly to effectively clean the entire vent pipe.
Cleaning the vent pipe at least once a year, or more often if necessary, will help prevent lint buildup and ensure proper airflow. A clean and clear vent pipe promotes efficient drying, reduces the risk of a clogged dryer vent, and maintains the safety and performance of your dryer.
Step 5: Reconnect the Dryer
After inspecting and cleaning the vent pipe, the final step is to reconnect the dryer and ensure it is properly secured. Follow these steps to safely reconnect the dryer:
- Position the Dryer: Carefully move the dryer back toward its original position against the wall. Ensure that there is sufficient space behind the dryer for proper airflow and ventilation.
- Reconnect the Vent Pipe: Align the vent pipe connection on the back of the dryer with the opening from the vent pipe. Depending on the type of connection, you may need to slide it in, twist it, or secure it with a clamp. Ensure a tight and secure fit to prevent any leaks or disconnections.
- Verify Proper Alignment: Double-check that the vent pipe is correctly aligned and securely attached to both the dryer and the exterior vent opening. A loose or misaligned connection can lead to leaks, airflow issues, and potential lint buildup.
- Secure the Dryer Cord: If your dryer is electric, securely plug the power cord back into the electrical outlet. Ensure a proper and safe connection, following the manufacturer’s instructions and guidelines.
- Turn on and Test: Once the dryer is reconnected, plug it in or restore the gas supply for gas dryers. Turn on the dryer and run a short test cycle to ensure everything is functioning properly. Listen for any unusual noises or check for any signs of leaks or abnormalities during operation.
After reconnecting the dryer, pay close attention to its performance and monitor for any signs of airflow issues or recurring problems. Regularly check the lint trap and exterior vent for any lint buildup, and clean them as needed.
By properly reconnecting the dryer, you ensure that it operates efficiently, maintains proper airflow, and reduces the risk of a clogged dryer vent. Regular maintenance and cleaning of the vent system will help extend the life of your dryer and ensure the safety of your home.
Conclusion
Checking and maintaining your dryer vent is essential for efficient drying performance and the safety of your home. A clogged dryer vent can cause a range of issues, including increased drying time, excessive heat, burning smells, lint accumulation, decreased performance, and even fire hazards. By recognizing the signs of a clogged dryer vent and following the necessary steps to check and clean it, you can prevent these problems and keep your dryer running smoothly.
Regularly inspecting and cleaning your dryer vent system is crucial. Disconnecting the dryer, inspecting the exterior vent, checking the lint trap, cleaning the vent pipe, and reconnecting the dryer are the key steps in this process. By performing these steps at least once a year or more often if needed, you can remove lint, debris, and potential obstructions, ensuring proper airflow and preventing a clogged vent.
Additionally, it’s important to practice proper maintenance habits, such as cleaning the lint trap after every use, avoiding overloading the dryer, and using the appropriate dryer vent materials and configurations. These practices can help maintain optimal dryer performance and prevent lint build-up.
Remember, if you ever encounter difficulties or don’t feel comfortable checking or cleaning your dryer vent, it’s best to consult a professional. They have the expertise and tools to ensure a thorough inspection and proper maintenance of your dryer vent system.
By taking the time to maintain and clean your dryer vent, you can improve drying efficiency, extend the life of your dryer, reduce energy consumption, and most importantly, enhance the safety of your home by minimizing the risk of a lint-related fire.
So, stay vigilant, keep an eye out for signs of a clogged dryer vent, and take the necessary steps to maintain a clean and efficient dryer vent system. Your laundry routine will be more efficient, and you can have peace of mind knowing you have reduced the risks associated with a clogged dryer vent.
Frequently Asked Questions about How To Tell If The Dryer Vent Is Clogged
Was this page helpful?
At Storables.com, we guarantee accurate and reliable information. Our content, validated by Expert Board Contributors, is crafted following stringent Editorial Policies. We're committed to providing you with well-researched, expert-backed insights for all your informational needs.
