Home>Home Security and Surveillance>How Can I View My Home CCTV Over The Internet

Home Security and Surveillance
How Can I View My Home CCTV Over The Internet
Modified: March 6, 2024
View your home CCTV system over the internet with ease. Ensure the security and surveillance of your home with our convenient and reliable home security and surveillance services.
(Many of the links in this article redirect to a specific reviewed product. Your purchase of these products through affiliate links helps to generate commission for Storables.com, at no extra cost. Learn more)
Introduction
Welcome to the world of home security and surveillance! As technology advances, it’s becoming increasingly important to protect our homes and loved ones. One of the most effective ways to do this is by installing a CCTV (Closed Circuit Television) system.
With a CCTV system in place, you can keep a watchful eye on your property, deter potential intruders, and have evidence in case of any incidents. But what if you want to view your CCTV footage while you’re away from home? Thanks to the power of the internet, remote viewing of your CCTV system is now easier than ever.
In this article, we will guide you through the process of setting up your CCTV system for remote viewing over the internet. We will cover everything you need to know, from the requirements to troubleshooting any connectivity issues. So let’s dive in!
Key Takeaways:
- Setting up remote viewing for your home CCTV system requires a stable internet connection, port forwarding, and the right software. Once set up, you can monitor your property from anywhere in the world!
- If you encounter issues with remote viewing, check your port forwarding, internet speed, and login credentials. Troubleshooting these common problems will ensure seamless access to your CCTV system.
Requirements
Before you can begin viewing your CCTV system over the internet, there are a few key requirements you need to fulfill. Here’s what you’ll need:
- A CCTV system: First and foremost, you need to install a CCTV system in your home. This typically includes cameras, a DVR (Digital Video Recorder) or NVR (Network Video Recorder), and necessary cables.
- Internet connection: To remotely view your CCTV system, you must have a stable and reliable internet connection in your home. This is essential for streaming the footage over the internet.
- Static IP address or DDNS: A static IP address or Dynamic DNS (DDNS) service is required to access your CCTV system over the internet. Most internet service providers offer dynamic IP addresses, which means your IP address can change. DDNS allows you to assign a domain name to your IP address, making it easier to access your CCTV system remotely.
- Port forwarding: Port forwarding is necessary to route the incoming traffic from the internet to your CCTV system. This ensures that you can connect to your CCTV system from outside your home network.
- Router support: Check if your router supports remote viewing and if it has the necessary features to configure port forwarding and DDNS. Consult the user manual or contact the manufacturer for specific instructions.
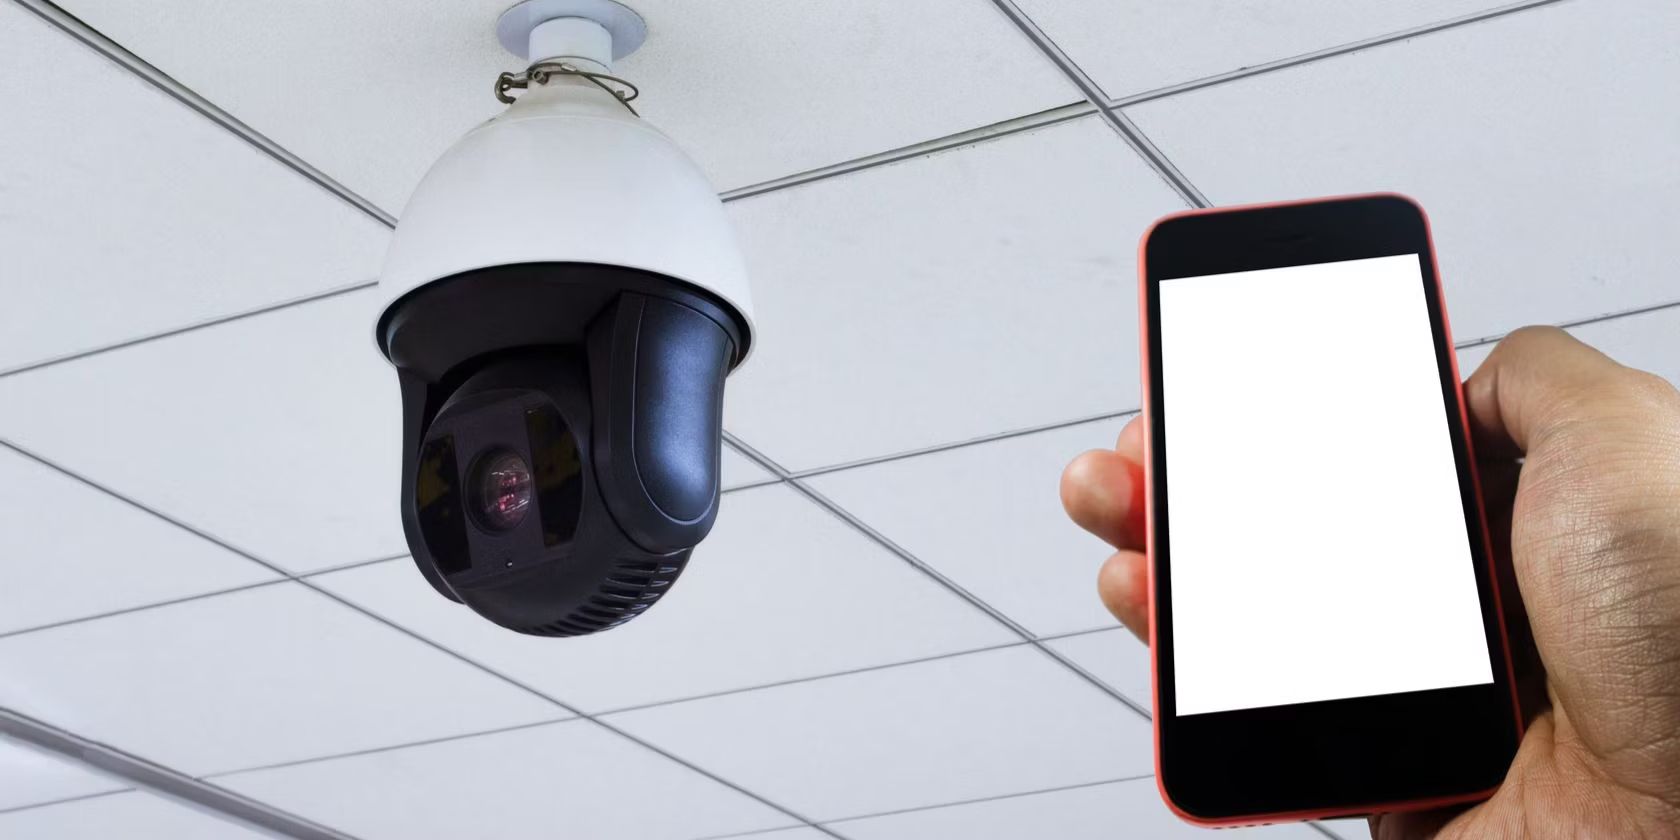
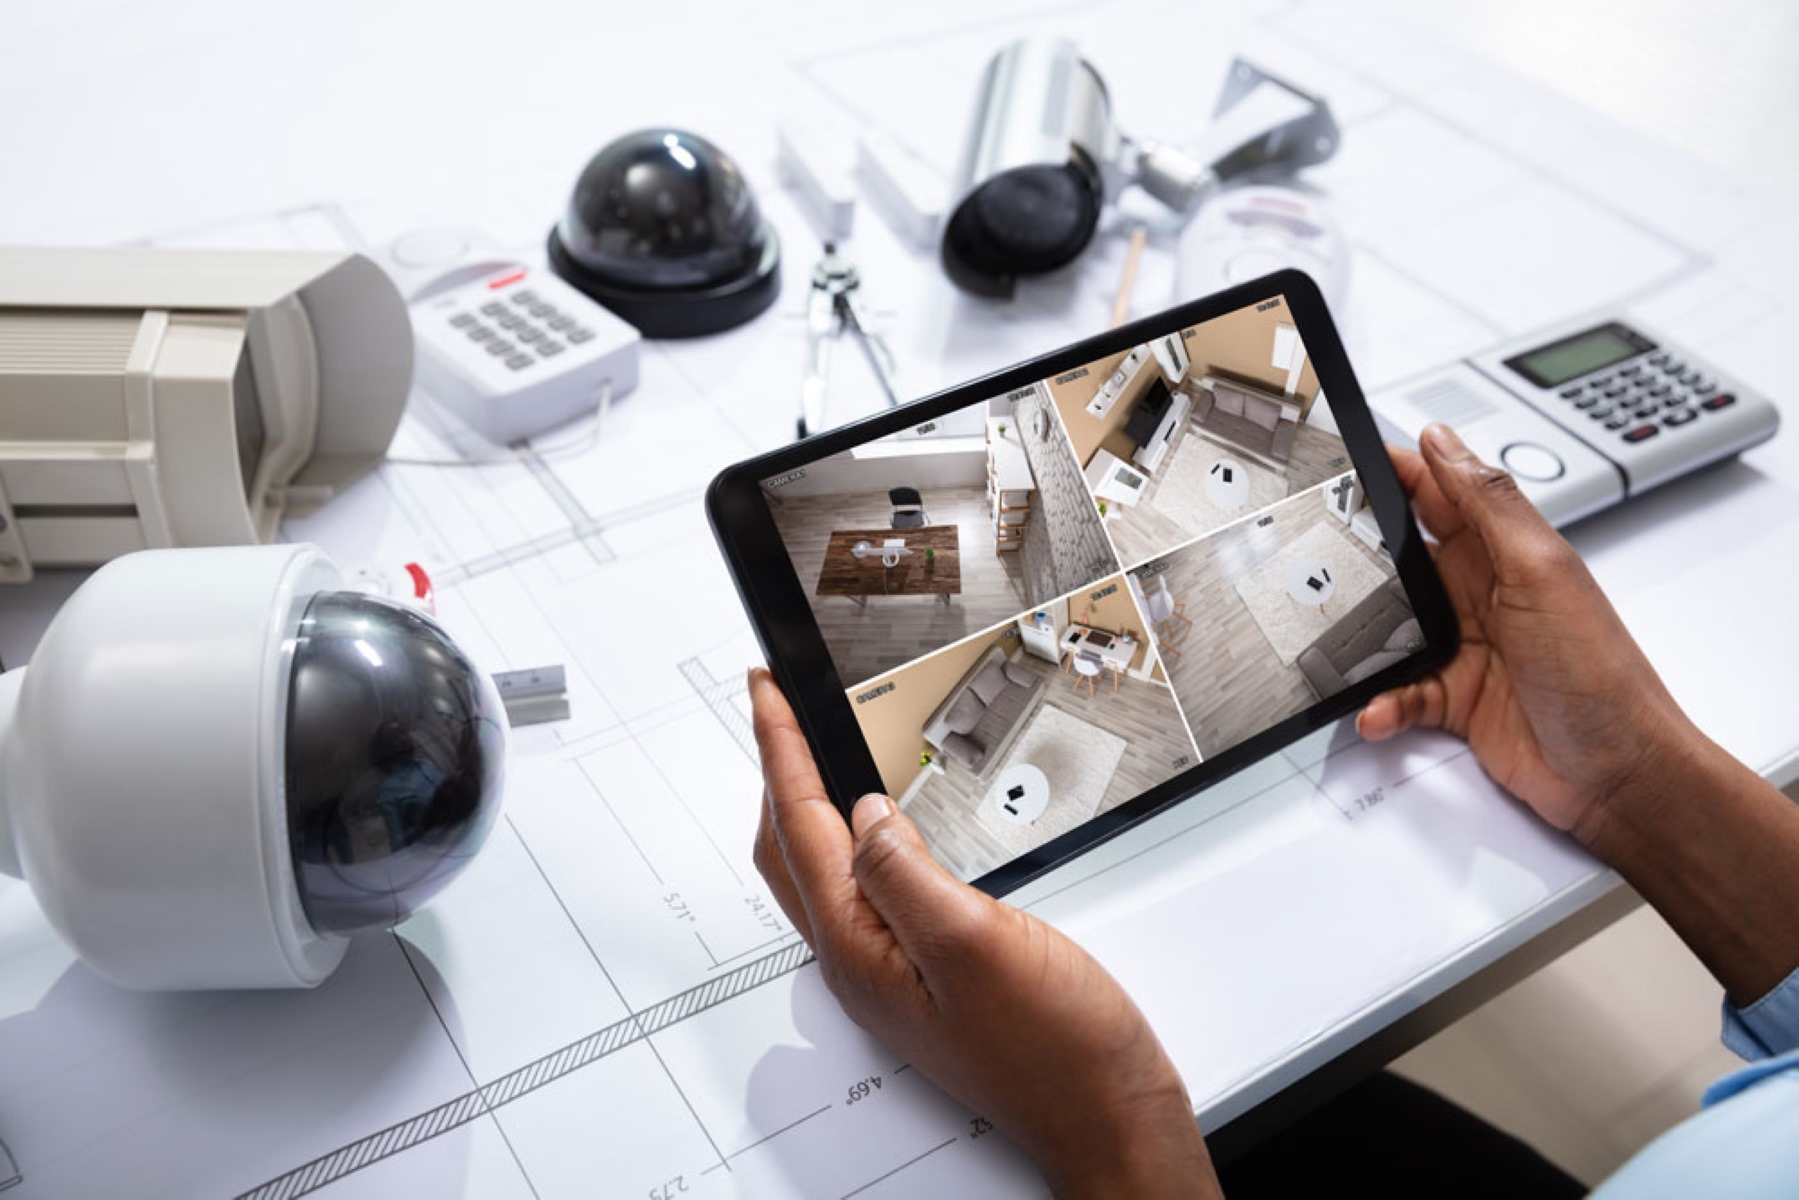
- Mobile device or computer: Lastly, you’ll need a mobile device (such as a smartphone or tablet) or a computer with internet access to view your CCTV system remotely.
Now that you have a clear understanding of the requirements, let’s move on to setting up your CCTV system for remote viewing over the internet.
Setting Up Your CCTV System
Setting up your CCTV system is the first step towards being able to view it over the internet. Follow these steps to ensure a smooth installation process:
- Choose the right locations for your cameras: Decide on the areas you want to monitor and strategically place your cameras to cover those areas effectively. Ensure that they have a clear view and are protected from harsh weather conditions.
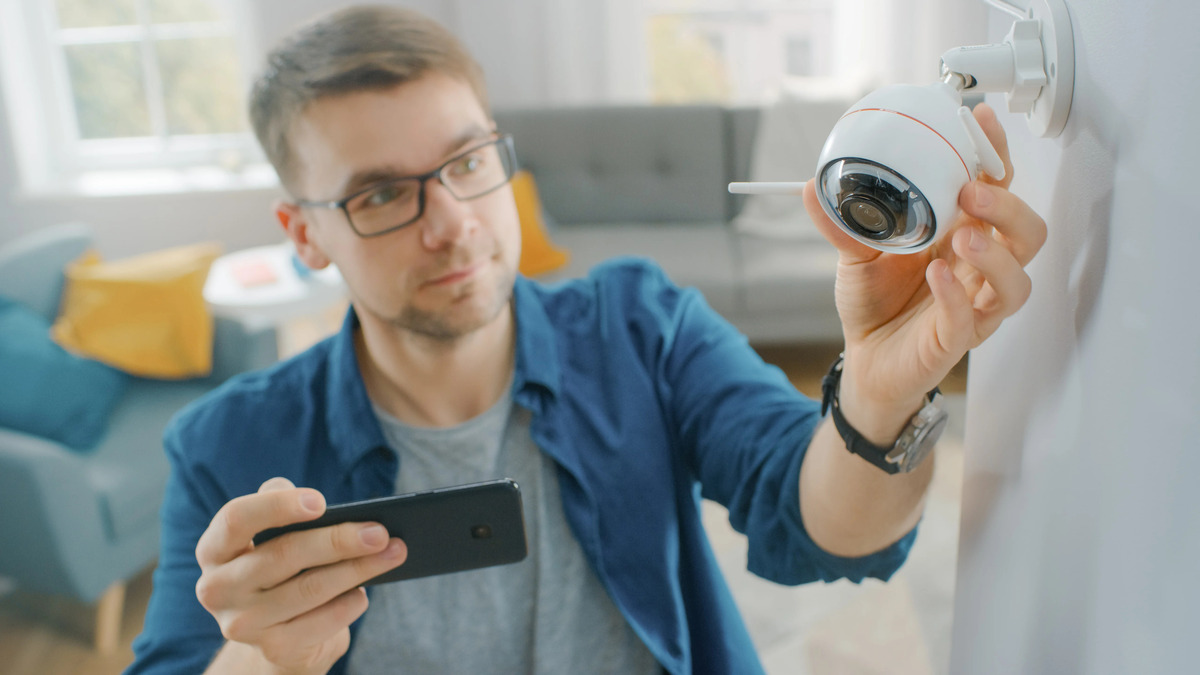
- Mount the cameras: Mount the cameras securely using the appropriate mounting brackets. Make sure they are positioned at the right angle for optimal coverage.
- Connect the cameras to the DVR or NVR: Connect the cameras to the DVR or NVR using the provided cables. Ensure the connections are secure and test each camera to confirm they are working properly.
- Power up the DVR or NVR: Connect the DVR or NVR to a power source and turn it on. Follow the manufacturer’s instructions to initialize and set up the device.
- Configure the storage: Set up the storage options on your DVR or NVR, such as configuring the hard drive for recording. Adjust the recording settings based on your preferences and storage capacity.
- Connect the DVR or NVR to your router: Use an Ethernet cable to connect the DVR or NVR to your router. This will establish a connection between your CCTV system and your home network.
- Power up the cameras: Connect the cameras to a power source and ensure they are receiving power. This will allow them to transmit the video feed to the DVR or NVR.
- Access the DVR or NVR locally: With the CCTV system set up, you can now access the DVR or NVR locally by connecting a monitor to it. This allows you to verify that the cameras are working correctly and adjust any necessary settings.
Once your CCTV system is set up and functioning properly, it’s time to move on to configuring it for remote viewing over the internet. Stay tuned for the next section!
Configuring Your CCTV System for Remote Viewing
Now that your CCTV system is set up, it’s time to configure it for remote viewing over the internet. Follow these steps to ensure a seamless setup:
- Enable remote access: Access the settings menu of your DVR or NVR and enable remote access. This option is typically found in the network or system settings.
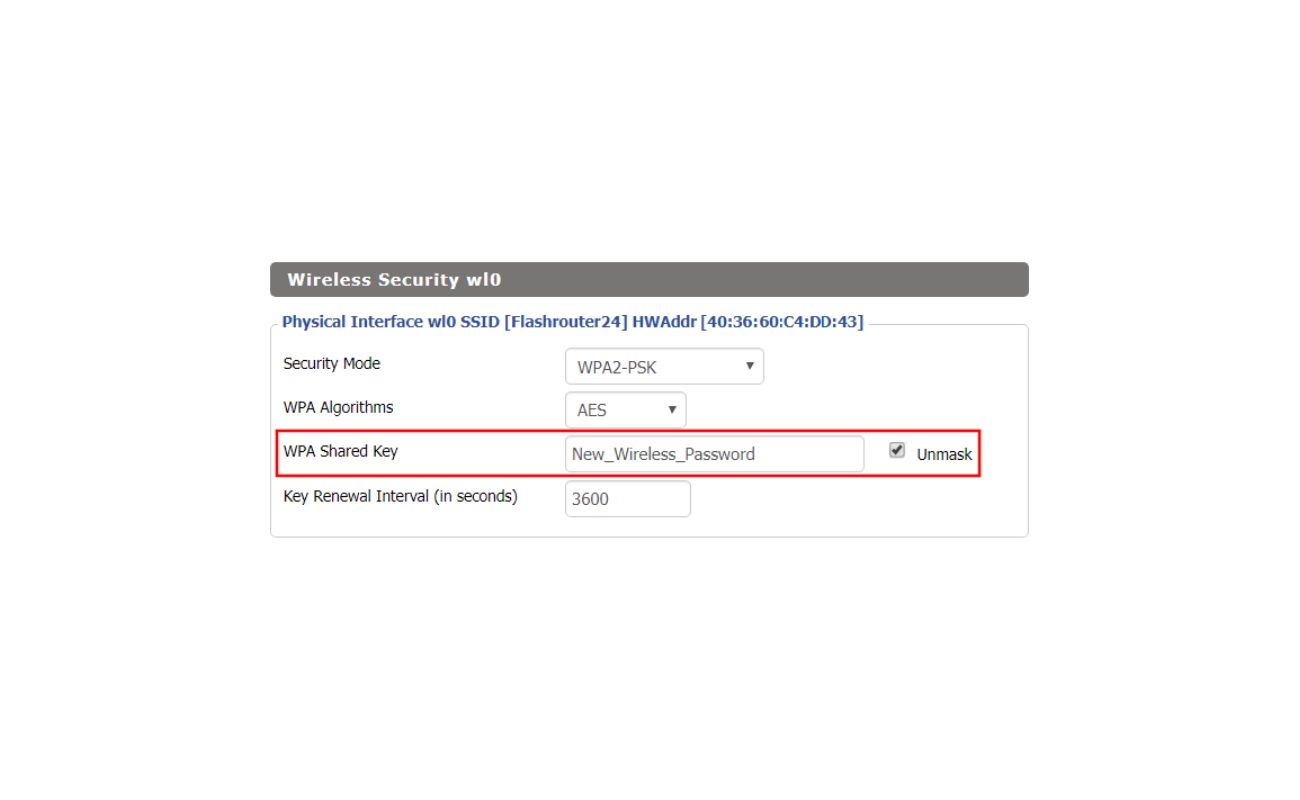
- Set up port forwarding: Log in to your router’s settings interface and configure port forwarding. This allows incoming traffic from the internet to be directed to your CCTV system. Consult your router’s user manual or contact the manufacturer for specific instructions on how to set up port forwarding.
- Assign a static IP address or set up DDNS: If your internet service provider assigns a dynamic IP address, it’s recommended to set up Dynamic DNS (DDNS). DDNS associates a domain name with your IP address, allowing you to access your CCTV system using a URL. Alternatively, you can request a static IP address from your internet service provider.
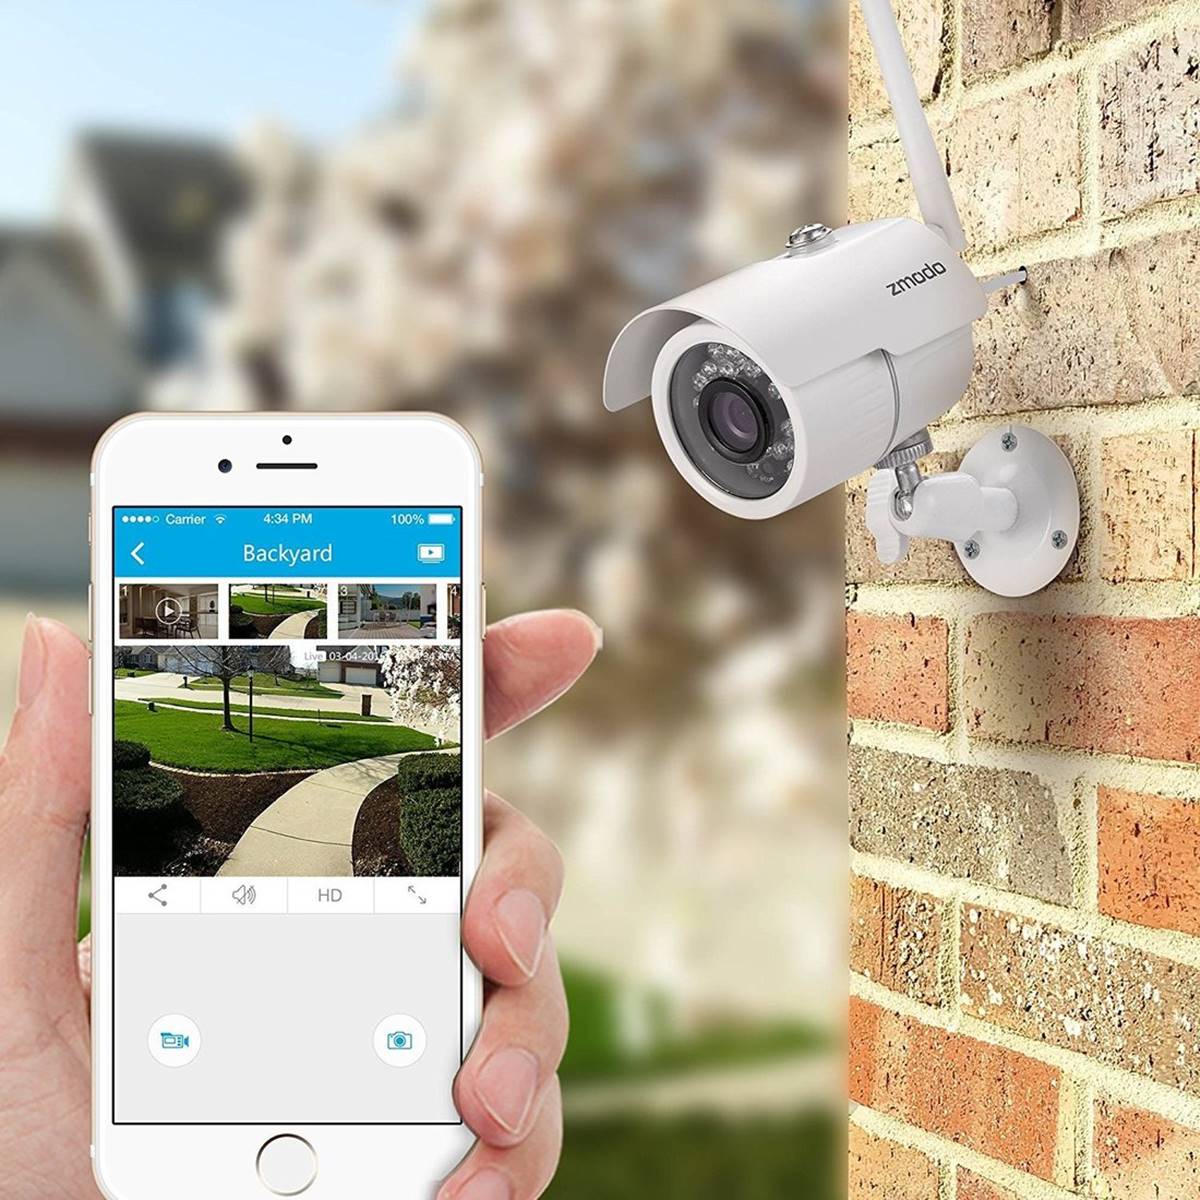
- Configure remote viewing software or apps: Install the manufacturer’s remote viewing software on your computer or mobile device. This software allows you to connect to your CCTV system remotely. Follow the instructions provided by the manufacturer to set up the software and connect to your CCTV system.
- Create user accounts: Set up user accounts and passwords for remote access to your CCTV system. Limit access to authorized users only to ensure the security of your footage.
- Test remote access: Once all the configurations are complete, test remote access by connecting to your CCTV system from a computer or mobile device outside your home network. Ensure that you can view the live feed and recorded footage without any issues.
With your CCTV system properly configured for remote viewing, you can now conveniently access your surveillance footage from anywhere in the world with an internet connection. In the next section, we will explore how to view your CCTV system over the internet.
Ensure your CCTV system is connected to a network and has a static IP address. Set up port forwarding on your router to allow remote access. Use a secure password and enable encryption for added security.
Viewing Your CCTV System Over the Internet
Now that you have set up and configured your CCTV system for remote viewing, it’s time to learn how to actually access and view your surveillance footage over the internet. Here’s how:
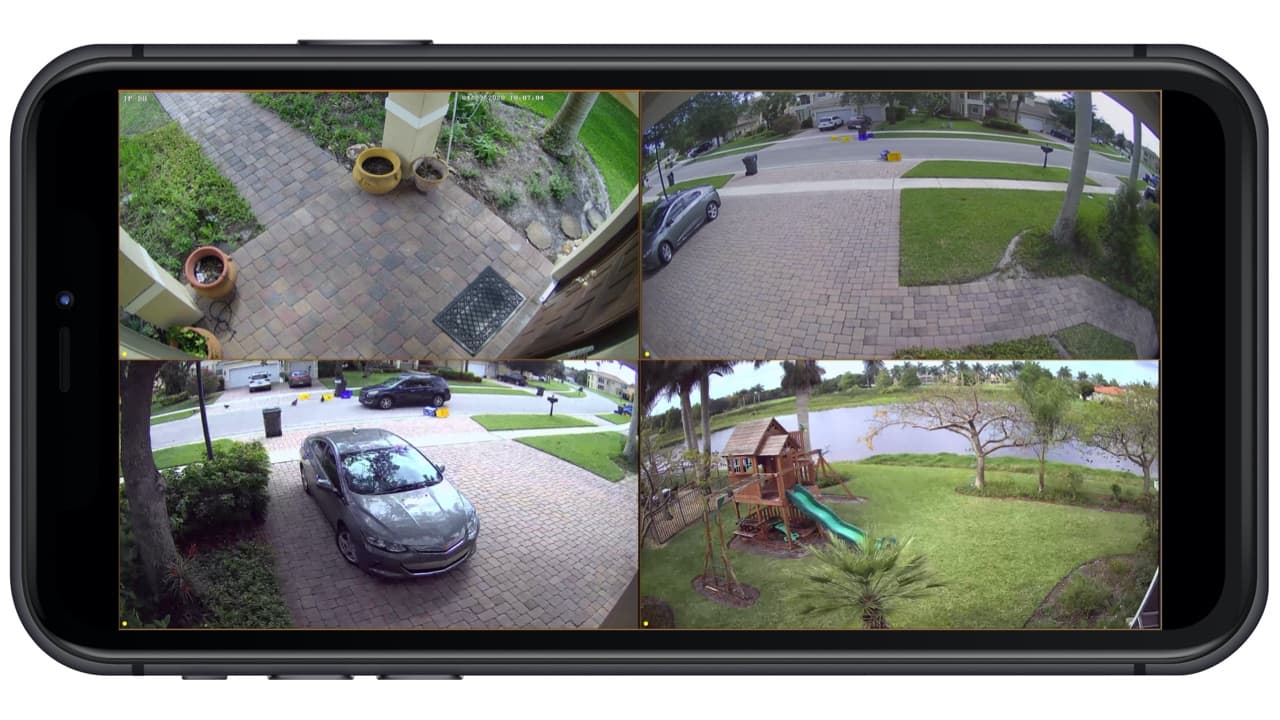
- Launch the remote viewing software or app: Open the remote viewing software or app on your computer or mobile device.
- Log in to your CCTV system: Enter your login credentials (username and password) to access your CCTV system remotely. Make sure you enter the correct information to establish a successful connection.
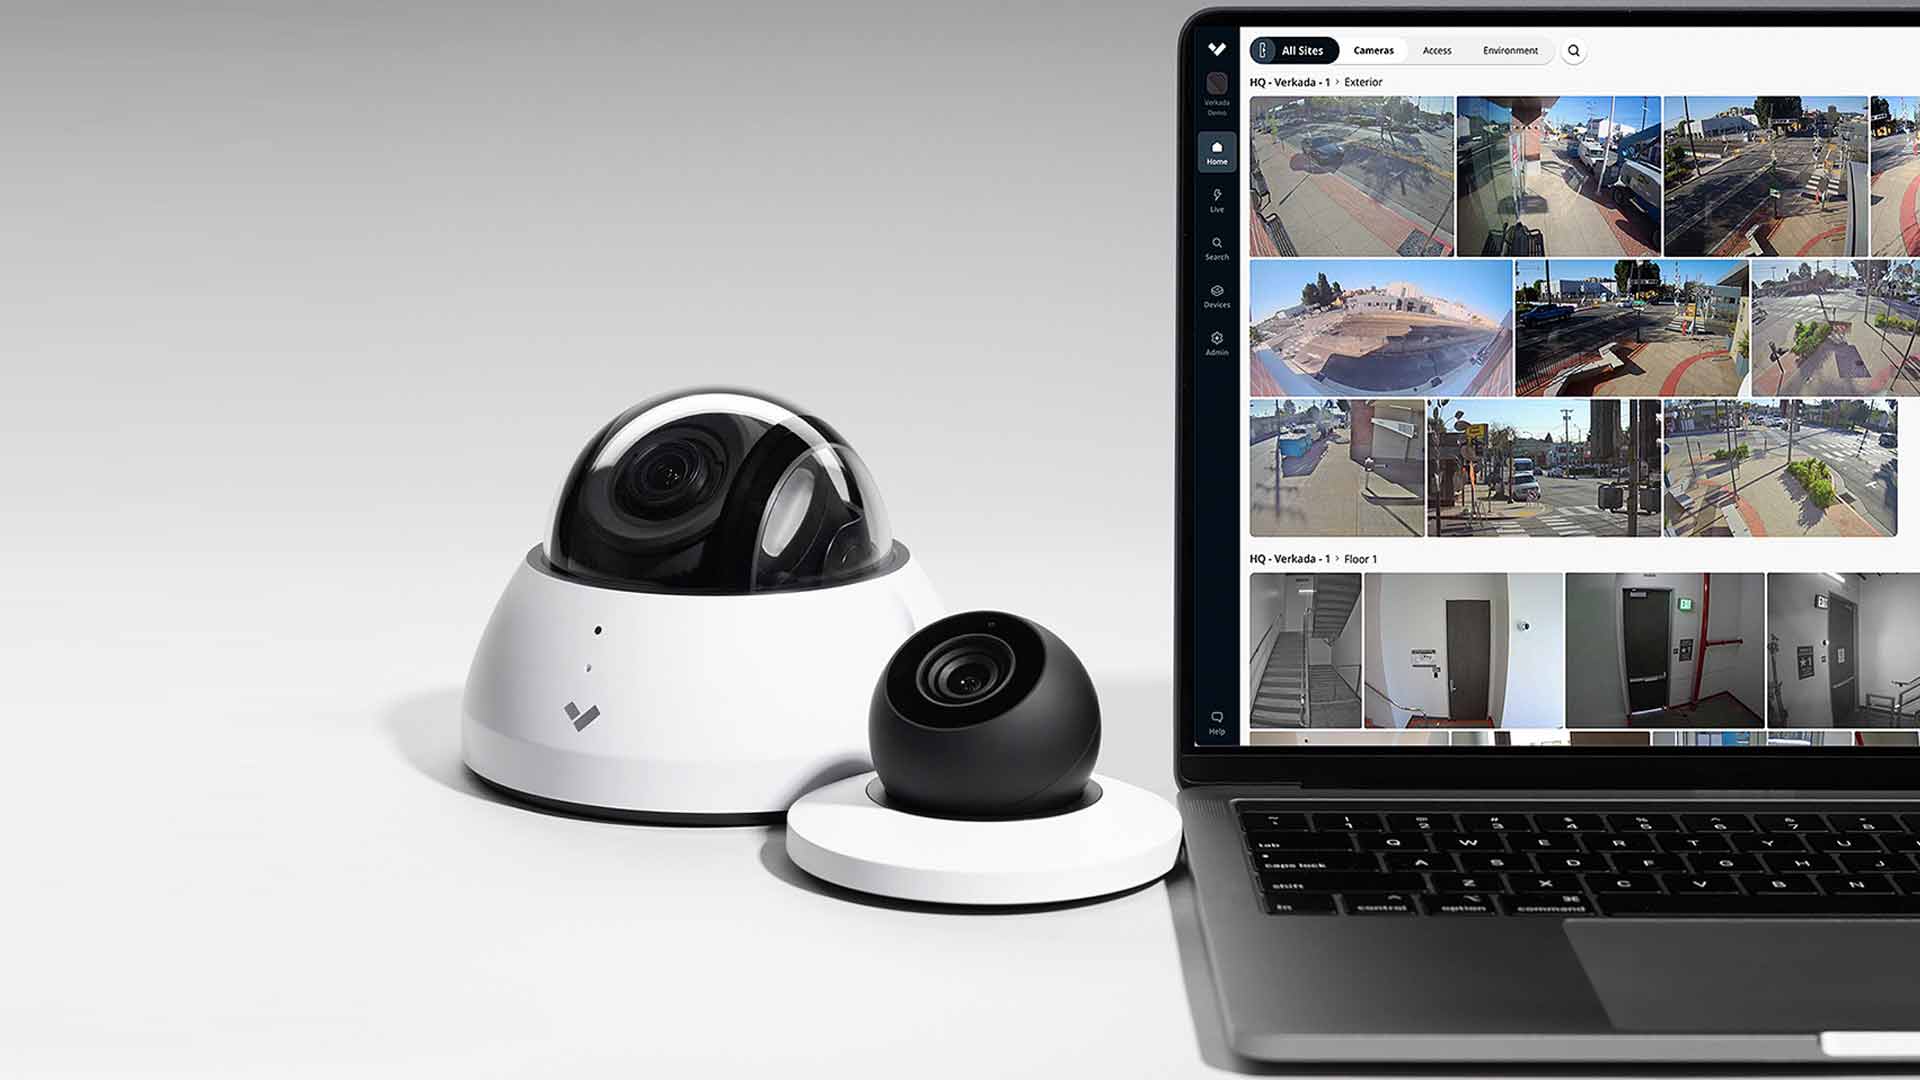
- Select the desired camera: Once logged in, you will typically see a list of cameras associated with your CCTV system. Choose the camera you want to view by clicking on it.
- Choose the live view or playback mode: Depending on the software or app, you may have the option to select between live view or playback mode. Live view allows you to see the real-time video feed from the chosen camera, while playback mode lets you view recorded footage from a specific time and date.
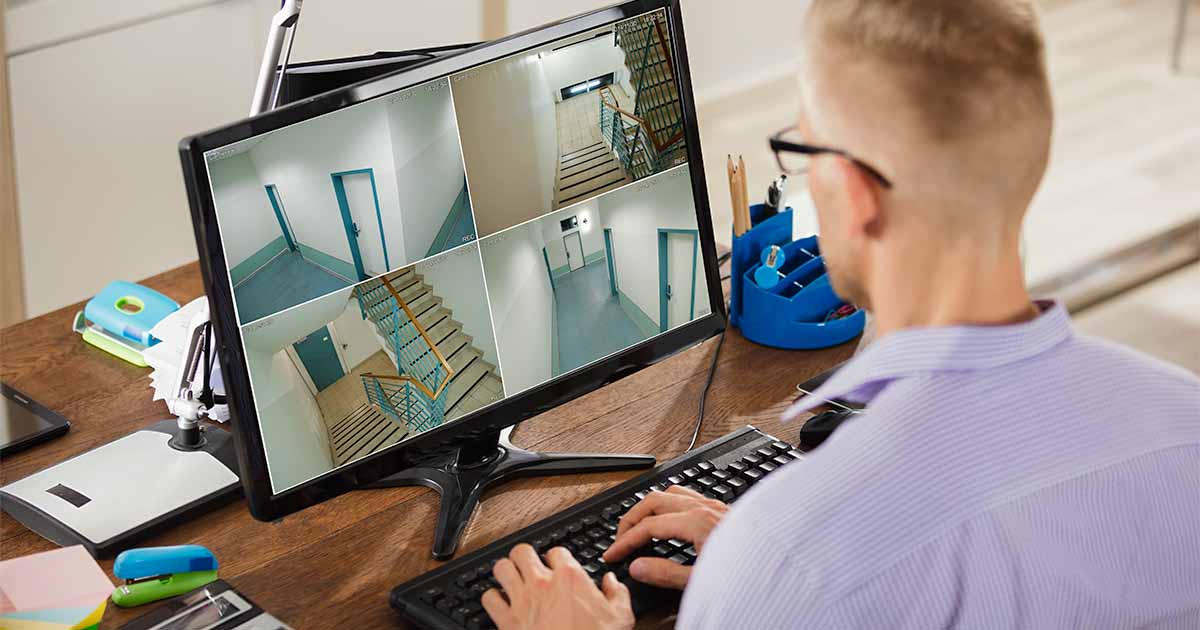
- Monitor your CCTV system: Once you have selected the desired camera and view mode, you can now monitor your CCTV system remotely. Keep an eye on your property, check for any suspicious activity, and ensure everything is running smoothly.
It’s important to note that the process of viewing your CCTV system over the internet may vary depending on the manufacturer and the software or app you are using. Always refer to the manufacturer’s instructions and user manuals for specific guidance related to your system.
Now that you know how to view your CCTV system over the internet, let’s explore some common connectivity issues and how to troubleshoot them in the next section.
Read more: How To Connect My Phone To My Home CCTV
Troubleshooting Connectivity Issues
While setting up and accessing your CCTV system over the internet, you may encounter connectivity issues that can hinder your remote viewing experience. Here are some common problems and troubleshooting steps to help you resolve them:
- No remote access: If you’re unable to access your CCTV system remotely, ensure that you have properly set up port forwarding on your router. Double-check the port numbers, IP address, and protocol settings to ensure they match the configuration on your CCTV system.
- Poor video quality or lag: If you’re experiencing low-quality video or noticeable lag, it could be due to insufficient internet bandwidth. Check your internet speed and consider upgrading your plan if necessary. Additionally, reduce the resolution or frame rate settings on your CCTV system to optimize the streaming performance.
- Failed login attempts: If you’re unable to log in to your CCTV system remotely, verify that you’re using the correct username and password. Double-check for any spelling mistakes or case sensitivity. If you still can’t access it, reset your password following the instructions provided by the manufacturer.
- Dynamic IP address changes: If your internet service provider frequently changes your IP address, consider using dynamic DNS (DDNS) to associate a domain name with your IP address. DDNS will automatically update the IP address in the background, allowing you to access your CCTV system using a consistent URL.
- Firewall or antivirus blocking access: Some firewalls or antivirus software may block the remote viewing software from accessing the internet. Temporarily disable these security measures and test the remote viewing connection. If successful, add an exception to your firewall or antivirus settings to allow the remote viewing software to communicate.
- Hardware or firmware issues: If all else fails, there may be hardware or firmware issues with your CCTV system. Check for any firmware updates from the manufacturer’s website and apply them if needed. Contact the manufacturer’s support team for further assistance if the problem persists.
Remember, troubleshooting connectivity issues can be complex, and the steps mentioned above serve as general guidance. For specific issues or equipment, refer to the user manual or contact the manufacturer’s support for detailed troubleshooting instructions.
Now that you’re equipped with troubleshooting knowledge, you’re ready to enjoy seamless remote viewing of your CCTV system over the internet.
Conclusion
Congratulations! You’ve become well-versed in the intricacies of setting up and accessing your CCTV system over the internet. By following the steps outlined in this article, you have taken a crucial step towards ensuring the security and surveillance of your home.
Through careful setup and configuration, you can now remotely monitor your property, keep tabs on any suspicious activities, and have peace of mind knowing that you can access your CCTV system from anywhere in the world.
Remember to fulfill the requirements, including having a CCTV system, stable internet connection, static IP address or DDNS, port forwarding, and compatible remote viewing software or app. Configuring your CCTV system for remote viewing involves enabling remote access, setting up port forwarding, assigning a static IP or utilizing DDNS, configuring remote viewing software or app, and creating user accounts for security.
If you encounter any connectivity issues during the setup process, refer to the troubleshooting steps provided in this article to overcome any obstacles and ensure a smooth remote viewing experience.
Keep in mind that the specifics of the setup process may vary depending on your CCTV system’s manufacturer and the software or app you’re using. Always consult the manufacturer’s instructions and support resources for more detailed guidance specific to your setup.
With your CCTV system up and running, you can rest assured that you have heightened the security and surveillance capabilities of your home. Whether you’re traveling, at work, or simply away from home, you can conveniently access your CCTV system over the internet and keep a watchful eye on your property.
Remember to regularly update your system, maintain a secure login process, and ensure the privacy of your footage. With these precautions in place, you can confidently enjoy the benefits of remote viewing and stay connected to your home at all times.
Thank you for joining us on this journey to enhance your home security and surveillance. Stay vigilant, stay connected, and stay safe!
Frequently Asked Questions about How Can I View My Home CCTV Over The Internet
Was this page helpful?
At Storables.com, we guarantee accurate and reliable information. Our content, validated by Expert Board Contributors, is crafted following stringent Editorial Policies. We're committed to providing you with well-researched, expert-backed insights for all your informational needs.
