Home>Home Security and Surveillance>How Do I Set Up A Wireless Security Camera To My Chrome OS
Home Security and Surveillance
How Do I Set Up A Wireless Security Camera To My Chrome OS
Modified: October 27, 2024
Learn how to set up a wireless security camera to your Chrome OS for home security and surveillance. Easy steps to ensure your peace of mind.
(Many of the links in this article redirect to a specific reviewed product. Your purchase of these products through affiliate links helps to generate commission for Storables.com, at no extra cost. Learn more)
Introduction
Home security is a top priority for many homeowners, and one highly effective way to protect your property is by installing a wireless security camera. With advances in technology, setting up a wireless security camera has become easier than ever, even for users with Chrome OS devices. In this article, we will guide you through the process of setting up a wireless security camera to your Chrome OS, ensuring that you can monitor your home or office with ease.
Having a wireless security camera offers numerous benefits. It provides you with real-time video footage of your property, allowing you to keep an eye on things even when you are not physically present. Additionally, the mere presence of a security camera can act as a deterrent to potential intruders, reducing the chances of a break-in or theft. With the convenience of wireless technology, you can monitor your camera feed from anywhere, using your Chrome OS device, giving you peace of mind and ensuring the safety of your home or workplace.
Before we proceed with the setup process, it is essential to choose a compatible wireless security camera for your Chrome OS device. Ensure that the camera you select is designed to work with Chrome OS and is equipped with features that align with your specific security needs. Once you have selected the perfect camera, you are ready to begin the setup process.
Key Takeaways:
- Setting up a wireless security camera to your Chrome OS device is easy and provides real-time monitoring, deterring potential intruders and offering peace of mind.
- Choose a compatible camera, install the app, connect to Wi-Fi, configure settings, mount the camera, and test its functionality for effective home or office security.
Step 1: Choose a compatible wireless security camera
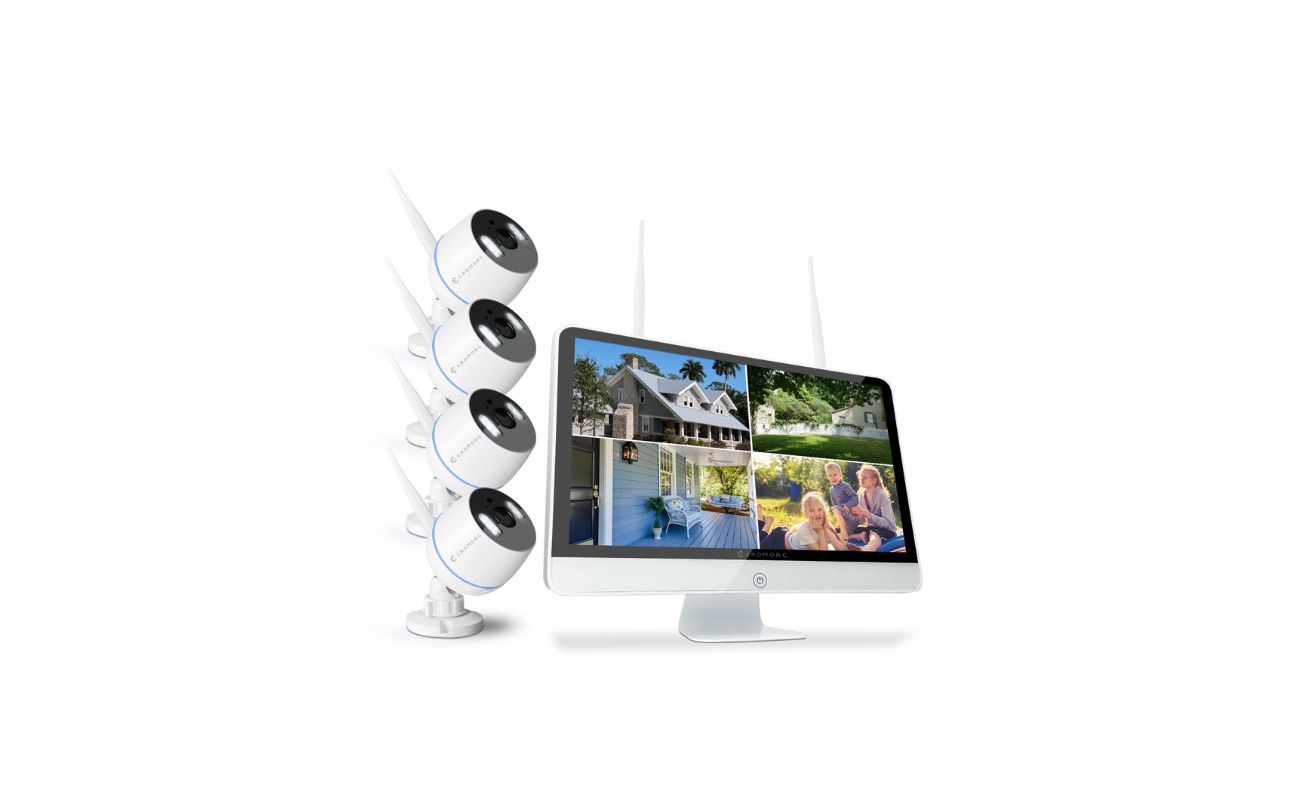
When choosing a wireless security camera for your Chrome OS device, it is crucial to ensure compatibility. Not all cameras are designed to work seamlessly with Chrome OS, so it’s important to do your research and select a camera that is specifically designed for this operating system.
Start by exploring the various options available in the market. Look for cameras that offer features such as high-resolution video quality, night vision capabilities, motion detection, and two-way audio communication. These features will enhance the security and monitoring capabilities of your camera.
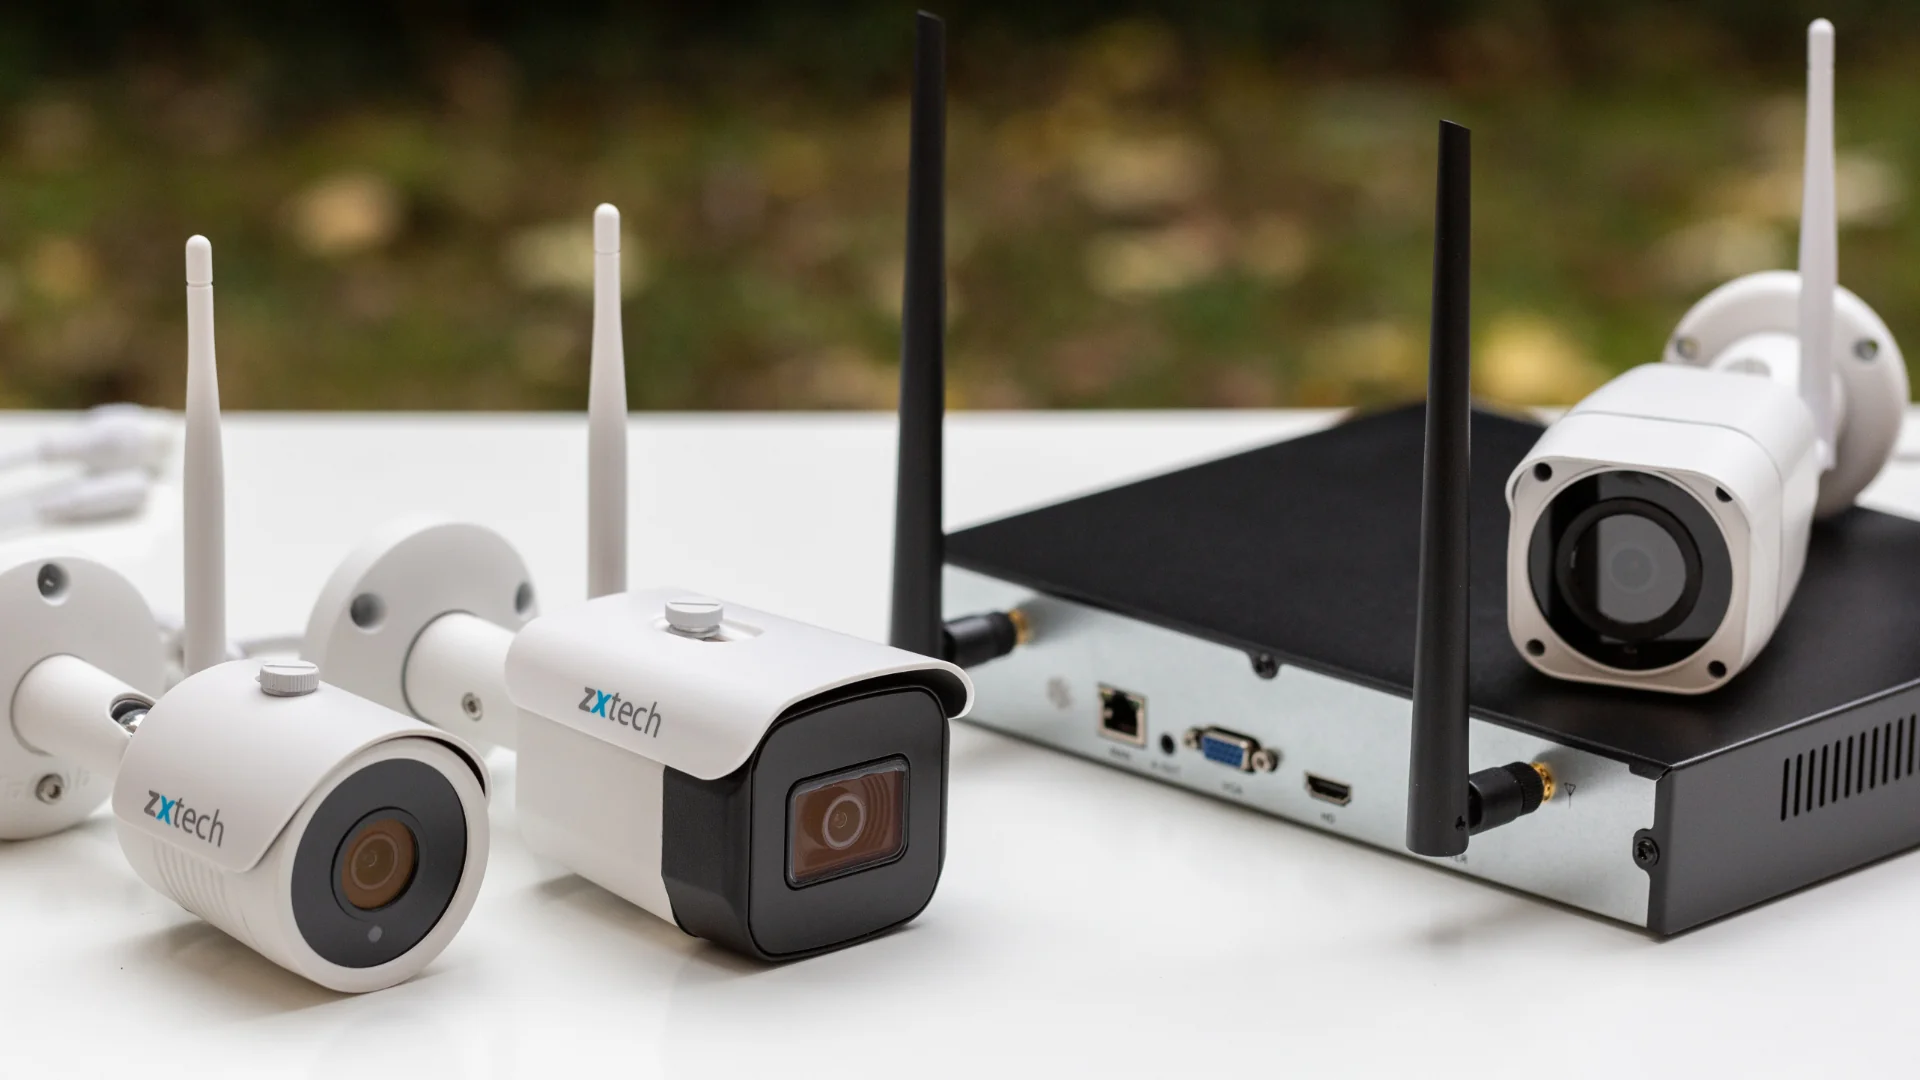
Another important consideration is the camera’s connectivity options. Ensure that the camera you choose supports Wi-Fi connectivity, as this will allow you to connect it to your Chrome OS device wirelessly. Some cameras also offer additional connectivity options such as Bluetooth or Ethernet, providing flexibility in case you need to use an alternative method of connection.
Before making a purchase, read reviews and user experiences to get an understanding of the camera’s reliability and performance. Look for feedback on the camera’s compatibility with Chrome OS and its ease of setup. This information will help you make an informed decision and select a camera that meets your requirements.
Additionally, consider the camera’s power source. Some cameras are battery-powered, making them easy to install and move around. However, they require regular battery changes. Other cameras are designed to be plugged into an electrical outlet, offering continuous power supply but limiting their placement options. Choose a power source that suits your needs and preferences.
Once you have identified a compatible wireless security camera that fits your requirements and budget, you are ready to proceed to the next step of the setup process.
Step 2: Install the security camera app on your Chrome OS device
After selecting a compatible wireless security camera for your Chrome OS device, the next step is to install the necessary security camera app. The app serves as the interface through which you can access the camera’s live feed, recorded footage, and configure various settings.
Start by checking if the camera manufacturer provides a dedicated app for Chrome OS. Visit their website or search the Chrome Web Store for the app. Look for user reviews and ratings to gauge the app’s reliability and functionality.
If the manufacturer does not offer a dedicated app for Chrome OS, don’t worry. Many wireless security cameras have cross-platform compatibility, meaning they can be accessed and managed through web browsers regardless of the operating system. In this case, you can simply use a supported web browser on your Chrome OS device to access the camera’s features.
Once you have found the appropriate app or web interface for your wireless security camera, proceed to download and install it on your Chrome OS device. Follow the instructions provided by the manufacturer to ensure a successful installation.
After the installation is complete, open the app or web interface and sign in to your camera’s account. If you don’t have an account, you will need to create one. Typically, you will need to provide an email address and set a password to create your account.
With the security camera app installed and your account set up, you are now ready to move on to the next step, which involves connecting your wireless security camera to your Wi-Fi network.
Step 3: Connect the wireless security camera to your Wi-Fi network
Now that you have installed the security camera app on your Chrome OS device, it’s time to connect the wireless security camera to your Wi-Fi network. This step is crucial as it enables the camera to communicate with your device and access the internet for remote monitoring and recording.
Begin by placing the camera within the range of your Wi-Fi router. It’s essential to have a strong and stable Wi-Fi signal for optimal performance. Once the camera is in position, power it on and follow the manufacturer’s instructions for the initial setup process.
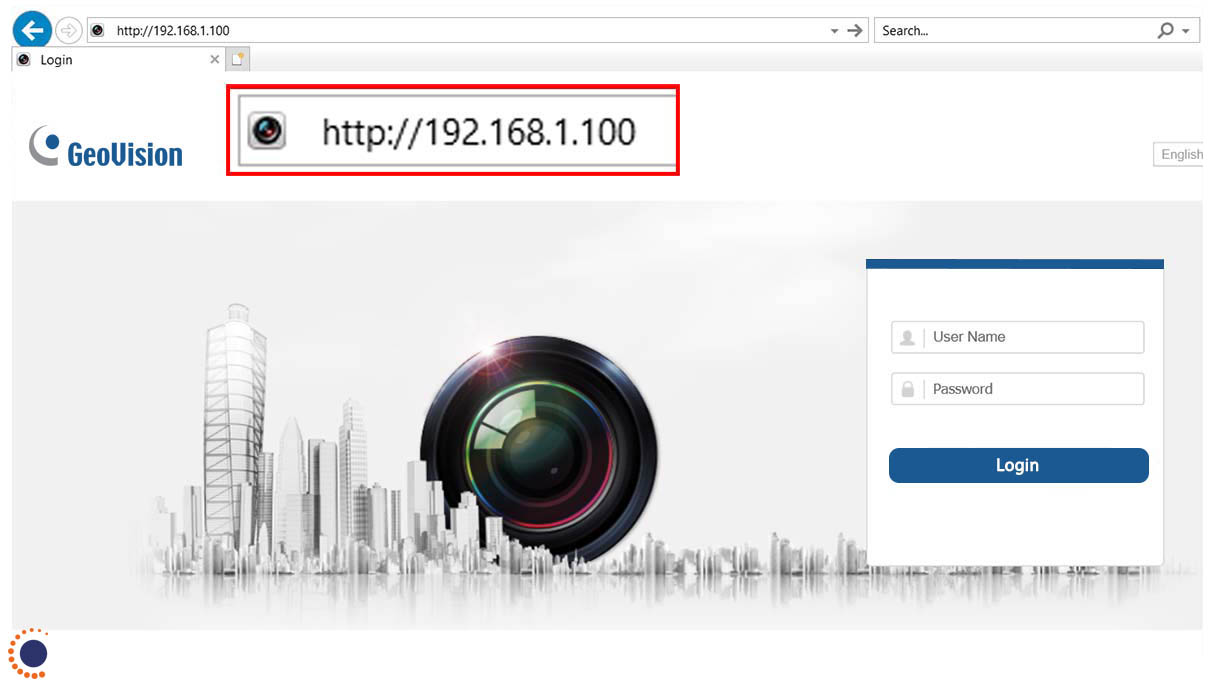
In most cases, the setup process involves connecting the camera to your Wi-Fi network. This can be done through the security camera app on your Chrome OS device. Open the app and navigate to the camera’s settings. Look for the Wi-Fi setup or network configuration option.
Once you have located the Wi-Fi setup option, the app will guide you through the process. It may prompt you to input the Wi-Fi network name (SSID) and password. Ensure that you enter the correct information to establish a successful connection.
Some wireless security cameras also support Wi-Fi Protected Setup (WPS), a convenient method that allows you to connect the camera to your Wi-Fi network with the press of a button. If your camera supports WPS, you can find the WPS button on the camera or within the app. Press the button and follow any on-screen instructions to complete the setup.
After entering the necessary information or using the WPS method, the camera will attempt to connect to your Wi-Fi network. This process may take a few moments, so be patient. Once the connection is established, you will receive a confirmation through the app or on the camera itself.
With the wireless security camera successfully connected to your Wi-Fi network, you can now proceed to the next step, which involves configuring the camera settings according to your preferences.
To set up a wireless security camera to your Chrome OS, you can use a camera that is compatible with the Chrome browser or an app from the Chrome Web Store. Make sure to follow the manufacturer’s instructions for connecting the camera to your network and accessing the live feed on your Chrome OS device.
Step 4: Configure the camera settings
Now that your wireless security camera is connected to your Wi-Fi network, it’s time to configure the camera settings to ensure optimal performance and meet your specific monitoring needs. The camera settings can typically be accessed through the security camera app on your Chrome OS device.
Start by selecting the camera from the app’s homepage or device list. Once you have accessed the camera’s settings, you will find various options that allow you to customize its functionality and performance.
One crucial setting to configure is the motion detection feature. Enable motion detection if your camera supports it, as this will allow the camera to alert you whenever it detects any movement within its field of view. Adjust the sensitivity level according to your preference to avoid false alarms caused by minor movements, such as pets or tree branches swaying in the wind.
If your camera supports audio capabilities, you can also configure the two-way audio feature. This feature enables you to communicate with anyone near the camera’s location, providing an additional layer of security and convenience.
Furthermore, explore any recording options available through the camera settings. Many wireless security cameras offer various recording modes, such as continuous recording or event-triggered recording. Determine the recording mode that aligns with your requirements and adjust the recording duration and storage settings accordingly.
Additionally, consider configuring any additional features or settings offered by your specific camera model. This could include adjusting the camera’s field of view, setting up scheduled monitoring, or integrating the camera with other smart home devices.
Take the time to explore and familiarize yourself with the various settings available. This will allow you to customize your wireless security camera according to your specific needs and preferences.
Once you have configured the camera settings to your satisfaction, you are ready to move on to the next step, which involves mounting the camera in your desired location.
Step 5: Mount the camera in your desired location
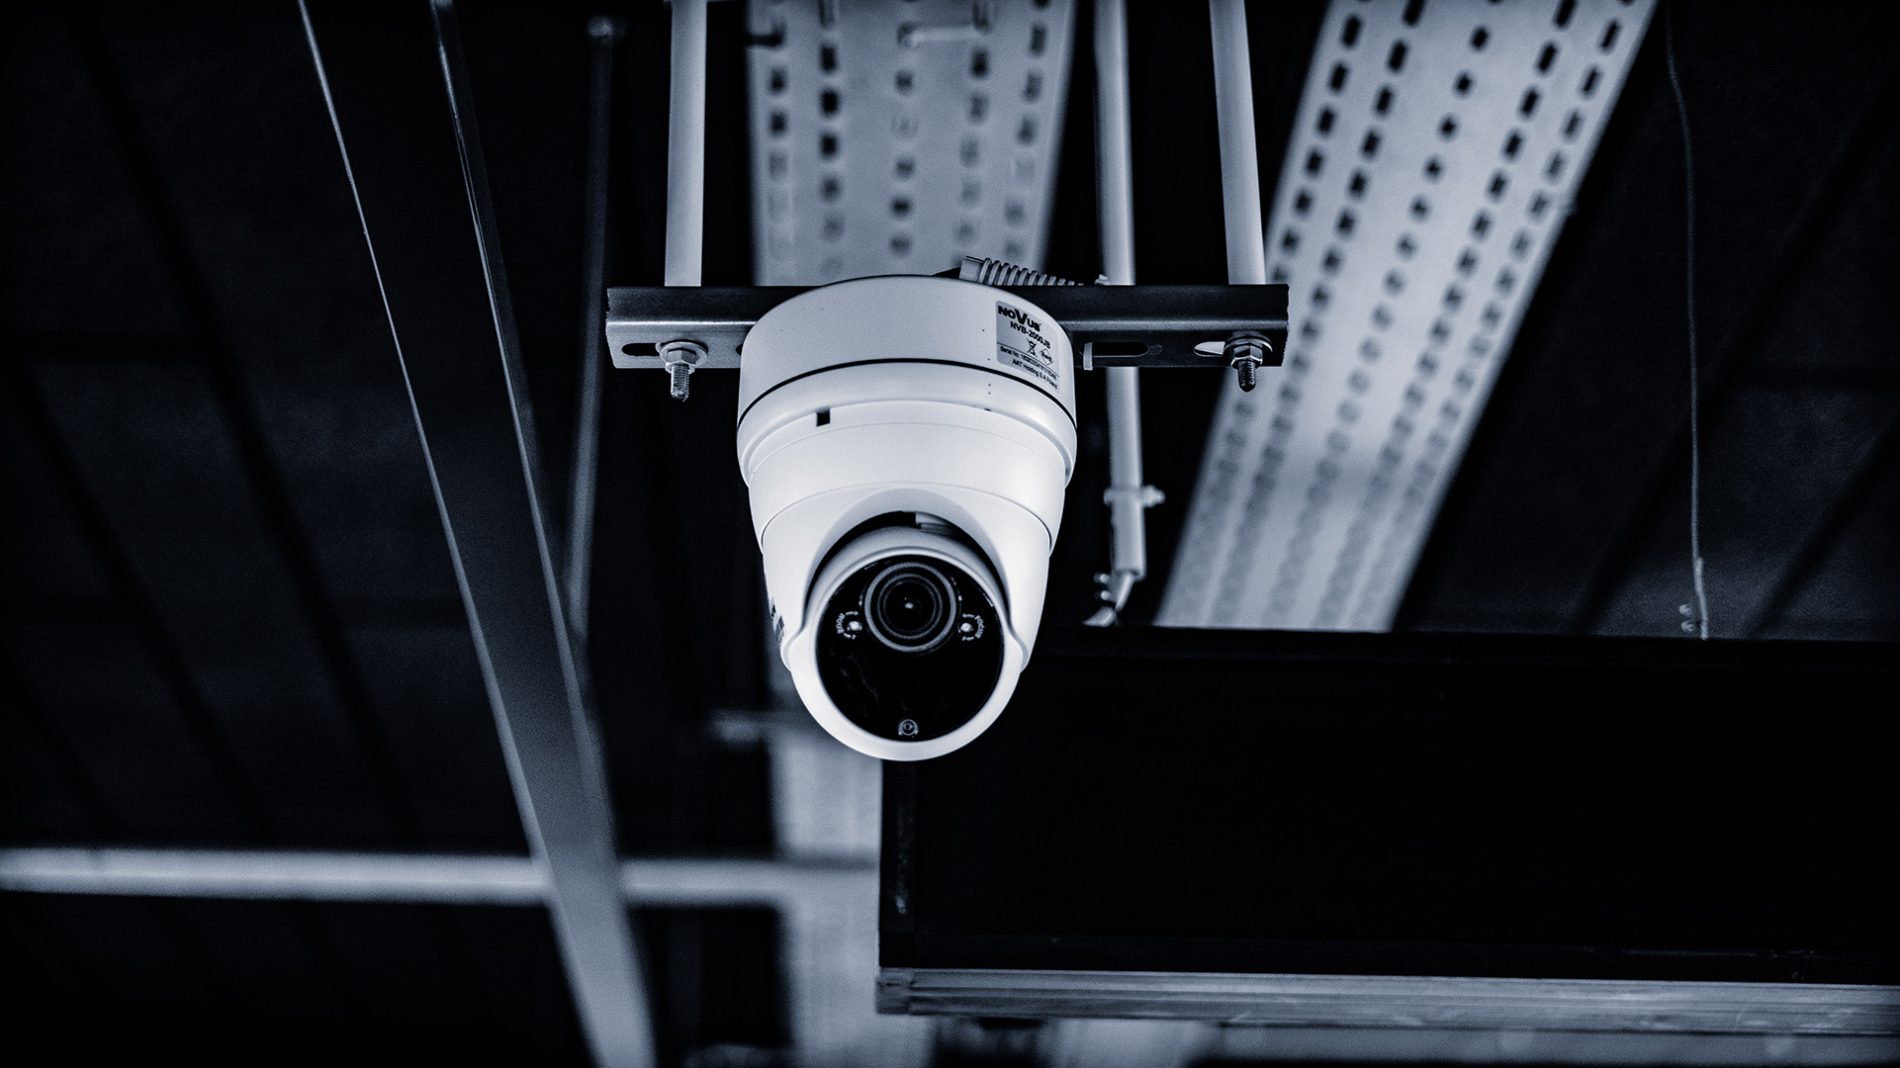
Now that you have configured the settings of your wireless security camera, it’s time to mount it in your desired location. The placement of the camera plays a crucial role in ensuring effective surveillance and capturing the desired areas of your property.
Before mounting the camera, carefully consider the areas you want to monitor. Identify the high-risk areas such as entrances, windows, or any other vulnerable spots that require close surveillance. Additionally, take into account factors such as the camera’s field of view, tilt, and rotation capabilities.
Start by locating a suitable spot to mount the camera. Ensure that the chosen location provides a clear and unobstructed view of the targeted areas. It should also be protected from direct sunlight, rain, or other weather conditions that may affect the camera’s performance.
Most wireless security cameras come with mounting brackets or stands that make installation easier. Follow the manufacturer’s instructions to attach the mounting bracket securely to the desired location. Make sure the bracket is properly secured to ensure stability and prevent the camera from being easily tampered with or knocked out of position.
Once the bracket is securely attached, position the camera on the bracket and adjust its angle or tilt to capture the desired field of view. Ensure that the camera is level and oriented correctly to maximize its effectiveness.
Consider the power source when mounting the camera. If your camera is battery-powered, ensure that the camera’s battery is charged or replace it with a fully charged one. For cameras that require a power source, position the camera near an electrical outlet or make the necessary arrangements to supply power to the camera.
Before finalizing the mounting process, test the camera’s view and functionality from your Chrome OS device. Ensure that the camera captures the areas you want to monitor and that the live feed and recordings are clear and of high quality.
With your wireless security camera mounted in the desired location and functioning correctly, you are now ready to move on to the final step, testing the camera’s functionality.
Step 6: Test the wireless security camera’s functionality
After mounting your wireless security camera and completing the setup process, it’s essential to test its functionality to ensure that it is working as expected. Testing the camera will allow you to verify its performance, ensure proper installation, and make any necessary adjustments before relying on it for surveillance.
Start by accessing the security camera app on your Chrome OS device. Open the app and select the camera you’ve installed. Check the live feed to ensure that the camera is capturing the desired areas and that the video quality is clear and smooth.
Observe the camera’s motion detection capabilities by walking through the camera’s field of view. Confirm that the camera detects your movement and sends alerts or notifications as configured in the settings. Additionally, test the two-way audio feature if available, ensuring that you can communicate effectively using your Chrome OS device.
Another important aspect to test is the camera’s recording functionality. Trigger events that would typically activate the recording, such as movement in the camera’s field of view. Check if the camera records the events accurately and saves them to the designated storage location, whether it’s an internal memory card, cloud storage, or another external device.
Consider testing the camera’s night vision capabilities as well, especially if you anticipate the need for monitoring during low-light or nighttime conditions. Dim the lights or test the camera in a dark room to ensure that the night vision mode activates and provides clear visibility.
It’s also a good practice to test the camera’s remote access capabilities. Try accessing the camera’s feed and settings from a different location using your Chrome OS device or another compatible device. This will help confirm that you can monitor your property remotely and make any necessary adjustments to the camera’s settings if needed.
Throughout the testing process, take note of any issues or areas that require improvement. If you encounter any challenges or inconsistencies, refer back to the camera’s user manual or contact the manufacturer’s support for guidance and troubleshooting.
By thoroughly testing the wireless security camera’s functionality, you can ensure that it is reliable and performing as expected. This will provide you with peace of mind, knowing that your property is well-monitored and protected.
With the camera successfully tested and functioning correctly, you have completed the setup process. Now, you can enjoy the benefits of having a wireless security camera connected to your Chrome OS device, providing you with enhanced security and peace of mind.
Conclusion
Setting up a wireless security camera to your Chrome OS device can greatly enhance the security and surveillance of your home or office. With the advancements in technology, installing and configuring a wireless security camera has become easier than ever before.
In this guide, we have walked through the step-by-step process of setting up a wireless security camera to your Chrome OS device. We started by emphasizing the importance of choosing a compatible camera and considering key factors such as resolution, night vision, motion detection, and connectivity options.
We then moved on to installing the security camera app on your Chrome OS device. We discussed the importance of finding a dedicated app or using a web interface to access and manage your camera’s features.
Next, we explored the process of connecting the wireless security camera to your Wi-Fi network. We highlighted the significance of a stable Wi-Fi signal and the various methods, such as entering Wi-Fi credentials or using WPS, to establish a successful connection.
After connecting the camera, we delved into the crucial step of configuring the camera settings. We discussed motion detection, two-way audio, recording options, and additional features offered by wireless security cameras, emphasizing the importance of customization to meet your specific needs.
With the camera settings in place, we moved on to mounting the camera in your desired location. We covered the essential factors to consider, such as the camera’s field of view, tilt, placement, power source, and stability.
Finally, we concluded with the importance of testing the functionality of the wireless security camera. We encouraged users to check the live feed, motion detection, recording capabilities, night vision, and remote access to ensure optimal performance and address any issues.
By following these steps, you can successfully set up a wireless security camera to your Chrome OS device, improving the security and surveillance of your property. Remember to regularly maintain and update your camera’s settings and firmware for continued performance and stay informed about any new features or improvements.
Investing in a wireless security camera provides you with peace of mind, knowing that you can monitor your home or office from anywhere using your Chrome OS device. Take the necessary precautions to safeguard your property and enjoy the benefits of enhanced security and surveillance.
Frequently Asked Questions about How Do I Set Up A Wireless Security Camera To My Chrome OS
Was this page helpful?
At Storables.com, we guarantee accurate and reliable information. Our content, validated by Expert Board Contributors, is crafted following stringent Editorial Policies. We're committed to providing you with well-researched, expert-backed insights for all your informational needs.