Home>Home Security and Surveillance>How To Change The Battery In Alder Home Protection
Home Security and Surveillance
How To Change The Battery In Alder Home Protection
Modified: March 6, 2024
Learn how to change the battery in Alder Home Protection for seamless home security and surveillance. Ensure your system is always powered up and ready to protect.
(Many of the links in this article redirect to a specific reviewed product. Your purchase of these products through affiliate links helps to generate commission for Storables.com, at no extra cost. Learn more)
Introduction
Welcome to the world of home security and surveillance! In today’s rapidly evolving society, it is essential to prioritize the safety and protection of our homes and loved ones. One of the key components of a comprehensive home security system is a reliable battery-powered alarm panel, such as the one offered by Alder Home Protection.
While the sophistication of home security systems has drastically increased over the years, ensuring the consistent functionality of the devices remains crucial. The battery that powers the alarm panel is at the heart of its operation, providing a reliable backup power source in the event of a power outage or tampering attempt.
This article will guide you through the process of changing the battery in your Alder Home Protection alarm panel. Whether you’re a new homeowner or you’ve had the system for a while, it’s important to know how to properly maintain and replace the batteries to ensure your home stays protected.
Before we dive into the step-by-step instructions, let’s first go over some important safety precautions to keep in mind while working with your home security system.
Key Takeaways:
- Safety first! Always wear gloves and safety glasses, and disconnect the power before changing the battery in your Alder Home Protection alarm panel to avoid accidents and ensure a smooth process.
- Gather the right tools and information, dispose of old batteries responsibly, and perform a system test after installing the new batteries to maintain a reliable home security system.
Read more: How To Change A Burglar Alarm Battery
Safety Precautions
When working with any home security system, including changing the battery in your Alder Home Protection alarm panel, it’s crucial to prioritize safety. Follow these safety precautions to minimize the risk of accidents or damage:
- Before beginning any maintenance work, ensure that the system is disarmed and no alarms are active. This will prevent any false alarms or system malfunctions during the battery replacement process.
- Always wear appropriate safety gear, such as gloves and safety glasses, to protect yourself from potential hazards and to prevent any accidental injuries.
- Make sure to read and understand the manufacturer’s instructions and guidelines for your specific alarm panel model. Each model may have unique instructions or requirements for battery replacement.
- Before touching any electrical components, ensure that the power to the alarm panel is completely disconnected. This can typically be done by switching off the main power supply to the panel.
- Avoid using excessive force or tools that may cause damage to the alarm panel or its components. Handle all parts with care and follow the manufacturer’s guidelines for disassembly and reassembly.
- Dispose of old batteries properly. Follow local guidelines and regulations for the safe disposal of batteries, as they can contain hazardous materials. Do not throw them in regular household waste.
- If you encounter any difficulties or are unsure about any step of the battery replacement process, it is recommended to contact the Alder Home Protection customer support team for assistance. They can provide guidance and address any concerns you may have.
By adhering to these safety precautions, you can ensure a smooth and secure battery replacement process for your Alder Home Protection alarm panel.
Tools and Materials Needed
Before you begin changing the battery in your Alder Home Protection alarm panel, make sure you have the following tools and materials ready:
- Replacement battery: Check the specifications provided by Alder Home Protection to ensure you purchase the correct battery type for your specific alarm panel model. This information can usually be found in the product manual or on the company’s website.
- Safety gloves: Protect your hands from any potential hazards or accidents by wearing a pair of gloves.
- Safety glasses: Safeguard your eyes from any debris or accidental splashes by wearing safety glasses.
- Step ladder: Depending on the location of the alarm panel, you might need a step ladder to access it safely.
- Screwdriver set: Prepare a set of screwdrivers that includes both flathead and Phillips head screwdrivers. This will allow you to remove any screws holding the panel in place.
- Disposable cloth: Have a disposable cloth or towel on hand to clean away any dust or residue that may accumulate during the process.
- Battery disposal container: Prepare a designated container for the proper disposal of the old battery. This could be a small plastic container or a sealable bag.
- Permanent marker: Use a permanent marker to label the date of battery replacement on the new battery. This helps keep track of when it was last changed.
By having these tools and materials ready ahead of time, you can streamline the battery replacement process and ensure a smooth transition without any unnecessary delays or complications.
Step 1: Gather the Necessary Information
Before you start changing the battery in your Alder Home Protection alarm panel, it’s important to gather all the necessary information to ensure a successful replacement process.
Here are some key pieces of information you need to gather:
- Model number: Identify the specific model number of your Alder Home Protection alarm panel. This information is typically located on the panel itself or can be found in the product documentation.
- Battery specifications: Refer to the product manual or Alder Home Protection’s website to determine the required battery specifications for your alarm panel model. This includes the battery type and voltage.
- Battery replacement interval: Check the recommended battery replacement interval provided by Alder Home Protection. This will indicate how frequently you should replace the battery for optimal performance.
- Power source: Identify the power source for your alarm panel. Some models may have a built-in rechargeable battery in addition to the replaceable primary battery. Understanding the power source will help you ensure proper disconnection and reconnection during the replacement process.
- Backup battery capacity: Determine the capacity or runtime of the backup battery. This will give you an idea of how long your alarm system will remain functional during a power outage.
By gathering this information, you will have a clear understanding of the specific requirements and considerations for your Alder Home Protection alarm panel. This knowledge will guide you throughout the battery replacement process and help ensure that you choose the correct replacement battery to maintain the reliable operation of your home security system.
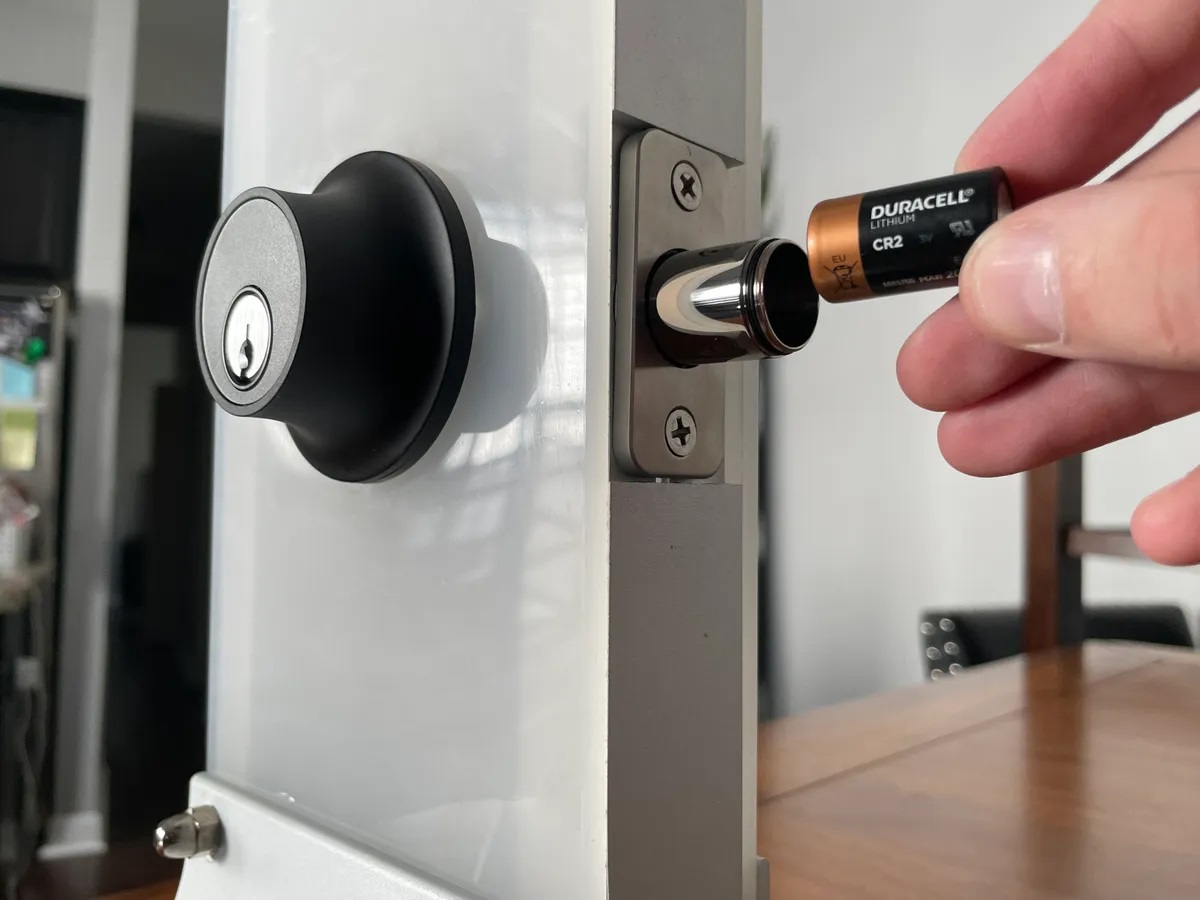
Step 2: Determine the Battery Type
Once you have gathered the necessary information about your Alder Home Protection alarm panel, the next step is to determine the type of battery it requires. Understanding the correct battery type is essential for a successful replacement.
Here are the steps to determine the battery type:
- Refer to the product manual: The first place to look for information about the battery type is the product manual. It will usually provide specific details about the battery required for your alarm panel model.
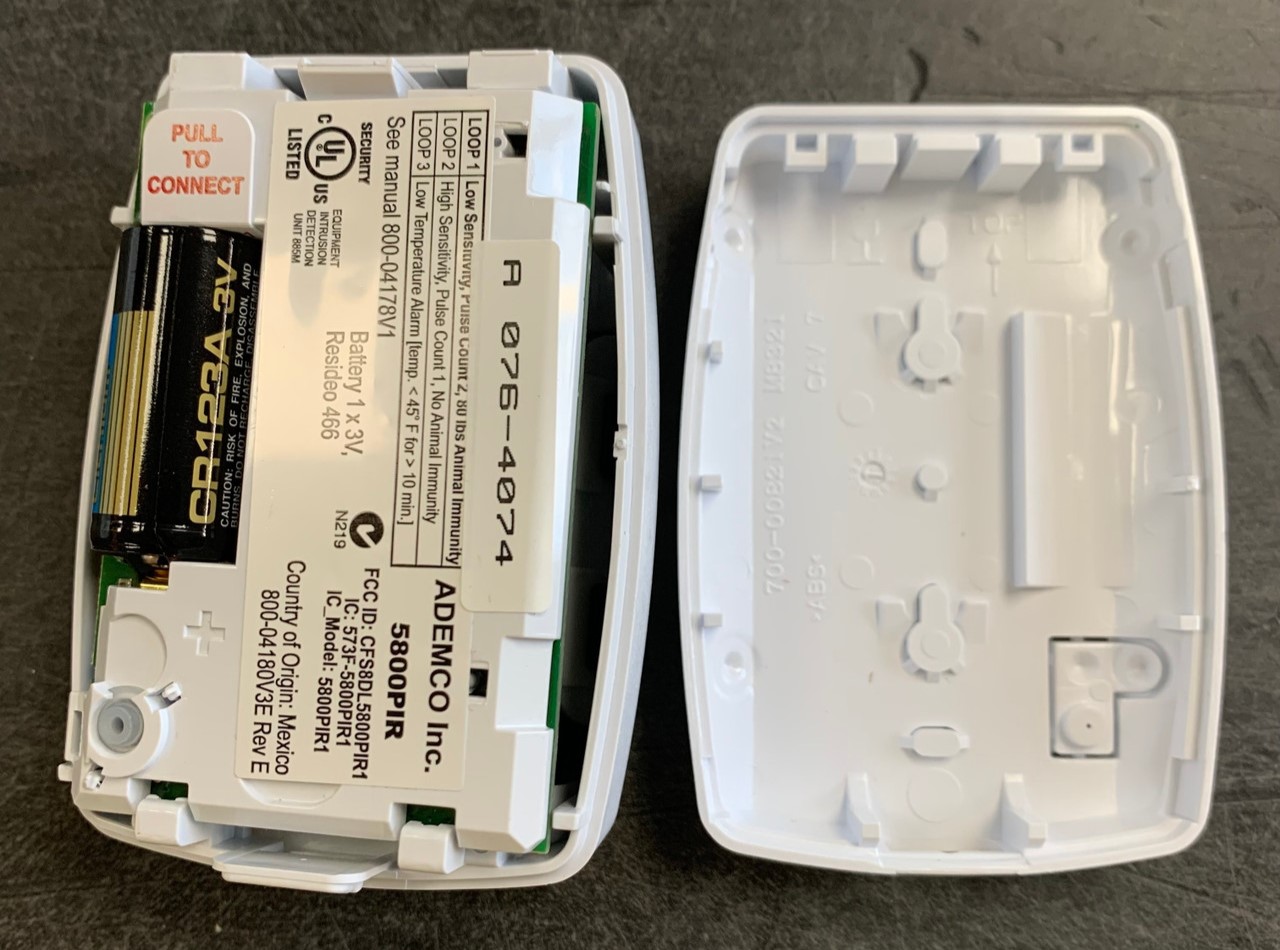
- Check the panel itself: If the product manual is unavailable or you can’t find the information, inspect the alarm panel itself. Look for any labels or markings that indicate the battery type or model number.
- Visit Alder Home Protection’s website: If you still can’t find the information, visit the company’s website. They often provide comprehensive product information, including battery specifications, for each alarm panel model.
- Contact Alder Home Protection support: If all else fails, reach out to Alder Home Protection’s customer support. They will be able to provide you with the accurate battery type required for your alarm panel and any additional guidance you may need.
Knowing the specific battery type is crucial because it ensures compatibility and optimal performance of your Alder Home Protection alarm panel. Once you have determined the battery type, you can proceed to the next step of preparing the work area for the battery replacement.
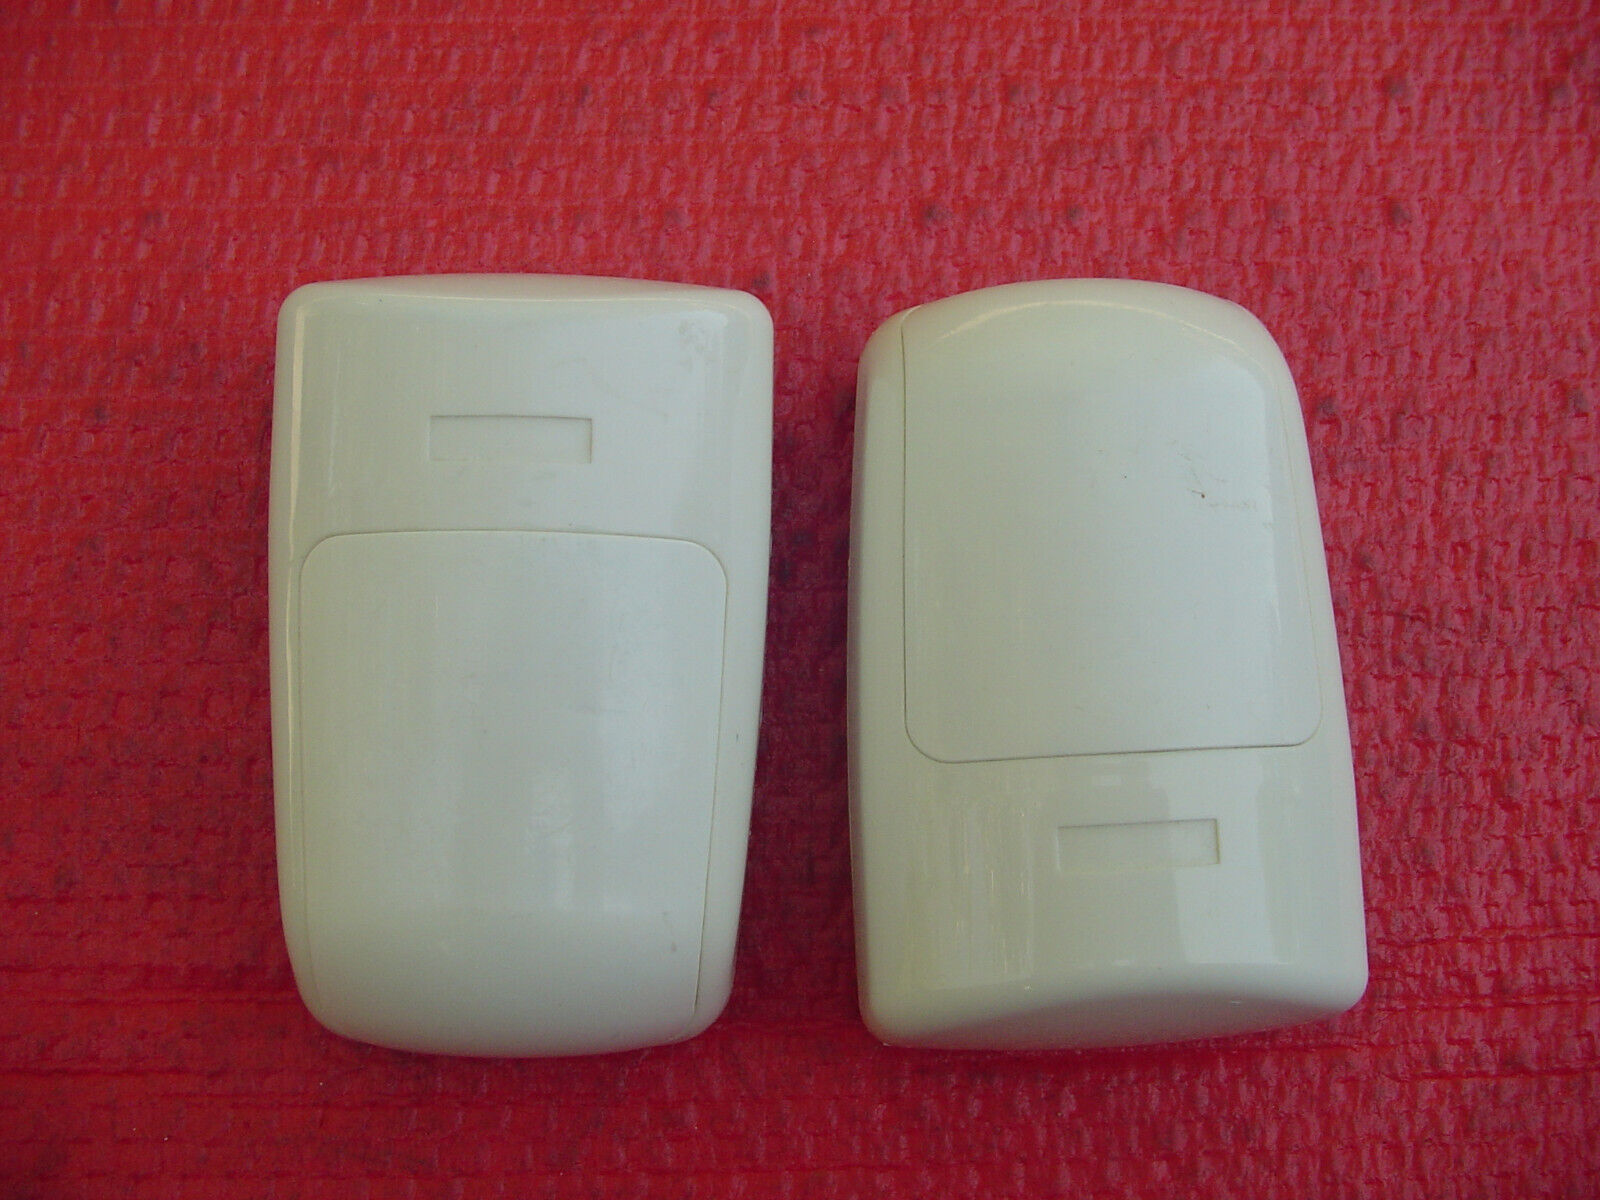
Step 3: Prepare the Work Area
Before changing the battery in your Alder Home Protection alarm panel, it’s important to prepare the work area to ensure a smooth and safe replacement process.
Follow these steps to prepare the work area:
- Select a well-lit area: Choose a well-lit area for your work. Sufficient lighting will help you see clearly and ensure accurate handling of the components.
- Clear the surroundings: Remove any objects or obstacles around the alarm panel. This will provide you with a clear and open space to work comfortably.
- Disconnect power to the panel: Turn off the main power supply to the alarm panel. This will prevent any electrical shock or damage while handling the components.
- Gather the necessary tools and materials: Ensure that you have all the tools and materials needed for the battery replacement, as discussed in the previous section. Having everything readily available will save time during the process.
- Wear safety gear: Put on the necessary safety gear, such as safety gloves and glasses, to protect yourself from any potential hazards or accidents during the battery replacement.
By preparing the work area, you create an organized and safe environment for the battery replacement process. This will help you tackle each step with confidence and ensure the smooth operation of your Alder Home Protection alarm panel.
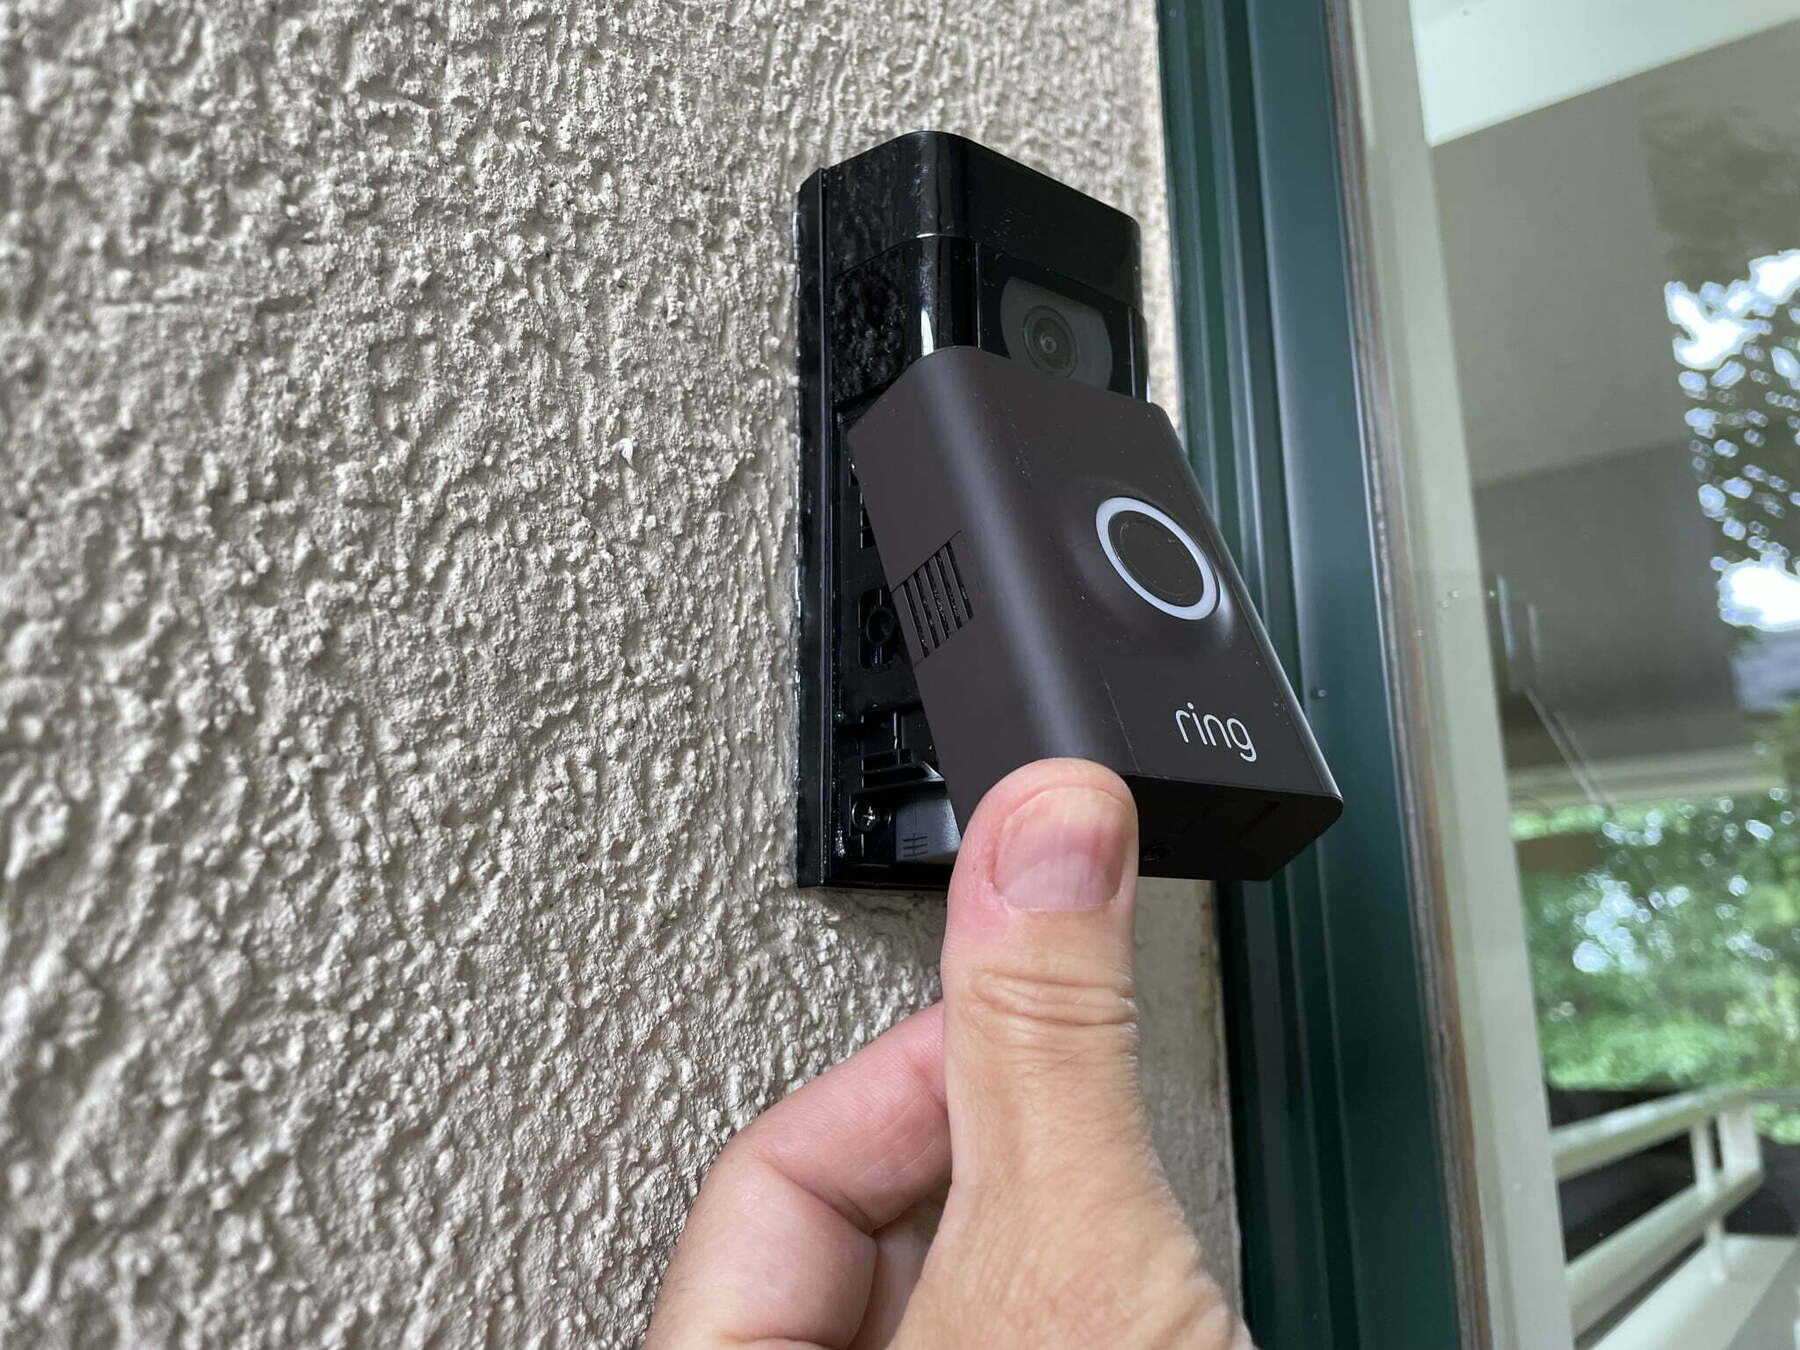
Step 4: Disconnect Power to the Panel
Before proceeding with the battery replacement in your Alder Home Protection alarm panel, it is crucial to disconnect the power supply to ensure your safety and prevent any damage to the system.
Follow these steps to disconnect the power:
- Locate the primary power source: Identify the main power source for your alarm panel. This could be a power outlet or a direct electrical connection to your home’s electrical system.
- Switch off the power: Depending on the type of power source, either unplug the power adapter from the outlet or switch off the circuit breaker that supplies power to the alarm panel. This will completely cut off the electricity flow to the system.
- Verify the power is off: Double-check that the power supply is disconnected by testing the alarm panel. Attempt to arm or trigger the alarm to confirm that it is not receiving any power.
It is important to note that some alarm panels may have a backup battery providing power even when the primary power is disconnected. To ensure complete safety, follow the next step to remove the backup battery as well.
By disconnecting the power to the panel, you reduce the risk of electrical shock and prevent any accidental activation or malfunction during the battery replacement process. Always remember to prioritize your safety when working with any electrical components.
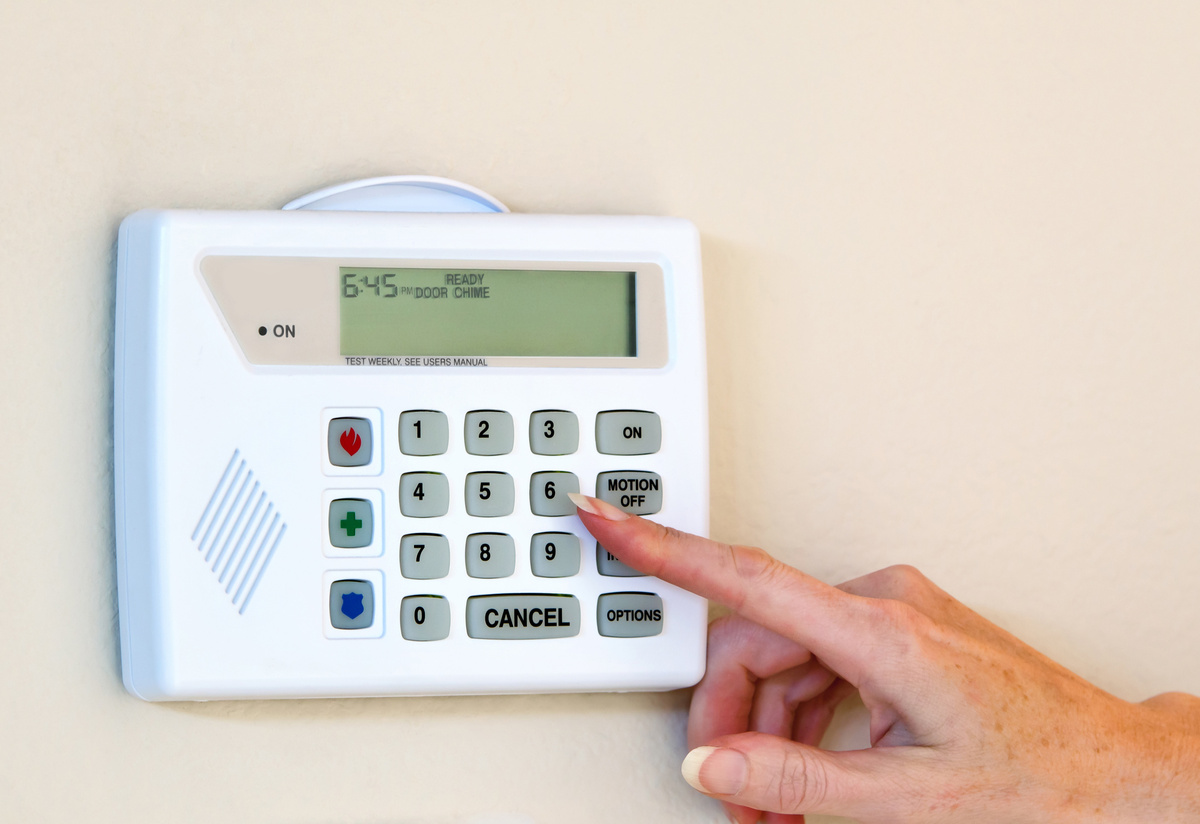
To change the battery in your Alder Home Protection system, first, locate the control panel. Open the panel and remove the old battery. Insert the new battery, making sure to match the positive and negative terminals. Close the panel and test the system to ensure it’s working properly.
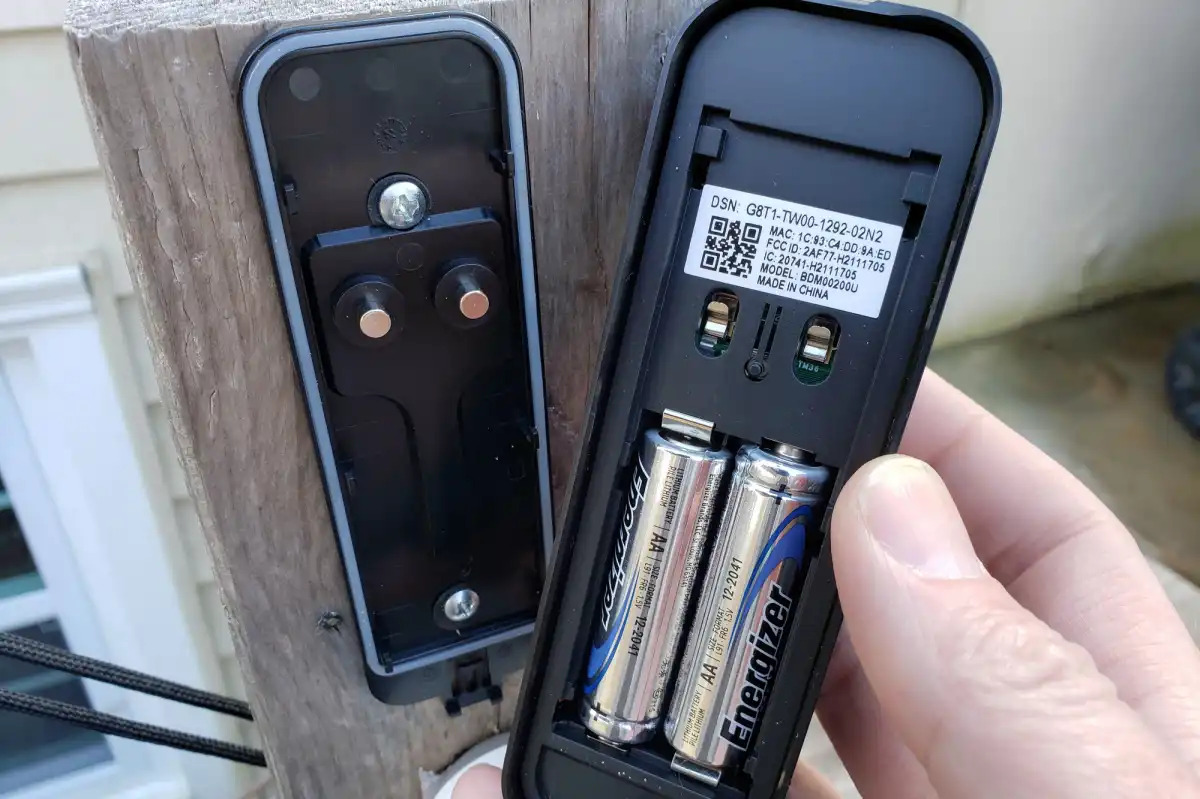
Step 5: Remove the Batteries
Now that you have safely disconnected the power to your Alder Home Protection alarm panel, it’s time to remove the old batteries. Follow these steps to remove the batteries:
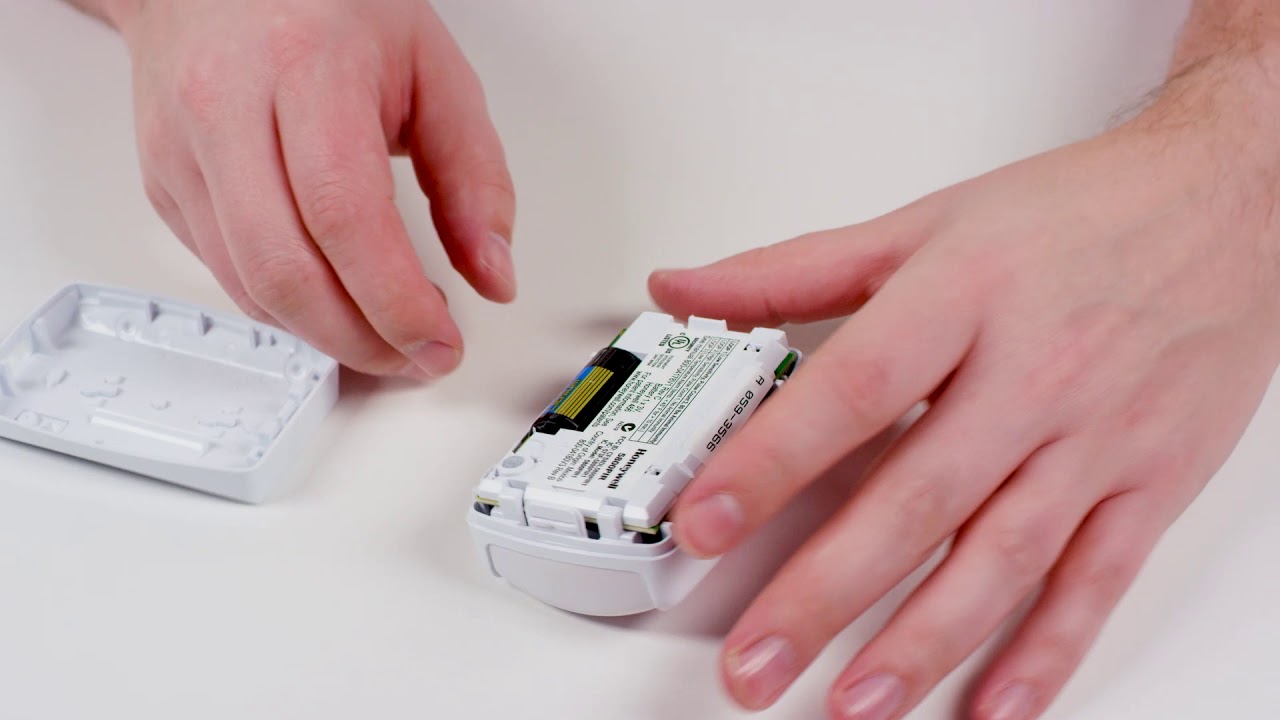
- Locate the battery compartment: Identify the battery compartment in your alarm panel. It is typically located on the side or underneath the panel, and it may be secured with screws or clips.
- Prepare your tools: Use the appropriate screwdriver or tool to remove any screws or clips securing the battery compartment cover. Set the screws aside in a safe place to avoid losing them.
- Open the battery compartment: Carefully remove the cover of the battery compartment. Be mindful of any wires or connectors that may be attached to the cover, ensuring they are not damaged or disconnected during the process.
- Remove the old batteries: Take out the old batteries from the compartment. Depending on the configuration, you may have a single battery or multiple batteries to remove.
- Handle with care: Hold the batteries securely and avoid touching the metal contacts to prevent any static discharge or damage to the terminals.
- Inspect for any leakage or corrosion: Check the battery compartment and the old batteries for any signs of leakage or corrosion. If you notice any, take appropriate precautions and clean the area before proceeding.
By following these steps, you will safely remove the old batteries from your Alder Home Protection alarm panel. Remember to handle the batteries with care and avoid any unnecessary contact with the terminals or other components in the panel.
Step 6: Dispose of Old Batteries Properly
Once you have successfully removed the old batteries from your Alder Home Protection alarm panel, it is important to dispose of them properly. Batteries contain hazardous materials that can be harmful to the environment if not handled and disposed of correctly.
Follow these steps to dispose of your old batteries safely:
- Check local regulations: Research and familiarize yourself with the local regulations and guidelines for battery disposal in your area. Different regions may have specific instructions for the proper disposal of batteries.
- Separate batteries: If you have multiple batteries to dispose of, separate them based on their chemistries. Different batteries may require different disposal methods.
- Use a designated container: Place the old batteries in a designated battery disposal container or a sealable plastic bag. This will help prevent any leakage or contact with other waste materials.
- Label the container: Use a permanent marker to label the container with a clear indication that it contains used batteries. This will help identify it as hazardous waste.
- Recycling options: Look for local recycling programs or collection centers that accept batteries for proper recycling. Many communities have drop-off locations specifically for battery disposal.
- Follow recycling instructions: If you choose to recycle the batteries, follow the recycling instructions provided by the recycling facility or program. This ensures that the batteries are processed in an environmentally responsible manner.
- Avoid regular waste disposal: Never dispose of batteries in regular household waste. This can be harmful to the environment and may violate local regulations.
By following these steps and disposing of your old batteries responsibly, you contribute to protecting the environment and preventing potential harm caused by improper battery disposal. It’s essential to be mindful of battery waste and to prioritize eco-friendly practices.
Step 7: Install the New Batteries
Now that you have safely disposed of the old batteries, it’s time to install the new ones in your Alder Home Protection alarm panel. Follow these steps to properly install the new batteries:
- Check battery compatibility: Ensure that the new batteries you have purchased are compatible with your specific alarm panel model. Refer to the product manual or consult Alder Home Protection’s website for the correct battery type and specifications.
- Inspect the battery compartment: Before inserting the new batteries, inspect the battery compartment for any signs of corrosion or damage. If necessary, clean the compartment using a soft cloth or brush to ensure good contact between the batteries and terminals.
- Insert the new batteries: Take the new batteries and carefully insert them into the battery compartment, making sure they are oriented correctly according to the polarity indicators. Follow any specific instructions provided by Alder Home Protection for inserting the batteries.
- Secure the battery compartment: Once the new batteries are in place, reattach the battery compartment cover securely. Use the screws or clips you removed earlier to fasten the cover back in place.
- Tighten the screws properly: If your battery compartment uses screws, ensure they are tightened appropriately. Be cautious not to overtighten, as this can cause damage to the compartment or the cover.
- Check for proper fit: Verify that the battery compartment cover is firmly secured, leaving no gaps or loose connections. This ensures the safety of the batteries and proper functionality of the alarm panel.
By following these steps, you can confidently install the new batteries in your Alder Home Protection alarm panel. Proper installation ensures the reliable operation of your home security system and provides a dependable backup power source in case of an electrical failure.
Step 8: Reconnect Power to the Panel
After successfully installing the new batteries in your Alder Home Protection alarm panel, it’s time to reconnect the power supply. Follow these steps to safely restore power to the panel:
- Double-check battery installation: Before reconnecting the power, ensure that the new batteries are correctly inserted and securely in place. Verify that they are properly oriented according to the polarity indicators.
- Locate the power source: Identify the main power source for your alarm panel. This could be a power outlet or a direct electrical connection.
- Restore power: If you had unplugged the power adapter, plug it back into the outlet. If you had switched off the circuit breaker, flip it back to the “ON” position to restore the power supply.
- Verify power connection: Check that the power is restored by checking the panel’s display or listening for any sounds indicating power activation.
- Test the panel: After reconnecting the power, test the alarm panel to ensure that it is functioning correctly. Arm and disarm the system, test any sensors or detectors, and verify that all features are operational.
- Monitor the system: Keep an eye on the alarm panel for any signs of irregularities or malfunctions after reconnecting the power. If you notice any issues, consult the product manual or contact Alder Home Protection’s customer support for further assistance.
By following these steps, you can safely reconnect the power to your Alder Home Protection alarm panel and ensure that it is back in optimal working condition. Restoring the power allows for continuous protection and monitoring of your home’s security. Remember to test the system to confirm proper functionality after completing this step.
Step 9: Perform System Test
After reconnecting the power and installing the new batteries in your Alder Home Protection alarm panel, it is crucial to perform a thorough system test. This step ensures that your home security system is fully operational and provides the desired level of protection. Follow these steps to perform a comprehensive system test:
- Arm the system: Activate the arm mode on your alarm panel by following the instructions provided in the product manual or on the control panel itself. This tests the functionality of the sensors, detectors, and other security features.
- Trigger the alarm: Simulate an alarm-triggering event to verify that the alarm system works as intended. This can be done by activating a motion sensor, opening a door or window, or pressing the designated panic buttons, depending on your specific alarm panel model.
- Check notification and alerts: Ensure that you receive proper notifications or alerts when the alarm is triggered. This may include receiving notifications on your smartphone, via email, or through a monitoring service. Verify the accuracy and speed of these notifications.
- Test the backup battery: Perform a test to check the functionality and capacity of the backup battery. Temporarily disconnect the main power supply and verify that the alarm system continues to function using the backup power source.
- Test communication with the monitoring center (if applicable): If you have a monitoring service linked to your alarm panel, ensure that communication with the monitoring center is functioning correctly. Test their response time and confirm that they receive the signals from your alarm system.
- Check system status: Monitor the system status indicators or display on the alarm panel to ensure there are no error messages or issues reported. If you notice any inconsistencies or abnormalities, consult the product manual or contact Alder Home Protection’s customer support for assistance.
By performing a thorough system test, you can have peace of mind knowing that your Alder Home Protection alarm panel is effectively protecting your home. Regular system tests are important for identifying any potential faults or malfunctions and addressing them promptly to maintain the security of your property and loved ones.
Conclusion
Congratulations! You have successfully learned how to change the battery in your Alder Home Protection alarm panel. By following the step-by-step guide provided in this article, you can ensure the continued functionality and reliability of your home security system.
Remember, regular battery maintenance and replacement are essential to keep your alarm panel running smoothly and to provide uninterrupted protection for your home and loved ones. Make sure to adhere to the safety precautions, gather the necessary information, and use the proper tools and materials throughout the process.
- Always prioritize your safety when working with any home security system. Follow the safety precautions mentioned earlier and use the appropriate safety gear.
- Gather the necessary information, including the model of your alarm panel, battery specifications, and recommended replacement intervals.
- Prepare the work area by selecting a well-lit spot, clearing the surroundings, and disconnecting the power to the panel.
- Follow the step-by-step instructions to remove the old batteries, dispose of them properly, install the new batteries, and reconnect the power to the panel.
- Finally, perform a thorough system test to ensure that your alarm panel is functioning correctly and providing the desired level of protection.
Should you encounter any difficulties or have any questions throughout the process, do not hesitate to reach out to Alder Home Protection’s customer support team for guidance and assistance.
Remember, maintaining a properly functioning home security system is crucial for the safety and security of your home and loved ones. By taking the time to change the battery in your Alder Home Protection alarm panel, you can ensure that your home remains protected and provide yourself with the peace of mind you deserve.
Frequently Asked Questions about How To Change The Battery In Alder Home Protection
Was this page helpful?
At Storables.com, we guarantee accurate and reliable information. Our content, validated by Expert Board Contributors, is crafted following stringent Editorial Policies. We're committed to providing you with well-researched, expert-backed insights for all your informational needs.