Home>Home Security and Surveillance>How To Change Wi-Fi Password On Soliom Outdoor Camera

Home Security and Surveillance
How To Change Wi-Fi Password On Soliom Outdoor Camera
Modified: September 1, 2024
Keep your home secure with Soliom's outdoor camera. Learn how to change your Wi-Fi password for added security. Perfect for home security and surveillance.
(Many of the links in this article redirect to a specific reviewed product. Your purchase of these products through affiliate links helps to generate commission for Storables.com, at no extra cost. Learn more)
Introduction
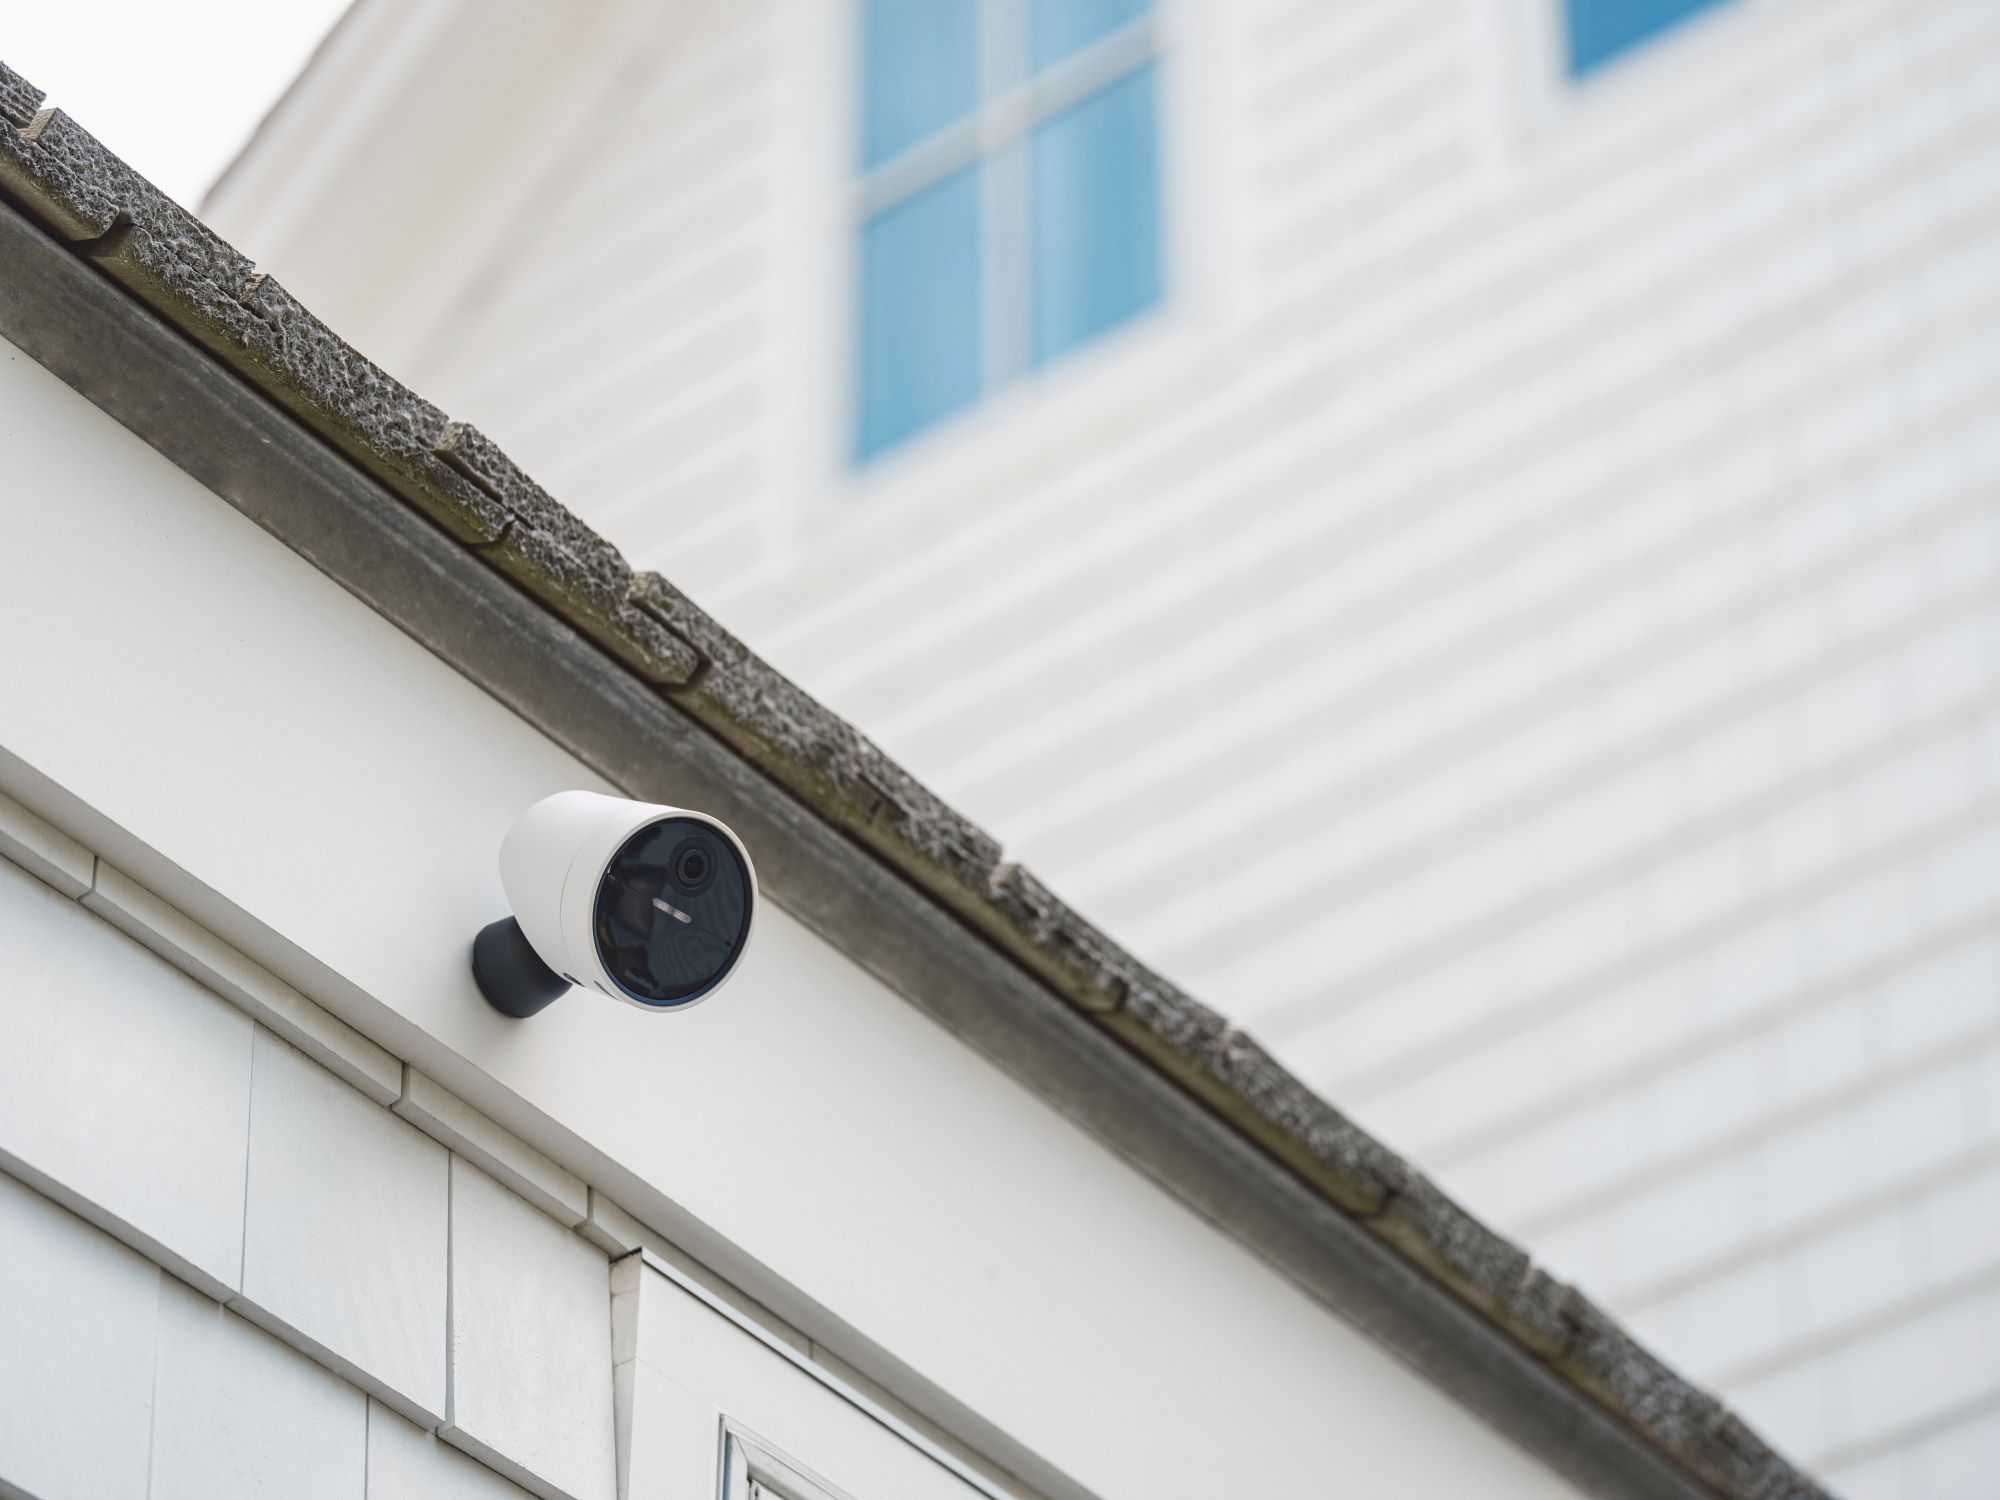
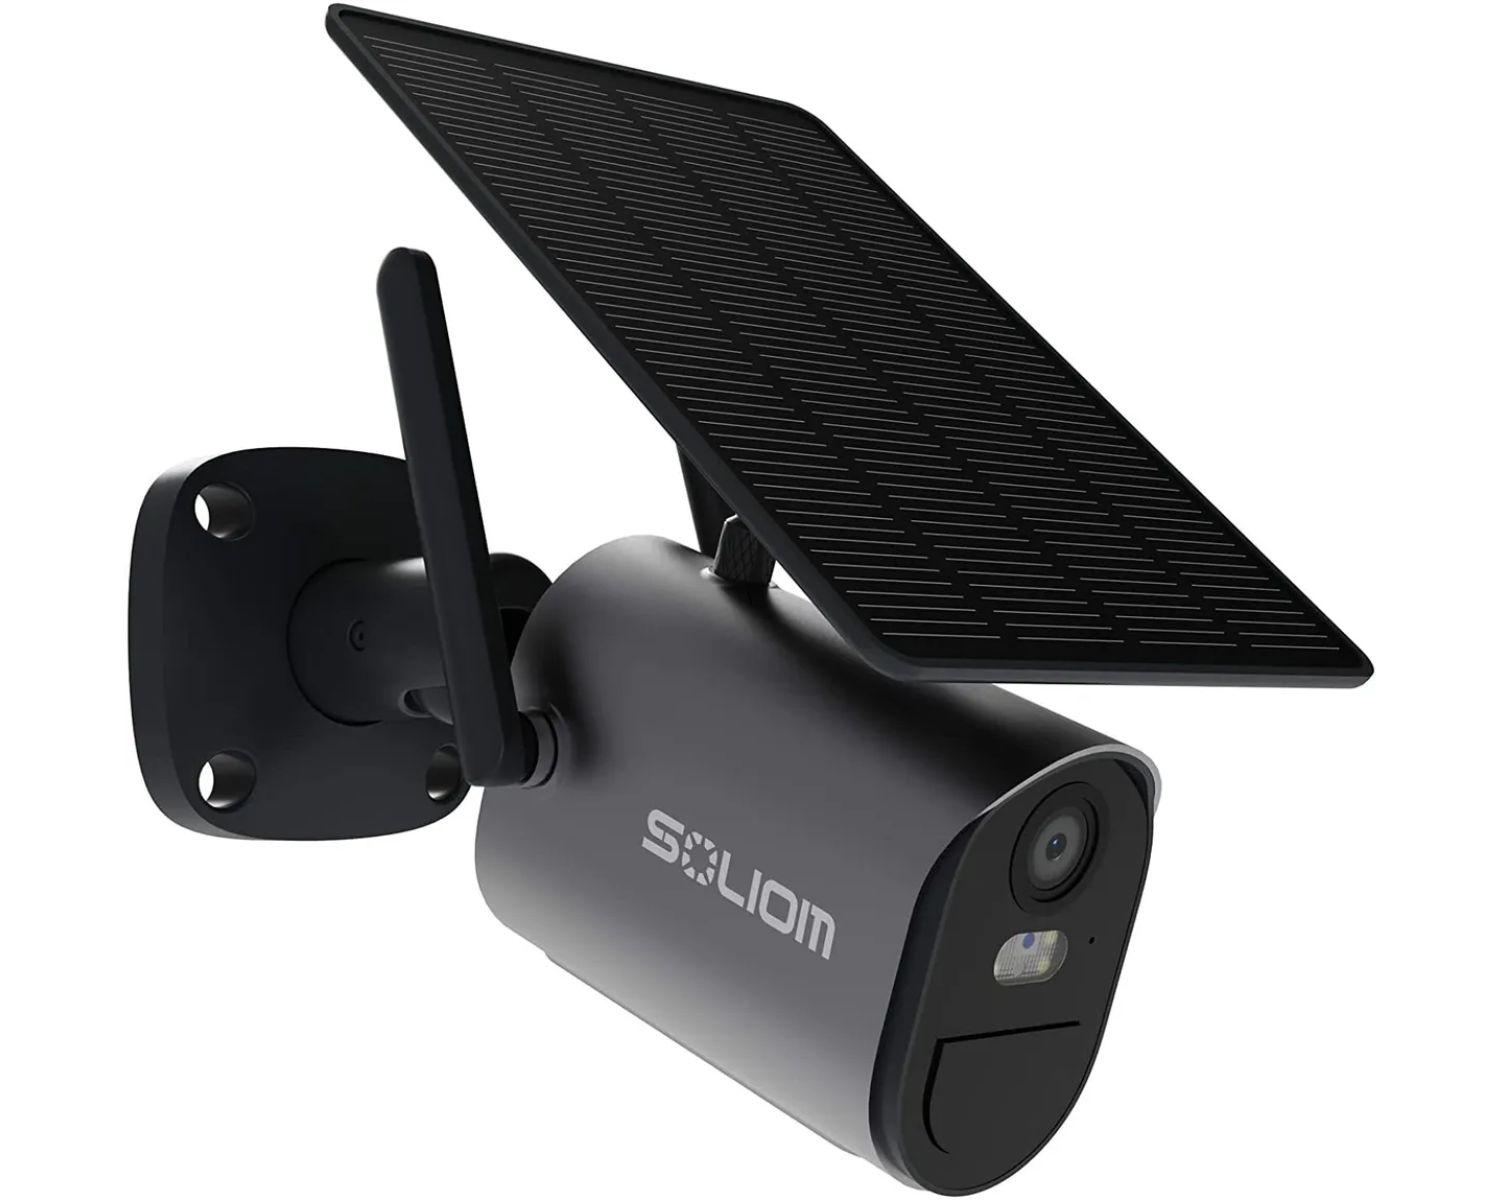
Welcome to this guide on how to change the Wi-Fi password on your Soliom outdoor camera. As technology continues to advance, home security and surveillance systems have become more accessible and user-friendly. The Soliom outdoor camera is a highly popular option for homeowners looking to enhance their home security. With its easy installation process and reliable performance, it offers peace of mind by allowing you to monitor your property remotely.
One of the key features of the Soliom camera is its wireless connectivity, which allows it to connect to your home’s Wi-Fi network. This enables you to access the camera’s live video feed and receive real-time alerts on your smartphone or computer. However, there may be occasions when you need to change your Wi-Fi password due to security concerns or network upgrades. In this guide, we will walk you through the step-by-step process of changing the Wi-Fi password on your Soliom outdoor camera.
Before we dive into the steps, it’s important to note that the process may vary slightly depending on the specific model of your Soliom camera. Additionally, it’s recommended to consult your camera’s user manual for any specific instructions or troubleshooting steps. With that said, let’s get started with step one: accessing the camera settings.
Key Takeaways:
- Changing the Wi-Fi password on your Soliom outdoor camera is easy. Just follow the step-by-step guide to update the password and keep your home security system safe and secure.
- Regularly updating your Wi-Fi password helps protect your camera feed and personal information. Enjoy the peace of mind provided by your Soliom outdoor camera by keeping your password up to date!
Read more: How To Change The Password On Wi-Fi Router
Step 1: Accessing the camera settings
In order to change the Wi-Fi password on your Soliom outdoor camera, you’ll first need to access the camera settings. Follow these steps:
- Ensure that your Soliom camera is powered on and connected to your home’s Wi-Fi network. This can be done by plugging the camera into a power source and allowing it to connect to your Wi-Fi network using the Soliom app.
- Launch the Soliom app on your smartphone or tablet. If you haven’t already downloaded the Soliom app, you can find it in the App Store for iOS devices or the Google Play Store for Android devices.
- Log in to the app using your Soliom account credentials. If you don’t have an account, you can create one by following the on-screen prompts.
- Once logged in, locate your Soliom outdoor camera from the list of connected devices in the app.
- Select your Soliom camera by tapping on its name or icon. This will open the camera settings page.
Once you have successfully accessed the camera settings, you are now ready to proceed to step two: finding the Wi-Fi settings.
Step 2: Finding the Wi-Fi settings
Now that you have accessed the camera settings on your Soliom outdoor camera, the next step is to locate the Wi-Fi settings. Follow these instructions:
- On the camera settings page, look for a tab or option that is labeled “Network” or “Wi-Fi Settings.” This may vary depending on the specific model of your Soliom camera.
- Tap on the “Network” or “Wi-Fi Settings” option to open the Wi-Fi settings page.
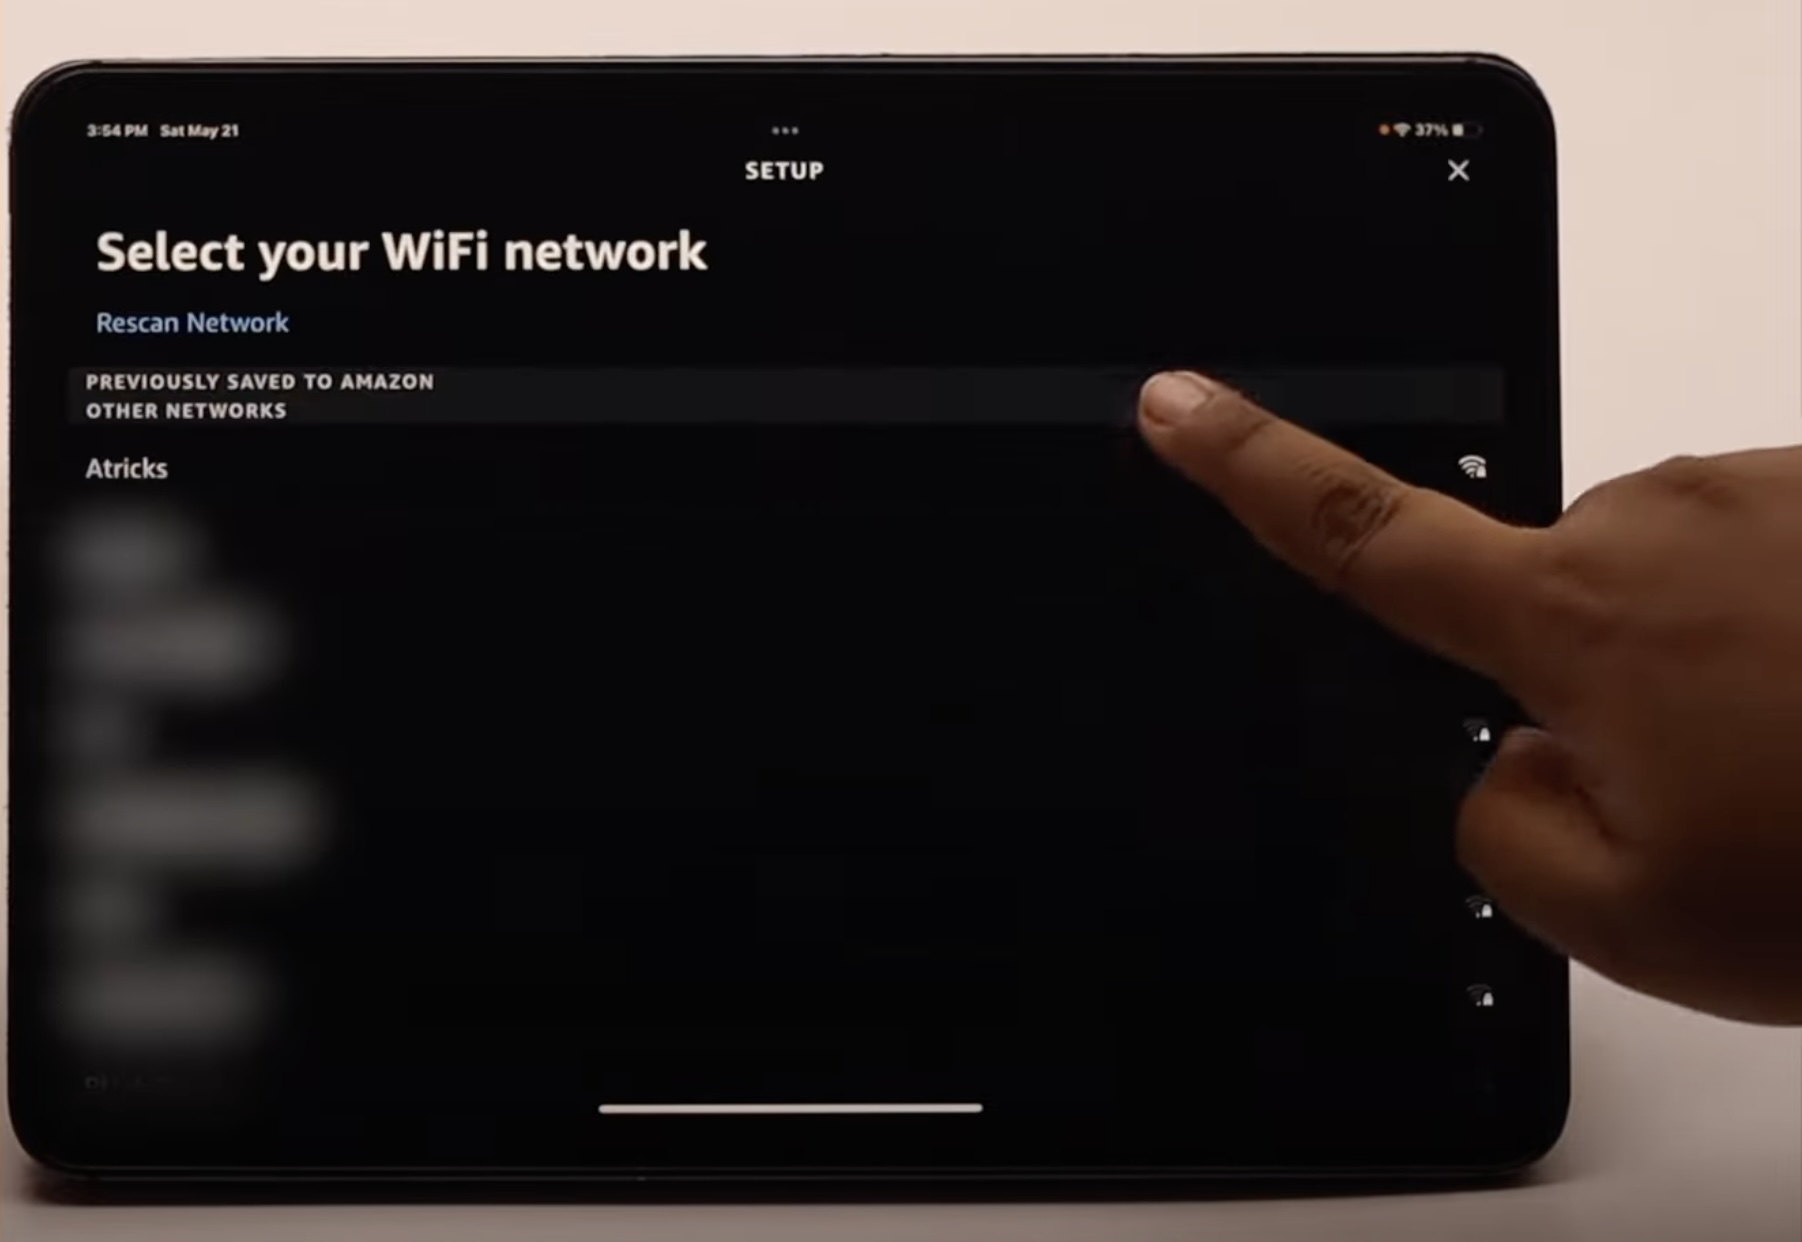
- On the Wi-Fi settings page, you should see a list of available Wi-Fi networks. This list may also display the network that the camera is currently connected to.
- Identify your current Wi-Fi network from the list. It may be labeled with the SSID (network name) that you used when initially setting up the camera.
Once you have located the Wi-Fi settings and identified your current network, you are now ready to proceed to step three: changing the Wi-Fi password.
Step 3: Changing the Wi-Fi password
Now that you have found the Wi-Fi settings on your Soliom outdoor camera, it’s time to change the Wi-Fi password. Follow these steps:
- On the Wi-Fi settings page, look for an option that allows you to change the Wi-Fi password. This option may be labeled as “Change Password,” “Edit Wi-Fi Password,” or something similar.
- Tap on the “Change Password” or equivalent option to open the Wi-Fi password change page.
- You will be prompted to enter your current Wi-Fi password. This is done for security purposes to ensure that only authorized users can make changes to the settings.
- Enter your current Wi-Fi password in the designated field and tap “Next” or “Continue.”
- On the next screen, you will be asked to input the new Wi-Fi password. Take note of any specific requirements for the password, such as minimum length or the inclusion of certain characters.
- Enter your desired new Wi-Fi password in the designated field and tap “Save” or “Apply.”
After completing these steps, your Soliom outdoor camera will now have a new Wi-Fi password. This ensures that only authorized devices can connect to your camera and access its live feed. However, you will need to reconnect the camera to your Wi-Fi network using the new password. Let’s move on to the next step to learn how to do that.
To change the Wi-Fi password on your Soliom outdoor camera, first, connect your phone to the camera’s Wi-Fi network. Then, open the Soliom app, go to device settings, and select Wi-Fi settings to update the password.
Step 4: Connecting the camera to the new Wi-Fi network
Now that you have changed the Wi-Fi password on your Soliom outdoor camera, it’s time to reconnect the camera to your Wi-Fi network using the new password. Follow these instructions:
- On the Wi-Fi password change page, look for an option that allows you to reconnect the camera to a Wi-Fi network. This may be labeled as “Wi-Fi Connection,” “Connect to Wi-Fi,” or something similar.
- Tap on the “Wi-Fi Connection” or equivalent option to open the Wi-Fi connection page.
- On the Wi-Fi connection page, you will see a list of available Wi-Fi networks.
- Locate your new Wi-Fi network from the list. It should be labeled with the updated SSID (network name).
- Tap on your new Wi-Fi network to select it. You may be prompted to enter the new Wi-Fi password that you set in the previous step.
- Enter the new Wi-Fi password in the designated field and tap “Connect” or “Join.”
Once you have successfully connected your Soliom outdoor camera to the new Wi-Fi network, it will establish a secure connection and become accessible on your smartphone or computer once again. However, it’s important to verify the connection to ensure everything is working as expected. Let’s move on to the next step to learn how to do that.
Read more: How To Change Wi-Fi On Blink Outdoor Camera
Step 5: Verifying the connection
After connecting your Soliom outdoor camera to the new Wi-Fi network, it’s important to verify the connection to ensure that everything is working properly. Follow these steps to verify the connection:
- Open the Soliom app on your smartphone or tablet.
- Log in to the app using your Soliom account credentials if you’re not already logged in.
- Locate your Soliom outdoor camera from the list of connected devices in the app.
- Select your camera by tapping on its name or icon to view the live video feed.
- Observe the live video feed from your Soliom outdoor camera to ensure that it is streaming properly. Check for any lag, distortion, or connectivity issues.
- If the live video feed is working smoothly, it means that your Soliom camera is successfully connected to the new Wi-Fi network. Congratulations!
If you encounter any issues during the verification process, ensure that the camera is positioned within range of your Wi-Fi network and that the Wi-Fi signal is strong. You may also try restarting the camera or resetting the Wi-Fi settings in the app if necessary. Refer to the Soliom camera’s user manual for specific troubleshooting steps or contact Soliom customer support for assistance.
With the successful verification of the connection, you have completed the process of changing the Wi-Fi password on your Soliom outdoor camera. You can now enjoy the enhanced security and peace of mind that comes with having a reliable and secure camera system.
Remember to always keep your Wi-Fi network and camera firmware updated to ensure the highest level of security. Additionally, consider creating strong, unique passwords for both your Wi-Fi network and camera to further protect your privacy.
Thank you for following this guide. We hope it has been helpful in assisting you with changing the Wi-Fi password on your Soliom outdoor camera. If you have any further questions or need additional assistance, feel free to reach out to us or consult the Soliom support resources.
Stay safe and enjoy the added protection provided by your Soliom outdoor camera!
Conclusion
In conclusion, changing the Wi-Fi password on your Soliom outdoor camera is a simple and important step to ensure the security and functionality of your home surveillance system. By following the step-by-step guide outlined in this article, you can easily update your Wi-Fi password and reconnect your camera to the network.
Remember, it is crucial to regularly update your Wi-Fi password to protect against unauthorized access to your camera feed and other connected devices. This helps maintain the privacy and security of your home and personal information.
The Soliom outdoor camera provides an excellent level of security and peace of mind, allowing you to monitor your property remotely and receive real-time alerts. By keeping your Wi-Fi password up to date, you can continue to enjoy the benefits of this advanced home security solution.
If you encounter any difficulties during the process or have any questions, refer to the camera’s user manual or reach out to Soliom customer support for assistance. They will be able to provide further guidance and troubleshooting steps specific to your camera model.
Thank you for taking the time to read this guide on how to change the Wi-Fi password on your Soliom outdoor camera. We hope you found it helpful and that it has empowered you to take control of your home security system. Stay vigilant and enjoy the peace of mind that comes with a secure and reliable camera network.
Frequently Asked Questions about How To Change Wi-Fi Password On Soliom Outdoor Camera
Was this page helpful?
At Storables.com, we guarantee accurate and reliable information. Our content, validated by Expert Board Contributors, is crafted following stringent Editorial Policies. We're committed to providing you with well-researched, expert-backed insights for all your informational needs.
