Home>Home Security and Surveillance>How To Replace The Battery In Brinks Motion Detector
Home Security and Surveillance
How To Replace The Battery In Brinks Motion Detector
Modified: August 16, 2024
Learn how to replace the battery in your Brinks motion detector for enhanced home security and surveillance. Keep your system running smoothly with this simple guide.
(Many of the links in this article redirect to a specific reviewed product. Your purchase of these products through affiliate links helps to generate commission for Storables.com, at no extra cost. Learn more)
Introduction
Welcome to our comprehensive guide on how to replace the battery in your Brinks motion detector. Home security systems play a crucial role in keeping our homes and loved ones safe, and motion detectors are an integral part of these systems. However, like all battery-powered devices, the batteries in motion detectors need to be replaced periodically to ensure optimal functionality.
By following the simple steps outlined in this guide, you’ll be able to replace the battery in your Brinks motion detector quickly and easily, without having to call a professional or spend unnecessary time or money. Whether you’re a tech-savvy individual or a complete novice, this guide is designed to help you through the process in a straightforward manner.
Before we dive into the steps, let’s take a moment to understand why it’s essential to replace the battery in your motion detector. The battery is a crucial component that powers the device, allowing it to detect motion and trigger the alarm when necessary. Over time, the battery’s performance may degrade, leading to a weakened detection range and potentially compromising the overall effectiveness of your home security system.
Regularly replacing the battery ensures that your motion detector continues to function optimally, providing you with the peace of mind of knowing that your home is well-protected. Without further ado, let’s jump into the step-by-step process of replacing the battery in your Brinks motion detector.
Key Takeaways:
- Replacing the battery in your Brinks motion detector is an essential task to ensure it works effectively. By following the simple steps in this guide, you can do it yourself and keep your home safe.
- Before replacing the battery, gather tools like a screwdriver and a new battery. Prepare the motion detector, remove the old battery, insert the new one, test the detector, and secure it back in place.
Step 1: Gather the necessary tools and equipment
Before you begin the battery replacement process, it’s essential to gather all the necessary tools and equipment. This will ensure a smooth and hassle-free experience. Here’s a list of items you’ll need:
- Screwdriver: Most motion detectors require a screwdriver to remove the cover and access the battery compartment. Check the type of screws used in your specific model and ensure you have the appropriate screwdriver on hand.
- New battery: Consult the user manual or the Brinks website to determine the exact type of battery required for your motion detector. Purchase a fresh and compatible battery to ensure optimal performance.
- Small container: It’s a good idea to have a small container or tray available to keep the screws and other small parts in one place during the process. This will help prevent any accidental loss or confusion.
- Protective gloves: While not always necessary, wearing protective gloves can be useful, especially if you’re working with a motion detector that has been in place for a while and may accumulate dust or debris.
Once you have these items ready, you can proceed confidently through the battery replacement process. It’s worth noting that while these tools are common for most motion detectors, some models may require additional or different tools. It’s always a good idea to consult the user manual or the manufacturer’s website for specific instructions related to your particular motion detector model.
Now that you have gathered the necessary tools and equipment, let’s move on to the next step: preparing the motion detector for battery replacement.
Step 2: Prepare the motion detector for battery replacement
Before removing the old battery, it’s important to prepare the motion detector to ensure a safe and efficient battery replacement process. Follow these steps to prepare the motion detector:
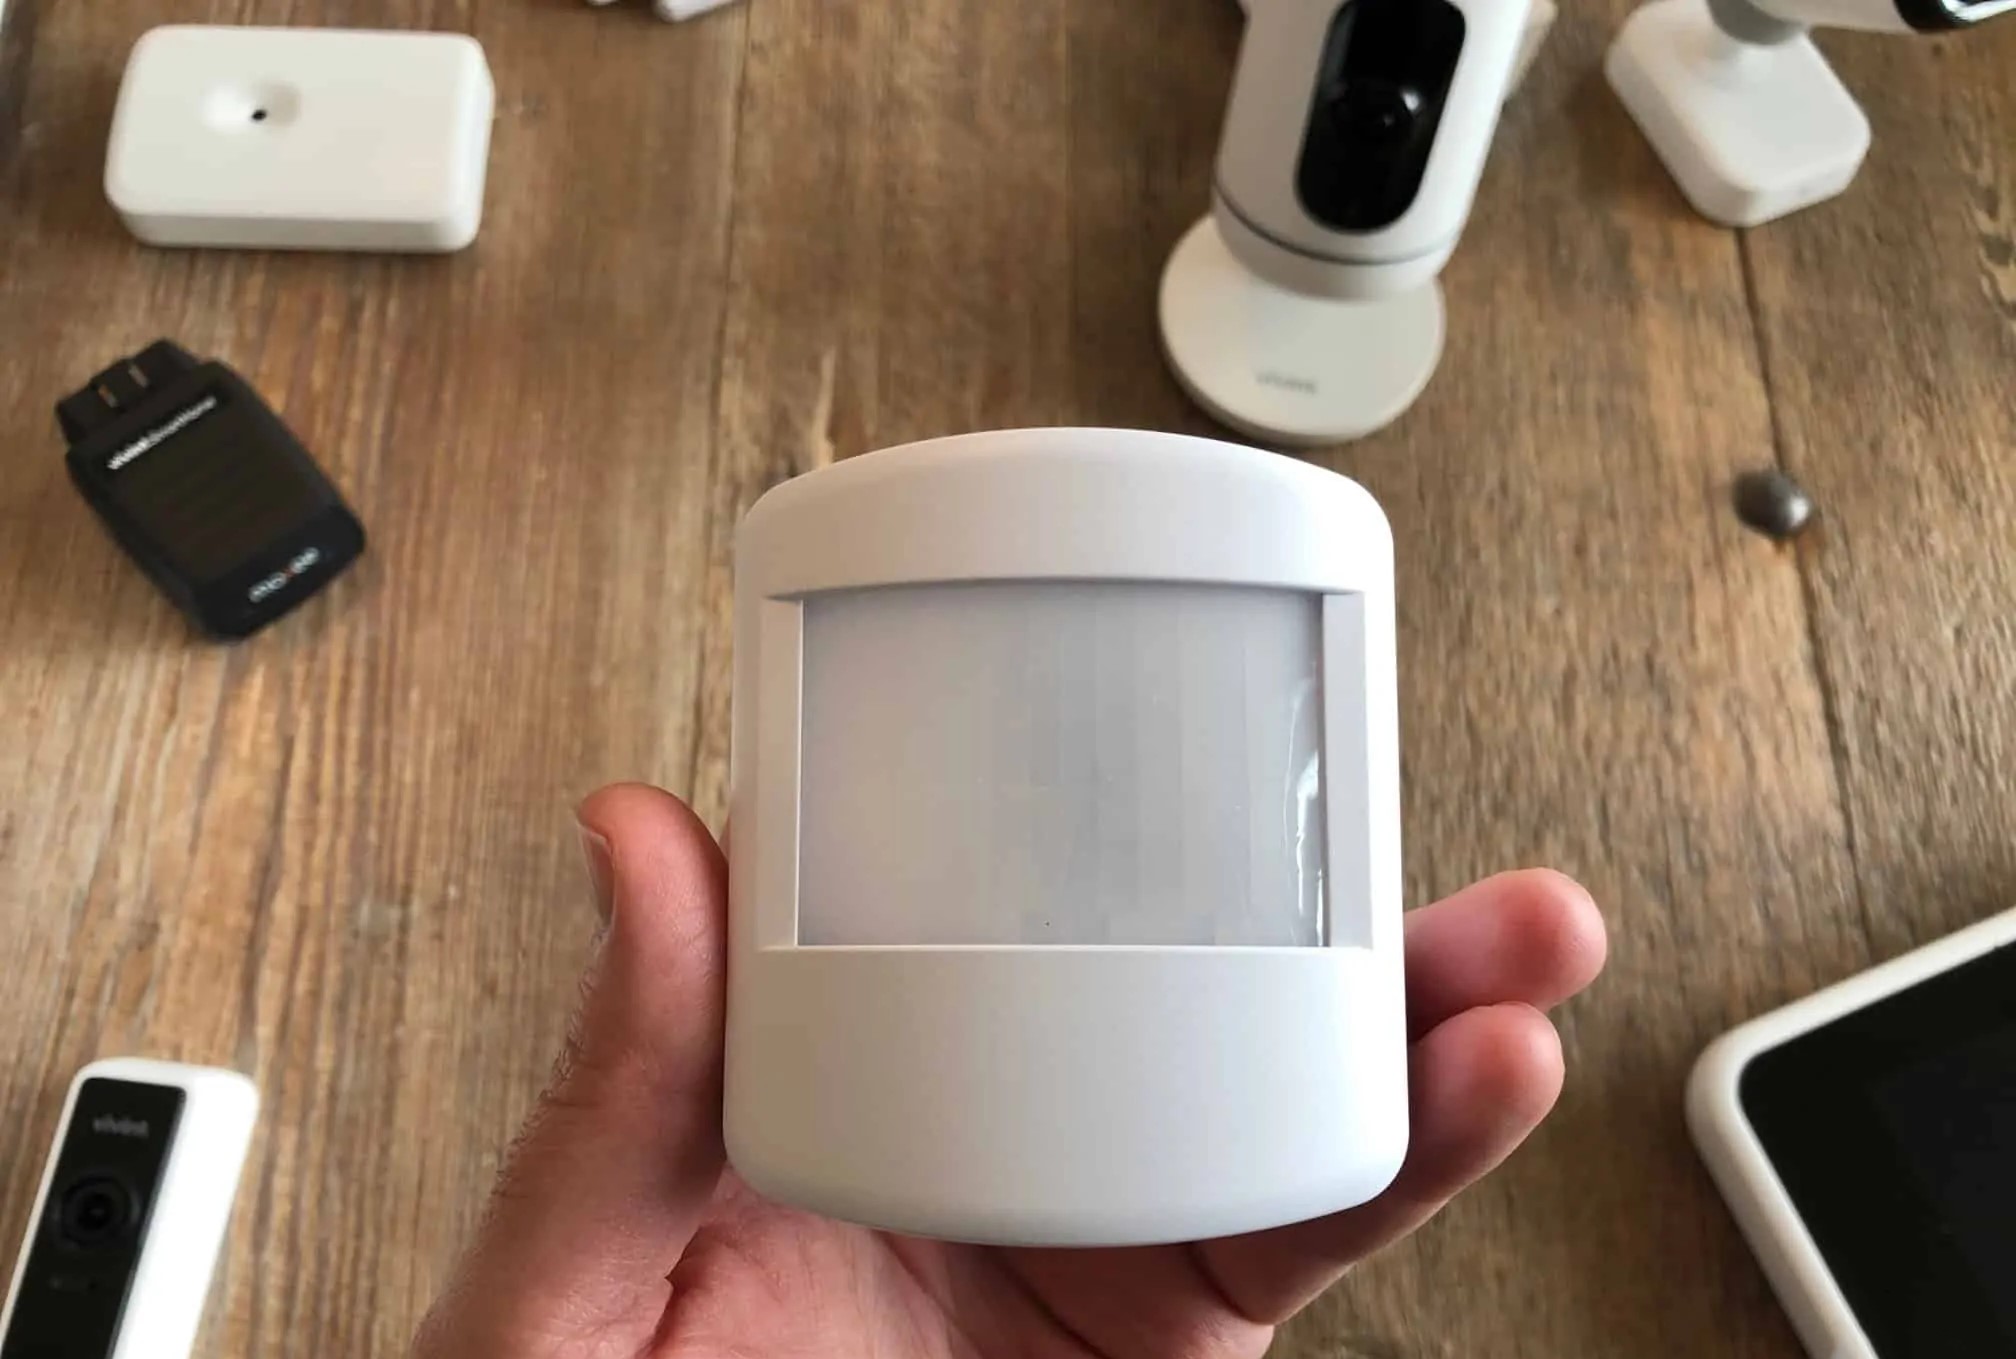
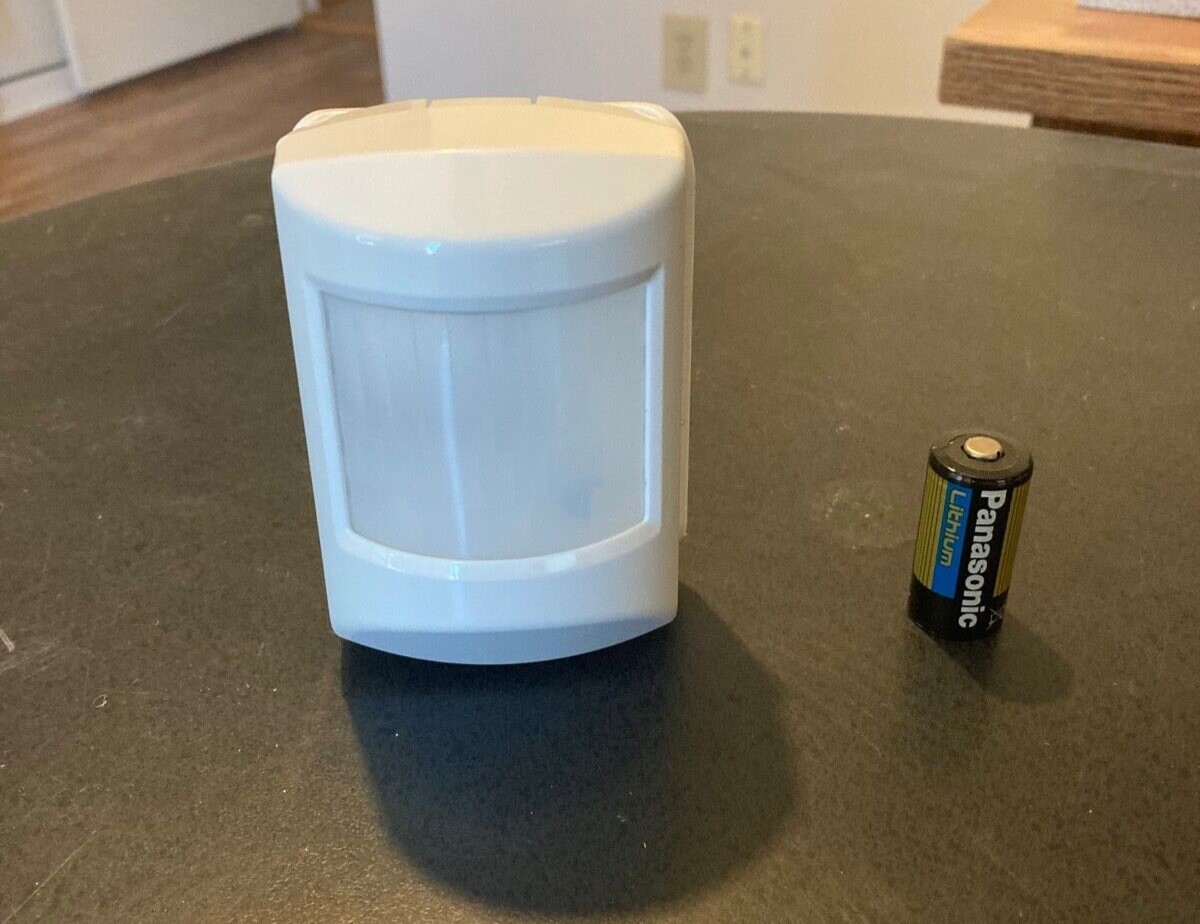
- Locate the motion detector: Identify the exact location of the motion detector in your home. It’s usually mounted on a wall or ceiling in a strategic place to maximize coverage.
- Disable the alarm system: If your motion detector is connected to an alarm system, it’s crucial to disable the system before proceeding with the battery replacement. Consult your alarm system manual or contact your security provider for instructions on how to disable the system.
- Ensure a stable base: If the motion detector is easily removable from its base, ensure that the base is stable and won’t move or swing while you’re working on it. This will prevent any accidental damage or misalignment.
- Prepare the workspace: Create a clean and well-lit workspace near the motion detector. Having a clear area will make it easier to handle the motion detector and its components without any obstructions.
By following these steps, you’ll be well-prepared to proceed with the battery replacement process. It’s crucial to ensure the safety of yourself and the motion detector during this process. Taking the time to prepare and follow these steps will help avoid any accidents or damage to the device.
Next, we’ll move on to step 3: removing the old battery from the motion detector.
Step 3: Remove the old battery
With the motion detector prepared for battery replacement, it’s time to remove the old battery. Follow these steps carefully:
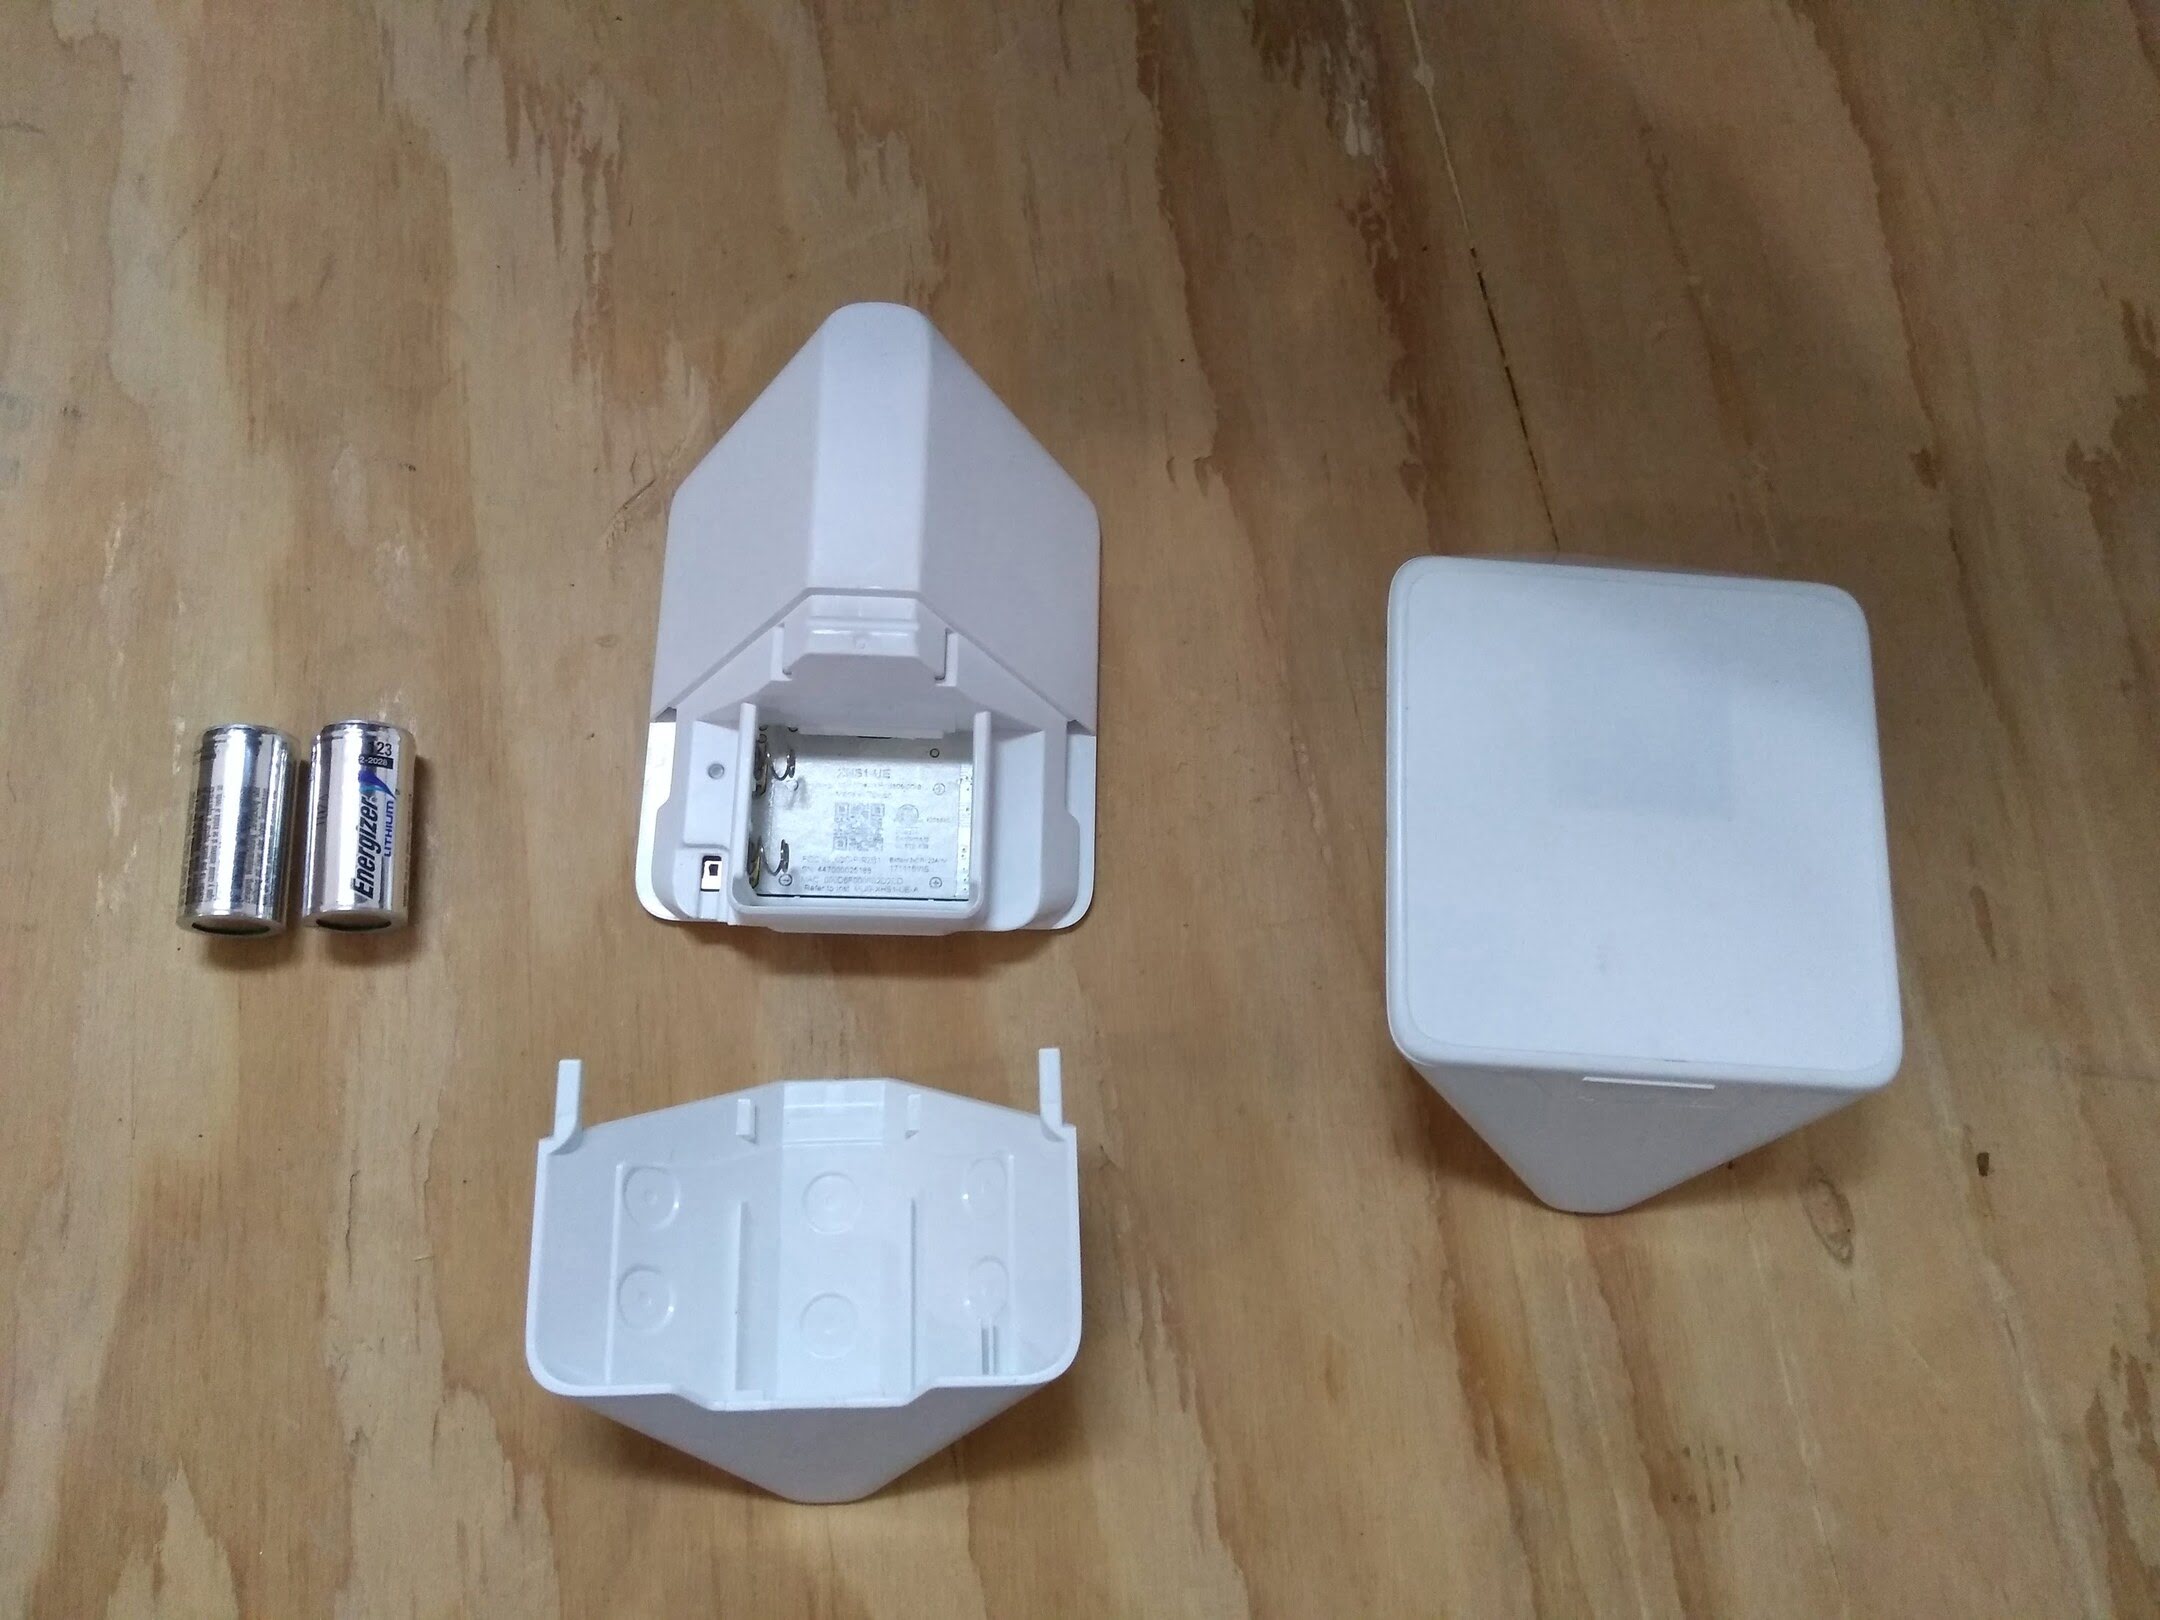
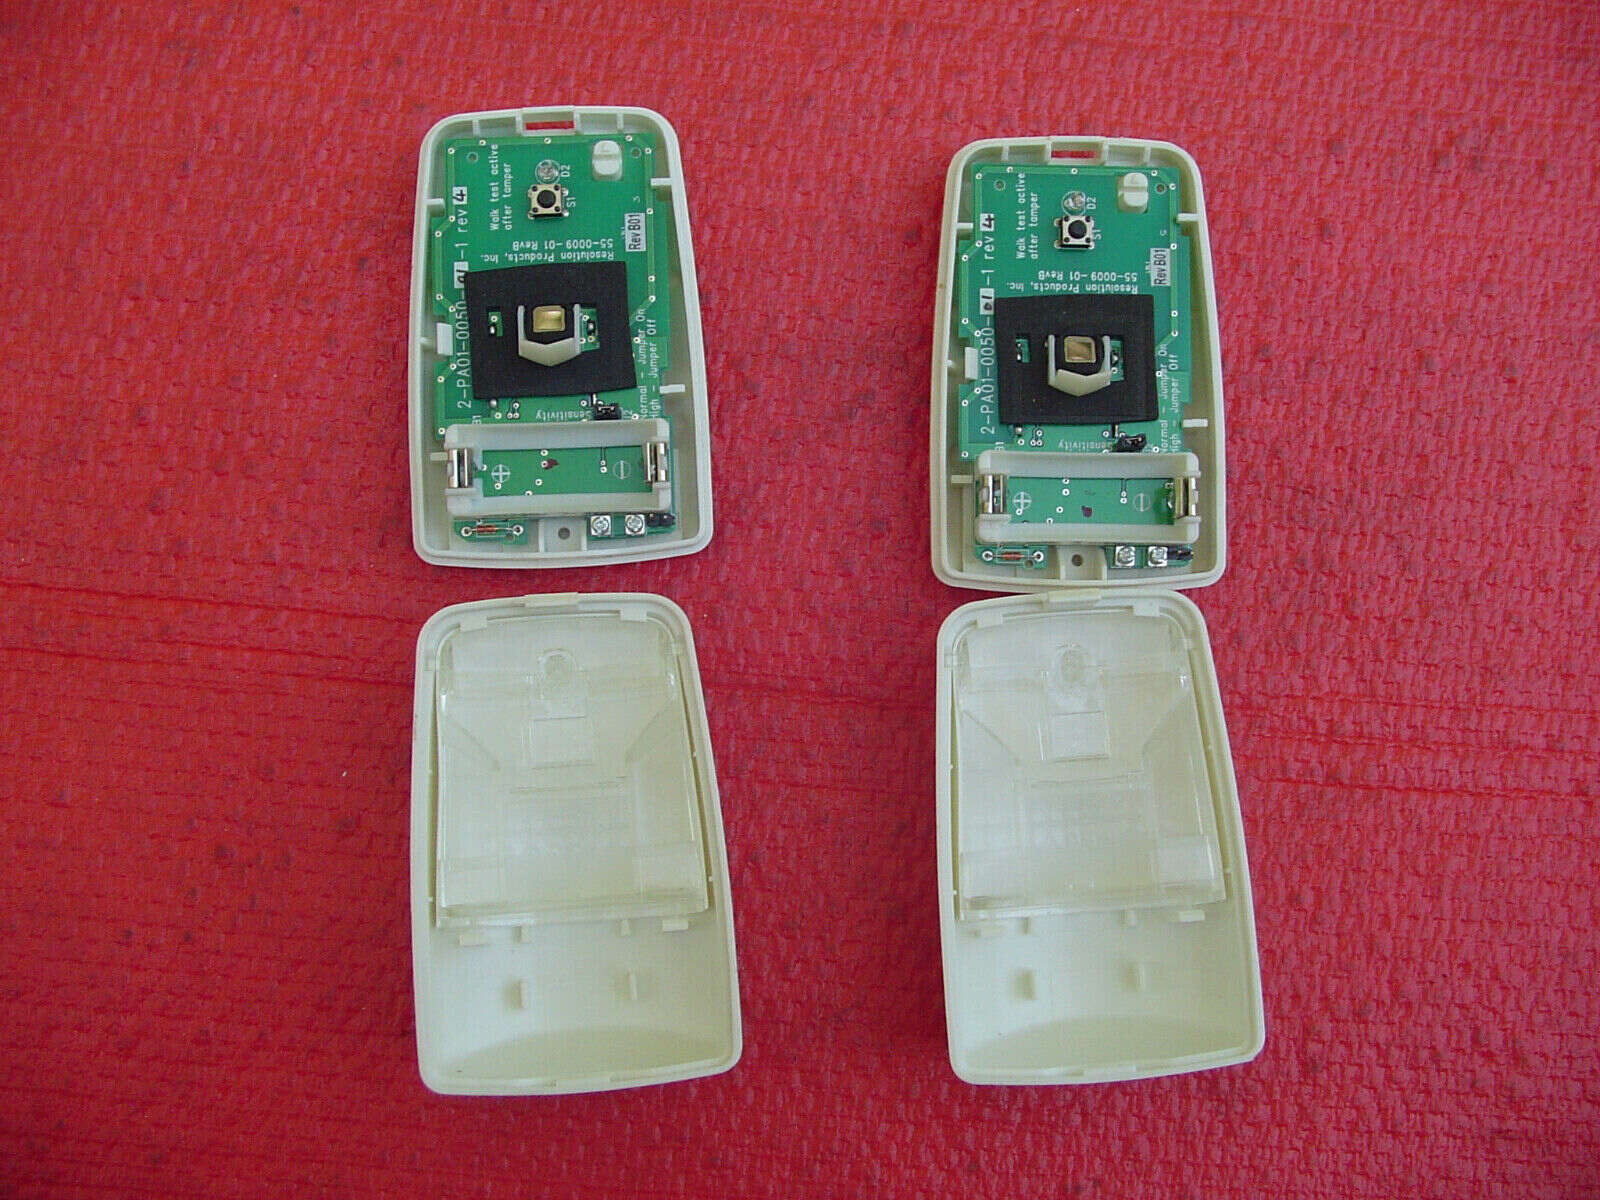
- Inspect the battery compartment: Locate the battery compartment on the motion detector. It is usually located on the back or bottom of the device and can be accessed by removing a cover or panel.
- Open the battery compartment: Using the appropriate screwdriver, carefully remove the screws securing the battery compartment cover. Place the screws in the small container or tray to keep them safe during the process.
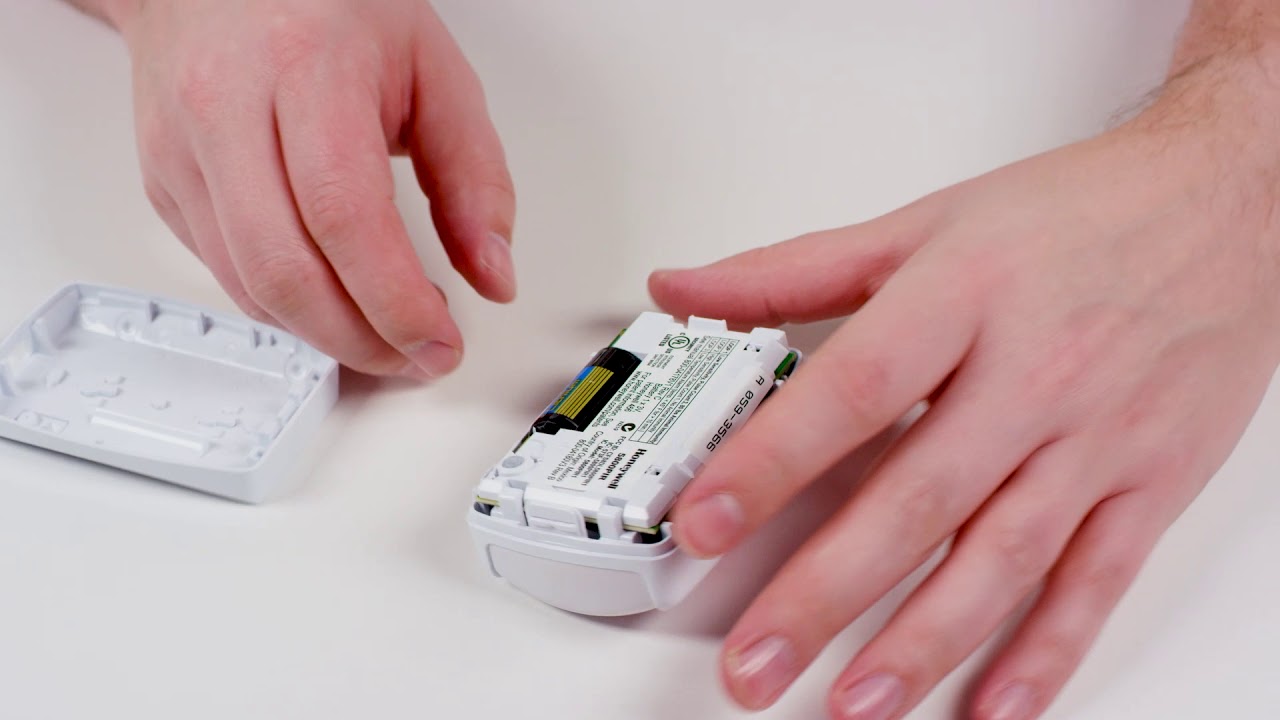
- Remove the old battery: Once the battery compartment cover is removed, you’ll have access to the old battery. Depending on the design of the motion detector, the battery may be held in place with a clip, a spring, or a simple slot. Gently remove the old battery, taking care not to damage any of the components.
- Dispose of the old battery: Properly dispose of the old battery in accordance with local regulations. Many electronics stores offer battery recycling services, or you can check with your local recycling center for proper disposal instructions.
It’s important to exercise caution and handle the old battery properly. Batteries contain hazardous chemicals and should not be thrown in the regular trash.
Now that you have successfully removed the old battery, it’s time to move on to step 4: inserting the new battery in the motion detector.
To replace the battery in a Brinks motion detector, first remove the cover and locate the battery compartment. Then, carefully remove the old battery and replace it with a new one of the same type. Finally, reattach the cover and test the detector to ensure it is working properly.
Step 4: Insert the new battery
With the old battery removed, it’s time to insert the new battery into the motion detector. Follow these steps carefully to ensure a smooth and proper installation:
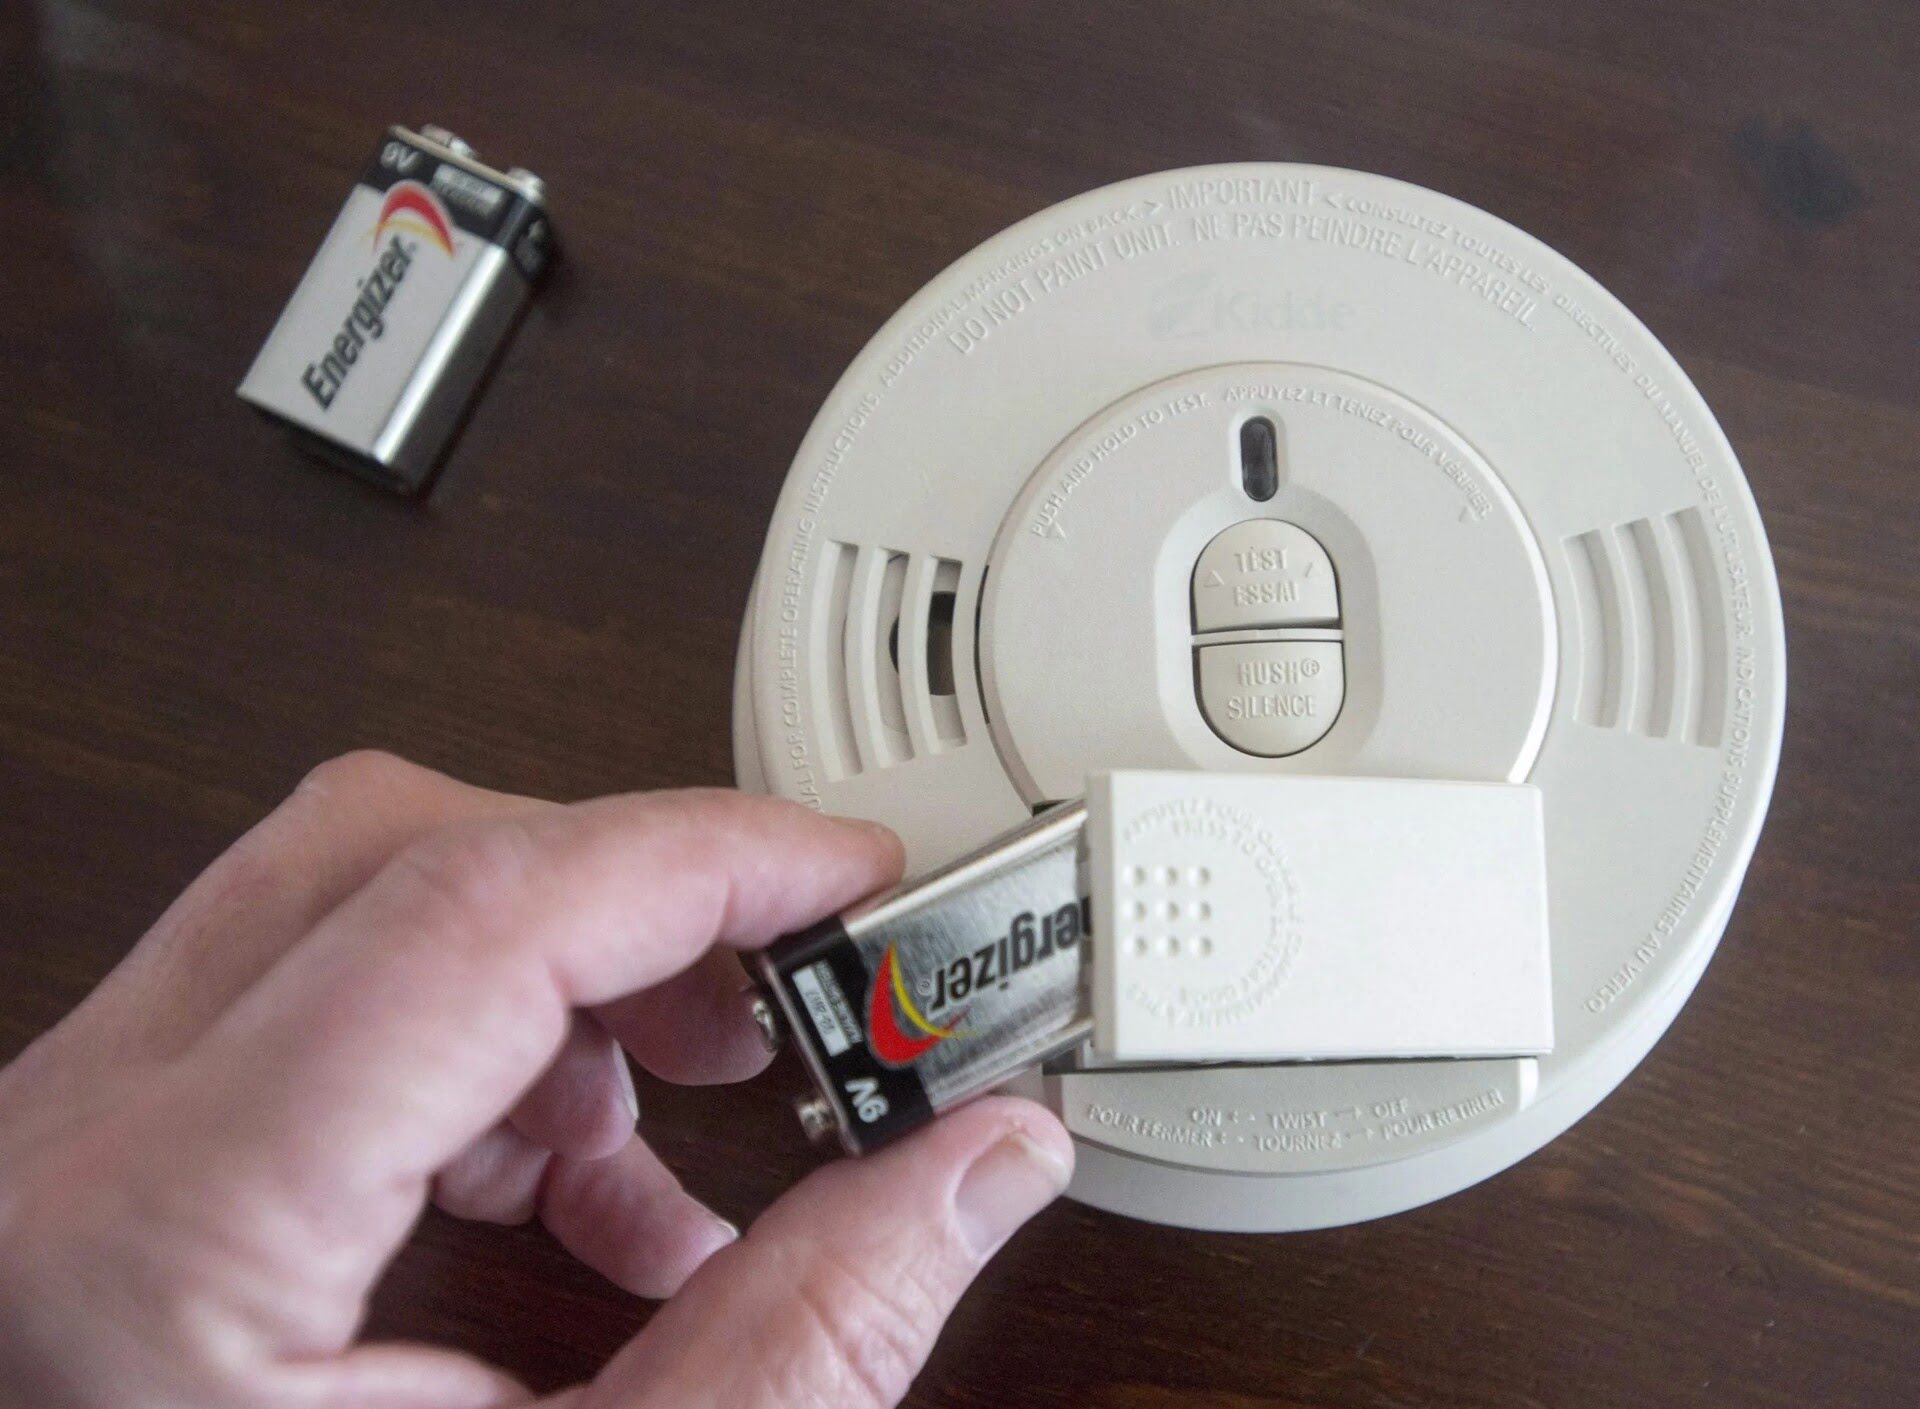
- Check battery orientation: Before inserting the new battery, check the battery compartment or the marks inside to determine the correct orientation. The positive (+) and negative (-) symbols should align with the corresponding markings.
- Insert the new battery: Take the new battery and carefully insert it into the battery compartment, ensuring that it fits securely and snugly. Avoid applying excessive force to prevent any damage to the motion detector or the battery itself.
- Secure the battery compartment cover: Once the new battery is in place, reattach the battery compartment cover by aligning it with the designated slots or pins. Use the screwdriver to securely fasten the screws back into place, ensuring they are tightened but not overly tight to avoid stripping the screws or damaging the cover.
It’s important to note that different motion detector models may have varying methods of securing the battery and the battery compartment cover. Refer to the user manual or the manufacturer’s instructions for specific details related to your motion detector.
Now that the new battery is inserted and the battery compartment is securely closed, it’s time to move on to step 5: testing the motion detector to ensure everything is functioning correctly.
Step 5: Test the motion detector
Once you have replaced the battery in your motion detector, it’s essential to test its functionality to ensure that everything is working correctly. Follow these steps to perform a simple test:
- Restore power to the motion detector: If you had previously disabled the alarm system, now is the time to restore power to the motion detector. Follow the instructions provided by your alarm system or security provider to reactivate the system.
- Trigger the motion detector: Walk in front of the motion detector to trigger its sensor. You should hear a click or see an indicator light turn on, indicating that the motion detector has detected your movement.
- Verify the alarm system response: Check if the alarm system responds accordingly to the motion detection. If the alarm goes off or sends a notification to your security monitoring service, it means that the motion detector is properly functioning.
- Test the sensitivity and range: Move around in front of the motion detector to test its sensitivity and range. Ensure that it detects your movement from various angles and distances, as per the specifications provided by the manufacturer.
If you notice any issues during the testing process, such as a lack of response or limited range, double-check the battery installation and make sure it is securely in place. If the problem persists, consult the user manual or reach out to the manufacturer’s support for further assistance or troubleshooting.
Once you are satisfied with the functionality of the motion detector, it’s time to move on to the final step: securing the motion detector back in place.
Step 6: Secure the motion detector back in place
After replacing the battery and testing the motion detector, the final step is to secure it back in its original position. Follow these steps to ensure that the motion detector is properly reinstalled:
- Align the motion detector: Position the motion detector back onto its base or mounting bracket, aligning it with the screw holes or designated slots.
- Secure the motion detector: Using the screwdriver, insert and tighten the screws to secure the motion detector in place. Be careful not to overtighten the screws to avoid damaging the device.
- Double-check alignment and stability: Ensure that the motion detector is stable and level after securely fastening it to the base. Make any necessary adjustments to ensure optimal coverage and functionality.
- Clean up the workspace: Before concluding the installation process, clean up your workspace by removing any tools, equipment, or debris. This will leave the area clean and tidy.
With the motion detector secured back in place, you have successfully completed the battery replacement process. Your Brinks motion detector is now ready to continue providing reliable detection and protection for your home.
Remember, periodic maintenance, such as battery replacement, is crucial to ensure the optimal performance of your motion detector and overall home security system. Be sure to regularly check the battery status and replace it as needed, following the manufacturer’s guidelines and recommendations.
By completing these steps, you have demonstrated your ability to replace the battery in your Brinks motion detector on your own, saving time and money while ensuring the continued security of your home. Congratulations on a job well done!
If you have any further questions or encounter any difficulties during the process, don’t hesitate to consult the user manual or contact Brinks customer support for assistance. Your safety and peace of mind are paramount, and maintaining a properly functioning motion detector is key to achieving that.
Thank you for following this comprehensive guide. We wish you continued security and peace of mind in your home!
Conclusion
In conclusion, replacing the battery in your Brinks motion detector is a simple and important maintenance task that ensures the optimal performance of your home security system. By following the step-by-step guide provided in this article, you can confidently and successfully replace the battery on your own, without the need for professional assistance.
Throughout this guide, we covered the necessary tools and equipment required for the battery replacement process. We highlighted the importance of preparing the motion detector before removing the old battery and provided detailed instructions for safely removing and disposing of the old battery.
We then discussed how to insert the new battery properly, ensuring the correct orientation and an adequately secured battery compartment cover. Testing the functionality of the motion detector was emphasized, and we provided guidance on what to look for during the testing process.
Lastly, we concluded with the final step of securing the motion detector back in place, checking alignment and stability, and cleaning up the workspace.
Regularly replacing the battery in your motion detector not only ensures the effective operation of the device but also provides you with peace of mind knowing that your home is protected. Keeping your home security system in optimal condition is essential in today’s world, and taking proactive steps to maintain it will help keep you, your loved ones, and your belongings safe.
We hope that this guide has empowered you with the knowledge and confidence to replace the battery in your Brinks motion detector. Remember to consult the user manual or reach out to the manufacturer’s support if you have any specific questions or concerns regarding your motion detector model.
Thank you for reading, and we wish you continued security and peace of mind in your home!
Frequently Asked Questions about How To Replace The Battery In Brinks Motion Detector
Was this page helpful?
At Storables.com, we guarantee accurate and reliable information. Our content, validated by Expert Board Contributors, is crafted following stringent Editorial Policies. We're committed to providing you with well-researched, expert-backed insights for all your informational needs.