Home>Home Security and Surveillance>How To Install Long-Distance Wired Security Cameras
Home Security and Surveillance
How To Install Long-Distance Wired Security Cameras
Modified: March 6, 2024
Learn how to effectively run a long-distance wired security camera for your home security and surveillance needs. Ensure optimal coverage and peace of mind.
(Many of the links in this article redirect to a specific reviewed product. Your purchase of these products through affiliate links helps to generate commission for Storables.com, at no extra cost. Learn more)
Introduction
Welcome to the world of home security and surveillance! With the rising concerns about safety and the need for monitoring our surroundings, installing a wired security camera system has become a popular choice for homeowners. Not only do these systems provide enhanced security, but they also offer peace of mind knowing that you can keep a watchful eye on your property at all times.
In this comprehensive guide, we will dive into the ins and outs of running a long-distance wired security camera. Whether you’re a first-time buyer or looking to upgrade your existing system, we’ve got you covered.
From choosing the right camera to setting it up like a pro, we will take you step by step through the entire process. So, let’s get started on your journey to a more secure home!
Key Takeaways:
- Choose a wired security camera with high resolution, wide field of view, and weather resistance for optimal home security. Consider additional features like remote access and storage for added convenience.
- Properly plan the installation location, run the wiring for long-distance transmission, configure network settings, and test the camera’s performance to ensure a reliable and effective wired security system for your home.
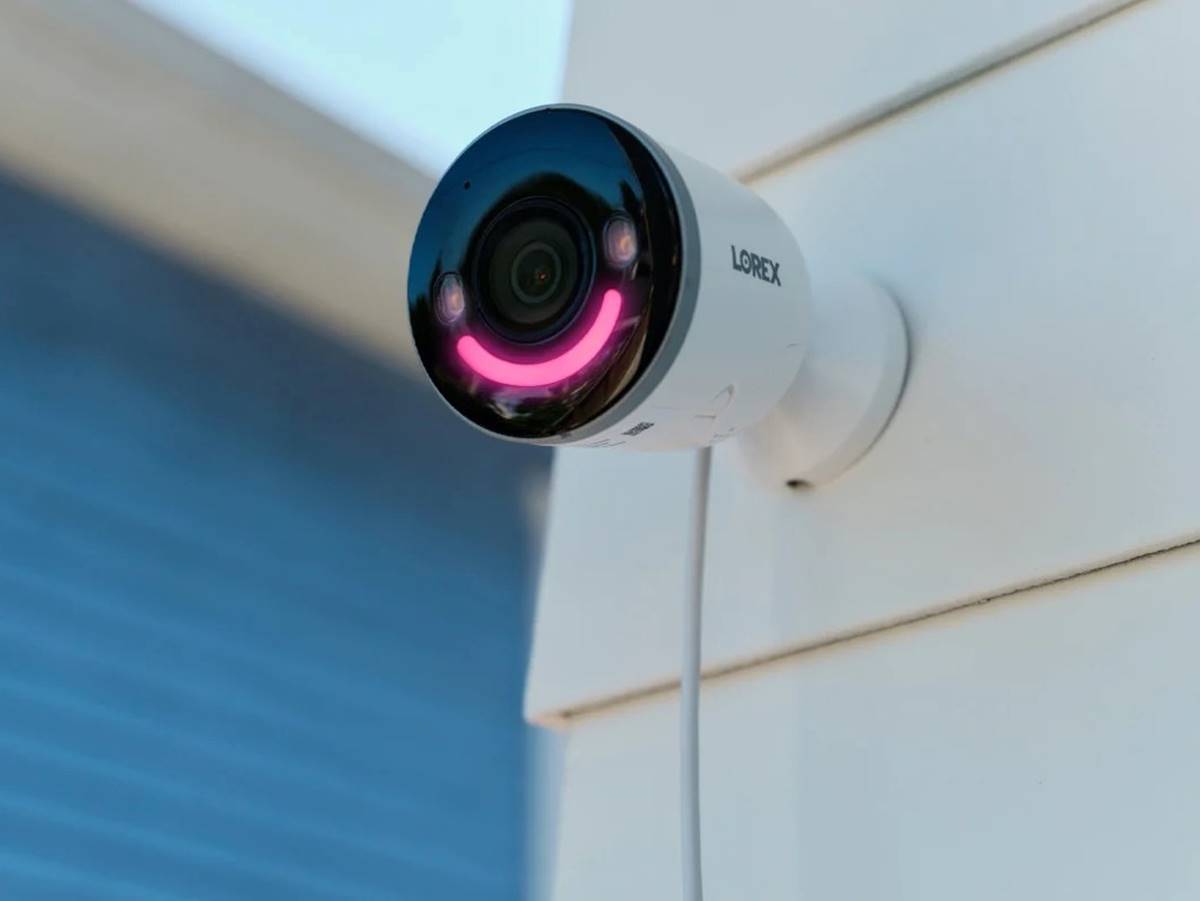
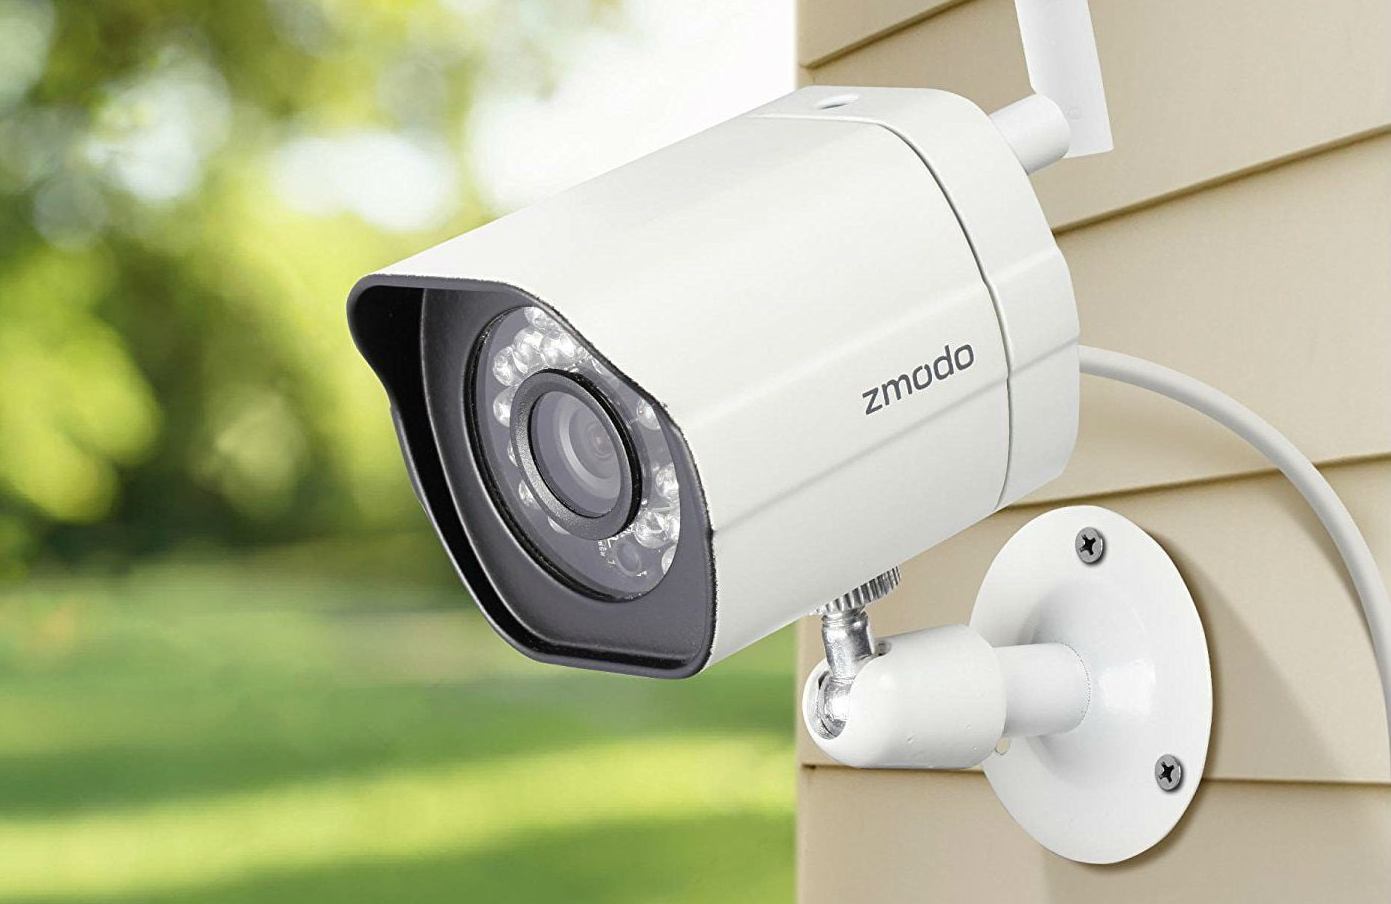
Choosing the Right Wired Security Camera
When it comes to selecting the right wired security camera for your home, there are a few key factors to consider. These factors will ensure that you choose a camera that meets your specific security needs and provides you with high-quality footage.
- Resolution: The resolution of the camera determines the image and video quality. Look for cameras that offer at least 1080p resolution for clear and detailed footage.
- Field of View: Consider the field of view you require to cover the desired area effectively. Cameras with a wide-angle lens offer a broader field of view, ensuring maximum coverage.
- Low Light Performance: Look for cameras with good low light performance or built-in infrared (IR) LEDs for clear footage even in low light conditions or at night.
- Weather Resistance: If you plan to install the camera outdoors, choose a camera that is weatherproof and can withstand various weather conditions.
- Remote Access and Storage: Select a camera that allows remote access through a mobile app or web browser, and offers options for local or cloud storage for your recorded footage.
- Additional Features: Consider any additional features you may need, such as motion detection, two-way audio, and pan/tilt/zoom capabilities, to enhance your security system.
By considering these factors, you can narrow down your choices and find a wired security camera that suits your specific requirements and provides you with the level of security you desire for your home.
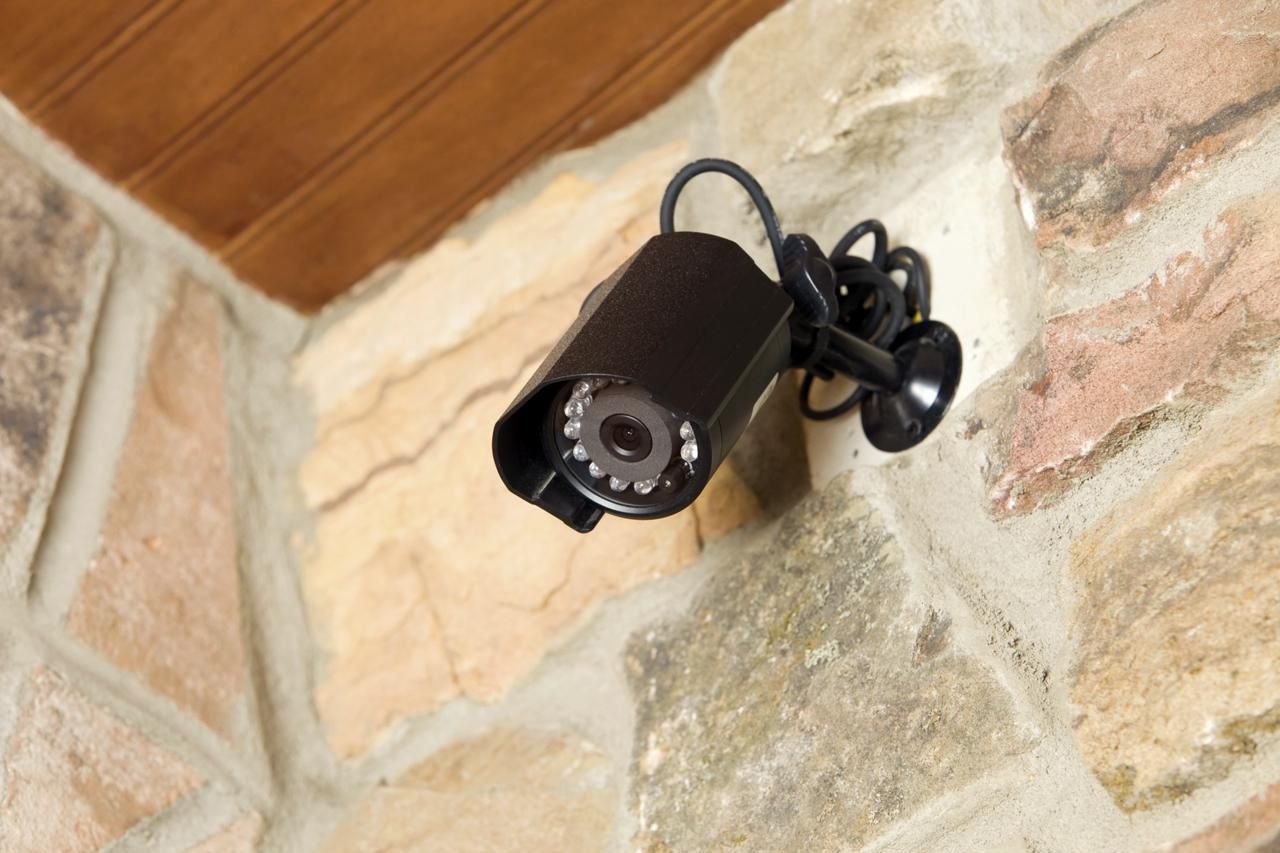
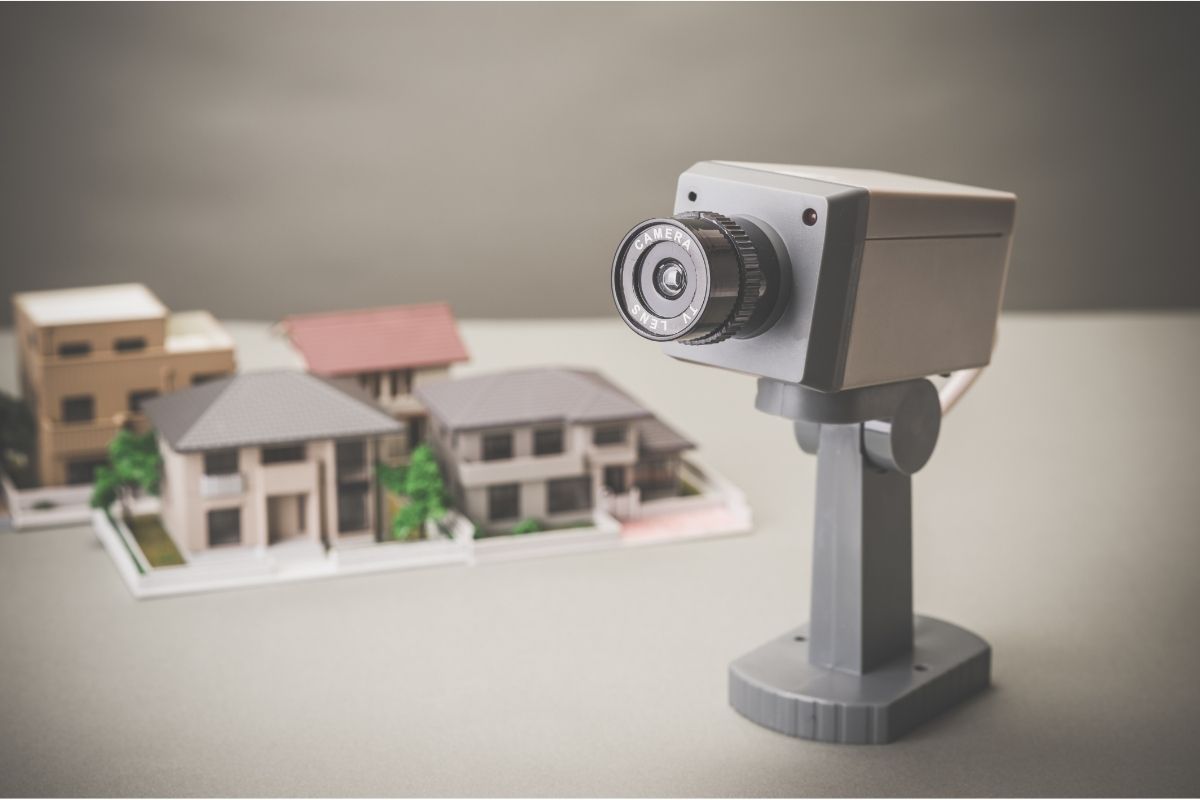
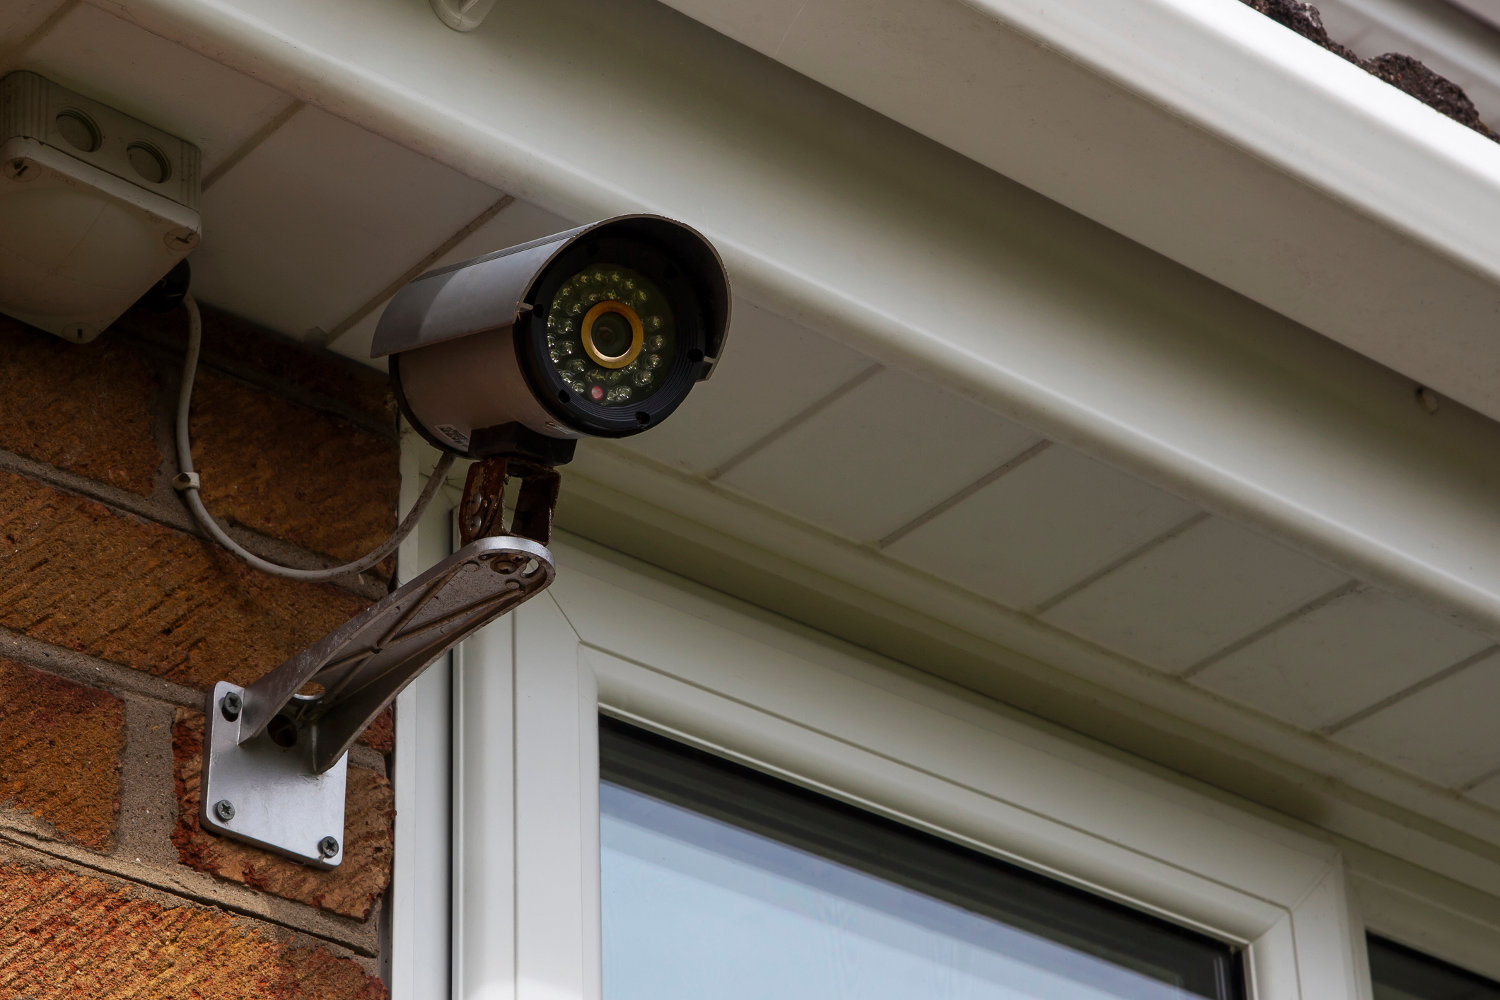
Selecting the Ideal Location for Installation
The location where you install your wired security camera plays a crucial role in its effectiveness. Here are some tips to help you select the ideal location:
- Entry Points: Place cameras near entry points such as doors, windows, and garages. These are the areas most vulnerable to break-ins and require extra monitoring.
- Visible Deterrence: Installing cameras in visible locations can act as a deterrent for potential intruders. Make sure they are easily visible to deter any criminal activity.
- Coverage Area: Assess the coverage area you need. Consider the camera’s field of view and place it strategically to capture the desired area effectively.
- Avoid Obstructions: Ensure that the camera has a clear line of sight without any obstructions like trees or bushes that could block the view or trigger false motion alerts.
- Power and Connectivity: Take into account the availability of power outlets and connectivity options at the chosen location. Ensure that the camera can be easily powered and connected to your network.
- Height and Angle: The installation height and angle of the camera are essential for capturing the best footage. Mount the camera at a height that provides a clear view of the area while minimizing the risk of tampering.
- Indoor vs. Outdoor: Different cameras are designed for indoor and outdoor use. Choose accordingly and ensure that outdoor cameras are weatherproofed and can withstand the elements.
Remember, the location you choose plays a crucial role in the effectiveness of your security system. Take your time to assess the different areas of your property and strategically place the cameras for optimum coverage and deterrence.
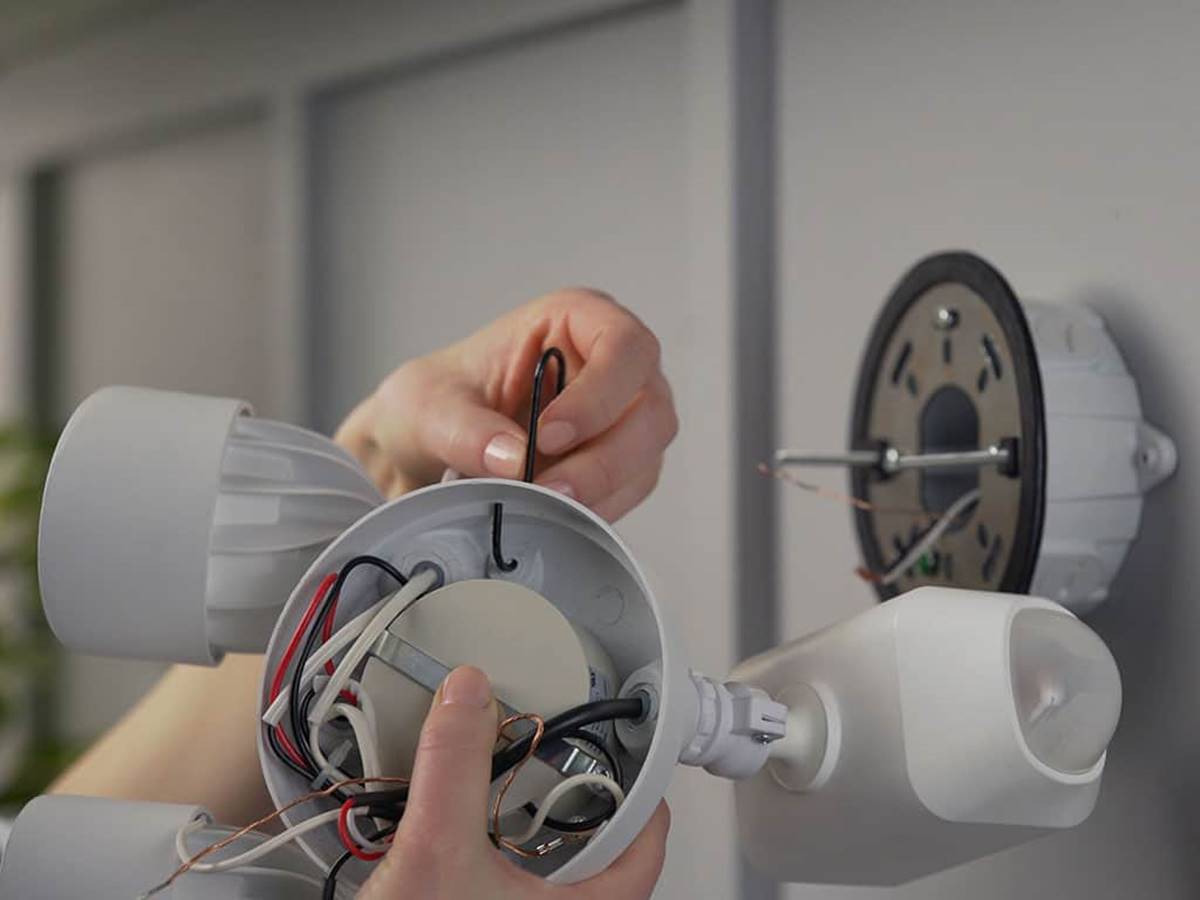
Setting Up the Wiring for Long Distance Transmission
Setting up the wiring for long-distance transmission is a crucial step in ensuring that your wired security camera system functions flawlessly. Follow these steps to set up the wiring effectively:
- Plan Your Wiring Route: Determine the path your wiring will take from the camera location to the recording device or monitor. Consider the distance, accessibility, and potential obstructions along the way.
- Select the Right Cable: Use high-quality cables that are suitable for long-distance transmission. Choosing the correct cable type, such as RG59 coaxial cable or CAT5e Ethernet cable, is essential for maintaining signal integrity.
- Measure and Cut: Measure the required length of cable for each camera and cut it accordingly. Leave some slack to account for any adjustments during installation.
- Run and Conceal the Wiring: Carefully run the cable along the planned route, concealing it whenever possible. Use clips or cable channels to secure the wiring and prevent it from hanging loosely or getting damaged.
- Connect the Camera to the Recording Device: Connect one end of the cable to the camera and the other end to the recording device or monitor. Follow the manufacturer’s instructions for proper connection.
- Use Baluns or Amplifiers (if necessary): For longer cable runs, use baluns or amplifiers to extend the signal range and ensure optimal performance. This is especially important for distances exceeding 300 feet.
- Test the Connection: Once the wiring is in place, test the connection by powering on the camera and checking for a stable video feed on the recording device or monitor. Verify that the signal is clear and free from any interference.
When setting up the wiring for long-distance transmission, it’s important to ensure proper cable selection and installation. By following these steps, you can establish a reliable and high-performance connection for your wired security camera system.
When running long distance wired security cameras, use high-quality, weatherproof cables to ensure reliable transmission and protect against outdoor elements. Additionally, consider using signal boosters or repeaters to extend the range of the camera’s signal.
Configuring the Camera’s Settings and Network Connection
Once you have completed the physical installation of your wired security camera, it’s time to configure its settings and establish a network connection for remote access. Follow these steps to get your camera up and running:
- Access the Camera’s Settings: Connect your camera to a computer or use the manufacturer’s mobile app to access the camera’s settings. Refer to the user manual or documentation for specific instructions.
- Assign an IP Address: Set a unique IP address for your camera to ensure it can be identified on your network. You can either manually assign an IP address or use DHCP to have it automatically assigned.
- Configure Network Connection: Enter your network’s SSID and password to connect the camera to your home Wi-Fi network. This will enable remote access and allow you to view the camera’s feed from anywhere.
- Adjust Camera Settings: Explore the camera’s settings interface to customize features such as video quality, motion detection sensitivity, recording options, and more. Adjust these settings based on your preferences and specific security needs.
- Create User Accounts and Passwords: Set up user accounts with secure passwords to control access to the camera’s feed and settings. This ensures that only authorized individuals can view and manage the camera.
- Configure Remote Access: If your camera supports remote access, enable the feature and set up port forwarding on your router. This will allow you to access the camera’s feed from outside your home network via the internet.
- Test the Remote Connection: Once the camera is configured and connected to your network, test the remote connection to ensure that you can view the camera’s feed on your mobile device or computer when you’re away from home.
By following these steps, you can configure your camera’s settings and establish a network connection for remote access. This will enable you to monitor your property and keep an eye on things even when you’re not physically present at home.
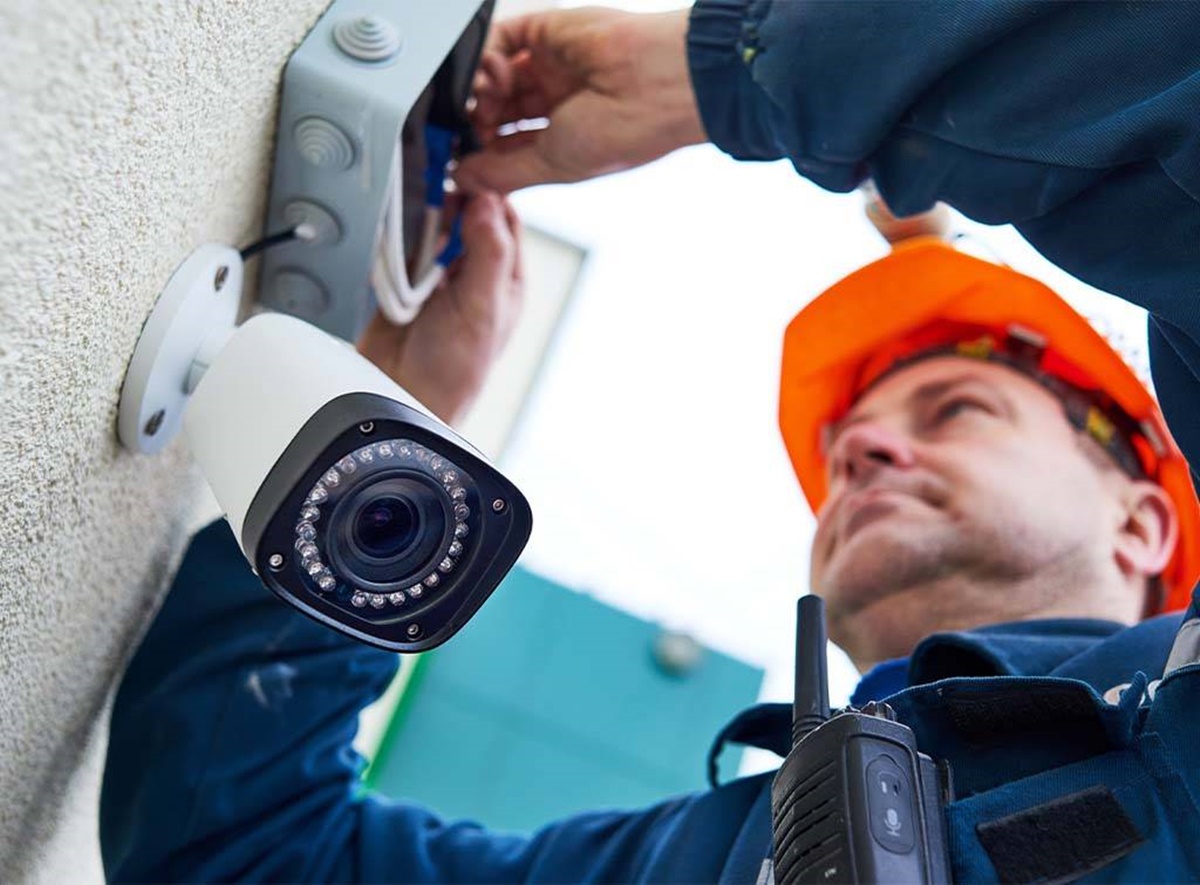
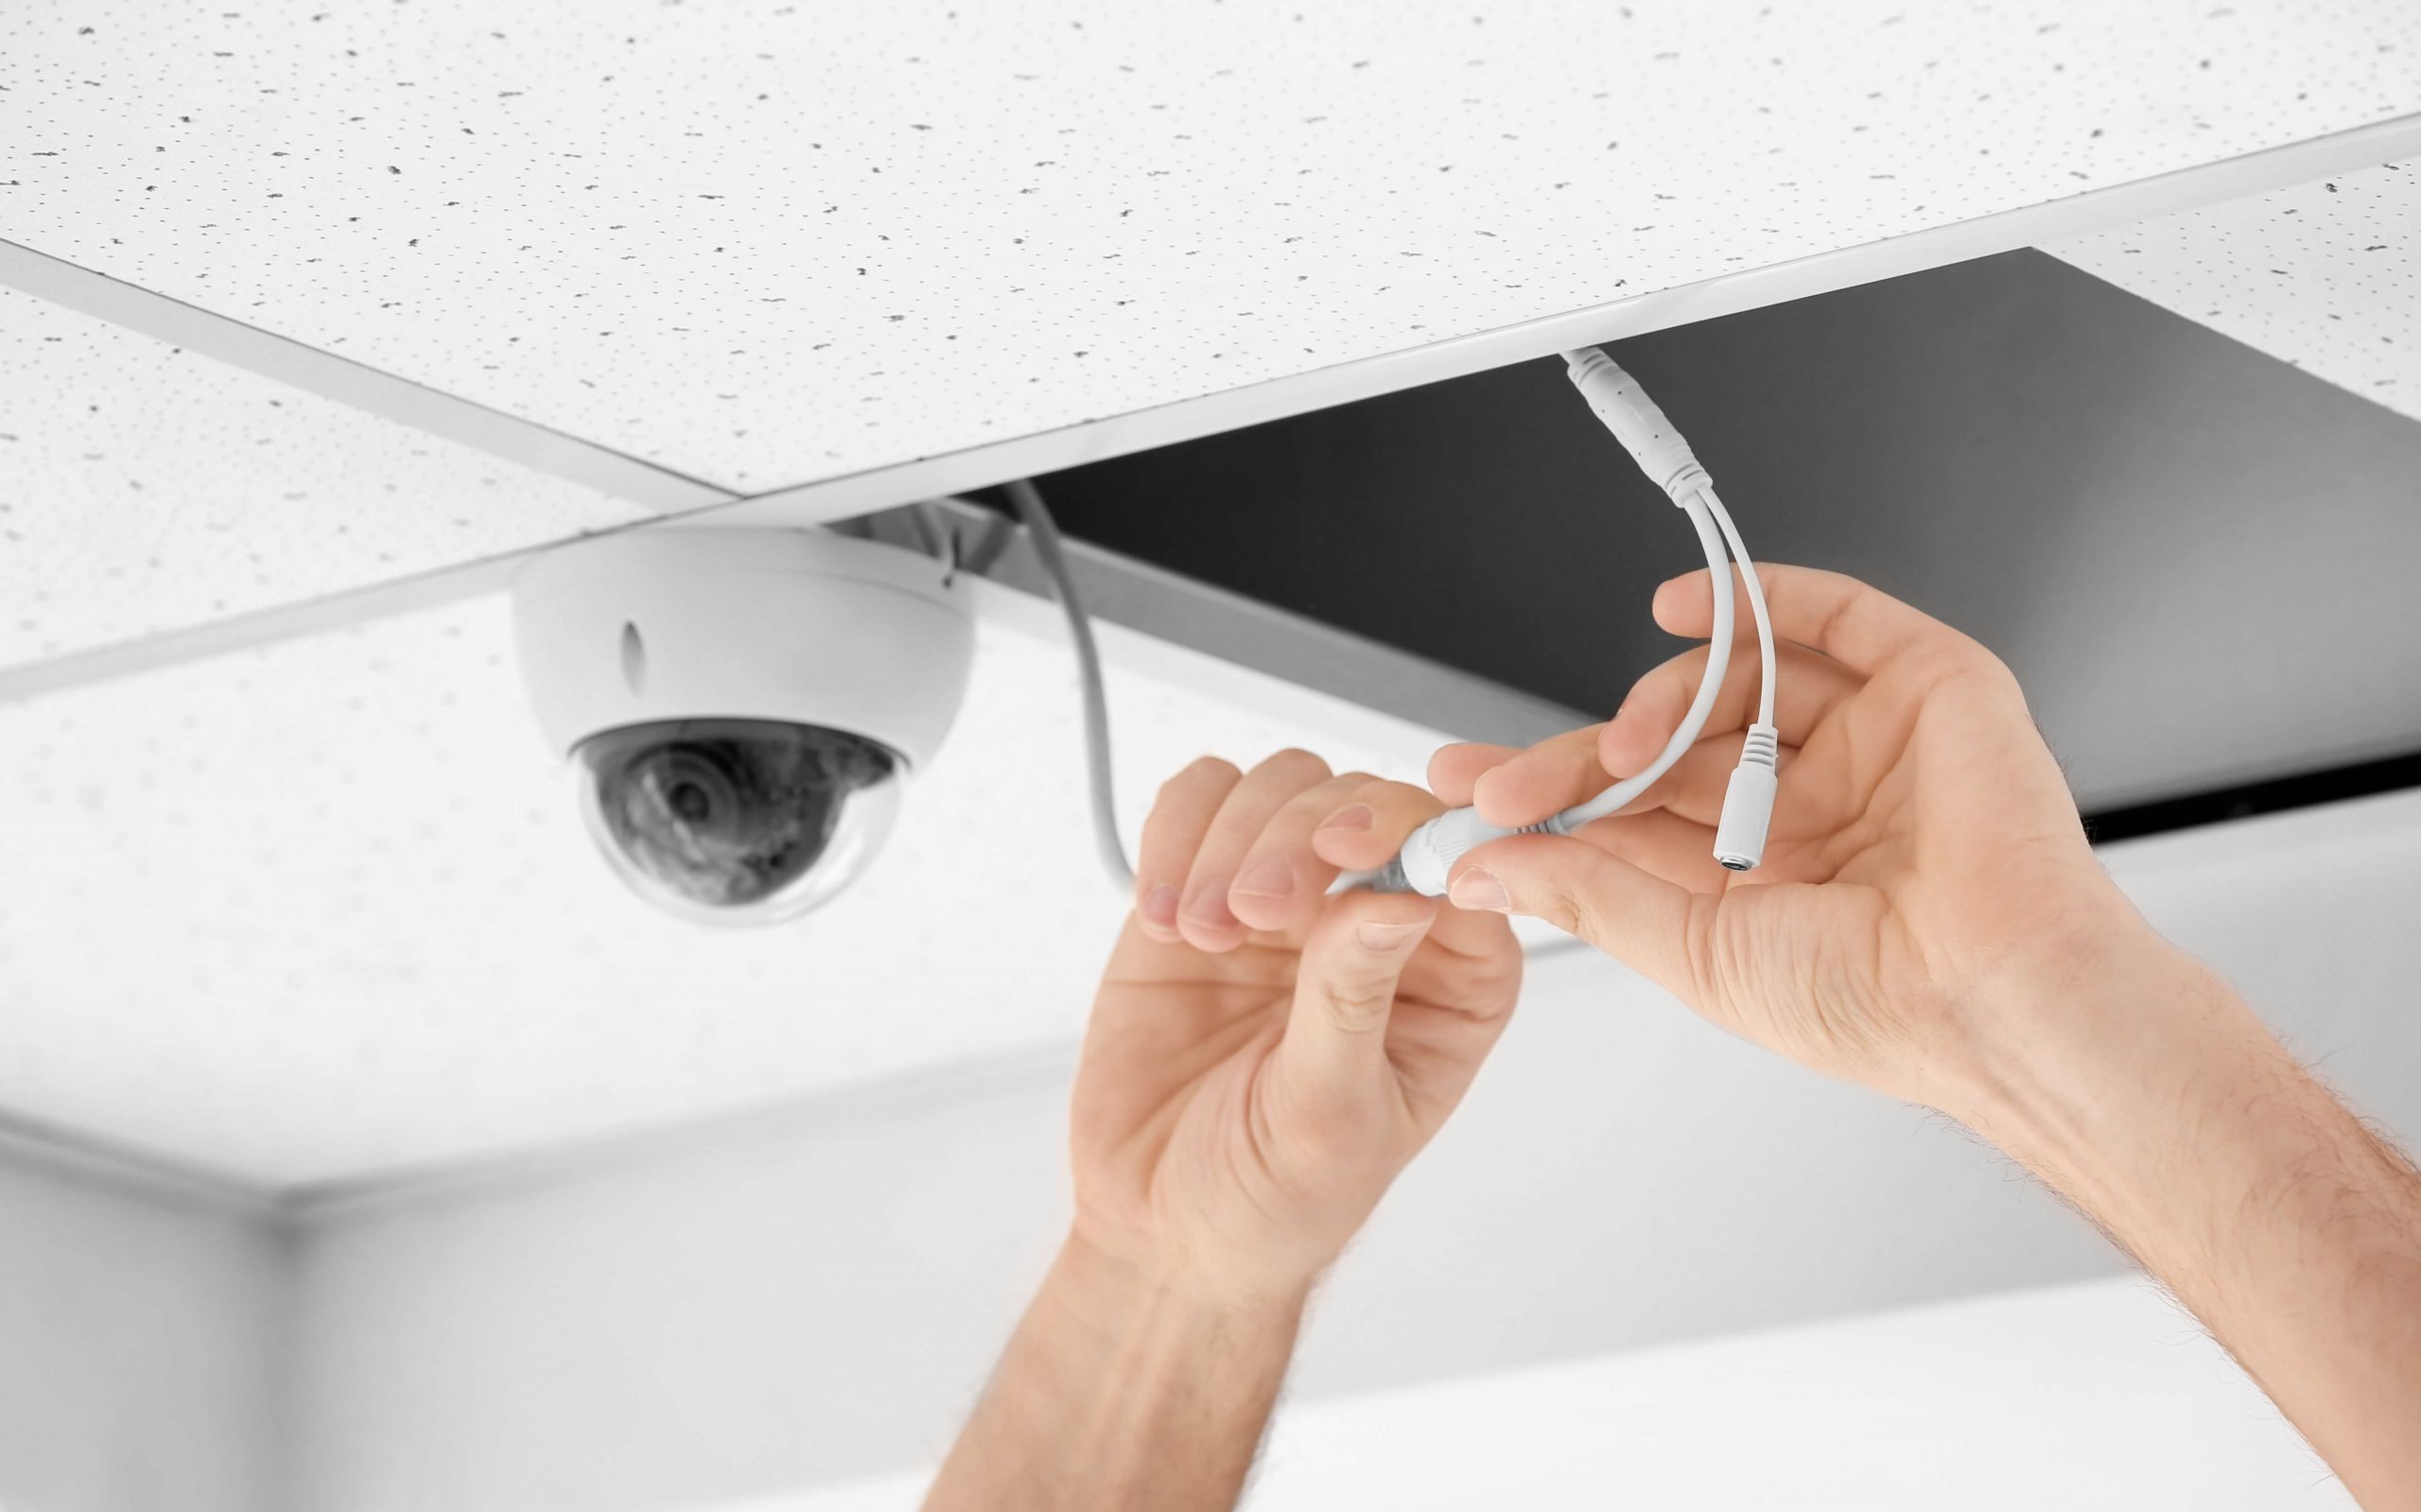
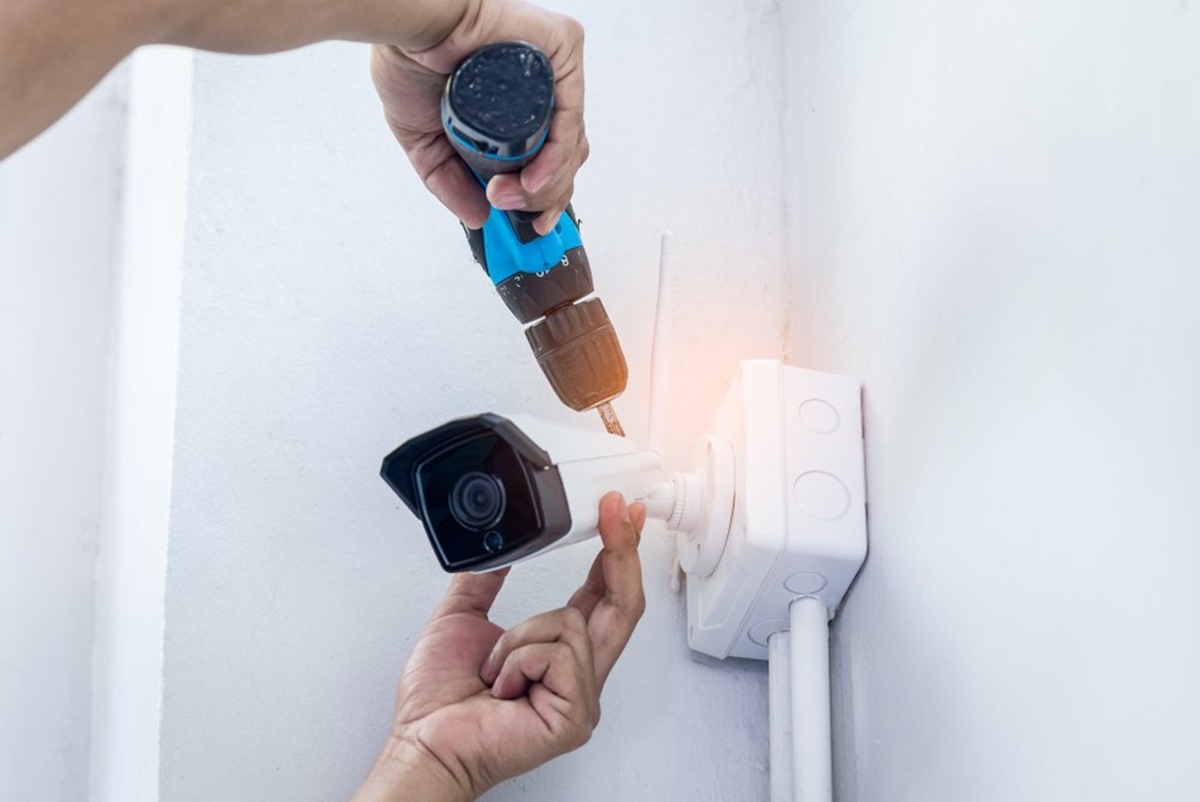
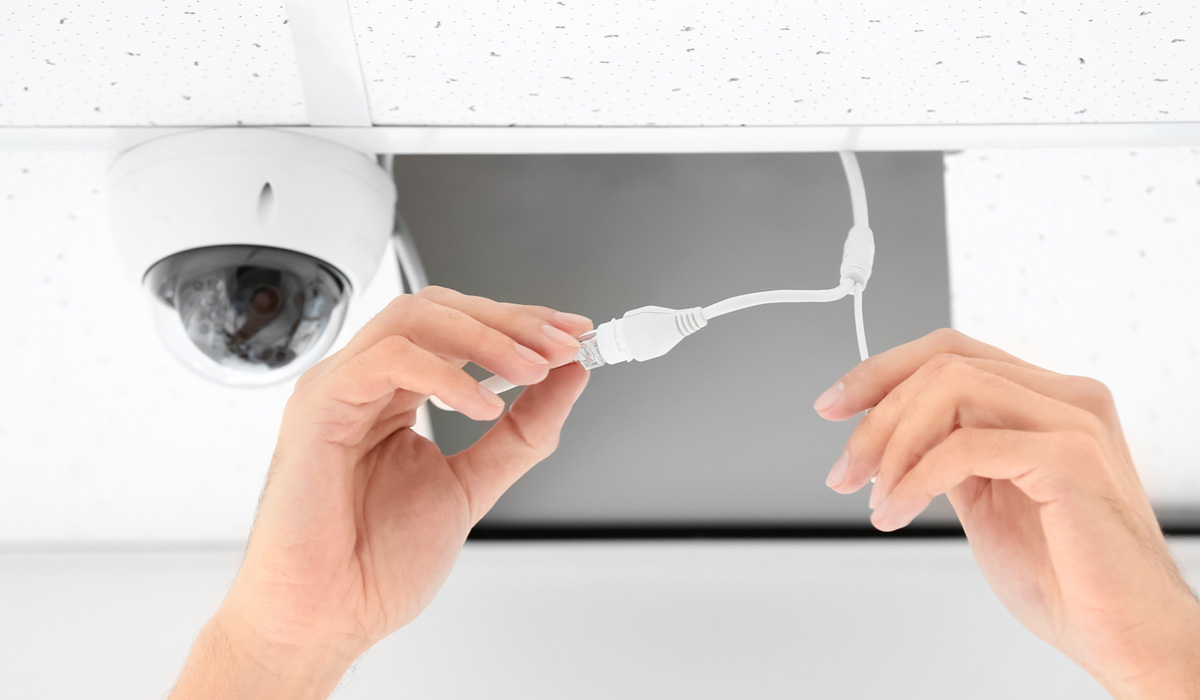
Powering and Mounting the Wired Security Camera
Properly powering and mounting your wired security camera is essential to ensure its stability and functionality. Follow these steps to get your camera securely mounted and powered:
- Choose the Power Source: Determine the power source for your camera. Depending on the camera model, you can either use a power adapter or make use of Power over Ethernet (PoE) technology.
- Mount the Camera: Select the mounting location for your camera. Use the included mounting bracket and screws to securely attach the camera to a wall, ceiling, or other desired surface.
- Ensure a Secure Mount: Consider using additional measures such as mounting brackets or camera cages for added stability and protection against tampering or vandalism.
- Connect the Power: If you’re using a power adapter, connect the camera to a nearby power outlet using the provided cable. For PoE cameras, connect the camera to a PoE switch or injector using an Ethernet cable.
- Verify Power Connection: Ensure that the camera has a stable power connection. Double-check the power cable or Ethernet connection to make sure it’s securely connected and providing power to the camera.
- Tidy Up the Cables: Conceal the power cable or Ethernet cable to maintain a neat and organized installation. Use cable clips or conduits to secure and hide the cables as much as possible.
- Test the Camera’s Functionality: Power on the camera and check if it’s functioning correctly. Verify that you have a stable video feed and that the camera is capturing the desired coverage area.
By correctly powering and mounting your wired security camera, you ensure its stability and effectiveness in monitoring your property. Take the time to carefully follow these steps to achieve a secure and reliable installation.
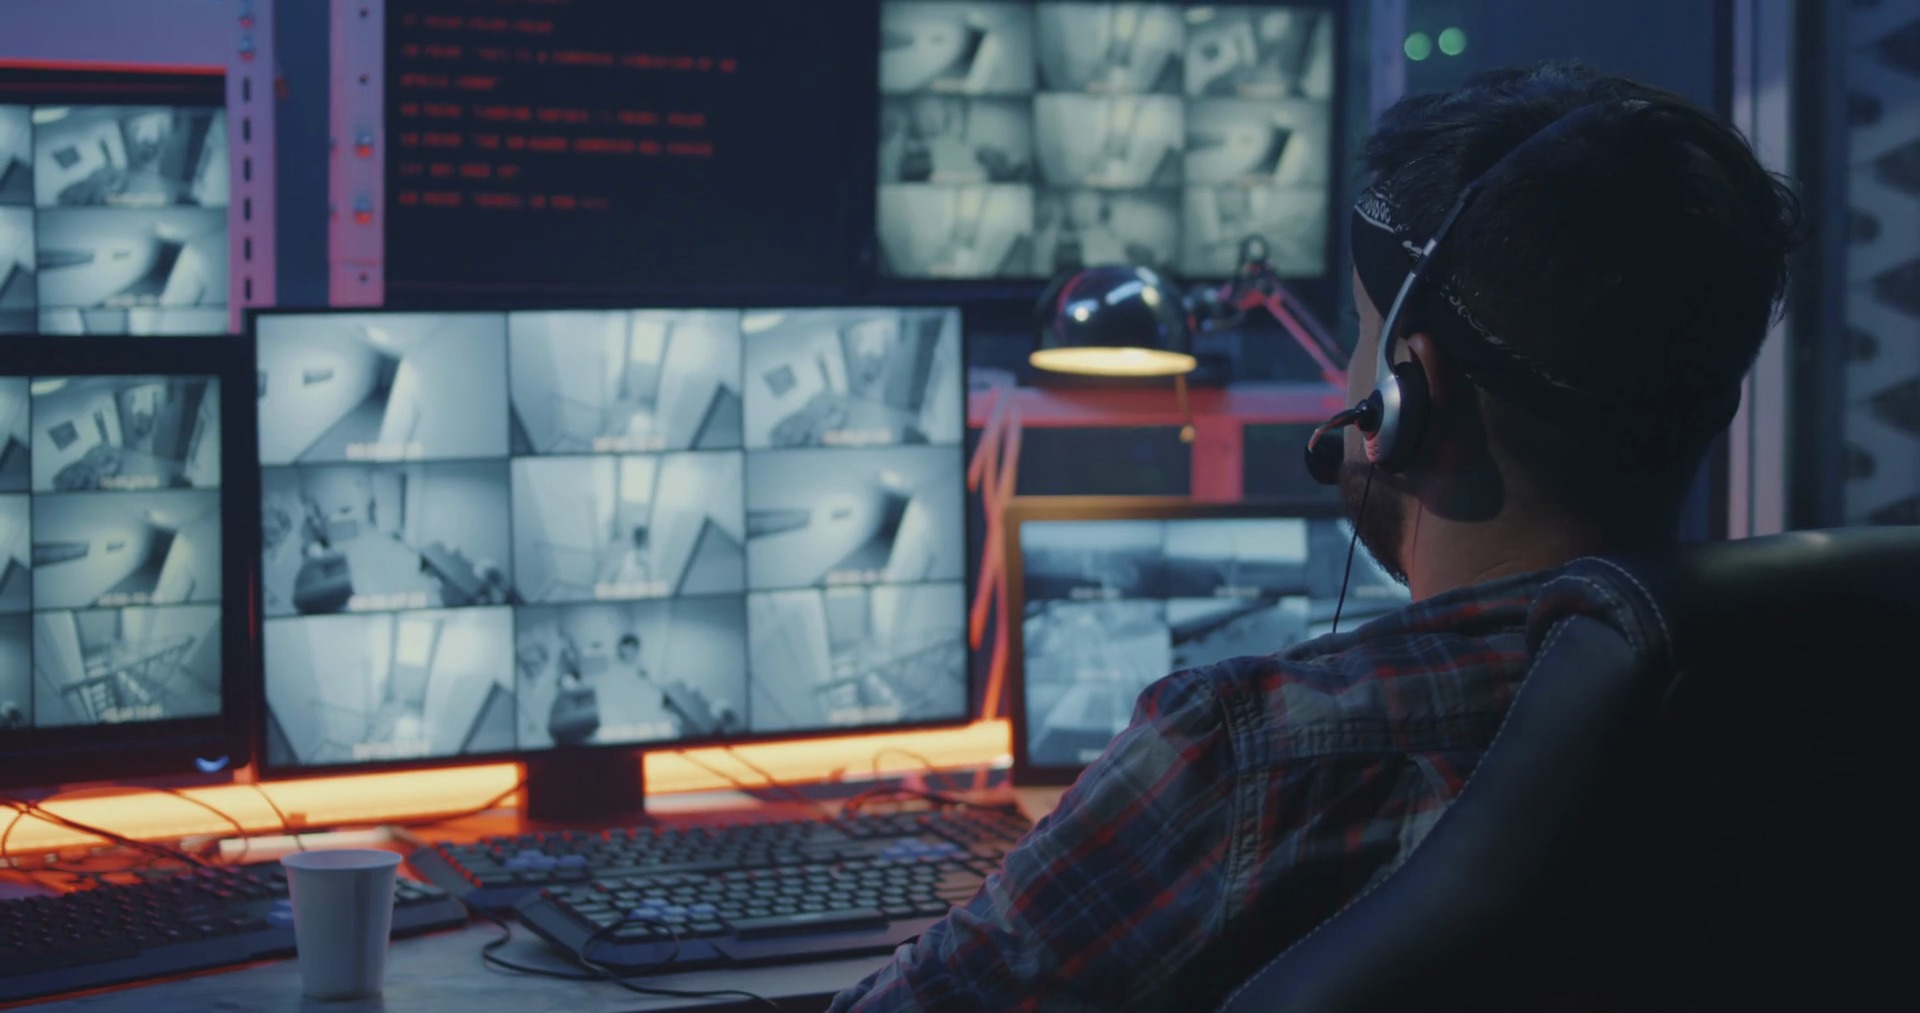
Testing and Troubleshooting the Camera’s Performance
After installing and setting up your wired security camera, it’s crucial to test its performance and address any potential issues. Follow these steps to test and troubleshoot the camera’s performance:
- Test the Video Feed: Make sure the camera is providing a clear and stable video feed. Check the live view on your recording device or monitor to ensure that the camera is capturing the desired area effectively.
- Adjust Camera Settings: Fine-tune the camera’s settings, such as motion detection sensitivity, video quality, and recording options, to optimize its performance based on your specific needs.
- Verify Network Connectivity: Ensure that the camera is connected to your network and that you can access it remotely. Test the remote access feature by accessing the camera’s feed via a mobile app or web browser when you’re away from home.
- Check for Interference: If you experience connectivity issues or a poor video feed, check for any potential sources of interference. Move any electronic devices or appliances that may be causing signal interference away from the camera.
- Inspect the Wiring: Examine the wiring connections to ensure that they are secure and properly connected. Check for any signs of damage or loose connections that may affect the camera’s performance.
- Update Firmware: Check if there are any firmware updates available for your camera. Updating the firmware can address any bugs or issues and improve the camera’s overall performance.
- Consult the Manufacturer’s Support: If you encounter persistent issues or are unable to troubleshoot on your own, reach out to the camera’s manufacturer for technical support. They can provide specific guidance based on the model and troubleshoot any complex issues.
Testing and troubleshooting the camera’s performance ensures that your wired security system operates optimally and provides the desired level of security. Regular maintenance and periodic checks can help identify and resolve any potential issues promptly.
Conclusion
Congratulations! You have successfully learned how to run a long-distance wired security camera. By following the steps outlined in this guide, you are now equipped to choose the right camera, set up the wiring, configure the camera’s settings, power and mount it correctly, and test its performance. With these skills, you can enhance the security of your home and gain peace of mind.
Remember, when choosing a wired security camera, consider factors such as resolution, field of view, low light performance, weather resistance, remote access capabilities, and additional features. These will ensure you select a camera that meets your unique security needs.
Proper installation, including the selection of an ideal location and running the wiring for long-distance transmission, is crucial for the effective functioning of your camera. Take the time to plan your installation, avoid obstructions, and choose the right cables for a stable connection.
Configuring the camera’s settings and network connection is essential for remote access and customization. Adjust the camera settings to meet your specific preferences, create secure user accounts, and enable remote access for convenient monitoring from anywhere.
Lastly, powering and mounting the camera correctly ensures its stability, functionality, and longevity. Choose the appropriate power source, securely mount the camera, and tidy up the wiring to maintain a neat and organized installation.
Don’t forget to test the camera’s performance and troubleshoot any issues that may arise. Regular maintenance and updates, as well as consulting the manufacturer’s support when needed, will help ensure that your wired security camera system operates optimally.
By following these guidelines, you can enjoy the benefits of a reliable and efficient wired security camera system, providing you with peace of mind and the ability to monitor your home and surroundings with ease.
Stay vigilant, stay secure!
Frequently Asked Questions about How To Install Long-Distance Wired Security Cameras
Was this page helpful?
At Storables.com, we guarantee accurate and reliable information. Our content, validated by Expert Board Contributors, is crafted following stringent Editorial Policies. We're committed to providing you with well-researched, expert-backed insights for all your informational needs.