Home>Home Security and Surveillance>How Hard Is It To Install Costco Wired Security Camera System
Home Security and Surveillance
How Hard Is It To Install Costco Wired Security Camera System
Modified: August 17, 2024
Looking to install a wired security camera system from Costco for your home security and surveillance needs? Discover how easy or challenging the installation process can be.
(Many of the links in this article redirect to a specific reviewed product. Your purchase of these products through affiliate links helps to generate commission for Storables.com, at no extra cost. Learn more)
Introduction
Welcome to our comprehensive guide on installing the Costco wired security camera system. In this article, we will walk you through the steps required to set up this home surveillance system. Whether you are looking to enhance the security of your property or simply keep a watchful eye on your loved ones, the Costco wired security camera system offers a reliable and efficient solution.
With the rise in home burglaries and property crimes, having a robust security system in place has become more important than ever. The Costco wired security camera system provides high-quality video surveillance, allowing you to monitor your property 24/7. Additionally, these cameras are designed to withstand even the harshest weather conditions, ensuring optimal functionality year-round.
Installing a home security system may seem like a complex task, but with the right tools and know-how, it can be done efficiently and effectively. In this guide, we will break down the installation process into easy-to-follow steps, ensuring that you are able to set up your Costco wired security camera system without any hassle.
Beyond the basic installation instructions, we will also cover any potential troubleshooting issues that may arise during the installation process. Our goal is to equip you with the knowledge and skills to successfully install and maintain your surveillance system, providing you and your loved ones with peace of mind and added security.
So, let’s dive in and explore the world of Costco wired security camera systems, and learn how to set up this comprehensive home surveillance solution.
Key Takeaways:
- Installing a Costco wired security camera system is a manageable task with the right tools and guidance. It offers high-definition video quality, remote viewing, and weather resistance for reliable home surveillance.
- Troubleshooting common installation issues, such as poor image quality or network connectivity problems, can help ensure a smooth setup of your Costco wired security camera system. Remember to consult the user manual and seek assistance if needed.
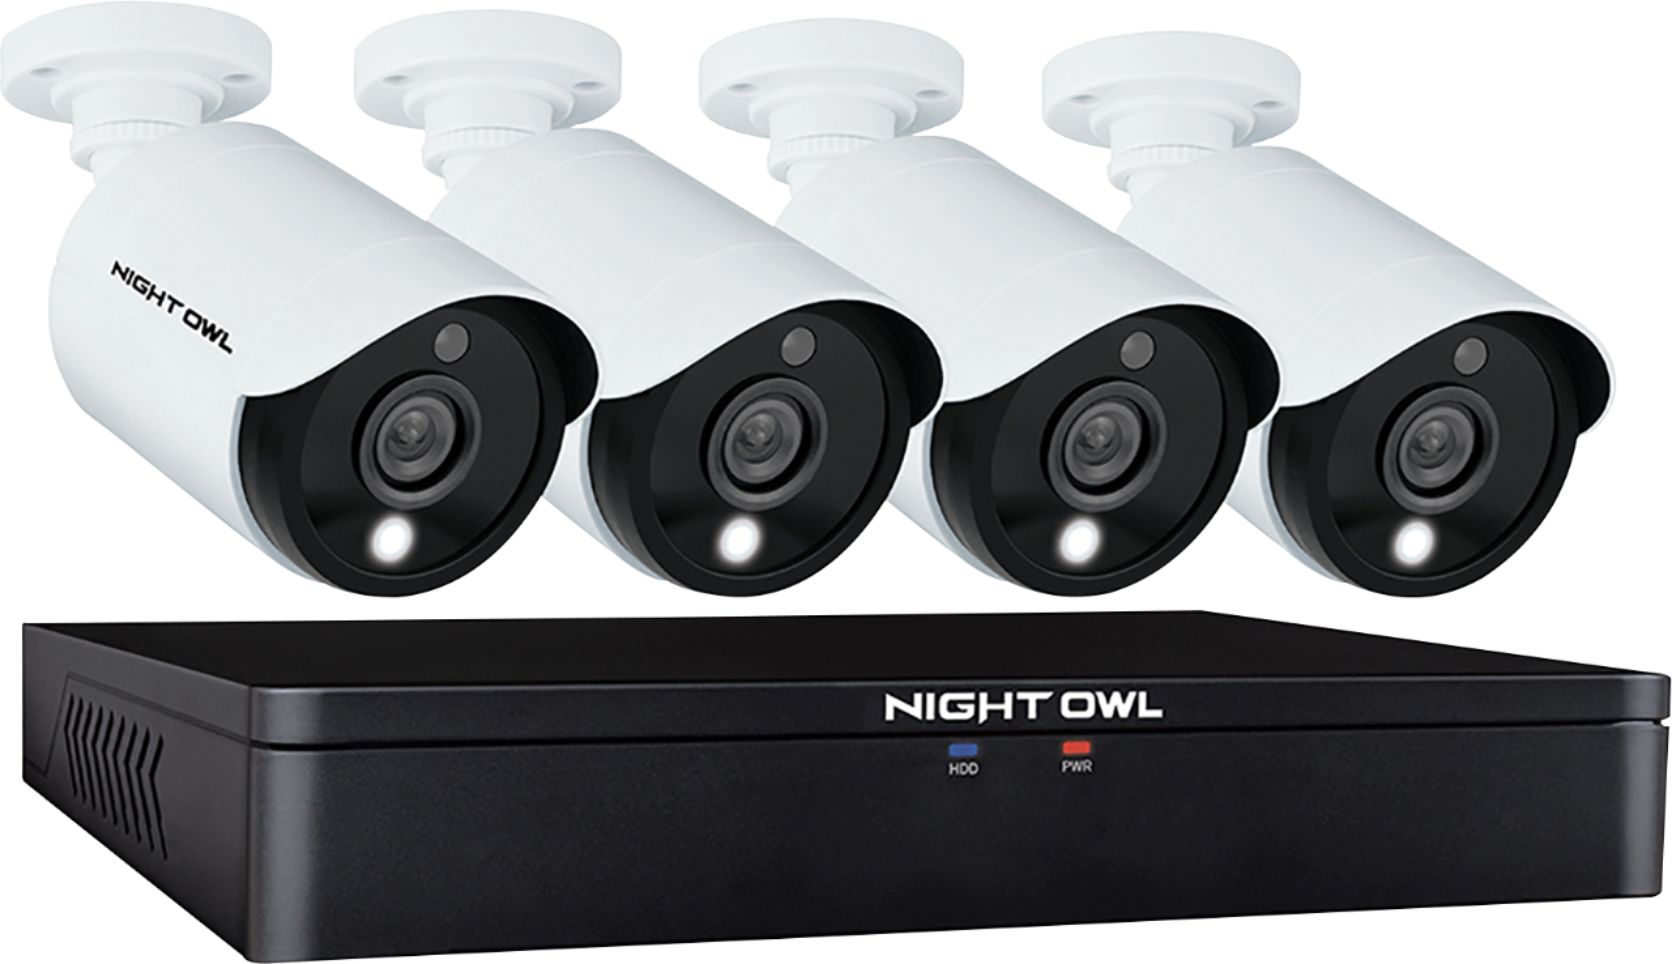
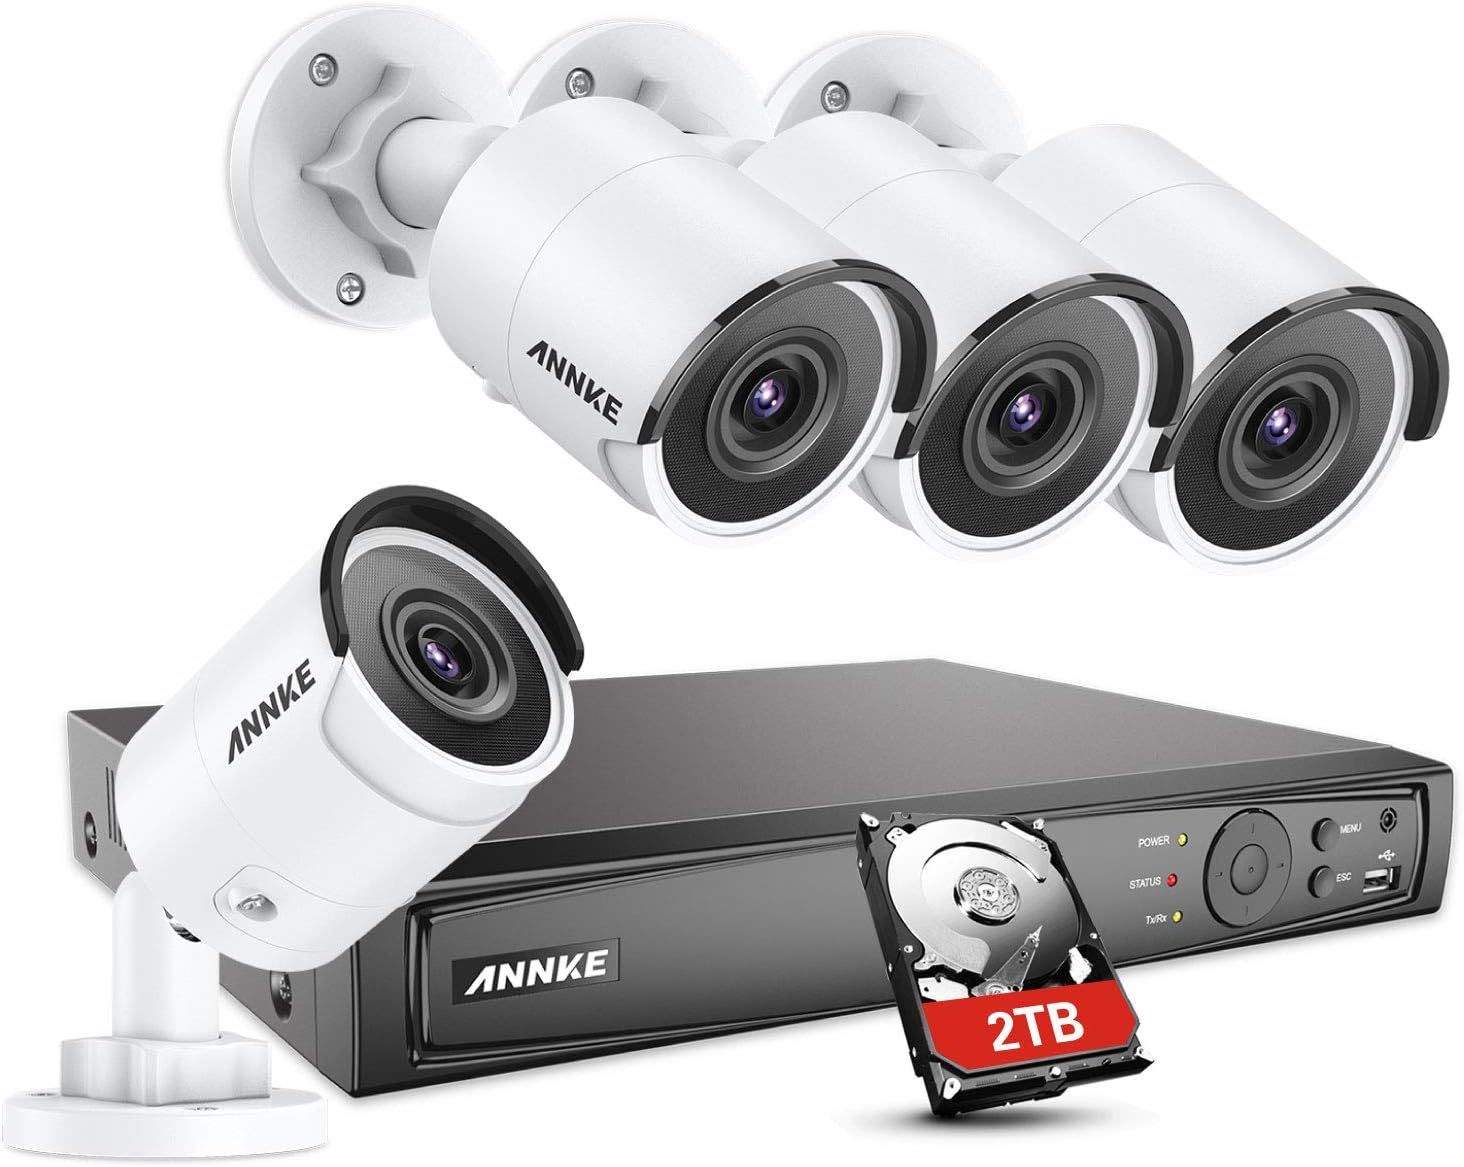
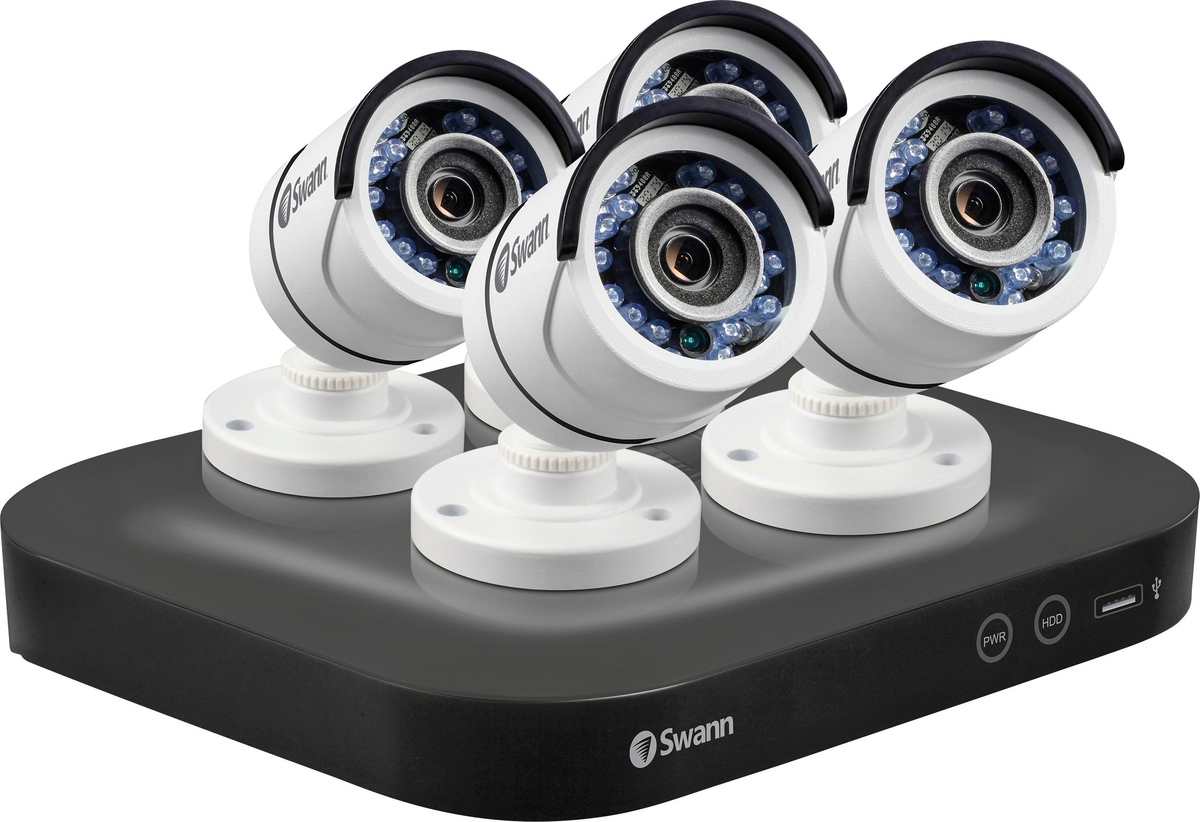
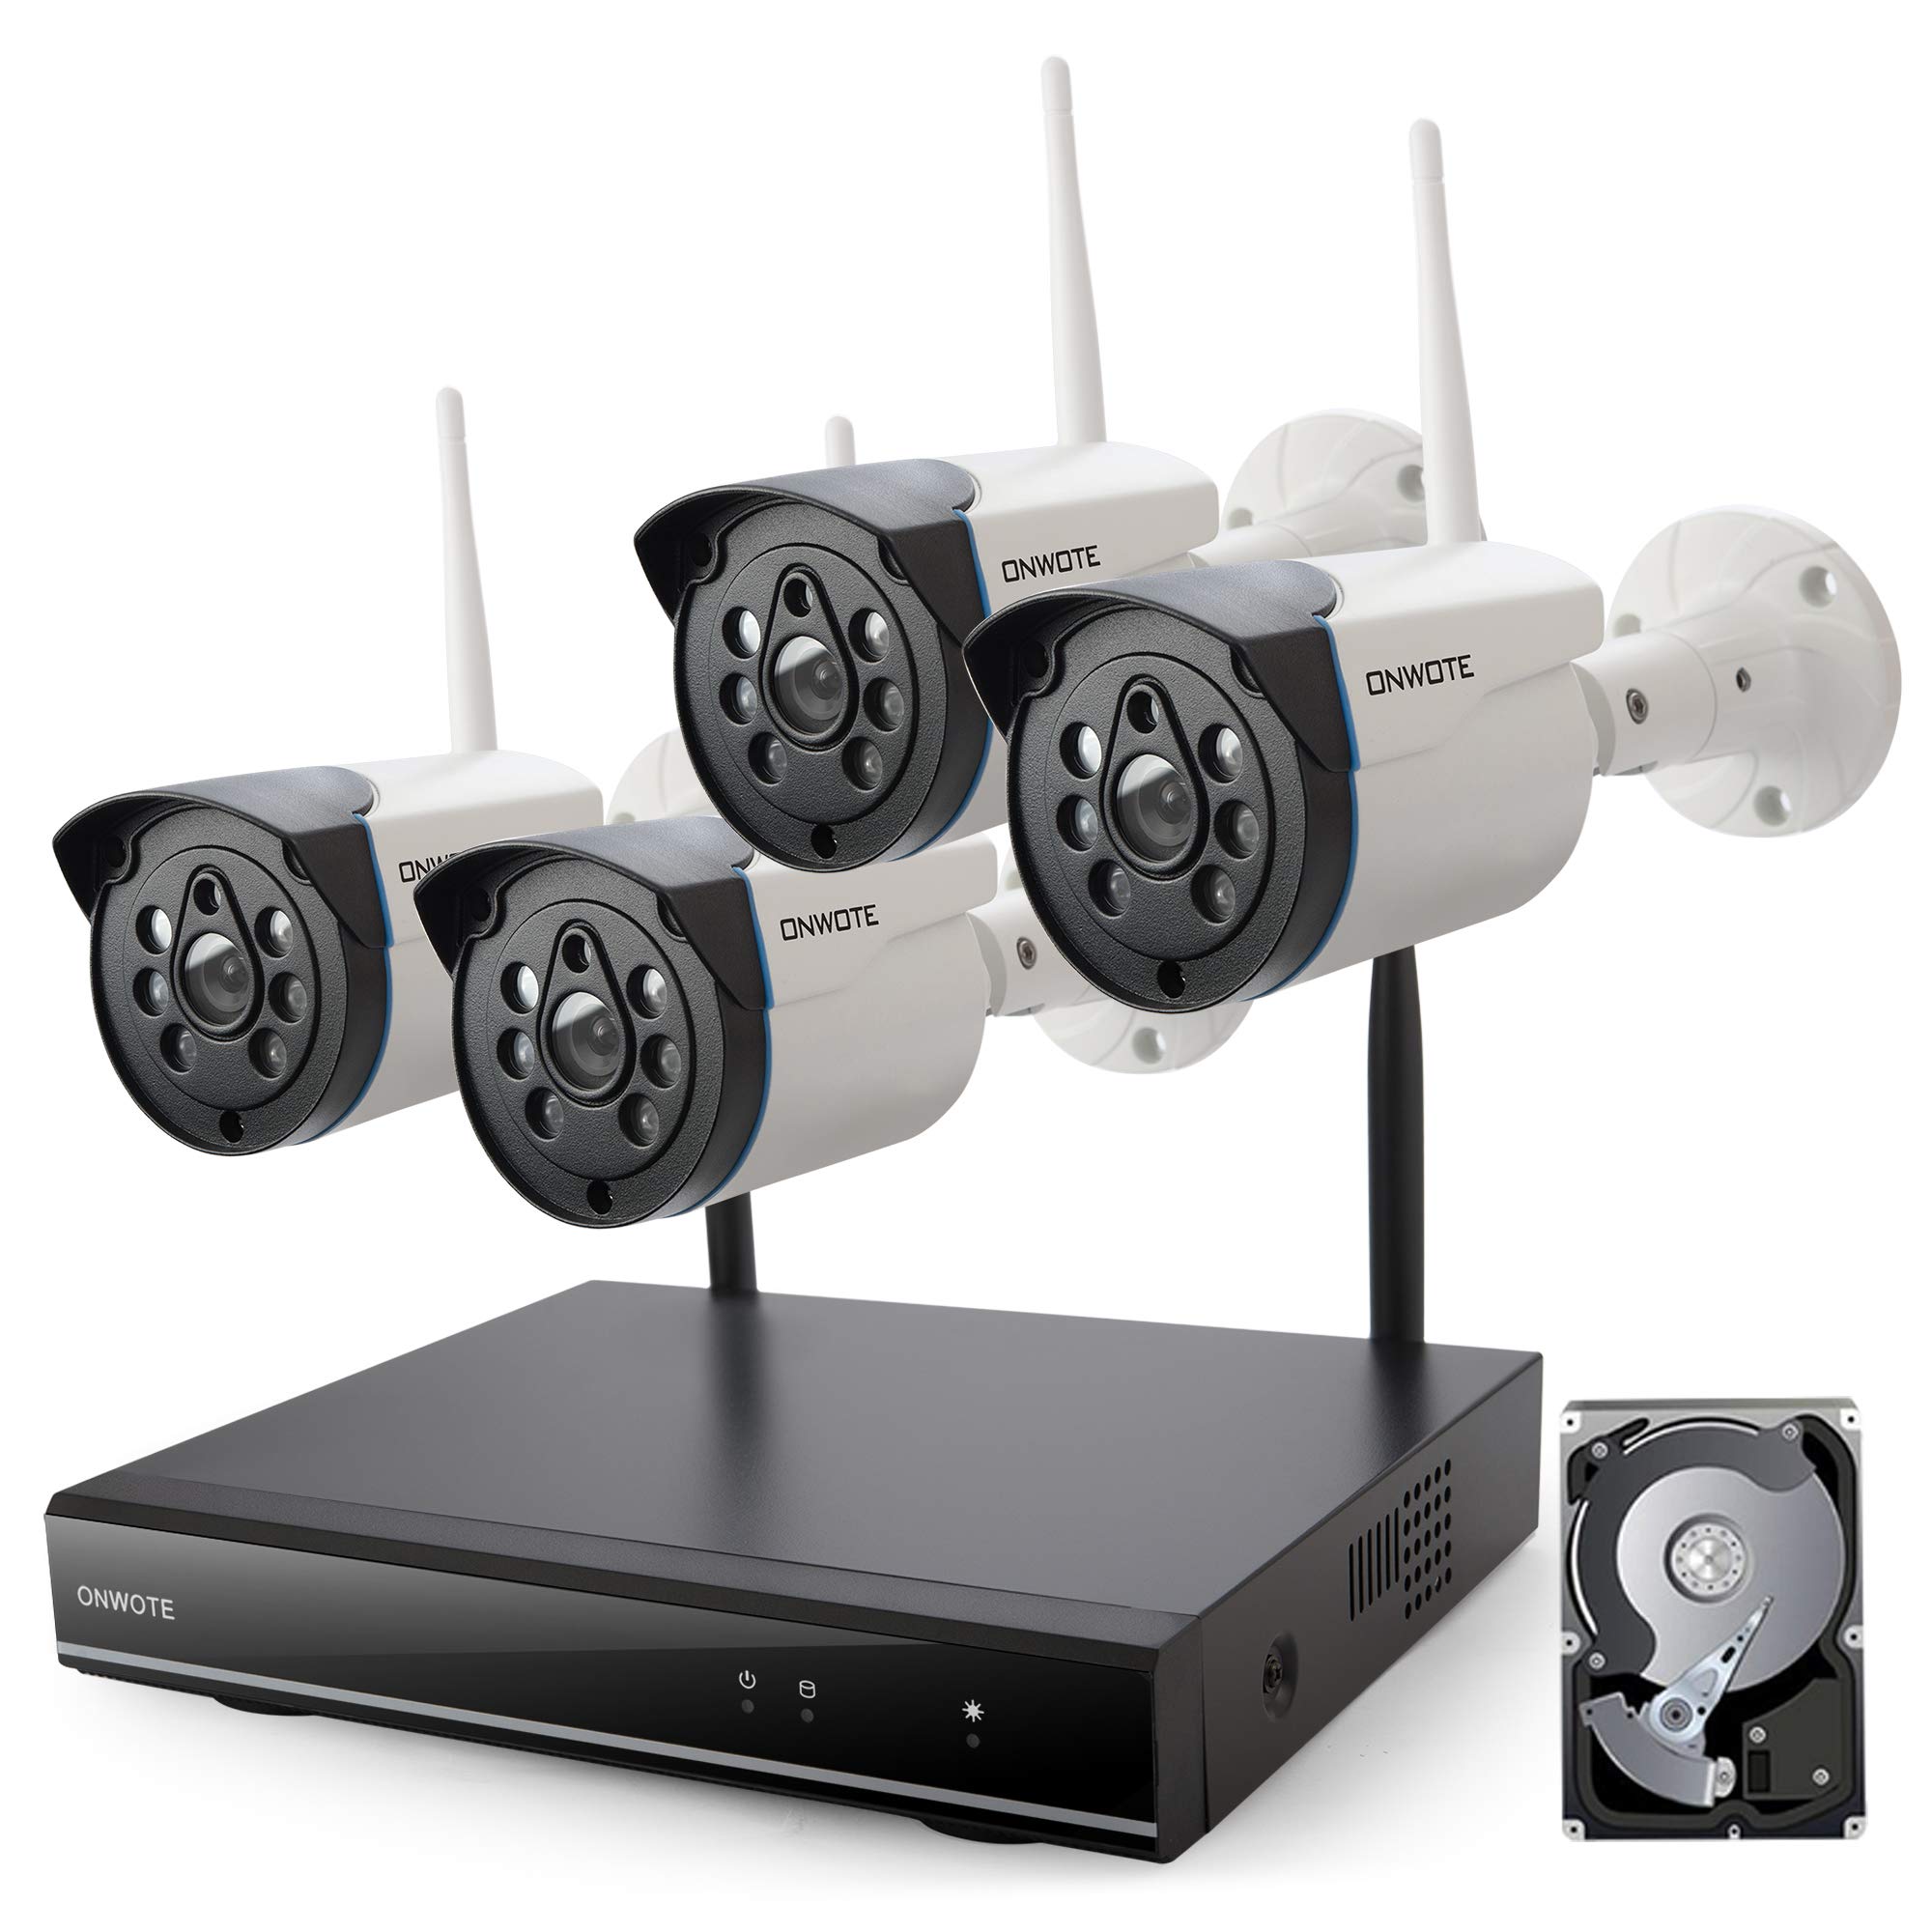
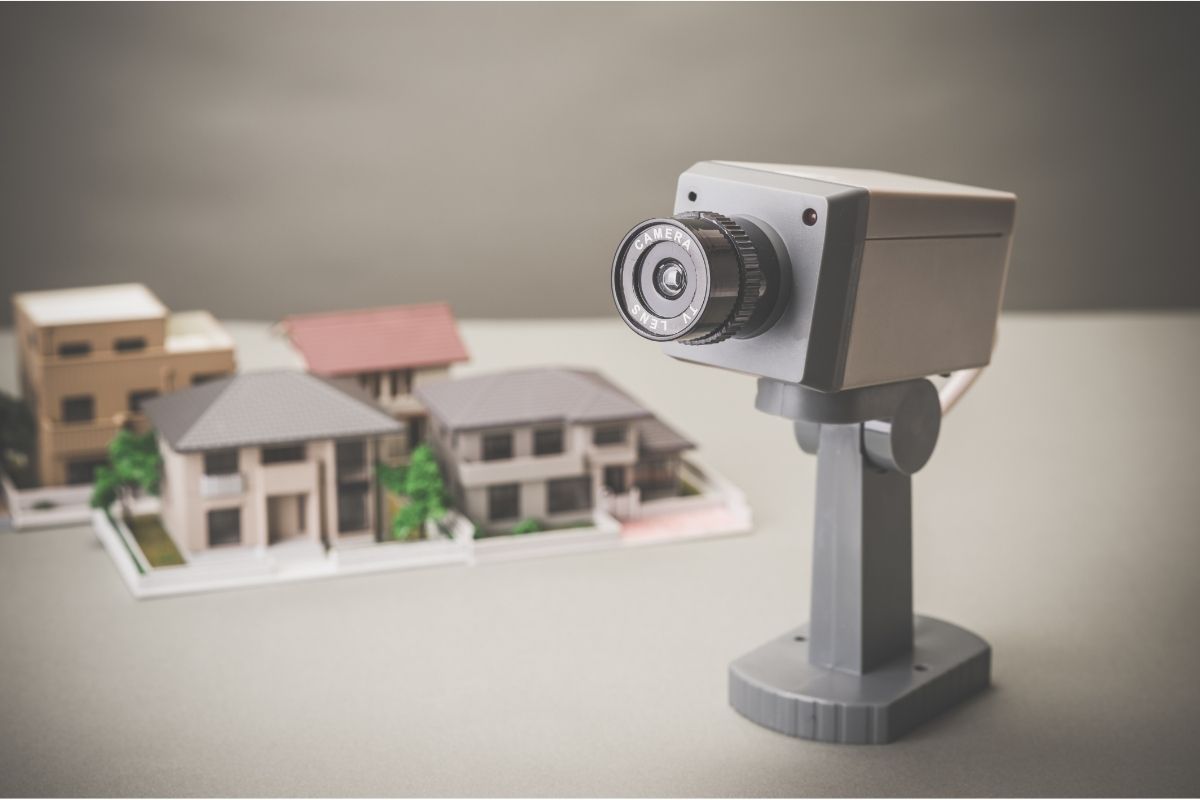
Overview of Costco Wired Security Camera System
The Costco wired security camera system is a comprehensive surveillance solution that offers advanced features and impeccable video quality. This system is designed to provide you with a reliable and efficient means of monitoring your property, ensuring the safety of your loved ones and belongings.
One of the key advantages of the Costco wired security camera system is its high-definition video capabilities. With resolutions of up to 4K Ultra HD, these cameras capture clear and detailed footage, allowing you to easily identify faces and objects. This level of clarity is essential when it comes to evidence collection or simply keeping a watchful eye on your property.
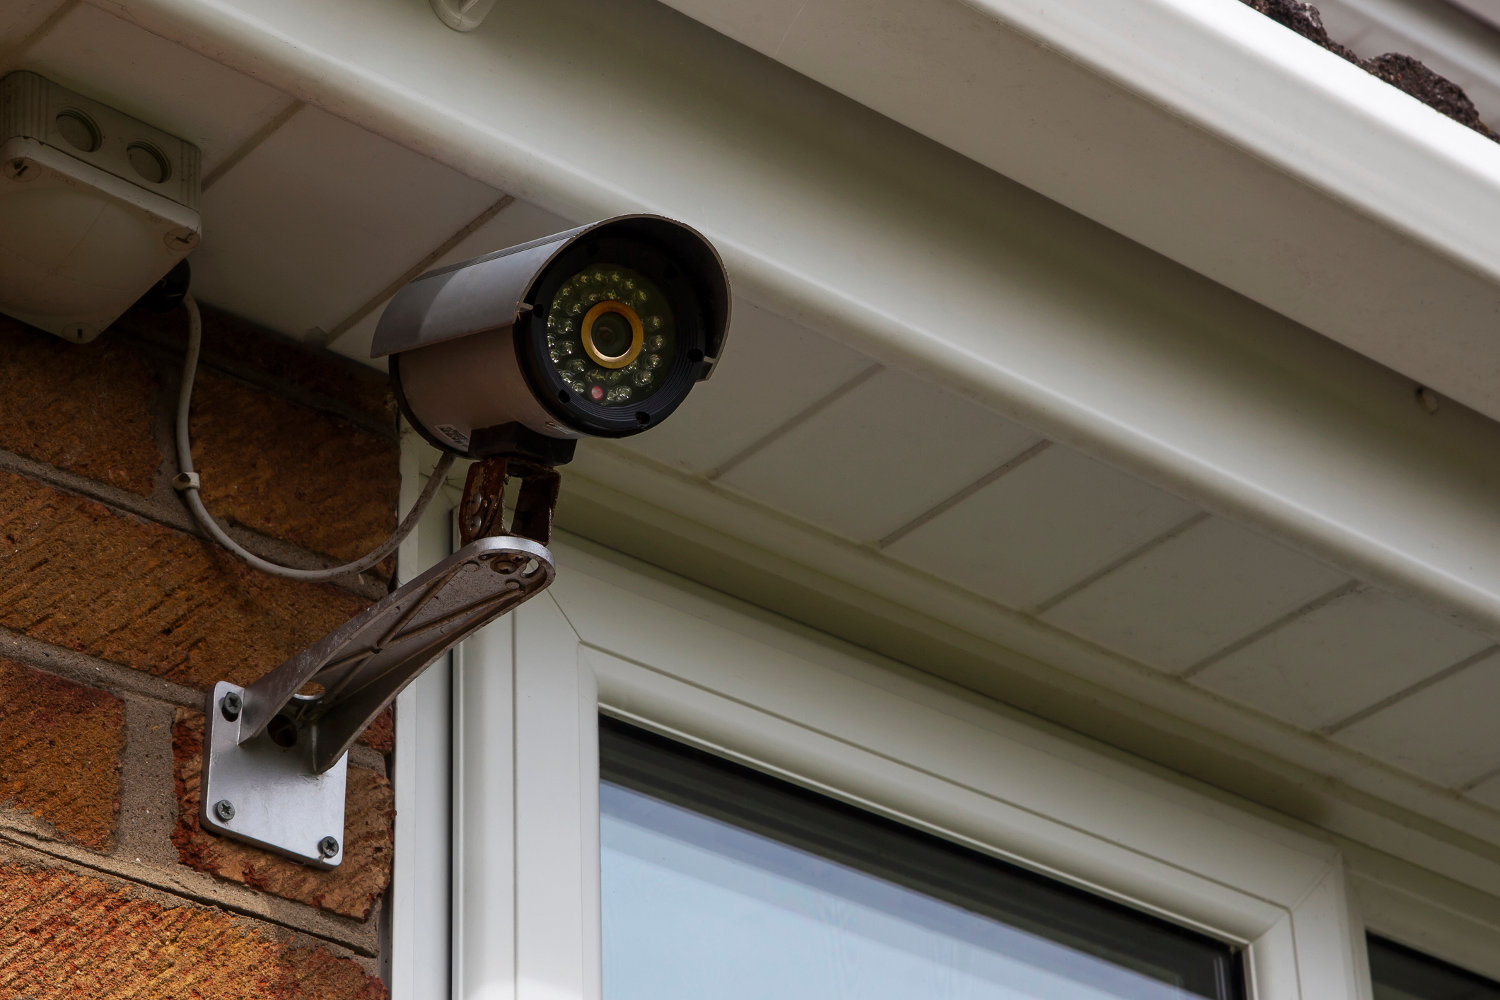
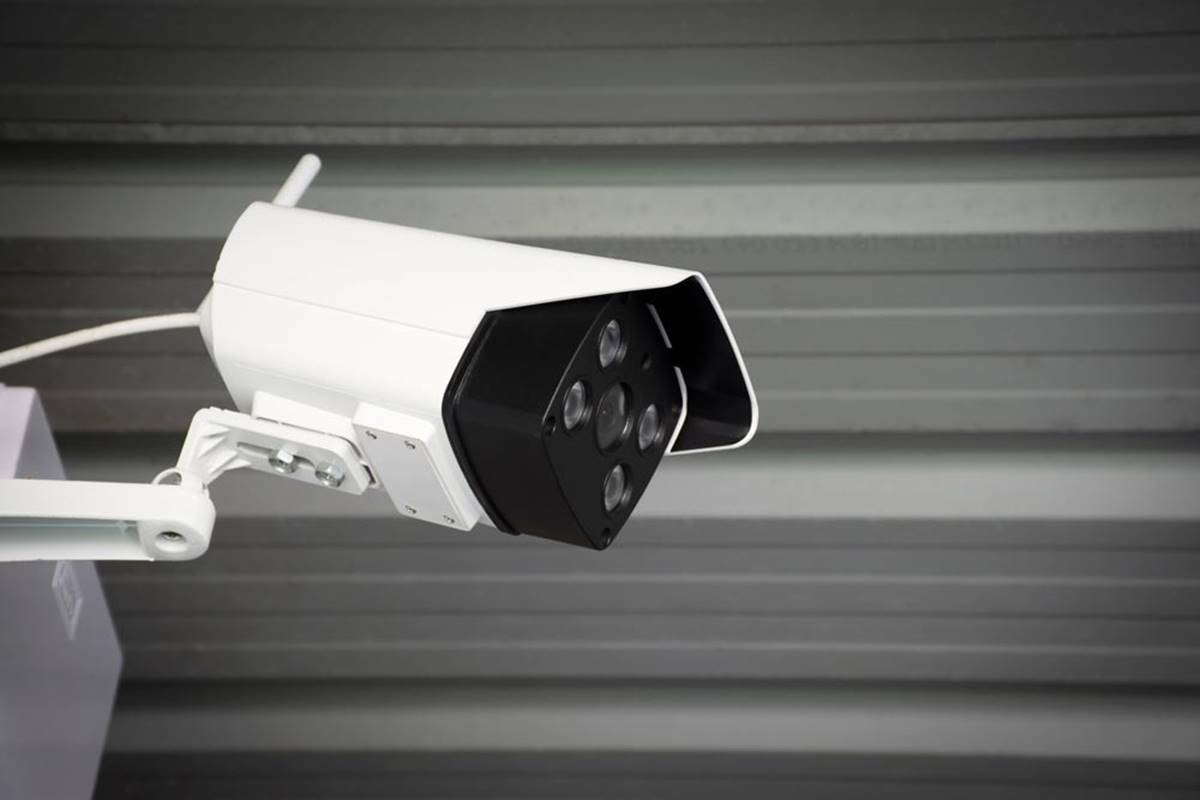
Furthermore, the Costco wired security camera system offers a wide range of camera options to suit your specific surveillance needs. From bullet cameras for outdoor monitoring to dome cameras for indoor coverage, you can select the cameras that best fit your requirements. Additionally, these cameras come with built-in infrared (IR) technology, enabling them to capture video even in complete darkness.
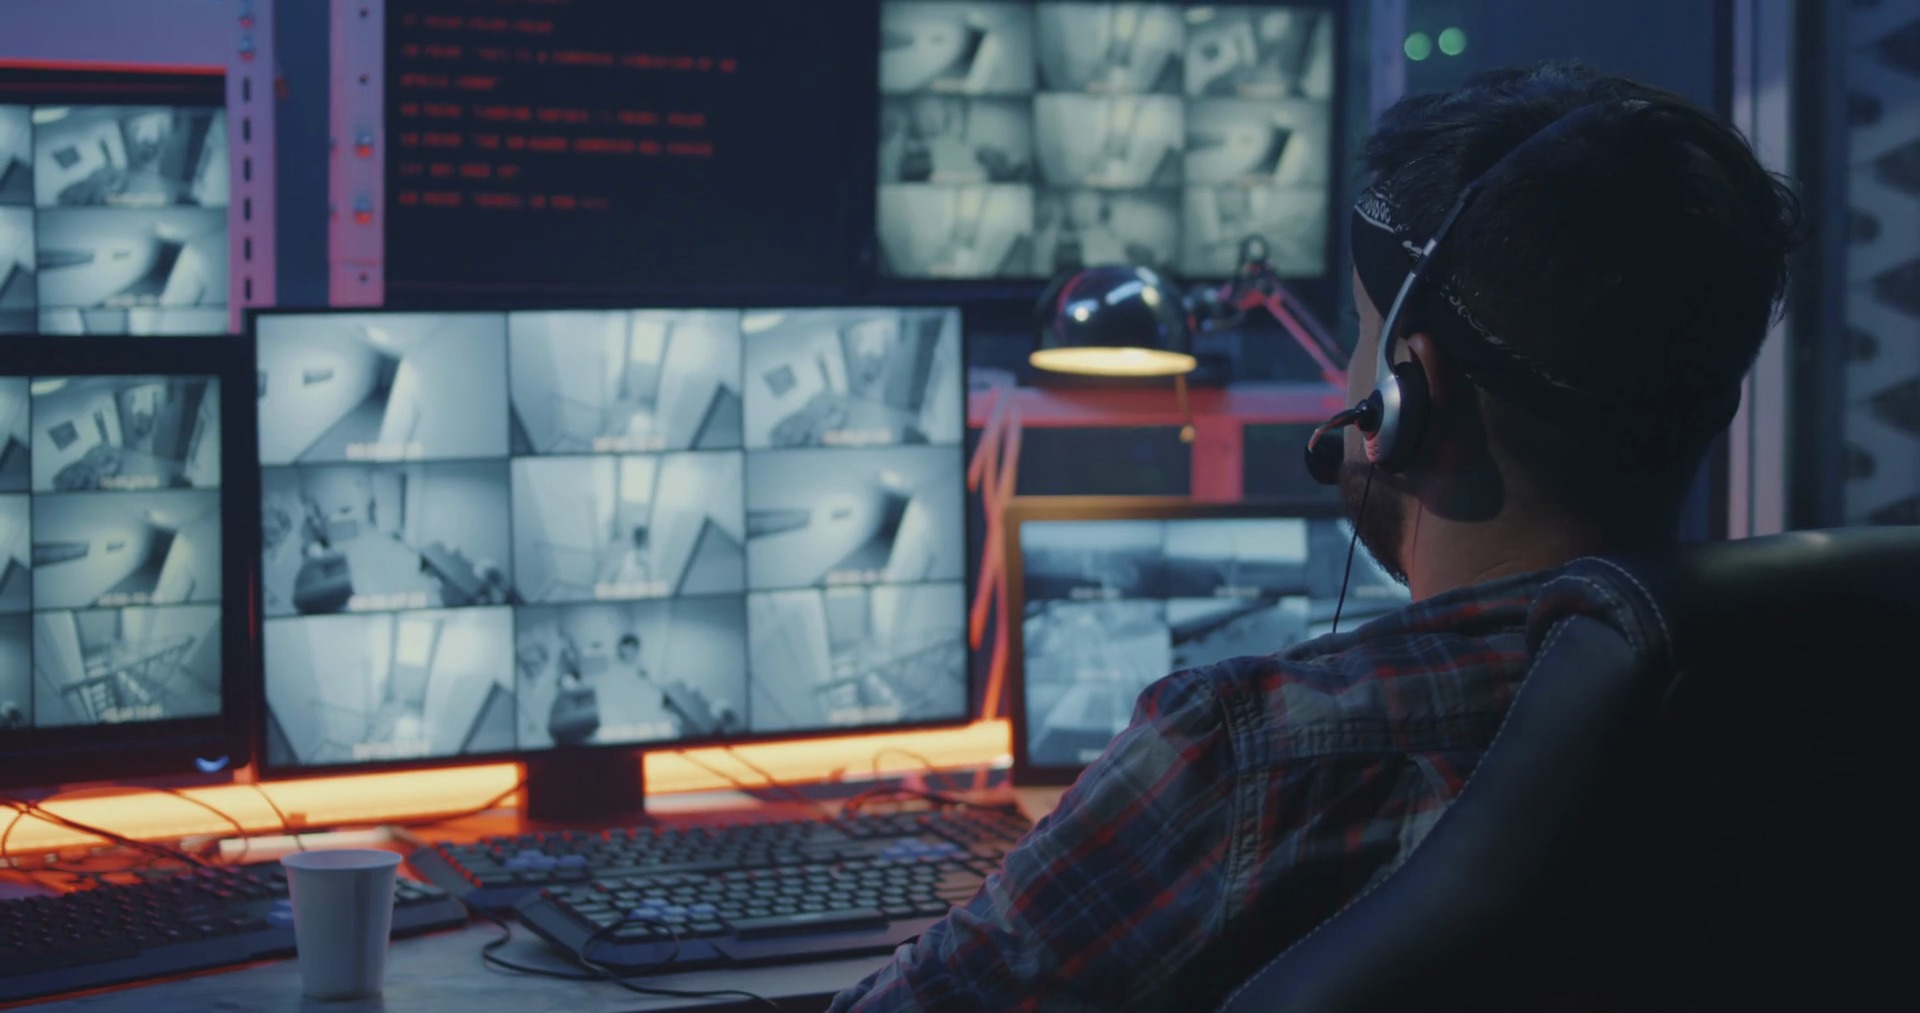
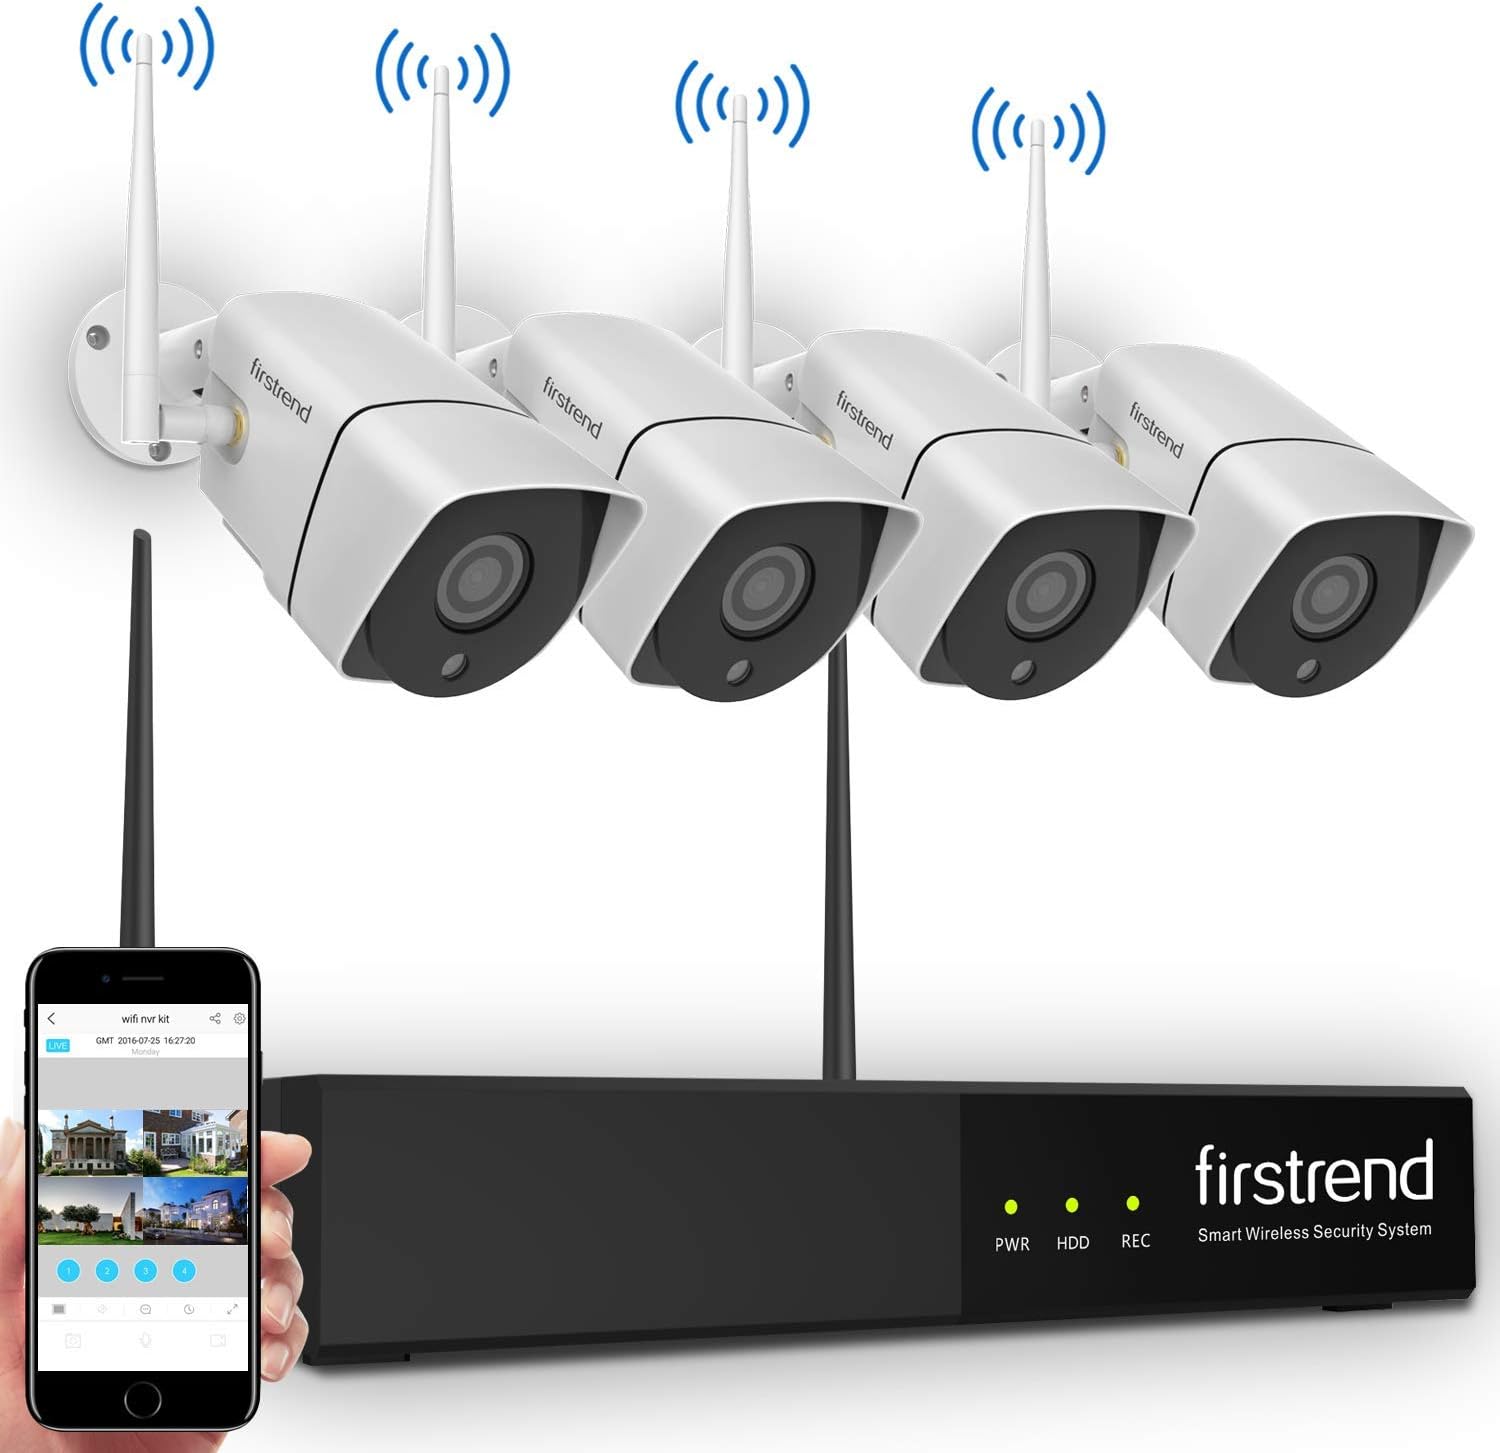
One of the standout features of the Costco wired security camera system is its robust storage capabilities. With built-in DVR (Digital Video Recorder) or NVR (Network Video Recorder) systems, you can record and store footage from multiple cameras simultaneously. This allows you to review past events and provides crucial evidence in case of any incidents.
Setting up your Costco wired security camera system also enables remote viewing capabilities. By connecting your system to a smartphone, tablet, or computer app, you can monitor your property from anywhere in the world. This real-time access provides peace of mind, knowing that you can check in on your home or business at any time.
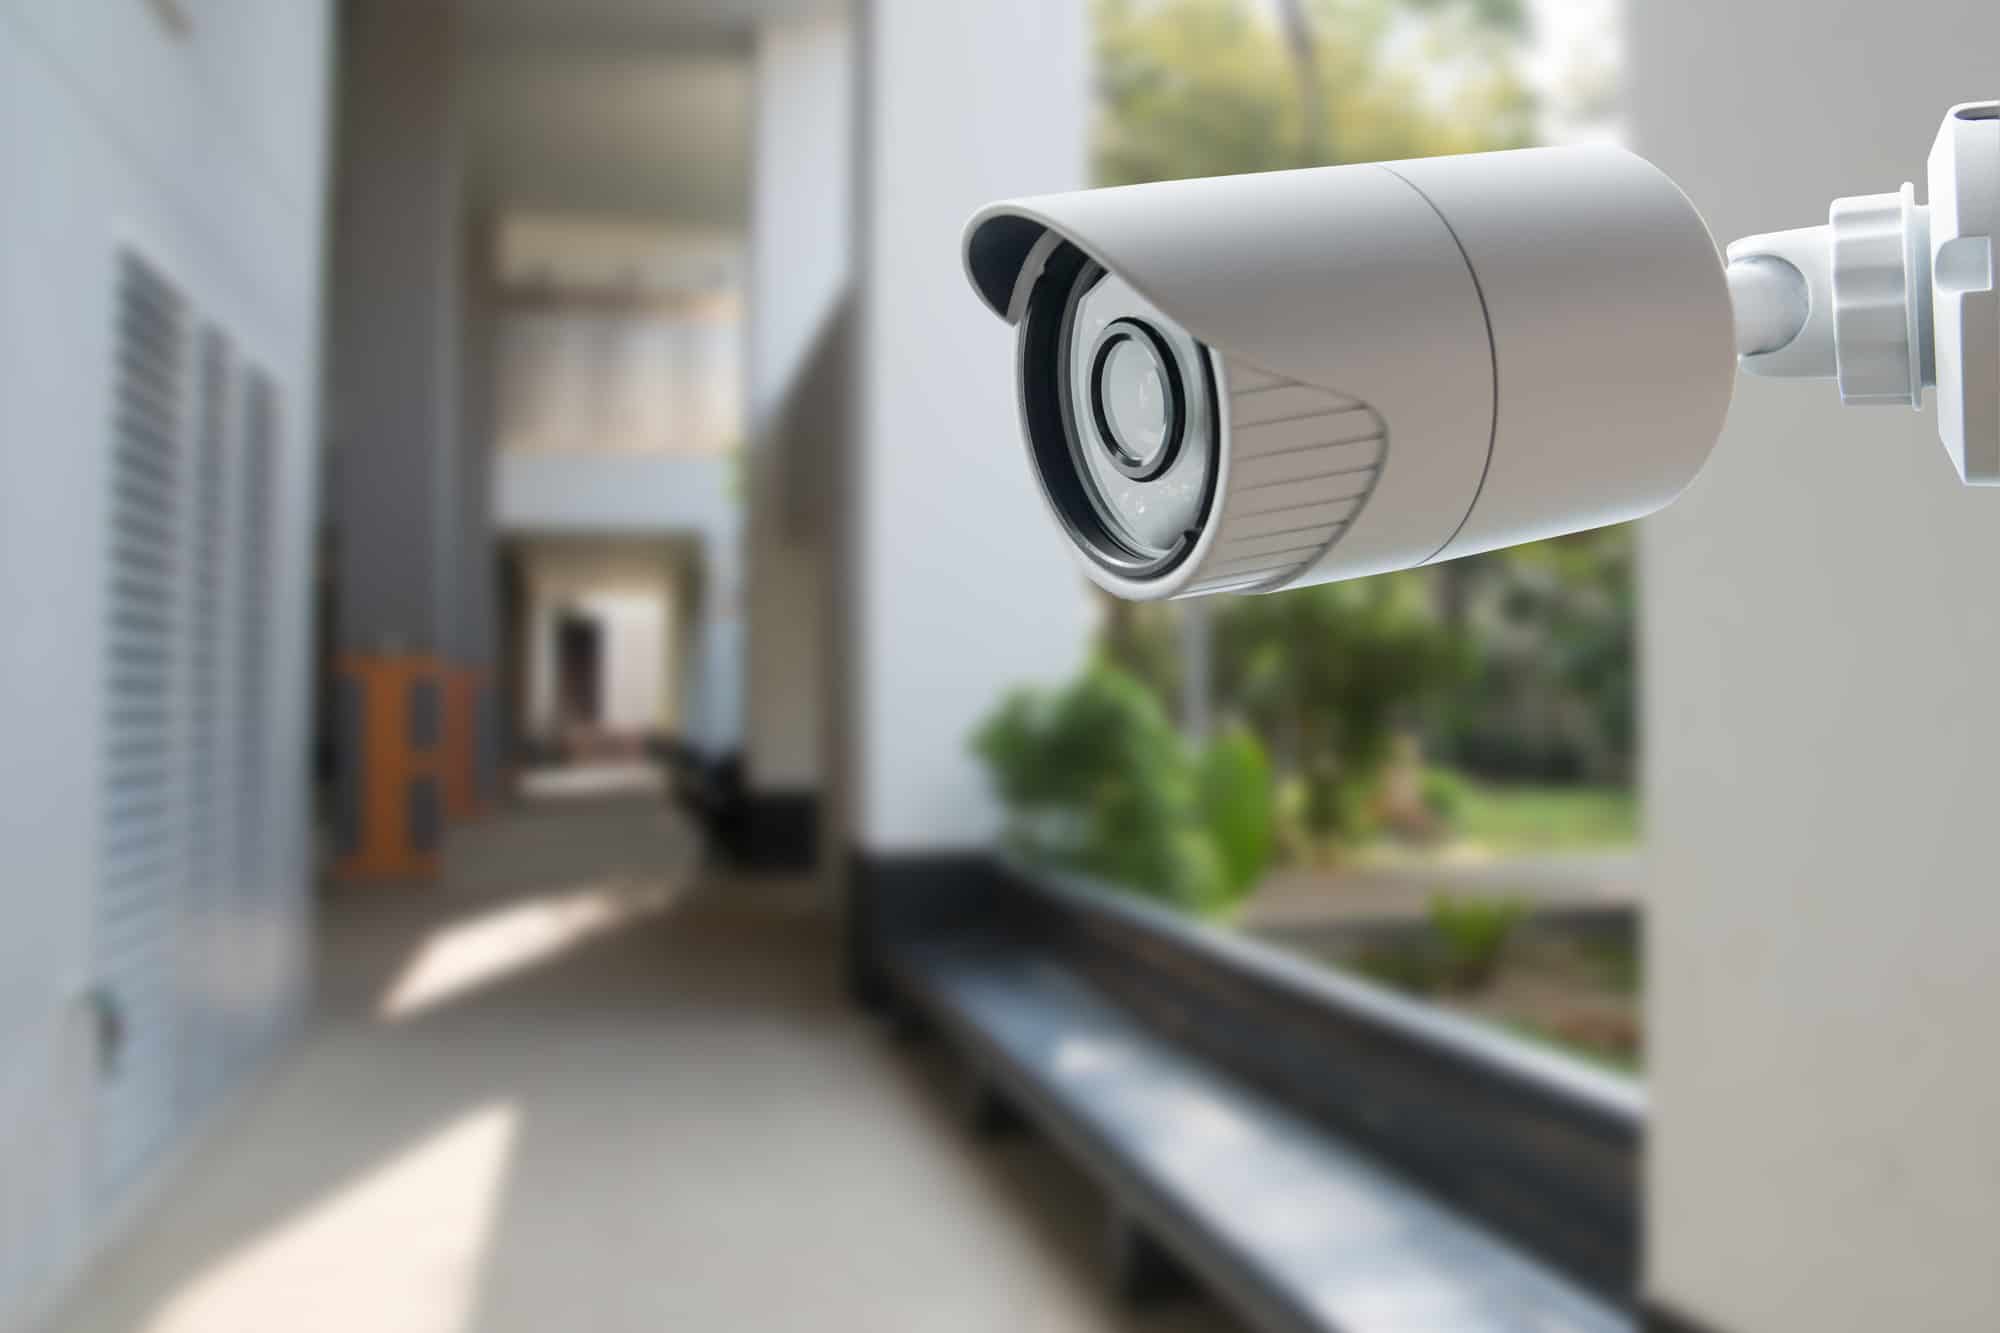
Moreover, the Costco wired security camera system is designed to be weather-resistant, making it suitable for both indoor and outdoor applications. Whether it’s heavy rain, snow, or extreme temperature variations, these cameras are built to withstand the elements.
Overall, the Costco wired security camera system offers a comprehensive and reliable surveillance solution for your home or business. With its high-definition video quality, extensive storage capabilities, and remote viewing abilities, you can have confidence in the safety and security of your property.
Required Tools and Equipment
Before you begin the installation process for your Costco wired security camera system, it’s important to make sure you have all the necessary tools and equipment. Having everything on hand will help streamline the installation process and ensure that you have a smooth and successful setup. Here are the tools and equipment you will need:
- Power drill and drill bits: You will need a power drill to make holes for mounting the cameras and running the cables. Make sure to have various drill bits on hand to accommodate different mounting surfaces.
- Screwdriver set: A set of screwdrivers, including both Phillips and flathead, will be necessary for securing the cameras in place.
- Cable crimper and connectors: To properly connect the cables, you will need a cable crimper and the corresponding connectors. This will ensure a secure and reliable connection.
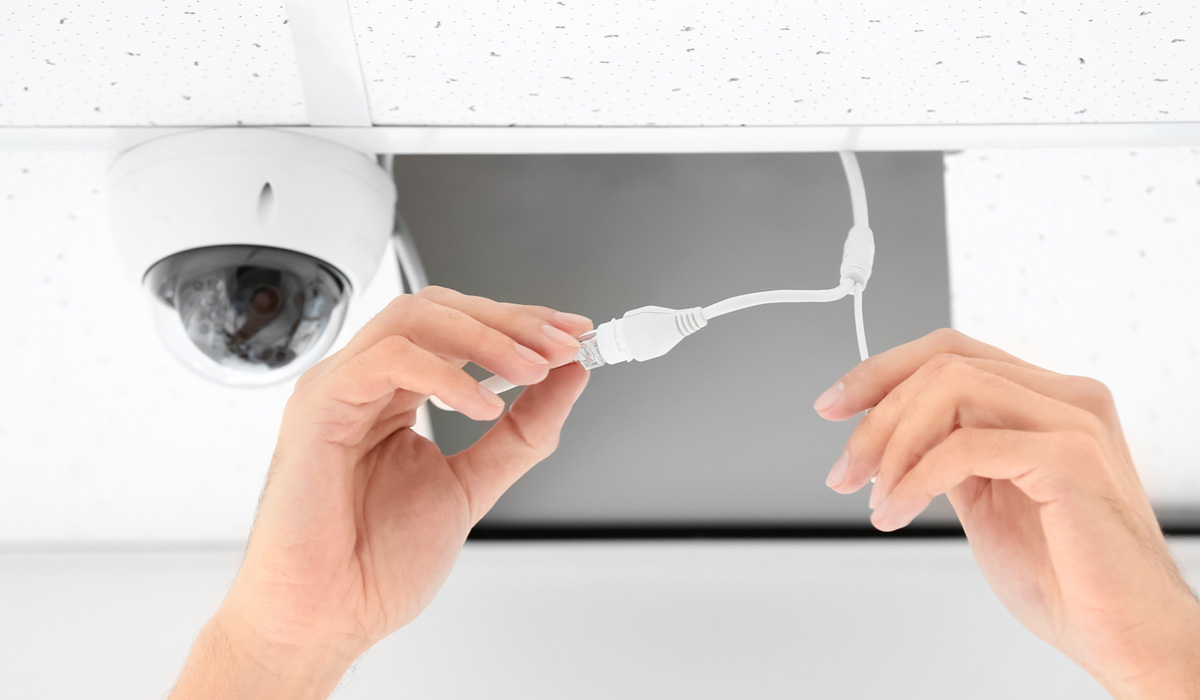
- Network cables: Depending on the configuration of your system, you may need network cables to connect the cameras to the DVR or NVR. Make sure to have the appropriate length and quantity of cables.
- Mounting hardware: This includes brackets, screws, and anchors for mounting the cameras. The type of mounting hardware needed will depend on the camera model and the surface you are mounting it on.
- Monitor or TV: You will need a monitor or TV with HDMI or VGA inputs to connect and view the surveillance footage. Ensure that you have the appropriate cables to connect the DVR or NVR to the monitor.
- Power supply: The cameras will require a power source, so make sure to have the necessary power supply units or extension cords to provide power to each camera.
- Ethernet cables: If you plan on connecting your DVR or NVR to your router for remote viewing capabilities, you will need Ethernet cables to establish the connection.
- Ladder: Depending on the camera positions, you may need a ladder or step stool to reach higher mounting locations.
- Cable clips and ties: These will be useful for securing the cables and keeping them organized during the installation process.
Having these tools and equipment readily available will save you time and ensure a smoother installation process. It’s always better to be prepared and have everything you need before you begin setting up your Costco wired security camera system.
Before installing a Costco wired security camera system, carefully plan the placement of the cameras and ensure you have the necessary tools and equipment. Follow the manufacturer’s instructions step by step to ensure a successful installation.
Steps to Install Costco Wired Security Camera System
Installing the Costco wired security camera system may seem intimidating, but with the right guidance, it can be a straightforward process. Follow these steps to ensure a successful installation:
- Plan the camera placement: Before you start mounting the cameras, determine the optimal placement for each one. Consider the areas you want to monitor and ensure clear visibility. It’s also important to plan the positioning of the cables, power outlets, and DVR or NVR location.
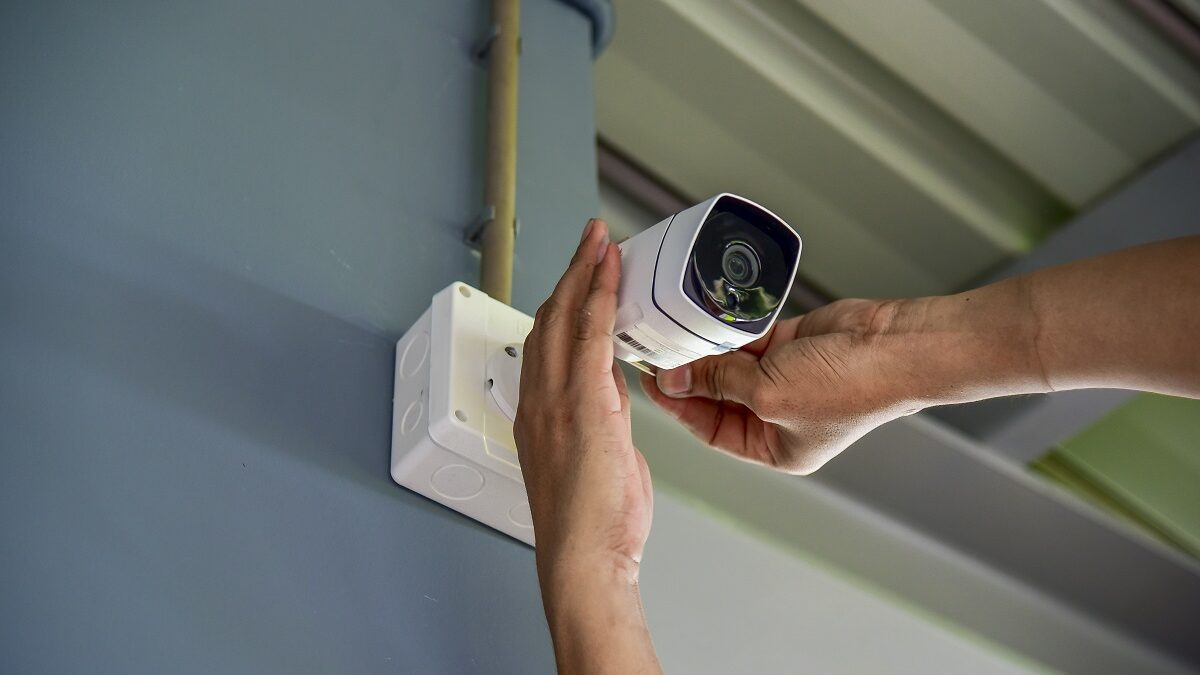
- Mount the cameras: Use the mounting hardware provided with the cameras to securely attach them to the desired locations. Make sure the cameras are level and adjust the angle accordingly for optimal coverage. Use a power drill and appropriate drill bits to make holes and securely mount the cameras.
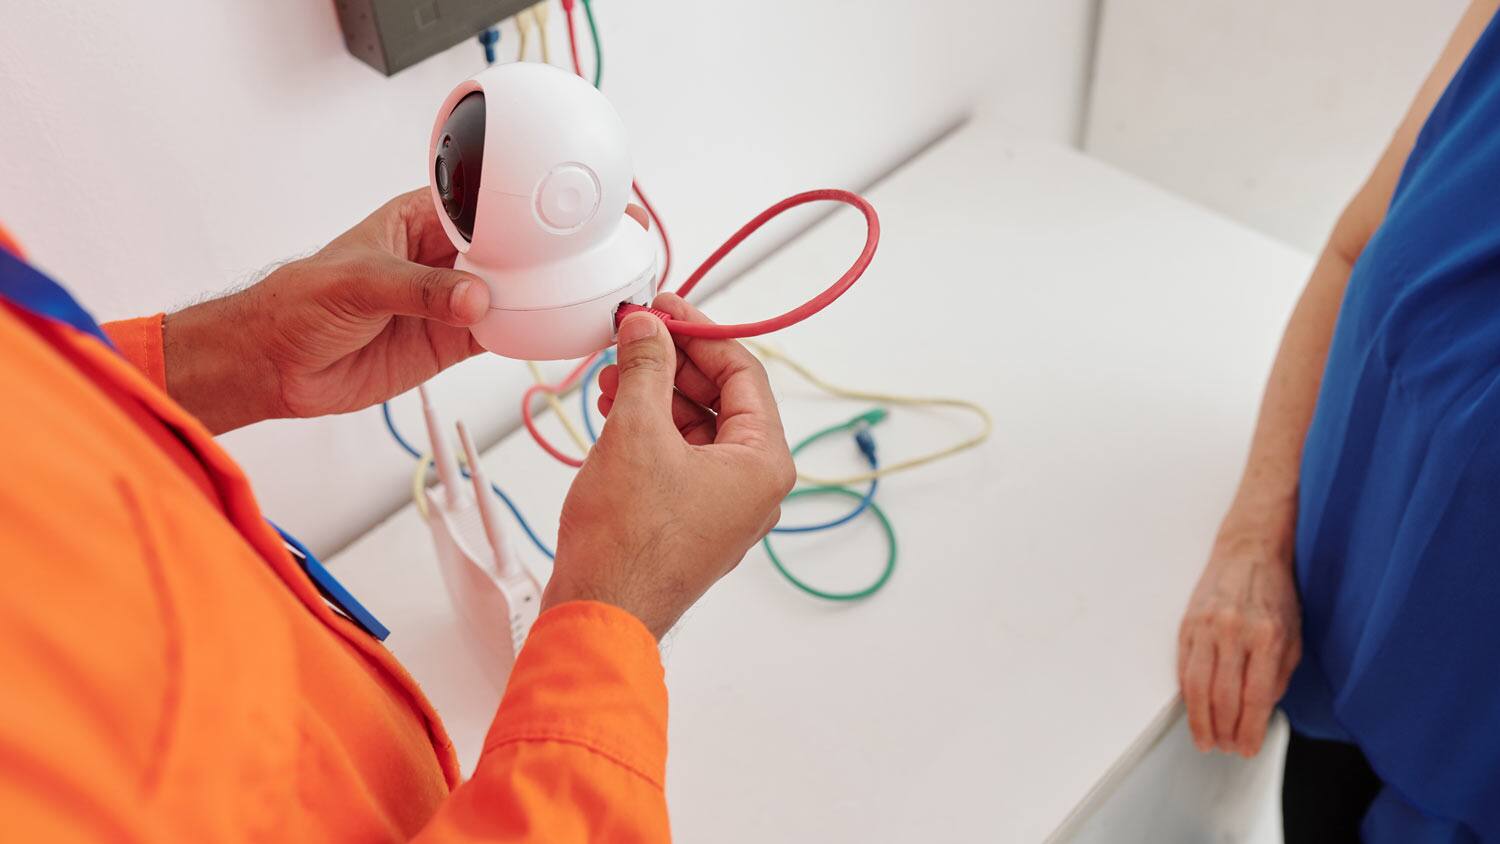
- Connect the cameras: Run the cables from each camera to the DVR or NVR location. Use cable clips and ties to secure the cables along the way. Ensure the cables are hidden and protected to prevent any damage or tampering.
- Connect the power supply: Plug the power supply units into nearby outlets or use extension cords if needed. Connect the power cables to the cameras, ensuring a secure connection. Test each camera to ensure they power on and function properly.
- Connect the DVR or NVR: Using network cables, connect each camera to the corresponding input ports on the DVR or NVR. Ensure a snug and secure connection. Connect the DVR or NVR to your monitor or TV using HDMI or VGA cables.
- Configure the system: Turn on the monitor or TV and access the DVR or NVR’s settings. Set up the system, including time and date settings, camera configurations, and recording preferences. If you plan on accessing the system remotely, connect the DVR or NVR to your router using an Ethernet cable.
- Test the system: Once everything is connected and configured, test the system to ensure all cameras are displaying the desired views. Check the video quality, adjust camera angles if necessary, and ensure the live feed and recordings are working correctly.
- Secure the cables: After confirming that the system is functioning properly, secure the cables using cable clips and ties. Keep them organized and hidden to maintain a clean and professional setup.
- Set up remote viewing: If you wish to access your surveillance system remotely, install the necessary apps or software on your smartphone, tablet, or computer. Follow the instructions provided by the manufacturer to connect your device to the system and enjoy remote viewing capabilities.
By following these step-by-step instructions, you will be able to install your Costco wired security camera system efficiently and effectively. Remember to double-check all connections and settings, and don’t hesitate to consult the user manual or reach out to customer support for any troubleshooting assistance along the way.
Troubleshooting Common Installation Issues
Even with careful planning and execution, it’s possible to encounter some common installation issues when setting up your Costco wired security camera system. Here are a few troubleshooting tips to help you overcome these challenges:
- No video signal: If you are not getting any video signal on your monitor or TV, ensure that the cables are securely connected. Check if the cameras have power and are properly configured. If the issue persists, try restarting the DVR or NVR and ensure that the correct input source is selected on the monitor or TV.
- Poor image quality: If the video quality is not up to par, first make sure that the cameras are in focus and properly angled. Check the camera settings to ensure they are set to the highest resolution. If the issue persists, it might be due to the quality of the cables or a faulty camera. Consider replacing the cables or contacting customer support for assistance.
- Interference or noise: If you notice interference or noise in the video feed, it could be due to electromagnetic interference (EMI) from other electronic devices. Try relocating the cameras away from sources of EMI, such as routers or power lines. Additionally, check the cables for any damage or loose connections that could be causing the interference.
- Network connectivity issues: If you are experiencing connectivity issues or are unable to access the surveillance system remotely, check the network cables to ensure they are securely connected. Restart the router and the DVR or NVR to reset the network connection. Make sure your network settings and port forwarding are correctly configured. If the problem persists, consult the user manual or contact customer support for further assistance.
- Inadequate power supply: If a camera is not receiving power or is intermittently losing power, check the power cables and connections. Ensure that the power supply units are providing enough power for the cameras. Consider using dedicated power outlets or connecting the cameras to a UPS (Uninterruptible Power Supply) for more stable power delivery.
- Incompatibility issues: In some cases, certain models of cameras or DVRs/NVRs may not be fully compatible, resulting in connectivity or functionality issues. Check the manufacturer’s documentation or contact customer support to ensure that all components are compatible and can work together seamlessly.
Remember, troubleshooting can sometimes be a trial-and-error process. If you encounter any issues during the installation, take your time to carefully assess the situation and refer to the user manual for guidance. Additionally, don’t hesitate to reach out to the manufacturer’s customer support team for specific troubleshooting assistance tailored to your Costco wired security camera system.
By addressing these common installation issues, you can ensure a smooth and successful setup of your Costco wired security camera system, enabling you to enjoy enhanced security and peace of mind.
Read more: How To Wire Home Security Camera System
Conclusion
Installing a Costco wired security camera system is an effective way to enhance the security and surveillance of your home or business. With its high-definition video quality, extensive storage capabilities, and remote viewing capabilities, this system provides a comprehensive solution to monitor your property.
In this article, we have provided a comprehensive guide on installing the Costco wired security camera system. We started with an introduction, highlighting the importance of home security and the benefits of this particular system. We then discussed the overview of the system, showcasing its advanced features and capabilities.
We also provided a list of required tools and equipment to ensure a smooth installation process. Having these tools readily available will save you time and help you achieve a successful setup.
The article then outlined the step-by-step process of installing the Costco wired security camera system, from planning the camera placement to configuring the system and setting up remote viewing. By following these steps, you can ensure a seamless installation and maximize the potential of your surveillance system.
Additionally, we addressed common installation issues and provided troubleshooting tips to help you overcome any challenges you may encounter. These troubleshooting tips will help you address issues related to video signal, image quality, network connectivity, and power supply, among others.
In conclusion, investing in a Costco wired security camera system is a valuable step towards improving your home or business security. With proper installation and maintenance, you can enjoy the peace of mind that comes with knowing that your property is under constant surveillance.
Remember, if you ever need assistance or encounter any difficulties during the installation process, consult the user manual, reach out to customer support, or seek professional help if necessary. Keep in mind that every installation scenario may have unique challenges, and it’s important to leverage available resources to ensure a successful installation.
By following the steps outlined in this guide and troubleshooting any issues that may arise, you will be well on your way to enjoying the benefits of a reliable and effective Costco wired security camera system.
Frequently Asked Questions about How Hard Is It To Install Costco Wired Security Camera System
Was this page helpful?
At Storables.com, we guarantee accurate and reliable information. Our content, validated by Expert Board Contributors, is crafted following stringent Editorial Policies. We're committed to providing you with well-researched, expert-backed insights for all your informational needs.