Home>Home Security and Surveillance>How To Connect Security Cameras To TV Without A DVR
Home Security and Surveillance
How To Connect Security Cameras To TV Without A DVR
Modified: October 21, 2024
Learn how to connect security cameras to your TV without the need for a DVR. Enhance your home security and surveillance system effortlessly!
(Many of the links in this article redirect to a specific reviewed product. Your purchase of these products through affiliate links helps to generate commission for Storables.com, at no extra cost. Learn more)
Introduction
Welcome to the world of home security and surveillance! Whether you are concerned about protecting your loved ones, safeguarding your property, or simply keeping an eye on your surroundings, having a reliable security system is essential.
One important component of any security system is the ability to view the camera feed live on a TV screen. This allows you to monitor your property conveniently and keeps a constant watchful eye on any potential security threats. In this article, we will explore various methods on how to connect security cameras to a TV without a DVR (Digital Video Recorder).
Traditionally, DVRs have been the go-to solution for connecting security cameras to a TV. However, there are several alternate methods available that offer flexibility and convenience. Whether you have analog or IP cameras, wired or wireless setup, we have got you covered. Let’s dive in!
Key Takeaways:
- Easily connect security cameras to your TV without a DVR using methods like HDMI cables, wireless adapters, NVRs, video encoders, smart TVs, and wireless HDMI transmitters for flexible and convenient surveillance.
- Explore various methods to connect security cameras to your TV without a DVR, from simple HDMI cables to advanced NVR systems, ensuring you find the perfect solution for your home or business security needs.
Method 1: Using an HDMI Cable
One of the easiest and most straightforward ways to connect security cameras to a TV is by using an HDMI cable. This method works best if both your security cameras and TV have HDMI ports.
Here are the steps to connect your security cameras to a TV using an HDMI cable:
- Ensure that your security cameras have an HDMI output port. Most modern cameras have this feature, but it is recommended to check the specifications or user manual to confirm.
- Locate the HDMI input port on your TV. It is usually labeled as “HDMI” and may be located on the side or the back of the TV.
- Plug one end of the HDMI cable into the HDMI output port of the security camera.
- Plug the other end of the HDMI cable into the HDMI input port of the TV.
- Turn on your TV and switch the input source to the corresponding HDMI port that you connected the camera to. This is usually done through the TV’s remote control by pressing the “Input” or “Source” button.
- Voila! You should now be able to see the live camera feed on your TV screen. Depending on your camera’s features, you may need to navigate through the camera’s menu or settings to ensure that the live feed is displayed correctly.
Using an HDMI cable offers a high-quality, high-definition (HD) display of your security camera footage. It provides a seamless and real-time viewing experience, making it a popular choice among homeowners and businesses alike.
However, keep in mind that this method requires a direct physical connection between the camera and the TV. It may not be suitable if you need to cover long distances or have multiple cameras to connect. In such cases, consider exploring other methods discussed in this article.
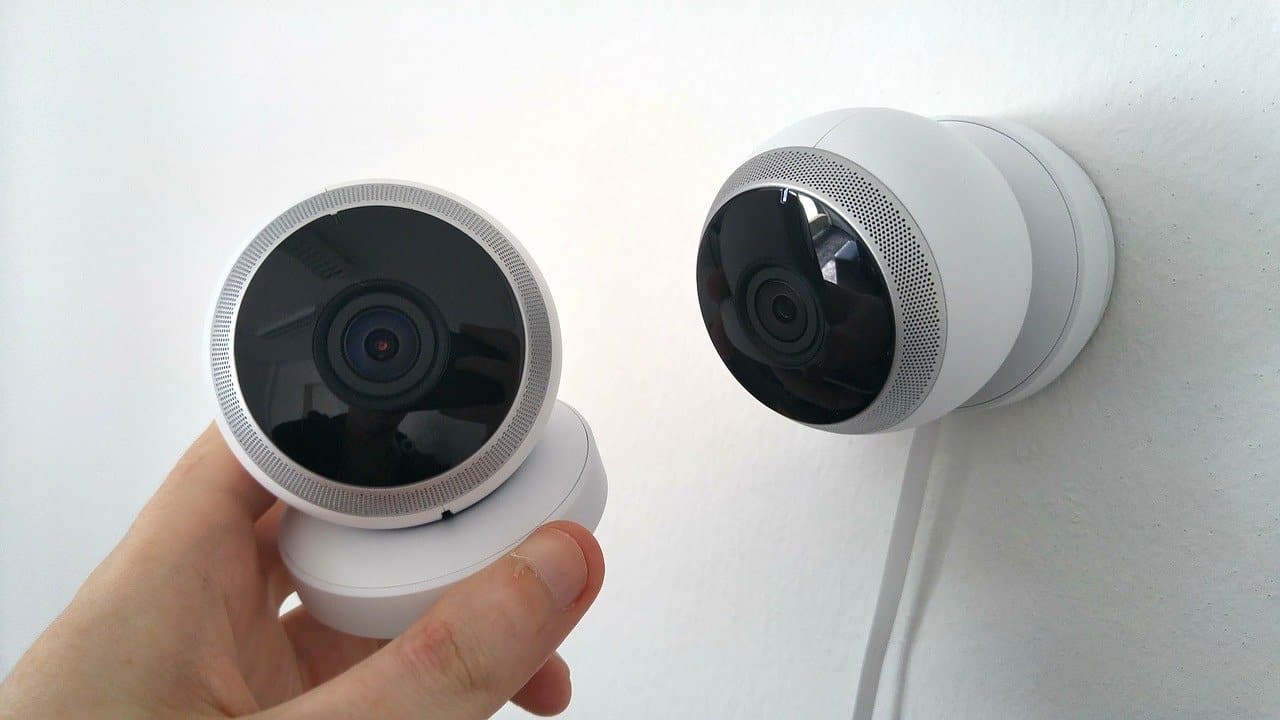
Method 2: Using a Surveillance Camera Adapter
If your security cameras do not have HDMI output ports or if you prefer a wireless solution, using a surveillance camera adapter can be an excellent option. This method allows you to connect your cameras to a TV wirelessly, providing flexibility and convenience.
Here’s how you can connect security cameras to a TV using a surveillance camera adapter:
- Purchase a surveillance camera adapter that is compatible with your specific camera model.
- Connect the surveillance camera adapter to your camera using the appropriate cables or connectors provided with the adapter.
- Connect the other end of the adapter to your TV. This can be done via HDMI, RCA, or VGA connection, depending on the adapter and your TV’s available ports.
- Follow the manufacturer’s instructions to set up the adapter and configure the wireless connection between the camera and the TV.
- Once the connection is established, you should be able to see the live camera feed on your TV screen. Use the TV’s remote control or the adapter’s control panel to switch between different camera views if you have multiple cameras connected.
A surveillance camera adapter eliminates the need for long cables and allows you to place your security cameras anywhere within range of the adapter. This gives you the freedom to position your cameras strategically while still being able to view the footage on your TV.
However, keep in mind that the wireless connection range may vary depending on the adapter and environmental factors. It is crucial to ensure that the cameras and the adapter are within the specified operating range to maintain a stable and reliable connection.
Additionally, if you have multiple cameras, make sure that the surveillance camera adapter supports the desired number of camera connections. Some adapters may have limitations on the number of cameras they can handle simultaneously.
Overall, using a surveillance camera adapter offers a convenient wireless solution to connect security cameras to a TV. It provides flexibility in camera placement and allows for easy monitoring of your property without the hassle of wired connections.
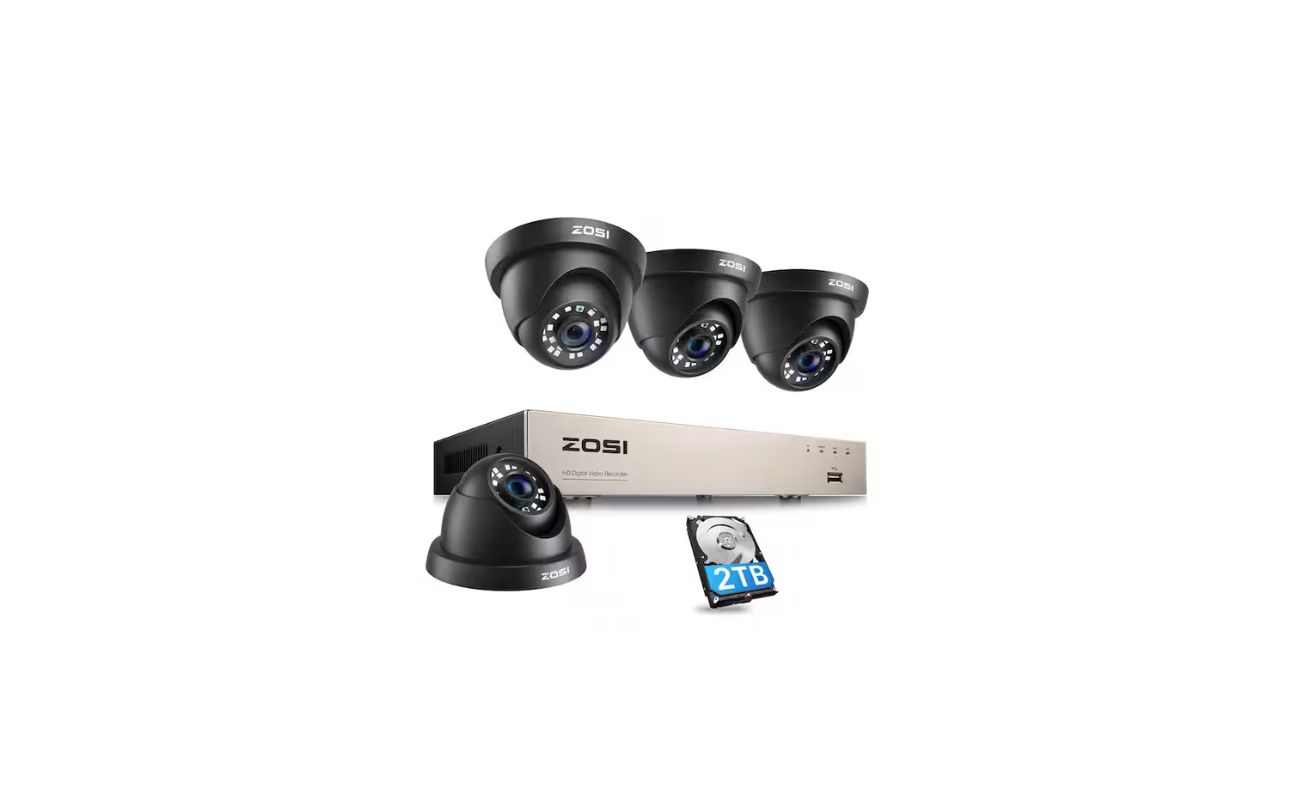
Method 3: Using a Network Video Recorder (NVR)
If you have IP cameras or a network-based security camera system, using a Network Video Recorder (NVR) is an excellent choice for connecting your cameras to a TV. An NVR acts as a central hub for IP cameras, allowing you to record, store, and view the camera footage.
Here’s how you can connect security cameras to a TV using an NVR:
- Ensure that your IP cameras are compatible with the NVR. Most NVRs support a wide range of IP cameras, but it is essential to check the compatibility list or consult the manufacturer to confirm.
- Connect the IP cameras to the NVR using Ethernet cables. Ensure that the cameras and the NVR are connected to the same network or subnet.
- Connect the NVR to the TV using an HDMI or VGA cable, depending on the available ports on your TV and NVR.
- Power on the NVR and the connected cameras.
- Use the NVR’s interface to configure the cameras and set up the desired camera views and recording settings.
- Using the NVR’s menu or remote control options, switch to the live view mode to see the camera feed on your TV screen.
An NVR offers several advantages, such as centralized storage, remote access to the camera feed, and the ability to manage multiple cameras from a single interface. It provides a comprehensive solution for managing and viewing your security camera footage.
Furthermore, some NVR systems offer advanced features like motion detection, scheduled recording, and mobile app integration, allowing you to monitor your cameras from anywhere using your smartphone or tablet.
However, it’s important to note that setting up an NVR system may require some technical expertise. Ensure that you follow the manufacturer’s instructions carefully and refer to any online guides or resources available for your specific NVR model.
Using an NVR to connect security cameras to a TV provides a professional-grade solution for surveillance. It offers a reliable and scalable option for homeowners and businesses looking to build a robust security camera system.
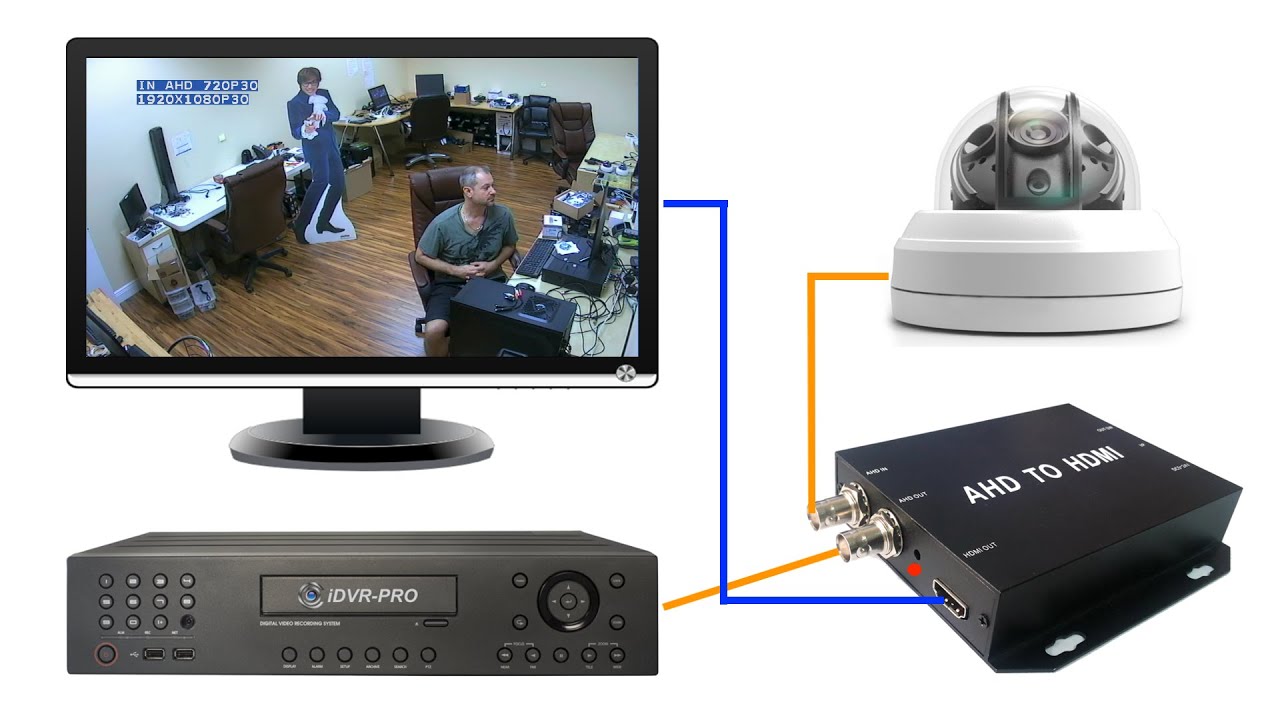
You can connect security cameras to a TV without a DVR by using a BNC to HDMI converter. Simply connect the BNC cables from the cameras to the converter, then connect the HDMI cable from the converter to the TV.
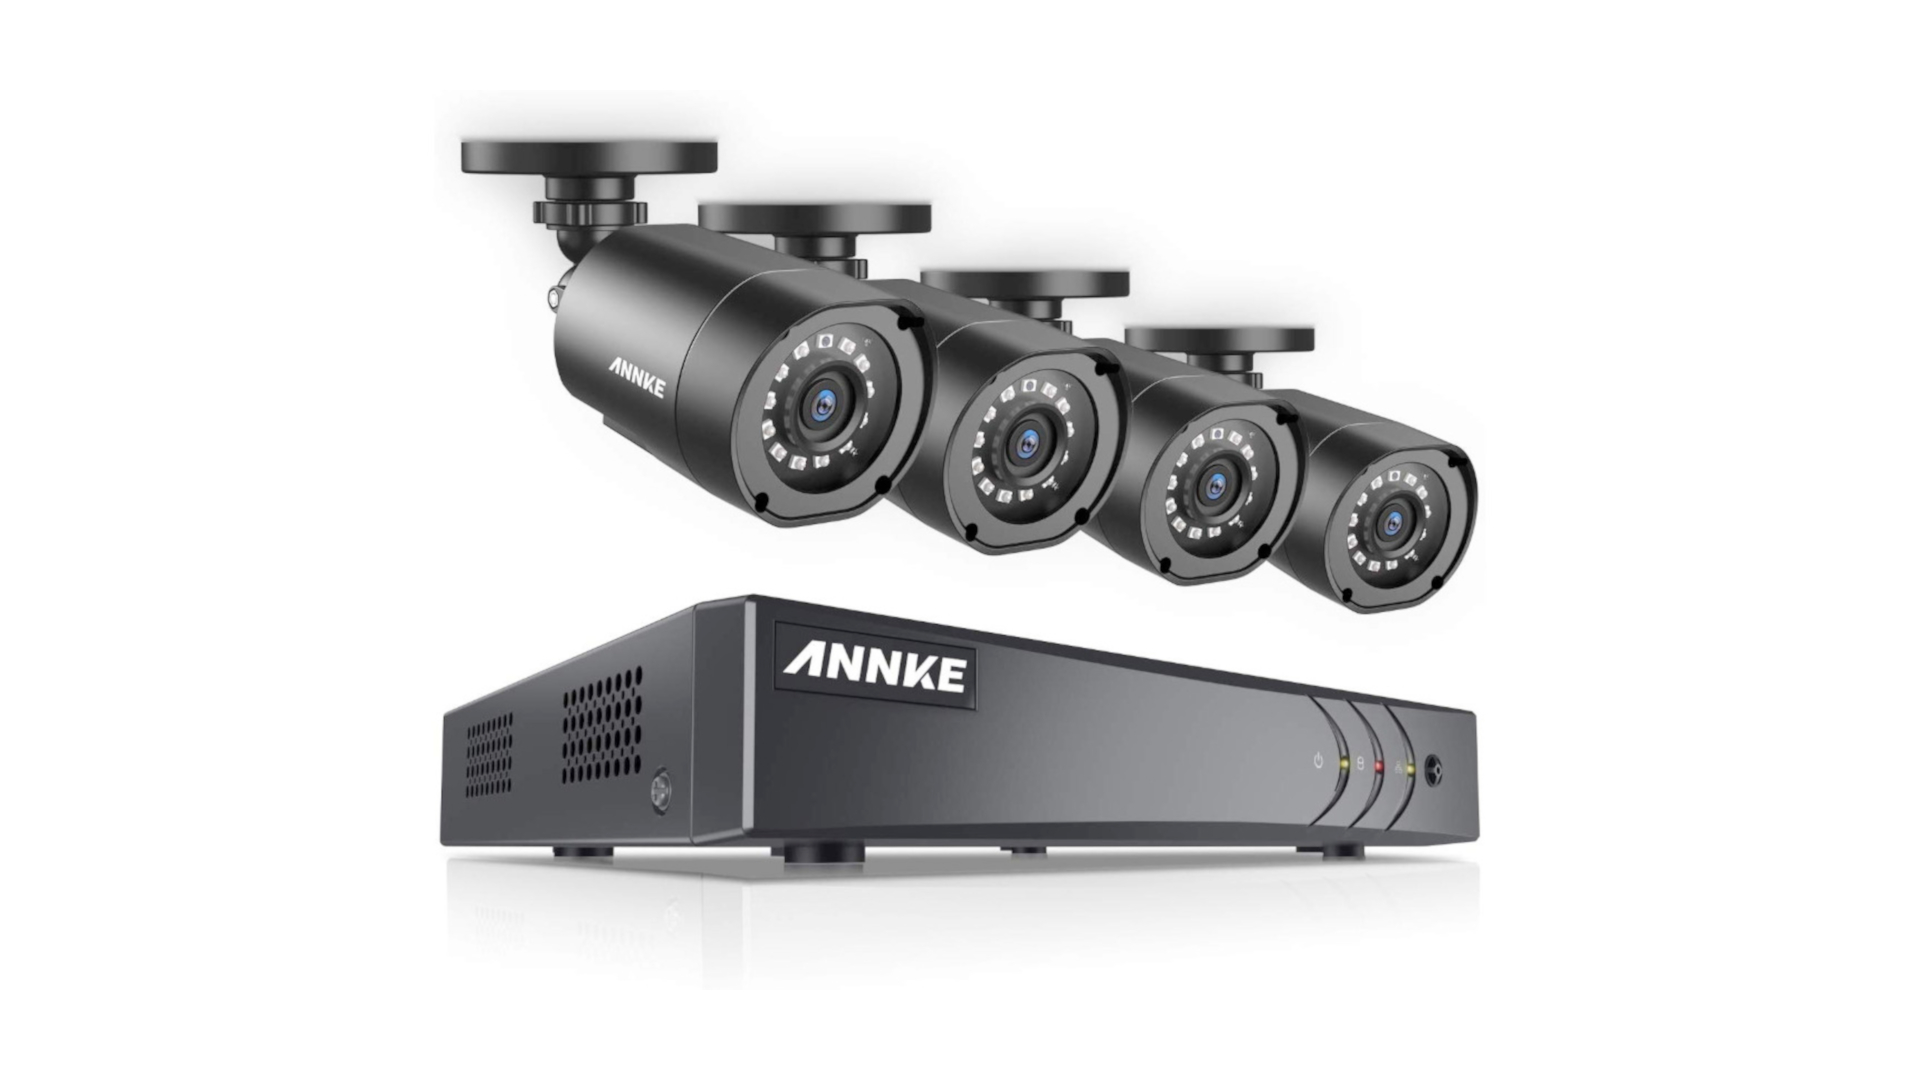
Method 4: Using a Video Encoder
If you have analog cameras and want to connect them to a TV without a DVR, using a video encoder is a practical solution. A video encoder converts analog video signals into digital formats, allowing you to view the camera feed on a TV or other devices.
Here’s how you can connect security cameras to a TV using a video encoder:
- Choose a video encoder that is compatible with your analog cameras. Ensure that the encoder supports the desired video resolution and formats.
- Connect the analog cameras to the video encoder using BNC or RCA cables, depending on the camera and encoder specifications.
- Connect the video encoder to your TV using an HDMI or other compatible cable, depending on the available ports on the encoder and TV.
- Power on the video encoder and the connected cameras.
- Set up the video encoder by accessing its configuration interface. Configure the camera settings, including resolution, frame rate, and other desired parameters.
- Switch the input source on your TV to the corresponding HDMI or other input port that you connected the video encoder to.
- You should now be able to see the live camera feed on your TV screen, displayed through the video encoder.
A video encoder provides a cost-effective solution for connecting analog cameras to a TV without the need for a dedicated DVR. It allows you to leverage your existing analog camera system while enjoying the benefits of digital connectivity.
Additionally, some video encoders offer advanced features like video compression, remote access, and compatibility with different video management software (VMS). These features enhance the functionality and usability of your security system.
Ensure that you choose a reliable and reputable video encoder to ensure the highest quality video conversion and reliable performance. It’s also worth noting that video encoders may have different limitations in terms of the number of camera connections and video quality, so make sure to select one that suits your specific requirements.
Using a video encoder is an excellent solution for connecting analog cameras to a TV without a DVR. It allows you to repurpose your existing analog camera system while enjoying the benefits of digital surveillance and convenience.
Method 5: Using a Smart TV with Built-in Camera Support
If you have a smart TV with built-in camera support, connecting your security cameras becomes even more convenient. Smart TVs with this feature allow you to directly integrate and view your camera feed without the need for additional devices or cables.
Here’s how you can connect security cameras to a TV using a smart TV with built-in camera support:
- Ensure that your smart TV has built-in camera support. Refer to the TV’s specifications or user manual to confirm this feature.
- Connect your security cameras to the same network as the smart TV. This can be done using wired or wireless connections, depending on the camera and network setup.
- Access the TV’s settings or menu and navigate to the camera or surveillance section.
- Follow the instructions provided by the TV to set up and configure the cameras. This may involve scanning for available cameras on the network or manually entering their IP addresses.
- Once the setup is complete, you should be able to access the camera feed directly through the TV’s interface. You can switch between different camera views, adjust settings, and even record footage if supported by the TV.
Using a smart TV with built-in camera support offers a seamless and integrated solution for viewing your security camera footage. It eliminates the need for additional devices and provides a user-friendly interface for managing and accessing your cameras.
Many smart TVs with built-in camera support also offer advanced features like motion detection, facial recognition, and the ability to create custom monitoring zones. These features enhance the functionality and effectiveness of your security system.
It’s important to note that not all smart TVs have built-in camera support, so it’s essential to check the specifications before purchasing. Additionally, privacy concerns regarding camera-enabled smart TVs should also be addressed by reviewing the TV’s privacy settings and considering physical camera covers if desired.
Overall, if you have a smart TV with built-in camera support, it offers a convenient and integrated solution for connecting and viewing your security camera footage.
Method 6: Using a Wireless HDMI Transmitter
If you want to connect your security cameras to a TV without the restrictions of cables, using a wireless HDMI transmitter is a great option. This method allows you to transmit the camera feed wirelessly from your cameras to the TV, providing flexibility and freedom in camera placement.
Here’s how you can connect security cameras to a TV using a wireless HDMI transmitter:
- Purchase a wireless HDMI transmitter kit that is compatible with your camera and TV.
- Connect the HDMI output of your security cameras to the HDMI input of the wireless HDMI transmitter.
- Connect the HDMI output of the wireless HDMI transmitter to the HDMI input of your TV.
- Power on the wireless HDMI transmitter and the connected security cameras.
- Ensure that the transmitter and receiver are paired. This can be done by following the manufacturer’s instructions provided with the transmitter kit.
- Switch the input source on your TV to the wireless HDMI receiver connected to the TV.
- You should now be able to view the live camera feed on your TV screen, transmitted wirelessly from the security cameras.
Using a wireless HDMI transmitter provides you with the flexibility to place your security cameras in strategic locations without the limitations of cables. It is especially useful when running cables is not feasible or convenient.
However, it’s important to note that the range and signal strength of the wireless HDMI transmitter may vary depending on the specific model and environmental factors. It’s recommended to position the transmitter and receiver within the specified range to ensure a stable and reliable connection.
Additionally, consider the number of cameras you intend to connect and the capability of the wireless HDMI transmitter to handle multiple camera feeds simultaneously, if required.
A wireless HDMI transmitter offers a convenient and flexible solution for connecting security cameras to a TV without the hassle of cables. It provides greater freedom in camera placement while delivering high-quality video transmission.
Conclusion
Connecting security cameras to a TV without a DVR is achievable using various methods, each with its own advantages and considerations. Whether you prefer the simplicity of a wired connection, the flexibility of wireless solutions, or the integration of smart TV features, there is a method that suits your specific needs.
The methods discussed in this article include:
- Using an HDMI cable for a direct and high-quality connection, suitable for both analog and digital cameras.
- Utilizing a surveillance camera adapter for wireless connectivity and convenient camera placement.
- Employing a Network Video Recorder (NVR) for IP cameras, allowing centralized storage and management.
- Using a video encoder to convert analog camera signals for digital viewing on a TV.
- Opting for a smart TV with built-in camera support for seamless integration and easy access to camera feeds.
- Utilizing a wireless HDMI transmitter for cable-free transmission, offering flexibility in camera placement.
Each method has its own set of considerations, such as compatibility, range limitations, technical expertise, and available features. It’s important to assess your specific requirements and choose a method that best aligns with your needs.
Remember to prioritize the security and privacy of your camera system, taking necessary steps to protect your network, secure camera access, and ensure the confidentiality of recorded footage.
As technology continues to evolve, new methods and devices may emerge, offering even more convenient and efficient ways to connect security cameras to TVs without a DVR. Stay updated with the latest advancements in home security to make informed decisions and enhance the safety of your property.
By following the methods outlined in this article, you can confidently connect your security cameras to a TV without a DVR, ensuring peace of mind and enhanced surveillance capabilities for your home or business.
Frequently Asked Questions about How To Connect Security Cameras To TV Without A DVR
Was this page helpful?
At Storables.com, we guarantee accurate and reliable information. Our content, validated by Expert Board Contributors, is crafted following stringent Editorial Policies. We're committed to providing you with well-researched, expert-backed insights for all your informational needs.