Home>Home Security and Surveillance>How To Install Vimtag Outdoor Cameras
Home Security and Surveillance
How To Install Vimtag Outdoor Cameras
Modified: November 1, 2024
Learn how to install Vimtag outdoor cameras for your home security and surveillance needs. Follow our step-by-step guide to set up your cameras and enhance your home's safety.
(Many of the links in this article redirect to a specific reviewed product. Your purchase of these products through affiliate links helps to generate commission for Storables.com, at no extra cost. Learn more)
Introduction
When it comes to home security and surveillance, it’s essential to have reliable outdoor cameras in place. Outdoor cameras provide an extra layer of protection by monitoring your property and deterring potential intruders. One popular option that offers excellent performance and versatility is the Vimtag outdoor camera.
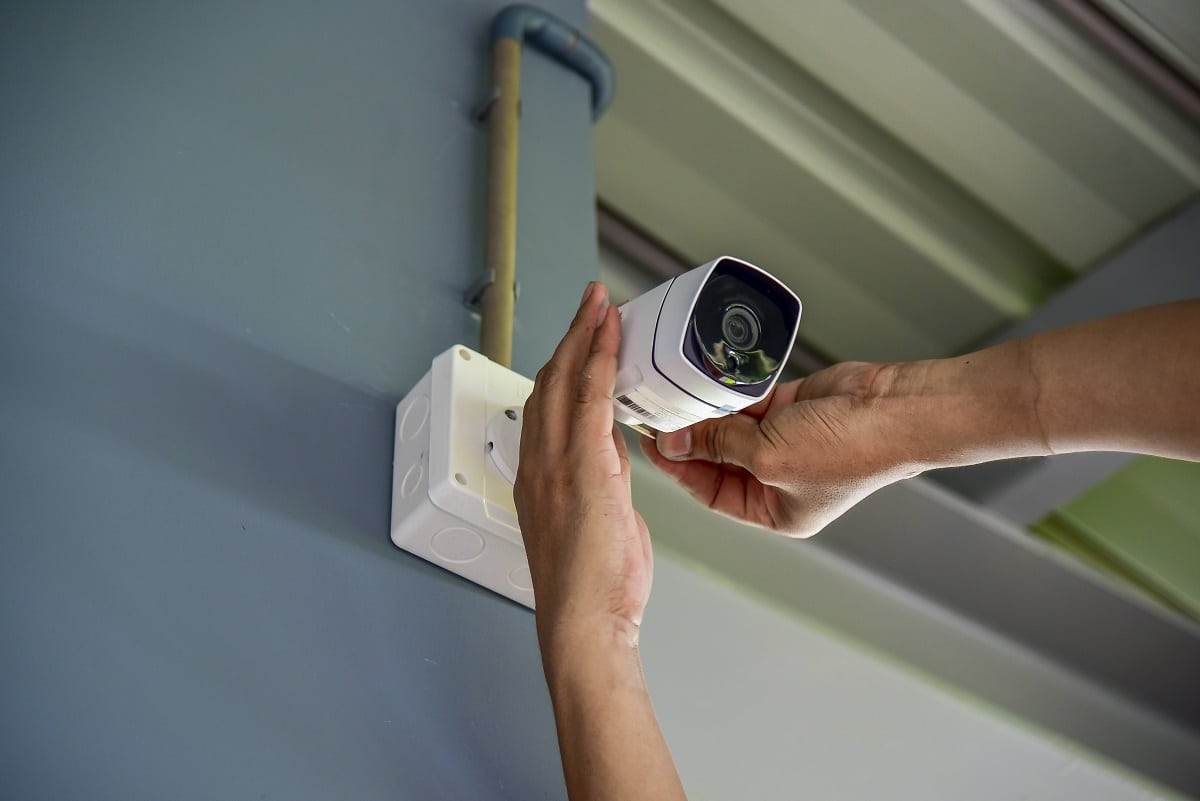
Vimtag outdoor cameras are designed to withstand various weather conditions and provide high-quality video footage. Installing these cameras can be a little daunting for some, but with the right guidance and a few simple steps, you can have your Vimtag outdoor camera up and running in no time.
In this article, we will guide you through the installation process step by step, ensuring that you can set up your Vimtag outdoor camera with ease. So, let’s dive in and learn how to install Vimtag outdoor cameras!
Key Takeaways:
- Setting up a Vimtag outdoor camera involves checking package contents, choosing the right location, assembling and mounting the camera, connecting it to power and network, and configuring settings for optimal performance.
- After installing the camera, testing its functionality is crucial. This involves checking the live feed, motion detection, night vision, remote access, and reviewing recorded footage to ensure everything works as intended.
Read more: How Do You Playback On Vimtag Outdoor Camera
Step 1: Check the Package Contents
Before you start the installation process, it’s crucial to check the package contents to ensure that you have all the necessary components. This step will help you avoid any delays or inconveniences during the installation process.
When you open the box, you should find the following items:
- The Vimtag outdoor camera
- A mounting bracket
- Screws and anchors
- A power adapter
- An Ethernet cable
- A Quick Start Guide
Make sure that all the components are included and in good condition. If anything is missing or damaged, contact the vendor or manufacturer for a replacement before proceeding with the installation.
It’s also a good idea to familiarize yourself with the camera and its features by reviewing the User Manual. This will give you a better understanding of the camera’s capabilities and how to make the most of its functions.
Once you have verified the package contents and learned about the camera, you’re ready to move on to the next step: choosing the installation location.
Step 2: Choose the Installation Location
Choosing the right installation location for your Vimtag outdoor camera is crucial to maximize its effectiveness and coverage. Here are a few factors to consider when selecting the ideal spot:
- Security Coverage: Identify the areas on your property that you want the camera to monitor. These could include the entrance, driveway, backyard, or any other vulnerable spots. Keep in mind that the camera should have a clear line of sight and cover the desired area adequately.
- Height and Angle: Determine the optimal camera height and angle for capturing the best surveillance footage. Mounting the camera at a height of around 9-10 feet is usually recommended for a wider view. Experiment with different angles to find the one that offers the clearest and most comprehensive view of the area.
- Accessibility: Ensure that the chosen location is easily accessible for maintenance and adjustments. You may need to clean the lens or adjust the camera’s position occasionally, so it’s essential to select a spot that allows for convenient access.
- Power and Network Connectivity: Consider the proximity of power outlets and the availability of a stable network connection. It’s essential to have easy access to power and a reliable internet connection to keep the camera functioning optimally.
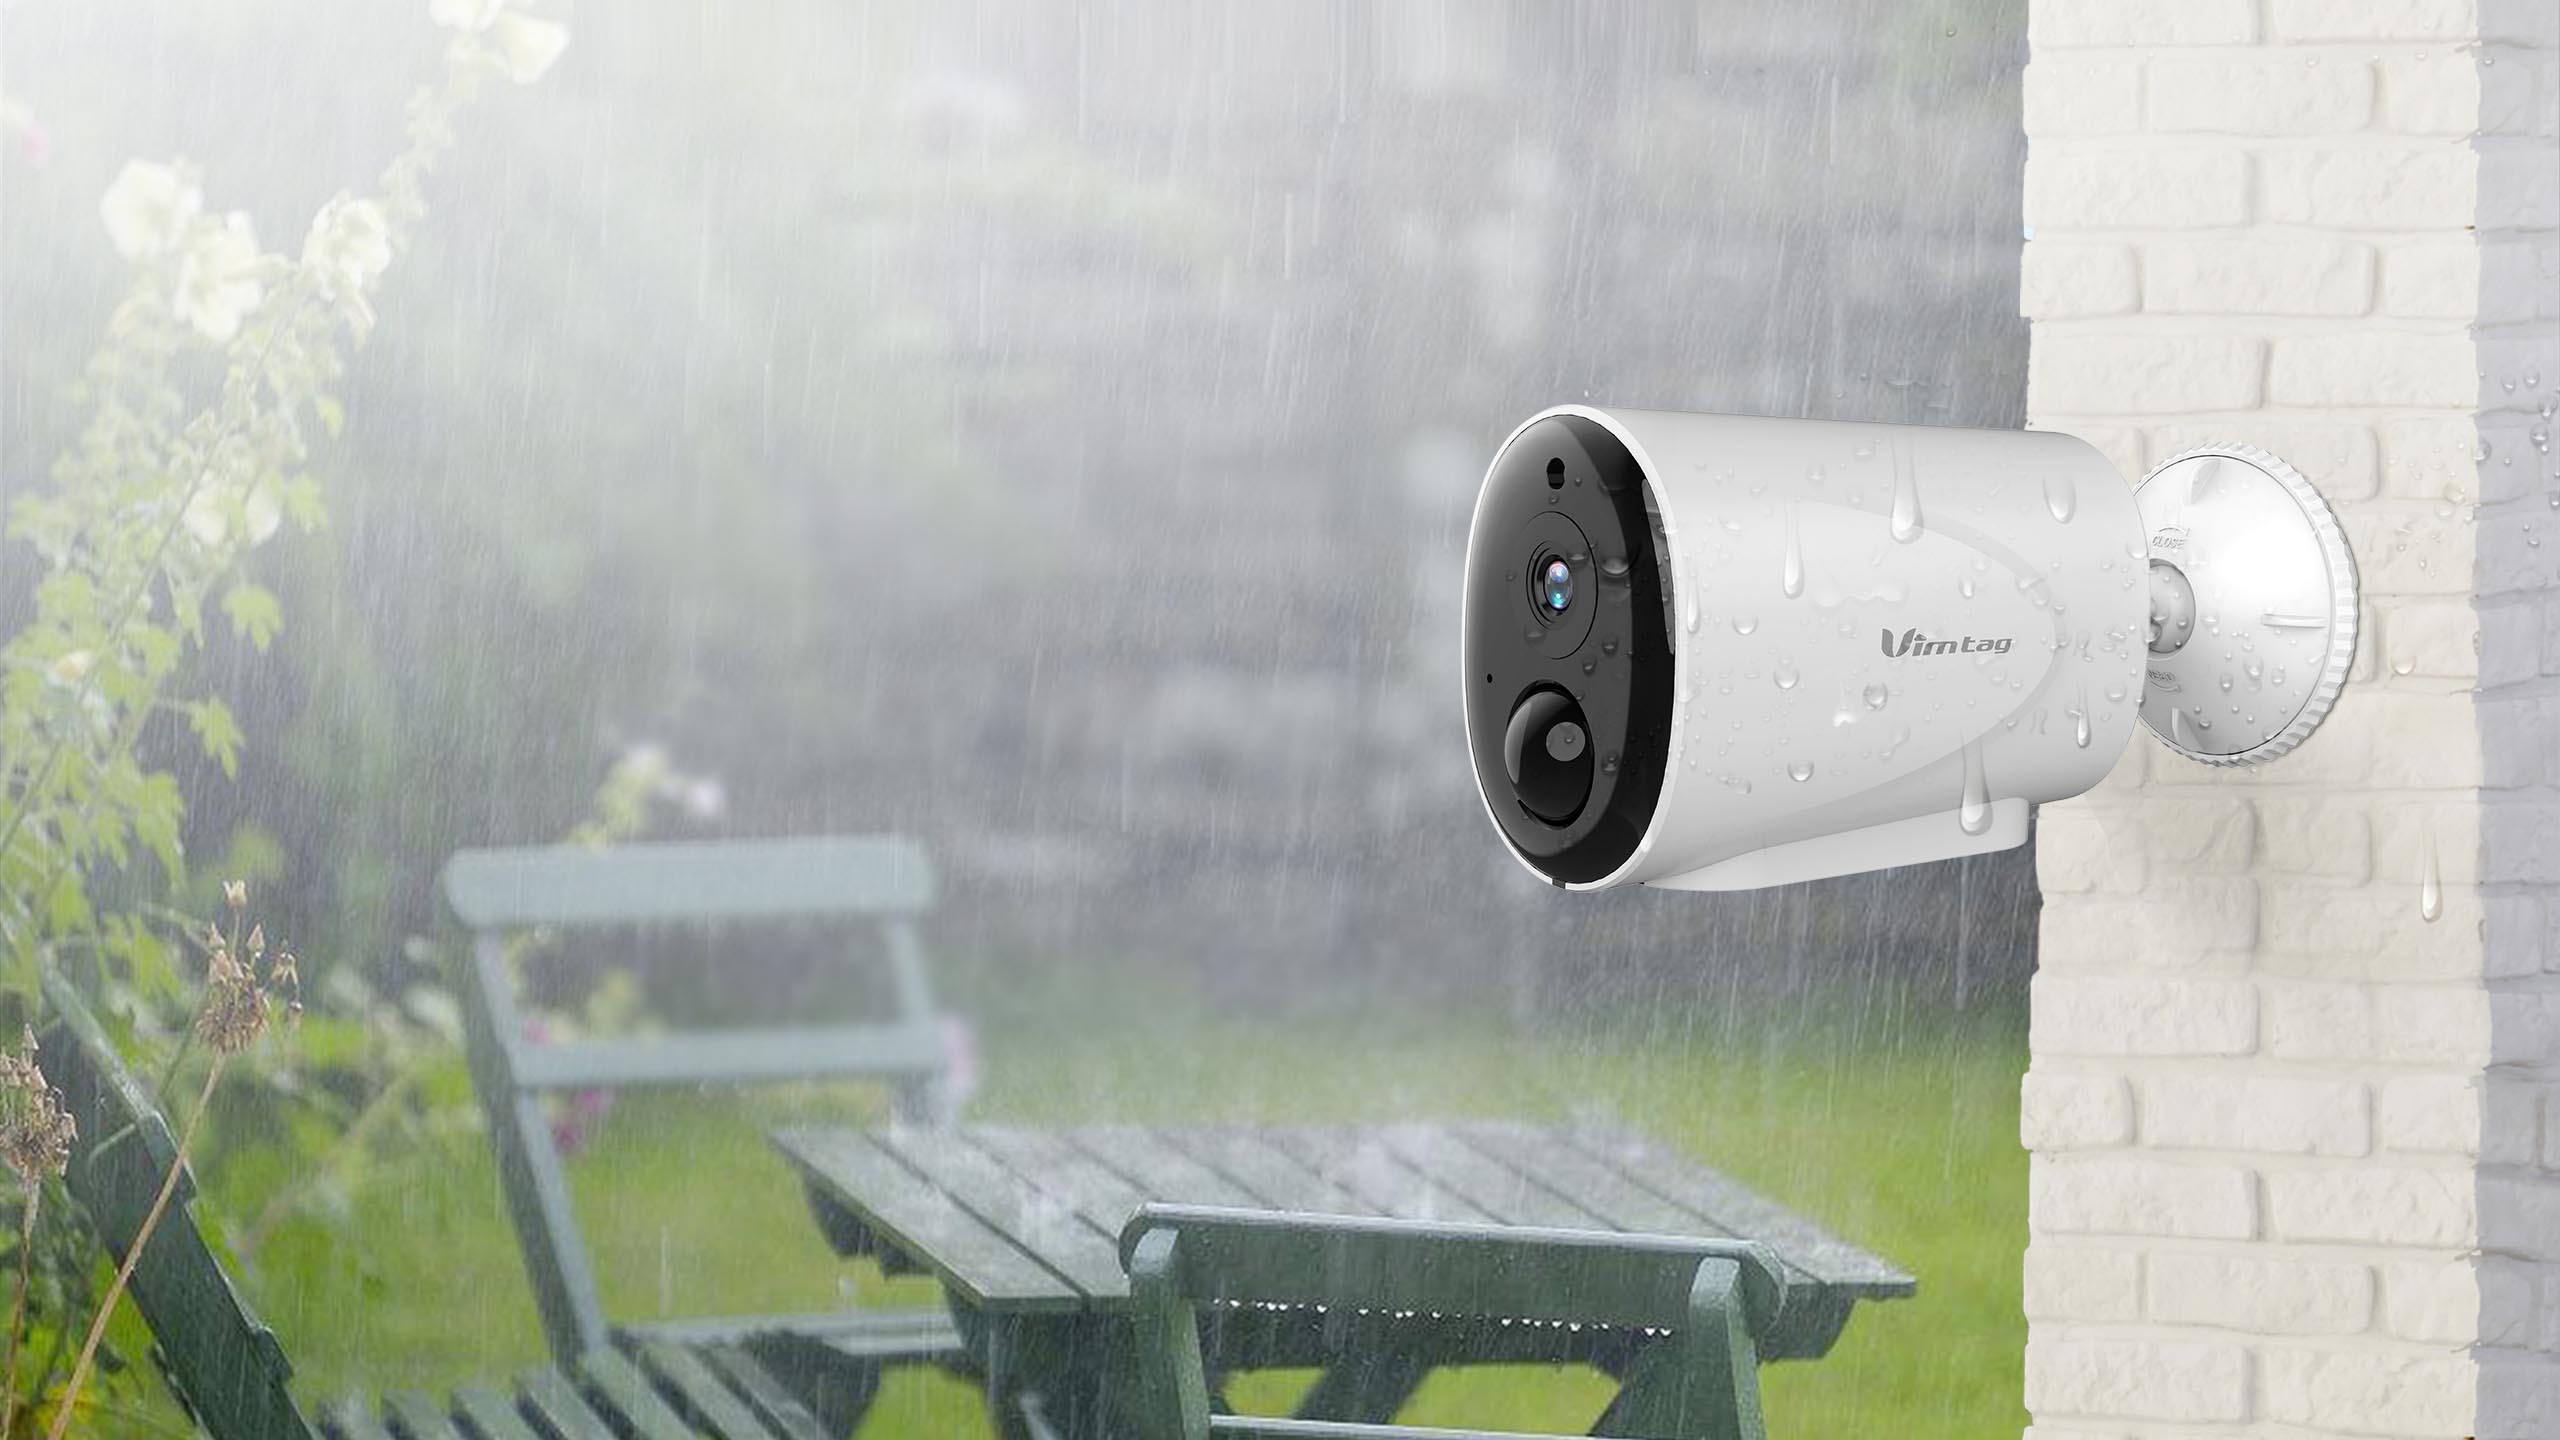
- Protection from Elements: While Vimtag outdoor cameras are designed to withstand various weather conditions, it’s still advisable to choose a location that provides some protection from direct exposure to rain, snow, or excessive sunlight. Placing the camera under eaves or using a protective housing can help prolong its lifespan.
Once you have taken these factors into account, you can confidently proceed to the next step: assembling the camera unit.
Step 3: Assemble the Camera Unit
Now that you have chosen the installation location for your Vimtag outdoor camera, it’s time to assemble the camera unit. Follow these steps to ensure a proper assembly:
- Attach the mounting bracket: Start by attaching the mounting bracket to the back of the camera unit. Use the screws provided in the package to securely fasten the bracket.
- Adjust the angle: Before mounting the camera, adjust the angle of the camera lens. This will ensure that the camera captures the desired view and provides the best surveillance coverage. Use the adjustable screws on the bracket to set the desired angle.
- Secure the camera: Once you have adjusted the angle, firmly attach the camera unit to the mounting bracket. Double-check that it is securely fastened and will not move or become loose.
It’s important to ensure that the camera is mounted securely to prevent any accidental falls or damage. Take your time to properly assemble the camera unit before moving on to the next step.
With the camera unit assembled, you are now ready to proceed to the next step: mounting the camera on the chosen installation location.
Step 4: Mount the Camera Unit
Now that you have assembled the camera unit, it’s time to mount it in the chosen installation location. Follow these steps to ensure a secure and stable mount:
- Mark the mounting holes: Place the camera unit against the wall or surface where you intend to mount it. Use a pencil or marker to mark the positions of the mounting holes on the wall.
- Drill the holes: With the mounting hole positions marked, use an appropriate-sized drill bit to drill holes at the marked spots. Make sure to drill the holes to a sufficient depth to securely anchor the screws.
- Insert the anchors: Place plastic anchors or wall plugs into the drilled holes. These anchors will provide additional support and ensure that the screws hold firmly in place.
- Secure the mounting bracket: Align the mounting bracket with the drilled holes and insert the screws through the bracket and into the anchors. Use a screwdriver or power drill to tighten the screws, ensuring that the bracket is securely fastened to the wall or surface.
- Attach the camera unit: With the mounting bracket in place, carefully attach the camera unit to the bracket. Ensure that it is secured tightly and does not wobble or move.
Double-check that the camera unit is properly mounted and stable. Give it a gentle tug to confirm that it is securely attached and will not come loose. It’s important to have a sturdy mount to ensure optimal positioning and prevent any accidents.
Now that the camera unit is securely mounted, you can move on to the next step: connecting the camera to power.
Read more: How To Install A Vivint Outdoor Camera
Step 5: Connect the Camera to Power
Now that your Vimtag outdoor camera is securely mounted, it’s time to connect it to a power source. Follow these steps to ensure a proper power connection:
- Locate a nearby power outlet: Identify the nearest power outlet to the installed camera. It’s essential to have a power source in close proximity to ensure uninterrupted operation.
- Plug in the power adapter: Connect one end of the power adapter to the camera unit’s power port. Ensure that it is securely plugged in.
- Plug the power adapter into the outlet: Insert the other end of the power adapter into the nearby power outlet. Make sure the connection is secure and that the adapter is properly inserted.
- Verify power supply: Check the LED indicator on the camera unit to confirm that it is receiving power. The LED should light up, indicating a successful power connection.
It’s important to note that you should use the power adapter provided by Vimtag to ensure compatibility and optimal performance. Using a different adapter may result in subpar performance or potential damage to the camera unit.
Once you have connected the camera to a power source, you can proceed to the next step: connecting the camera to your network.
When installing Vimtag outdoor cameras, make sure to choose a location with a strong Wi-Fi signal and a clear view of the area you want to monitor. This will ensure a reliable connection and optimal coverage.
Step 6: Connect the Camera to Your Network
Connecting your Vimtag outdoor camera to your network is essential for accessing the live feed and controlling the camera remotely. Follow these steps to establish a network connection:
- Locate your router: Identify the location of your wireless router, as this is where you will need to connect the camera.
- Connect the Ethernet cable: Plug one end of the Ethernet cable into the camera unit’s Ethernet port and the other end into an available LAN port on your router. This temporary wired connection will allow you to configure the camera’s Wi-Fi settings.
- Power on the camera: Ensure that the camera is powered on and connected to the network through the Ethernet cable.
- Configure Wi-Fi settings: Open a web browser on your computer or mobile device and enter the default IP address of the camera (typically provided in the user manual or Quick Start Guide). This will open the camera’s interface for configuration.
- Follow the setup wizard: The camera’s interface will guide you through the process of connecting to your Wi-Fi network. Enter your Wi-Fi network name (SSID) and password when prompted. The camera will then disconnect from the Ethernet cable and establish a wireless connection to your network.
- Verify network connection: Once the camera has successfully connected to your Wi-Fi network, disconnect the Ethernet cable and ensure that you can still access the camera’s interface wirelessly. Test the connection by accessing the live feed or adjusting the camera’s settings.
It’s important to note that the camera’s Wi-Fi range should be within the range of your router for a stable and reliable connection. If the camera is located too far from the router, consider using Wi-Fi extenders or relocating the router for better signal strength.
With the camera successfully connected to your network, you can move on to the next step: downloading and installing the Vimtag app.
Step 7: Download and Install the Vimtag App
To fully utilize the features and functionalities of your Vimtag outdoor camera, you’ll need to download and install the Vimtag app on your mobile device. Follow these steps to get the app up and running:
- Device compatibility: Ensure that your mobile device is compatible with the Vimtag app. The app is available for both iOS and Android devices, so check the respective app stores (App Store for iOS or Google Play Store for Android) to download the app.
- Search and download: Open the app store on your mobile device and search for “Vimtag” in the search bar. Locate the official Vimtag app in the search results and download it to your device.
- Install the app: Once the app is downloaded, tap on the installation file to begin the installation process. Follow the on-screen instructions to complete the installation.
- Create an account: Launch the Vimtag app on your mobile device and create an account. Provide the required information, such as your email address and password, to set up your Vimtag account.
- Log in to the app: After creating an account, log in to the Vimtag app using the credentials you just created.
Now that the Vimtag app is installed and you’re logged in, you’ll be able to access the camera’s live feed, adjust settings, and receive alerts and notifications on your mobile device. The app provides a user-friendly interface for controlling and monitoring your Vimtag outdoor camera from anywhere with an internet connection.
With the app successfully installed, you’re ready to move on to the next step: setting up the camera in the app.
Step 8: Set Up the Camera in the App
Now that you have installed the Vimtag app, it’s time to set up your camera within the app. Follow these steps to complete the camera setup:
- Launch the Vimtag app: Open the Vimtag app on your mobile device and log in using your account credentials.
- Add a new camera: In the app, navigate to the camera settings or camera management section. Select the option to add a new camera.
- Scan the QR code or enter the camera details: Follow the instructions in the app to add your camera. You may need to scan the QR code on the camera unit or manually enter the camera’s serial number or IP address.
- Configure camera settings: Once the camera is successfully added, you can customize the settings according to your preferences. This may include setting up motion detection, adjusting video quality, enabling night vision, and more. Explore the app’s interface to access and configure these settings.
- Save and apply changes: After configuring the camera settings, make sure to save and apply the changes within the app.
Once you have completed the camera setup in the app, you should be able to view the live feed from your Vimtag outdoor camera, receive alerts and notifications, and control various camera functions directly from your mobile device.
With the camera successfully set up in the app, you can now proceed to the next step: configuring camera settings.
Read more: How To Install Blink Outdoor Cameras
Step 9: Configure Camera Settings
Configuring the camera settings in the Vimtag app allows you to personalize your camera’s functionality and optimize its performance. Follow these steps to configure the camera settings:
- Access camera settings: Open the Vimtag app on your mobile device and navigate to the camera’s settings section within the app.
- Video quality: Adjust the video quality settings based on your preference and available network bandwidth. Higher video quality settings may result in increased data usage.
- Motion detection: Enable or adjust the motion detection settings to receive alerts and notifications when the camera detects any movement in the monitored area. Fine-tune the sensitivity level to minimize false alarms.
- Night vision: If your Vimtag outdoor camera has night vision capabilities, configure the night vision settings accordingly. Adjust the infrared settings to ensure optimal visibility in low-light or dark conditions.
- Recording options: Explore the recording options in the app to set up continuous or scheduled recording. You may also have the option to enable motion-triggered recording.
- Storage and cloud services: If available, configure the storage and cloud services settings. Choose whether to store video footage locally on an SD card or utilize cloud storage for backup and remote access of recorded videos.
- Privacy settings: Consider any privacy concerns and adjust the camera’s privacy settings accordingly. You may have the option to disable audio recording, blur or mask certain areas from the camera’s view, or enable privacy mode when needed.
Take some time to explore the available settings in the Vimtag app to customize your camera experience to your liking. Remember to save and apply any changes you make to the settings to ensure they take effect.
With the camera settings configured, you’re almost ready to start using your Vimtag outdoor camera. The next step is to test the camera’s functionality to ensure everything is working as expected.
Step 10: Test the Camera
Now that you have completed the installation, setup, and configuration of your Vimtag outdoor camera, it’s crucial to test its functionality to ensure that everything is working correctly. Follow these steps to test the camera:
- Ensure proper power and network connections: Double-check that the camera is securely connected to a power source and that it has a stable network connection.
- Access the live feed: Open the Vimtag app on your mobile device and navigate to the camera’s live feed section. Check if the camera’s live feed is displayed properly, with clear and smooth video streaming.
- Adjust camera angles and zoom: Test the camera’s pan, tilt, and zoom capabilities, if applicable. Ensure that you can adjust the camera’s view and zoom in or out as needed to capture the desired surveillance area.
- Test motion detection: Move within the camera’s field of view to test the motion detection feature. Check if you receive timely alerts and notifications on your mobile device when motion is detected.
- Check night vision functionality: Verify the camera’s night vision capabilities by testing it in low-light or dark conditions. Ensure that the camera switches to night vision mode automatically and provides clear images and videos.
- Test remote access: If you’re away from home, test the camera’s remote access functionality by accessing the live feed and camera settings using the Vimtag app on a different network. Ensure that you can view the live feed and control the camera remotely without any issues.
- Review recorded footage: If you have enabled recording, review the recorded footage to ensure that it is captured correctly and accessible through the Vimtag app or any other desired method.
By conducting these tests, you can verify that your Vimtag outdoor camera is functioning properly and can fulfill your home security and surveillance needs. If you encounter any issues during the testing phase, refer to the user manual or contact Vimtag’s customer support for assistance.
Congratulations! You have successfully installed, set up, and tested your Vimtag outdoor camera. With the camera in place, you can now enjoy enhanced security and peace of mind knowing that your property is monitored and protected.
Remember to periodically check the camera’s functionality, perform maintenance tasks such as cleaning the lens, and update firmware or software as needed. This will ensure that your Vimtag outdoor camera continues to perform optimally over time.
Thank you for choosing Vimtag to enhance your home security and surveillance. Stay safe and enjoy the benefits of your new outdoor camera!
Conclusion
Installing an outdoor security camera, such as the Vimtag outdoor camera, is a crucial step in enhancing the security and surveillance of your home. With the step-by-step guide provided in this article, you can confidently install, configure, and test your Vimtag outdoor camera to ensure optimal performance.
We started by checking the package contents to ensure that all necessary components were included. Then, we guided you through choosing the ideal installation location, considering factors such as security coverage, height and angle, accessibility, and protection from the elements.
We then proceeded to assemble the camera unit and mount it securely to the chosen location. Ensuring a stable and sturdy mount is essential for capturing clear and reliable surveillance footage.
Next, we connected the camera to power and your network. Establishing a proper power connection and connecting the camera to your Wi-Fi network allows for remote access, live feeds, and notifications via the Vimtag app.
With the Vimtag app installed on your mobile device, we guided you through the process of setting up the camera within the app and configuring various camera settings. This customization allows you to tailor the camera’s functionality to meet your specific requirements.
Finally, we stressed the importance of thoroughly testing the camera’s functionality, ensuring that the live feed, motion detection, night vision, and remote access features work as intended.
By following these steps, you have successfully installed and tested your Vimtag outdoor camera, providing you with enhanced peace of mind and security for your home. Remember to periodically review and update your camera’s settings, perform necessary maintenance tasks, and stay vigilant in monitoring your surroundings.
Thank you for choosing Vimtag as your home surveillance solution. With your new outdoor camera in place, you can rest assured that you have taken a proactive step towards safeguarding your home and loved ones.
Frequently Asked Questions about How To Install Vimtag Outdoor Cameras
Was this page helpful?
At Storables.com, we guarantee accurate and reliable information. Our content, validated by Expert Board Contributors, is crafted following stringent Editorial Policies. We're committed to providing you with well-researched, expert-backed insights for all your informational needs.