Home>Home Security and Surveillance>How To Reformat Micro SD Card For Samsung Smartcam Home Surveillance
Home Security and Surveillance
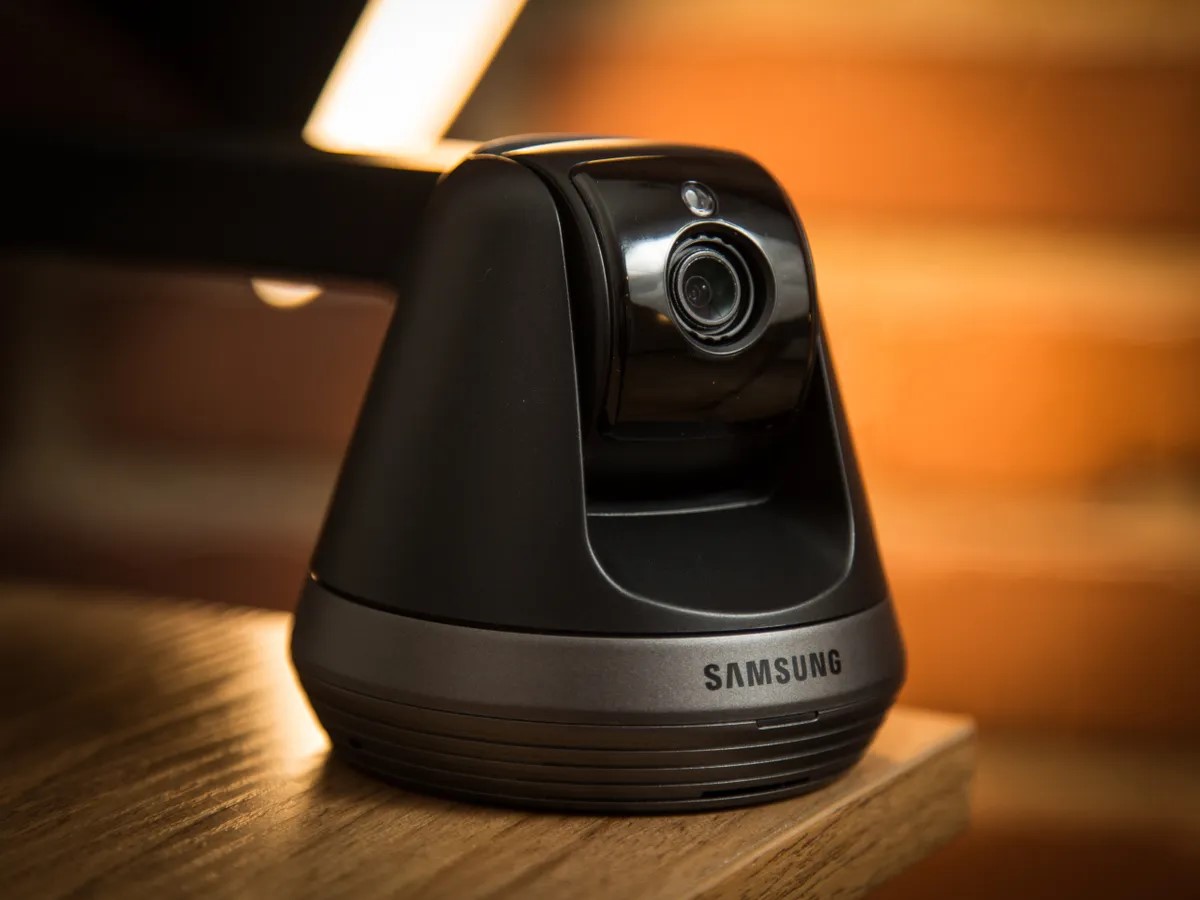
How To Reformat Micro SD Card For Samsung Smartcam Home Surveillance
Modified: October 27, 2024
Learn how to reformat your Micro SD card for your Samsung Smartcam home surveillance system. Ensure optimal performance and reliability for your home security and surveillance setup.
(Many of the links in this article redirect to a specific reviewed product. Your purchase of these products through affiliate links helps to generate commission for Storables.com, at no extra cost. Learn more)
Introduction
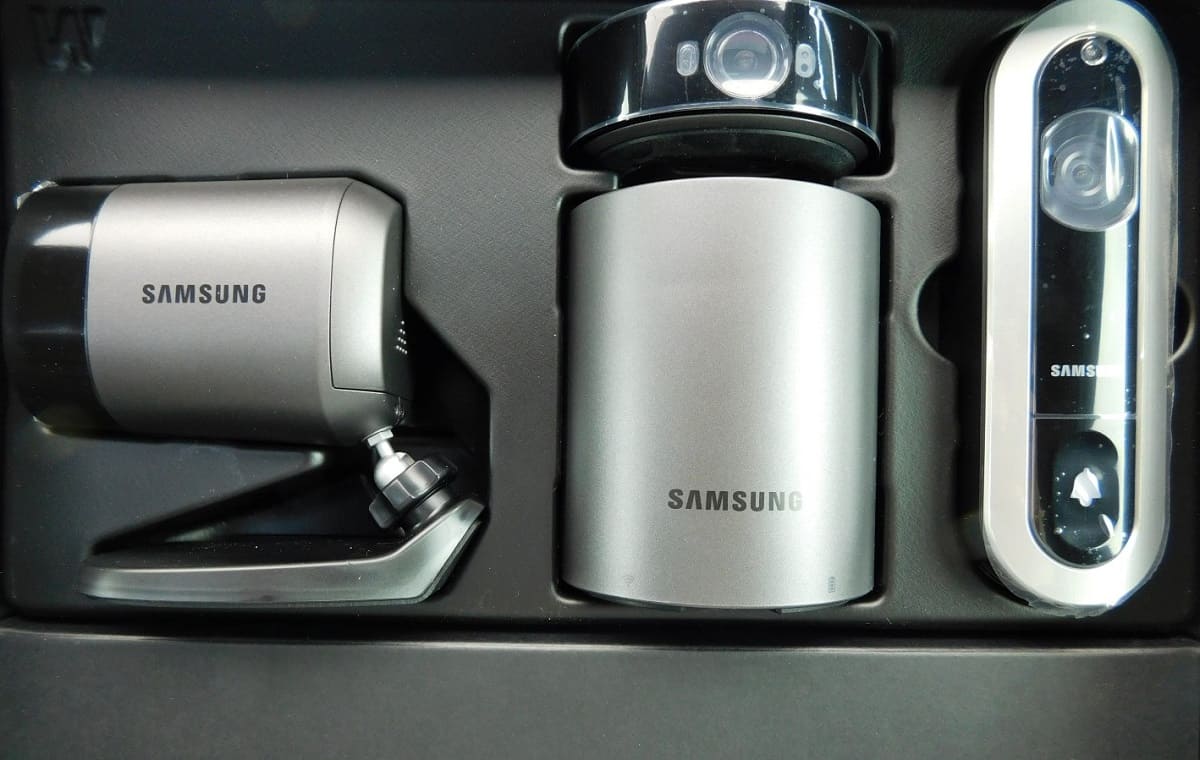
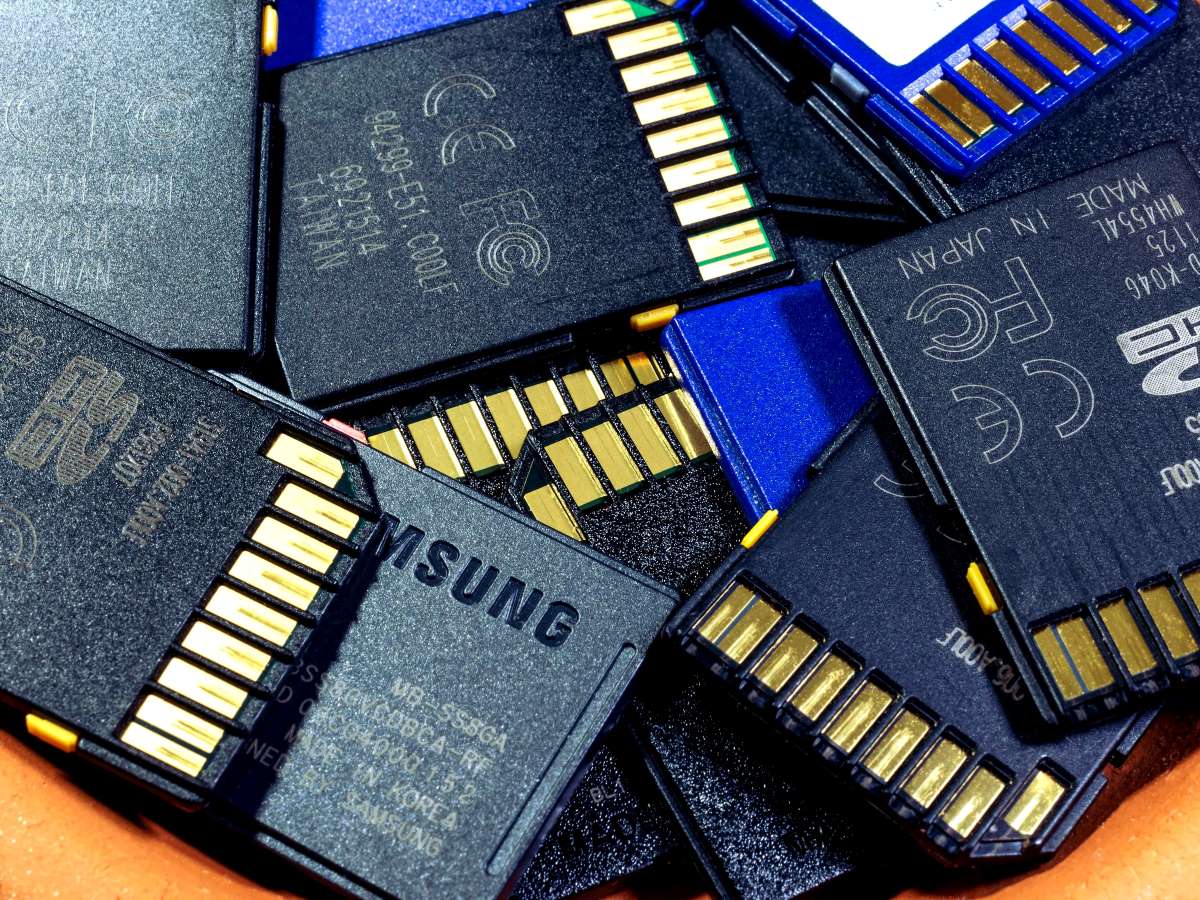
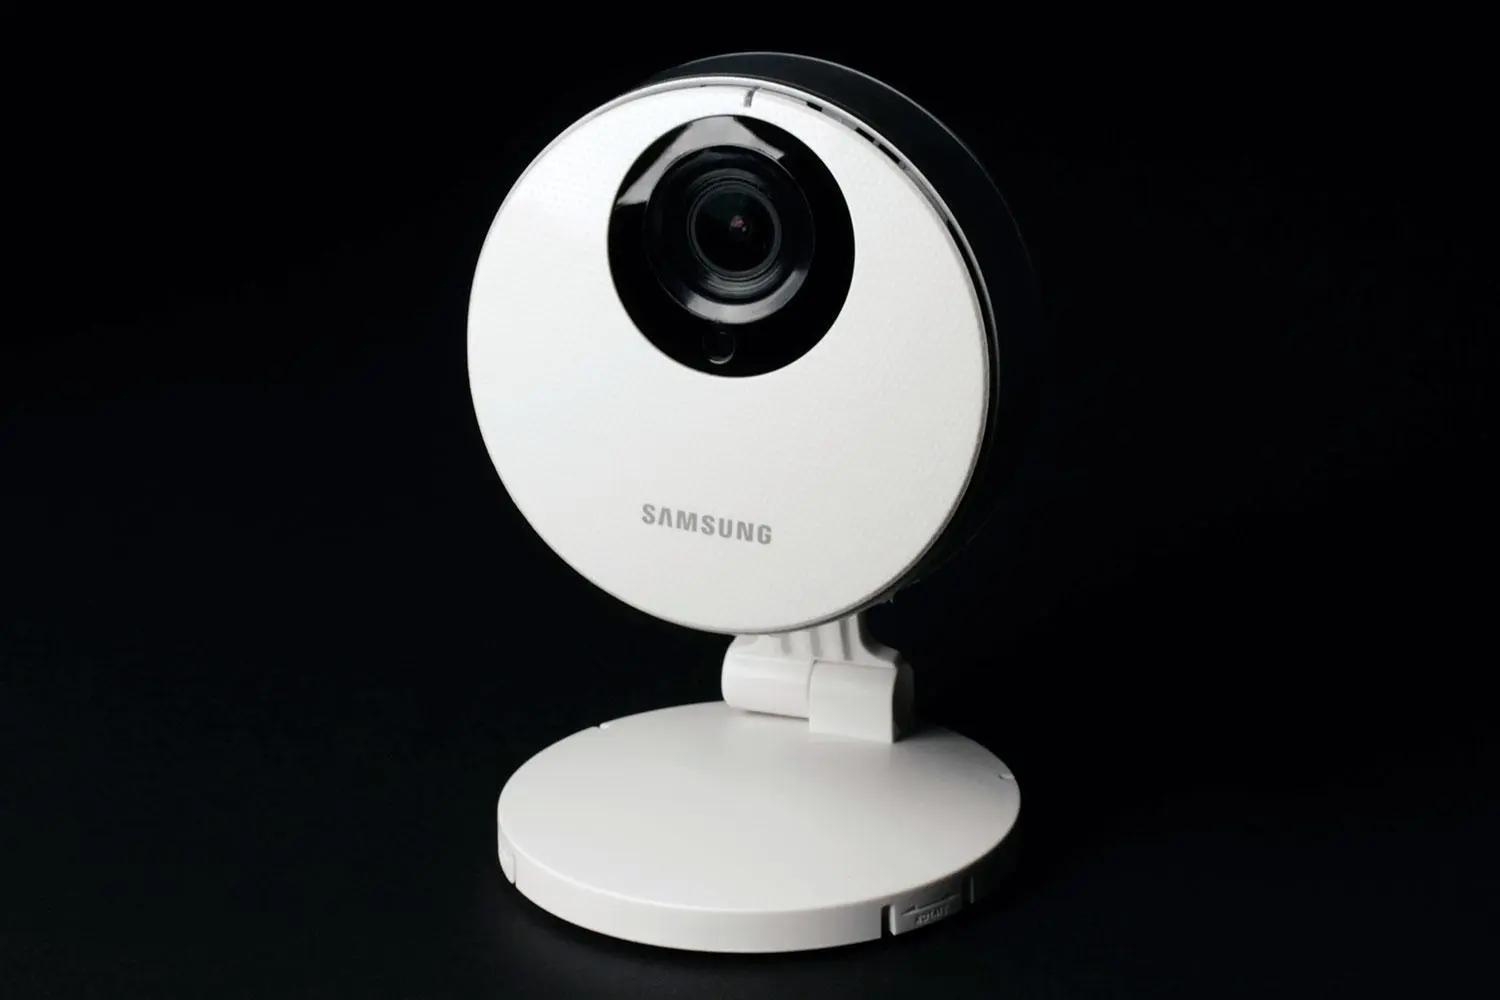
Welcome to our guide on how to reformat a micro SD card for your Samsung Smartcam home surveillance. The micro SD card is an essential component of your home surveillance system, as it stores video recordings and other data captured by your Smartcam. Over time, the SD card may become full or experience errors, necessitating the need to reformat it.
Reformatting a micro SD card is a simple process that involves erasing all existing data and configuring it to work optimally with your Smartcam. In this article, we will provide you with a step-by-step guide on how to reformat your micro SD card, ensuring that it is ready to store new recordings and operate smoothly.
Before we begin, please note that reformatting a micro SD card will erase all data stored on it. Therefore, it’s crucial to make a backup of any important files or data on the card before proceeding. This way, you can safely restore the data after reformatting, if needed.
To reformat your micro SD card, you will need a computer with an SD card reader and, if necessary, a USB adapter to connect the micro SD card to your computer. Additionally, ensure that you have the necessary administrative privileges on your computer to access the Disk Management tool.
Now that we have covered the basics, let’s proceed to the step-by-step guide on how to reformat your micro SD card for your Samsung Smartcam home surveillance.
Key Takeaways:
- Reformatting a micro SD card for your Samsung Smartcam home surveillance is a simple process that involves backing up data, deleting old partitions, creating a new partition, choosing a file system, and formatting the card. This ensures optimal performance and storage capacity.
- After formatting, safely eject the micro SD card from your computer and insert it into your Smartcam for uninterrupted recording and storage of surveillance footage. Regularly back up important data and follow manufacturer guidelines for usage and care to maintain optimal performance.
Step 1: Gather necessary materials
Before you can proceed with reformatting your micro SD card for your Samsung Smartcam home surveillance, you will need to gather the necessary materials. These materials include:
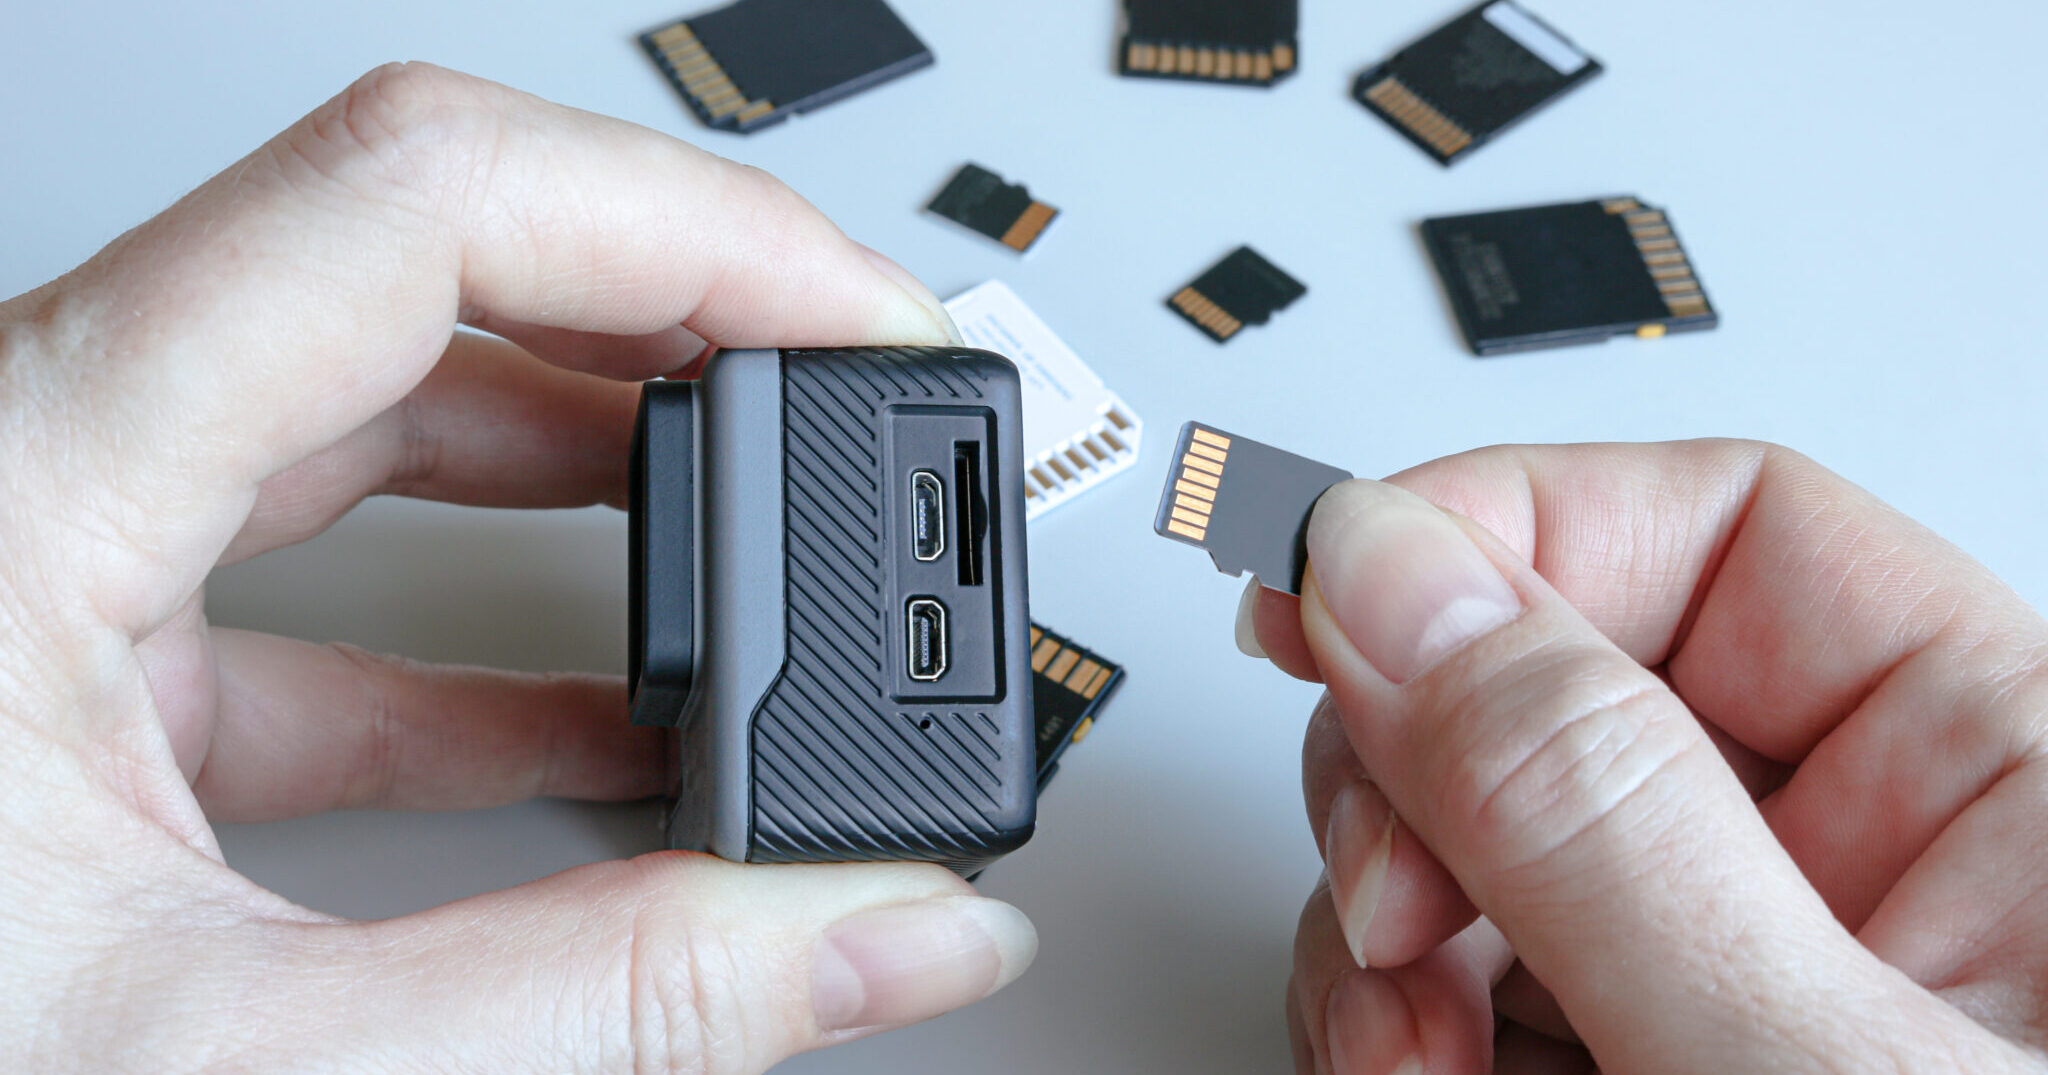
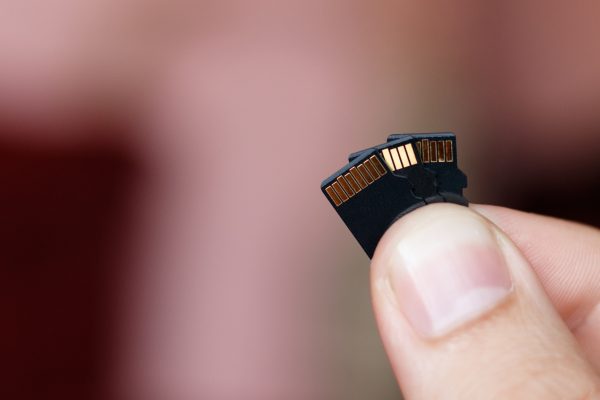
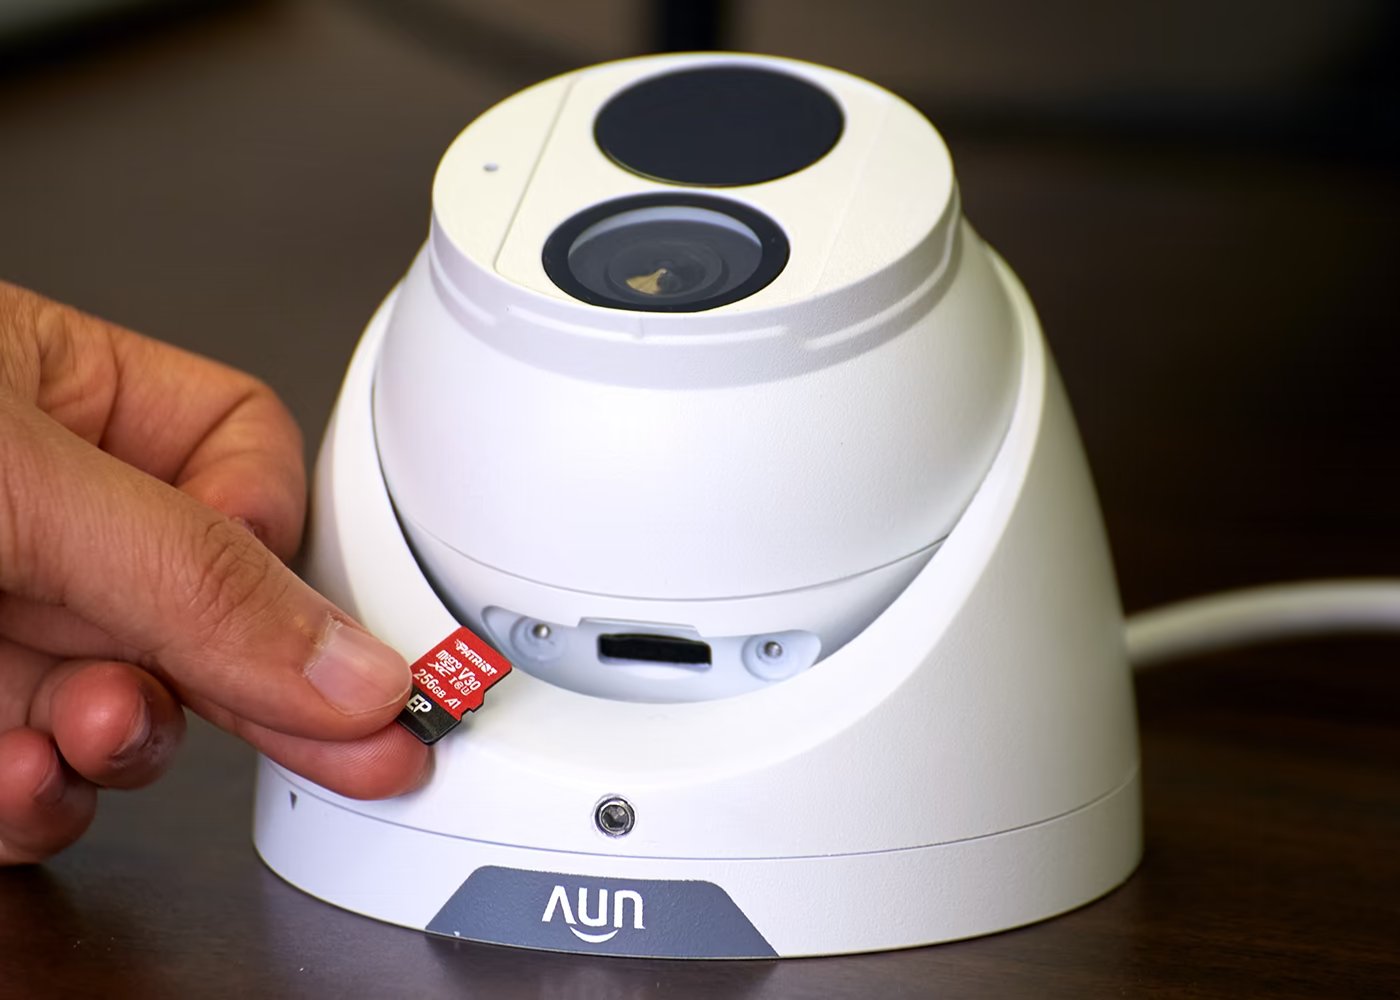
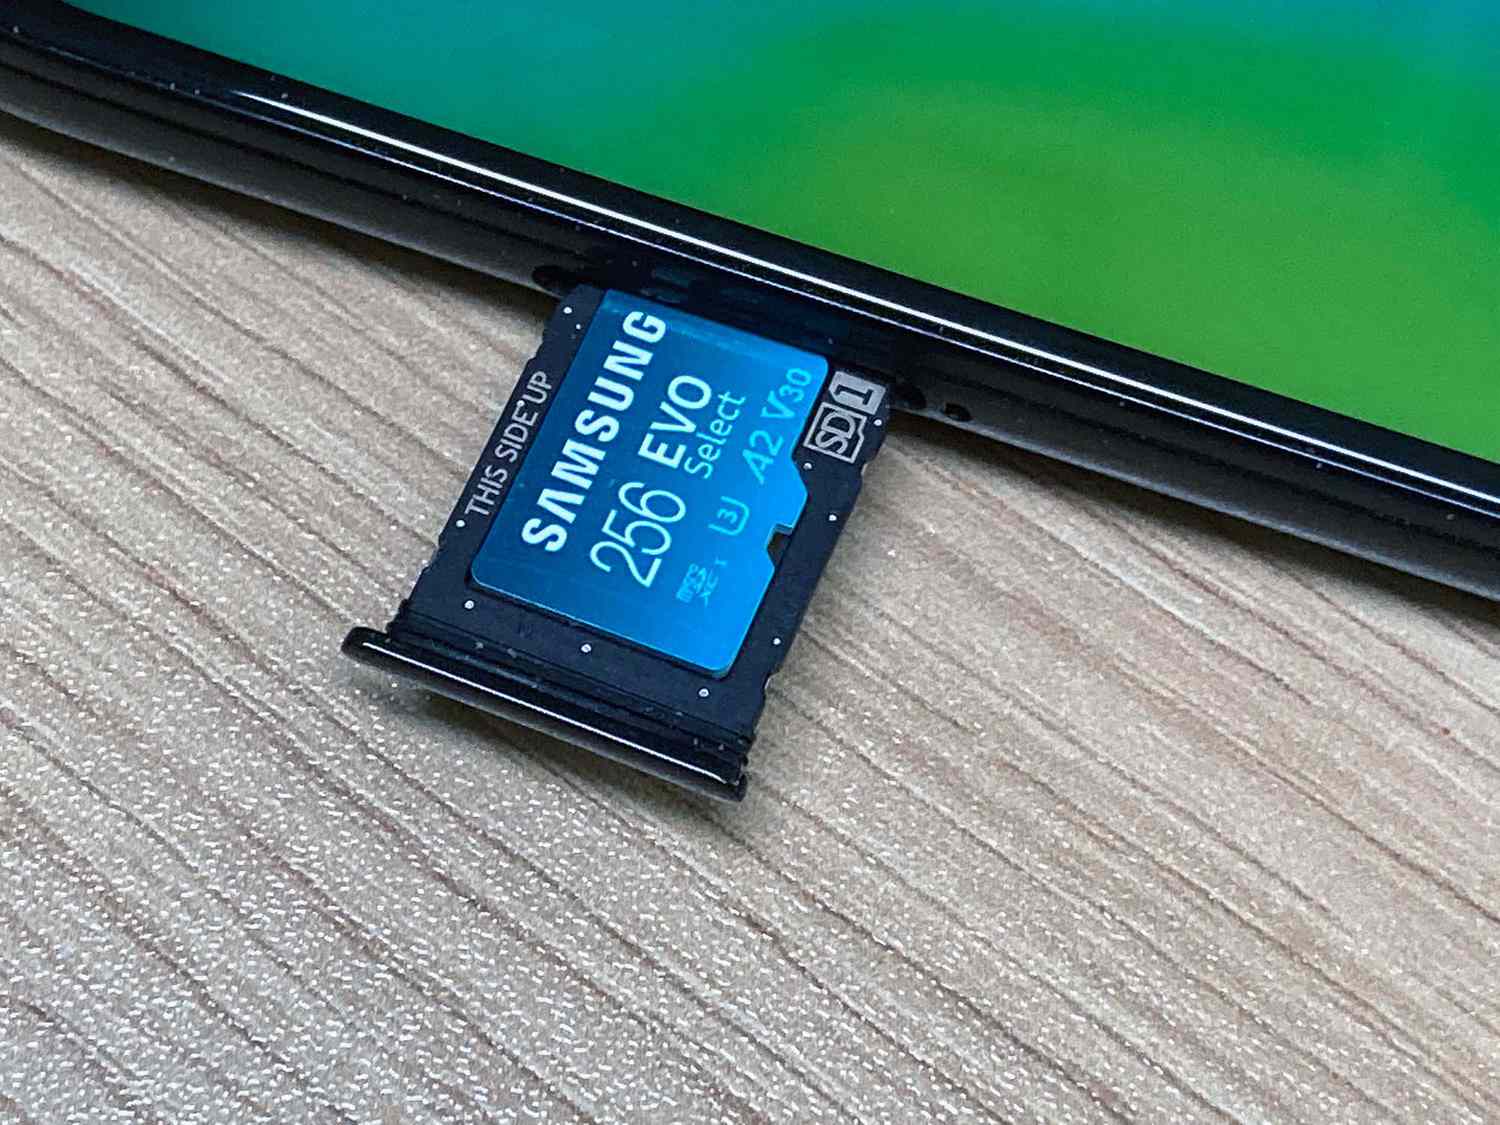
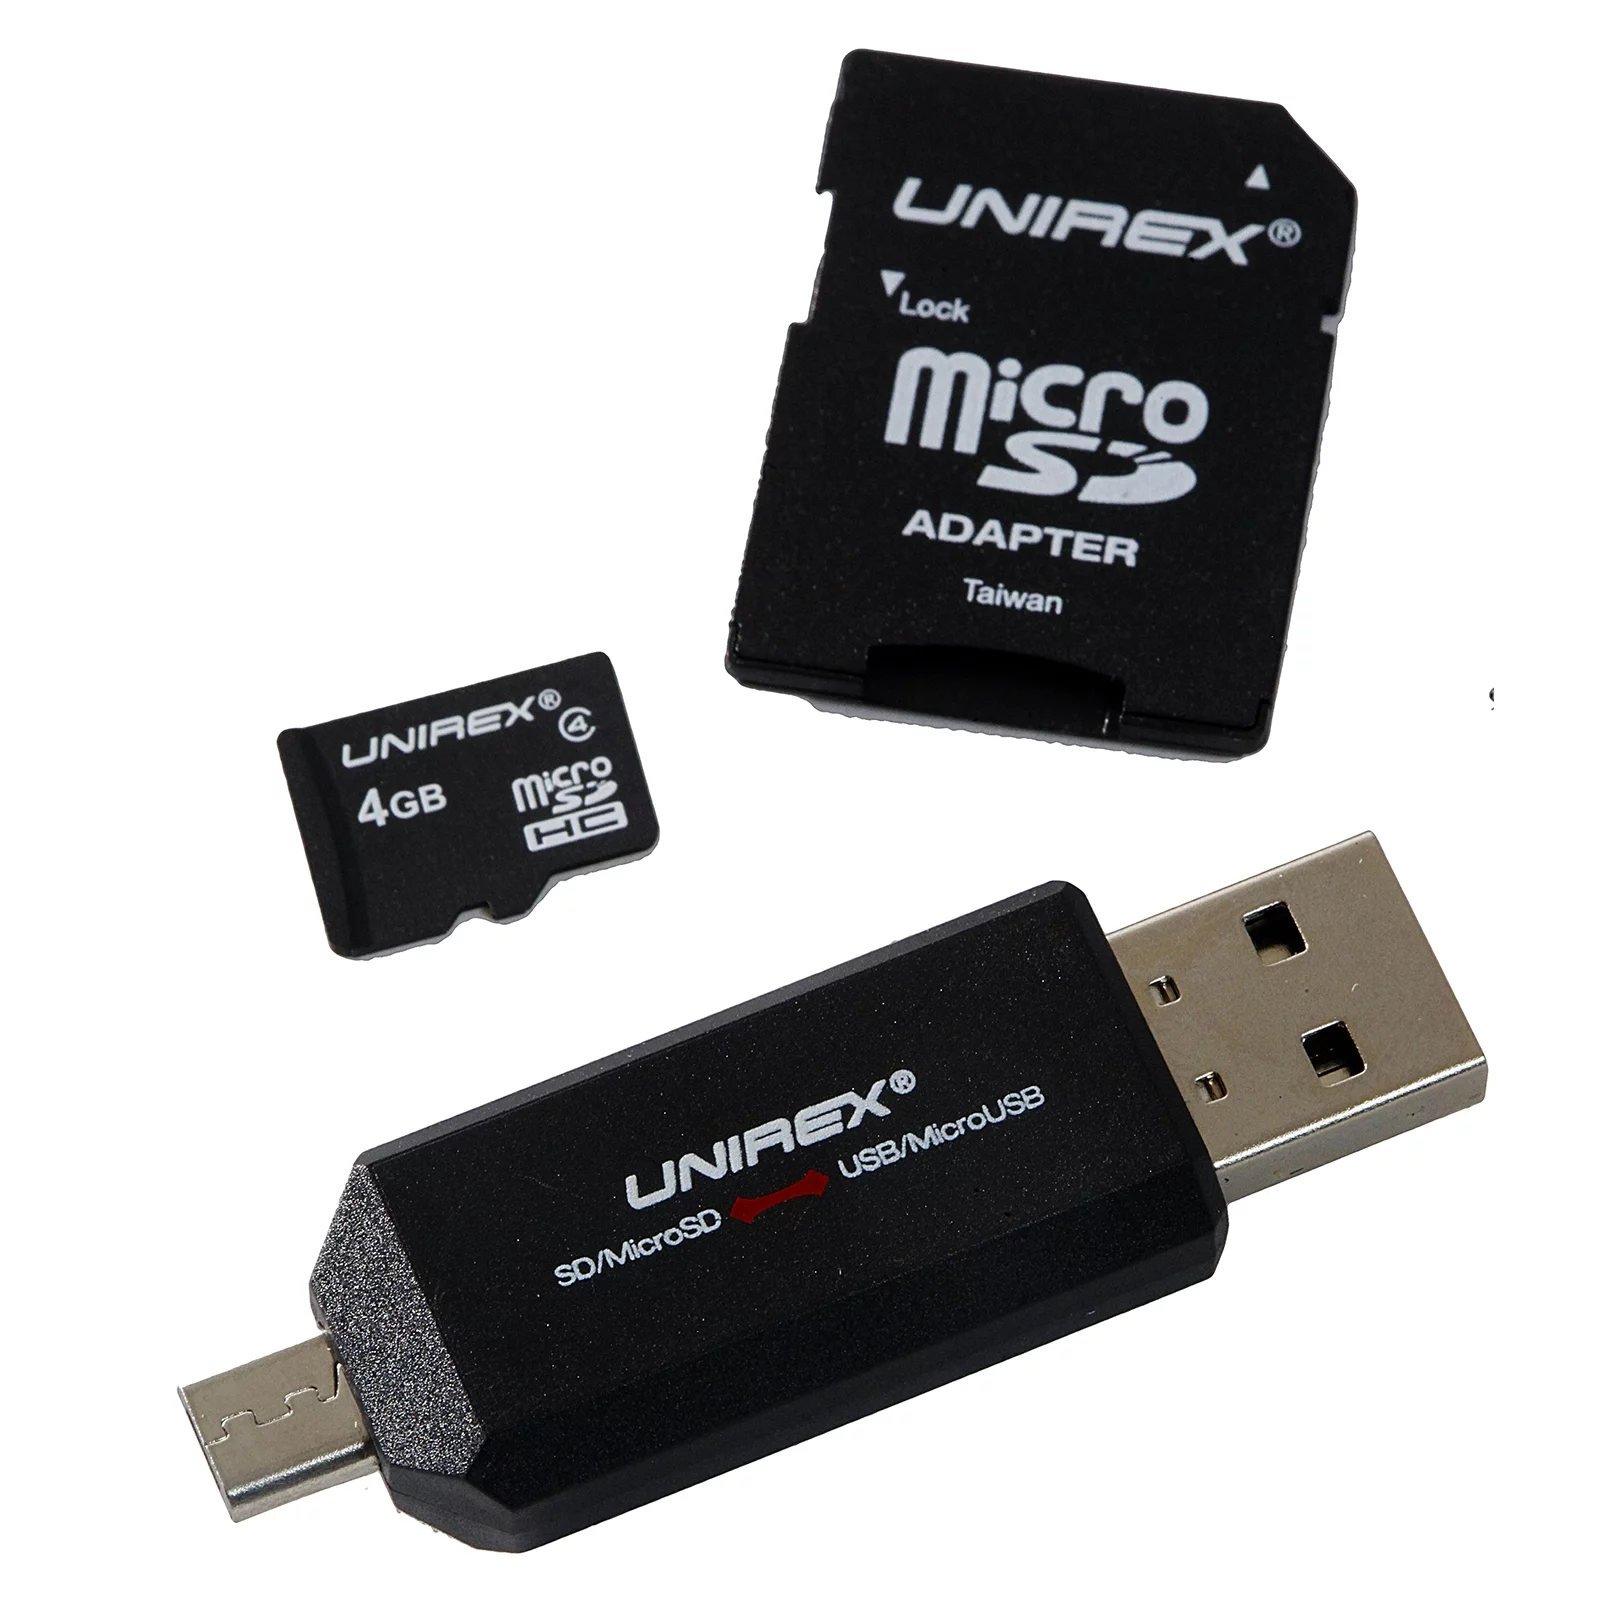
- Micro SD card: This is the memory card that is used to store video recordings and other data from your Smartcam.
- Computer with SD card reader: In order to connect the micro SD card to your computer, you will need a computer that has an SD card reader. Most modern laptops and desktop computers are equipped with built-in SD card readers. If your computer does not have a built-in reader, you can use an external USB SD card reader.
- USB adapter (if needed): If your micro SD card is too small to fit into the SD card reader slot on your computer, you will need a USB adapter. This adapter allows you to connect the micro SD card to your computer via a USB port.
By ensuring that you have these materials on hand, you will be ready to proceed with reformatting your micro SD card and getting your Samsung Smartcam home surveillance system back up and running smoothly.
Step 2: Backup important data
Before reformatting your micro SD card for your Samsung Smartcam home surveillance, it’s crucial to back up any important files or data that are currently stored on the card. This step ensures that you don’t permanently lose any valuable recordings or other data during the reformatting process.
To backup your important data, follow these steps:
- Connect the micro SD card to your computer using the appropriate method. If you have a built-in SD card reader, insert the card directly into the reader. If you’re using a USB adapter, connect the adapter to your computer via a USB port and insert the micro SD card into the adapter.
- Open the file explorer or finder on your computer and navigate to the micro SD card. It should appear as a removable storage device.
- Locate the files or data that you want to back up. These could be recorded videos, screenshots, or any other relevant files stored on the micro SD card.
- Copy the selected files or data to a secure location on your computer’s hard drive or an external storage device. You can create a new folder specifically for the backup to keep things organized.
- Ensure that the backup process is complete and verify that the copied files are accessible and intact. This gives you peace of mind that your important data is safely stored before proceeding with the reformatting process.
By backing up your important data, you can easily restore it to the micro SD card after reformatting, if needed. With your data safely backed up to a secure location, you can now move on to the next step of reformatting your micro SD card for your Samsung Smartcam home surveillance.
Step 3: Insert the Micro SD card into the computer
Now that you have backed up your important data from the micro SD card, it’s time to insert the card into your computer. This step allows you to connect the micro SD card to your computer for the reformatting process.
Follow these steps to insert the micro SD card into your computer:
- If you have a built-in SD card reader on your computer, locate the reader slot. It is usually located on the side of your laptop or on the front or side of your desktop computer’s tower.
- If you’re using a USB adapter, connect it to an available USB port on your computer.
- Take the micro SD card and carefully insert it into the SD card reader slot or the USB adapter. Make sure it is properly aligned and inserted all the way.
- You may hear a clicking sound or feel a slight resistance when the micro SD card is fully inserted.
Once the micro SD card is inserted into the computer, it should be recognized as a removable storage device. You can verify this by opening the file explorer or finder on your computer and checking if the micro SD card appears as a new drive.
With the micro SD card successfully inserted, you are now ready to proceed with the next steps of reformatting the card for your Samsung Smartcam home surveillance.
Step 4: Open the Disk Management tool
In order to reformat your micro SD card for your Samsung Smartcam home surveillance, you will need to access the Disk Management tool on your computer. The Disk Management tool allows you to manage and reformat storage devices connected to your computer.
Follow these steps to open the Disk Management tool:
- Right-click on the Start button (Windows logo) in the bottom left corner of your computer screen. A menu will appear.
- From the menu, select “Disk Management.” This will open the Disk Management tool.
Alternatively, you can also access the Disk Management tool by using the “Run” command. Press the Windows key + R on your keyboard to open the “Run” dialog box, then type “diskmgmt.msc” and press Enter.
Once the Disk Management tool is open, you will see a list of all the storage devices connected to your computer, including the micro SD card. The list will display each device’s name, capacity, and other relevant information.
It’s important to note that the Disk Management tool is only available on Windows operating systems. If you are using a different operating system, such as macOS or Linux, you will need to use the appropriate disk utility tool to reformat your micro SD card.
Now that the Disk Management tool is open, you can proceed to the next step of locating your micro SD card in the tool and preparing it for reformatting.
Step 5: Locate the Micro SD card in Disk Management
After opening the Disk Management tool on your computer, the next step is to locate the micro SD card in the list of available disks. This process allows you to identify the micro SD card and prepare it for reformatting.
Follow these steps to locate the micro SD card in Disk Management:
- In the Disk Management window, you will see a list of all the storage devices connected to your computer. The list includes internal hard drives, external hard drives, and removable storage devices such as your micro SD card.
- Look for a disk that has a capacity similar to the size of your micro SD card. The capacity of the micro SD card is usually indicated on the packaging or in its specifications.
- The micro SD card might be listed without a drive letter or with a different name. It is essential to identify it correctly to avoid formatting the wrong device.
- Take note of the disk number or the name assigned to your micro SD card. This information will be useful in the next steps.
If you are unsure which disk corresponds to your micro SD card, you can cross-reference the disk capacity and name with the information displayed in your file explorer or finder. The capacity and name should match.
Identifying the correct micro SD card in Disk Management is crucial to ensure that you perform the reformatting process on the correct device. Once you have located your micro SD card, you can proceed to the next steps to prepare it for reformatting.
To reformat a micro SD card for a Samsung Smartcam Home Surveillance, insert the card into a computer, right-click on the card, select “Format,” choose the file system as FAT32, and click “Start.”
Step 6: Delete current partitions
To prepare your micro SD card for reformatting, you need to delete any existing partitions on the card. Deleting partitions will remove any existing file systems or data structures and allow you to start with a clean slate.
Follow these steps to delete current partitions on the micro SD card:
- In the Disk Management tool, locate your micro SD card in the list of disks. Ensure that you have identified the correct disk based on its capacity and name.
- Right-click on the micro SD card and select “Delete Volume” or “Delete Partition” from the context menu. Be cautious and double-check that you’re performing this action on the correct disk.
- Confirm the deletion if prompted by the system. Deleting the partition will permanently erase all data on the micro SD card.
- Once the partition is deleted, you will see the space previously occupied by the partition labeled as “Unallocated.”
By deleting the current partitions, you are effectively wiping the micro SD card clean and preparing it for the reformatting process. This step ensures that any residual data or file systems are removed from the card.
Now that you have successfully deleted the current partitions on the micro SD card, you can proceed to the next steps to create a new partition and select a file system for the reformatting process.
Step 7: Create a new partition
After deleting the existing partitions on your micro SD card, the next step is to create a new partition. By creating a new partition, you will allocate a specific portion of the micro SD card for storage and prepare it for reformatting with a file system.
Follow these steps to create a new partition on your micro SD card:
- In the Disk Management tool, right-click on the “Unallocated” space on your micro SD card.
- Select “New Simple Volume” from the context menu. This will open the New Simple Volume Wizard.
- Click “Next” to proceed with the wizard.
- Specify the size for the new partition. If you want to use the full capacity of the micro SD card, just leave the default value. Alternatively, you can enter a specific size if you want to allocate only a portion of the space for the new partition.
- Click “Next” to continue.
- Choose a drive letter for the new partition or select the option to mount the partition as an empty folder in an existing NTFS folder.
- Click “Next” and then specify the file system type you want to use for the new partition. The most common file systems for micro SD cards are FAT32 and exFAT.
- Assign a volume label to the new partition, which will be the name displayed when you access the micro SD card.
- Make sure the “Perform a quick format” option is selected.
- Click “Next” and then “Finish” to complete the process of creating a new partition on your micro SD card.
By creating a new partition, you are setting up the structure for the micro SD card and preparing it for the reformatting process. This step ensures that the card is ready to be formatted with the chosen file system.
Now that you have successfully created a new partition on your micro SD card, you can proceed to the next step of selecting a file system for the reformatting process.
Step 8: Choose a file system
After creating a new partition on your micro SD card, the next step is to choose a file system for the card. The file system determines how data is stored and organized on the storage device. There are several file systems you can choose from, but the most common options for micro SD cards are FAT32 and exFAT.
Here’s how to choose a file system for your micro SD card:
- In the Disk Management tool, locate your micro SD card and the newly created partition.
- Right-click on the partition and select “Format” from the context menu. This will open the Format dialog box.
- In the File System dropdown menu, select the desired file system for your micro SD card. For compatibility with different devices, FAT32 is a widely supported file system. However, if you plan to store large files above 4GB, consider using exFAT, as it does not have the file size limitations of FAT32.
- Leave the Allocation unit size as the default value, as it is optimized for most situations.
- Enter a Volume label for your micro SD card. This will be the name displayed when you access the card.
- Make sure the “Quick Format” option is checked to speed up the formatting process.
- Double-check that you have selected the correct micro SD card and partition.
- Click “Start” to begin the formatting process.
- A warning message will appear, informing you that all data on the micro SD card will be lost. If you have already backed up your important data, click “OK” to proceed.
- Wait for the formatting process to complete. This may take a few moments, depending on the size of your micro SD card.
- Once the formatting is finished, you will see a confirmation message. Click “OK” to close the dialog box.
By choosing the appropriate file system for your micro SD card, you ensure compatibility and optimal performance with your Samsung Smartcam home surveillance and other devices.
Now that you have successfully chosen a file system for your micro SD card, you can proceed to the next step of formatting the card with the selected file system.
Step 9: Format the Micro SD card
With the file system chosen, you are now ready to format your micro SD card using the selected file system. Formatting the card will initialize the file structure and prepare it for use with your Samsung Smartcam home surveillance and other devices.
Follow the steps below to format your micro SD card:
- In the Disk Management tool, locate your micro SD card and the newly created partition.
- Right-click on the partition and select “Format” from the context menu. This will open the Format dialog box.
- Ensure that the selected file system is the one you had previously chosen, such as FAT32 or exFAT.
- Check that the Volume label is correct and represents the name you want to assign to the micro SD card.
- Make sure the “Quick Format” option is checked to speed up the formatting process.
- Double-check that you have selected the correct micro SD card and partition.
- Click “Start” to initiate the formatting process. Bear in mind that all data on the micro SD card will be permanently erased.
- Wait for the formatting process to complete. This should only take a few moments.
- Once the formatting is finished, you will see a confirmation message. Click “OK” to close the dialog box.
Formatting your micro SD card will erase all data stored on it and prepare it for use. After the formatting process is complete, your micro SD card is now ready to be inserted into your Samsung Smartcam for recording and storing surveillance footage.
Remember to avoid removing the micro SD card from the Smartcam while it is in operation, as it may cause data corruption. Safely eject the SD card using the appropriate procedure on your Smartcam or computer before removing it.
Congratulations! You have successfully formatted your micro SD card for your Samsung Smartcam home surveillance.
Now, you can proceed to insert the micro SD card into your Smartcam and enjoy uninterrupted recording and storage of your surveillance footage.
Step 10: Eject the Micro SD card
Once you have successfully formatted your micro SD card for your Samsung Smartcam home surveillance, it’s essential to follow proper procedures to safely remove or eject the card from your computer. This ensures that no data is lost and prevents potential damage to the card or the card reader.
Follow these steps to safely eject the micro SD card from your computer:
- Ensure that all file transfers or operations involving the micro SD card are complete.
- Save any open files or documents stored on the micro SD card and close any applications that may be accessing the card.
- In the Disk Management tool, close the window or go back to the main view of the tool.
- In the file explorer or finder on your computer, navigate to the micro SD card.
- Right-click on the micro SD card and select “Eject” or “Safely Remove” from the context menu. Wait for the confirmation message indicating that it is safe to remove the card.
- Once you see the confirmation message, gently remove the micro SD card from the SD card reader or the USB adapter.
It’s important to note that failing to properly eject the micro SD card from your computer may result in data corruption or damage to the card. To ensure the longevity and reliability of your micro SD card, always follow the correct ejection procedure.
Now that you have safely ejected the micro SD card from your computer, you can insert it into your Samsung Smartcam and start using it for recording and storing surveillance footage.
Congratulations! You have successfully completed all the steps necessary to reformat and prepare your micro SD card for your Samsung Smartcam home surveillance.
Remember to regularly back up your important data, keep your micro SD card clean and free from physical damage, and follow the manufacturer’s guidelines for maintenance and usage to ensure optimal performance and longevity of your micro SD card.
Enjoy your enhanced home security and monitoring with your Samsung Smartcam and formatted micro SD card!
Conclusion
In conclusion, reformatting a micro SD card for your Samsung Smartcam home surveillance is a straightforward process that ensures optimal performance and storage capacity. By following the step-by-step guide provided in this article, you can successfully reformat your micro SD card and prepare it for use with your Smartcam.
We started by gathering the necessary materials, including the micro SD card itself, a computer with an SD card reader, and a USB adapter if needed. Then, we emphasized the importance of backing up any important data from the micro SD card to a secure location to avoid permanent loss.
Next, we covered the steps required to insert the micro SD card into the computer, access the Disk Management tool, locate and delete any current partitions, and create a new partition. Then, we discussed how to choose an appropriate file system, such as FAT32 or exFAT, and format the micro SD card.
Finally, we concluded with the essential step of safely ejecting the micro SD card from the computer, ensuring its integrity and preventing data corruption. By following these steps, you can confidently reformat your micro SD card and enjoy reliable storage and recording capabilities for your Samsung Smartcam home surveillance.
Remember to keep your micro SD card properly maintained, regularly back up important data, and follow manufacturer guidelines for usage and care. Safeguarding your home security system with a well-formatted micro SD card ensures smooth and uninterrupted surveillance operations.
Thank you for reading this comprehensive guide on how to reformat a micro SD card for your Samsung Smartcam home surveillance. We hope that this article has provided you with the knowledge and confidence to successfully complete the reformatting process and optimize your home security setup.
Stay safe and enjoy the enhanced protection and peace of mind offered by your Samsung Smartcam and reformatted micro SD card!
Frequently Asked Questions about How To Reformat Micro SD Card For Samsung Smartcam Home Surveillance
Was this page helpful?
At Storables.com, we guarantee accurate and reliable information. Our content, validated by Expert Board Contributors, is crafted following stringent Editorial Policies. We're committed to providing you with well-researched, expert-backed insights for all your informational needs.