Home>Home Security and Surveillance>How To Set Up A Motion Detector
Home Security and Surveillance
How To Set Up A Motion Detector
Modified: March 6, 2024
Learn how to set up a motion detector for your home security and surveillance system. Step-by-step instructions and tips for optimal functionality.
(Many of the links in this article redirect to a specific reviewed product. Your purchase of these products through affiliate links helps to generate commission for Storables.com, at no extra cost. Learn more)
Introduction
Welcome to the world of home security and surveillance! In today’s unpredictable times, it’s crucial to take steps to protect your home and loved ones. One effective way to enhance the security of your home is by setting up a motion detector. A motion detector is a device that detects movement in its designated area and triggers an alarm or activates surveillance cameras, alerting you to any potential intruders or suspicious activity.
In this comprehensive guide, we will walk you through the process of setting up a motion detector. Whether you’re a DIY enthusiast or a beginner, we’ve got you covered. We will cover everything from gathering the necessary materials to troubleshooting common issues.
But before we dive in, let’s discuss why motion detectors are an essential component of your home security system. The primary purpose of a motion detector is to serve as a “watchful eye” when you’re not around. It adds an extra layer of protection to your home, ensuring that you are promptly alerted to any unauthorized entry or movement.
Not only can a motion detector deter potential burglars, but it can also provide peace of mind. Knowing that you have an active surveillance system in place can alleviate anxiety and allow you to feel secure within the confines of your home.
Now that we are aware of the importance of having a motion detector, let’s move on to the first step in the process – gathering the necessary materials.
Key Takeaways:
- Setting up a motion detector adds an extra layer of security to your home, providing peace of mind and alerting you to potential intruders. It’s essential to gather the right materials and choose the best location for installation.
- After setting up your motion detector, adjusting its sensitivity and range, testing its functionality, and troubleshooting common issues are crucial steps to ensure it works effectively in protecting your home and loved ones.
Read more: How To Hook Up A Motion Detector To A Alarm
Step 1: Gathering the Necessary Materials
Before you begin setting up your motion detector, it’s essential to gather all the necessary materials. Having everything you need on hand will ensure a smooth and efficient installation process. Here’s a list of the items you’ll need:
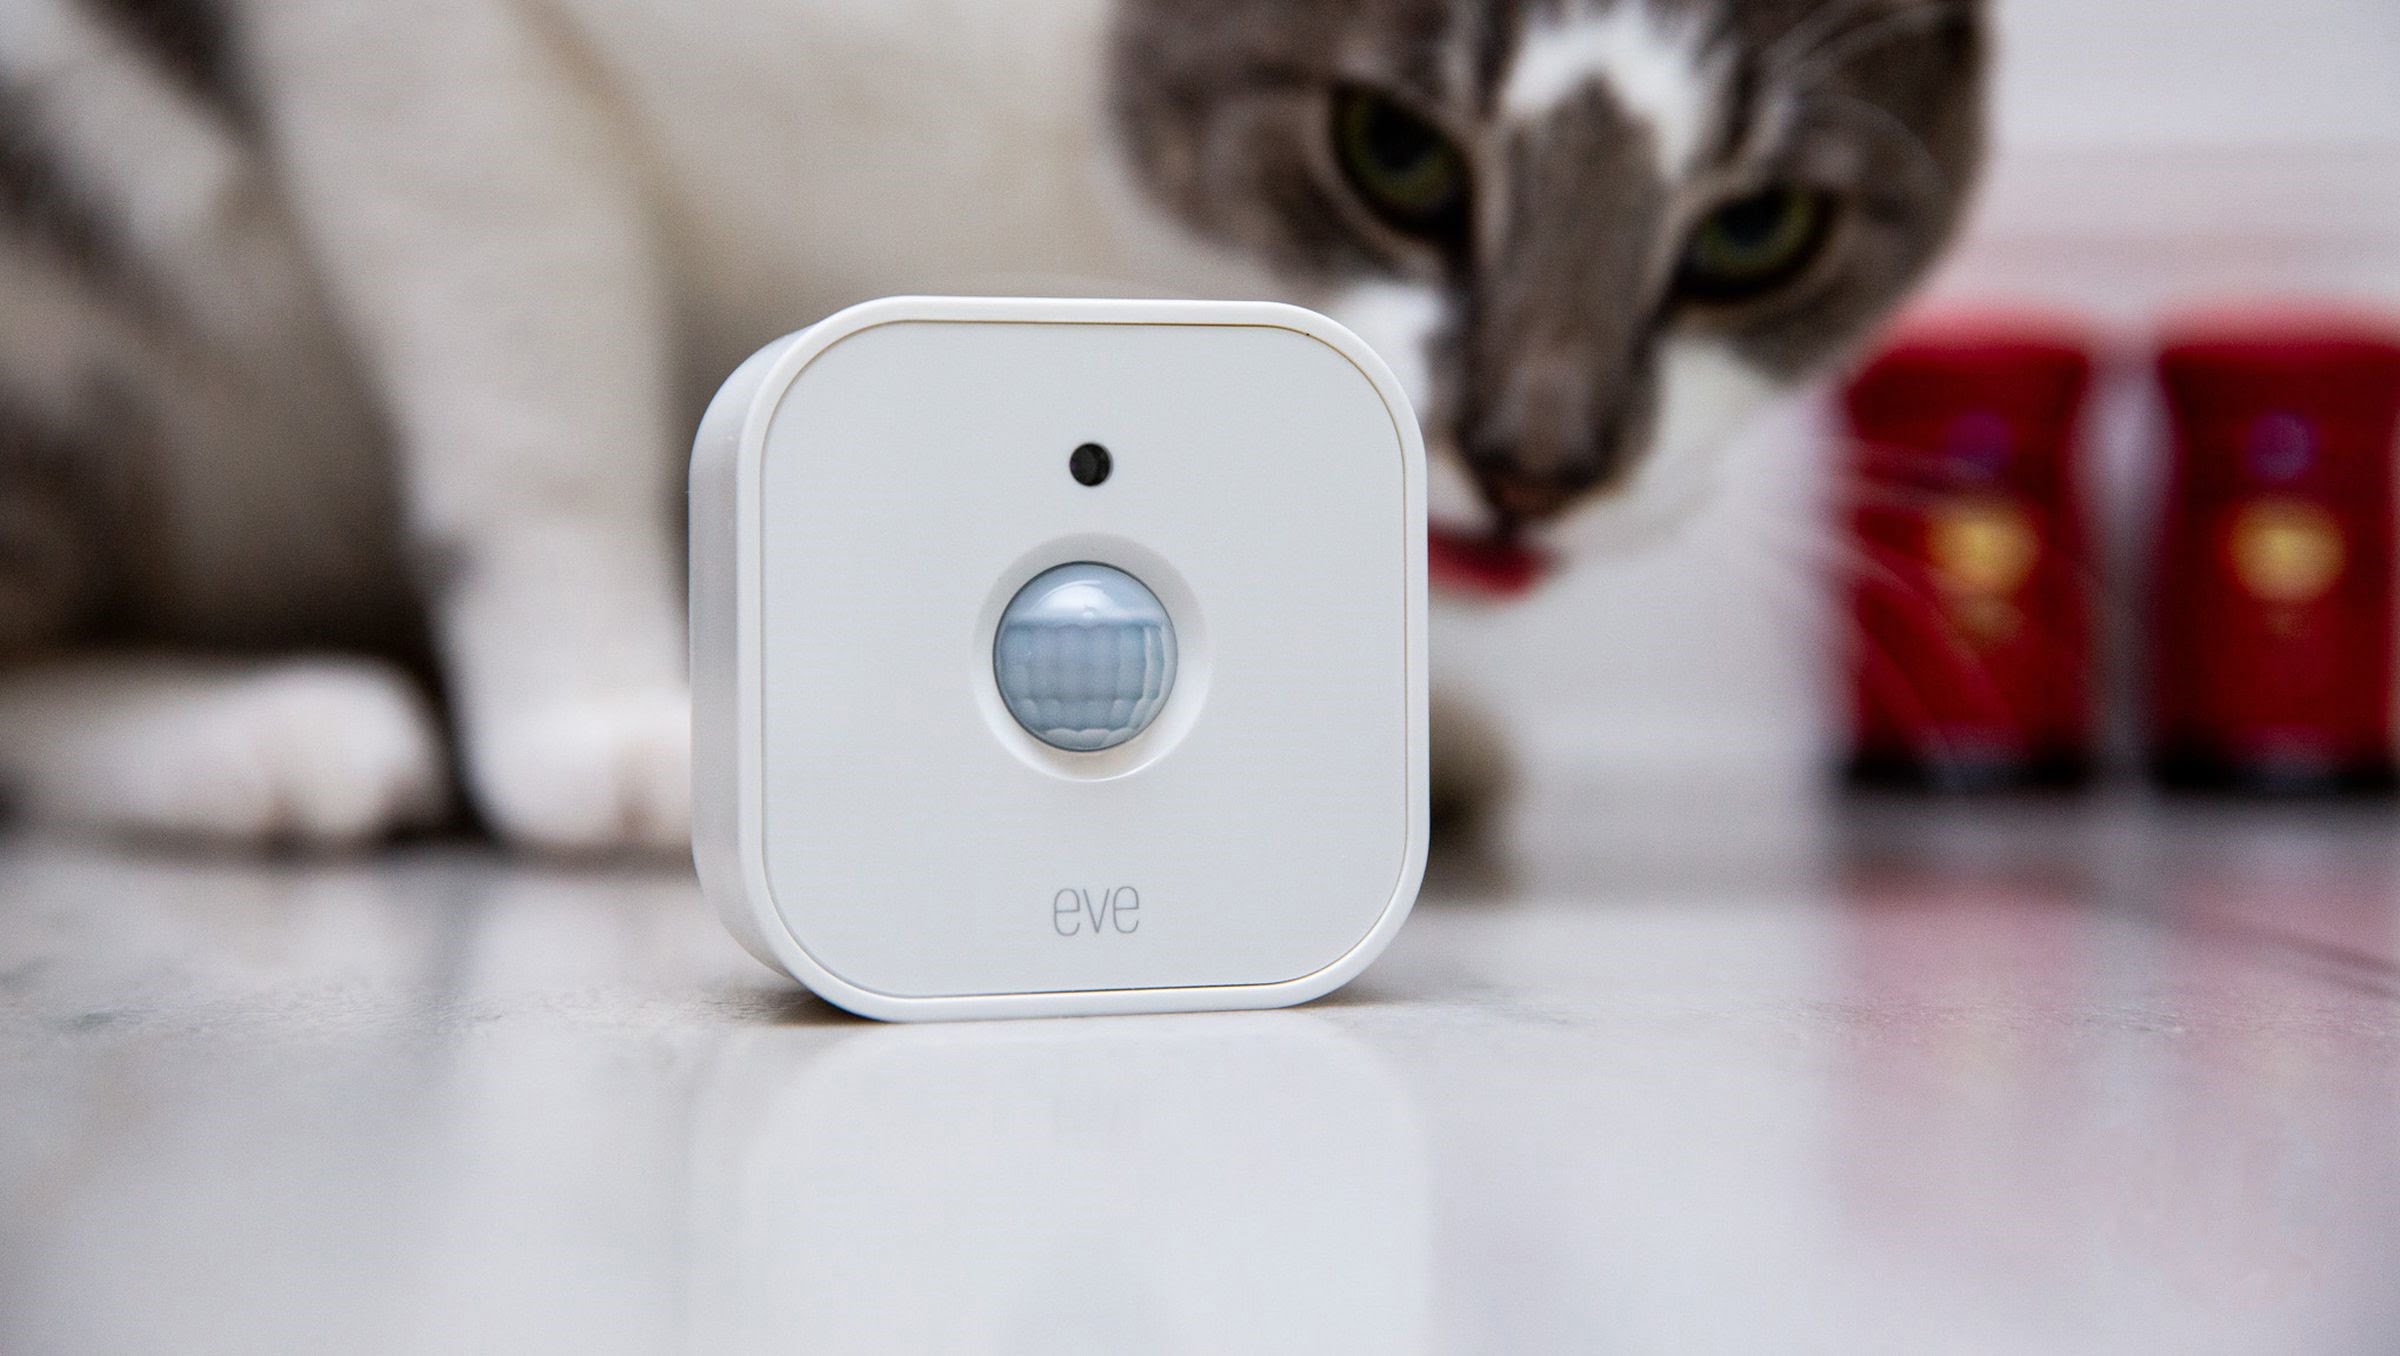
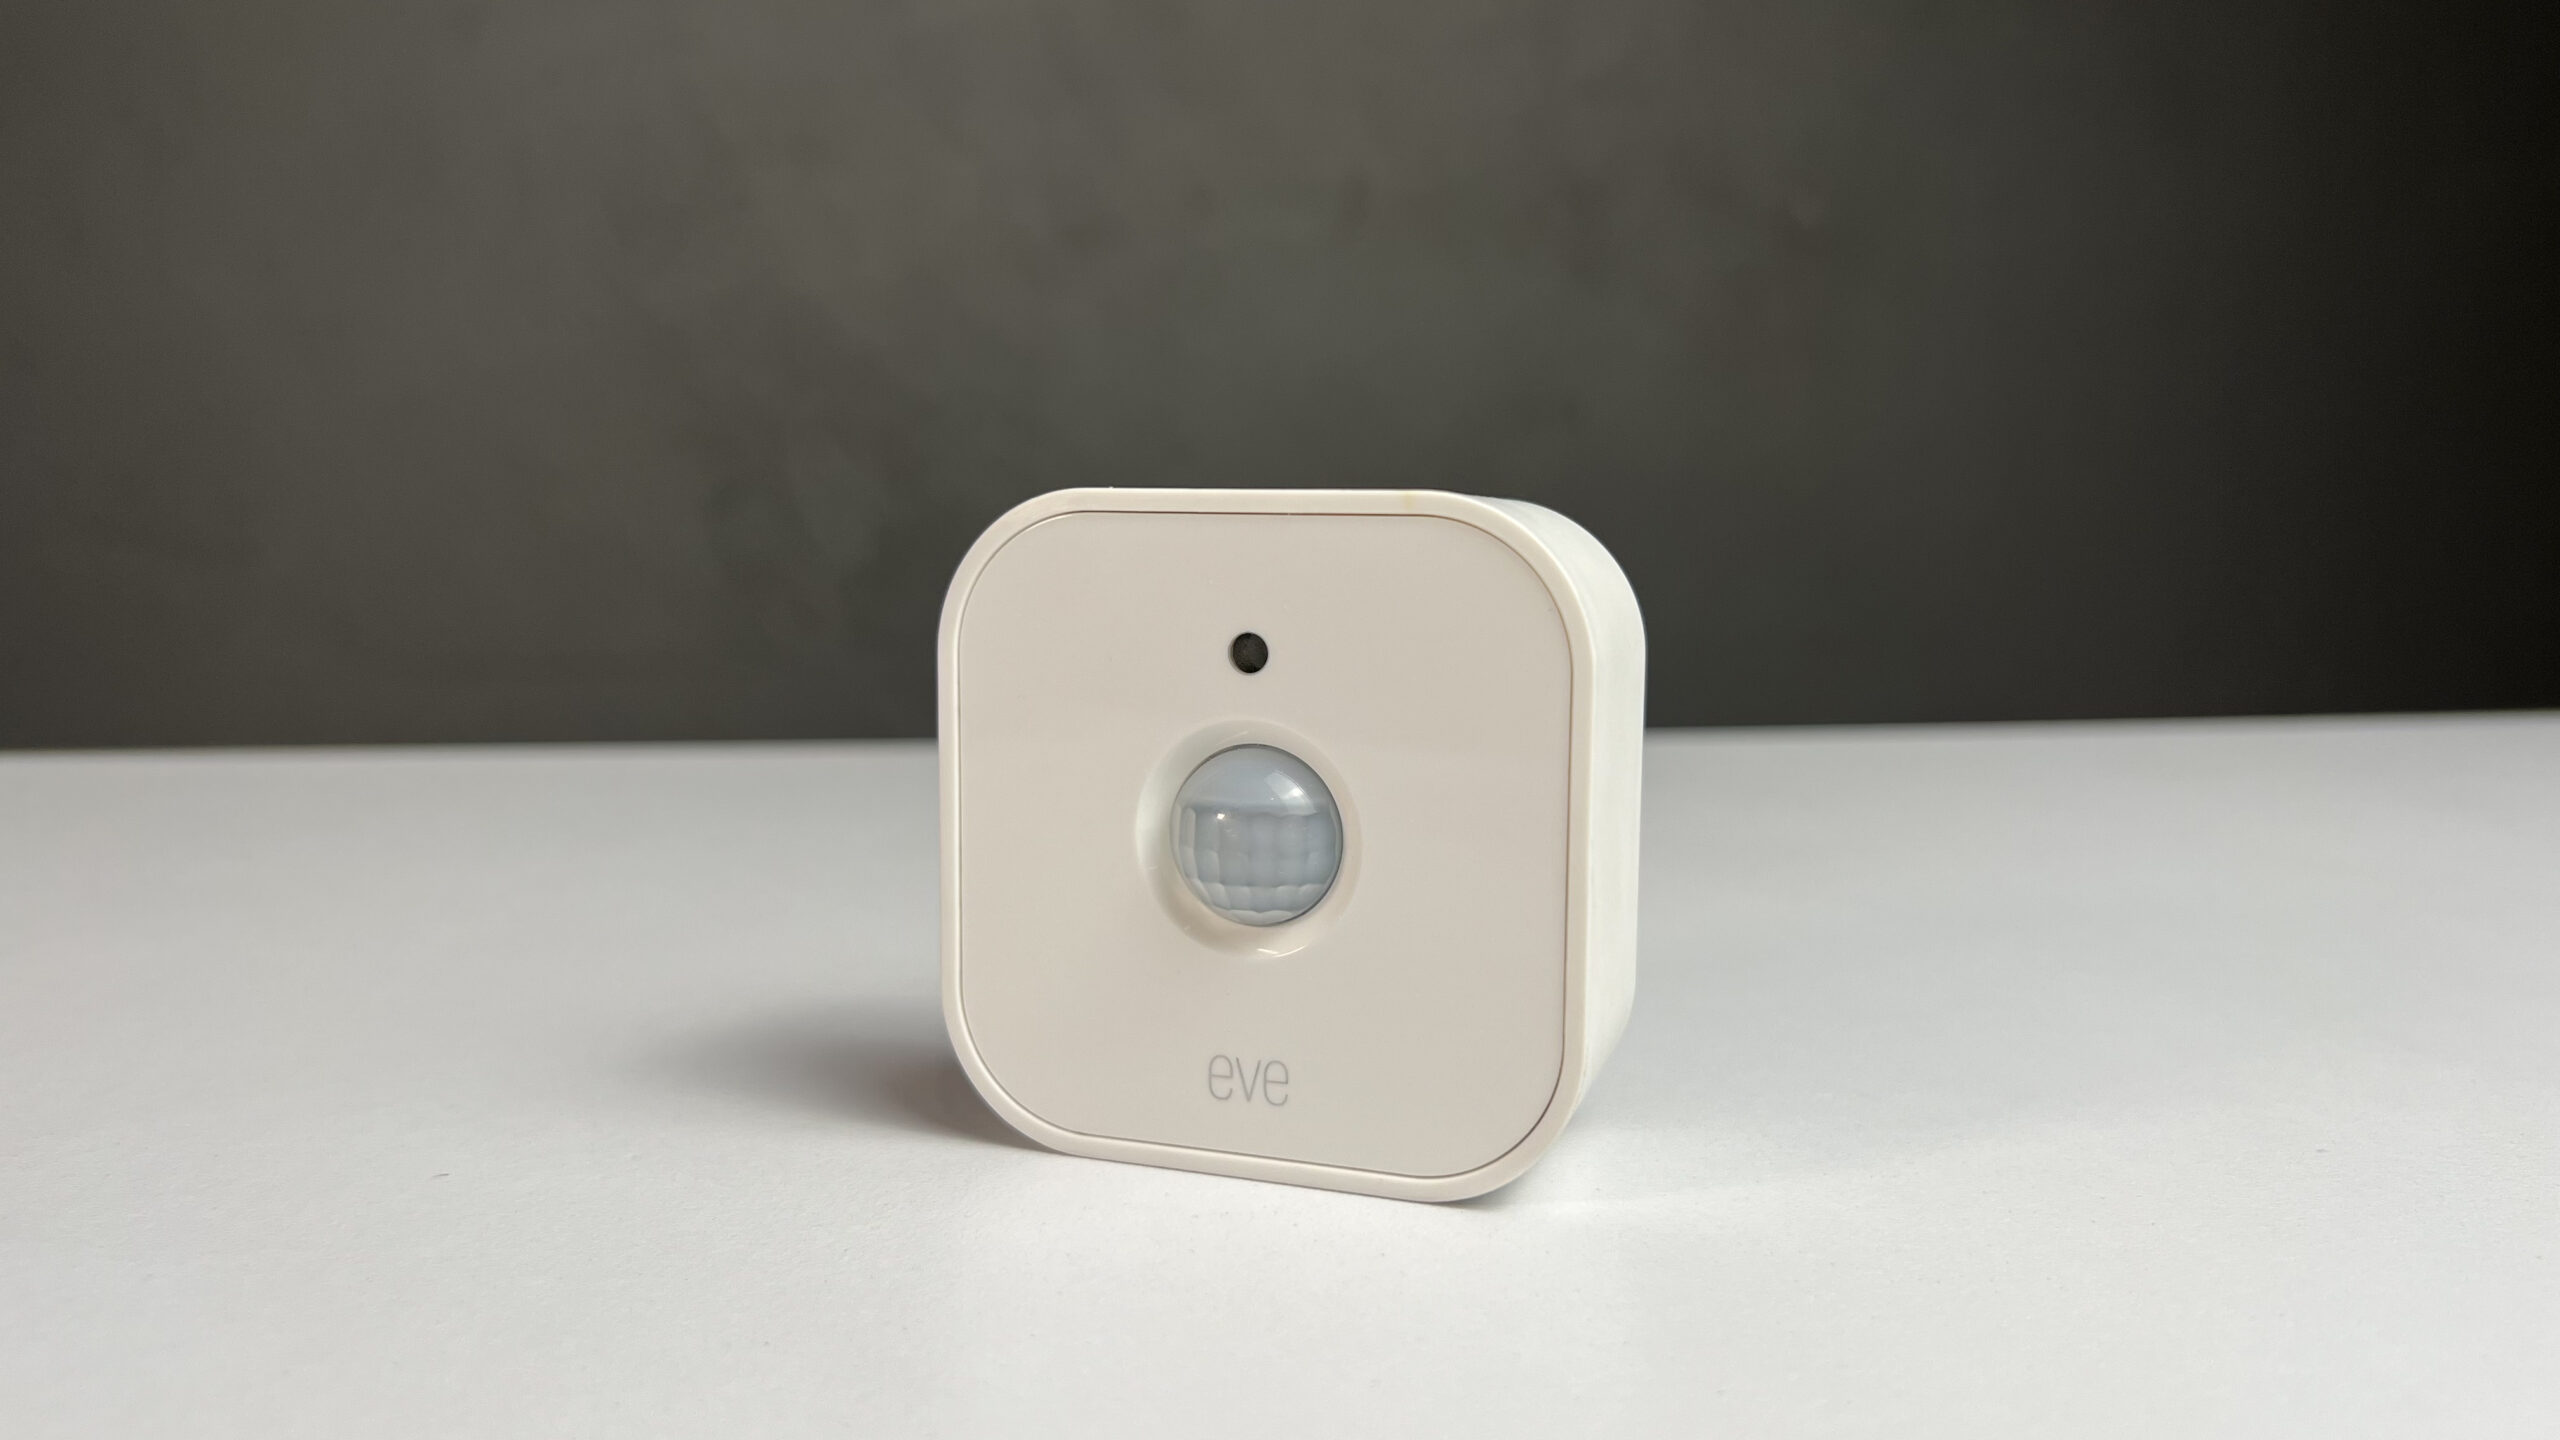
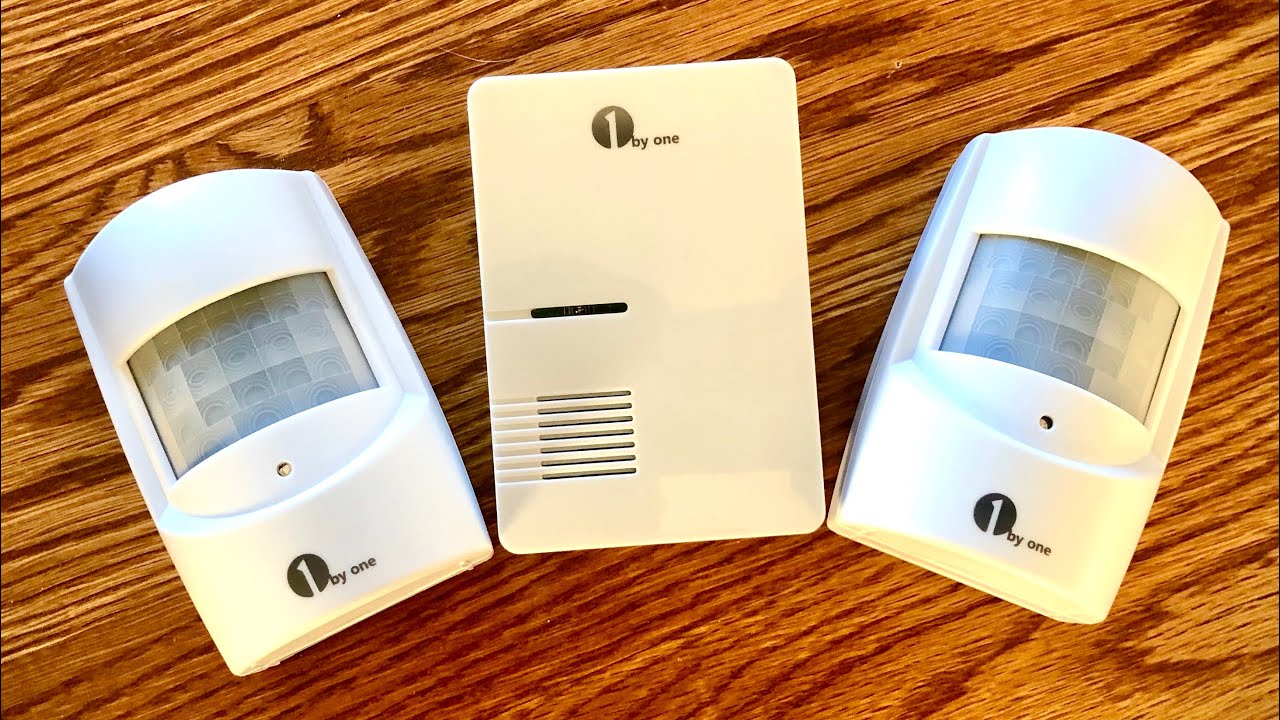
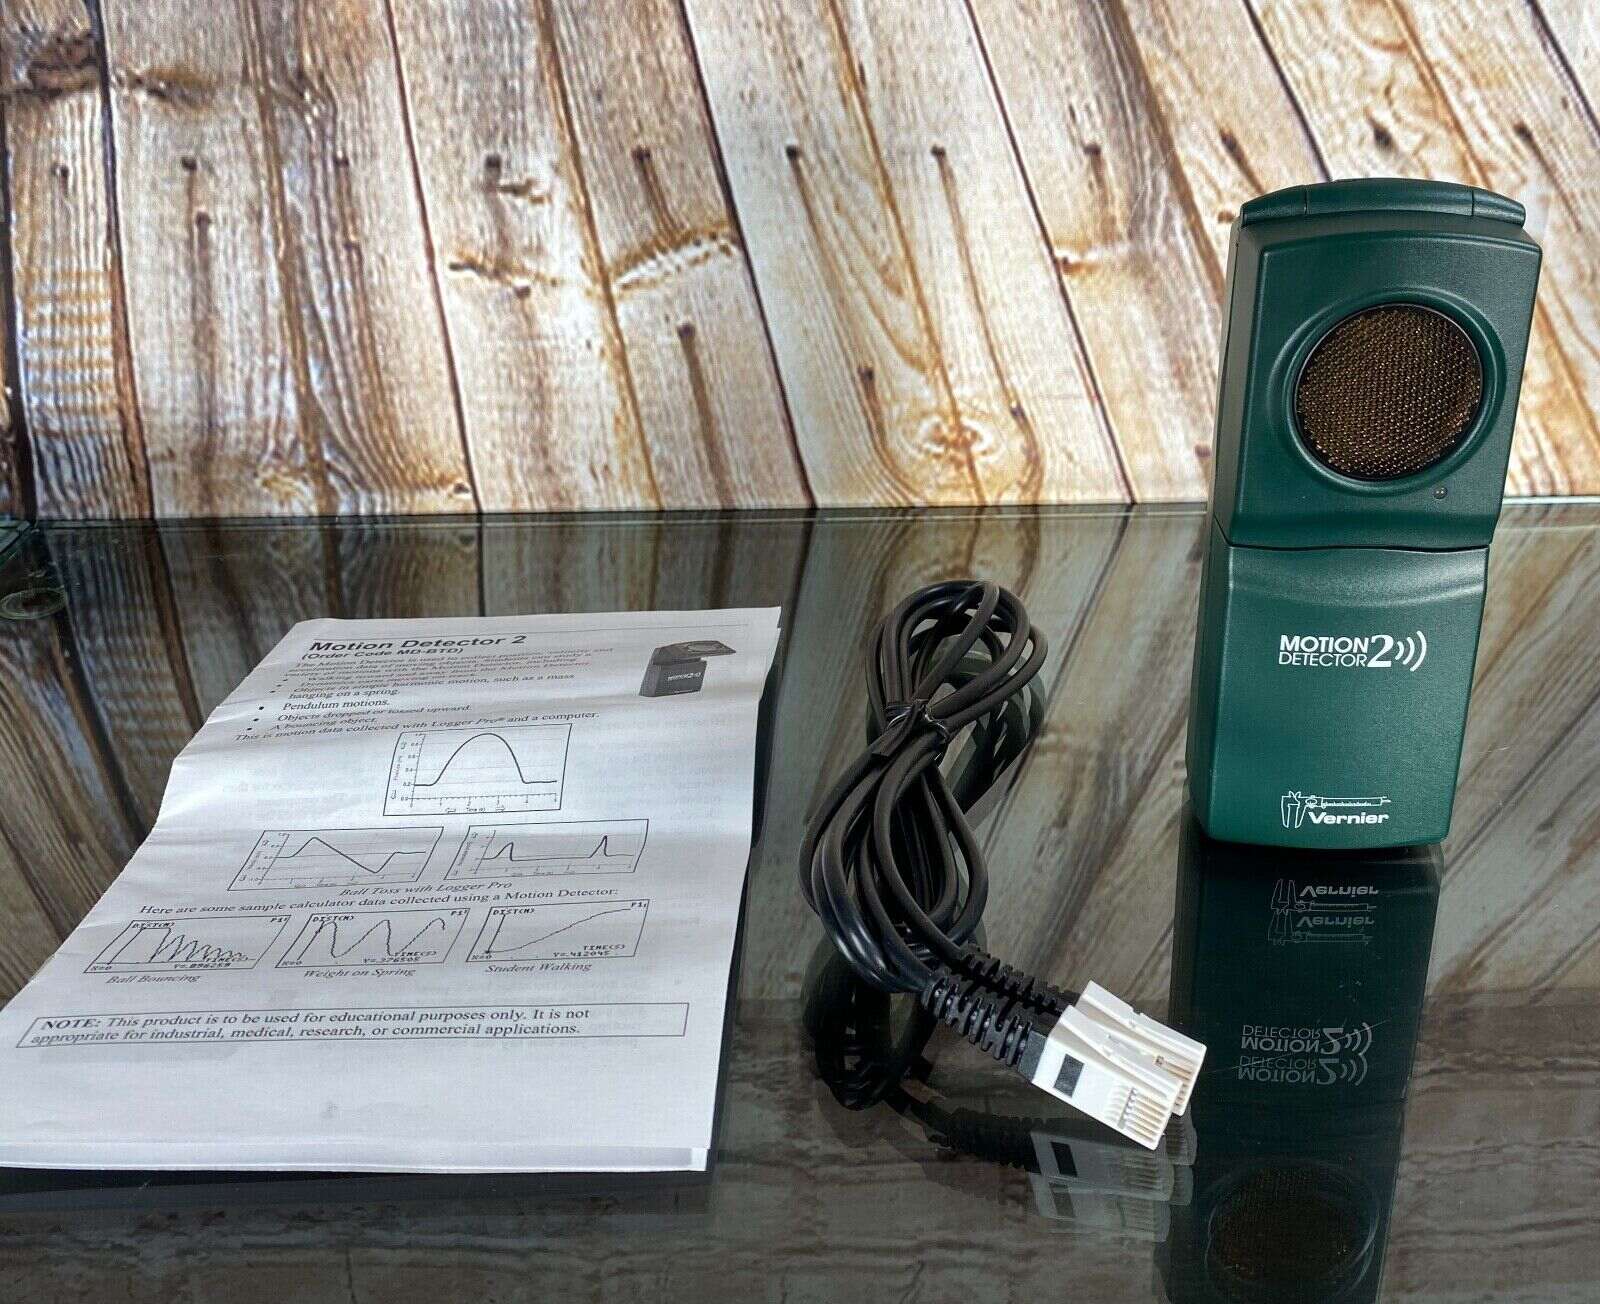
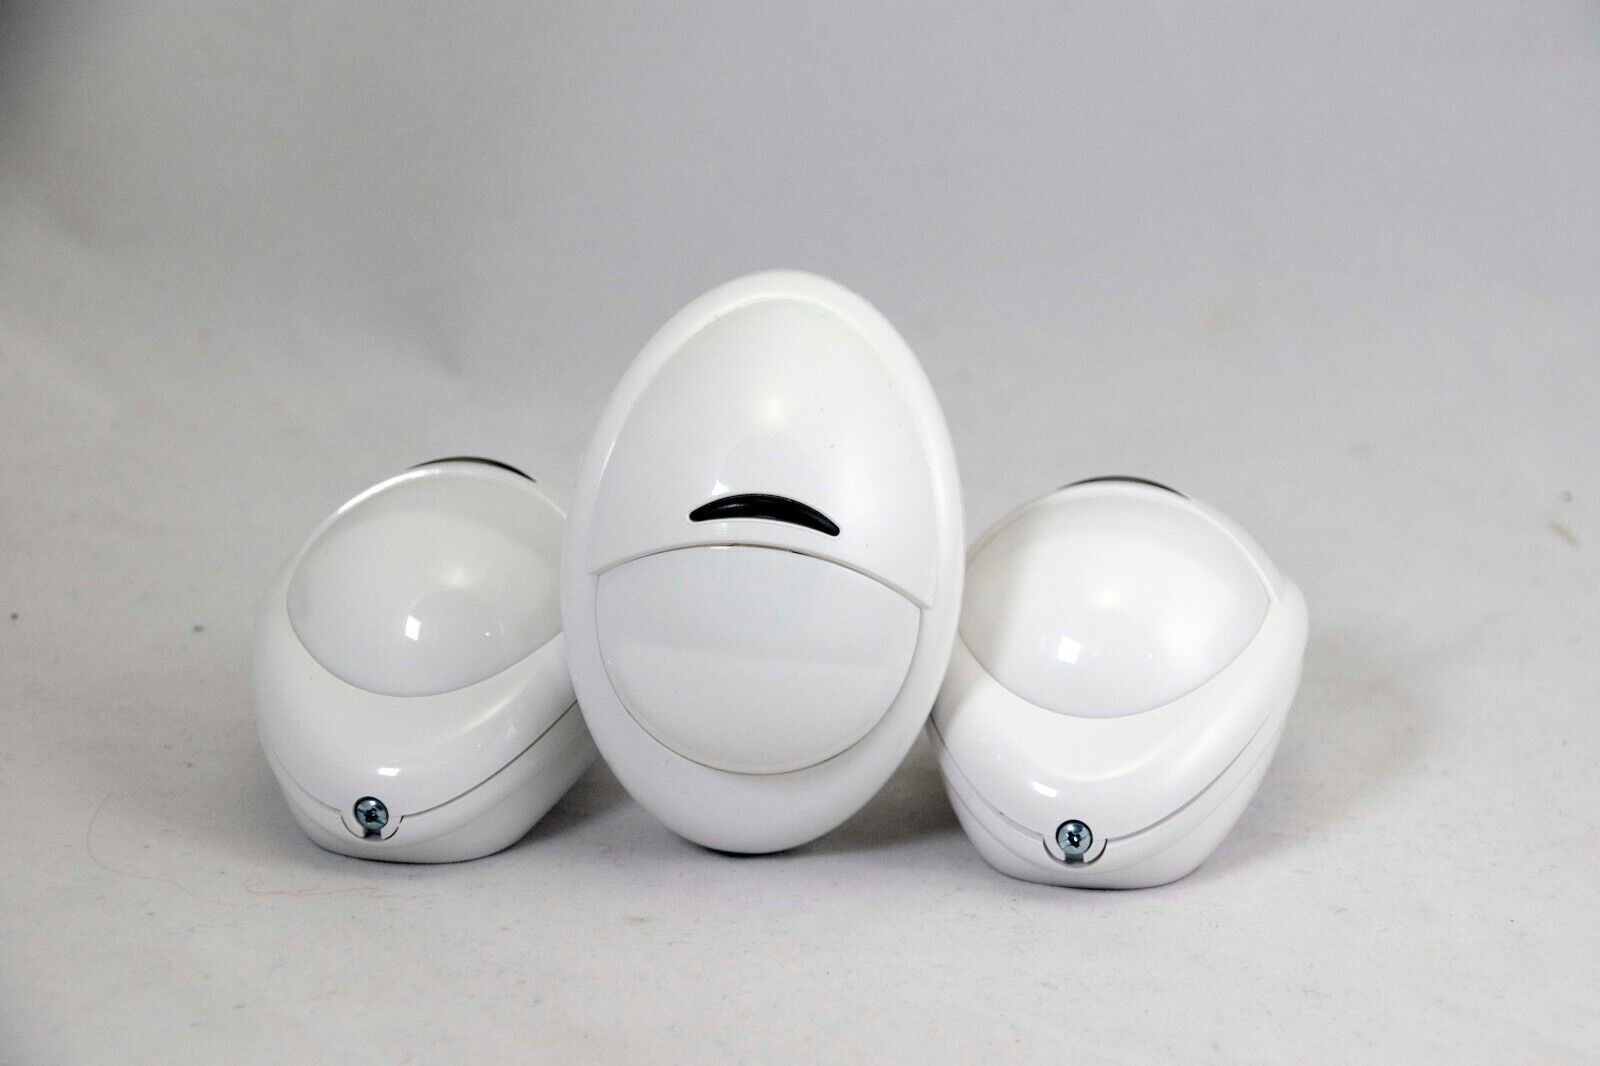
- Motion Detector: Choose a motion detector that suits your specific needs and budget. There are various types available, including passive infrared (PIR) detectors, microwave detectors, and dual-technology detectors. Consider factors such as detection range, sensitivity, and compatibility with your existing security system.
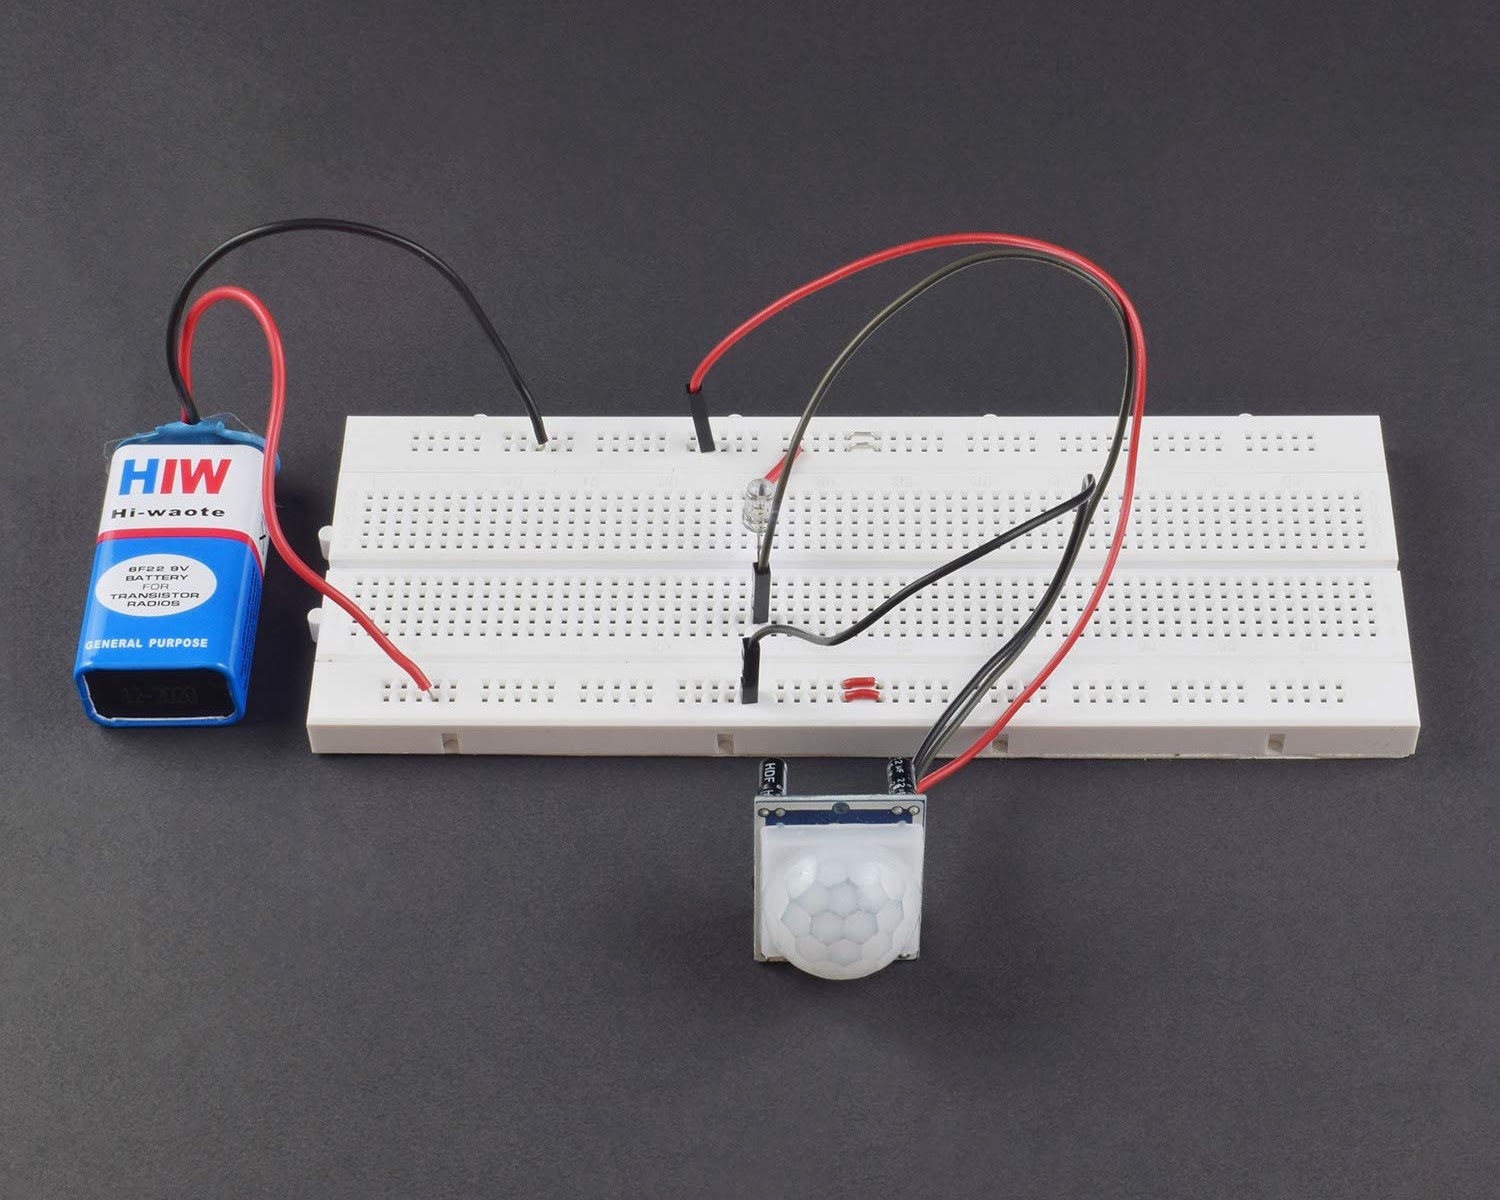
- Batteries: If your motion detector operates on battery power, make sure you have the appropriate batteries. Check the manufacturer’s specifications for the recommended battery type and quantity.
- Power Adapter: If your motion detector needs to be connected to a power source, ensure that you have a compatible power adapter. Verify the voltage requirements and connector type.
- Mounting Brackets and Screws: Depending on the type of motion detector you have, you may require mounting brackets and screws to secure it in place. Consult the user manual or check the packaging to determine if these are included or need to be purchased separately.
- Wire Strippers and Connectors: If you’re opting for a hardwired motion detector, you’ll need wire strippers to remove the insulation from the wires and connectors to join the wires securely.
- Ladder or Step Stool: Depending on the height of the installation location, you may need a ladder or step stool to reach and mount the motion detector.
- Level: A level will ensure that the motion detector is mounted straight and level, improving its accuracy.
- Drill and Drill Bits: If you need to drill holes for mounting, have a drill and the appropriate drill bits ready.
Once you have gathered all the necessary materials, you’re one step closer to setting up your motion detector. With everything at hand, you’ll be able to proceed smoothly and avoid any unnecessary delays or interruptions.
Now that you have everything you need, let’s move on to the next step – choosing the right location for your motion detector.
Step 2: Choosing the Right Location
Choosing the right location to install your motion detector is crucial for its effectiveness. The location should provide optimal coverage and ensure that the detector can accurately detect any movement in its designated area. Here are some factors to consider when selecting the ideal location:
- Entry Points: Identify the main entry points of your home, such as doors, windows, and pathways, that are most susceptible to potential intrusions. These are the areas where you should prioritize installing the motion detector.
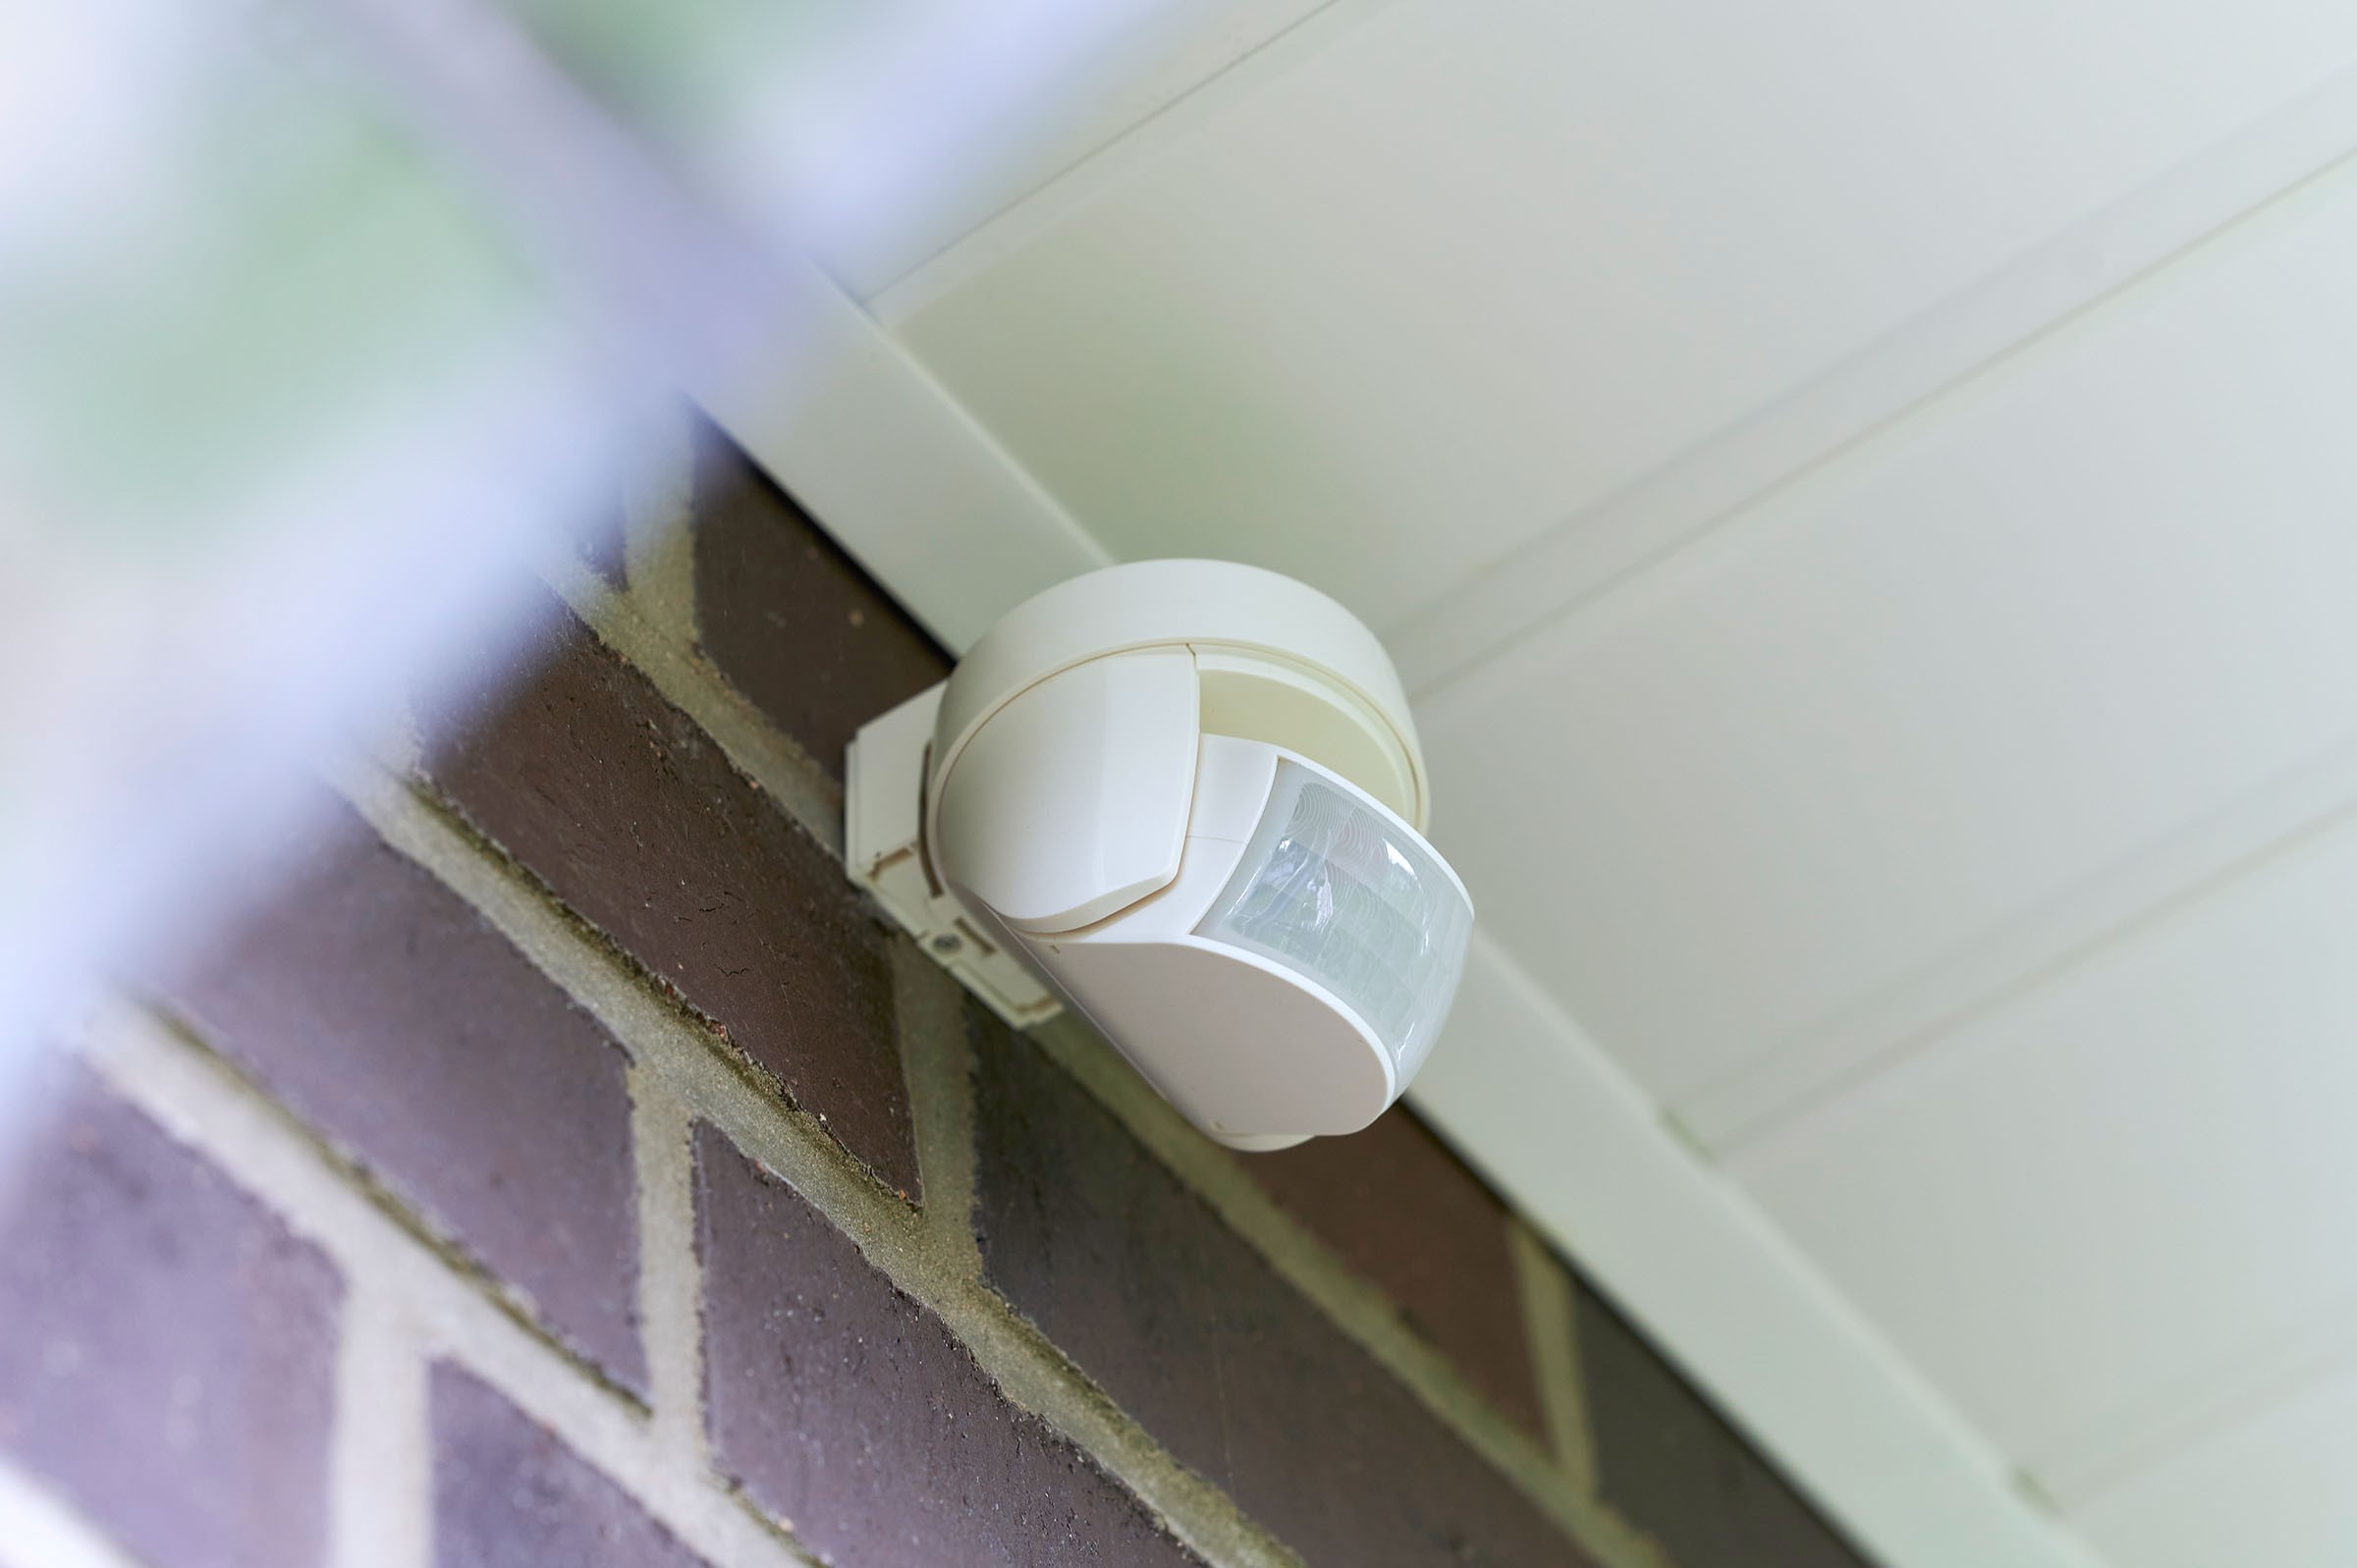
- Height and Angle: Mount the motion detector at a height that provides an optimal view of the area you want to monitor. Ensure that it is positioned at a suitable angle to capture movement effectively. Consider the range and field of view specified by the manufacturer.
- Avoid Obstructions: Avoid installing the motion detector in areas with obstructions such as trees, shrubs, or furniture that may block its line of sight. Clear any potential obstructions to ensure accurate detection.
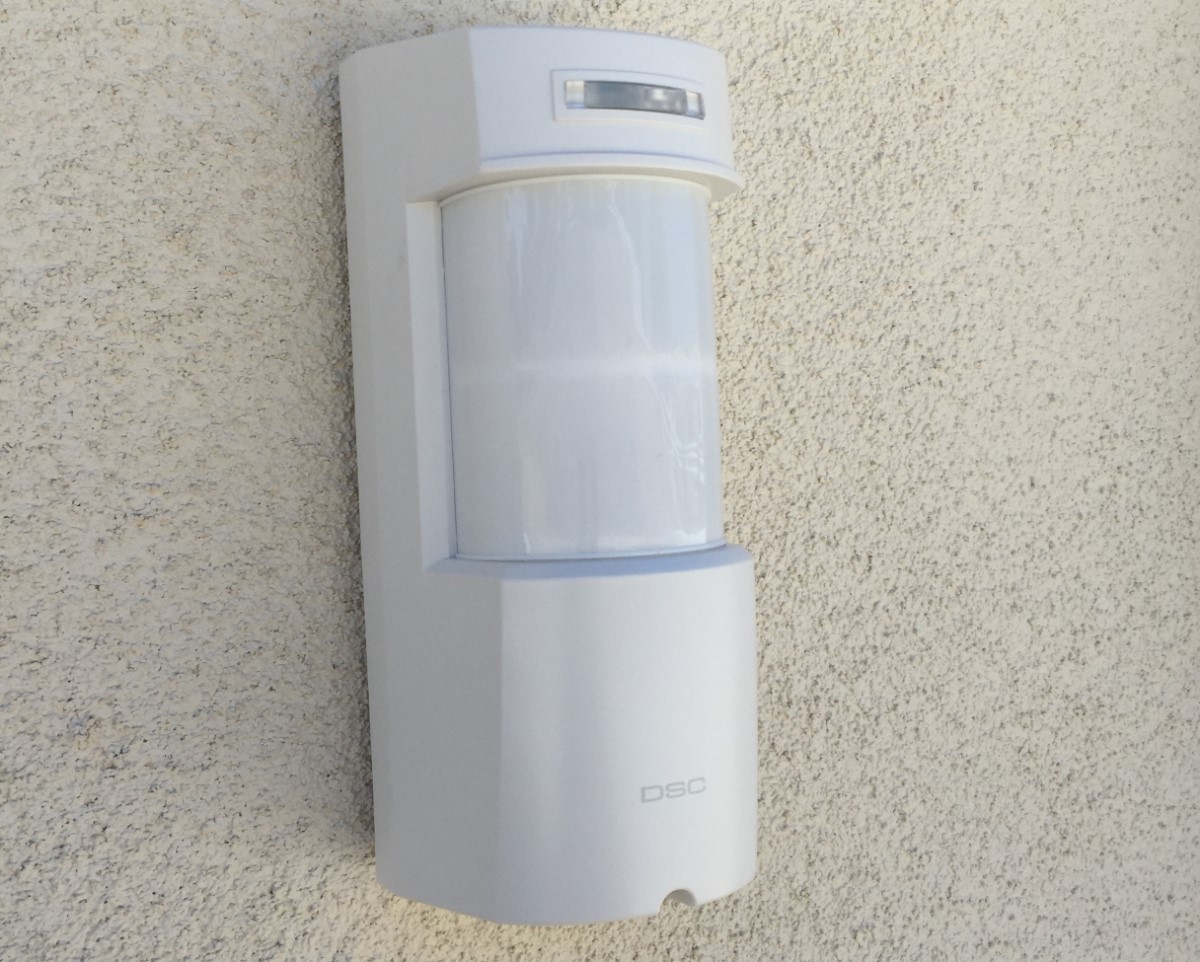
- Indoor or Outdoor: Determine whether you need an indoor or outdoor motion detector. Outdoor detectors are weatherproof and can handle the elements, while indoor detectors may not be suitable for outdoor use.
- Lighting Conditions: Consider the lighting conditions in the area where you plan to install the motion detector. Some detectors may have specific requirements regarding ambient light levels or may have built-in features to compensate for different lighting conditions.
- Accessibility: Ensure that the chosen location is easily accessible for maintenance and adjustment purposes. You may need to periodically clean the detector lens or adjust its sensitivity, so it’s essential to consider accessibility during the installation process.
Take your time to evaluate different potential locations and envision how the motion detector will fit into your overall home security and surveillance strategy. Remember, the effectiveness of the motion detector relies on its placement, so choose the location wisely.
Now that you have determined the ideal location, it’s time to move on to the next step – mounting the motion detector.
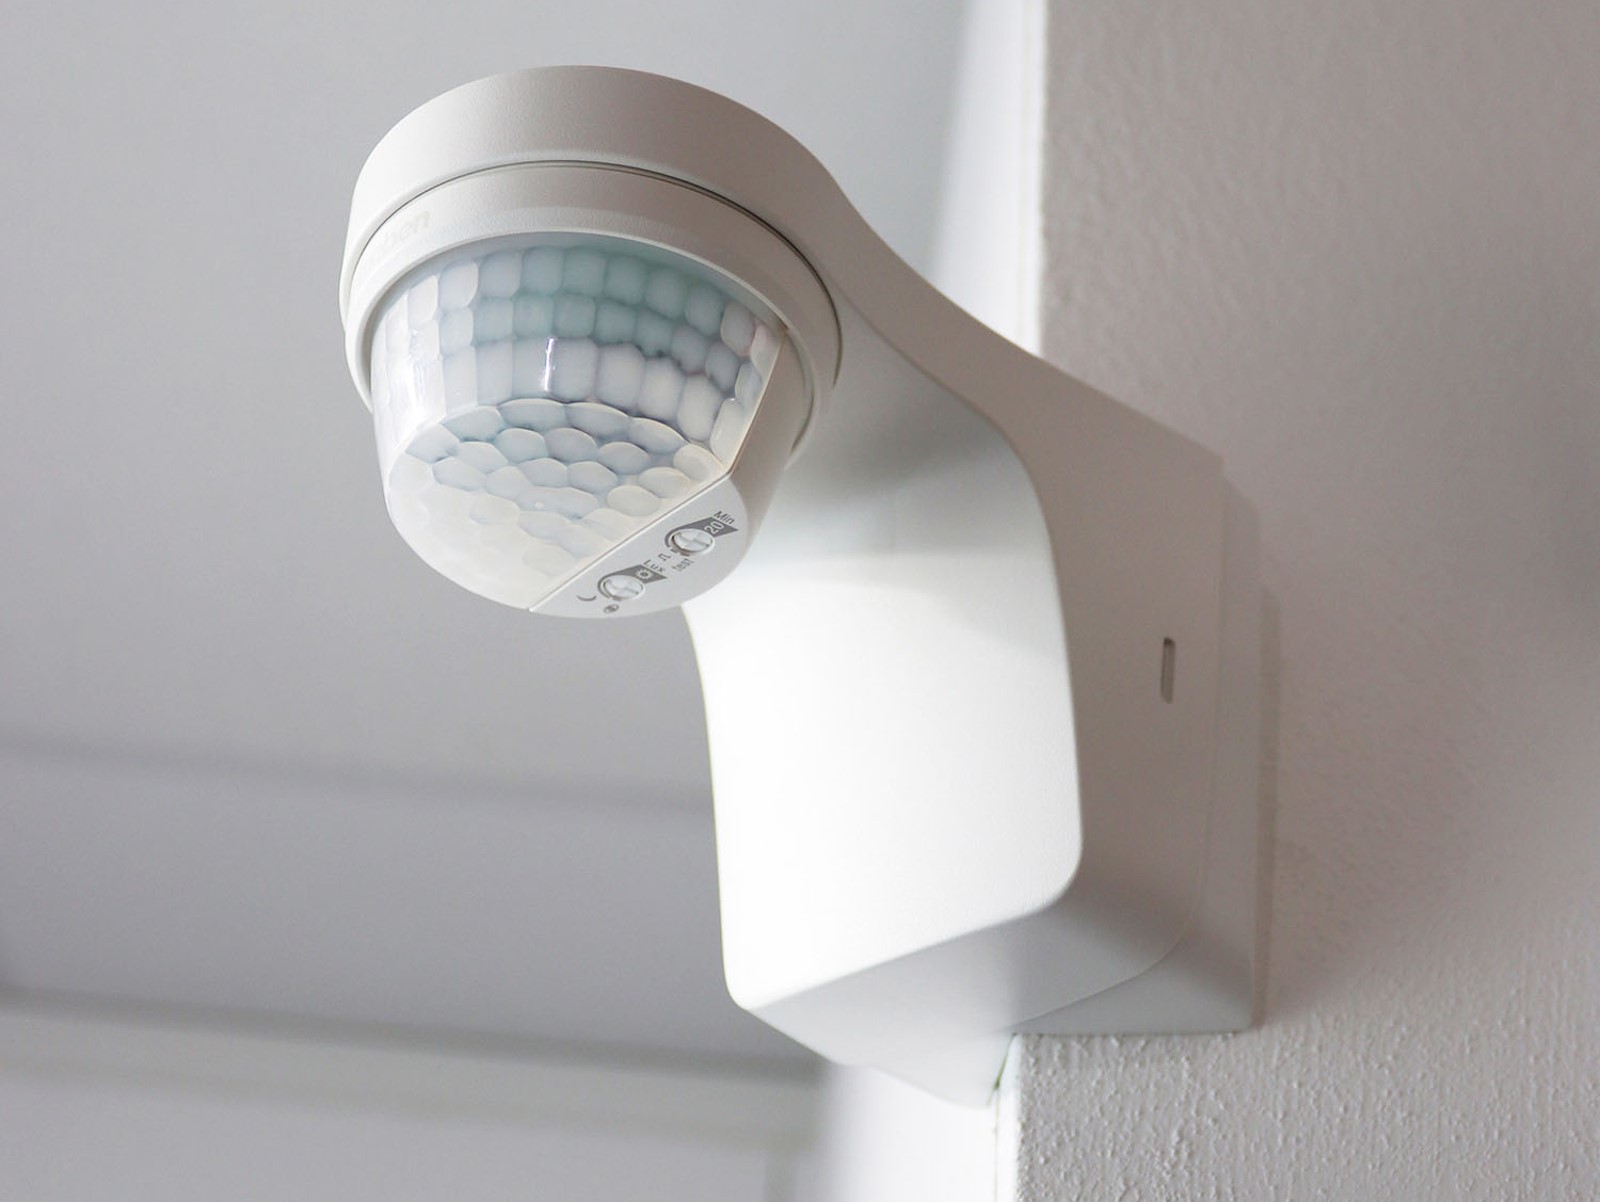
Step 3: Mounting the Motion Detector
Now that you have chosen the perfect location for your motion detector, it’s time to mount it securely. Proper mounting is essential to ensure that the detector remains stable and accurately detects any motion in its designated area. Follow these steps to mount your motion detector:
- Read the Manual: Before proceeding, carefully read the user manual provided with your motion detector. Familiarize yourself with any specific instructions or recommendations from the manufacturer.
- Prepare the Mounting Surface: Clean the mounting surface to remove any dust, debris, or obstructions. Ensure that the surface is flat and suitable for attaching the motion detector.
- Attach the Mounting Bracket: If your motion detector requires a mounting bracket, attach it to the mounting surface using screws or adhesive, following the manufacturer’s instructions. Ensure that the bracket is securely fastened.
- Position and Level the Detector: Place the motion detector onto the mounting bracket or directly onto the mounting surface, aligning it with the pre-marked location. Use a level to ensure that the detector is straight and level.
- Secure the Detector: Once the detector is in the correct position, secure it to the mounting bracket or surface using screws or any provided fasteners. Double-check that the detector is stable and firmly attached.
During the mounting process, be cautious not to obstruct any sensors or lenses on the motion detector. Ensure that there is proper clearance around the detector for it to function optimally.
Keep in mind that the process may vary depending on the type and model of the motion detector you are using. Always refer to the manufacturer’s instructions to ensure proper installation.
Now that you have successfully mounted the motion detector, it’s time to move on to the next step – wiring the motion detector (if applicable).
Step 4: Wiring the Motion Detector
If you are using a hardwired motion detector that requires a power source, you will need to wire it properly for it to function. Follow these steps to wire your motion detector:
- Read the Manual: Before proceeding, carefully review the user manual provided with your motion detector. Familiarize yourself with the wiring requirements and any specific instructions from the manufacturer.
- Turn Off Power: Before working with any electrical wiring, it is crucial to turn off the power source. Locate the circuit breaker or fuse box and switch off the power to the area where you will be working.
- Prepare the Wires: Strip the insulation from the wires using wire strippers, following the length specified in the manual. This will expose the conductor for proper connection to the motion detector.
- Connect the Wires: Connect the appropriate wires from the motion detector to the corresponding wires in your electrical system. Use wire connectors or terminal blocks to ensure a secure and reliable connection. Make sure to follow the color-coding or labeling provided in the manual for proper connections.
- Secure the Connections: After connecting the wires, secure the connections by tightening the screws or ensuring that the wire connectors are firmly in place. Check that there is no exposed wiring and that everything is properly insulated.
- Double-Check Connections: Before restoring power, double-check all the wiring connections to ensure they are correct and secure. Mistakes or loose connections can lead to malfunctioning or non-functional motion detectors.
- Restore Power and Test: Once you are confident that the connections are properly done, restore power to the area. Test the motion detector by triggering motion in its detection area. Verify that it is working as expected and activating alarms or surveillance systems when motion is detected.
It’s crucial to follow proper safety procedures and consult a qualified electrician if you are unsure about handling electrical wiring. Ensuring a correct and secure wiring connection will guarantee the reliable operation of your motion detector.
If your motion detector is battery-powered or operates wirelessly, you can skip this step and proceed to the next step – adjusting the sensitivity and range.
When setting up a motion detector, make sure to place it in a location with a clear line of sight and away from any heat sources or direct sunlight to avoid false alarms.
Read more: How To Deactivate A Motion Detector
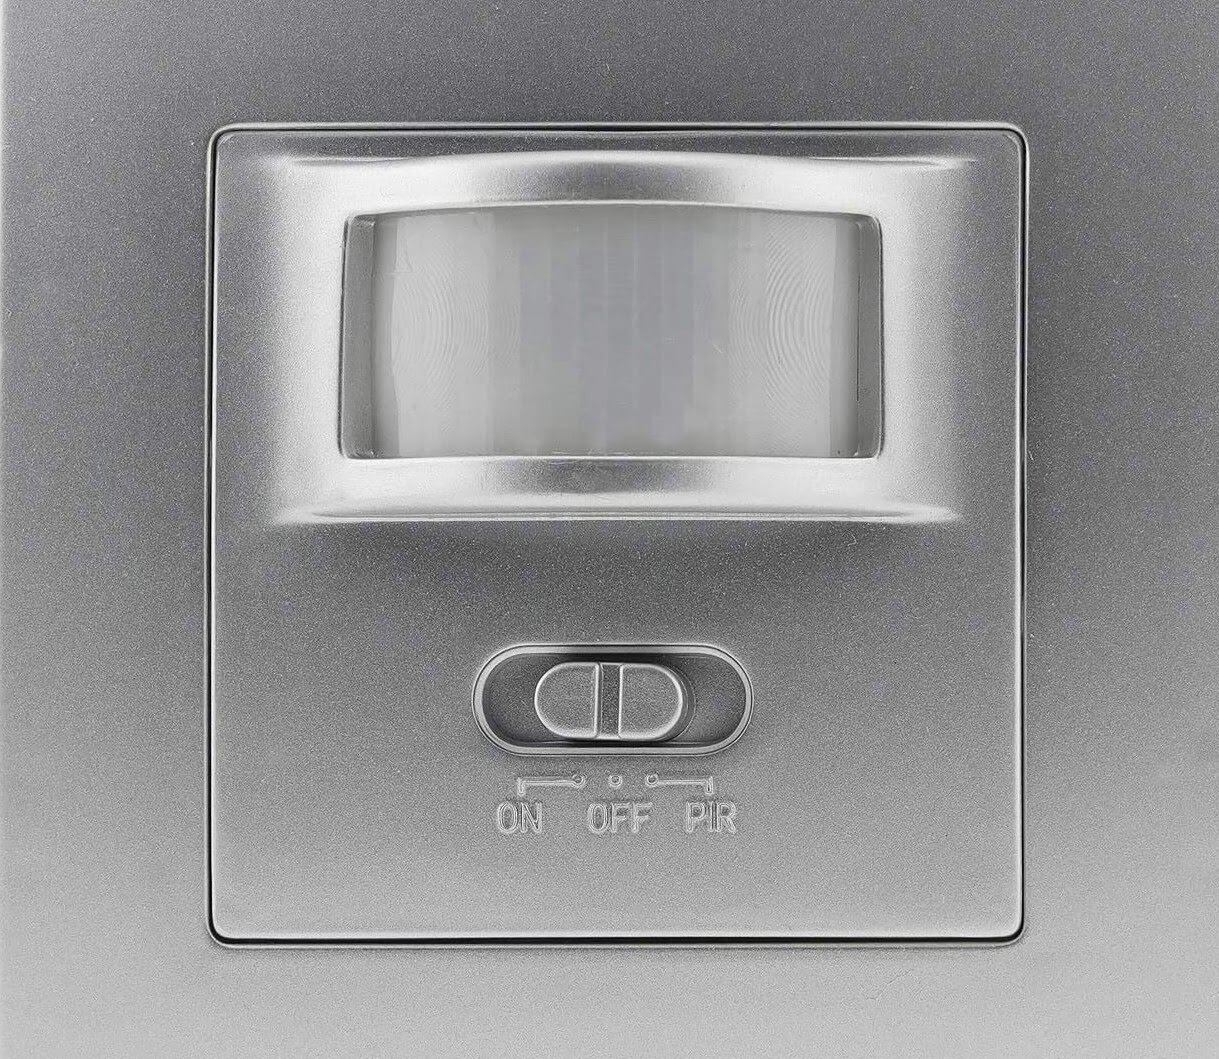
Step 5: Adjusting the Sensitivity and Range
After installing and wiring your motion detector, it’s important to fine-tune its sensitivity and range to ensure optimal performance. Adjusting these settings will help minimize false alarms caused by environmental factors while ensuring that the detector effectively detects any unauthorized movement. Follow these steps to adjust the sensitivity and range of your motion detector:
- Refer to the Manual: Consult the user manual provided with your motion detector to understand how to access and adjust the sensitivity and range settings. Different models may have varying methods of adjustment.
- Locate the Adjustment Controls: Identify the controls on the motion detector that allow you to modify the sensitivity and range. These are typically located on the device itself or accessible through a control panel or app if your motion detector is connected to a security system.
- Start with Default Settings: Begin by using the default sensitivity and range settings recommended by the manufacturer. This serves as a baseline for adjusting the settings according to your specific requirements.
- Configure Sensitivity: To avoid false alarms, adjust the sensitivity of the motion detector. Increase the sensitivity if you want the detector to detect even subtle movements, or decrease it if you want to minimize detection of smaller, non-threatening motions.
- Refine the Range: Adjust the detection range of the motion detector to cover the desired area. Extend the range if you want the detector to capture movement across a broader area, or narrow it down to focus on a specific location.
- Test and Observe: After making adjustments, test the motion detector by triggering motion in its detection area while observing its response. Evaluate whether it is detecting movements accurately or if further adjustments are needed.
- Reiterate if Necessary: Fine-tune the sensitivity and range settings as needed until you achieve the desired balance between minimizing false alarms and effectively capturing suspicious activity.
Each motion detector may have its own specific adjustment methods and range/sensitivity settings, so it’s crucial to consult the manufacturer’s guidelines. Regularly check and readjust these settings, especially if there are changes in your home environment or security needs.
With the sensitivity and range properly adjusted, your motion detector is now customized to meet your specific requirements. It’s time to move on to the next step – testing the motion detector.
Step 6: Testing the Motion Detector
Testing your motion detector is a critical step to ensure that it is functioning correctly and accurately detecting any movement within its designated area. This step allows you to verify that the setup and adjustments you have made so far are working as intended. Here are the steps to test your motion detector:
- Arm the Security System (If Applicable): If your motion detector is connected to a security system, arm it according to the system’s instructions. Ensure that the motion detector is activated as part of the security system.
- Trigger a Known Motion: Activate a known motion source within the detection area of the motion detector. This can be done by simply walking or moving in the area where the detector is installed.
- Observe the Response: Watch for the response of the motion detector. It should trigger the alarms, activate surveillance cameras, or send notifications to the security system control panel or your mobile device.
- Test Different Scenarios: Repeat the process in various scenarios, such as different times of the day or night, different lighting conditions, and different speeds and directions of movement. This will help ensure that the motion detector is consistently detecting motion across different conditions.
- Verify Accuracy: Confirm that the motion detector is not triggering false alarms caused by non-threatening movements, such as pets or passing vehicles (if applicable). Adjust the sensitivity and range settings further, if necessary, to minimize false alarms.
- Check Notification System: If your motion detector is connected to a notification system, such as a smartphone app or email alerts, make sure you receive the notifications promptly and reliably.
The testing process should be thorough and cover different scenarios to ensure the reliability and accuracy of your motion detector. Regular testing is also recommended, especially after any modifications or changes to your security system.
If you encounter any issues during testing or notice that the motion detector is not functioning as expected, refer to the troubleshooting section in the user manual or seek professional assistance.
Now that you have successfully tested your motion detector, you are one step closer to having a secure and reliable home surveillance system. The final step is troubleshooting common issues, which we will cover in the next step.
Step 7: Troubleshooting Common Issues
While motion detectors are designed to be reliable, occasional issues can arise. Knowing how to troubleshoot common problems will help you quickly resolve any issues that may occur. Here are some common issues you may encounter with your motion detector and how to troubleshoot them:
- False Alarms: False alarms can be triggered by factors such as pets, moving objects, or changes in lighting conditions. To reduce false alarms, adjust the sensitivity and range settings, ensure there are no obstructions in the detection area, and reposition the motion detector if needed.
- No Detection: If the motion detector is not detecting any movement, check that it is properly powered and connected. Verify that the detection area is clear of any obstructions and that the sensitivity and range settings are adequate for the area you want to monitor.
- Interference: Interference from other devices or sources can cause erratic behavior in your motion detector. Ensure that there are no nearby sources of interference, such as other wireless devices or strong radio signals. If interference persists, consider changing the frequency or channel of your motion detector.
- Dead Batteries: If your motion detector is battery-powered, check the battery levels regularly. Replace the batteries if they are dead or low. Refer to the user manual for the specific battery type and replacement instructions.
- Incorrect Wiring: If your motion detector is hardwired, check the wiring connections to ensure they are correct and secure. Verify that the power source is functioning correctly and that the wiring is not damaged. Consult a professional if you are unsure about any aspect of the wiring.
- Software or Firmware Issues: If your motion detector is connected to a security system or uses proprietary software, ensure that the software and firmware are up to date. Check the manufacturer’s website for any available updates and follow the instructions to install them.
- Malfunctioning Components: In some cases, the motion detector itself may be faulty or malfunctioning. If you have exhausted all troubleshooting steps and the issue persists, contact the manufacturer or seek professional assistance for further diagnosis and potential replacement.
Remember, troubleshooting steps may vary depending on the specific model and manufacturer of your motion detector. Always refer to the user manual and manufacturer’s guidelines for accurate troubleshooting instructions.
If you are unable to resolve the issue on your own, do not hesitate to reach out to a professional security system installer or technician for assistance. They have the expertise to identify and resolve complex issues with your motion detector.
Congratulations! By following these troubleshooting steps, you can ensure that your motion detector is functioning optimally and providing the desired level of security for your home.
Now that you’ve successfully troubleshooted common issues, you have completed the entire process of setting up a motion detector. Your home security system is now equipped with an effective surveillance tool that will better protect you and your loved ones. Stay vigilant, and enjoy the added peace of mind that comes with a well-functioning motion detector!
Conclusion
Setting up a motion detector is a crucial step towards enhancing the security and surveillance of your home. By following the comprehensive steps outlined in this guide, you have learned how to gather the necessary materials, choose the right location, mount the motion detector, wire it (if applicable), adjust its sensitivity and range, test its functionality, and troubleshoot common issues.
With a properly installed and calibrated motion detector, you can have peace of mind knowing that your home is being monitored and any unauthorized movements will be detected and addressed. The motion detector serves as an extra layer of security, complementing your existing home security system.
Remember, regular maintenance and testing are essential to ensure that your motion detector remains reliable and accurate. Set a reminder to check the batteries, clean the lens, and verify the detection capabilities of your motion detector periodically. Stay informed about any updates or firmware upgrades that the manufacturer may release to improve the performance of the motion detector.
By taking the time to set up a motion detector and following the steps in this guide, you have taken an important step towards securing your home and protecting your loved ones. Enjoy the added peace of mind that comes with a well-functioning home security and surveillance system.
Thank you for choosing to prioritize the safety of your home by setting up a motion detector. Stay vigilant, stay safe!
Frequently Asked Questions about How To Set Up A Motion Detector
Was this page helpful?
At Storables.com, we guarantee accurate and reliable information. Our content, validated by Expert Board Contributors, is crafted following stringent Editorial Policies. We're committed to providing you with well-researched, expert-backed insights for all your informational needs.