Home>Home Security and Surveillance>How To Set Up Wireless Security Camera

Home Security and Surveillance
How To Set Up Wireless Security Camera
Modified: October 18, 2024
Learn how to set up a wireless security camera for home security and surveillance. Ensure the safety of your property with our step-by-step guide.
(Many of the links in this article redirect to a specific reviewed product. Your purchase of these products through affiliate links helps to generate commission for Storables.com, at no extra cost. Learn more)
Introduction
Welcome to the world of wireless security cameras, where you can keep an eye on your home or business from anywhere, at any time. With advancements in technology, setting up a wireless security camera system is now easier than ever. Whether you want to deter potential burglars, monitor your children or pets, or simply have peace of mind knowing that your property is protected, a wireless security camera is an essential tool in today’s modern world.
In this article, we will guide you through the process of setting up a wireless security camera system, from choosing the right camera to configuring it for optimal performance. By following these steps, you’ll be able to secure your home or business and have the ability to monitor it remotely with ease.
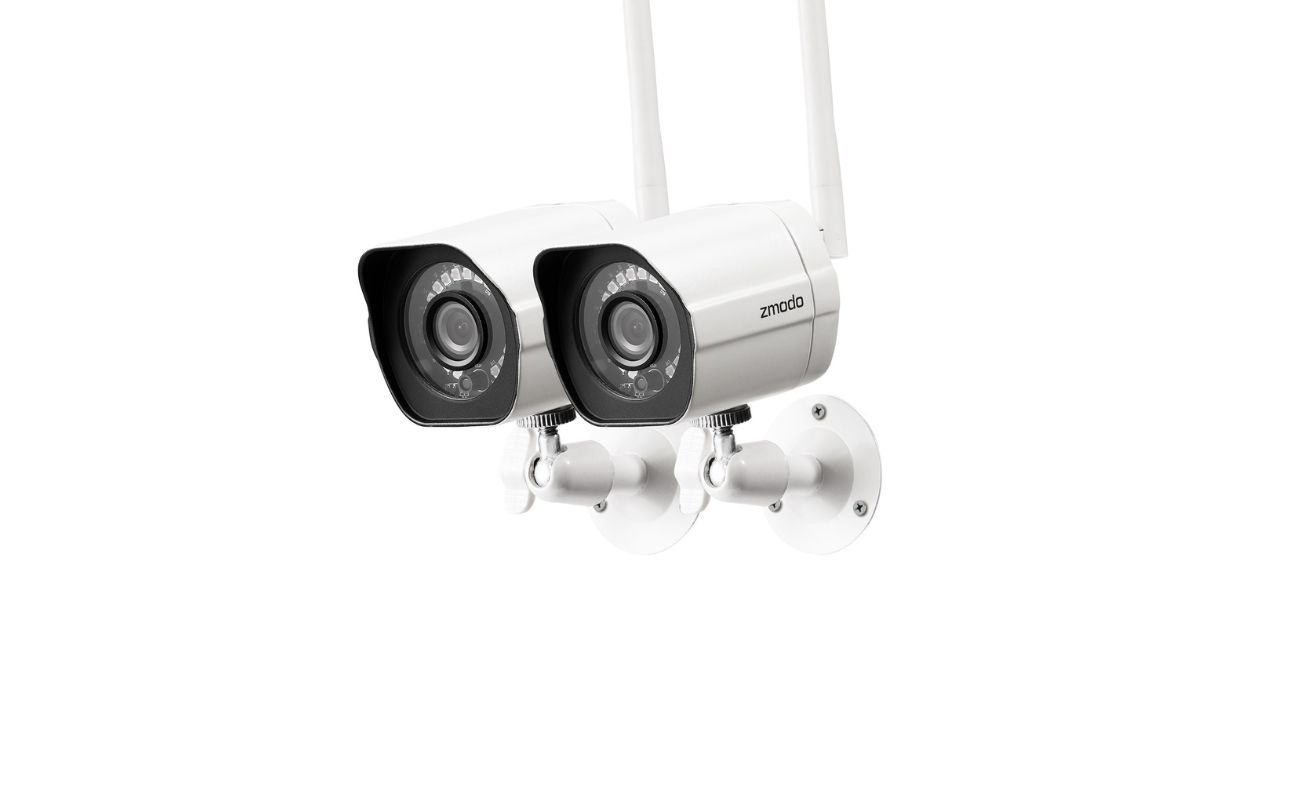
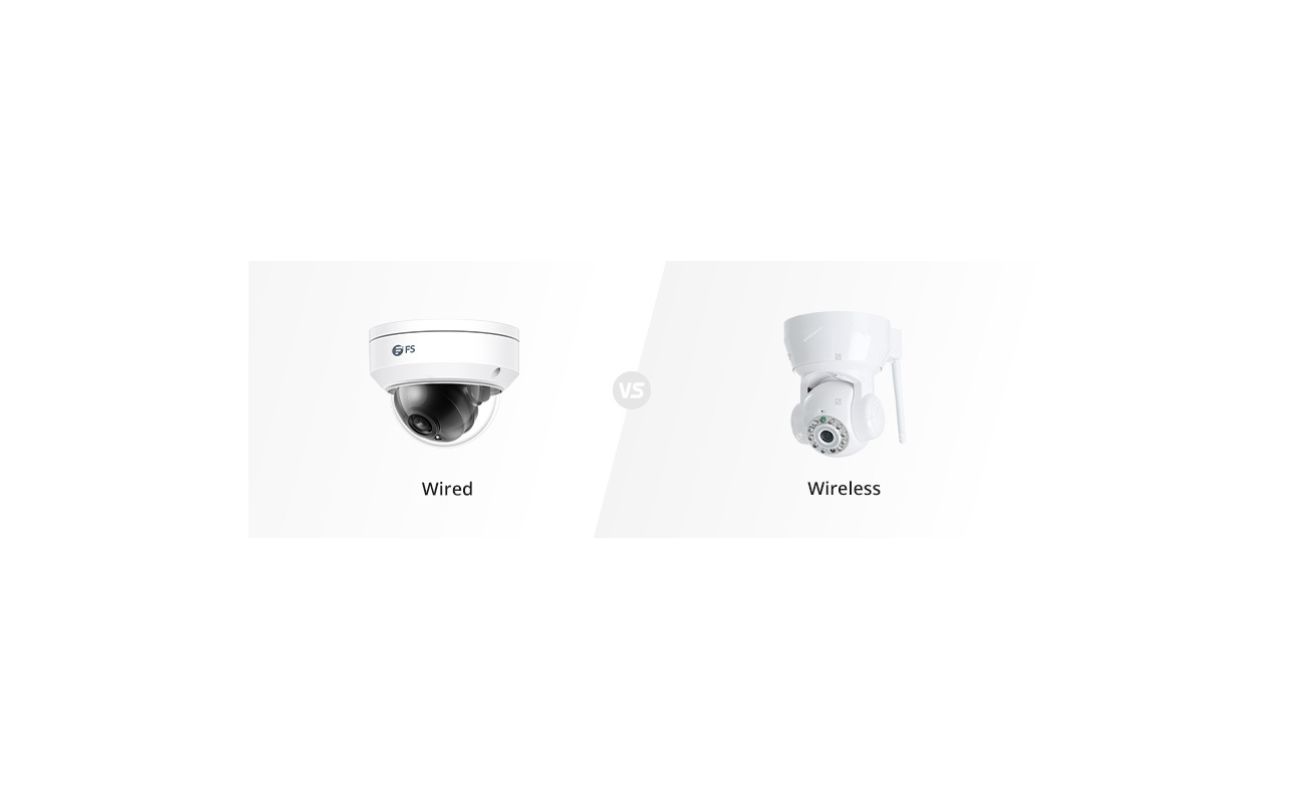
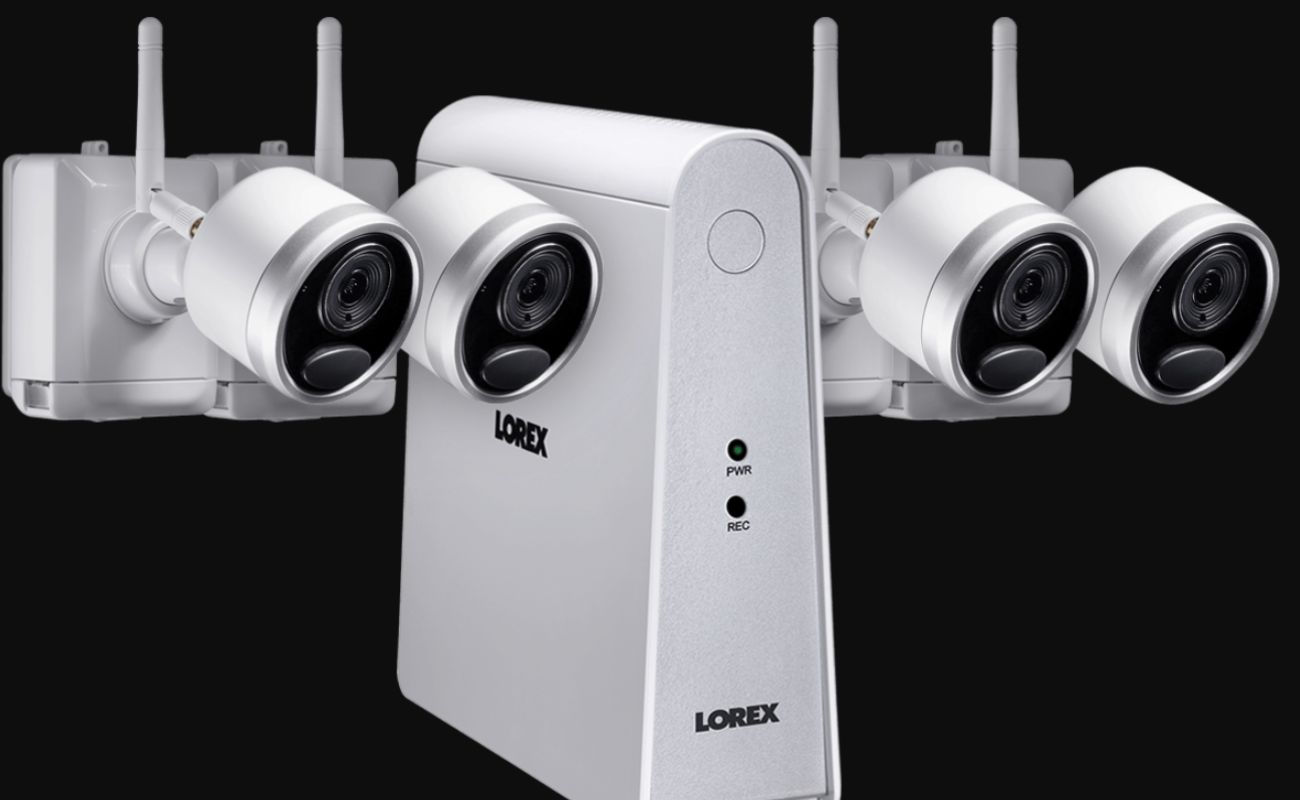
Before we dive into the setup process, let’s discuss the benefits of wireless security cameras. Unlike traditional wired cameras, wireless cameras offer the convenience of easy installation without the need for extensive wiring and cabling. They are also highly flexible, allowing you to place them anywhere within range of your Wi-Fi network. Additionally, wireless cameras often come equipped with advanced features such as motion detection, night vision, and remote access through smartphone apps. With these features, you can receive real-time alerts and view live video feeds from your camera no matter where you are.
Now that you understand the advantages of wireless security cameras, let’s move on to the first step in the setup process: choosing the right camera for your needs.
Key Takeaways:
- Setting up a wireless security camera is easier than ever, offering remote access and advanced features like motion detection and night vision for enhanced security and peace of mind.
- By choosing the right camera, positioning it strategically, and performing regular maintenance, you can ensure reliable surveillance and protect your home or business effectively.
Step 1: Choose the Right Wireless Security Camera
When selecting a wireless security camera, there are several factors to consider. Firstly, determine the purpose of the camera. Are you looking to monitor the exterior of your property or keep an eye on specific areas indoors? Understanding your specific needs will help you choose a camera with the right features.
One important feature to consider is resolution. Higher resolution cameras will provide clearer and more detailed images, allowing you to easily identify people or objects. Popular resolutions for wireless security cameras include 720p, 1080p, and even 4K. Keep in mind that higher resolution cameras may require more bandwidth and storage space.
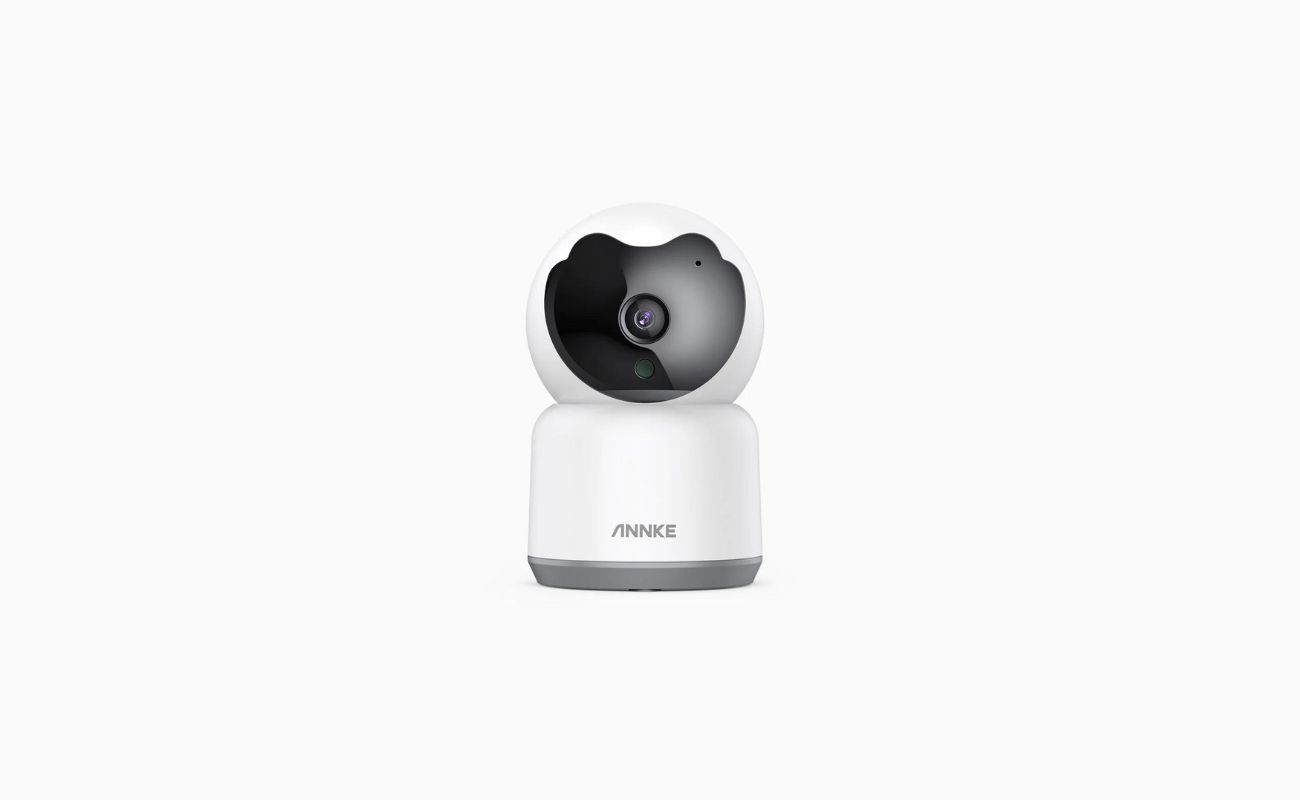
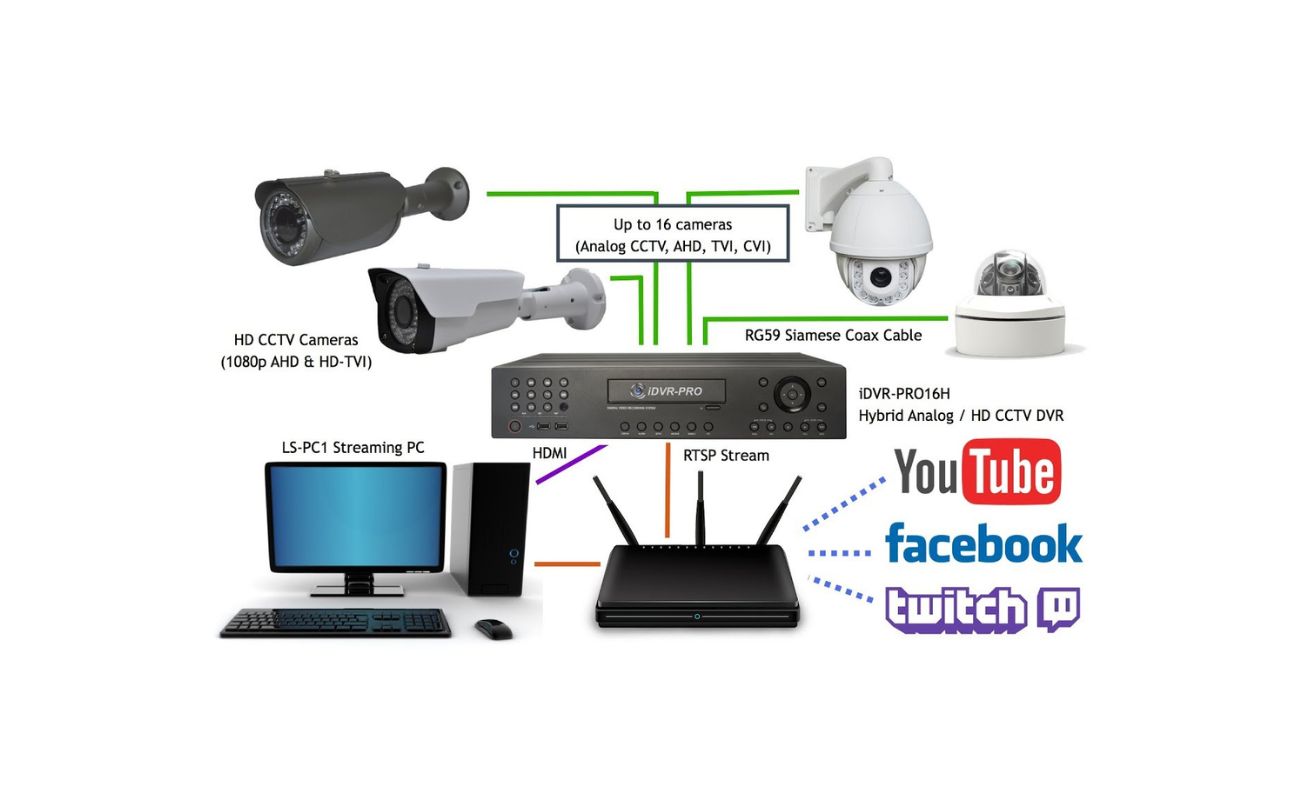
Next, consider the field of view. The field of view determines how much area the camera can cover. For wide outdoor coverage, you may want a camera with a wide-angle lens or a pan-tilt-zoom (PTZ) camera that allows you to remotely adjust the view. For indoor use, a camera with a narrower field of view may be sufficient.
Another important consideration is night vision. If you plan to use the camera to monitor your property at night, make sure it has infrared LEDs to provide clear visibility in low light conditions. Some cameras even offer color night vision for enhanced image quality.
Connectivity is also crucial. Most wireless security cameras connect to your Wi-Fi network, but some may require a wired connection. Ensure that the camera you choose is compatible with your Wi-Fi network and has a reliable connection range.
Lastly, think about additional features that may be beneficial. These can include motion detection, two-way audio, cloud storage for video recordings, and compatibility with smart home devices or virtual assistants.
By considering these factors and your specific requirements, you can choose a wireless security camera that best meets your needs. Once you have selected the right camera, you’re ready to move on to the next step: determining the ideal placement.
Step 2: Determine the Placement
The placement of your wireless security camera is crucial for ensuring optimal surveillance coverage. Before installing the camera, carefully assess the areas you want to monitor and consider the following factors:
- Entry Points: Place cameras near doors, windows, and other entry points to capture any potential intruders.
- High-Value Areas: Identify areas where valuable items are stored, such as safes or art collections, and position cameras to monitor these areas.
- Perimeter: Install cameras around the perimeter of your property to provide a comprehensive view and deter trespassers.
- Driveway and Garage: If you have a driveway or garage, consider placing a camera to monitor vehicles and detect any unauthorized access.
- Backyard or Garden: If you have a backyard or garden, installing a camera can help monitor outdoor activities and prevent theft or vandalism.
When determining the placement, consider the camera’s field of view and range. Ensure that the selected areas are within the camera’s range so that they can capture the desired footage. Also, consider factors such as obstructions (e.g., trees, bushes) and potential sources of interference (e.g., neighboring Wi-Fi networks) that could affect the camera’s performance.
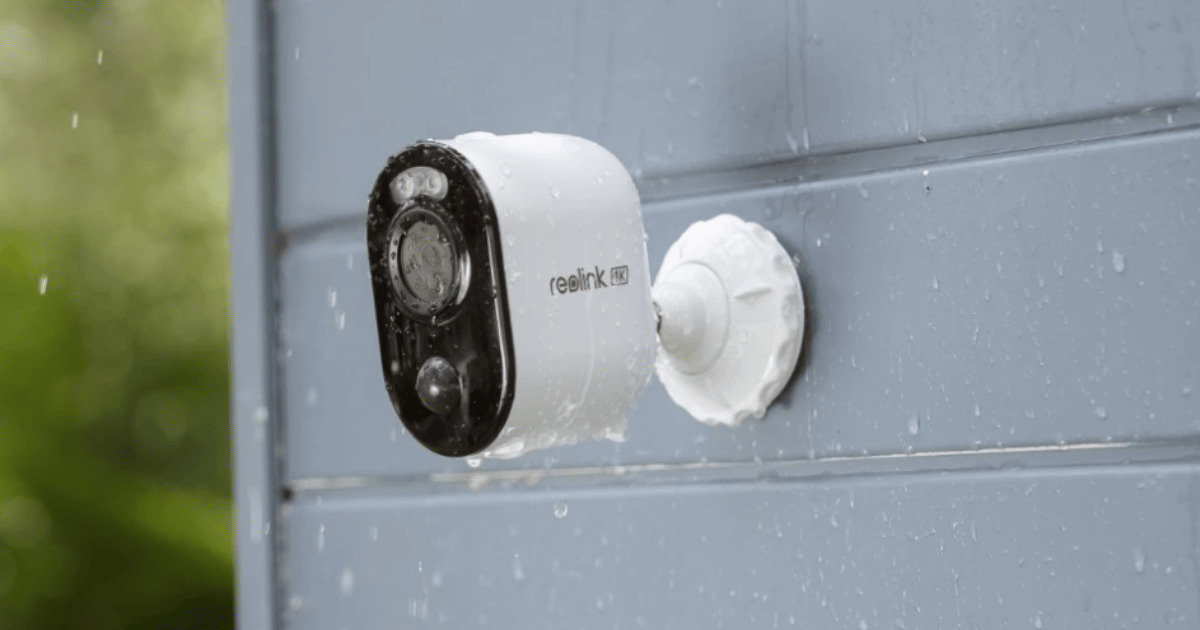
Additionally, take into account the camera’s mounting options. Some cameras come with wall mounts, ceiling mounts, or adjustable brackets. Choose the appropriate mount that allows you to position the camera at the desired angle and height for optimal coverage.
Keep in mind that the visibility of the camera may also serve as a deterrent. Placing the camera in a noticeable location can deter potential intruders and make them think twice before targeting your property.
Once you have determined the ideal placement for your wireless security camera, you can proceed to the next step: installing the camera mounting bracket.
Step 3: Install the Camera Mounting Bracket
Now that you have determined the ideal placement for your wireless security camera, it’s time to install the camera mounting bracket. The mounting bracket provides a stable and secure base for your camera, allowing you to position it at the desired angle for optimal surveillance coverage. Here’s how to install the camera mounting bracket:
- Choose the mounting surface: Select a sturdy wall, ceiling, or other surface that can support the weight of the camera.
- Mark the drilling holes: Hold the mounting bracket against the chosen surface and use a pencil or marker to mark the drilling holes.
- Drill the holes: Use an appropriate drill bit to drill the marked holes in the mounting surface. Make sure to follow the manufacturer’s instructions for drilling depth and size.
- Insert the wall anchors (if necessary): If you are mounting the camera on a wall with drywall or other hollow material, insert wall anchors into the drilled holes for additional support.
- Attach the mounting bracket: Align the mounting bracket with the drilled holes and secure it to the mounting surface using screws or bolts. Tighten them securely to ensure stability.
- Test the stability: Gently shake or apply pressure to the mounting bracket to ensure it is securely attached and can hold the weight of the camera.
Once the camera mounting bracket is installed, you can proceed to the next step: connecting the camera to a power source.
It’s important to note that some wireless security cameras come with alternative mounting options, such as magnetic mounts or adhesive mounts. Follow the manufacturer’s instructions for installing these types of mounts, as the process may vary.
Step 4: Connect the Camera to Power
Now that the camera mounting bracket is installed, it’s time to connect your wireless security camera to power. Most wireless cameras require a power source to operate, whether it’s a power outlet or a battery. Here are the steps to connect the camera to power:
- Locate a power source: If your camera needs to be plugged into a power outlet, find a suitable outlet near the camera’s installation location. Ensure it is easily accessible and within reach of the camera’s power cable.
- Check the power cable length: Measure the distance between the camera and the power source to ensure that the included power cable is long enough. If needed, use an extension cord to reach the power source.
- Connect the power cable: Plug one end of the power cable into the camera’s power input port. Then, plug the other end into the power outlet or the power adapter that will be connected to the outlet.
- Confirm power supply: Verify that the camera is receiving power by checking for any LED indicators or power status lights on the camera. These lights will typically indicate whether the camera is properly connected to power.
If your wireless security camera relies on batteries, ensure that the batteries are fully charged or replace them with fresh ones according to the manufacturer’s instructions. Some cameras may also offer the option of using rechargeable batteries for convenience.
Remember to keep the camera’s power cable or battery compartment protected and secure. Tuck any excess cable or wires away to minimize the risk of tampering or damage. Additionally, consider using a surge protector to protect the camera from power surges or electrical fluctuations.
Once the camera is successfully connected to power, you can move on to the next step: connecting the camera to your Wi-Fi network.
Step 5: Connect the Camera to Wi-Fi Network
Now that your wireless security camera is powered on, the next step is to connect it to your Wi-Fi network. This will enable you to access the camera remotely and receive live video feeds or notifications on your smartphone or computer. Here’s how to connect the camera to your Wi-Fi network:
- Open the camera’s settings: Access the camera’s settings menu, either through a dedicated smartphone app or by accessing the camera’s web interface using a computer.
- Select the Wi-Fi settings: Locate the Wi-Fi settings option within the camera’s settings menu. It may be labeled as “Wi-Fi setup,” “Network settings,” or something similar.
- Choose your network: From the available Wi-Fi networks, select your home or office network from the list. Ensure that you have the correct network name (SSID) and password information handy.
- Enter network credentials: Enter the network password when prompted. Use the appropriate security protocol (e.g., WPA2) for your Wi-Fi network.
- Wait for the connection: The camera will attempt to connect to the selected Wi-Fi network. It may take a few moments to establish a connection. Be patient and wait for the camera to confirm the connection status.
- Confirm the connection: Once the camera successfully connects to the Wi-Fi network, you will see a confirmation message or indicator light on the camera or the app interface.
It’s important to note that some cameras may require additional steps, such as scanning a QR code or using a WPS (Wi-Fi Protected Setup) button to connect to the network. Follow the manufacturer’s instructions for your specific camera model.
Ensure that the camera is within range of your Wi-Fi router for a stable and reliable connection. If the signal strength is weak, consider using Wi-Fi range extenders or positioning the router closer to the camera’s location.
Once the camera is successfully connected to your Wi-Fi network, you can proceed to the next step: downloading and configuring the camera app for remote access.
When setting up a wireless security camera, make sure to change the default password to a strong, unique one. This will help prevent unauthorized access to your camera and protect your privacy and security.
Step 6: Download and Configure the Camera App
After connecting your wireless security camera to your Wi-Fi network, the next step is to download and configure the camera app. The camera app allows you to remotely access and control your camera, view live video feeds, and customize settings and preferences. Here’s how to download and configure the camera app:
- Identify the camera app: Check the manufacturer’s website, user manual, or packaging for information on the recommended camera app. It may be available for download on your smartphone’s app store (e.g., Google Play Store, Apple App Store).
- Download the app: Open your smartphone’s app store and search for the camera app by its name or the manufacturer’s name. Tap the download button to install the app on your device.
- Launch the app: Once the app is downloaded and installed, tap on its icon to launch it on your smartphone.
- Create an account: Follow the app’s on-screen instructions to create a new account. This may involve providing your email address, creating a password, and accepting the terms and conditions.
- Add the camera: Within the app, look for an option to add a new camera or device. Tap on it and follow the prompts to add your wireless security camera to the app. This usually involves scanning a QR code or entering the camera’s unique identifier (e.g., serial number).
- Configure camera settings: Once the camera is successfully added, explore the app’s settings to configure various features such as motion detection, video recording preferences, alerts, and user permissions.
- Test remote access: Ensure that your smartphone is connected to the internet, either through Wi-Fi or mobile data. Use the app to remotely access your camera and verify that you can view live video feeds and control the camera’s functions.
During the configuration process, you may be prompted to enable certain permissions or grant access to features such as push notifications or location services. Review these settings and choose the options that align with your preferences and privacy requirements.
It’s important to keep the camera app updated to access the latest features, security enhancements, and bug fixes. Periodically check for app updates through your smartphone’s app store.
Once you have downloaded and configured the camera app, you’re ready to move on to the next step: setting up motion detection and alerts.
Step 7: Set Up Motion Detection and Alerts
Setting up motion detection and alerts is a crucial step in maximizing the functionality of your wireless security camera. By enabling motion detection, you can receive real-time notifications whenever the camera detects any movement within its field of view. Here’s how to set up motion detection and alerts:
- Open the camera app: Launch the camera app on your smartphone or access the camera’s web interface on your computer.
- Navigate to the camera settings: Look for the settings menu or options related to motion detection. This may be labeled as “Motion Detection,” “Alerts,” or something similar.
- Enable motion detection: Toggle the motion detection feature ON. You may have the option to adjust the sensitivity level to determine how easily the camera will trigger motion alerts.
- Select notification preferences: Determine how you want to receive motion alerts. This can be through push notifications on your smartphone, email notifications, or both.
- Customize alert settings: Explore the additional settings available for motion alerts, such as the specific areas or zones to monitor for motion, the duration of the recording when motion is detected, and the frequency of alerts.
- Test motion detection: Create some movement within the camera’s field of view to test the motion detection feature. Walk in front of the camera or wave your hand to ensure that the camera accurately detects motion and triggers alerts.
- Adjust settings if necessary: If you experience false alarms or missed alerts, consider adjusting the sensitivity level or fine-tuning the motion detection settings to optimize performance.
It’s worth noting that some advanced wireless security cameras offer additional features for motion detection, such as object recognition or person detection. These capabilities can help filter out false alarms and provide more accurate notifications for specific types of motion.
Regularly check your motion detection settings to ensure they are properly configured and aligned with your surveillance needs. Fine-tuning these settings can help strike a balance between minimizing false alarms and capturing relevant motion events.
With motion detection and alerts set up, you can now proceed to the next step: adjusting general camera settings and preferences.
Step 8: Adjust Camera Settings and Preferences
Adjusting the camera settings and preferences allows you to customize the functionality and operation of your wireless security camera to better suit your needs. Here are the steps to adjust camera settings and preferences:
- Access the camera settings: Open the camera app on your smartphone or access the camera’s web interface on your computer.
- Explore the settings menu: Look for the settings or preferences menu within the app or web interface. This is where you can customize various aspects of the camera’s operation.
- Image/video settings: Adjust the image quality, resolution, brightness, contrast, and other visual settings to achieve the desired video quality.
- Audio settings: Enable or disable audio recording, adjust the microphone sensitivity, and configure audio-related preferences.
- Recording settings: Set the recording mode (continuous recording or event-triggered recording), duration of video clips, and storage preferences (local storage or cloud storage).
- Privacy settings: Determine whether you want to enable privacy modes that temporarily disable recording or streaming, such as when you are at home.
- PTZ settings (if applicable): If your camera has pan-tilt-zoom capabilities, configure the PTZ settings to control the camera’s movement and zoom levels.
- Alert and notification settings: Customize the types of alerts and notifications you receive, such as motion alerts, sound alerts, or tamper alerts.
- Network settings: Explore additional network-related settings, such as Wi-Fi signal strength, Wi-Fi frequency, and advanced connectivity options.
- System maintenance: Check for firmware updates regularly to ensure your camera has the latest features and security patches.
Additionally, some wireless security cameras offer advanced features such as facial recognition, pet detection, or activity zones. Take the time to explore these options and enable or adjust them accordingly.
Every camera model may have a different user interface and range of settings available. Refer to the camera’s user manual or online documentation for detailed instructions and information specific to your device.
By adjusting the camera settings and preferences to your liking, you can optimize its performance and tailor it to your unique surveillance requirements.
With the camera settings and preferences adjusted, you’re now ready for the next step: testing the camera’s functionality.
Step 9: Test the Camera’s Functionality
Testing the functionality of your wireless security camera ensures that it is operating correctly and captures high-quality video footage. Here are the steps to test the camera’s functionality:
- Position the camera: Make any final adjustments to the camera’s position and angle to ensure optimal coverage of the desired areas.
- Check the live video feed: Open the camera app on your smartphone or access the camera’s web interface on your computer to view the live video feed. Ensure that you can see a clear and continuous stream of video.
- Test camera controls: If your camera has pan-tilt-zoom (PTZ) capabilities, test the controls to ensure smooth movement and zoom functionality.
- Verify motion detection: Create deliberate movements within the camera’s field of view to verify that the motion detection feature captures and triggers alerts appropriately.
- Test audio recording (if applicable): Speak or make sounds in the camera’s vicinity to ensure that audio is captured clearly and accurately.
- Check night vision: If your camera features night vision capabilities, test it in low-light conditions or darkness to ensure it provides clear visibility.
- Verify remote access: Leave your home or office and use the camera app on your smartphone to remotely access the camera. Verify that you can view the live video feed and control the camera’s functions from outside the network.
- Test notifications: Trigger motion alerts or other events to verify that you receive timely and reliable notifications on your smartphone or through email.
- Review recorded footage: If your camera supports recording, review the recorded footage to ensure that it is clear, properly timestamped, and easily accessible.
- Perform regular checks: Regularly check the camera’s functionality by repeating the above steps periodically. This will help ensure that the camera is performing optimally and any issues are detected early.
If you encounter any issues during the testing process, refer to the user manual or online support resources provided by the manufacturer. Troubleshooting steps may vary depending on the specific camera model.
Remember to maintain the camera’s cleanliness, keep it protected from extreme weather conditions and vandalism, and periodically perform any recommended maintenance tasks to prolong its lifespan and performance.
With the camera tested and functioning properly, you’re ready for the final step: maintaining and troubleshooting the wireless security camera as needed.
Step 10: Maintain and Troubleshoot the Wireless Security Camera
Maintaining and troubleshooting your wireless security camera is essential to ensure its continued functionality and optimal performance. Regular maintenance can help prevent issues and address any potential problems early on. Here are some tips for maintaining and troubleshooting your camera:
- Keep the camera clean: Regularly clean the camera lens and housing using a soft, lint-free cloth. Remove any dirt, dust, or debris that may accumulate on the camera’s surface.
- Check power and connectivity: Ensure that the camera is receiving power and has a stable connection to your Wi-Fi network. Verify that the power cable or batteries are properly connected and that the Wi-Fi signal is strong enough.
- Monitor storage capacity: If your camera supports local storage or uses an SD card, periodically check the storage capacity. Delete old or unnecessary recordings to free up space for new footage.
- Update firmware: Regularly check for firmware updates provided by the manufacturer. Firmware updates often include bug fixes, security patches, and additional features that can enhance your camera’s performance.
- Review camera settings: Occasionally review the camera’s settings to ensure they are still aligned with your surveillance needs. Make any necessary adjustments based on changes in your environment or preferences.
- Reset if needed: If you encounter persistent issues with the camera’s functionality, consult the user manual or manufacturer’s support resources for instructions on resetting the camera to its default settings.
- Check camera positioning: Periodically review the camera’s positioning to ensure it continues to cover the desired areas effectively. Make any necessary adjustments or reposition the camera if needed.
- Address connectivity issues: If you experience intermittent connectivity or video streaming issues, try relocating the camera closer to the Wi-Fi router or consider using Wi-Fi range extenders to enhance the signal strength.
- Contact customer support: If you encounter persistent issues or need further assistance, contact the manufacturer’s customer support. They can provide guidance on troubleshooting specific problems and offer solutions.
- Keep documentation and warranties: Store the camera’s user manual, purchase receipts, and any warranty information in a safe place. This will be helpful for reference or in case you need to avail of warranty services.
Performing regular maintenance and promptly addressing any issues that arise will help ensure that your wireless security camera remains operational and provides reliable surveillance. By following these maintenance and troubleshooting steps, you can enjoy the peace of mind that comes with a well-functioning security system.
Congratulations! You have now completed all the steps necessary to set up, maintain, and troubleshoot your wireless security camera. With your camera in place, you can enjoy enhanced security and peace of mind knowing that your property is under constant surveillance.
Remember, it’s important to regularly check and update your security measures to stay ahead of potential threats. Stay vigilant and be proactive in maintaining the security of your home or business.
Conclusion
Setting up a wireless security camera system is a crucial step in safeguarding your home or business. With the convenience of remote access and advanced features, wireless security cameras provide peace of mind and the ability to monitor your property from anywhere, at any time.
In this article, we have discussed the step-by-step process of setting up a wireless security camera. From choosing the right camera to adjusting settings and troubleshooting, each step is critical in ensuring the camera’s functionality and effectiveness.
By selecting the right wireless security camera based on your specific needs, positioning it strategically, and connecting it to power and your Wi-Fi network, you lay the foundation for a reliable surveillance system. Downloading and configuring the camera app allows for seamless remote access and notifications, while setting up motion detection and alerts enhances security and allows for timely response to potential threats.
Adjusting camera settings and preferences, testing its functionality, and performing regular maintenance and troubleshooting ensure that your wireless security camera operates optimally. Staying proactive in maintaining the camera’s cleanliness, updating firmware, and addressing any connectivity or performance issues will help ensure uninterrupted surveillance and reliable performance.
Remember, a wireless security camera system is an investment in the safety and security of your home or business. Regularly review and update your security measures, stay vigilant, and take advantage of the features and capabilities of your wireless security camera to protect what matters most.
With the information and guidance provided in this article, you are now equipped with the knowledge to set up and maintain a wireless security camera system effectively. Enjoy the peace of mind that comes with enhanced security and surveillance, knowing that your property is protected and under constant watch.
Frequently Asked Questions about How To Set Up Wireless Security Camera
Was this page helpful?
At Storables.com, we guarantee accurate and reliable information. Our content, validated by Expert Board Contributors, is crafted following stringent Editorial Policies. We're committed to providing you with well-researched, expert-backed insights for all your informational needs.
