Home>Home Security and Surveillance>How To Take Off A Defiant Motion Detector Light
Home Security and Surveillance
How To Take Off A Defiant Motion Detector Light
Modified: August 17, 2024
Learn how to remove a Defiant motion detector light from your home security and surveillance system with our step-by-step guide. Ensure a smooth process with expert tips and tricks.
(Many of the links in this article redirect to a specific reviewed product. Your purchase of these products through affiliate links helps to generate commission for Storables.com, at no extra cost. Learn more)
Introduction
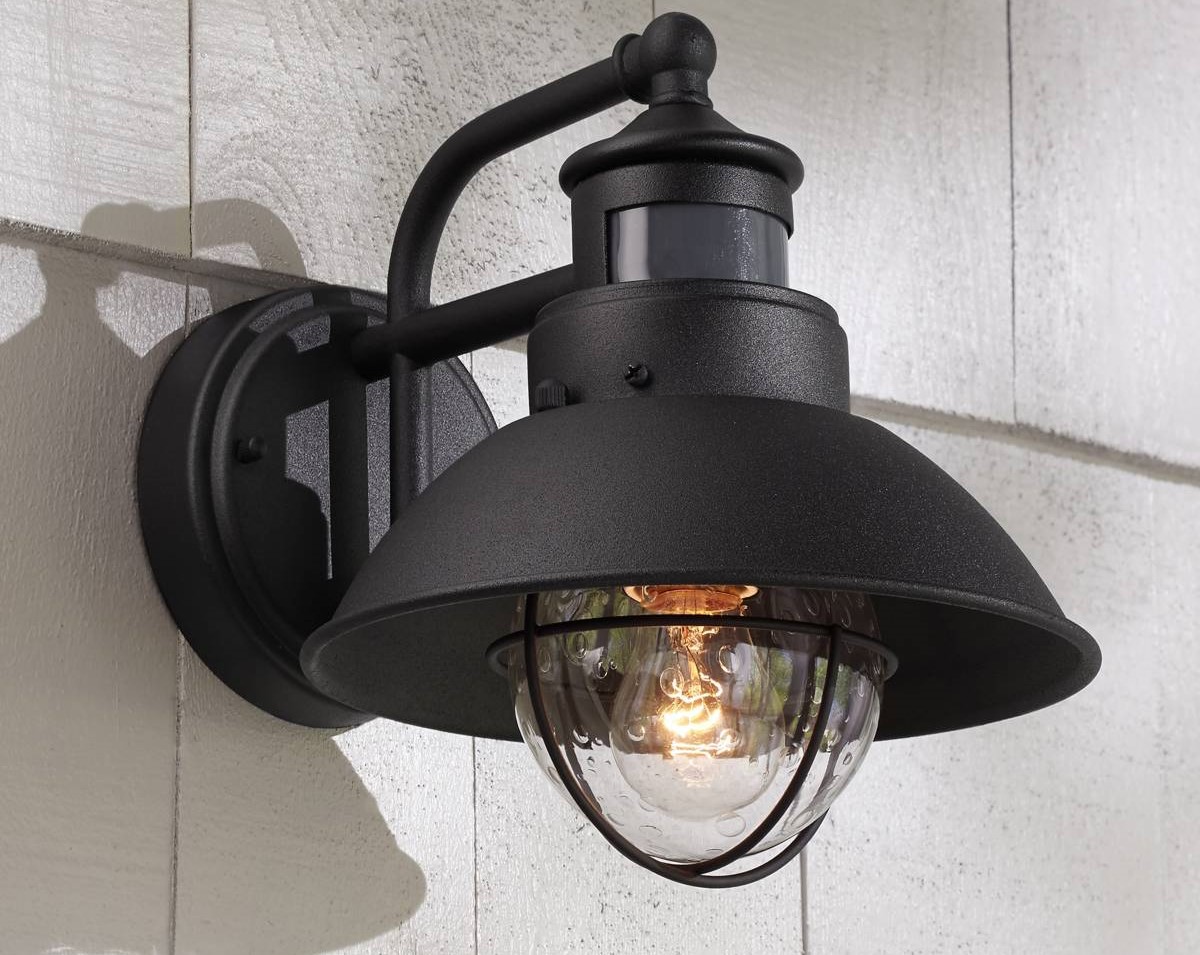
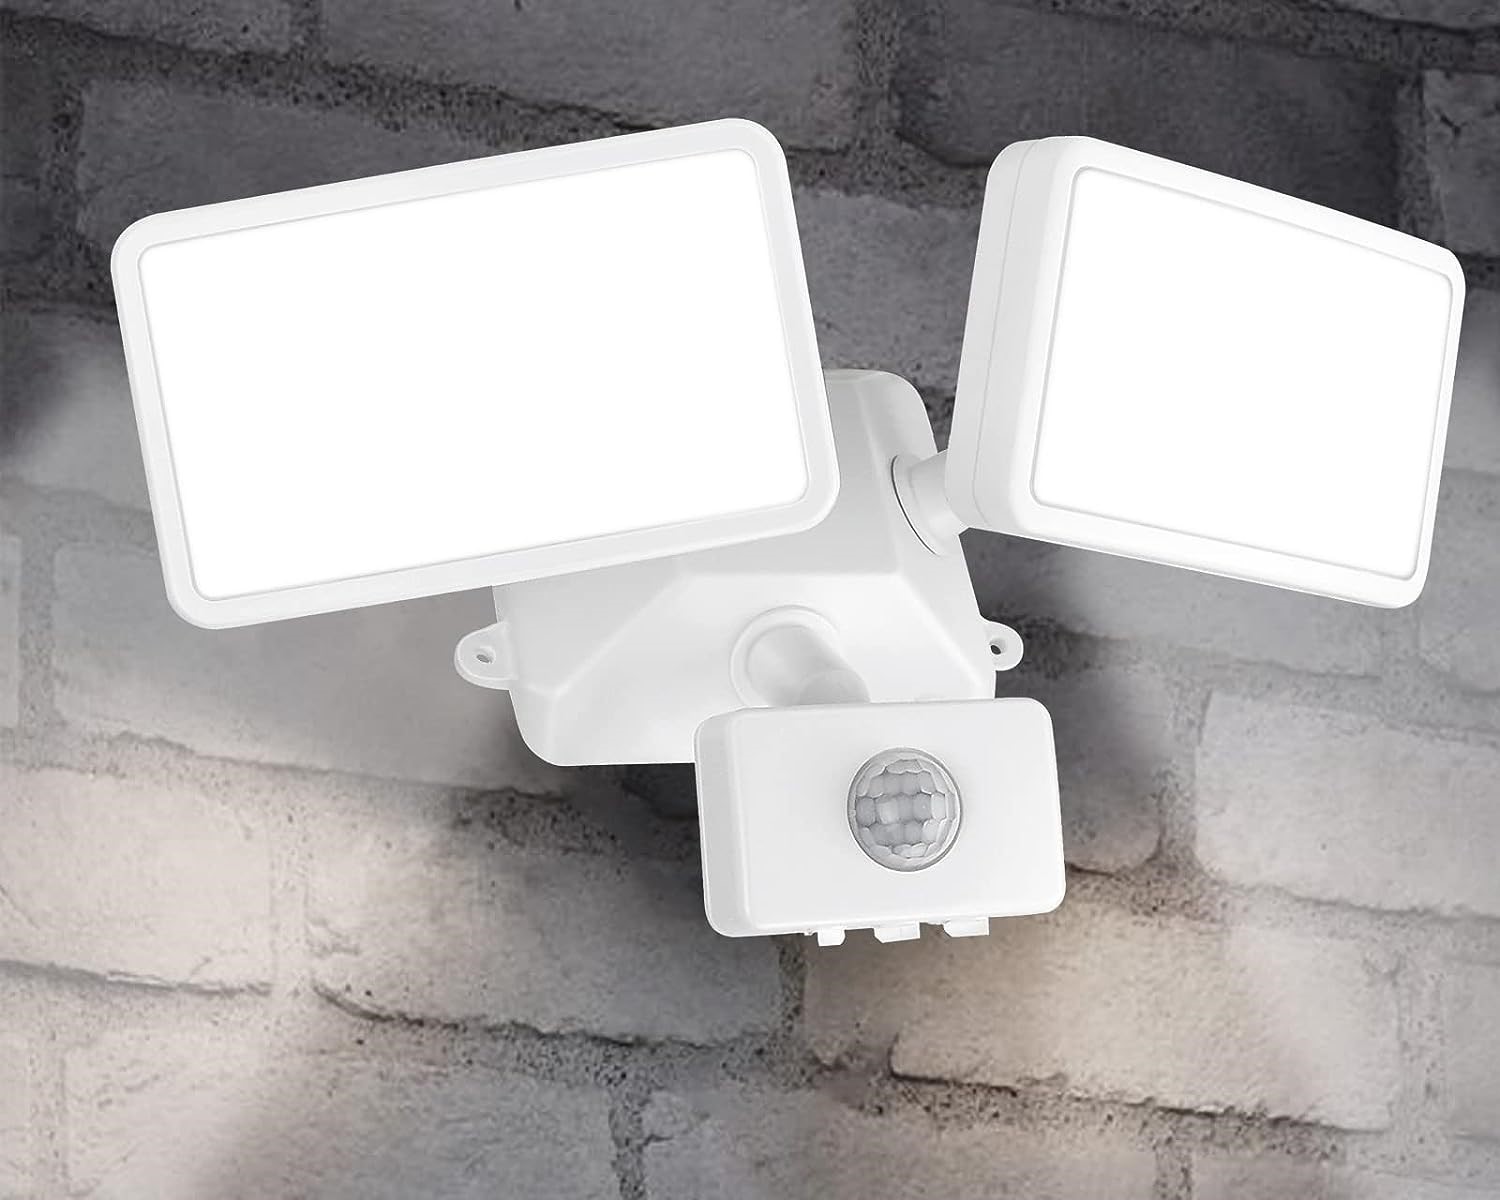
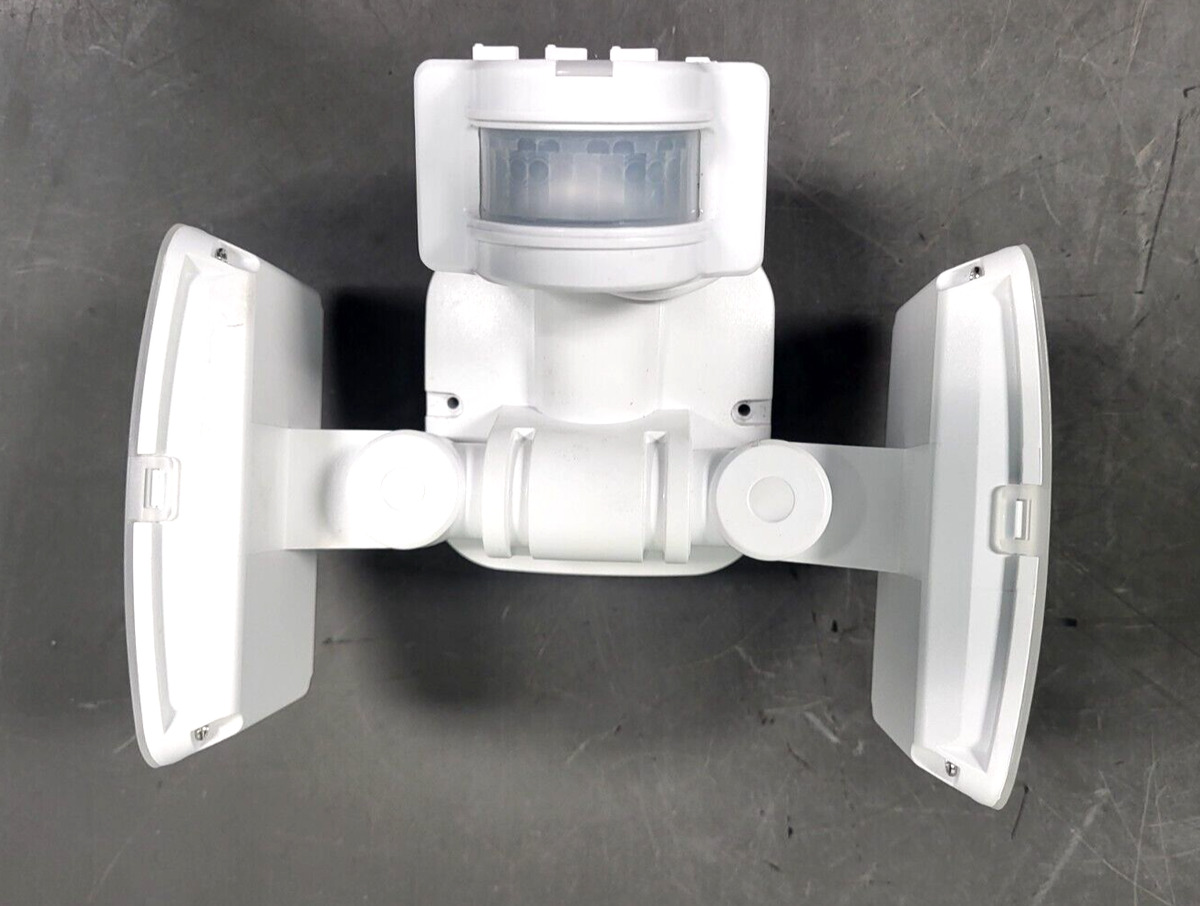
Welcome to this guide on how to take off a Defiant motion detector light. Motion detector lights are an excellent addition to any home security system, providing an extra layer of protection by illuminating the surrounding area when motion is detected. However, there may come a time when you need to remove or replace the motion detector light fixture.
Whether you are looking to upgrade to a newer model, perform maintenance, or simply remove the fixture for other reasons, this step-by-step guide will walk you through the process. By following these instructions and using the correct tools and techniques, you can safely and effectively remove a Defiant motion detector light.
Before we get started, it’s important to note that working with electricity can be dangerous. Always exercise caution when working with electrical connections and turn off the power supply before beginning any electrical work. If you are not comfortable or experienced with electrical work, it is recommended to seek the assistance of a licensed electrician.
Now, let’s dive into the necessary steps to remove a Defiant motion detector light and ensure a successful disinstallation process.
Key Takeaways:
- Safety first! Always turn off the power supply and use the right tools when removing a Defiant motion detector light to avoid electrical hazards. Seek professional help if you’re unsure.
- Whether you’re replacing the fixture or just doing maintenance, follow the step-by-step guide for a smooth disinstallation process. Don’t forget to test the light after reinstallation for added security!
Read more: How To Turn Off A Motion Detector Light
Step 1: Gather the necessary tools and materials
Before you start removing the Defiant motion detector light, it is important to gather all the necessary tools and materials. This will ensure that you have everything you need for a smooth and efficient disinstallation process. Here are the tools and materials you will need:
- Phillips screwdriver: This will be used to remove any screws holding the fixture in place.
- Flathead screwdriver: You may need this tool to pry open the motion sensor from the fixture.
- Voltage tester: This device is crucial for ensuring that the power supply is turned off before you begin working on the light fixture.
- Wire strippers: These are useful for removing the insulation from the wires when disconnecting them.
- Wire nuts: These small caps are used to securely connect and insulate the wires when reconnecting them.
- Electrical tape: This is used to further insulate the wire connections and provide added protection.
- New light fixture (optional): If you plan on replacing the motion detector light with a different fixture, make sure you have the new one ready.
Having these tools and materials on hand will make the process much smoother and minimize the chances of encountering any unexpected issues during the disinstallation. Take a moment to gather these items before proceeding to the next step.
Step 2: Turn off the power supply
Before beginning any work on the Defiant motion detector light, it is absolutely crucial to turn off the power supply to ensure your safety. This step will help prevent any accidental electrical shocks or damage.
To turn off the power supply, follow these steps:
- Locate the electrical panel or circuit breaker box in your home.
- Open the panel or box by removing the cover.
- Look for the breaker or switch labeled as “outdoor lights” or “motion detector light”.
- Flip the breaker switch to the “off” position or turn off the switch if it is a switch-style breaker.
After turning off the power supply, it is important to double-check that the light fixture is no longer receiving electricity. You can use a voltage tester to confirm that there is no power running to the fixture.
Simply place the voltage tester near the wires or connections, and if it does not detect any electrical current, it is safe to proceed. However, if the voltage tester indicates the presence of electricity, do not continue with the disinstallation process and seek the assistance of a qualified electrician.
Remember, safety should always be your top priority when working with electrical components. Taking the time to turn off the power supply and confirm its status will help ensure a safe and smooth disinstallation process.
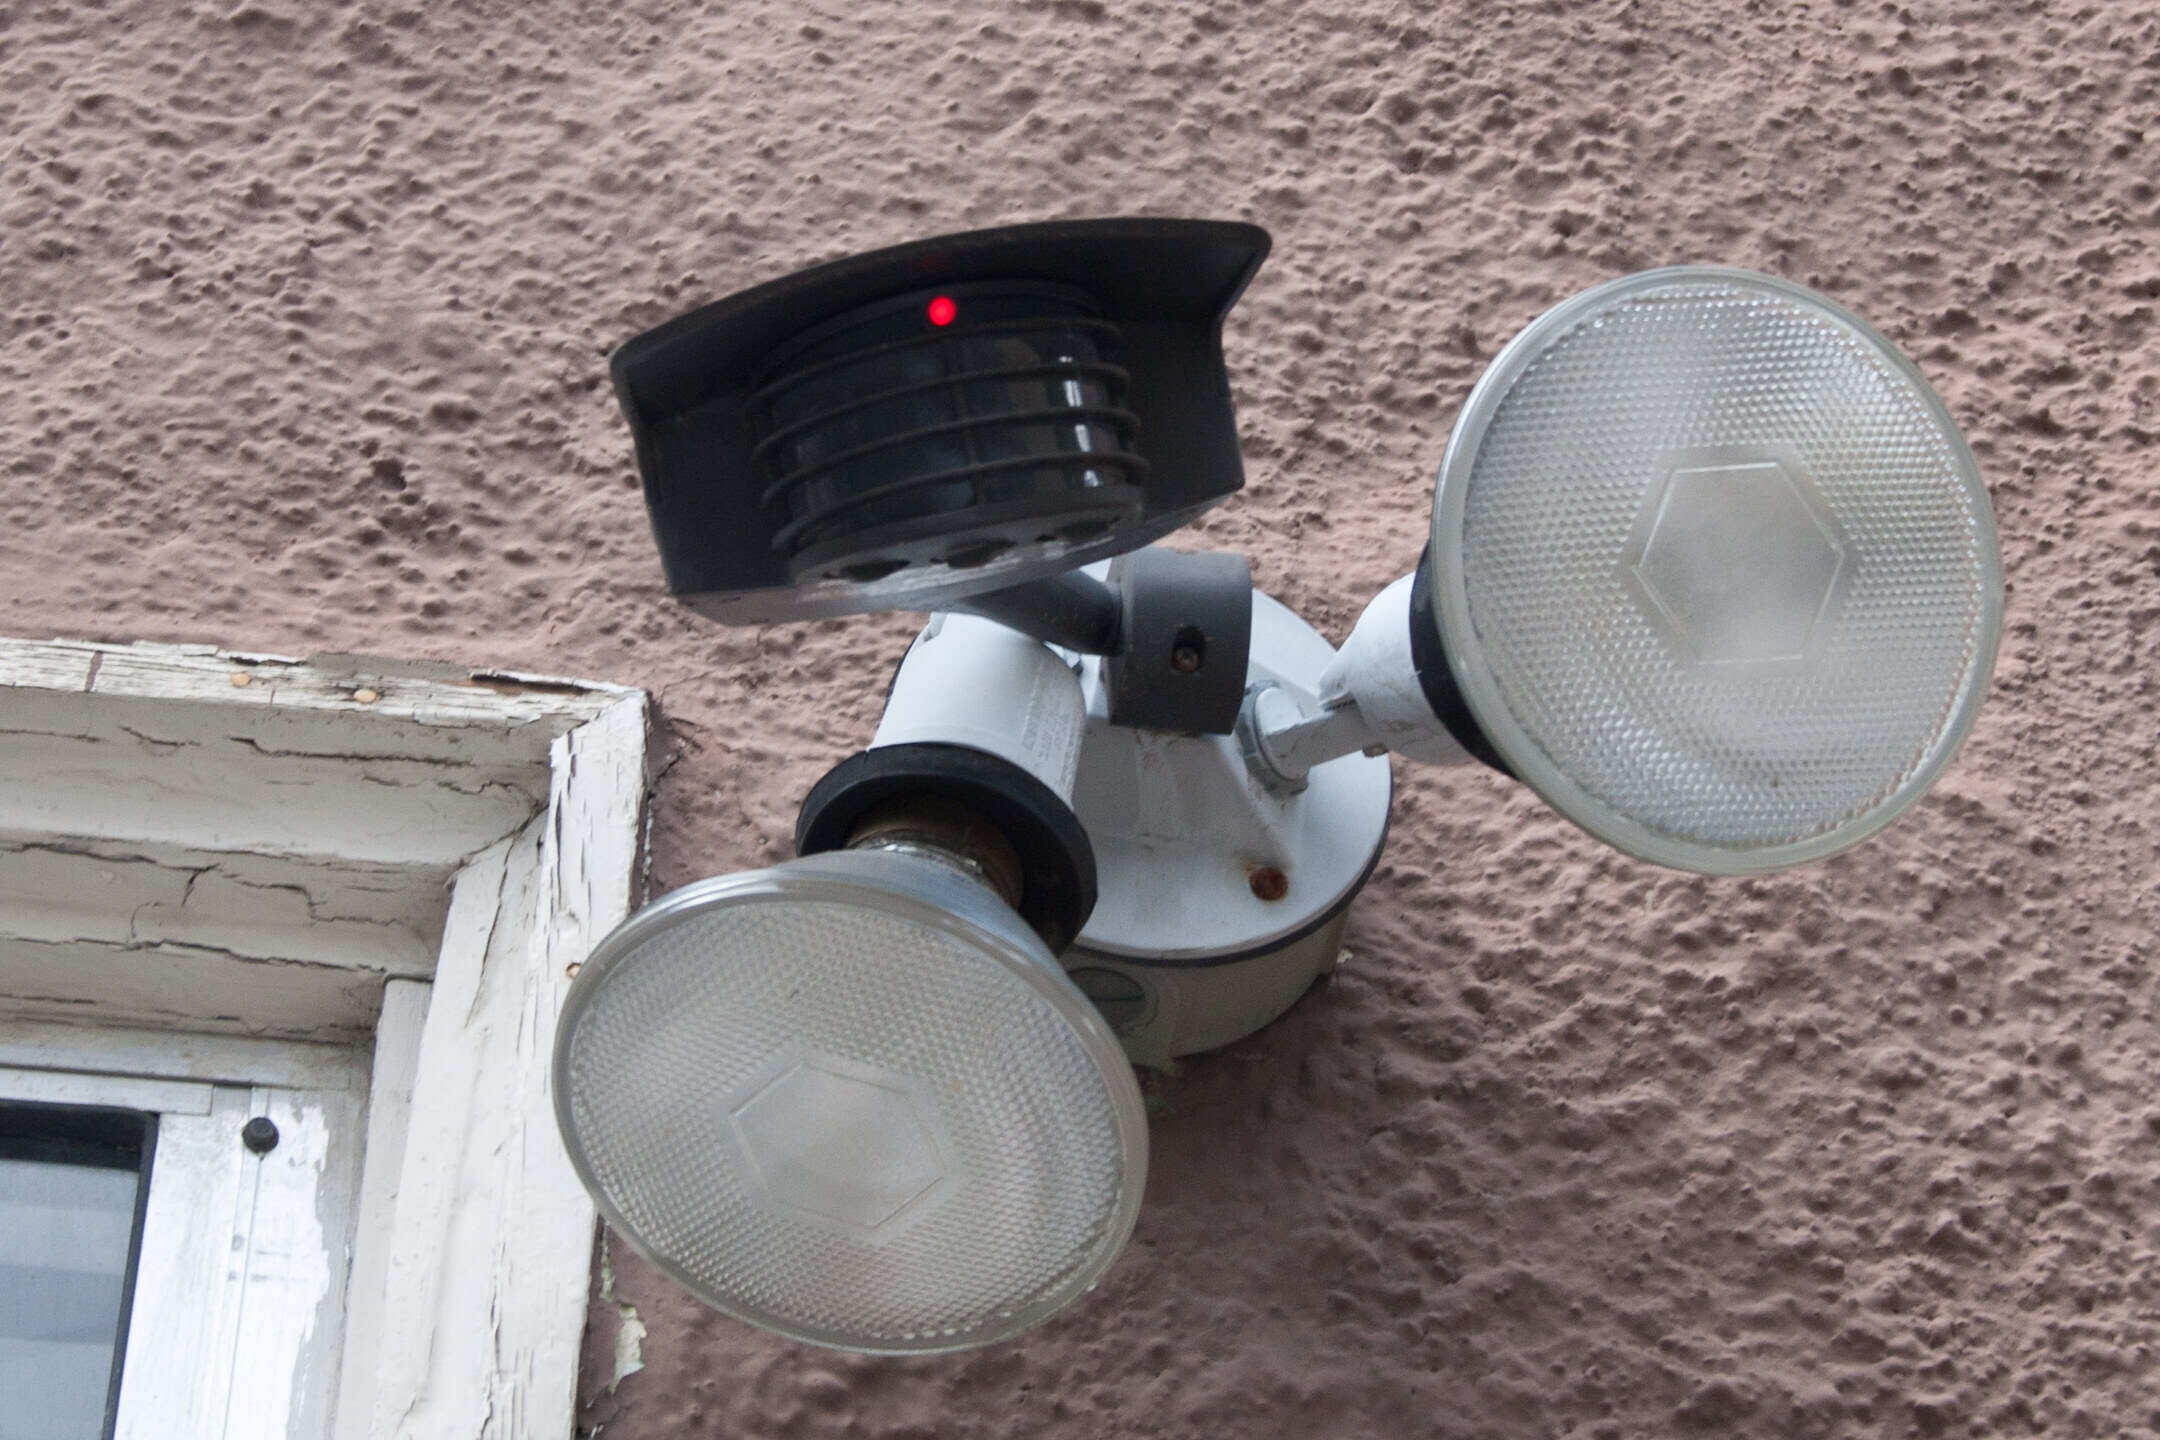
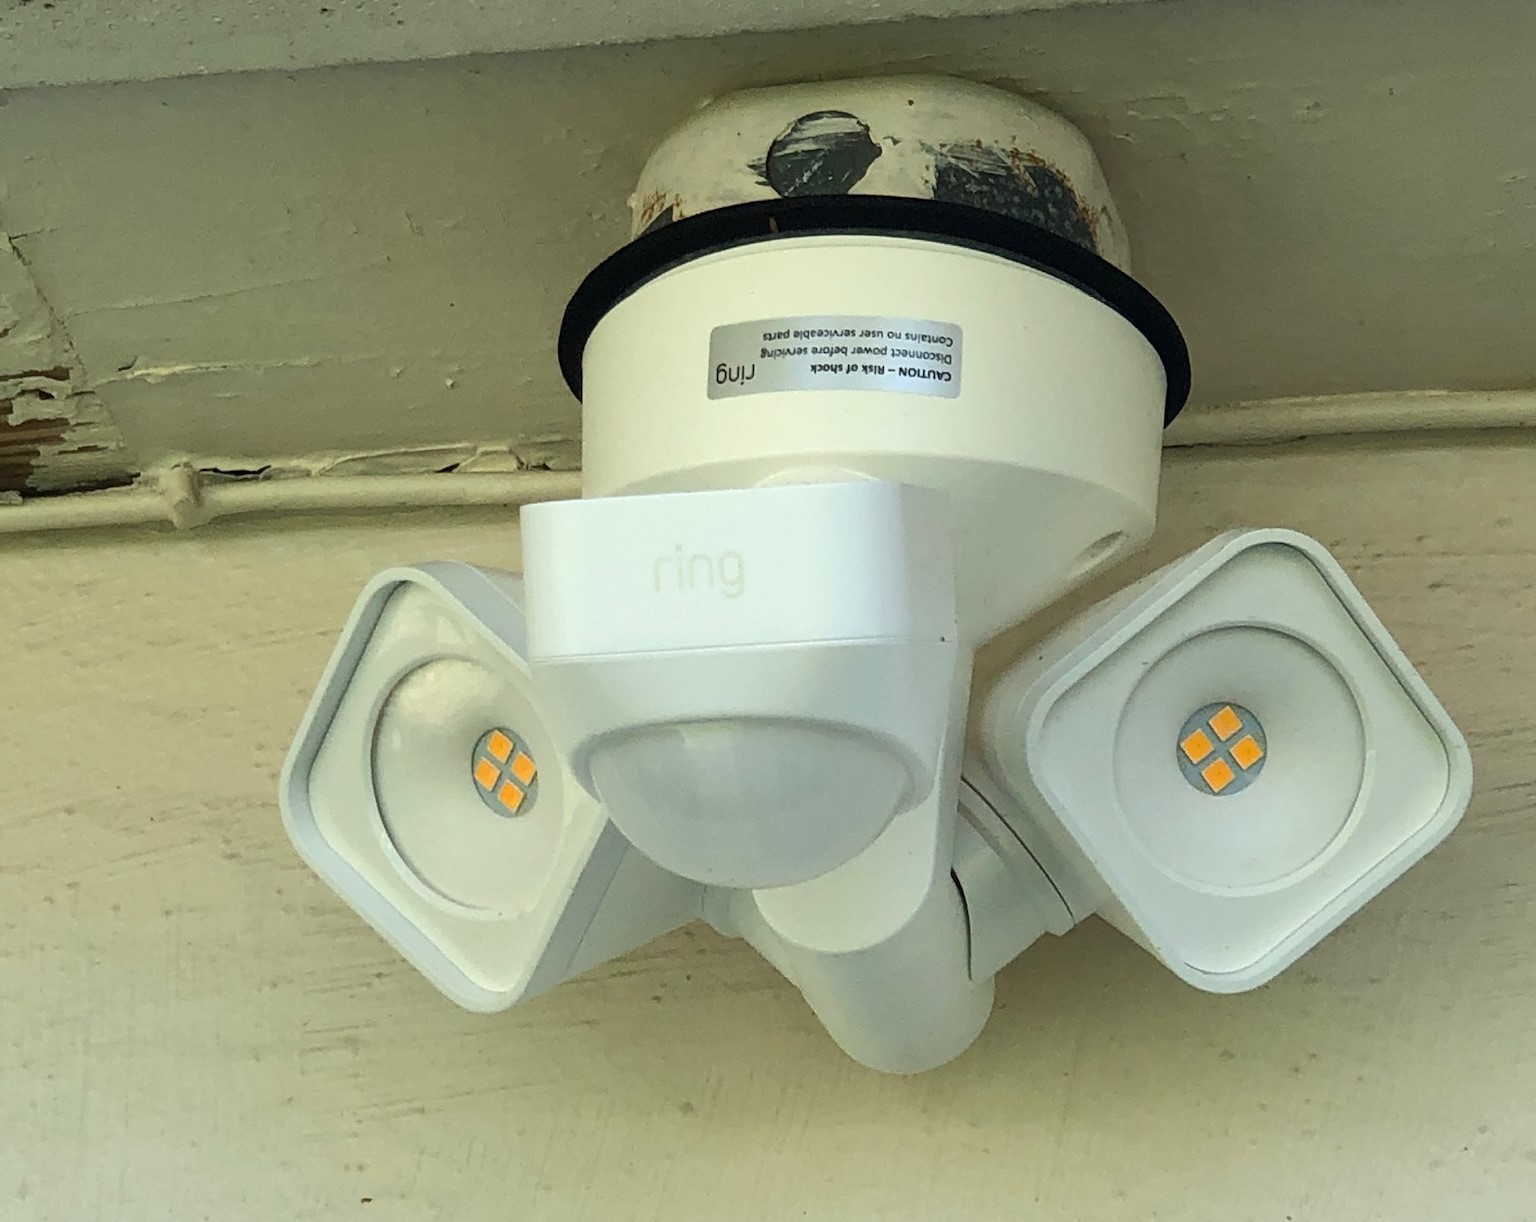
Step 3: Remove the motion detector light fixture
With the power supply turned off and confirmed, you can now proceed to remove the Defiant motion detector light fixture. This step will involve physically detaching the fixture from its mounting bracket or housing. Here’s how to do it:
- Start by inspecting the fixture for any visible screws or fasteners that are securing it to the mounting bracket. These screws are typically located at the top and bottom of the fixture.
- Using a Phillips screwdriver, carefully remove the screws by turning them counterclockwise. Set the screws aside in a safe place, as you may need them later.
- Once the screws are removed, gently pull the fixture away from the mounting bracket, taking care not to strain or damage the wires connected to it.
- If the fixture feels stuck or resistant, check for any additional attachment points or clips that may be securing it in place. Use a flathead screwdriver to carefully pry open any clips or release mechanisms.
- Continue to gently wiggle and pull the fixture until it is completely detached from the mounting bracket. Be mindful of any wire connections or cables that may still be attached.
It’s important to note that the process of removing the motion detector light fixture may vary depending on the specific model or design. Refer to the manufacturer’s instructions or consult a professional if you encounter any difficulties or uncertainties during this step.
Once the fixture is successfully removed, set it aside in a safe place. You can proceed to the next step to disconnect the wiring from the motion detector light.
Step 4: Disconnect the wiring
Now that the motion detector light fixture is removed, the next step is to disconnect the wiring. This involves separating the electrical connections that provide power to the fixture. Here’s how to do it:
- Inspect the wiring connections from the motion detector light fixture. You should see two or more wires protruding from the back or side of the fixture.
- Using wire strippers, carefully remove the insulation from the ends of the wires, exposing the bare copper or aluminum conductor.
- Once the wires are exposed, you will notice that they are twisted together and secured with wire nuts. Take note of which wires are connected together, as this will be important when reconnecting them later.
- To disconnect the wires, turn the wire nuts counterclockwise to loosen them. Once loose, simply untwist the wires and separate them from each other.
- Keep the wire nuts in a safe place, as they may be needed for reconnecting the wires later. Inspect the wires for any signs of damage or wear. If any wires appear frayed or damaged, they should be replaced.
It’s crucial to exercise caution when working with electrical connections. Make sure to handle the wires gently and avoid bending or damaging them. Take note of the wire colors and their corresponding locations, as this information will be essential when reconnecting the wires.
With the wiring now disconnected, you can proceed to the next step, which involves detaching the motion sensor from the fixture, if applicable.
Step 5: Detach the motion sensor from the fixture
In this step, we will focus on detaching the motion sensor from the fixture itself. This step is applicable if the motion sensor is a separate component that can be removed from the fixture. Here’s how to proceed:
- Inspect the motion sensor to locate any screws or fasteners that are holding it in place within the fixture. These screws are typically found on the sides or back of the sensor.
- Using a Phillips screwdriver, carefully unscrew these screws in a counterclockwise direction. Keep the screws in a secure location as they may be needed later for reassembling the fixture or installing a new motion sensor.
- Once the screws are removed, gently pull the motion sensor away from the fixture, taking note of any wire connections that may still be attached.
- If there are wires connected to the motion sensor, follow the same procedure mentioned in Step 4 to disconnect them. Remove any wire nuts and separate the wires carefully.
- Set the detached motion sensor aside in a safe place. If you plan on reusing it or installing a new one, make sure to keep it protected from any damage or debris.
It’s worth mentioning that not all motion detector light fixtures have detachable motion sensors. Some models may have the motion sensor integrated into the main fixture. In such cases, this step can be skipped, and you can proceed to the next step in the process.
Now that the motion sensor, if applicable, is detached, you’re ready to continue with the next steps of your motion detector light disinstallation process.
Before attempting to take off a defiant motion detector light, make sure to turn off the power at the circuit breaker to avoid any electrical accidents. Then, carefully remove the screws holding the light in place and disconnect the wiring.
Step 6: Install the new light fixture (optional)
If you plan on replacing your Defiant motion detector light with a new fixture, this step will guide you through the installation process. Installing a new light fixture can help improve the security and aesthetics of your home. Here’s how you can proceed:
- Prepare the new light fixture by following the manufacturer’s instructions. This may involve assembling different components or connecting wires.
- Position the new light fixture over the mounting bracket. Align any screw holes on the fixture with the corresponding holes on the bracket.
- Secure the new fixture in place by inserting and tightening the screws. Use a Phillips screwdriver to turn the screws clockwise until they are firmly secured.
- With the fixture attached, check that it is level and properly aligned. Make any necessary adjustments before proceeding.
- If the new fixture requires a motion sensor, follow the manufacturer’s instructions to install it. This may involve attaching the sensor to the fixture using screws or other methods.
It’s important to note that the installation process may vary based on the specific model and design of the new light fixture. Always refer to the manufacturer’s instructions for detailed guidance.
If wiring is involved in the installation, take extra care to connect the wires correctly. Match the corresponding wire colors (usually black to black, white to white, and green to green or bare copper) and secure them with wire nuts. Double-check all connections to ensure they are snug and well-insulated.
Once the new light fixture is installed, you can proceed to the next step to reconnect the wiring.
Step 7: Reconnect the wiring
Now that you’ve installed the new light fixture or if you’re simply reconnecting the wiring to the existing fixture, it’s time to reconnect the electrical connections. Properly connecting the wires is essential for the safe and efficient operation of your Defiant motion detector light. Follow these steps to reconnect the wiring:
- Inspect the wires and ensure they are clean, free of any damages, and properly stripped.
- Identify the corresponding wires. Typically, you’ll see black, white, and green or bare copper wires.
- Connect the black wires together by twisting them clockwise and secure them with a wire nut. It’s important to ensure a tight connection to prevent any loose or exposed wires.
- Next, join the white wires in the same manner, twisting them clockwise and securing them with a wire nut.
- If there is a green or bare copper wire, connect it to the grounding wire or grounding screw on the fixture. This wire is used for grounding the fixture and providing safety against electrical faults.
- After making the connections, gently tug on each wire to ensure they are secure and won’t come loose.
Pay close attention to the wire connections, as incorrect wiring can lead to malfunctioning of the fixture or pose a safety hazard. If you’re uncertain about the wiring or have any doubts, it’s advisable to consult a professional electrician for assistance.
Once the wiring is properly connected, proceed to the next step to mount the motion sensor, if applicable.
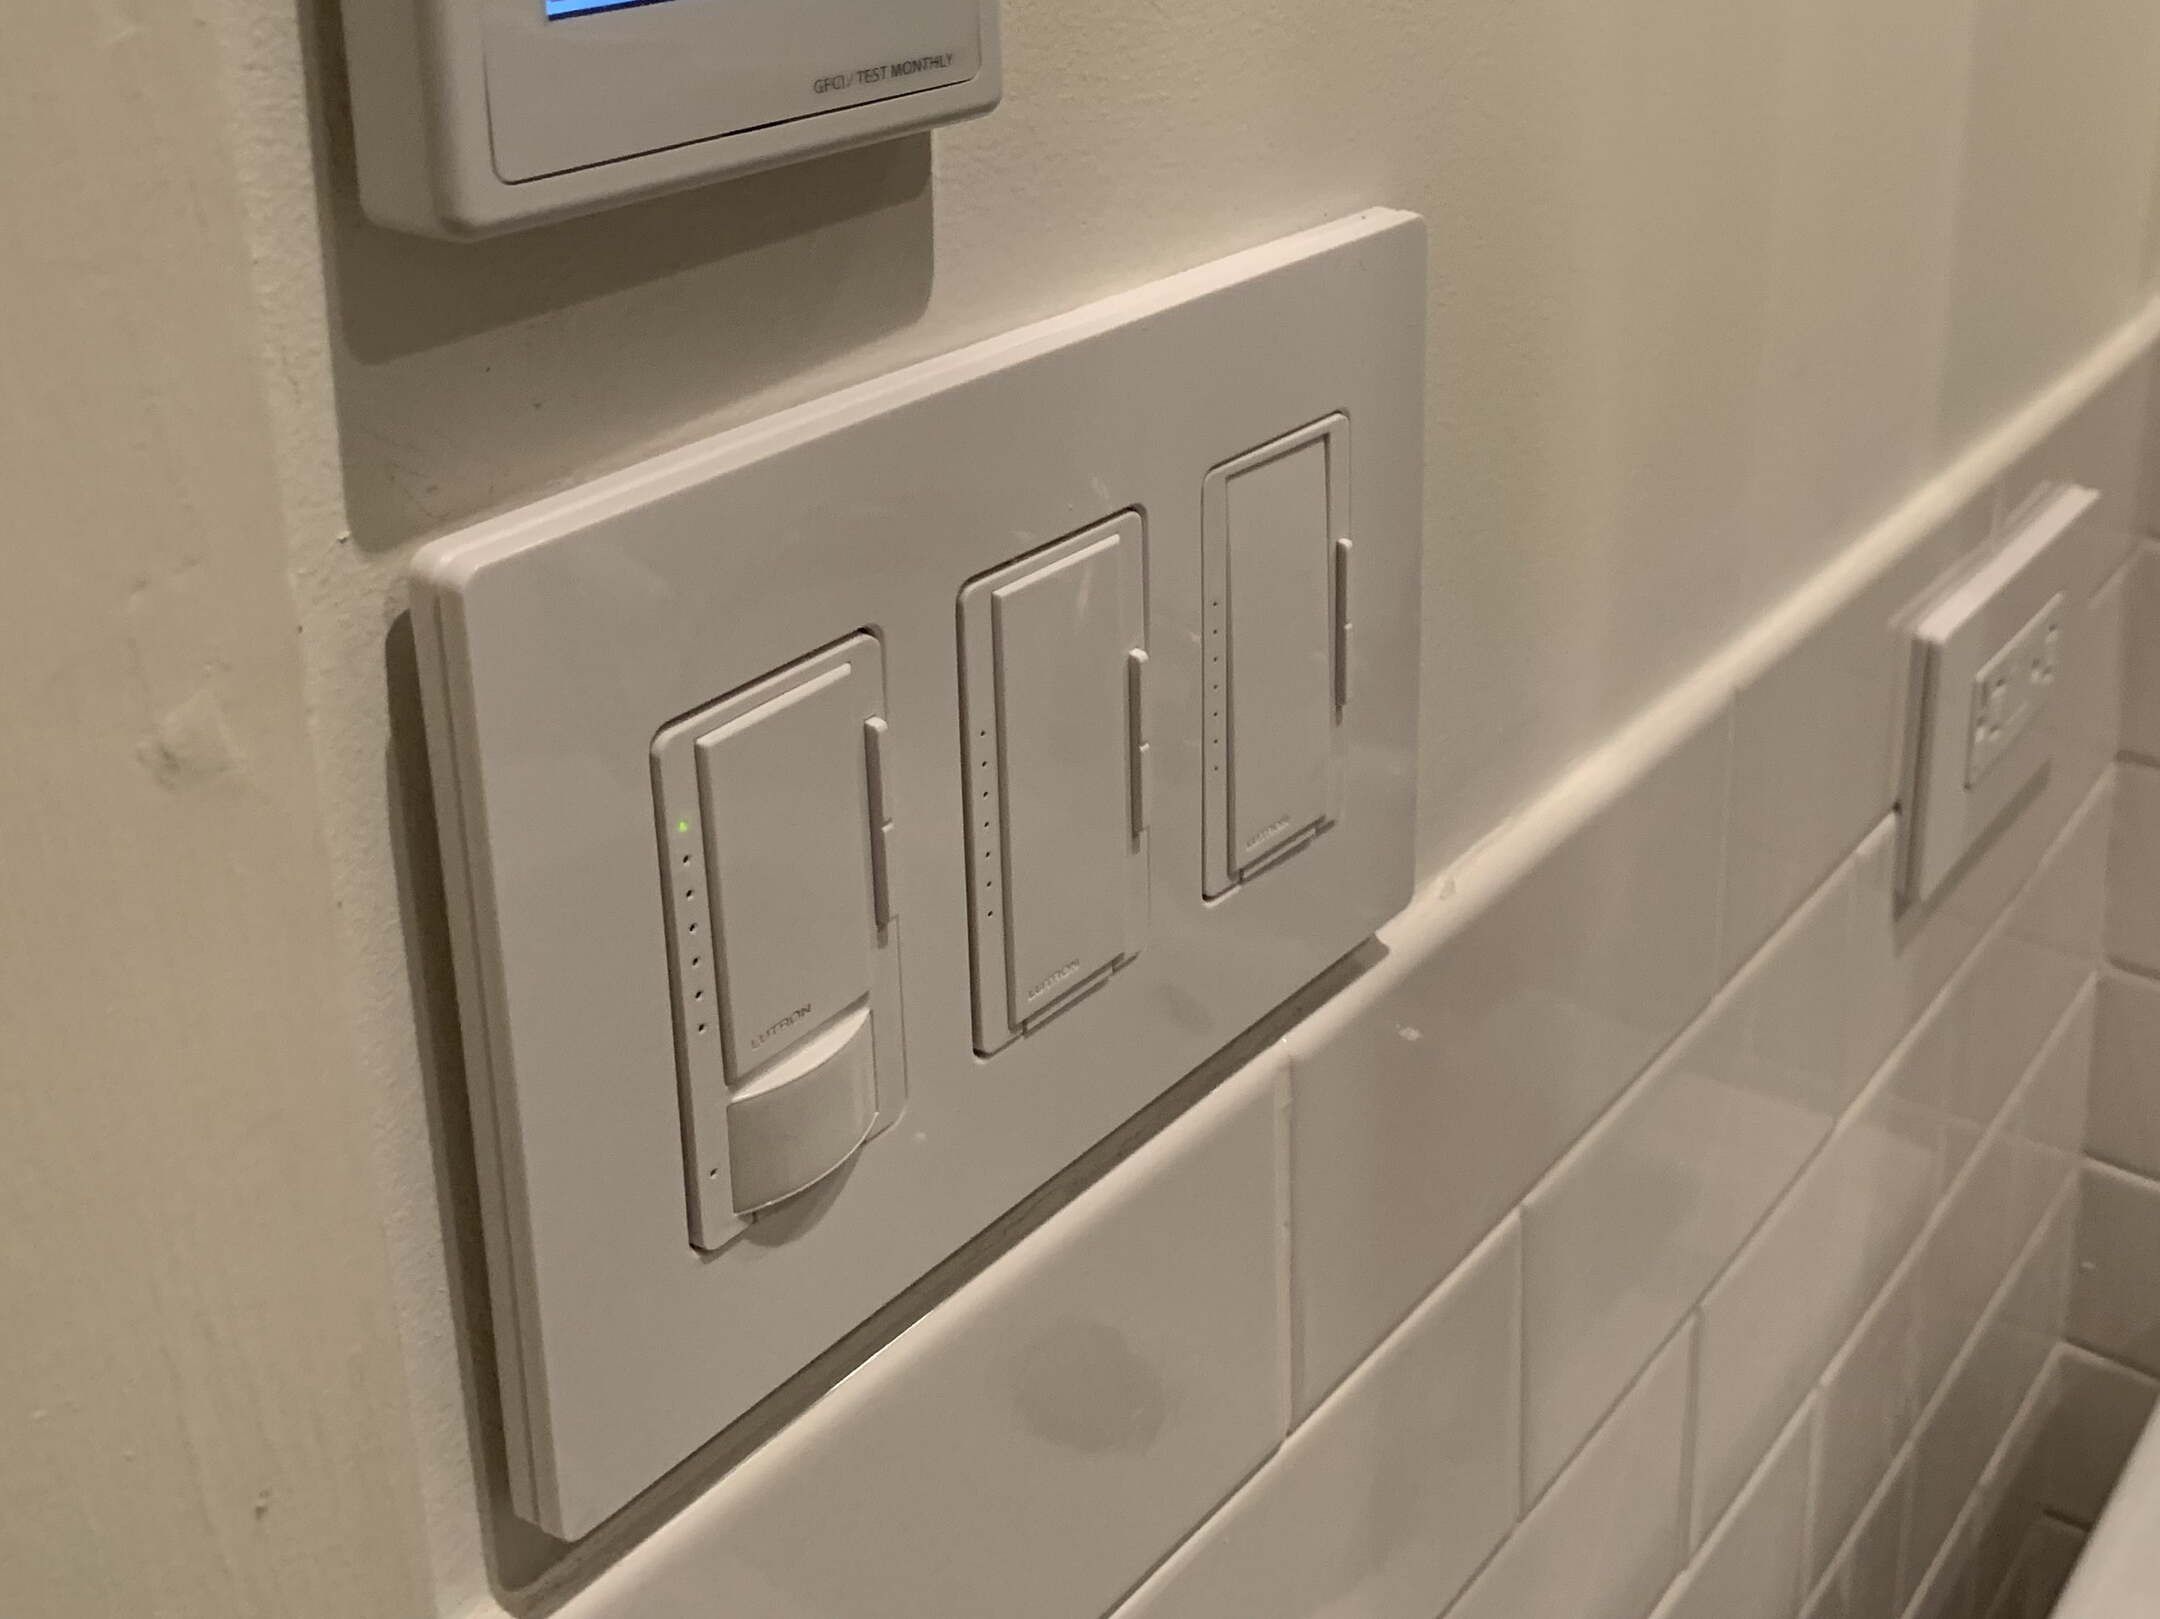
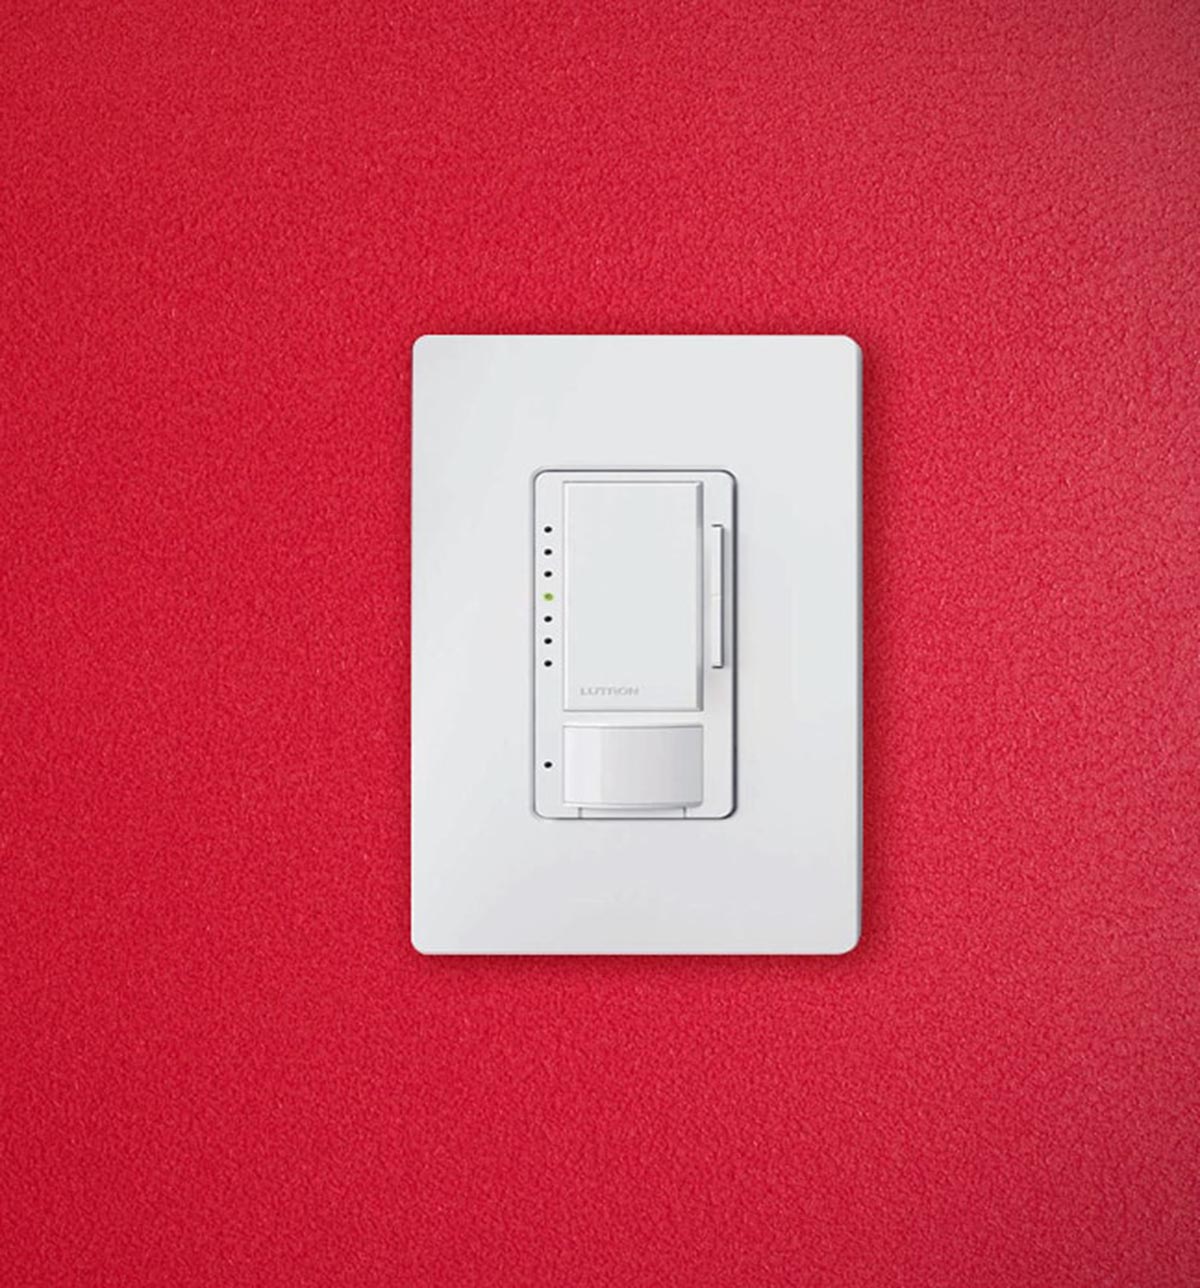
Step 8: Mount the motion sensor (optional)
If your Defiant motion detector light has a separate motion sensor that was detached in a previous step or if you’re installing a new motion sensor, this step will guide you in mounting it correctly. Properly mounting the motion sensor ensures optimal detection and functionality. Follow these steps to mount the motion sensor:
- Locate the mounting bracket or base for the motion sensor. This is typically included with the motion sensor or may already be attached to the fixture.
- Position the mounting bracket in the desired location where you want the motion sensor to be installed. Choose a spot that allows for maximum coverage and detection range.
- Using screws or other fastening methods provided with the motion sensor, secure the mounting bracket to the desired location. Ensure that it is secure and stable.
- If the motion sensor has an adjustable angle or range, set it according to your preferred specifications. Follow the manufacturer’s instructions for adjusting the sensor’s settings.
- Attach the motion sensor to the mounting bracket by aligning the sensor’s screw holes with the corresponding holes on the bracket. Use the provided screws and tighten them to secure the motion sensor in place.
It’s worth noting that different models of Defiant motion detectors may have specific instructions or mounting requirements. Always refer to the manufacturer’s instructions for detailed guidance on mounting the specific motion sensor you have.
Before proceeding to the next step, take a moment to ensure that the motion sensor is securely mounted, aligned correctly, and ready to detect motion effectively.
Step 9: Turn on the power supply
With the wiring connections, motion sensor (if applicable), and any optional steps completed, you are now ready to turn on the power supply and restore electricity to your Defiant motion detector light. Follow these steps to safely turn on the power:
- Locate the electrical panel or circuit breaker box in your home.
- Open the panel or box by removing the cover.
- Find the breaker or switch labeled as “outdoor lights” or “motion detector light”.
- Flip the breaker switch to the “on” position or turn on the switch if it is a switch-style breaker.
After turning on the power supply, your Defiant motion detector light should be receiving electricity. Take a moment to observe and ensure that everything is functioning correctly.
Test the motion detector by moving within its detection range. The light should activate and illuminate the area. If the light does not turn on or the motion sensor is not detecting motion properly, double-check your wiring connections and make sure they are secure.
Remember to exercise caution and remain aware of your surroundings when testing the motion detector light. Be mindful of any potential obstacles and ensure that the light is providing the desired level of illumination.
Congratulations! You have successfully turned on the power supply and completed the disinstallation and/or installation process of your Defiant motion detector light.
Now, you can enjoy the benefits of a functioning security light that enhances the safety and security of your home.
Conclusion
In conclusion, removing or replacing a Defiant motion detector light is a straightforward process when you follow the proper steps and guidelines. By taking the time to gather the necessary tools and materials, turning off the power supply, removing the fixture, disconnecting the wiring, and, if applicable, detaching the motion sensor, you can safely and effectively complete the disinstallation process.
If you choose to install a new light fixture or mount a new motion sensor, remember to follow the manufacturer’s instructions and ensure proper wiring connections and secure mounting. Safety should always be a top priority, so it’s essential to exercise caution and, if needed, seek the assistance of a professional electrician.
Once the disinstallation and/or installation process is complete, you can turn on the power supply and test your Defiant motion detector light. Enjoy the added security and peace of mind that comes with a properly functioning motion detector light system.
Remember, regular maintenance and cleaning of your motion detector light are important to ensure its optimal performance. Keep the sensor area clean from dust, debris, and obstructions, and periodically check the light bulbs for any signs of damage or wear.
We hope that this guide has provided you with the necessary knowledge and guidance to successfully take off a Defiant motion detector light. With these steps in mind, you can confidently navigate the process and ensure a smooth and efficient disinstallation or installation experience.
Thank you for reading, and we wish you all the best in your home security and surveillance endeavors!
Once you've mastered removing your Defiant motion detector light, consider keeping that security feature active longer with our guide on how to keep the motion detector light on. Security isn't just about lighting; delve into our detailed discussion on why having robust home security systems is a game-changer for your peace of mind. Both guides are packed with practical tips, ensuring you make the most of your home's protective measures.
Frequently Asked Questions about How To Take Off A Defiant Motion Detector Light
Was this page helpful?
At Storables.com, we guarantee accurate and reliable information. Our content, validated by Expert Board Contributors, is crafted following stringent Editorial Policies. We're committed to providing you with well-researched, expert-backed insights for all your informational needs.