Home>Home Security and Surveillance>How To Wire Window Sensors For Alarm Systems
Home Security and Surveillance
How To Wire Window Sensors For Alarm Systems
Modified: August 17, 2024
Learn how to wire window sensors for alarm systems to enhance your home security and surveillance. Secure your property and keep your loved ones safe.
(Many of the links in this article redirect to a specific reviewed product. Your purchase of these products through affiliate links helps to generate commission for Storables.com, at no extra cost. Learn more)
Introduction
Welcome to the world of home security and surveillance. When it comes to protecting your home and loved ones, it’s important to have reliable and effective security measures in place. One essential component of any home security system is window sensors. These small devices are designed to detect when a window is opened or broken, providing an additional layer of protection against potential intruders.
In this article, we will take a closer look at window sensors and explore how they can be wired into your alarm system. We will also discuss the different types of window sensors available and provide an easy-to-follow guide on how to wire them properly.
Before we delve into the specifics, it is important to understand the role that window sensors play in a comprehensive home security setup. While door sensors are crucial in detecting unauthorized entry through main entrances, window sensors provide an extra line of defense by monitoring potential points of entry that may be more vulnerable.
Window sensors typically consist of two main components: a contact and a magnet. The contact is attached to the window frame, while the magnet is placed on the window itself. When the window is closed, the magnet aligns with the contact, creating a closed circuit. When the window is opened, the magnet moves away from the contact, breaking the circuit and triggering an alarm.
Now let’s explore the different types of window sensors available:
Key Takeaways:
- Window sensors are essential for home security, detecting unauthorized window openings. They consist of a contact and magnet, and can be wired directly into your alarm system for added protection.
- Different types of window sensors, such as magnetic, glass break, and vibration sensors, offer unique features to suit your home security needs. Proper installation and regular testing ensure optimal functionality.
Understanding Window Sensors
Window sensors are an integral part of any home security system. They are designed to detect and alert homeowners of any unauthorized attempts to open or break a window. By installing window sensors on all accessible windows in your home, you can significantly enhance the overall security and peace of mind.
There are two main types of window sensors that are commonly used:
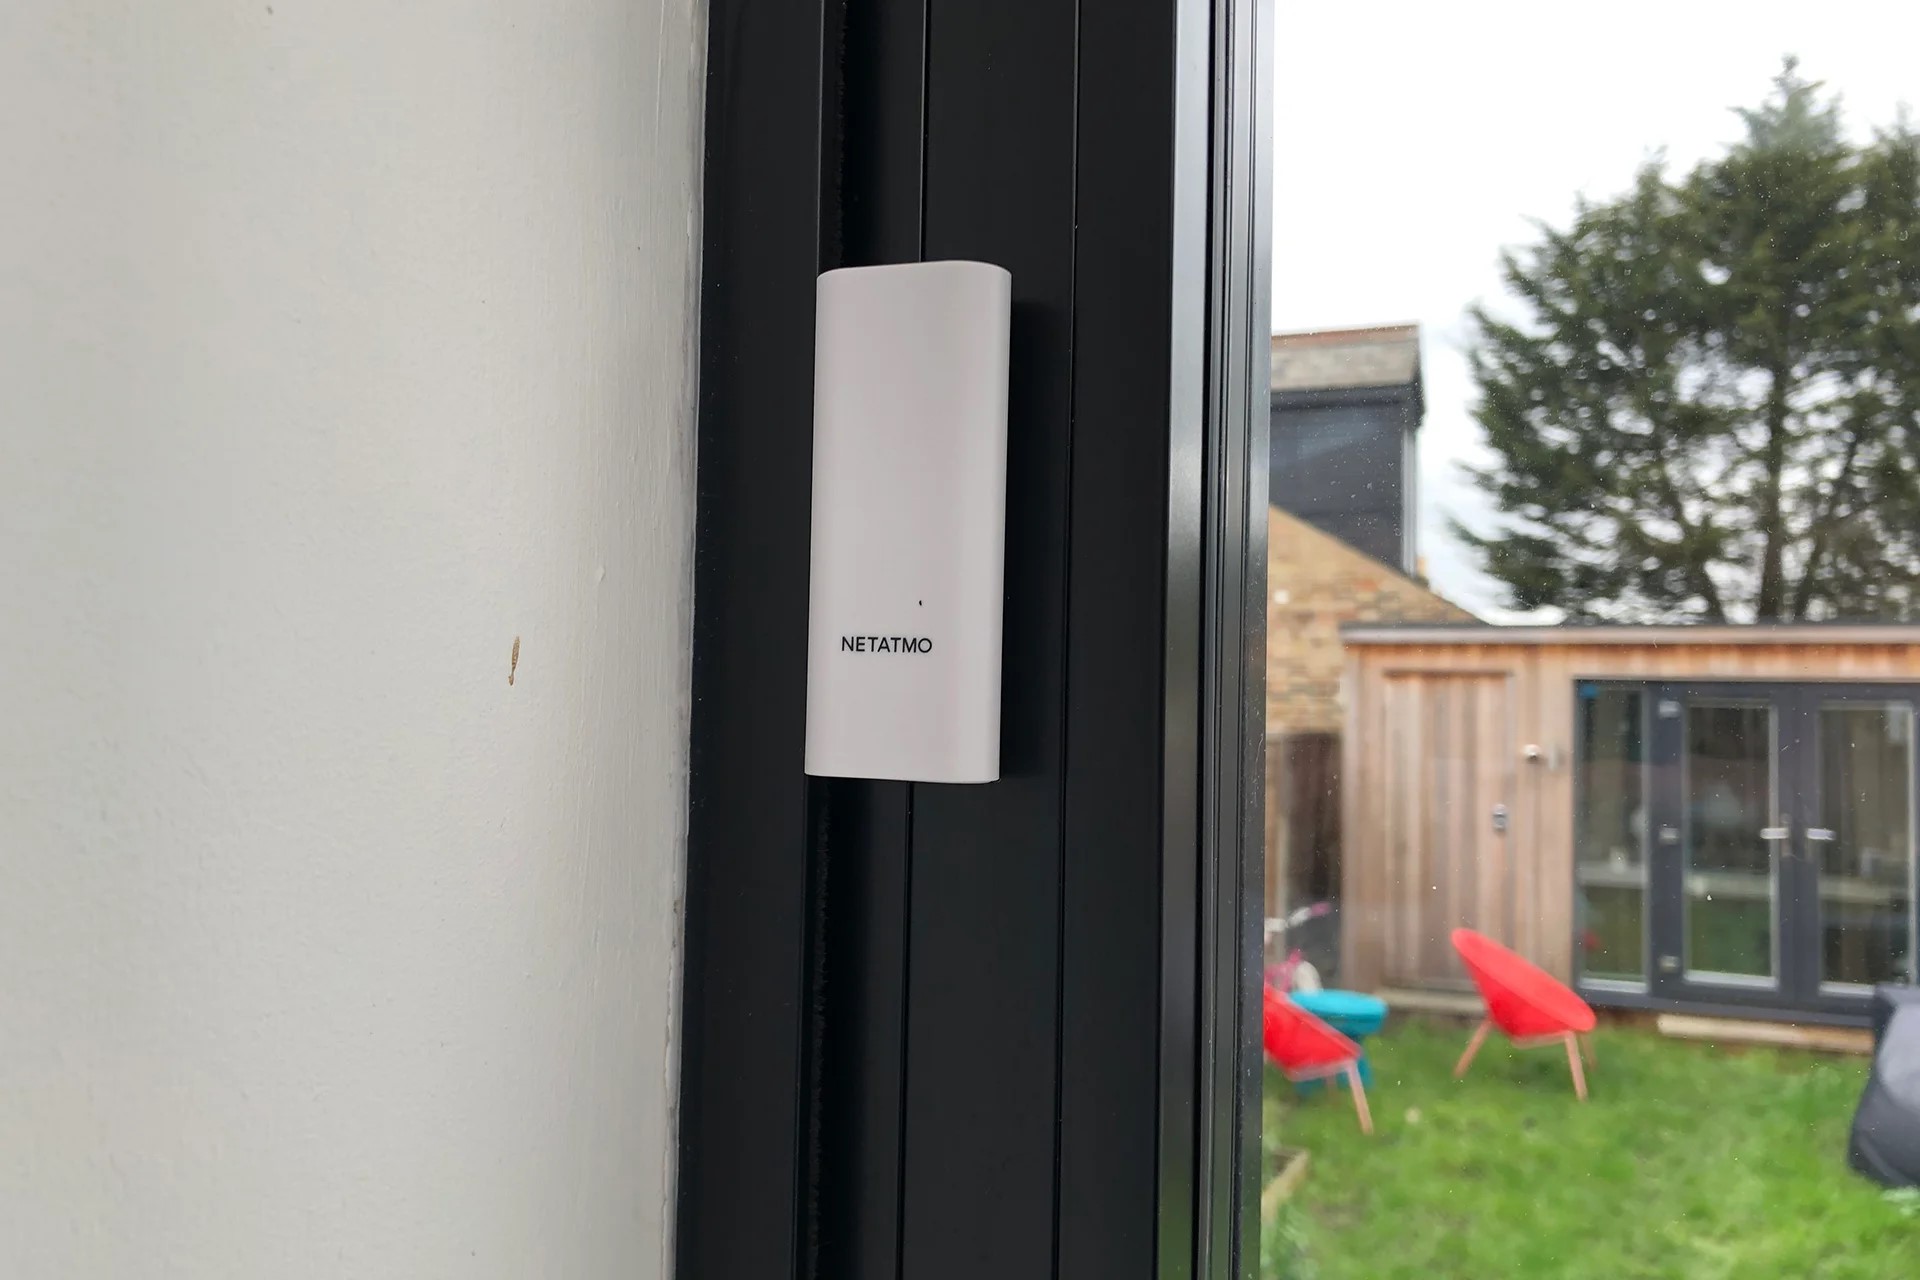
- Magnetic Window Sensors: These sensors consist of two parts – a contact and a magnet. The contact is typically installed on the window frame, while the magnet is attached to the window itself. When the window is closed, the magnet aligns with the contact, creating a closed circuit. If the window is opened or broken, the magnet moves away from the contact, breaking the circuit and triggering the alarm.
- Break Glass Window Sensors: These sensors are equipped with a small microphone that is able to detect the sound of breaking glass. When the glass on the window is shattered, the sensor picks up the sound and triggers the alarm. Break glass window sensors are especially useful if you have windows that cannot accommodate magnetic sensors, such as casement or sliding windows.
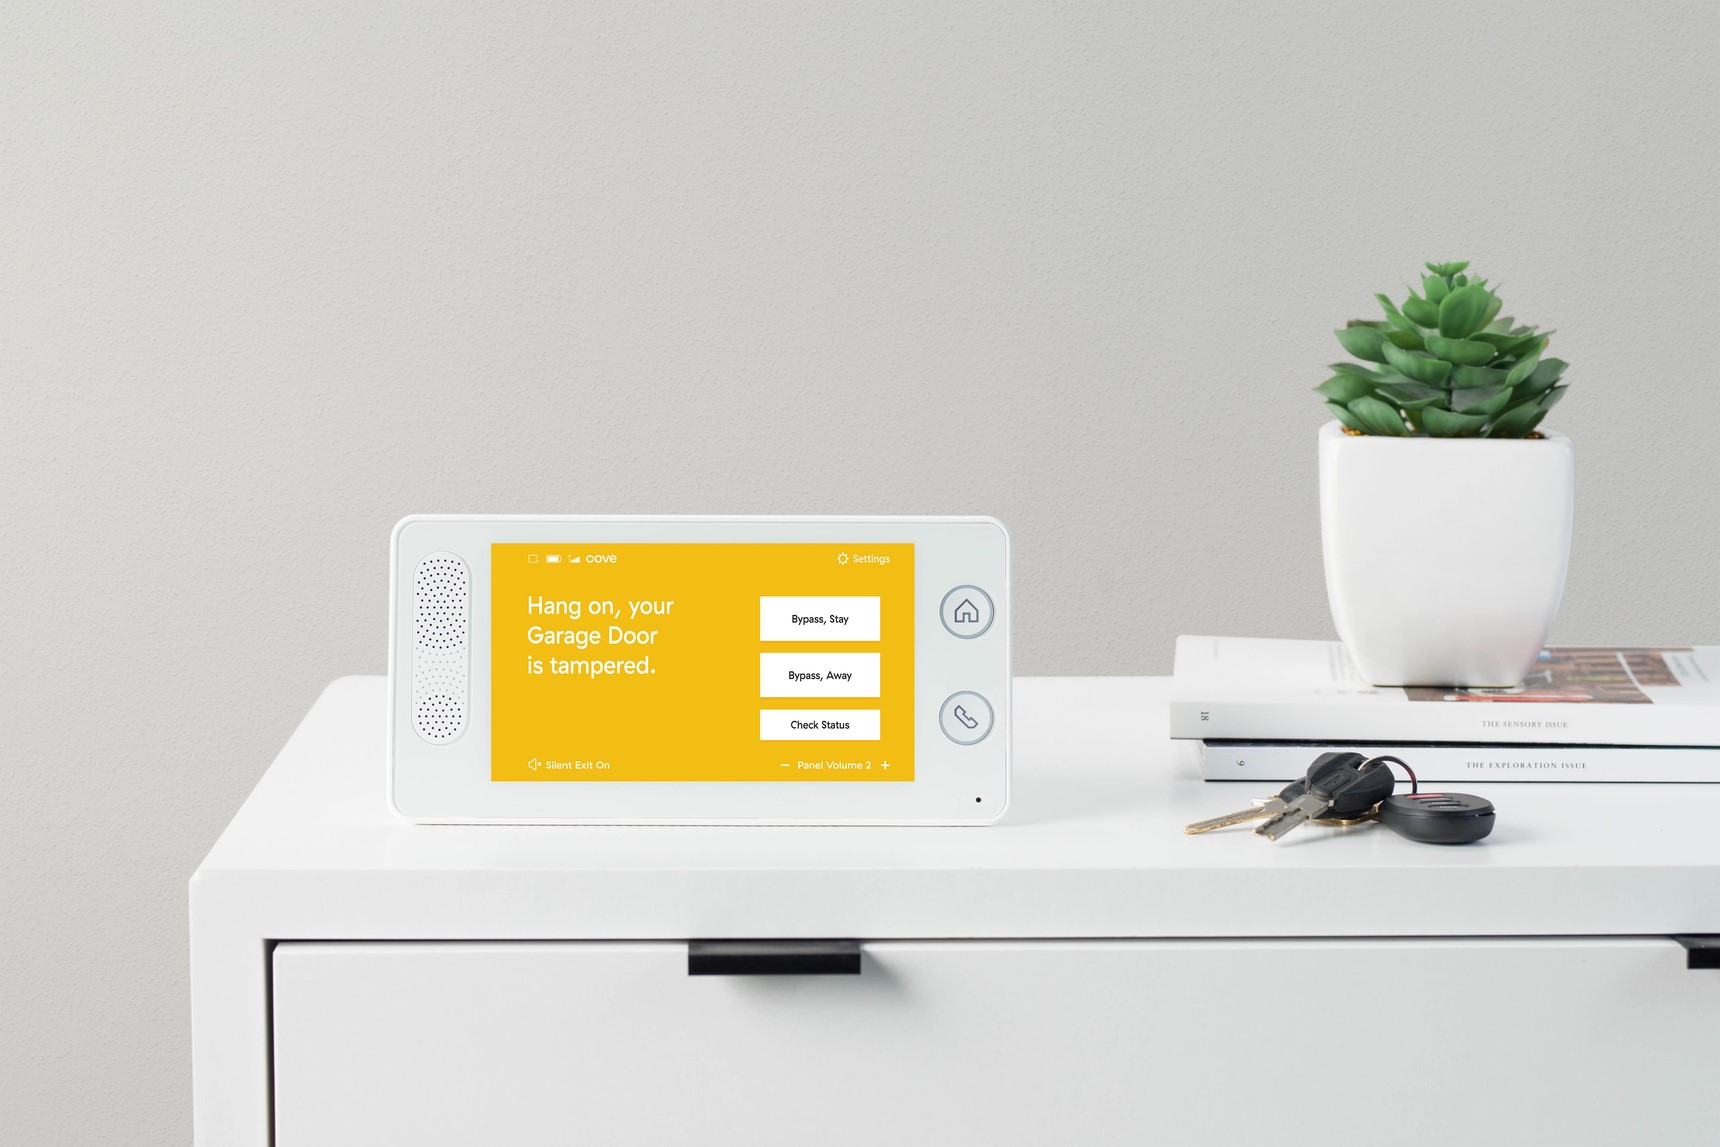
Window sensors can be wired directly into your alarm system, allowing for seamless integration and monitoring. They are typically installed on each accessible window in your home, providing an extra layer of protection against potential intruders.
Aside from the standard functionality of detecting window openings and breakages, some window sensors also offer additional features such as tamper detection. This means that if someone attempts to tamper with or remove the sensor, it will also trigger the alarm, adding an extra level of security to your home.
It is important to keep in mind that different manufacturers may have slightly different wiring requirements for their sensors. Therefore, it is crucial to carefully read and follow the manufacturer’s instructions when wiring window sensors into your alarm system.
Now that we have a better understanding of window sensors, let’s take a look at the tools and materials you will need for the wiring process.
Types of Window Sensors
When it comes to protecting your home with window sensors, there are several different types to choose from. Each type has its own unique features and benefits. Understanding the different options available can help you make an informed decision on which sensor is best suited for your home security needs.
1. Magnetic Window Sensors: These are the most common and widely used type of window sensors. As mentioned earlier, magnetic window sensors consist of a contact and a magnet. The contact is typically installed on the window frame, while the magnet is attached to the window itself. When the window is closed, the magnet aligns with the contact, creating a closed circuit. If the window is opened or broken, the magnet moves away from the contact, breaking the circuit and triggering the alarm.
Magnetic window sensors are easy to install and provide reliable detection. They are suitable for most types of windows and offer a cost-effective solution for securing your home.
2. Glass Break Sensors: Glass break sensors are designed to detect the sound frequencies associated with breaking glass. These sensors use advanced technology to analyze the acoustic pattern and distinguish it from other noises in the surrounding environment. When the sensor detects the specific sound signature of breaking glass, it triggers the alarm.
Glass break sensors are particularly useful for large windows or areas where multiple windows are close together. They provide coverage for a wider area and are less prone to false alarms caused by accidental contact or vibrations on the window.
3. Vibration Sensors: Vibration sensors are another type of window sensor that can detect movement or vibration on the window itself. They are typically attached to the frame or glass of the window and can detect any attempts to force open or tamper with the window. When the sensor detects unusual vibrations, it triggers the alarm.
Vibration sensors are often used in conjunction with other types of window sensors to provide additional security. They are especially effective in preventing forced entry by detecting attempts to break or pry open windows.
4. Motion Sensors: While not specifically designed for windows, motion sensors can also be used effectively to monitor windows and detect any movement within the vicinity. These sensors use infrared technology to detect changes in heat patterns, allowing them to detect the presence of a person or animal near the window.
Motion sensors are typically placed in strategic locations to cover a wide area and can be a valuable addition to your home security system. However, it’s important to note that they may also detect normal household movements, such as pets or shifting curtains, which can lead to false alarms if not properly calibrated.
Now that we have explored the different types of window sensors, let’s move on to the tools and materials you will need for the wiring process.
Tools and Materials Needed
Before you can start wiring window sensors into your home security system, it’s important to gather the necessary tools and materials. Having everything you need at hand will ensure a smooth and efficient installation process. Here is a list of the tools and materials you will need:
1. Window Sensors: Depending on the type of window sensors you choose, make sure you have enough sensors to cover all accessible windows in your home. Consider the different types available and select the ones that best suit your needs.
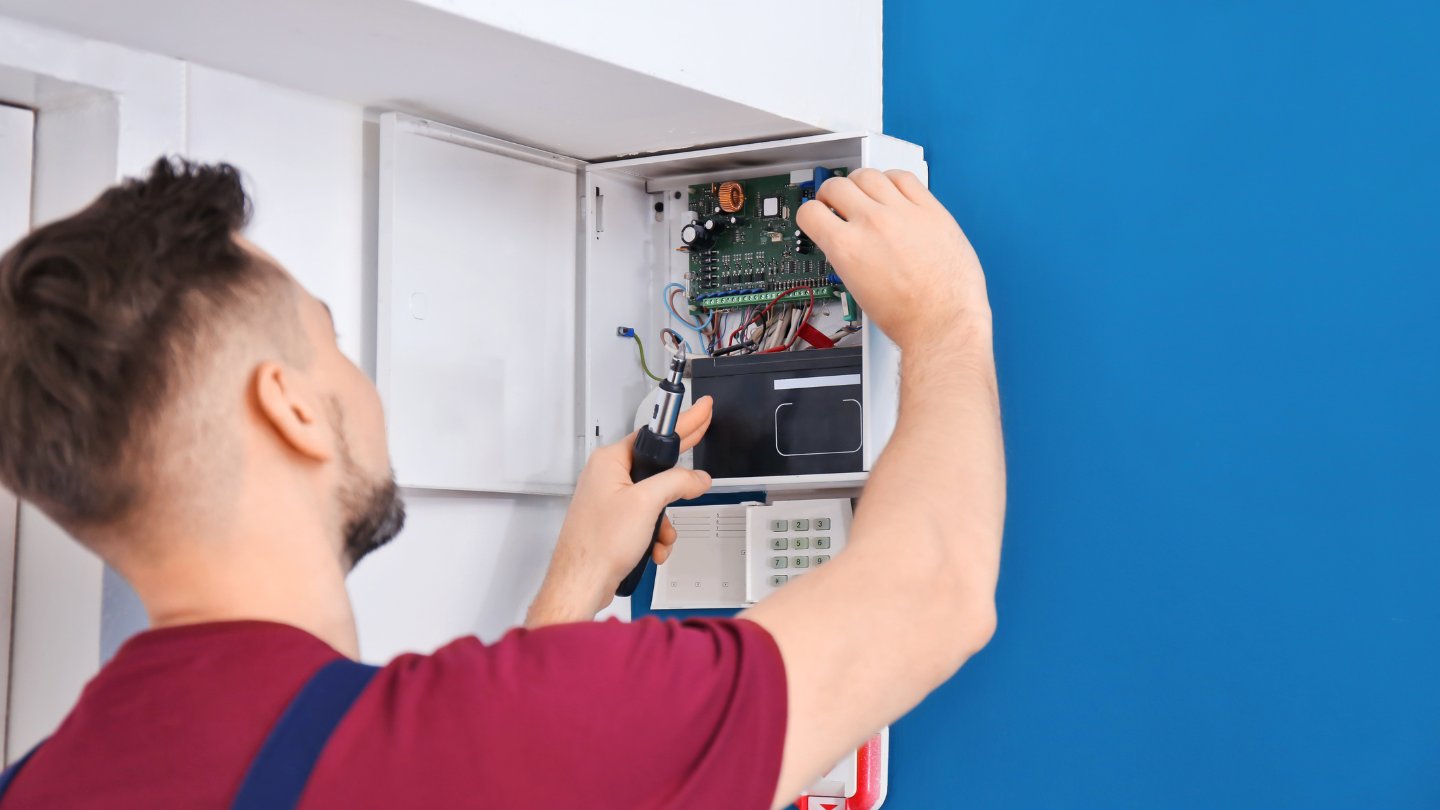
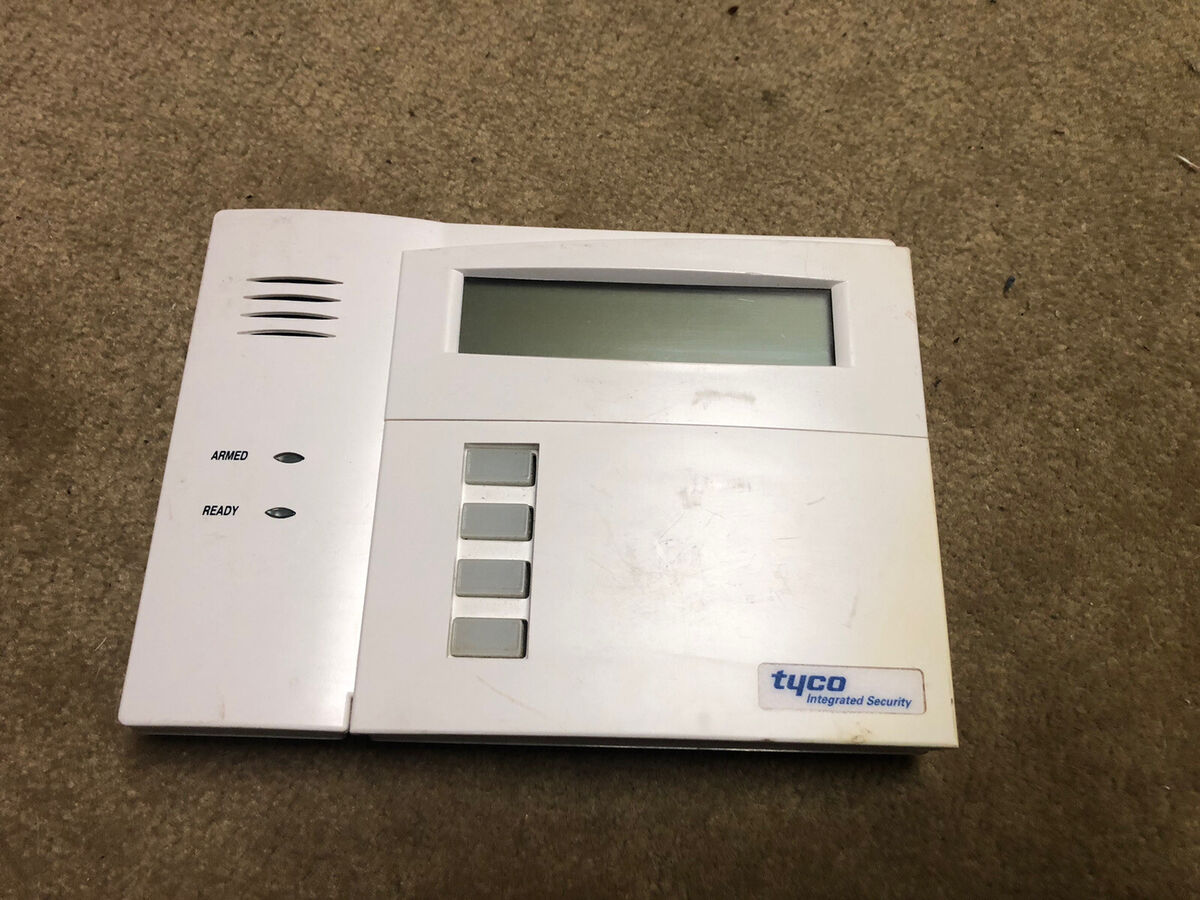
2. Alarm Panel: This is the central control unit of your home security system. Ensure that you have a compatible alarm panel that can support the wiring and integration of window sensors.
3. Wiring: You will need suitable electrical wiring to connect the window sensors to the alarm panel. Use high-quality wiring that is rated for indoor use and can withstand the conditions in your home.
4. Screwdriver: A screwdriver will be needed to attach the window sensor contacts and magnets to the window frame and window itself. Make sure you have a screwdriver with the appropriate size and type of screw heads.
5. Electrical Tape: Electrical tape is useful for securing and insulating the wiring connections. It provides an extra layer of protection against moisture and prevents any accidental disconnections.
6. Wire Strippers: Wire strippers are essential for removing the outer insulation of the electrical wiring, exposing the necessary amount of wire for secure connections.
7. Wire Connectors: Depending on the specific wiring requirements of your window sensors and alarm panel, you may need wire connectors to join the wires securely. These connectors ensure reliable electrical connections and prevent any loose wires.
8. Mounting Hardware: Some window sensors come with mounting hardware such as screws or adhesive strips. Ensure that you have the appropriate mounting hardware to securely attach the window sensor contacts and magnets to the window frame and window.
9. Power Drill (optional): If you need to drill holes for mounting the window sensor contacts and magnets, a power drill can make the job easier and faster. Make sure you have the necessary drill bits for the type of surface you are drilling into.
10. Instructions: Finally, don’t forget to read and follow the manufacturer’s instructions for your specific window sensors and alarm panel. This will ensure that you wire the sensors correctly and optimize their performance.
Now that you have gathered all the necessary tools and materials, it’s time to dive into the step-by-step process of wiring window sensors into your alarm system.
Step 1: Identify the Contact and Magnet
Before you can begin wiring your window sensors into your home security system, it’s important to identify the components of the sensor. Window sensors typically consist of two parts: a contact and a magnet.
The contact is the sensor portion that will be installed on the window frame. It is responsible for detecting the magnet and completing the circuit when the window is closed.
The magnet is the part that will be attached to the window itself. When the window is closed, the magnet should align with the contact to create a closed circuit. If the window is opened or broken, the magnet will move away from the contact, breaking the circuit and triggering the alarm.
Take a close look at your window sensors and identify which part is the contact and which part is the magnet. The contact is typically the piece that has wires or connection points, while the magnet is usually a smaller piece without any electrical components.
It’s important to note that the contact and magnet need to be installed in close proximity to each other for proper operation. When the window is closed, the magnet should be aligned with the contact to ensure that the circuit is complete. As the window is opened or broken, the magnet will move away from the contact, triggering the alarm.
Once you have identified the contact and magnet, you can move on to the next step of preparing the wiring for the installation process.
Note: Each window sensor may have unique features and installation instructions. It’s crucial to carefully read and follow the manufacturer’s instructions specific to your window sensors for the best results.
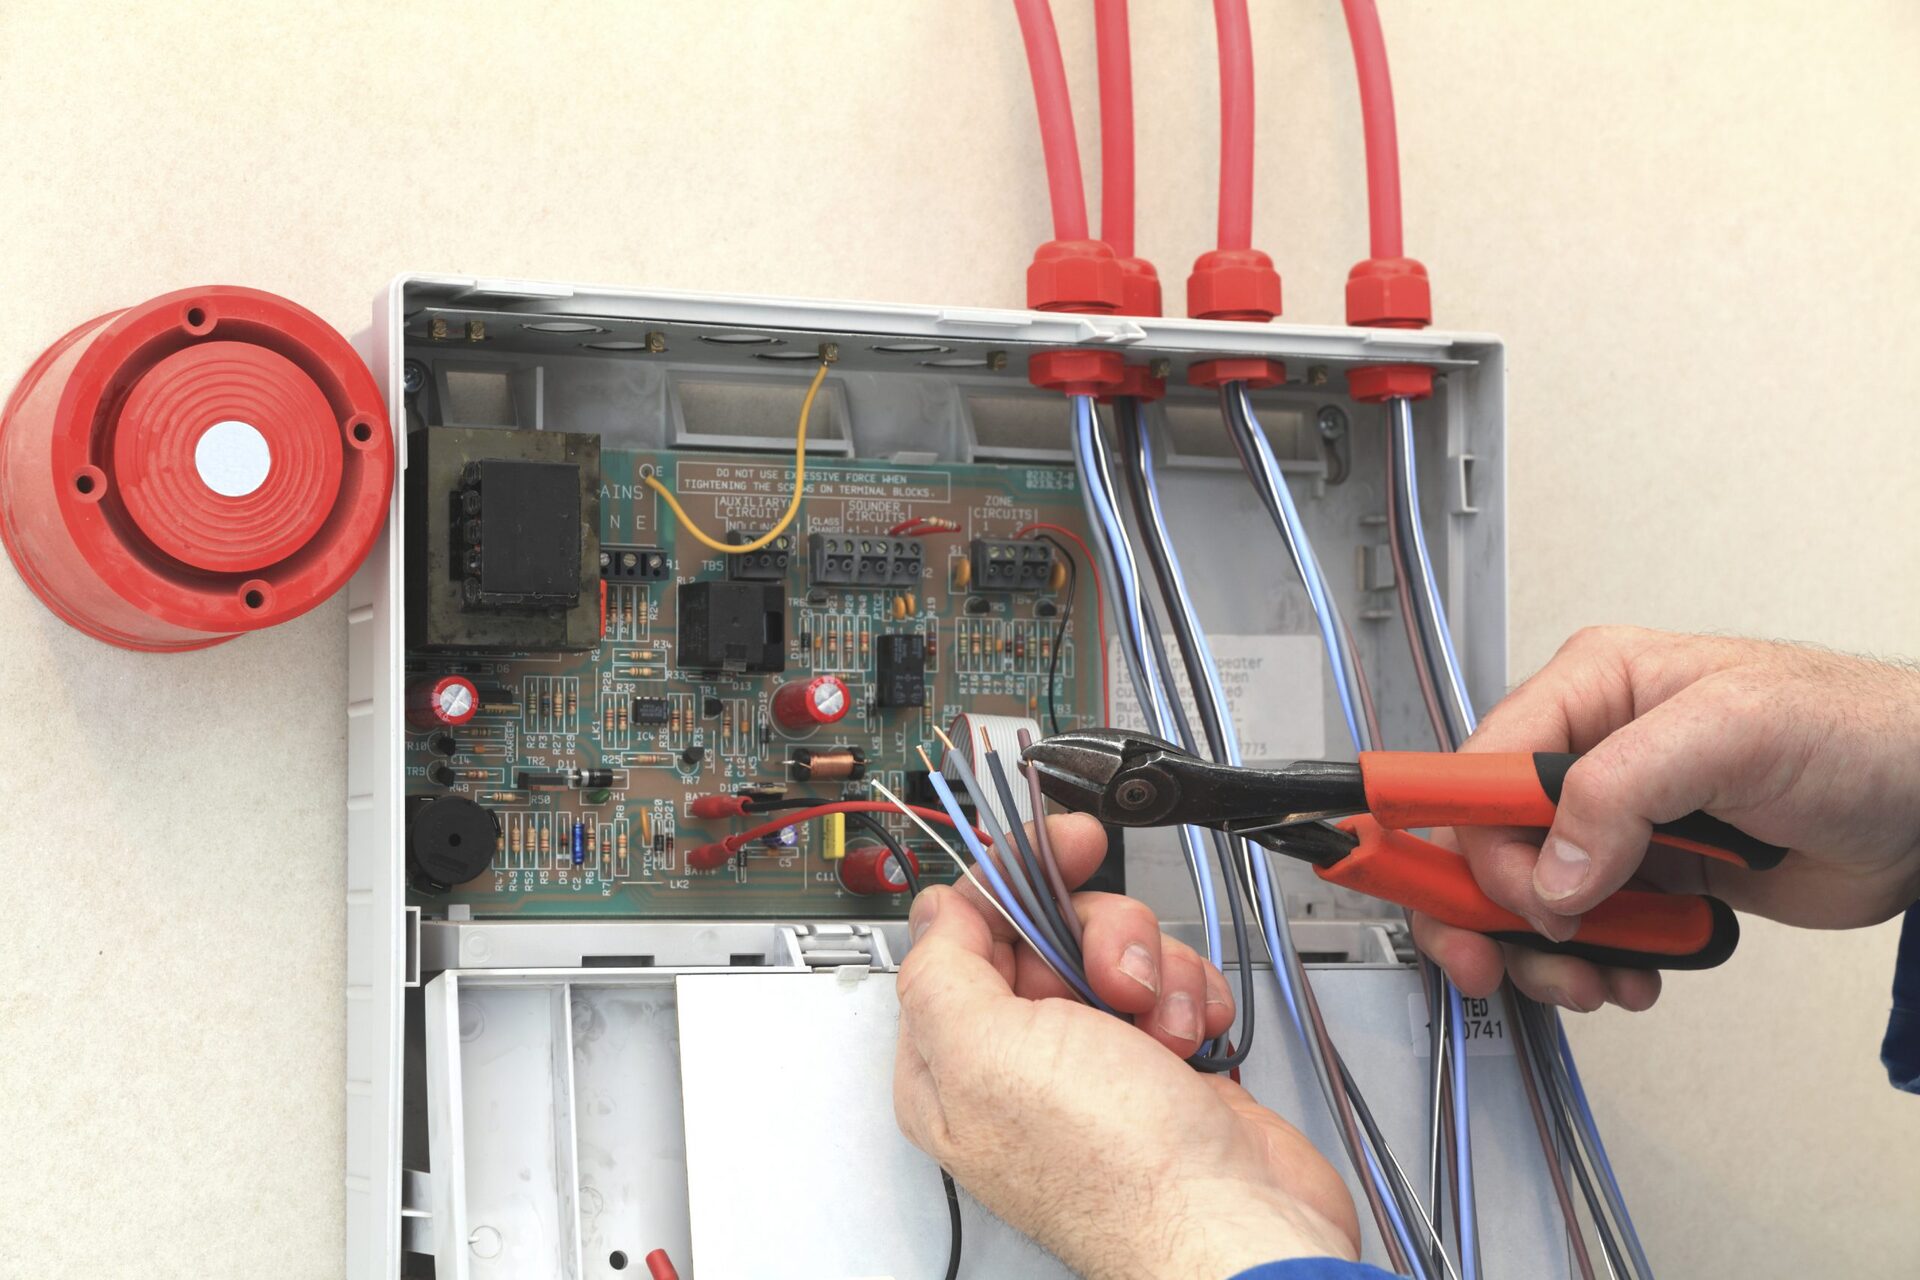
When wiring window sensors for alarm systems, make sure to connect the sensor’s two wires to the corresponding terminals on the alarm panel. Use a multimeter to test for continuity and ensure the circuit is properly connected.
Read more: How Hard-Wired Fire Alarm Systems Work
Step 2: Prepare the Wiring
Now that you have identified the contact and magnet components of your window sensors, it’s time to prepare the wiring for the installation process. Properly preparing the wiring will ensure a secure and reliable connection between the window sensors and your alarm panel.
Here is a step-by-step guide on how to prepare the wiring:
- Measure and cut the electrical wiring: Start by measuring the distance between each window sensor and the alarm panel. Add some extra length to account for any twists, turns, or obstacles along the way. Cut the wiring into the appropriate lengths for each window sensor connection.
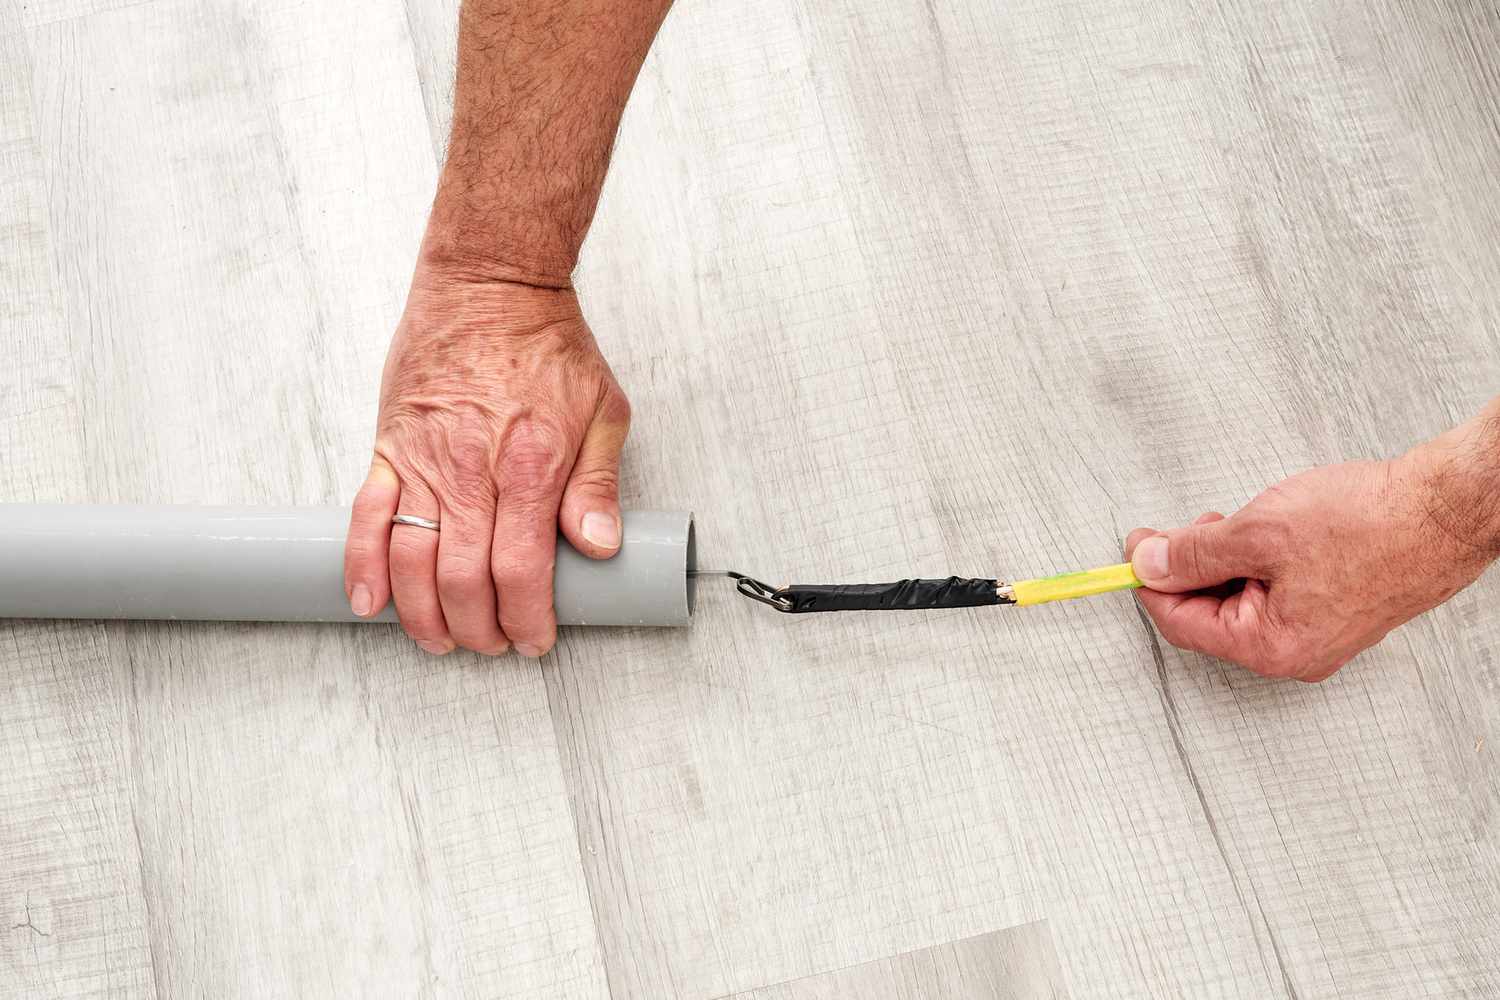
- Strip the ends of the wires: Use wire strippers to remove a small section of the outer insulation from the ends of each wire. Make sure to expose enough bare wire to create a secure connection.
- Separate the wires: If you are dealing with multiple wires, such as for multiple window sensors or connections to the alarm panel, it’s important to separate them and keep them organized. This will help avoid confusion during the wiring process.
- Label the wires (optional): If you find it helpful, you can label the wires to indicate which ones correspond to each window sensor. This can make the installation process smoother and ensure that you connect the wires correctly.
- Secure the wires with electrical tape: To provide additional protection and prevent any accidental disconnections, wrap each exposed wire end with electrical tape. This will help insulate the connections and keep the wiring secure.
By following these steps, you will have properly prepared the wiring for the window sensor installation. Now, you can move on to the next step of connecting the sensors to the alarm panel.
Note: Make sure to consult the manufacturer’s instructions for your specific window sensors and alarm panel to ensure proper wiring techniques and compatibility.
Step 3: Connect the Sensor to the Alarm Panel
After preparing the wiring, the next step is to connect the window sensors to the alarm panel. This step is crucial as it establishes the communication between the sensors and the central control unit of your home security system.
Here is a step-by-step guide on how to connect the sensors to the alarm panel:
- Locate the terminals on the alarm panel: The alarm panel will have designated terminals or connection points for each sensor. These terminals are typically labeled with numbers or letters corresponding to the specific zones for each sensor.
- Refer to the manufacturer’s instructions: Consult the manufacturer’s instructions for your specific alarm panel to identify the correct terminals for connecting the window sensors. This will ensure that you wire the sensors correctly and avoid any compatibility issues.
- Connect the contact and magnet wires to the appropriate terminals: Take one of the prepared wires from the window sensor and insert it into the corresponding terminal on the alarm panel. Secure the wire in place by tightening the terminal screw. Repeat this process for each contact and magnet connection.
- Double-check the connections: Once all the wires are connected, double-check that they are properly secured and tightened. It’s important to ensure that the connections are tight and secure to prevent any electrical issues or false alarms caused by loose wiring.
- Test the connections: Once the connections are made, it’s important to test them to verify that they are functioning correctly. You can do this by opening and closing each window equipped with the sensors. Monitor the alarm panel to ensure that it detects the openings and trigger the appropriate response.
- Make adjustments if necessary: If the sensors are not functioning properly, double-check the connections and make any necessary adjustments. It’s also a good idea to refer to the manufacturer’s troubleshooting guide or contact their support team for assistance if needed.
By following these steps, you can properly connect the window sensors to the alarm panel, establishing the vital link between the sensors and the central control unit of your security system. Now, it’s time to move on to the next step of mounting the contact and magnet on the window.
Note: The wiring and connection process can vary depending on the specific alarm panel and window sensor models. Always refer to the manufacturer’s instructions for accurate and detailed guidance.
Step 4: Mount the Contact and Magnet on the Window
After connecting the window sensors to the alarm panel, the next step is to mount the contact and magnet on the window. Proper installation of these components is crucial for the accurate functioning and effectiveness of the window sensors.
Here is a step-by-step guide on how to mount the contact and magnet on the window:
- Clean the window surface: Before mounting the contact and magnet, clean the window surface thoroughly. Remove any dirt, dust, or debris to ensure a clean and secure mounting surface for the components.
- Identify the proper placement: Determine the ideal placement for the contact and magnet on the window. The contact should be mounted on the window frame, while the magnet should be attached to the window itself. Ensure that the two components will align properly when the window is closed.
- Secure the contact to the window frame: Use the appropriate mounting hardware (screws or adhesive strips) to securely attach the contact to the window frame. Make sure it is firmly in place and that the wiring is not pinched or obstructed.
- Attach the magnet to the window: Attach the magnet to the window, aligning it with the contact on the frame. Ensure that the magnet and contact are close enough that they will make contact when the window is closed.
- Test the alignment: Once the contact and magnet are mounted, test the alignment by closing the window. Check to see if the magnet and contact make proper contact and that the circuit is completed. This will help ensure that the window sensor functions correctly.
- Make adjustments if necessary: If the contact and magnet do not align properly or if there is any difficulty in closing the window due to the components, make any necessary adjustments. It’s crucial to ensure that the contact and magnet are properly aligned for accurate detection.
By following these steps, you can effectively mount the contact and magnet on the window, ensuring that they align correctly and establish a secure circuit. Now, it’s time to move on to the final step of testing the window sensor.
Note: Different window sensor models may have specific installation instructions. Refer to the manufacturer’s guidelines for accurate guidance and any additional installation considerations.
Step 5: Test the Window Sensor
Testing the window sensor is the final step to ensure that it is working properly and integrated successfully into your home security system. By conducting thorough testing, you can verify that the sensor will accurately detect any openings or disturbances of the window.
Follow these steps to test the window sensor:
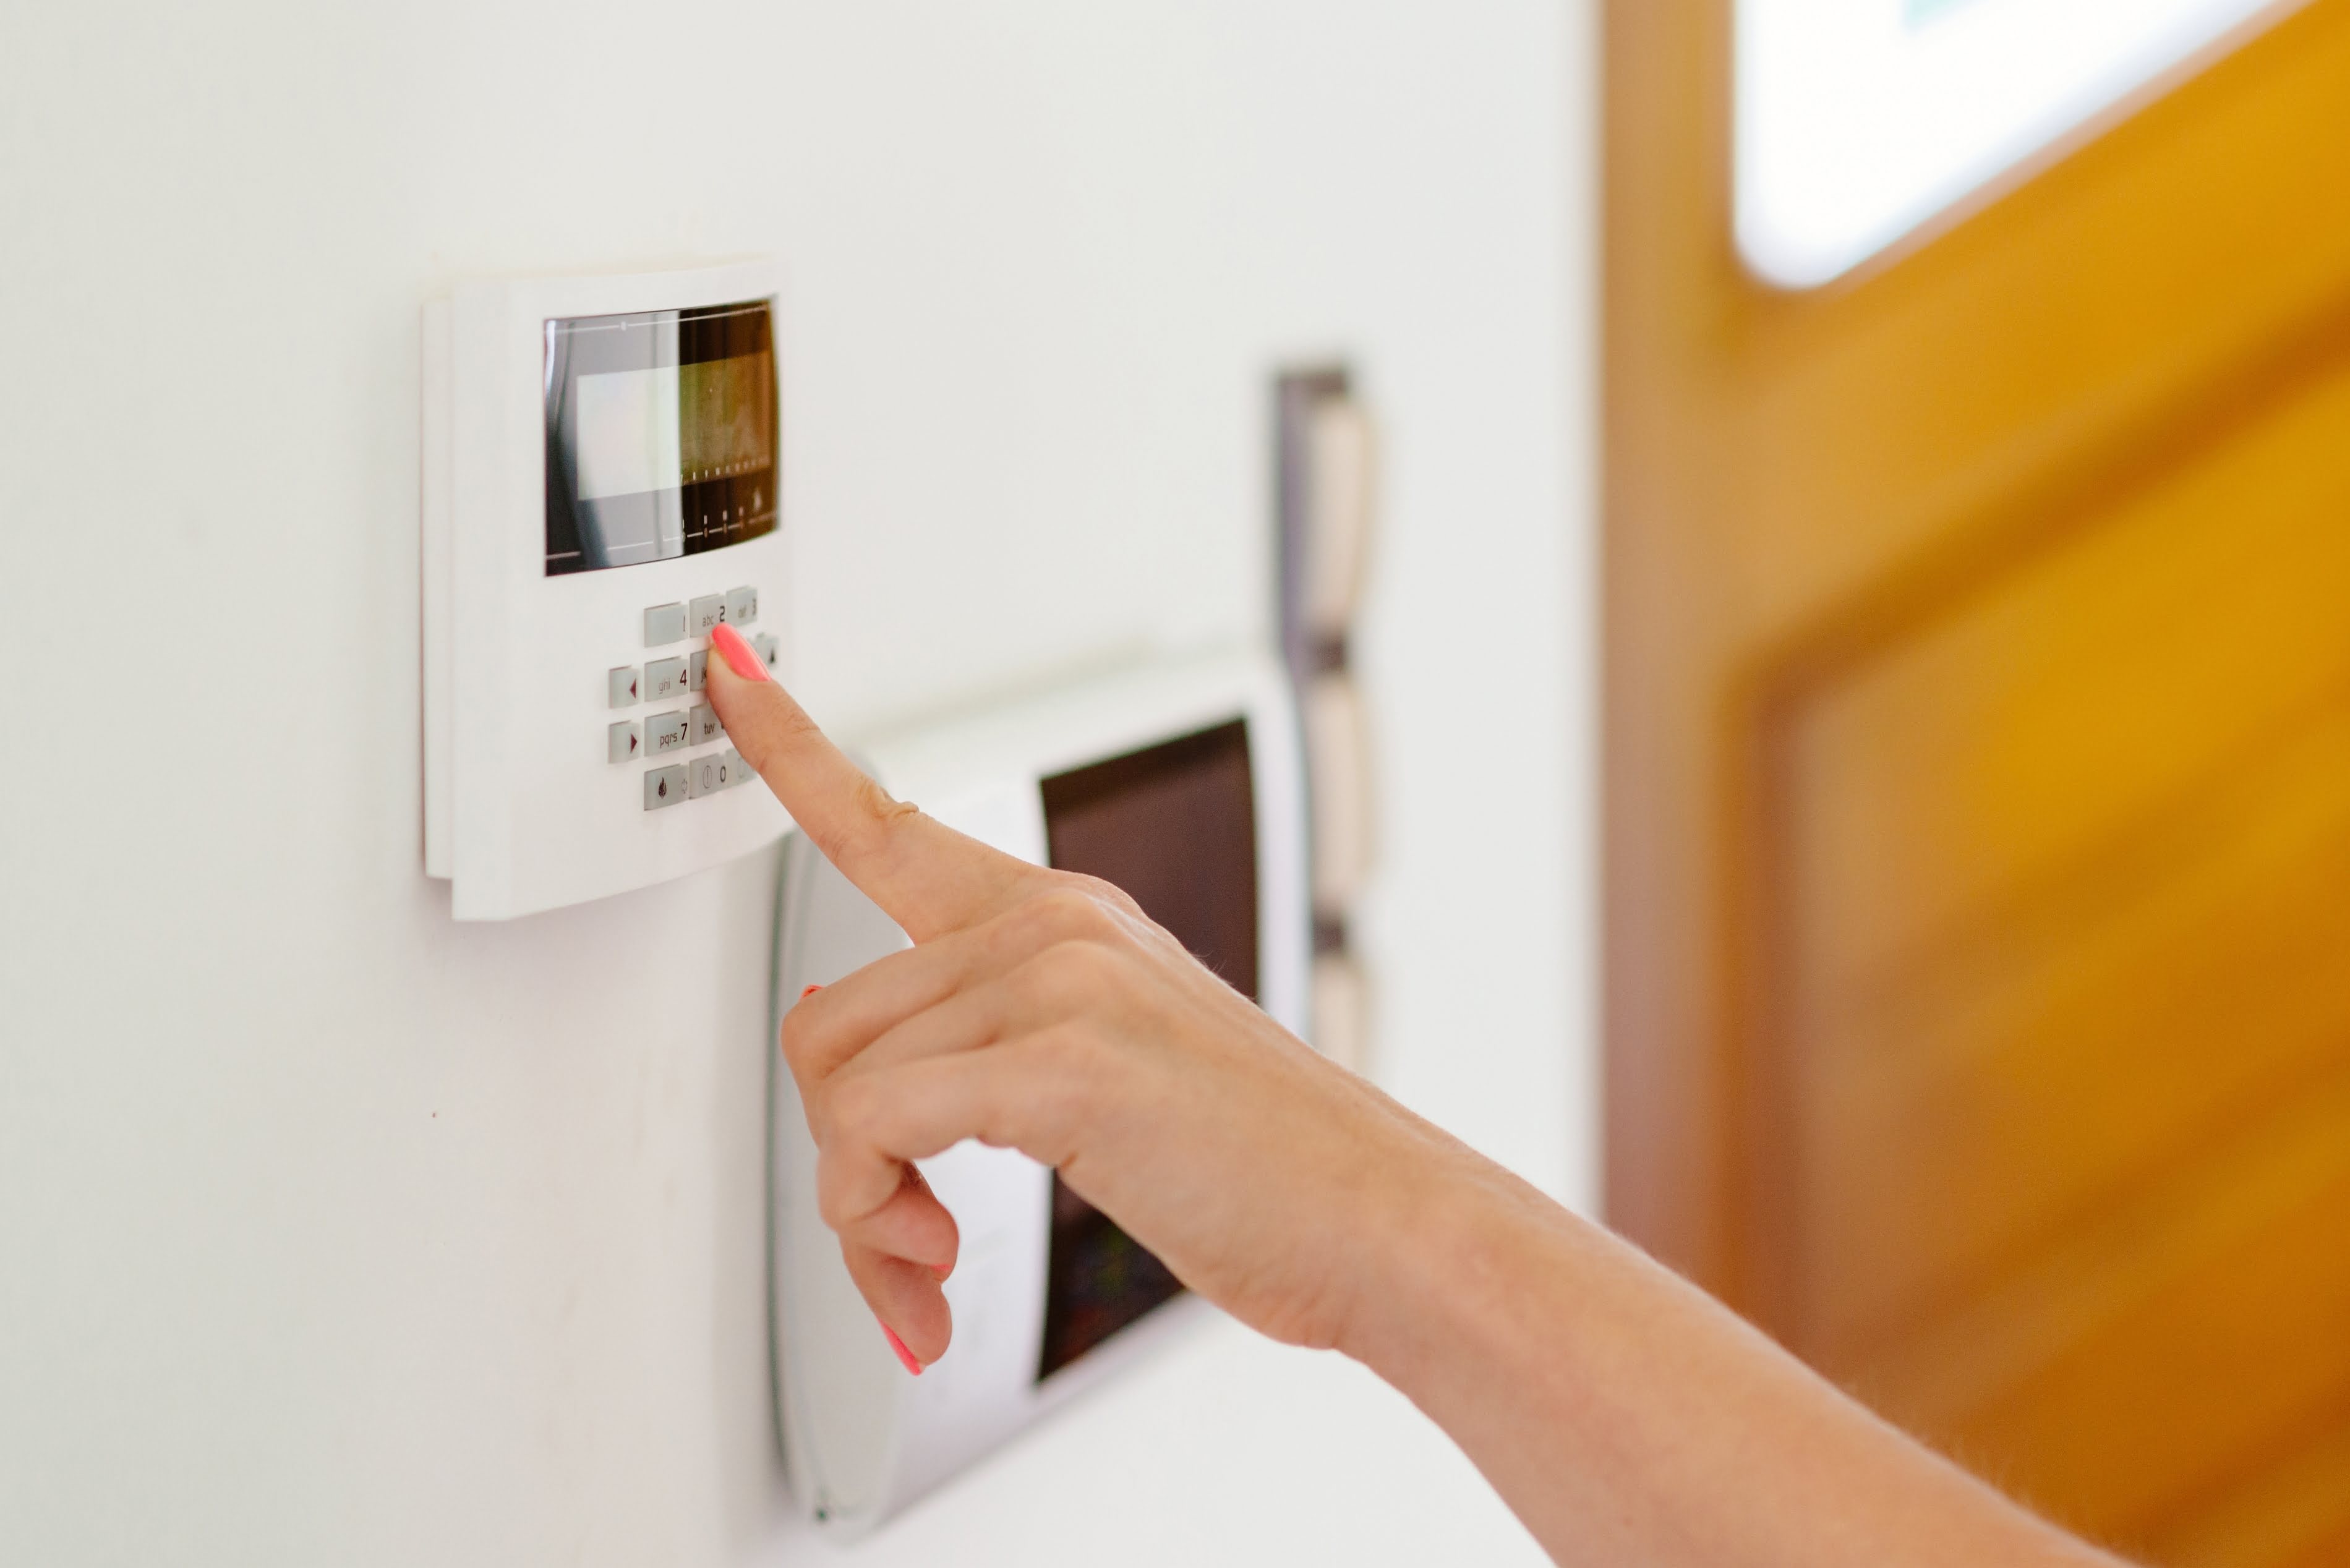
- Arm your alarm system: Activate your alarm system by arming it in the appropriate mode. This will ensure that the sensors are active and ready to detect any window openings or disturbances.
- Open and close the window: Open and close the window where the sensor is installed. Make sure to do it slowly and allow the magnet and contact to separate and then re-align when closing the window. This will trigger the sensor and test its functionality.
- Observe the alarm panel: Check the alarm panel to see if the opening of the window is detected. The panel should indicate that there has been a breach or triggering of the window sensor. Take note of any error messages or indications of a successful detection.
- Repeat the process: Repeat the testing process for each window that has a sensor installed. It’s important to fully test each sensor to ensure that all windows are properly monitored and protected.
- Test the sensor responsiveness: In addition to testing the physical opening and closing of the window, you can also test the sensor’s responsiveness by tapping on or shaking the window lightly. This will simulate a disturbance and check if the sensor promptly detects it.
- Make adjustments if necessary: If any sensor does not trigger properly or if there are issues with detection, double-check the alignment of the contact and magnet. Ensure that they are securely in place and properly aligned when the window is closed. Make any necessary adjustments to improve their positioning.
By following these steps, you can test the window sensor’s performance and ensure that it is properly integrated into your home security system. Regular testing of your window sensors is essential to maintain a high level of security for your home.
Congratulations! You have now successfully wired and tested your window sensors, providing an enhanced level of protection for your home. Remember to periodically test your sensors to ensure they continue to function optimally and keep your home safe and secure.
Note: If you encounter any issues during the testing process or if the window sensors are not functioning correctly, consult the manufacturer’s instructions or seek assistance from a professional to troubleshoot and resolve the problem.
Read more: How To Remove A Burglar Alarm Sensor
Conclusion
Securing your home with window sensors is an essential step in establishing a comprehensive home security system. These sensors provide an added layer of protection by detecting any unauthorized attempts to open or break a window. By properly wiring and installing window sensors, you can enhance the overall security of your home and have peace of mind knowing that your loved ones and possessions are well-protected.
In this article, we’ve delved into the world of window sensors, understanding their different types, and exploring the step-by-step process of wiring them into your alarm system. From identifying the contact and magnet components to mounting them on the window frame, each step is crucial in ensuring the effective operation of the window sensors.
We discussed the various types of window sensors, including magnetic sensors, break glass sensors, vibration sensors, and even motion sensors that can be used for window detection. Each type offers unique advantages and can be chosen based on your specific needs and preferences.
Furthermore, we covered the tools and materials needed for the installation process, including the window sensors themselves, the alarm panel, wiring, screwdriver, electrical tape, wire strippers, wire connectors, mounting hardware, and optionally a power drill. Gathering all the necessary supplies in advance will streamline the installation process and ensure a smooth and successful outcome.
By following the step-by-step guide provided, you can wire window sensors into your home security system. From preparing the wiring to connecting the sensors to the alarm panel, as well as mounting the contact and magnet on the window, each step ensures a secure and functional installation.
Finally, testing the window sensors is of utmost importance. By arming your alarm system and carefully opening and closing each window, you can verify that the sensors are accurately detecting any disturbances or breaches. Regular testing and maintenance of your window sensors is essential to maintain an optimal level of security for your home.
In conclusion, the installation of window sensors adds an invaluable layer of protection to your home security system. By understanding the different types, following the proper installation steps, and conducting regular testing, you can enhance the security of your home and have peace of mind knowing that your loved ones and belongings are safe and secure.
Frequently Asked Questions about How To Wire Window Sensors For Alarm Systems
Was this page helpful?
At Storables.com, we guarantee accurate and reliable information. Our content, validated by Expert Board Contributors, is crafted following stringent Editorial Policies. We're committed to providing you with well-researched, expert-backed insights for all your informational needs.