Articles
How To Unclog The Sink
Modified: August 27, 2024
Learn effective techniques and remedies in our detailed guide on unclogging sinks with informative articles. Say goodbye to frustrating clogs with ease!
(Many of the links in this article redirect to a specific reviewed product. Your purchase of these products through affiliate links helps to generate commission for Storables.com, at no extra cost. Learn more)
Introduction
Having a clogged sink can be a frustrating and inconvenient experience. Whether it’s a kitchen sink filled with dirty dishes or a bathroom sink that won’t drain properly, the problem needs to be addressed as soon as possible. Fortunately, with a few simple steps and the right tools, you can unclog your sink and restore it to its full functionality.
In this article, we will guide you through the process of unclogging a sink, from removing obstructions to using various techniques like plunging and drain snakes. We will also discuss optional methods like using chemical drain cleaners and provide tips for preventing future clogs. So, let’s get started and tackle that stubborn clog with confidence!
Key Takeaways:
- Don’t let a clogged sink ruin your day. With the right tools and techniques, you can confidently tackle the problem and restore proper drainage, saving time and money in the process.
- Practice preventive measures to keep your sink clog-free. From proper waste disposal to regular cleaning, a little maintenance goes a long way in maintaining a clear and functional sink drain.
Read more: How To Unclog A Double Kitchen Sink
Tools and Materials Needed
Before you begin the process of unclogging your sink, gather the necessary tools and materials. Here’s a list of what you’ll need:
- Plunger: The classic plunging tool is essential for unclogging sinks. Make sure you have a sink plunger specifically designed for sink drains.
- Drain Snake: A drain snake, also known as a plumber’s snake or an auger, is a long flexible tool used to remove clogs that are deeper down the drain.
- Bucket: Have a bucket or a large bowl nearby to catch any water that may overflow during the unclogging process.
- Gloves: It’s always a good idea to protect your hands while working with potentially dirty and unsanitary materials. Rubber gloves will come in handy.
- Hot Water: You will need access to hot water for flushing the drain after clearing the clog.
- Chemical Drain Cleaner (Optional): If the clog persists, you can consider using a chemical drain cleaner. However, use with caution and follow the instructions on the product carefully.
With these tools and materials at your disposal, you’ll be well-prepared to tackle any clog in your sink.
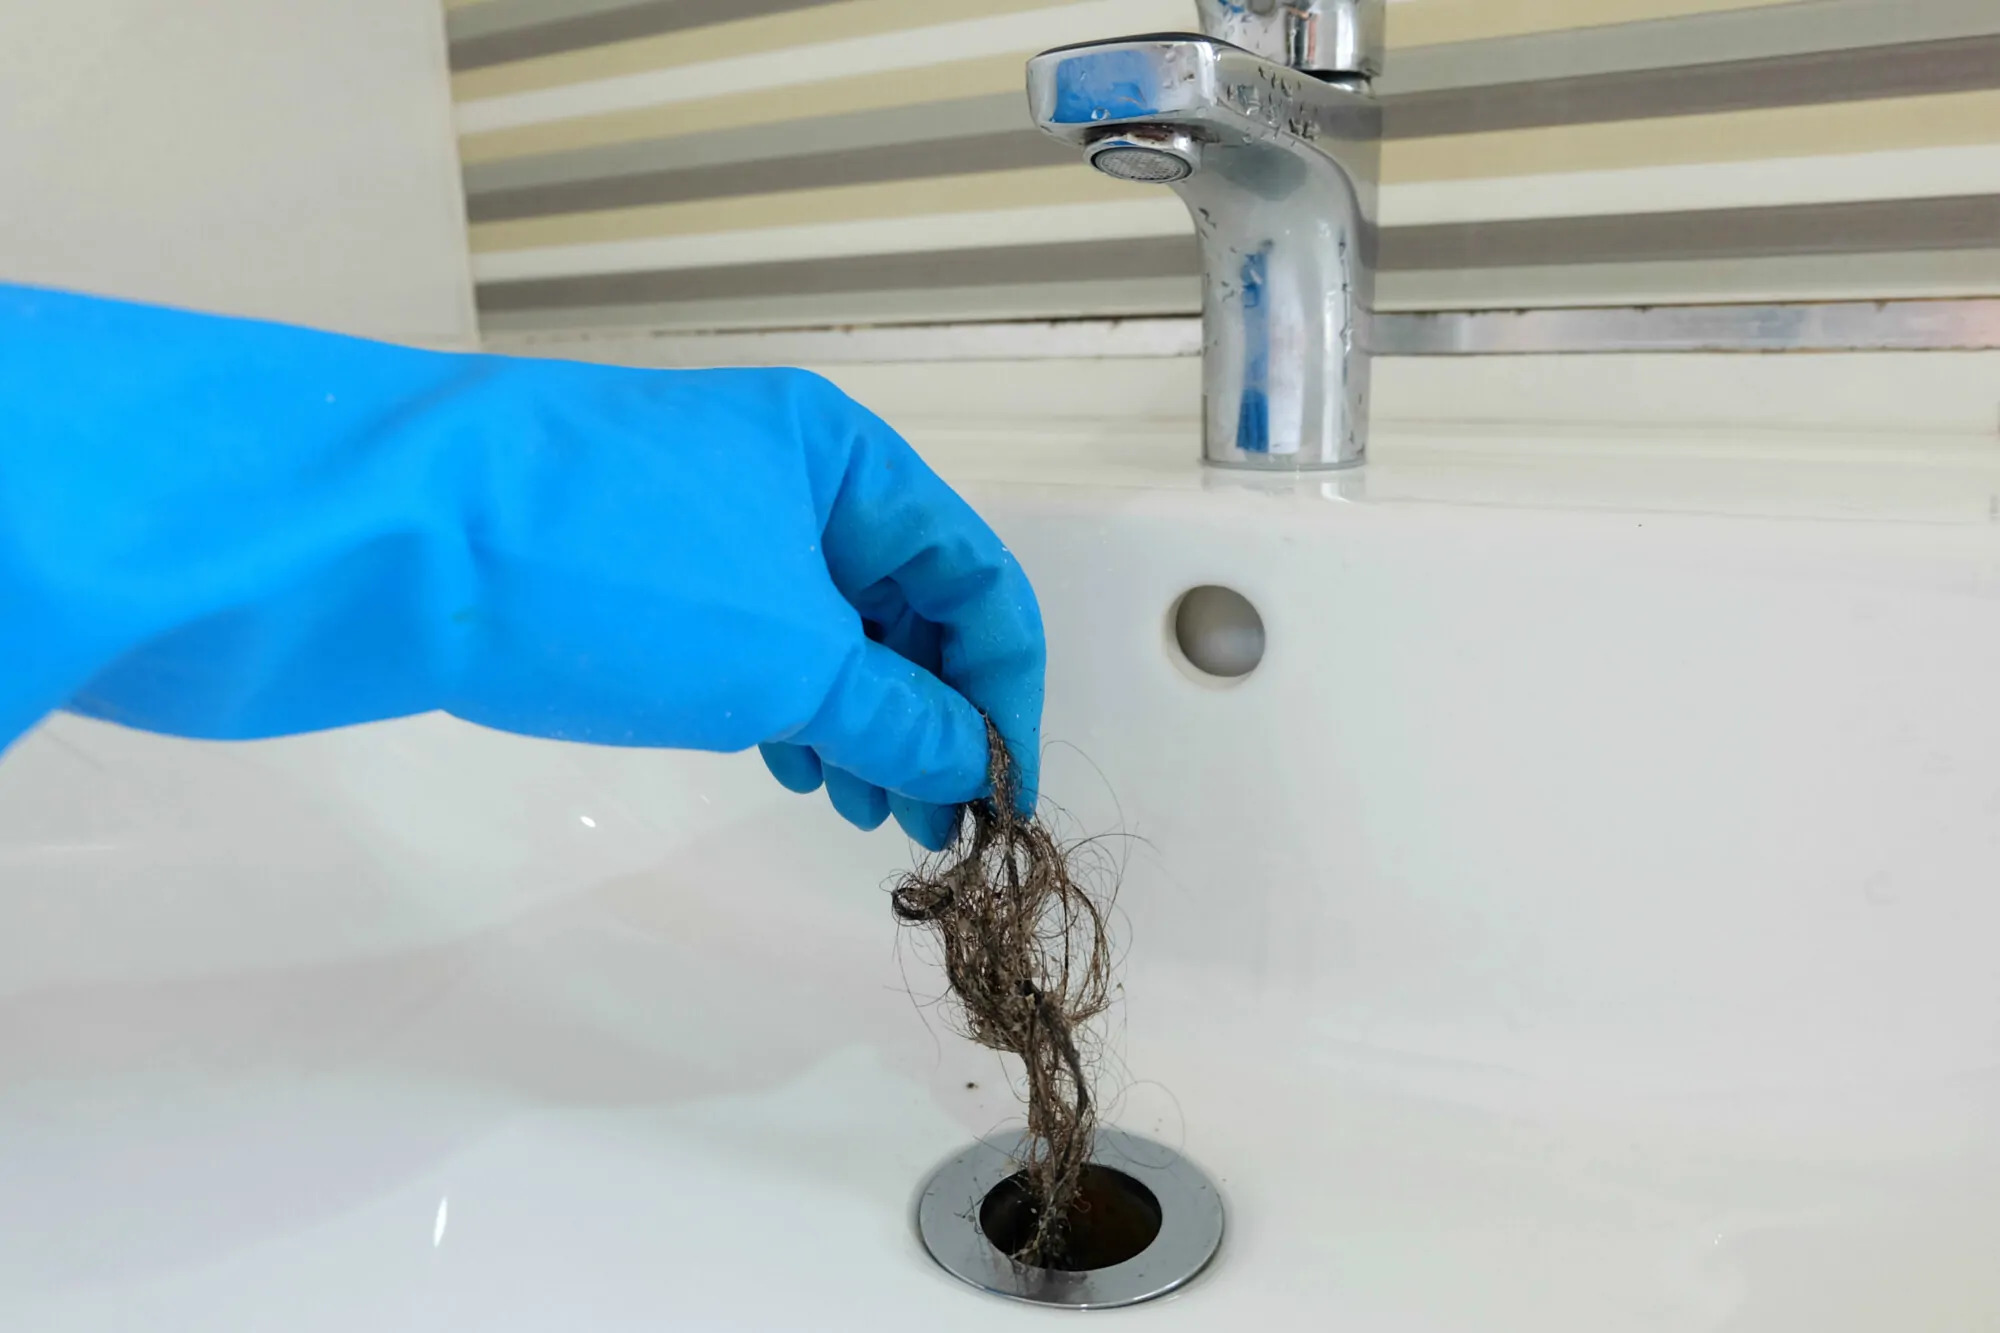
Step 1: Remove any Obstructions from the Drain Opening
The first step in unclogging a sink is to ensure that there are no visible obstructions blocking the drain opening. Before you begin, gather a flashlight and a pair of pliers, as you may need them to remove any debris. Follow these steps:
- Slowly remove the sink stopper or drain cover. Some sinks have a stopper that can be lifted or twisted to release it, while others may have a drain cover that can be unscrewed.
- Inspect the drain opening and check for any visible debris or obstructions. Common culprits include hair, food particles, and soap residue.
- If you can easily reach the obstruction, put on a pair of gloves and use your fingers or a pair of pliers to remove it. Be cautious not to push the blockage further down the drain.
- Once you’ve cleared the visible obstructions, double-check the drain opening to ensure it is clear. If there are still remnants of debris, use a small brush or pipe cleaner to clean the area.
By removing any visible obstructions from the drain opening, you’ve already taken a significant step towards unclogging your sink. However, if the clog persists, don’t worry. There are additional techniques you can try.
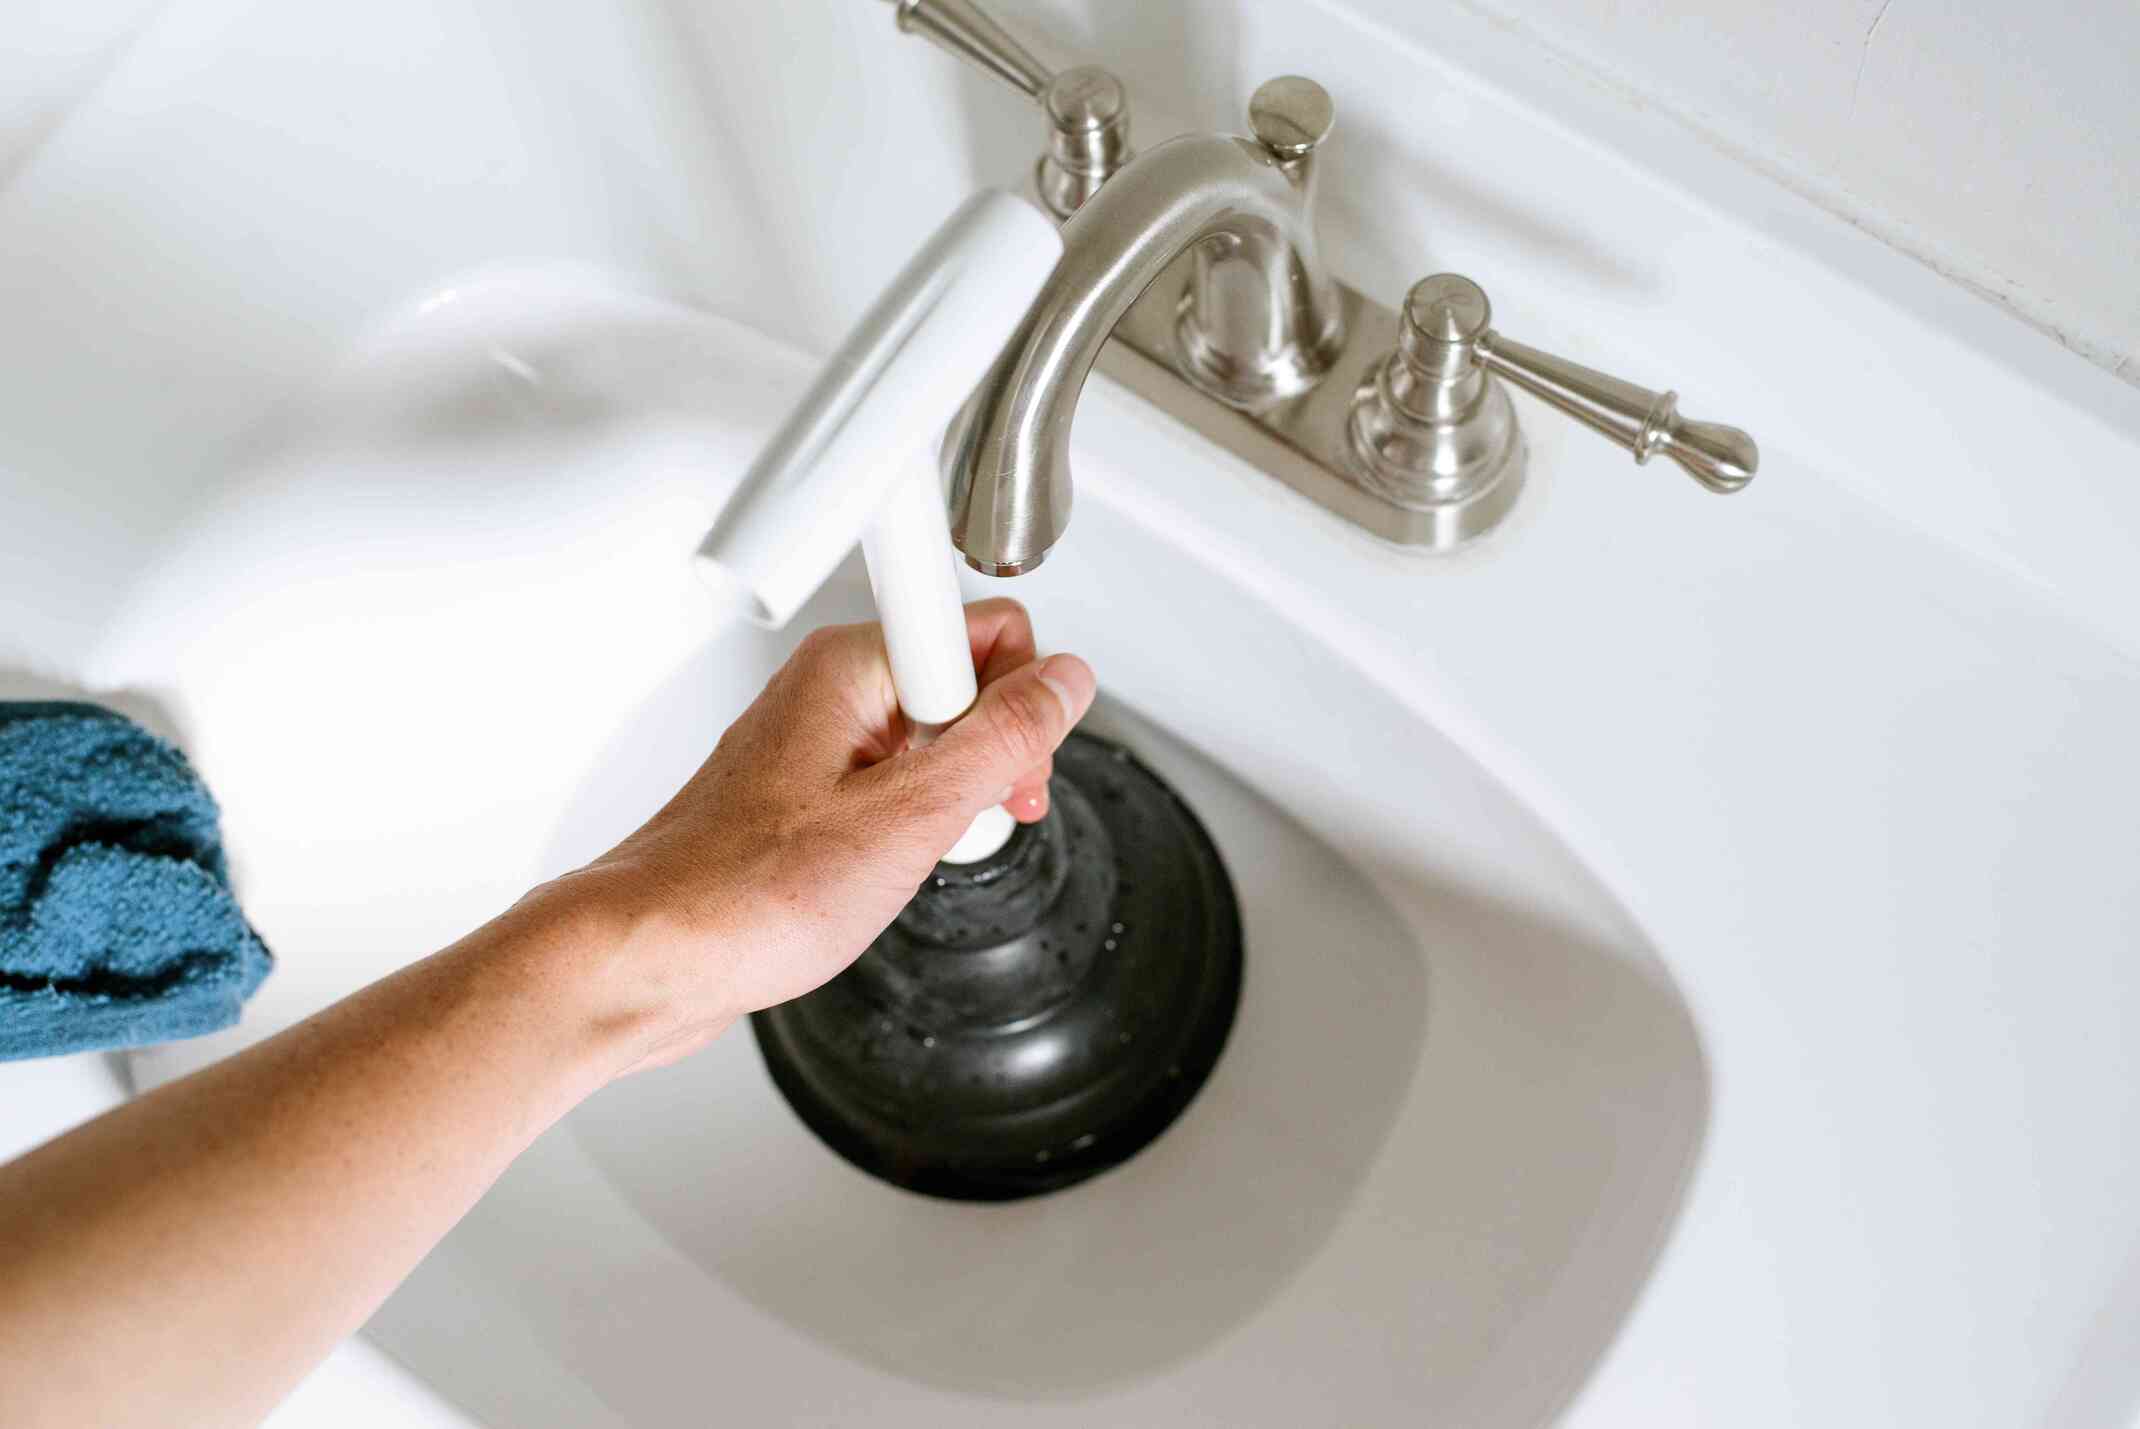
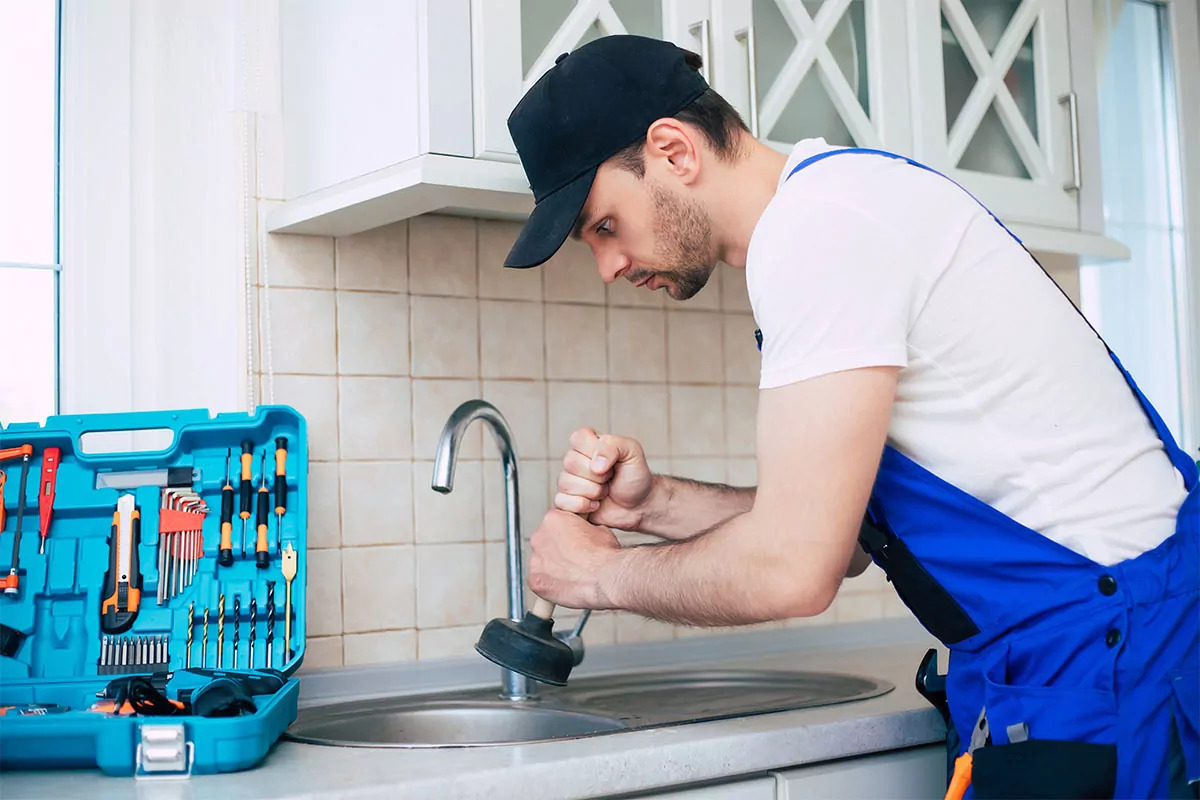
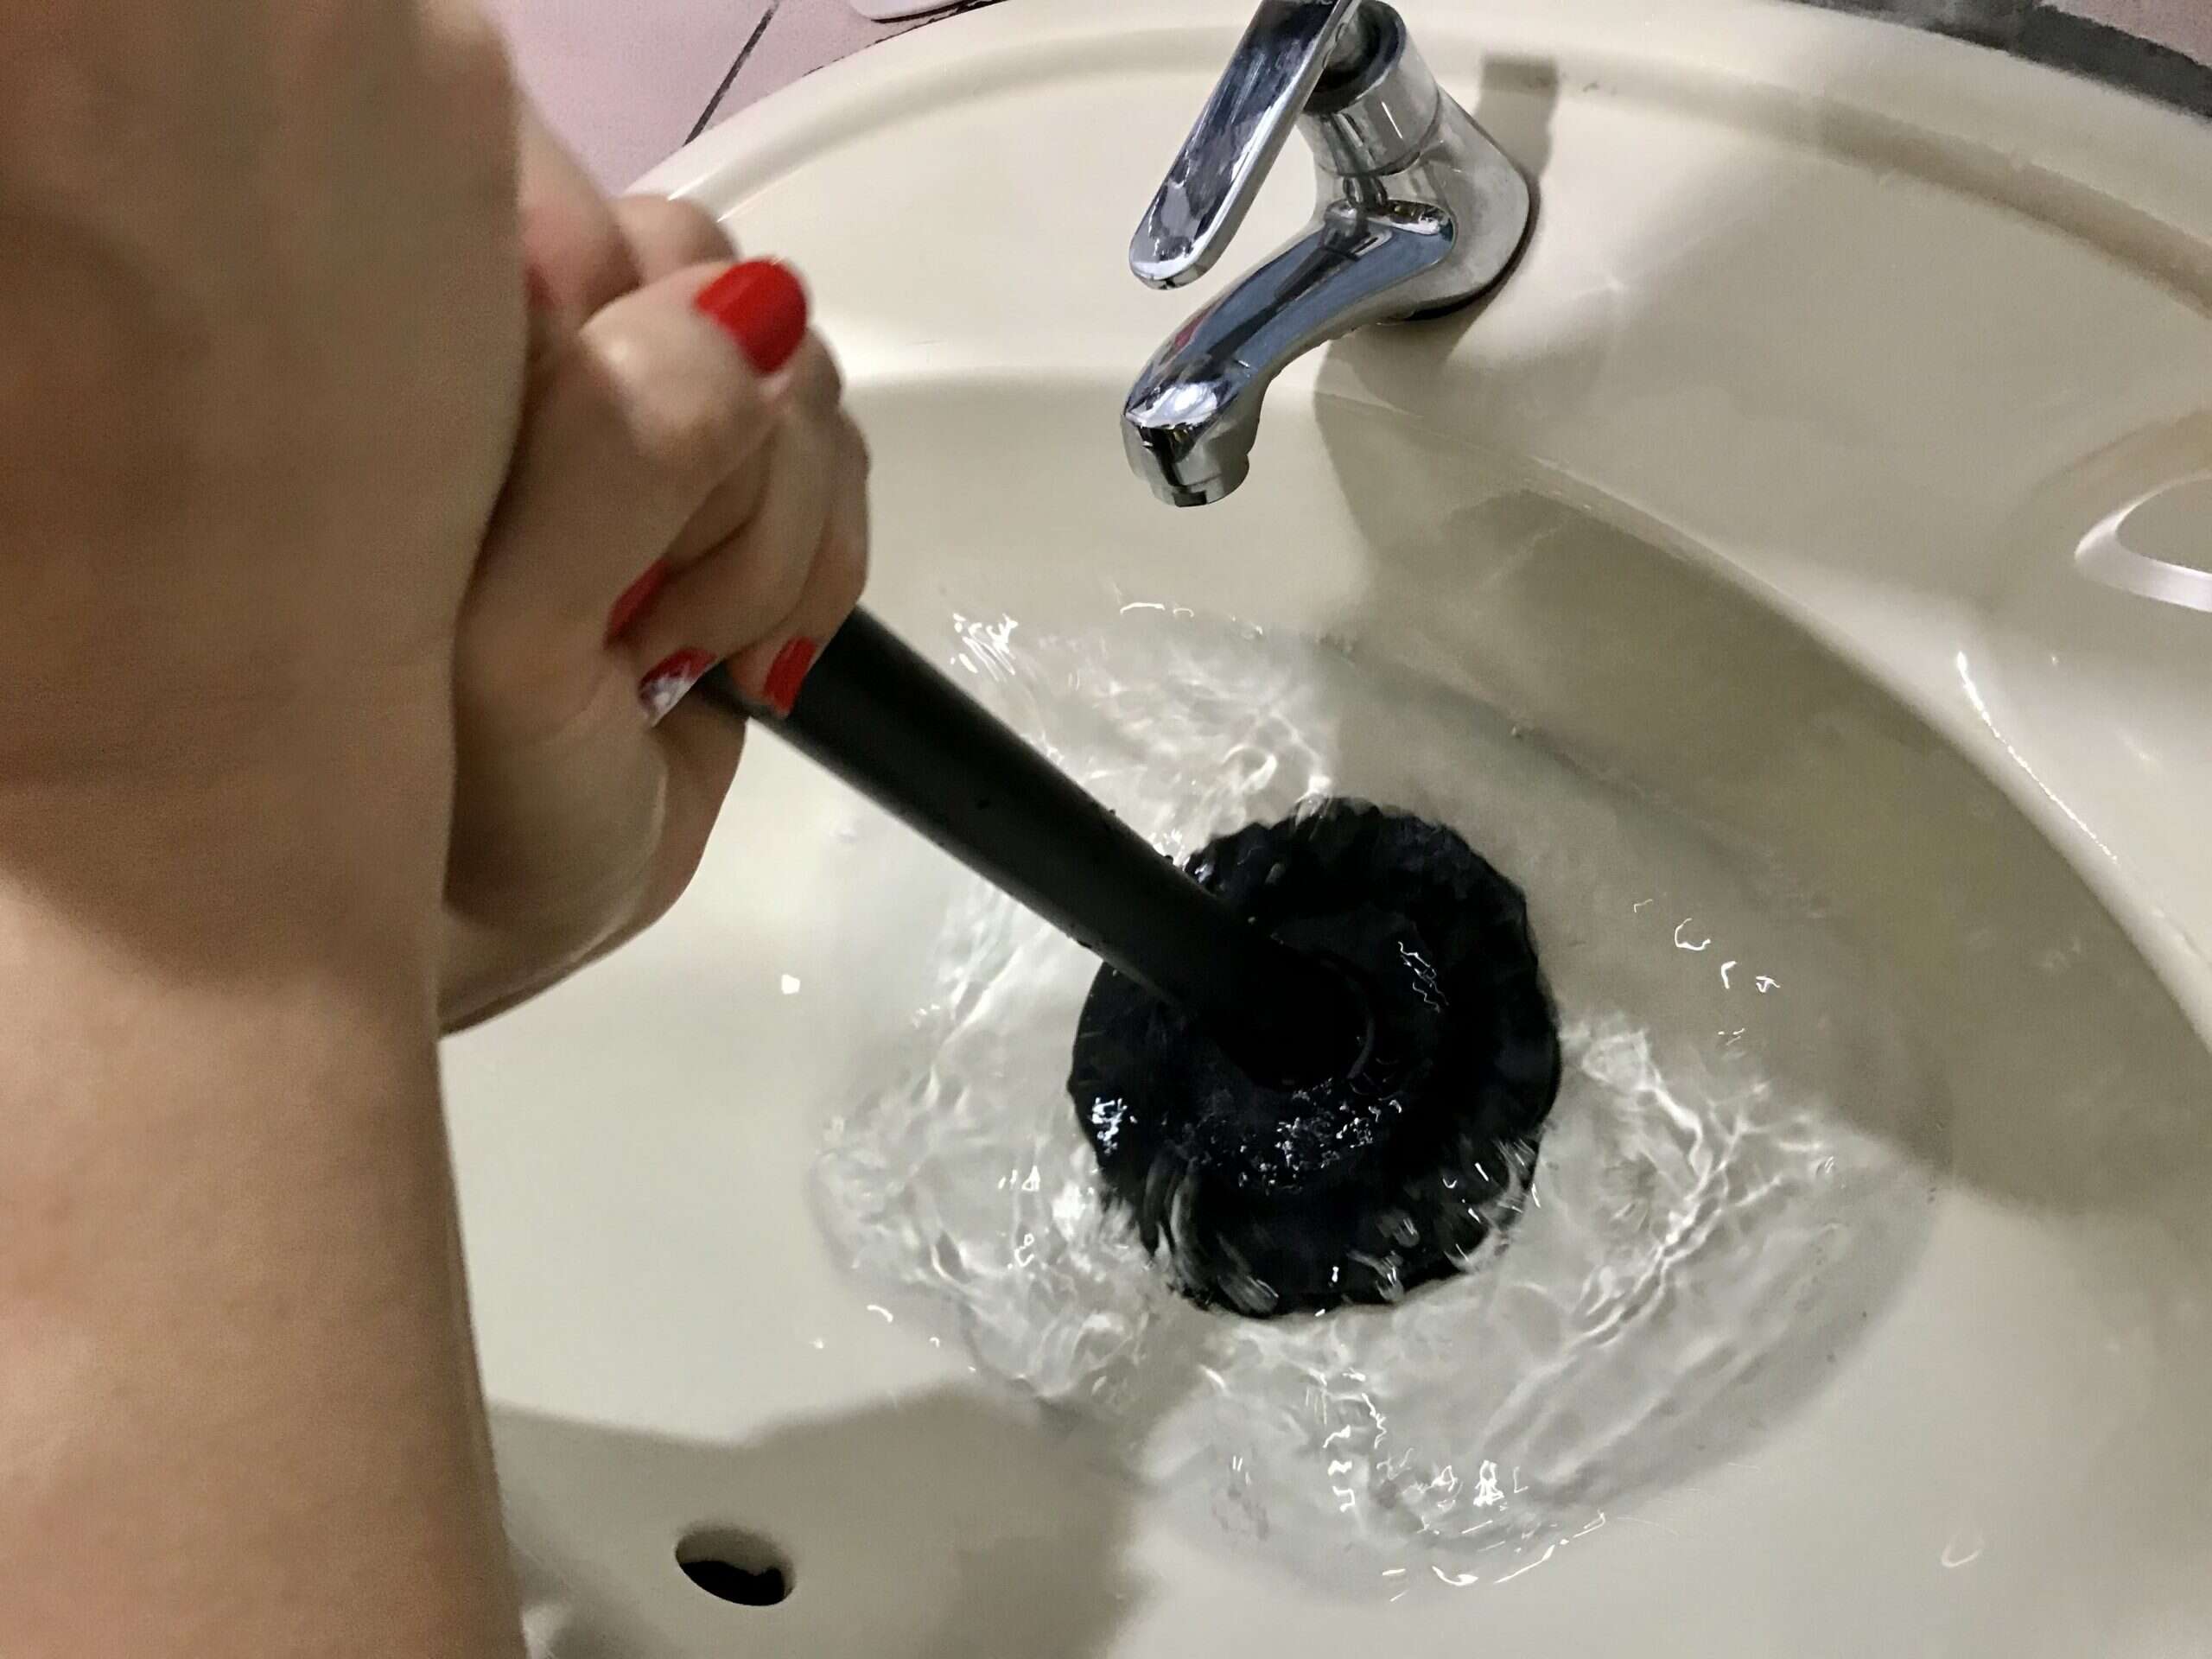
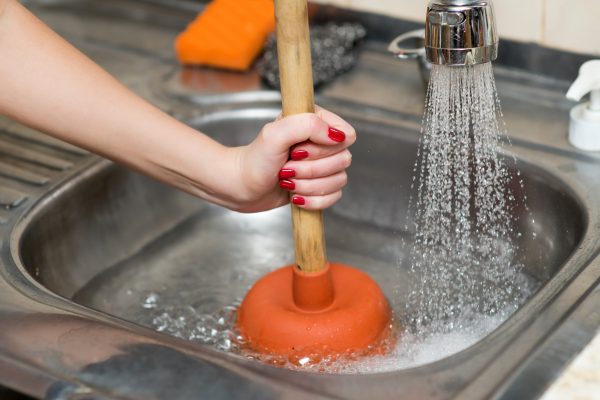
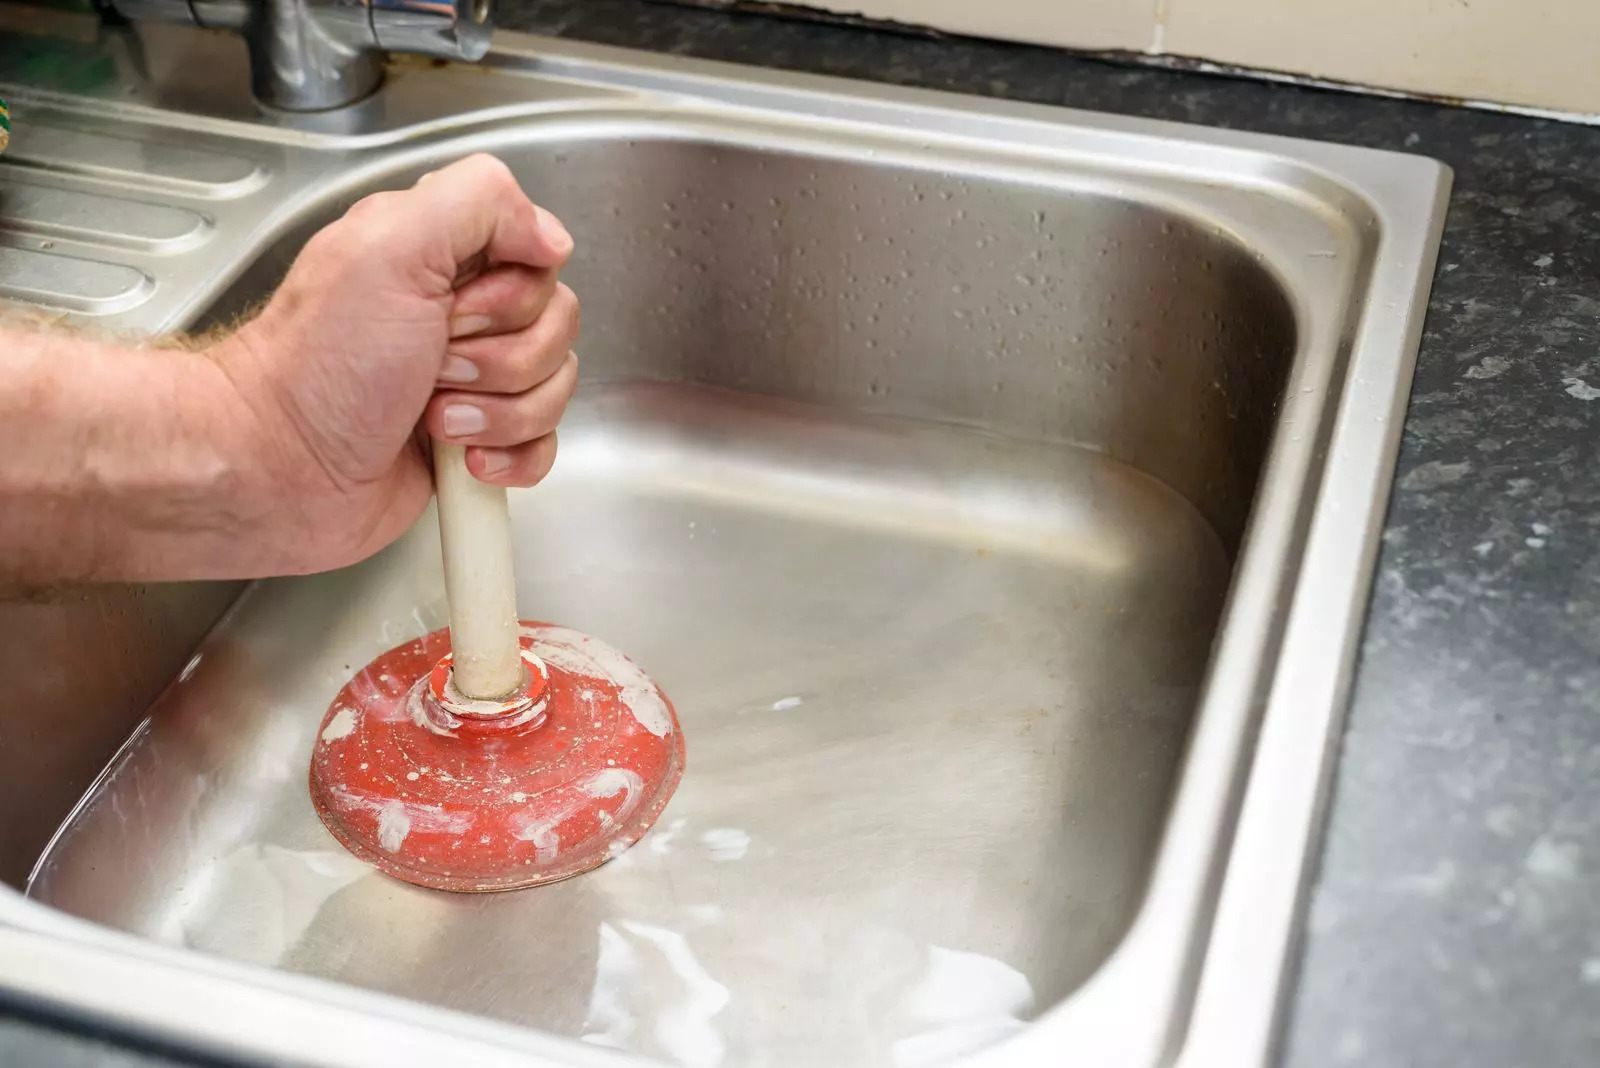
Step 2: Use a Plunger
If removing visible obstructions from the drain opening doesn’t solve the problem, it’s time to move on to using a plunger. A plunger is a simple yet effective tool for clearing clogs in sink drains. Here’s how to use it:
- Make sure there is enough water in the sink to cover the plunger cup. If needed, fill the sink partially with water.
- Place the plunger over the drain opening, ensuring a tight seal. Press it down firmly to create suction.
- With the plunger firmly pressed against the drain, rapidly move it up and down in a pumping motion. This action helps to dislodge and push the clog through the drainpipe.
- Repeat the plunging motion several times, maintaining a strong seal between the plunger and the drain opening.
- After plunging for a few minutes, remove the plunger and check if the water starts to drain away. If the sink begins to drain, run hot water to flush out any remaining debris.
- If the plunger didn’t clear the clog completely, repeat the process a few more times. Alternatively, try a different technique like using a drain snake.
Using a plunger is often the first line of defense against stubborn sink clogs. Its suction and pumping action can sometimes dislodge and remove the blockage. However, if the clog remains, don’t give up. There are still more methods to try.
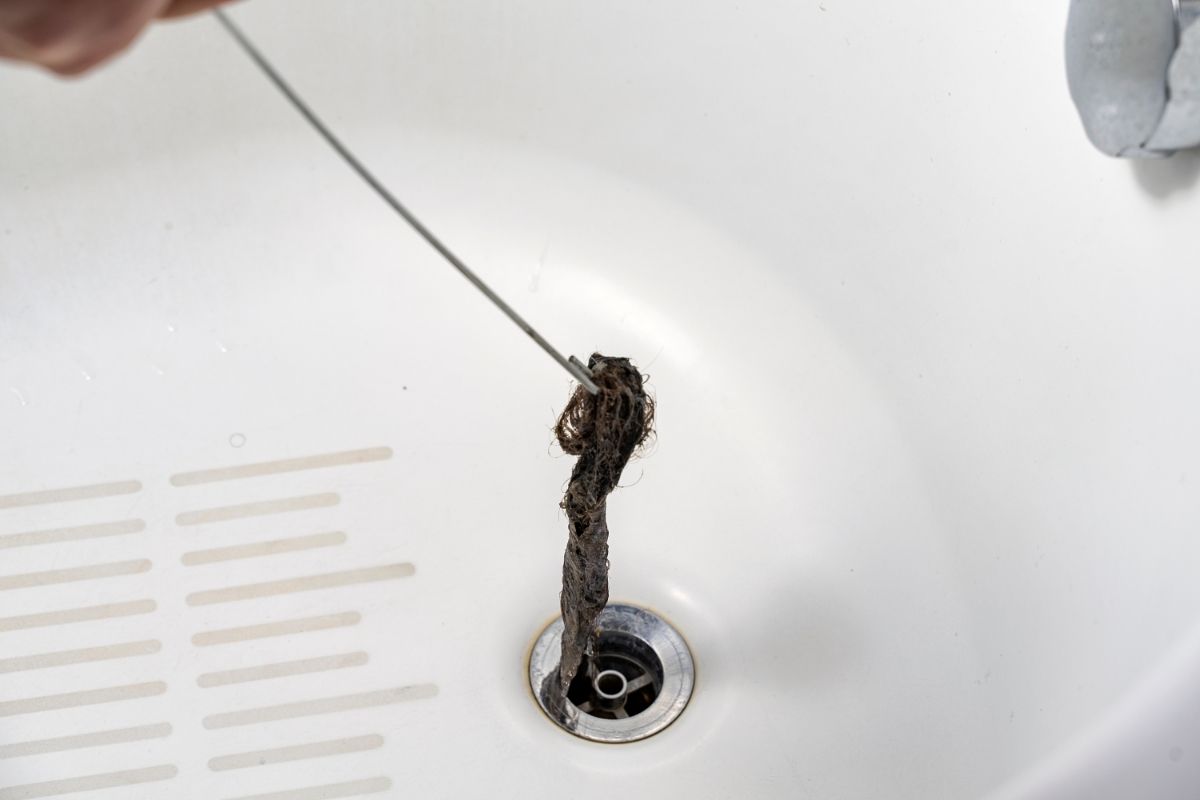
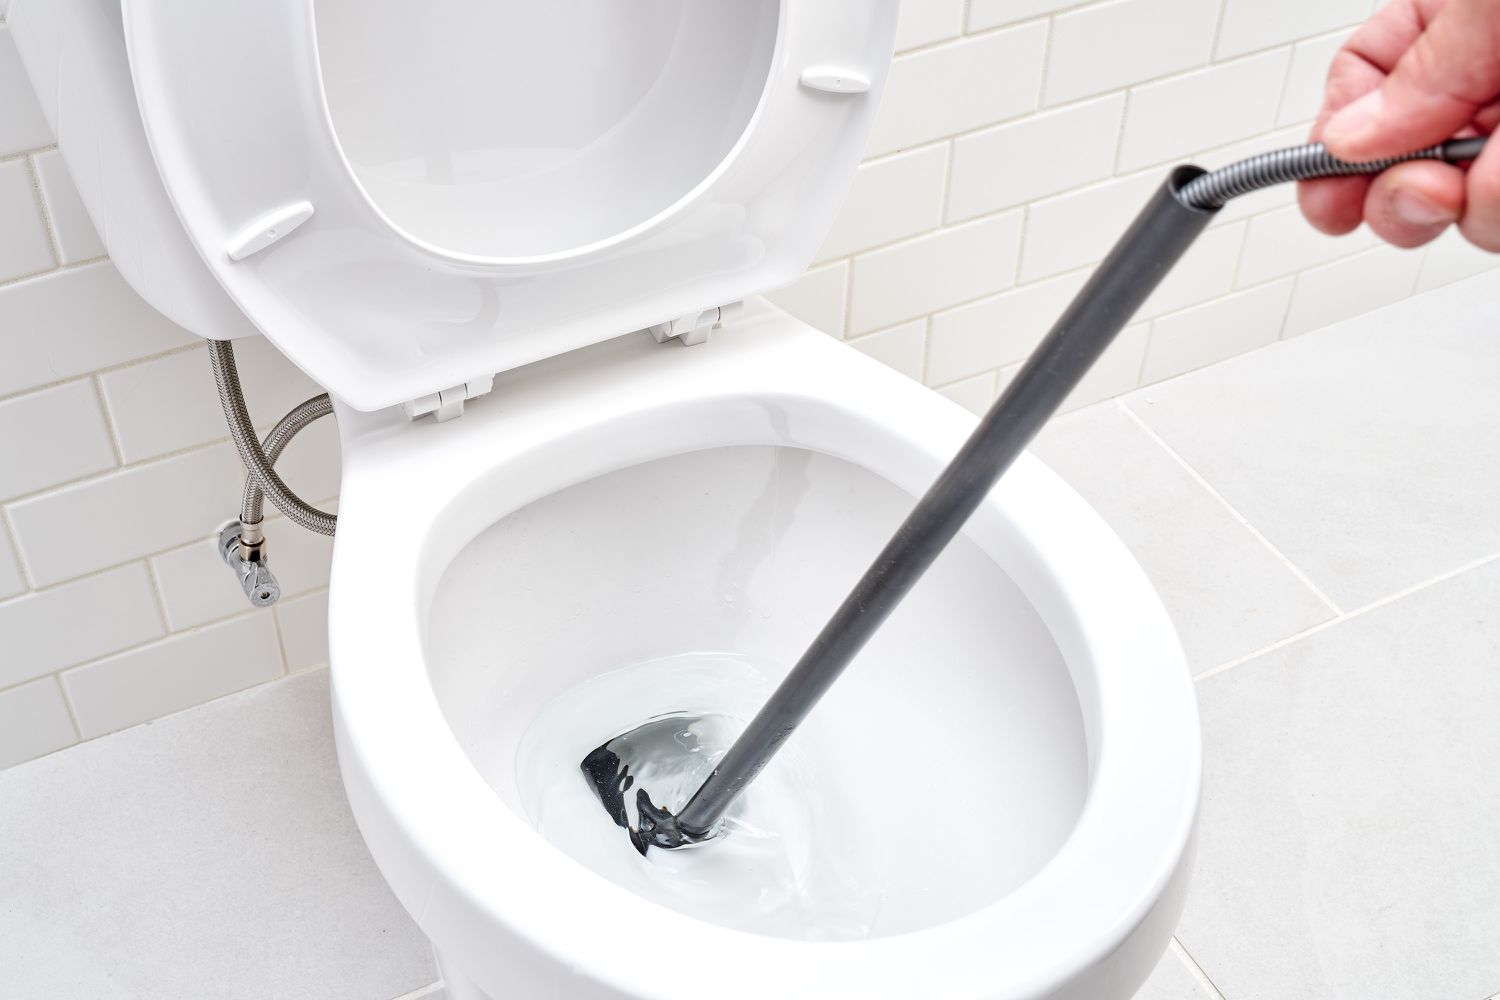
Step 3: Try Using a Drain Snake
If plunging doesn’t solve the clog, it’s time to bring out the big guns – the drain snake. A drain snake is a flexible tool that can reach deeper into the drainpipe to dislodge and remove stubborn clogs. Follow these steps to use a drain snake effectively:
- Feed the end of the drain snake into the drain opening, turning the handle clockwise as you push it in. The snake’s coiled wire or flexible cable will help navigate through the pipes.
- Continue feeding the snake into the drain until you feel resistance. This resistance indicates that you’ve reached the clog.
- Once you’ve reached the clog, twist and maneuver the drain snake to break up the blockage. This action will help to loosen and remove the debris causing the clog.
- Slowly pull the drain snake out of the drain, taking care not to damage the pipes. As you remove the snake, you may notice bits of the clog sticking to it.
- Repeat the process if necessary, feeding the snake back into the drain and breaking up any remaining debris. Be patient and persistent.
- After using the drain snake, run hot water down the drain to flush out any remaining residue and free up the flow.
Using a drain snake can be highly effective in removing clogs that are deep within the drainpipe. It allows you to physically break up and remove the blockage, restoring proper drainage to your sink. However, if the clog persists, there are still a few more options to consider.
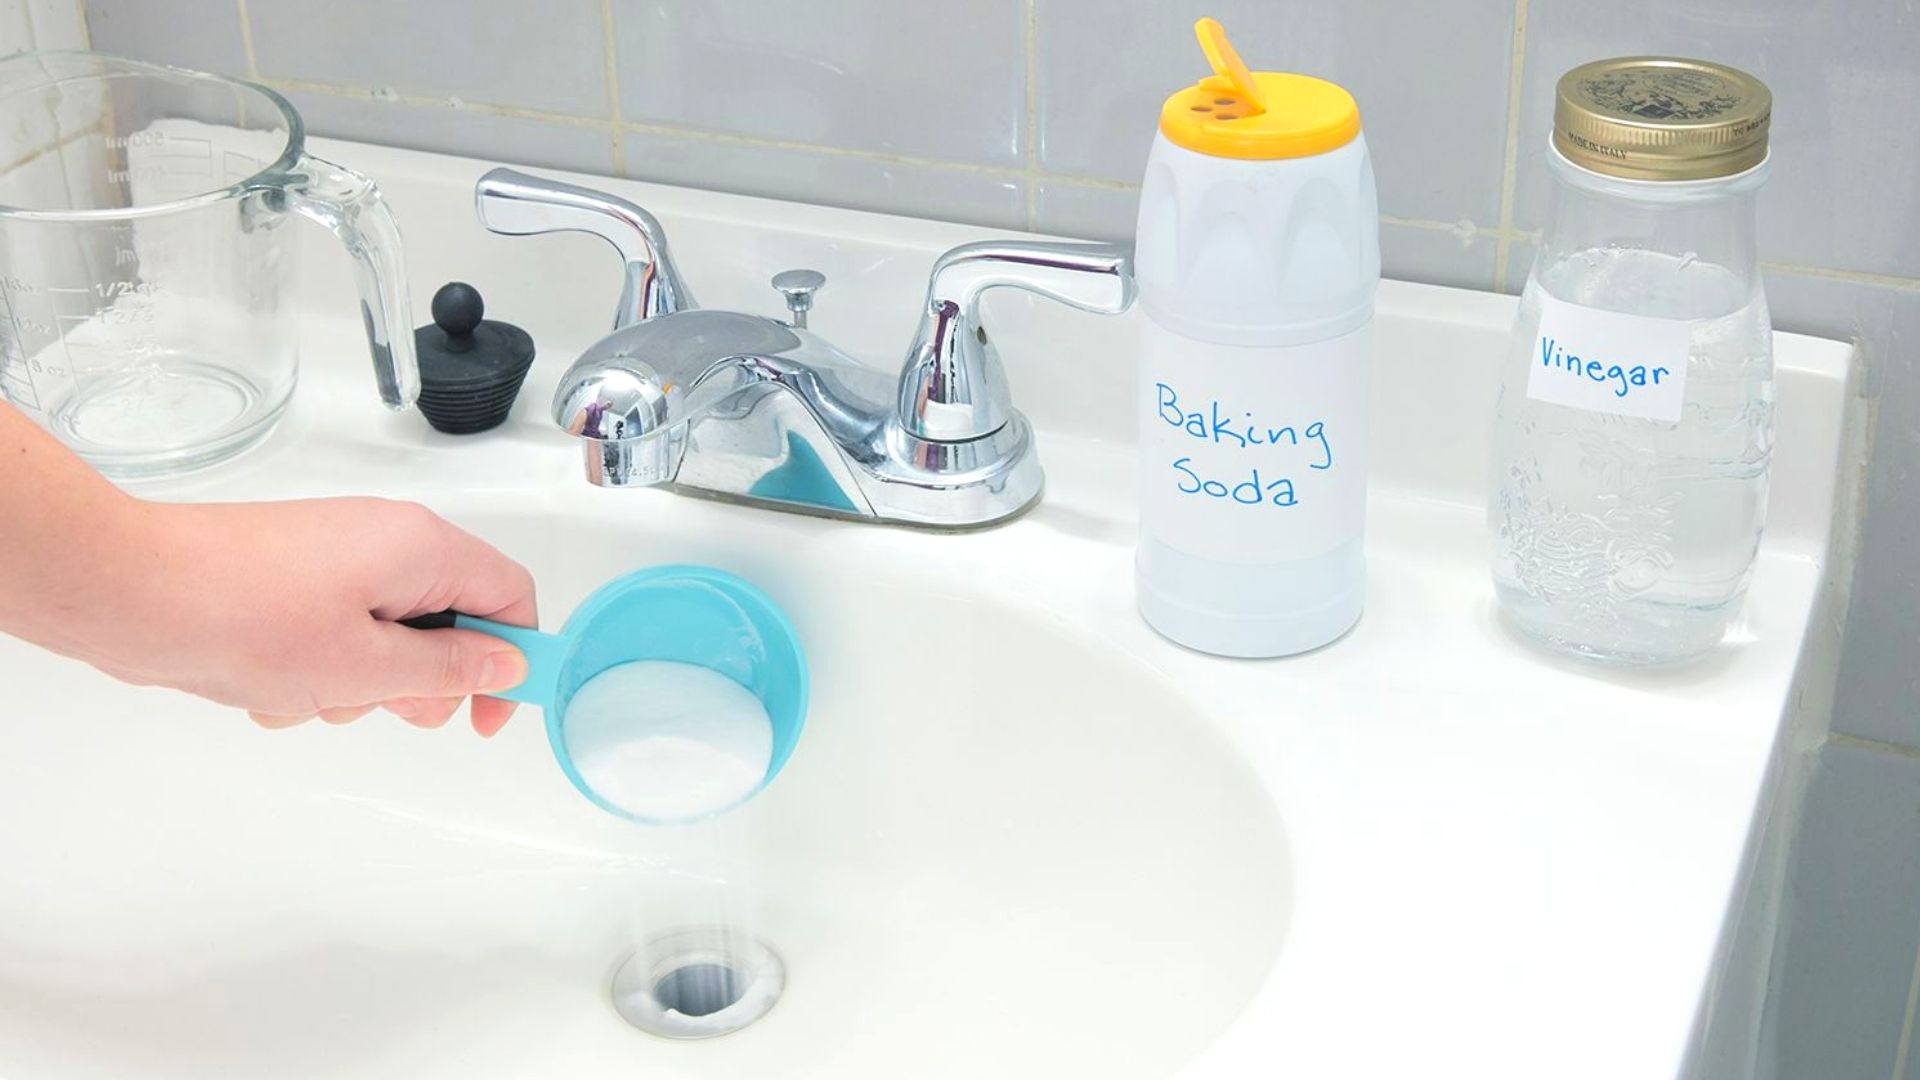
Pour a mixture of 1/2 cup of baking soda and 1/2 cup of vinegar down the drain. Let it sit for 30 minutes, then flush with hot water to unclog the sink.
Read more: How To Unclog A Sink Without A Plunger
Step 4: Use a Chemical Drain Cleaner (Optional)
If previous methods have not been successful in unclogging the sink, you may consider using a chemical drain cleaner. However, it’s important to note that chemical drain cleaners should be used as a last resort and with caution, as they can be harmful to both you and your plumbing if not used properly. Here’s how to use a chemical drain cleaner:
- Choose a suitable chemical drain cleaner from your local hardware or home improvement store. Read the instructions on the product carefully and follow them closely.
- Put on a pair of gloves to protect your hands from any potential splashes or spills.
- Carefully pour the recommended amount of the chemical drain cleaner into the drain opening. Avoid excessive pouring, as it can cause damage to your pipes.
- Allow the drain cleaner to work according to the recommended time indicated on the product’s instructions. This typically ranges from 15 minutes to overnight.
- After the recommended time has passed, flush the drain with hot water to help remove any remaining debris and to ensure the effectiveness of the drain cleaner.
It’s important to remember that chemical drain cleaners contain strong and potentially hazardous chemicals that can be harmful to your health and the environment. Always handle these products with care and keep them out of reach of children and pets. If you have concerns or doubts, it’s best to consult a professional plumber.
While chemical drain cleaners can be effective in breaking down stubborn clogs, it’s essential to use them sparingly and as a last resort. Consider other methods first and always prioritize the safety of yourself and your plumbing.
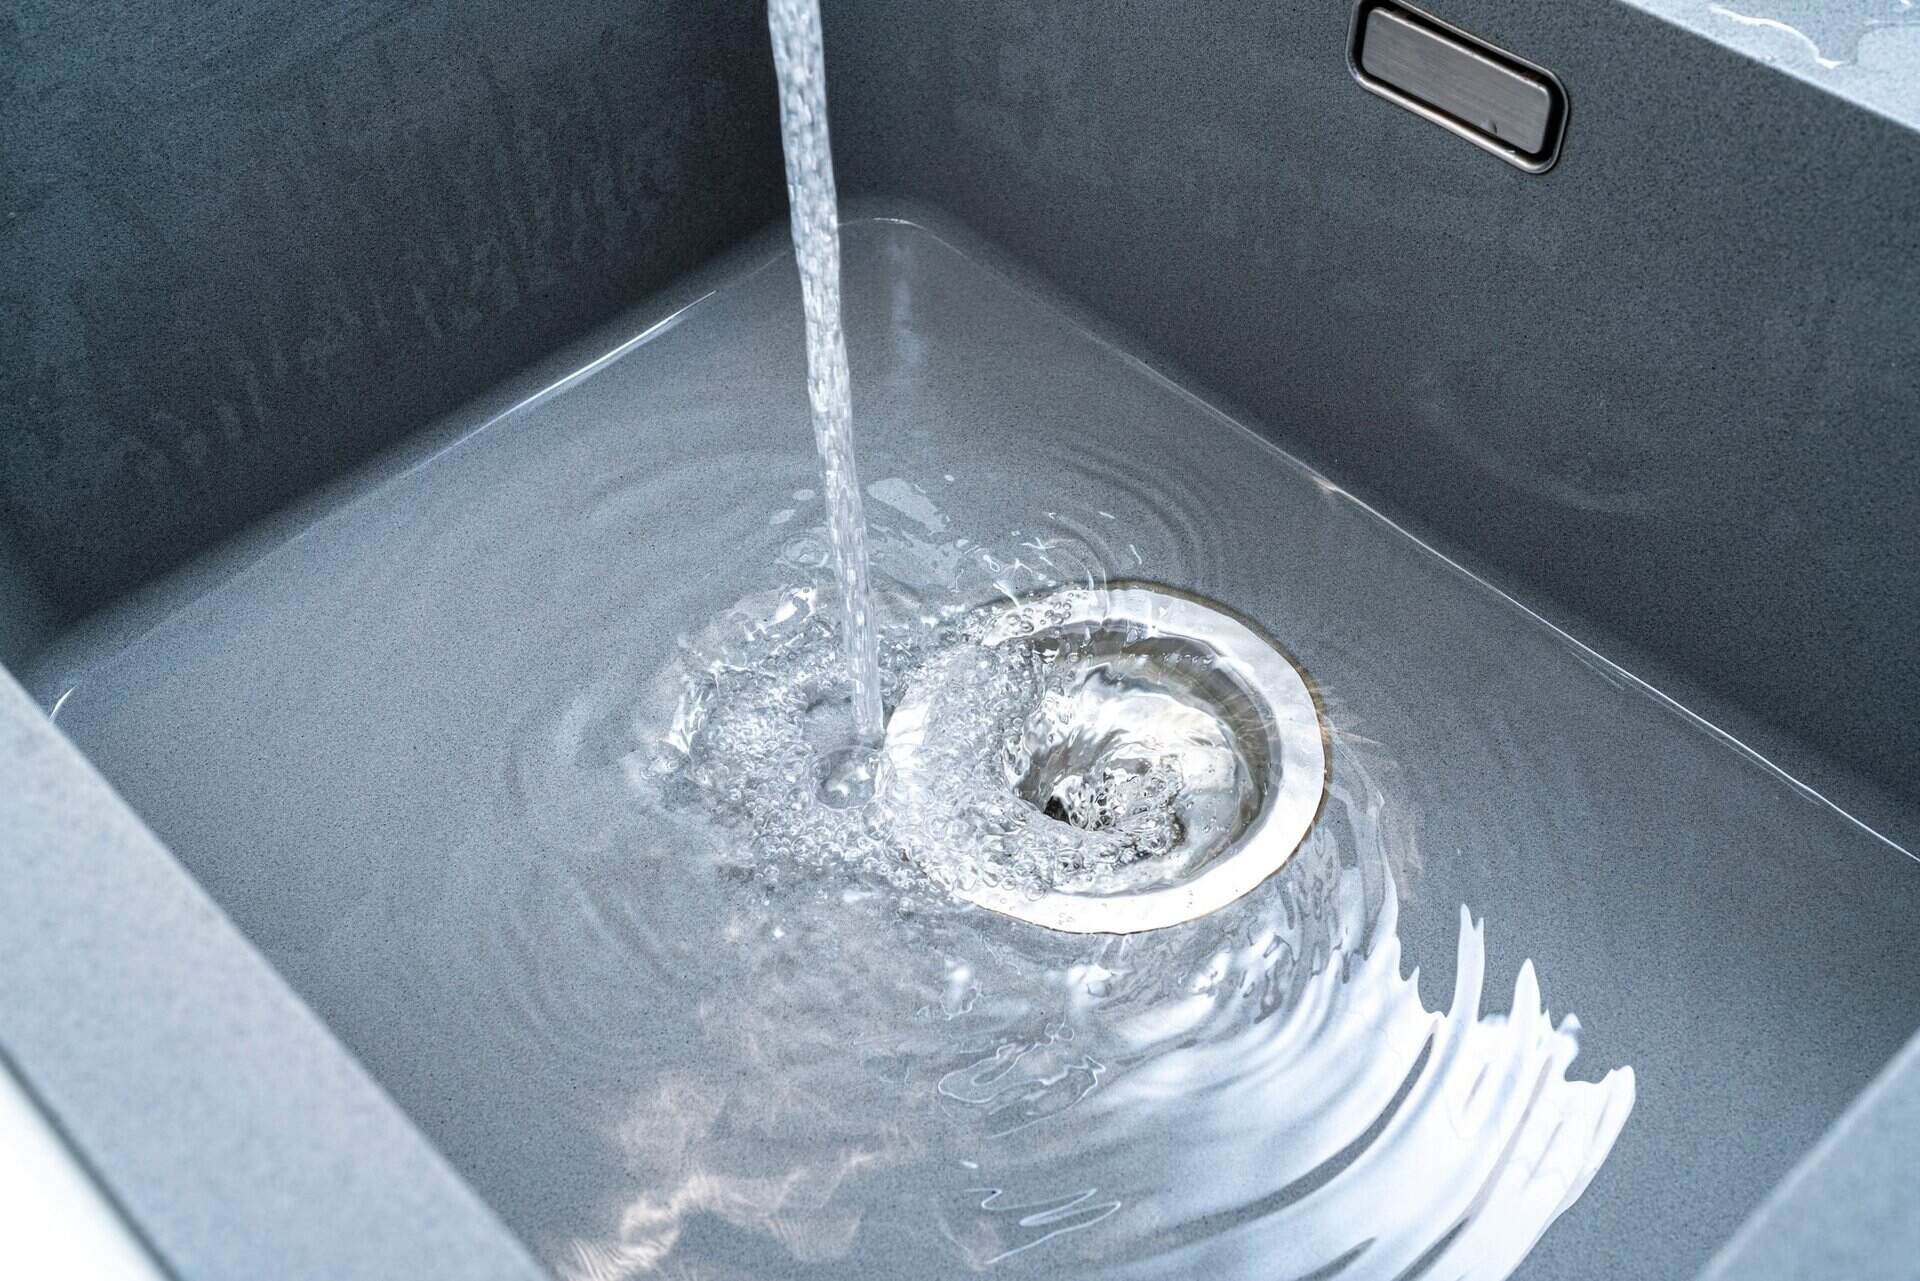
Step 5: Flush the Drain with Hot Water
After using any of the previous methods to unclog your sink, it’s important to finish the process by flushing the drain with hot water. This step helps to ensure that any remaining debris or residue is cleared from the pipes and allows for smooth drainage. Here’s how to properly flush the drain:
- Bring a pot or kettle of water to a boil on the stove or use hot water from a tap. Ensure that the water is hot but not boiling.
- Carefully pour the hot water into the drain opening. Be cautious to avoid any splashes or burns.
- Allow the hot water to work its way through the pipes for a few minutes. The heat will help dissolve and flush away any remaining debris, ensuring a clear and free-flowing drain.
- If necessary, repeat the process a couple of times for thorough flushing.
Flushing the drain with hot water is not only effective in clearing any remaining debris, but it also helps to sanitize the pipes and remove any unpleasant odors. This final step is crucial for maintaining a clean and functional sink.
Step 6: Prevent Future Clogs
Now that you have successfully unclogged your sink, it’s important to take preventive measures to avoid future clogs. Here are some tips to help you maintain a clear and functioning sink drain:
- Dispose of Grease Properly: Avoid pouring grease, fats, and oils down the sink, as they can solidify and cause blockages. Instead, let them cool and dispose of them in the trash.
- Use Drain Screens or Stoppers: Install drain screens or stoppers over your sink drains to catch hair, food particles, and other debris. Regularly clean these screens to prevent buildup.
- Avoid Flushing Non-Flushable Items: Ensure that only toilet paper is flushed down the toilets and that feminine hygiene products, wipes, or other non-flushable items are disposed of in the trash.
- Regularly Clean the Drain Opening: Routinely clean the drain opening using a brush or pipe cleaner to remove any accumulated residue or buildup.
- Flush with Hot Water: Every few weeks, pour a pot of hot water down the drain to help dissolve any minor buildup and keep the pipes clear.
- Educate Household Members: Teach everyone in your household about proper sink usage and the importance of disposing of waste responsibly.
By following these preventive measures, you can significantly reduce the likelihood of future sink clogs and keep your drains running smoothly. Remember, a little maintenance goes a long way in preventing costly and inconvenient plumbing issues.
Conclusion
Unclogging a sink can be a frustrating experience, but with the right tools and techniques, you can tackle the problem effectively. By following the steps outlined in this article, from removing visible obstructions to using a plunger, drain snake, or chemical drain cleaner, you can restore proper drainage to your sink.
Remember, it’s crucial to exercise caution when using chemical drain cleaners and to always follow the instructions carefully. If you’re unsure or the clog persists, it’s best to seek the assistance of a professional plumber to avoid potential damage to your plumbing system.
In addition to unclogging your sink, it’s equally important to take preventive measures to avoid future clogs. By practicing proper waste disposal, using drain screens, and regularly cleaning the drain opening, you can maintain a clear and functional sink drain for the long term.
Taking the time to unclog your sink and implementing preventive measures will not only save you time and money but also ensure the smooth functioning of your plumbing system. So the next time you encounter a clogged sink, don’t panic. Armed with the knowledge and techniques from this article, you have the power to conquer the clog and keep your sink flowing freely.
Frequently Asked Questions about How To Unclog The Sink
Was this page helpful?
At Storables.com, we guarantee accurate and reliable information. Our content, validated by Expert Board Contributors, is crafted following stringent Editorial Policies. We're committed to providing you with well-researched, expert-backed insights for all your informational needs.


0 thoughts on “How To Unclog The Sink”