Home>Interior Design>How To Paint A Dresser Without Sanding In 5 Simple Steps
Interior Design
How To Paint A Dresser Without Sanding In 5 Simple Steps
Modified: January 7, 2024
Learn how to transform your dresser without the hassle of sanding in just 5 easy steps. Perfect for interior design enthusiasts looking for a quick and simple project.
(Many of the links in this article redirect to a specific reviewed product. Your purchase of these products through affiliate links helps to generate commission for Storables.com, at no extra cost. Learn more)
How to Paint a Dresser Without Sanding: In 5 Simple Steps
Are you looking to transform your dresser and give it a fresh new look without the hassle of sanding? With the right materials and techniques, it is possible to paint a dresser without sanding. Whether you want to update an old piece or customize a thrifted find, follow these 5 simple steps to achieve a beautifully painted dresser.
Key Takeaways:
- Transform your dresser without sanding by following 5 simple steps, from preparation to adding finishing touches. Achieve a professional-looking, personalized dresser with the right materials and techniques.
- Unleash your creativity and give your dresser a fresh new look without the hassle of sanding. Choose the perfect paint, add decorative accents, and allow ample drying time for a stunning transformation.
Step 1: Preparation
Before diving into the painting process, it is important to prepare the dresser properly:
- Gather Materials: You will need paint, primer, paintbrushes, painter’s tape, drop cloths, and a degreaser.
- Choose a Suitable Workspace: Select a well-ventilated area with ample space to work comfortably.
- Clean and Remove Hardware: Use a degreaser to remove any dirt or grease from the dresser. Remove any knobs, handles, or other hardware that you don’t want to paint.
Step 2: Prime the Dresser
Priming the dresser ensures better adhesion and helps the paint to adhere evenly. Follow these steps:
- Selecting the Right Primer: Choose a primer specifically formulated for the type of surface you are painting.
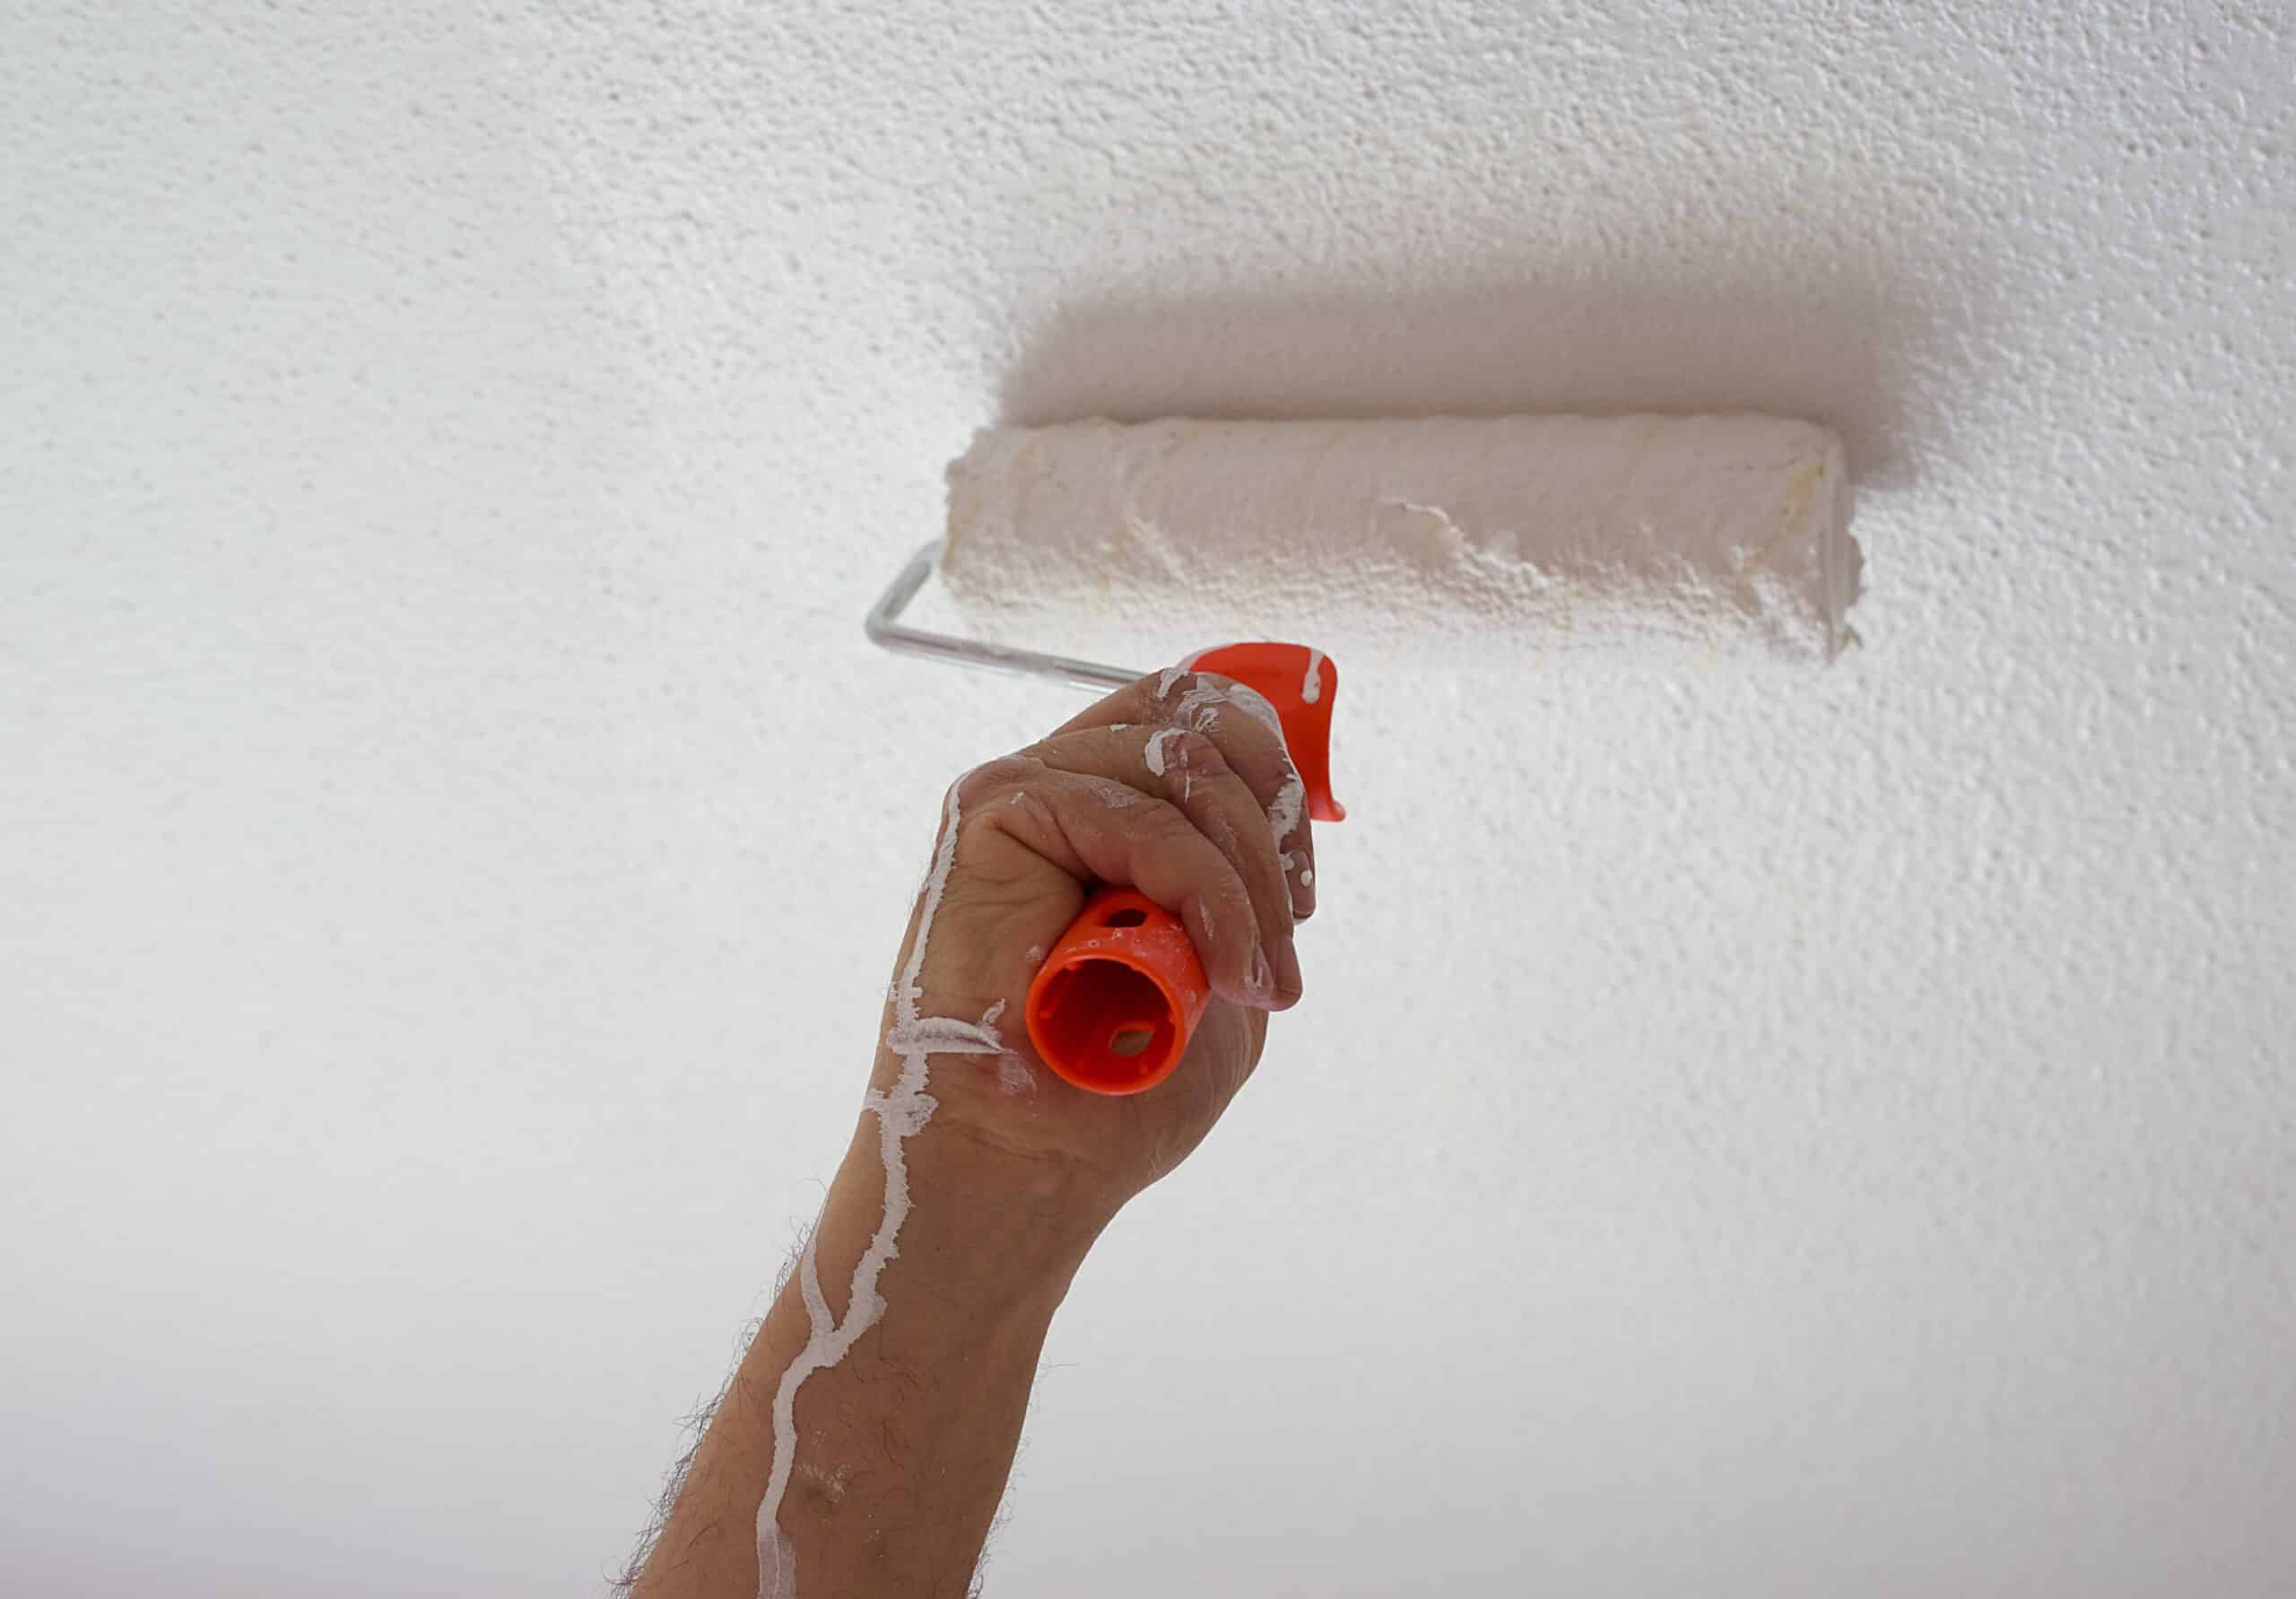
- Applying Primer to the Dresser Surface: Use a paintbrush or roller to apply an even coat of primer to the dresser. Allow it to dry according to the manufacturer’s instructions.
Step 3: Paint the Dresser
Now it’s time to add color to your dresser:
- Choosing the Paint Type and Color: Select a high-quality paint suitable for the dresser material and your desired finish. Consider the color scheme of the room where the dresser will be placed.
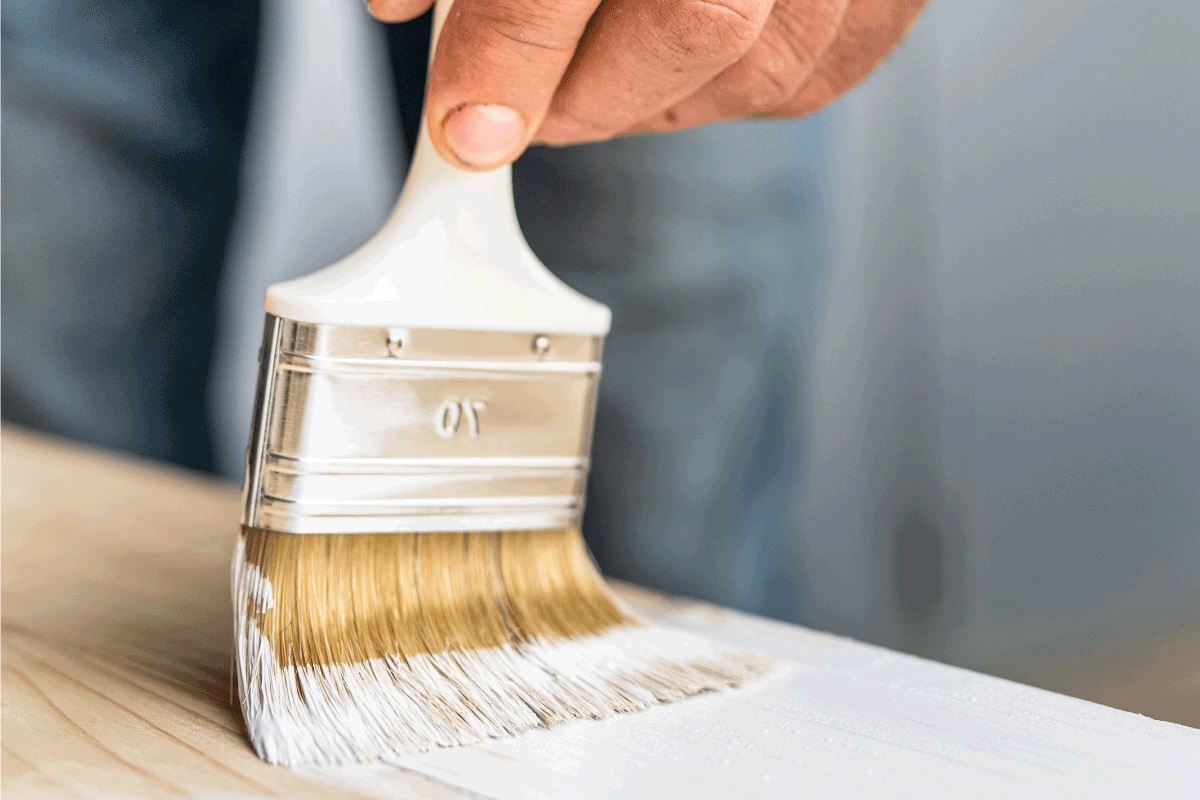
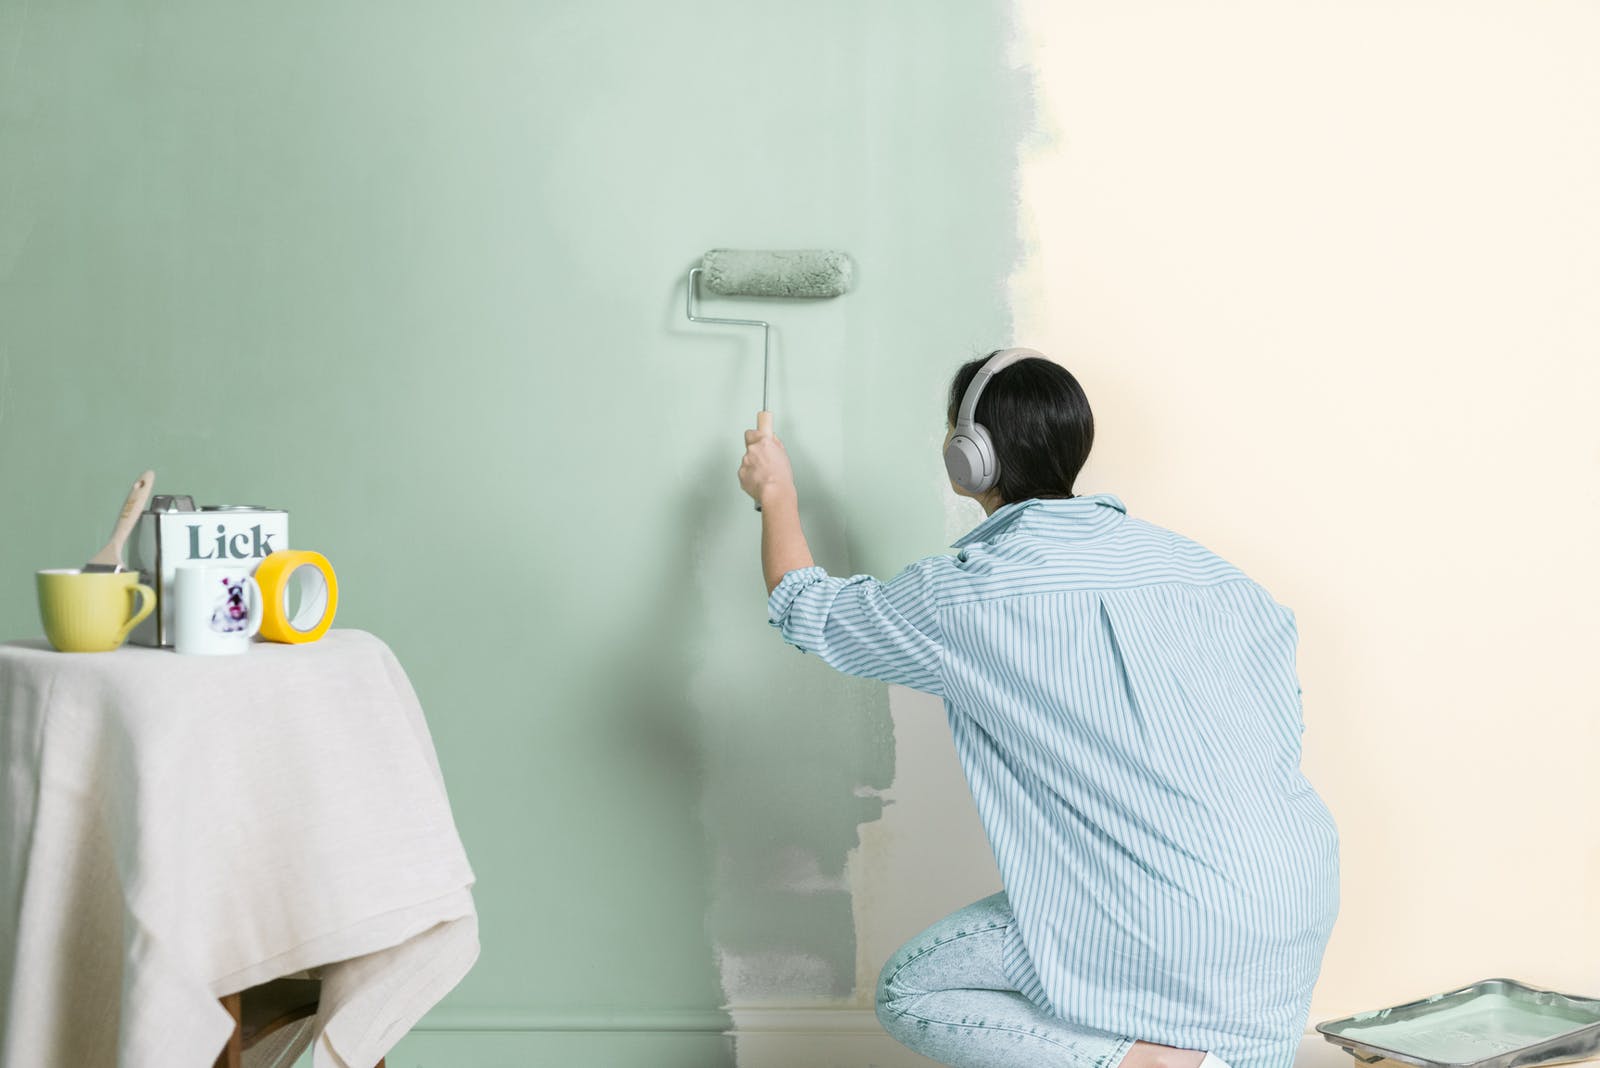
- Applying the First Coat of Paint: Use a brush or roller to apply an even coat of paint to the dresser. Work in smooth, overlapping strokes, following the grain of the wood if applicable.
- Applying Additional Coats (if necessary): Allow the first coat to dry completely before applying additional coats if needed. Follow the manufacturer’s instructions for drying time between coats.
Step 4: Add Finishing Touches
To make your painted dresser truly stand out, consider these additional steps:
- Sand the Edges (optional): For a distressed or vintage look, lightly sand the edges of the dresser to expose some of the wood underneath the paint.
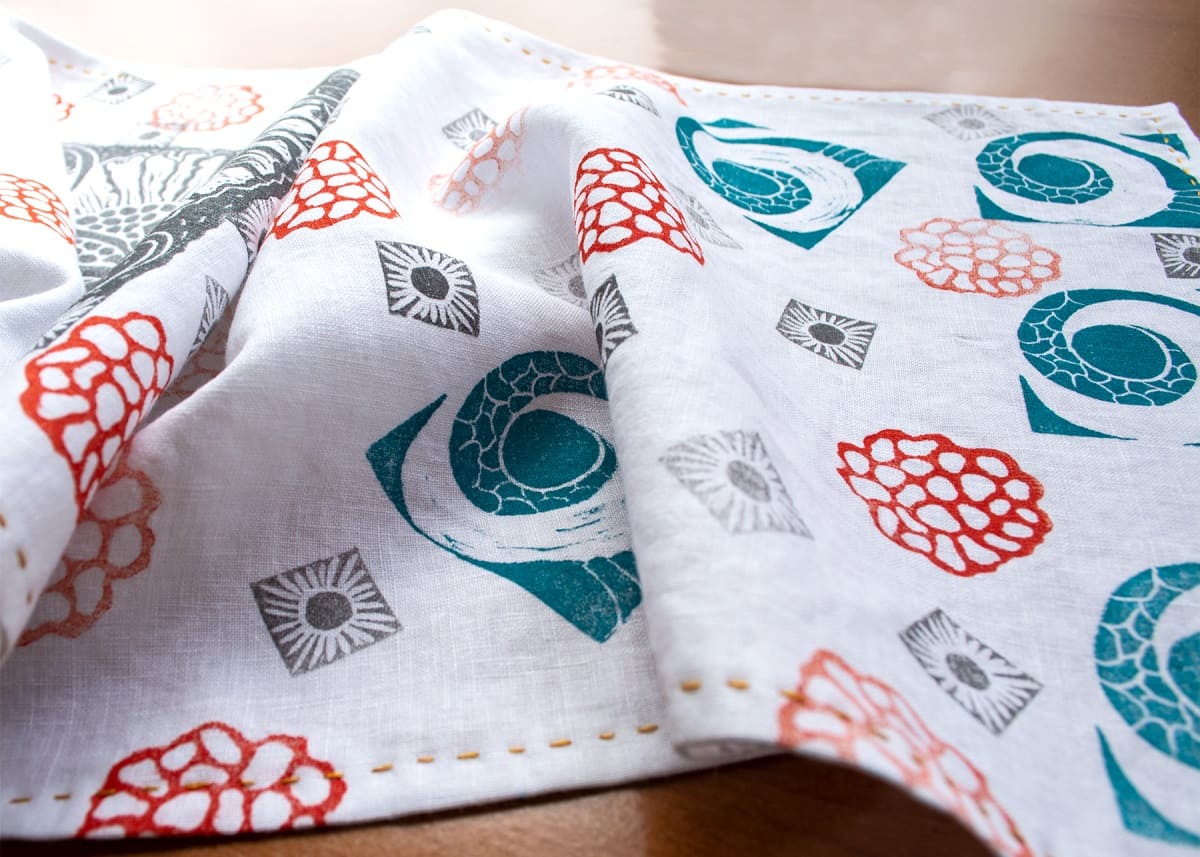
- Apply Decorative Accents (optional): Consider adding decorative accents such as stenciling, fabric inserts, or decoupage to personalize your dresser.
- Reattach Hardware: Once the paint is dry, reattach the hardware to complete the transformation.
Read more: How To Paint Dresser Without Sanding
Step 5: Allow the Dresser to Dry
Ensure that your newly painted dresser has ample time to dry and cure:
- Recommended Drying Time: Follow the paint manufacturer’s instructions for the recommended drying time.
- Ventilation and Proper Air Circulation: Allow the dresser to dry in a well-ventilated area with good air circulation to avoid any issues with smell or drying inconsistencies.
By following these 5 simple steps, you can easily paint a dresser without the need for sanding. Whether you prefer a smooth, sleek finish or a distressed look, painting your dresser allows you to breathe new life into an old piece of furniture and add a personal touch to your space.
How to Paint a Dresser Without Sanding: In 5 Simple Steps
Introduction:
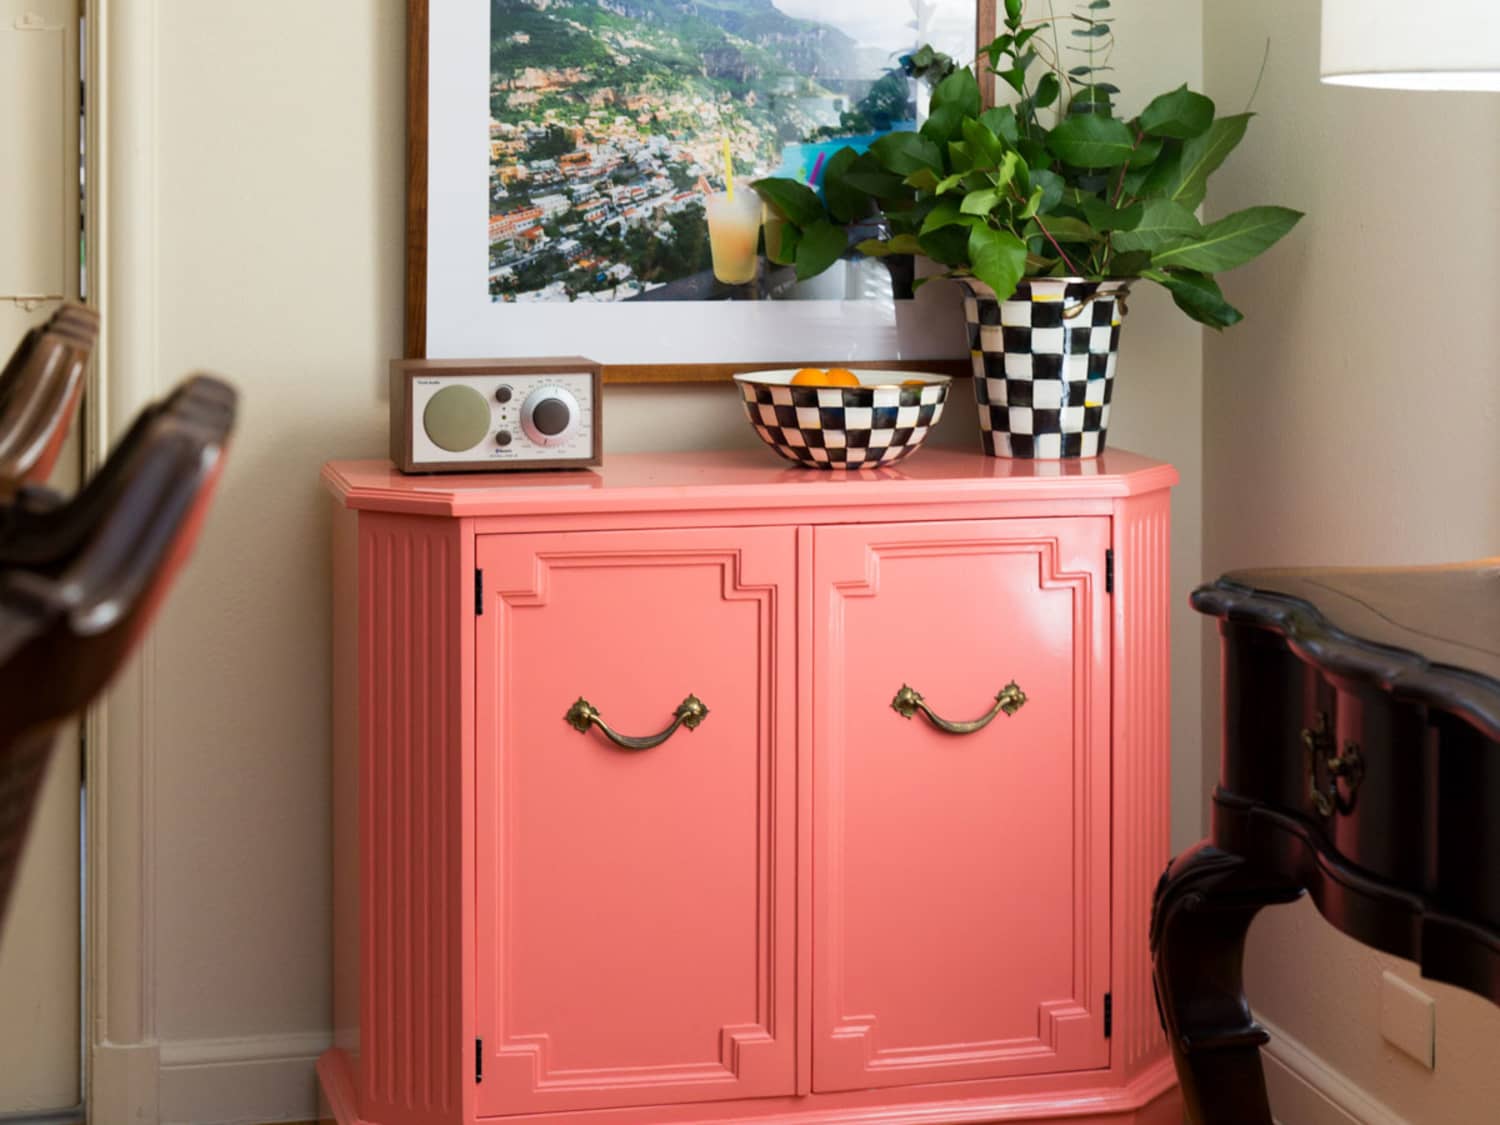
A dresser is not just a functional piece of furniture; it can also be a statement piece that enhances the style and aesthetics of any room. However, over time, the paint on a dresser may become dull or chipped, leaving it looking worn-out and dated. The traditional method of sanding before painting can be time-consuming and messy, but there is good news – you can still achieve a beautiful painted finish without sanding!
Painting a dresser without sanding is a popular technique that not only saves time and effort but also allows you to unleash your creativity by exploring a wide range of color options and finishes. Whether you’re a DIY enthusiast or an interior design lover, this guide will walk you through the process of painting a dresser without sanding in 5 simple steps, helping you achieve a stunning transformation.
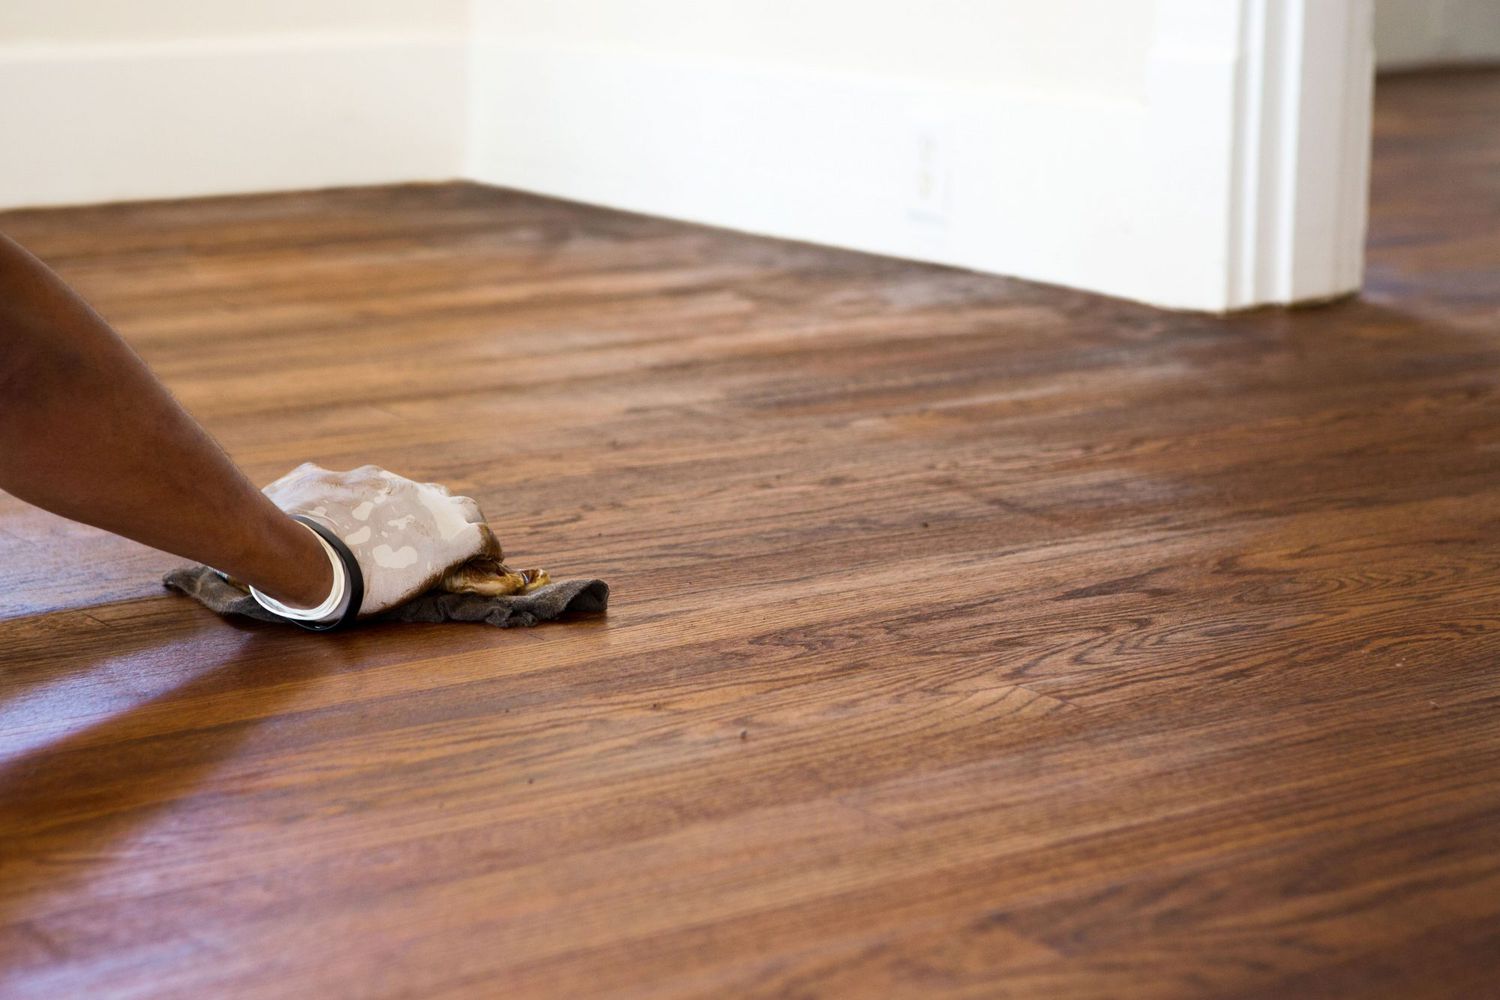
Before we delve into the steps, it’s essential to understand the importance of thorough preparation. Prepping the dresser properly sets the stage for a successful painting project and ensures that the paint adheres well to the surface. Alongside gathering the necessary materials, you’ll need to clean the dresser thoroughly, removing any dirt, grease, or residue. Additionally, removing the hardware, such as knobs or handles, will make the painting process smoother and prevent accidental paint splatters.
Once the dresser is prepped and ready, it’s time to move on to the first step – priming. Primer serves as a crucial layer between the original paint and the new coat, providing a smooth surface for the paint to adhere to. Selecting the right primer for your dresser’s material is essential to ensure optimal adhesion and long-lasting results. Applying a thin and even coat of primer will prepare the dresser for the paint transformation.
With the primer applied, it’s time to move on to the exciting part – painting the dresser. Choose a high-quality paint that suits your style and complements the overall decor of the room. Whether you prefer a matte, glossy, or satin finish, the varied range of paint options allows you to express your creativity. Applying multiple thin coats of paint will enhance the durability and provide an even and professional-looking finish.
To add character and visual interest to your newly painted dresser, consider incorporating some finishing touches. Sanding the edges can create a distressed or vintage-inspired look, giving your dresser a unique charm. Additionally, you can experiment with decorative accents such as stenciling, fabric inserts, or decoupage to add a personal touch and make a design statement.
Finally, it’s important to allow the dresser to dry completely before moving it back into its designated space. Following the recommended drying time ensures that the paint cures properly and minimizes the risk of any damage or smudging. Providing proper ventilation and air circulation during the drying process will also help eliminate any lingering paint odors.
By following these 5 simple steps, you can achieve a beautifully painted dresser without the need for sanding. This efficient and creative technique allows you to breathe new life into your furniture, transforming it into a stunning piece that enhances your space’s overall aesthetics.
Key Takeaways:
- Transform your dresser without sanding by following 5 simple steps, from preparation to adding finishing touches. Achieve a professional-looking, personalized dresser with the right materials and techniques.
- Unleash your creativity and give your dresser a fresh new look without the hassle of sanding. Choose the perfect paint, add decorative accents, and allow ample drying time for a stunning transformation.
Step 1: Preparation
Before diving into the painting process, it’s crucial to prepare the dresser properly. This step sets the foundation for a successful and long-lasting painted finish. Here are the key aspects to focus on:
- Gather Materials: Start by gathering all the necessary materials for your painting project. You will need paint, primer, paintbrushes or rollers, painter’s tape, drop cloths, and a degreaser.
- Choose a Suitable Workspace: Select a well-ventilated area with ample space to work comfortably. Ideally, choose an area with good natural or artificial lighting that allows you to see the finer details clearly.
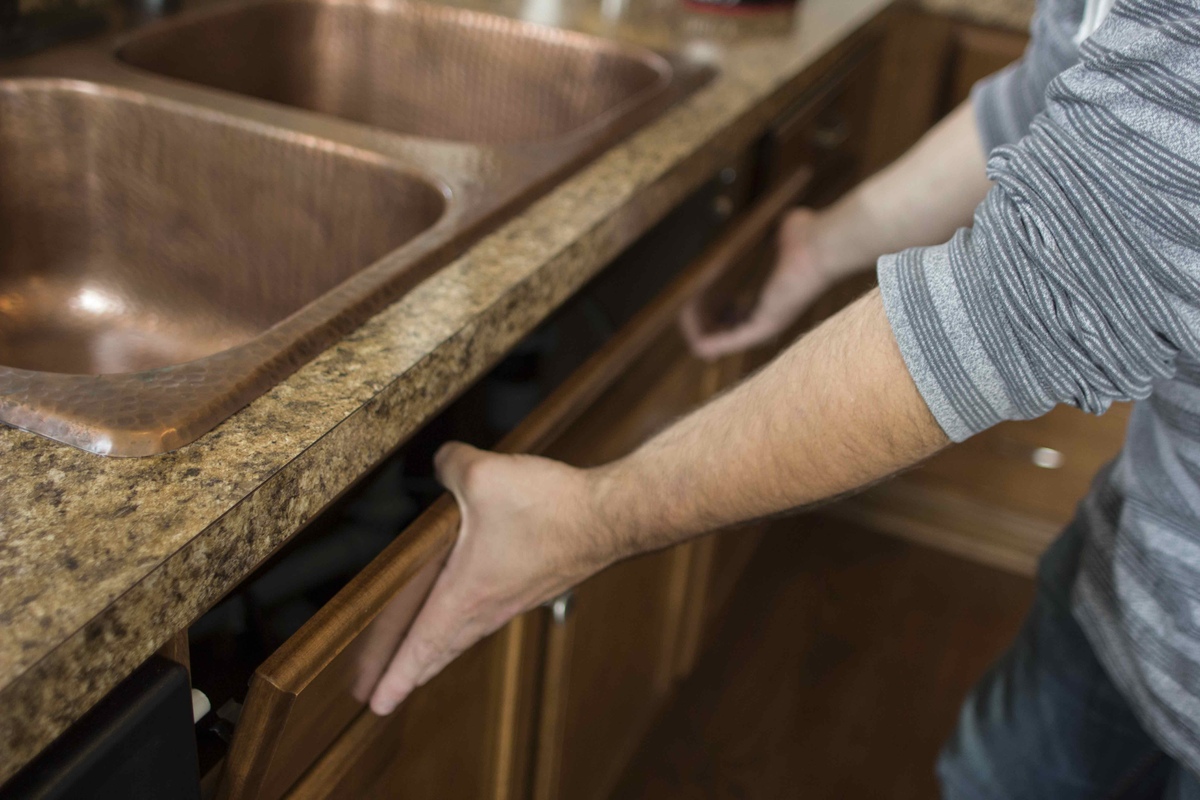
- Clean and Remove Hardware: Before painting, it’s important to clean the dresser surface thoroughly. Use a degreaser to remove any dirt, grime, or grease that may have accumulated over time. Pay special attention to areas such as handles, knobs, and edges. Once the surface is clean, remove any hardware such as knobs, handles, or other decorative elements that you wish to keep unpainted or paint separately.
By gathering all the necessary materials and ensuring a clean and well-prepared workspace, you set the stage for a smooth and hassle-free painting experience. Taking the time to clean the dresser and removing hardware prevents any interference or accidental paint splatters, ensuring a professional-looking finish in the end.
Step 2: Prime the Dresser
Priming the dresser is an essential step that helps create a strong foundation for the paint to adhere to. The primer provides better adhesion, seals the surface, and enhances the durability of the painted finish. Follow these steps to prime the dresser effectively:
- Selecting the Right Primer: It’s important to choose a primer specifically formulated for the type of surface you are working with. If your dresser is made of wood, look for a primer designed for wood surfaces. If your dresser is made of laminate or other non-wood materials, select a primer suitable for those surfaces. This will ensure optimal adhesion and a long-lasting finish.
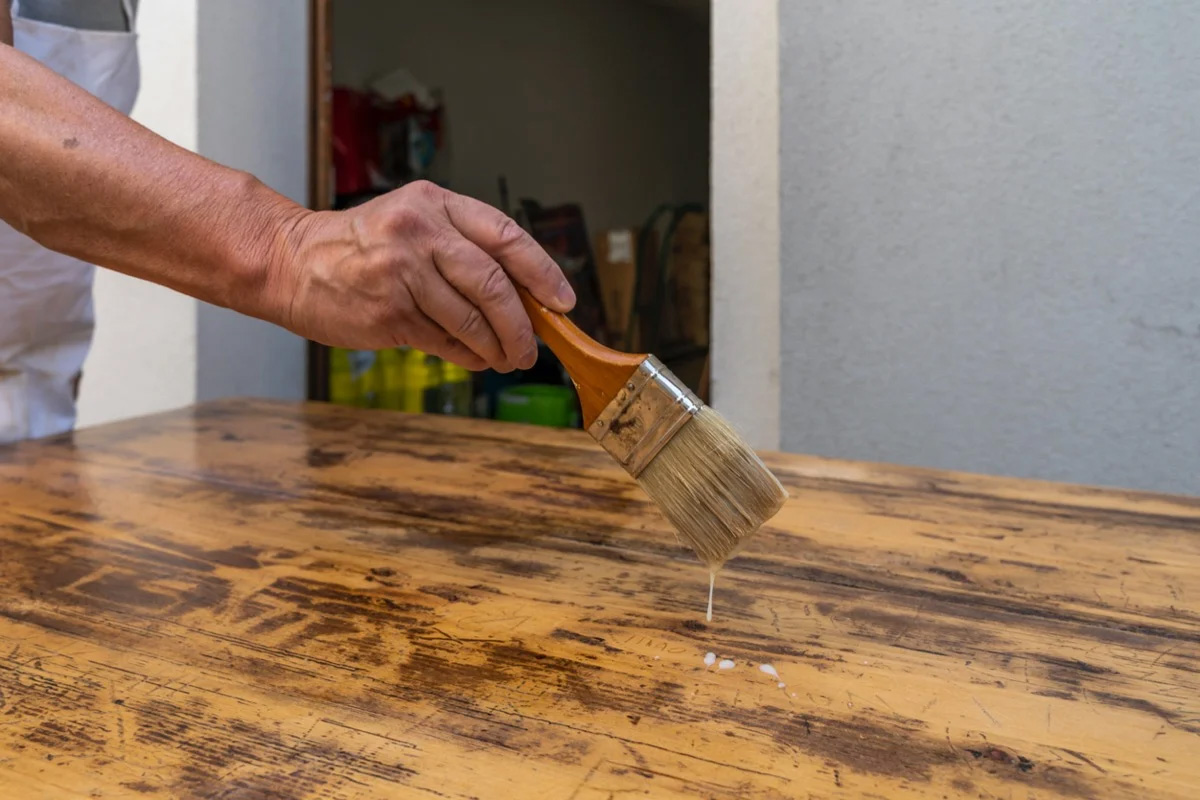
- Applying Primer to the Dresser Surface: Start by stirring the primer thoroughly to ensure an even consistency. Then, using a paintbrush or a roller, apply a thin and even coat of primer to the entire surface of the dresser. Work in smooth, overlapping strokes, following the grain of the wood if applicable. Be sure to cover all areas, including the top, sides, front, and drawers. Take your time to ensure thorough coverage and smooth application.
After applying the primer, allow it to dry completely according to the manufacturer’s instructions. This drying time is crucial for the primer to bond properly with the surface, creating a solid base for the paint. It is recommended to apply a second coat of primer if needed, for example, if the original color of the dresser is prominent or the surface is particularly porous. Applying multiple thin coats of primer ensures better coverage and improves the durability and longevity of the painted finish.
Priming the dresser not only helps the paint adhere better but also allows the paint color to show true and prevents any underlying stains or imperfections from bleeding through. This step is particularly crucial when painting over dark or stained wood surfaces. By taking the time to prime your dresser, you’ll ensure a smoother painting experience and achieve a more professional-looking result in the end.
Step 3: Paint the Dresser
Now comes the exciting part – painting the dresser! This step allows you to unleash your creativity and give your dresser a fresh new look. Follow these steps to achieve a beautifully painted finish:
- Choosing the Paint Type and Color: When it comes to selecting the paint for your dresser, consider both the type of paint and the color. Opt for a high-quality paint that is suitable for the dresser’s material and the desired finish. For wooden dressers, latex or acrylic-based paints are commonly used. If you prefer a more durable and washable finish, consider using enamel or oil-based paint. As for color, choose a shade that complements the overall style and ambiance of your space. Consider the existing color scheme or opt for a bold statement color to make the dresser stand out.
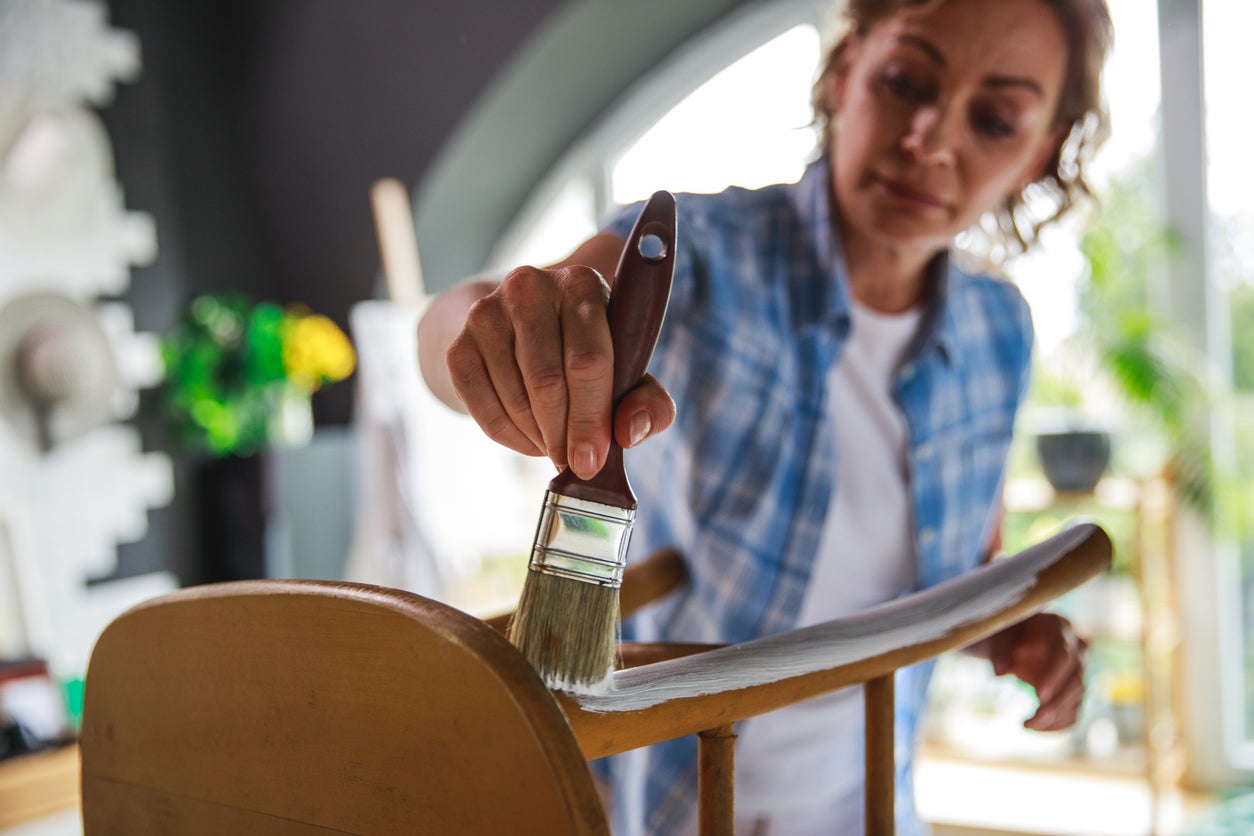
- Applying the First Coat of Paint: Before painting, stir the paint thoroughly to ensure an even consistency. Begin by using a brush or roller to apply the first coat of paint to the dresser. Start with the smaller, detailed areas and then move on to the larger surfaces. Apply the paint in smooth, even strokes, following the grain of the wood if applicable. Take your time and ensure full coverage of the dresser’s surface. Remember to paint in thin, multiple coats rather than thick layers, as this will help avoid drips and achieve a smoother finish.
- Applying Additional Coats (if necessary): Depending on the color and type of paint you’re using, you may need to apply additional coats for better coverage and a more vibrant finish. Allow the first coat to dry completely according to the manufacturer’s instructions before applying the next coat. It’s important to follow proper drying time to prevent the paint from smudging or becoming tacky. Apply each subsequent coat with the same care and attention to detail as the first, ensuring a consistent and flawless finish.
Remember, patience is key when painting a dresser. It’s better to apply multiple thin coats of paint than to rush and create a thicker, uneven finish. By following these steps, you’ll be able to achieve a beautifully painted dresser that enhances the overall aesthetic of your room.
Step 4: Add Finishing Touches
Once you have completed painting the dresser, it’s time to add those special finishing touches that will elevate its appearance. These extra steps allow you to personalize your dresser and make it truly stand out. Here are some options to consider:
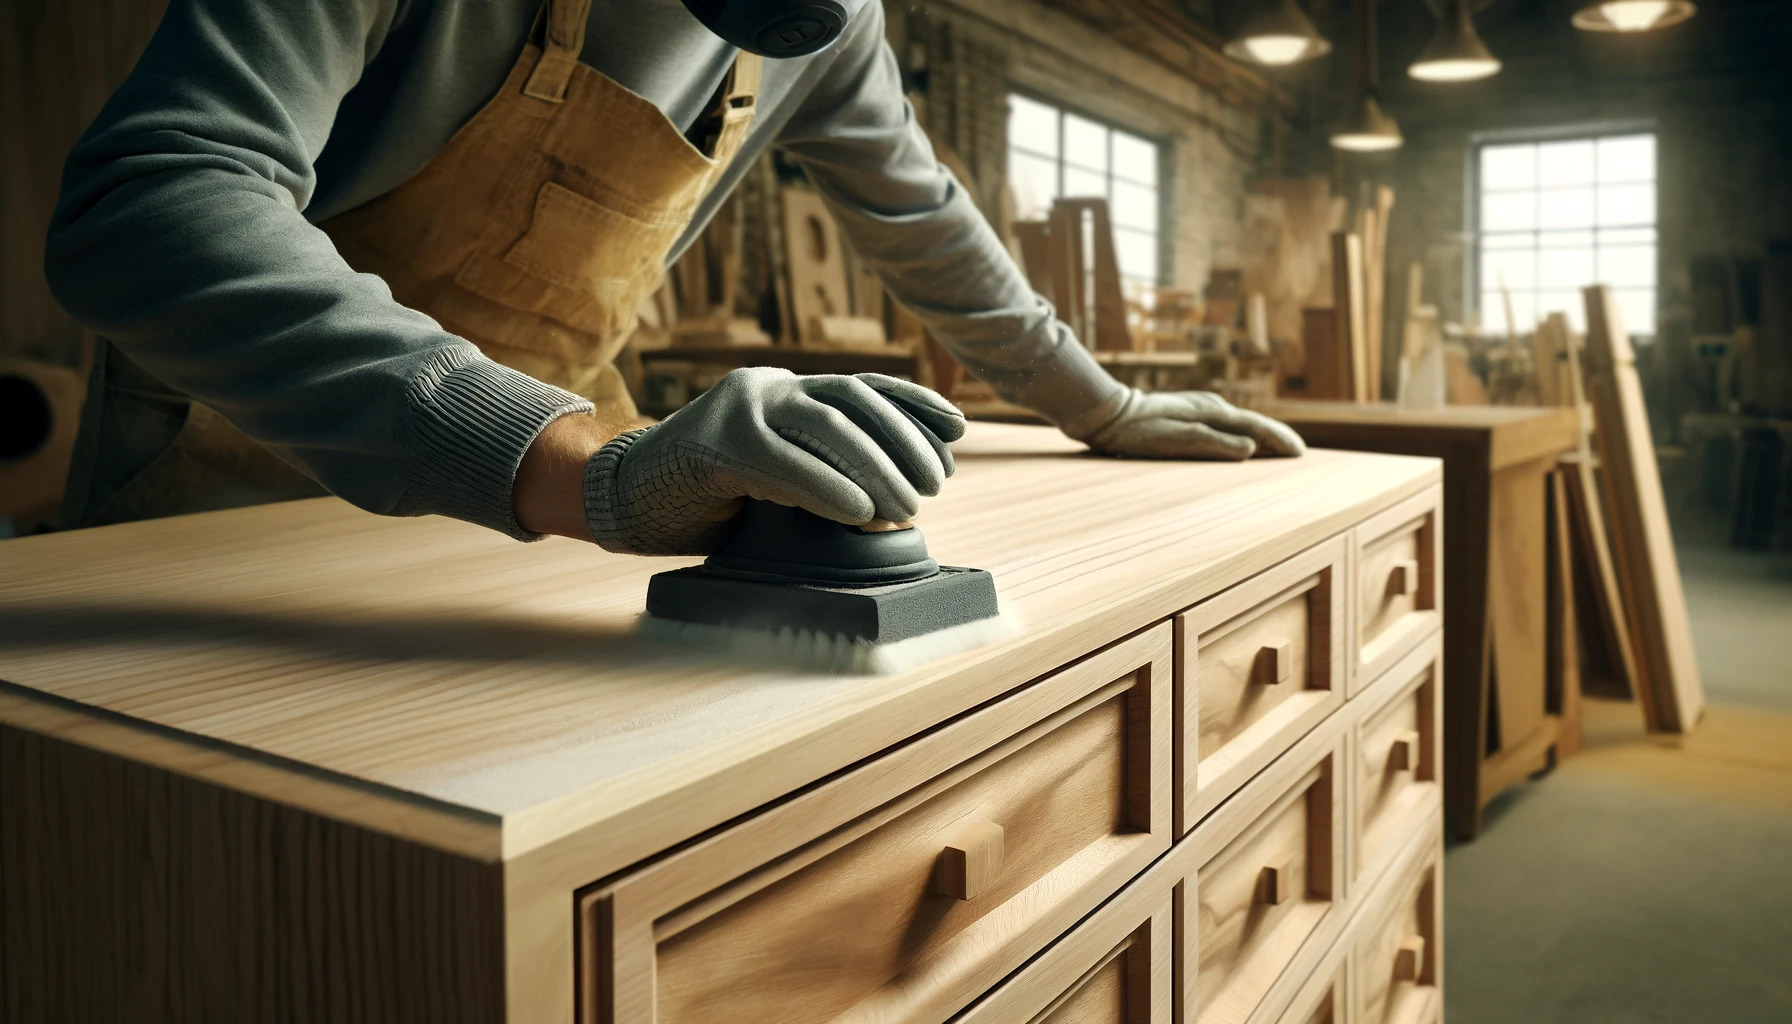
- Sand the Edges (optional): If you prefer a distressed or vintage look, consider sanding the edges of the dresser lightly. This technique adds character and gives the piece a weathered appearance. Gently sand the edges using fine-grit sandpaper to expose some of the wood underneath the paint. This technique can create an appealing contrast between the painted surface and the natural wood, adding depth and visual interest to your dresser.
- Apply Decorative Accents (optional): If you want to go beyond simple painting, consider adding decorative accents to your dresser. Explore creative techniques such as stenciling, fabric inserts, or decoupage to incorporate unique and eye-catching elements. Stenciling can add patterns or designs to the dresser, while fabric inserts can bring texture and a pop of color. Decoupage allows you to attach decorative paper or fabric to the surface, creating a custom and artistic touch. These techniques provide you with endless possibilities to express your personal style and create a one-of-a-kind dresser.
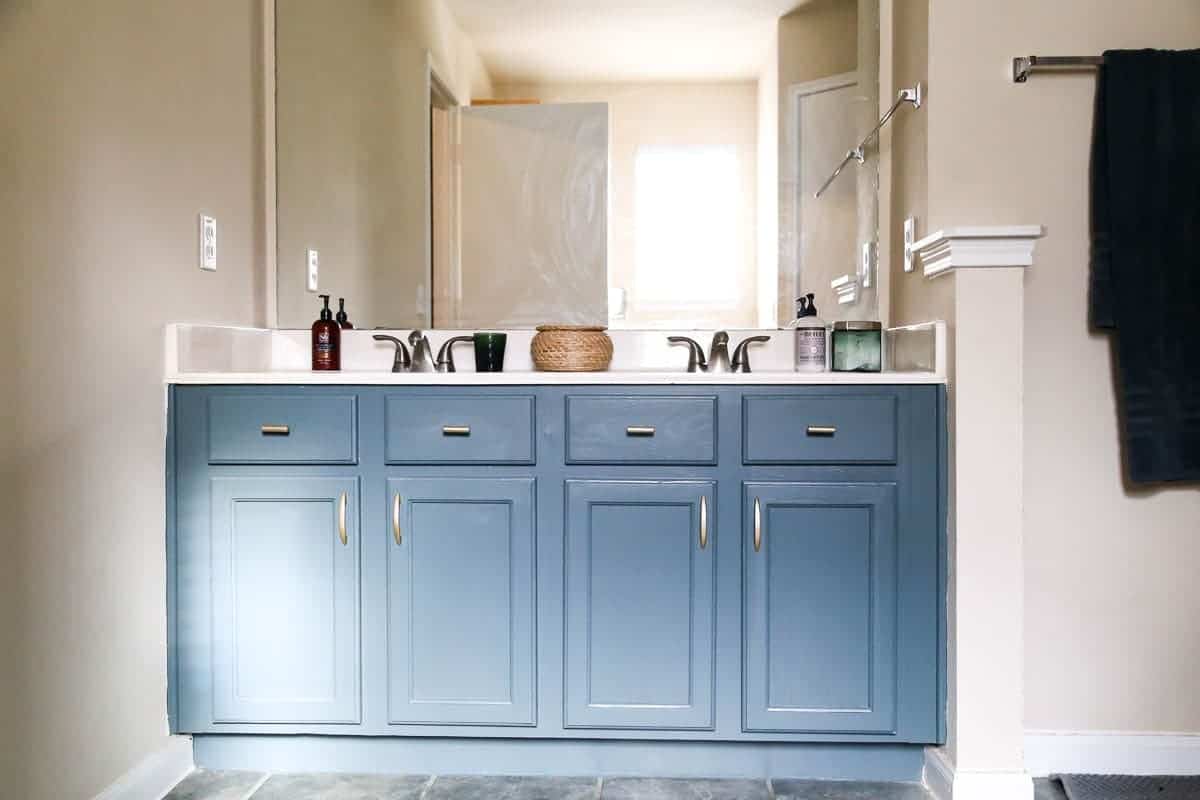
- Reattach Hardware: Once the paint and any additional accents have dried, it’s time to reattach the hardware to the dresser. Carefully screw back the knobs, handles, or other decorative elements that you had removed earlier. Ensure that they are secure and properly aligned so that they complement the overall look of the painted dresser. Reattaching the hardware gives your dresser a polished and finished appearance.
Adding these finishing touches allows you to bring your vision to life and make your painted dresser truly unique. Whether you choose to sand the edges for a rustic charm or incorporate decorative accents for an artistic flair, these additional steps will enhance the overall aesthetic and personality of your dresser.
Read more: How To Paint Dresser Without Sanding
Step 5: Allow the Dresser to Dry
After completing all the painting and finishing touches, it’s important to allow the dresser to dry properly. This final step ensures that the paint cures and hardens, resulting in a durable and long-lasting finish. Here are some considerations for drying your newly painted dresser:
- Recommended Drying Time: Follow the paint manufacturer’s instructions for the recommended drying time. This can vary depending on the type of paint used and the environmental conditions. It’s important not to rush the drying process to avoid smudges, smears, or damage to the painted surface. Be patient and allow ample time for the paint to fully dry before handling or moving the dresser.
- Ventilation and Proper Air Circulation: It’s crucial to provide proper ventilation and air circulation during the drying process. This helps the paint dry evenly and reduces the risk of any residual paint odor. Place the dresser in a well-ventilated area or open windows to allow fresh air to circulate. If necessary, use fans or air conditioning to promote faster drying, but avoid placing the dresser directly in front of a fan, as this might cause the paint to dry too quickly and unevenly.
Keep in mind that humidity and temperature can also affect the drying time. It’s best to paint in moderate humidity and temperature conditions to ensure the optimal drying and curing of the paint. Additionally, avoid exposing the freshly painted dresser to excessive heat or cold, as extreme temperatures can interfere with the drying process and potentially damage the paint.
By allowing the dresser sufficient time to dry under proper ventilation and air circulation, you can ensure a flawless finish and protect your hard work. Once the paint is completely dry and cured, you can confidently move and place the dresser in its designated spot, ready to be enjoyed as a beautiful and refreshed piece in your space.
Conclusion
Painting a dresser without the need for sanding allows you to transform an old or outdated piece of furniture into a stunning focal point in your room. By following these 5 simple steps, you can achieve a beautifully painted dresser that adds personality and style to your space. Here’s a recap of the steps:
- Step 1: Preparation: Gather materials, choose a suitable workspace, and clean the dresser surface.
- Step 2: Prime the Dresser: Select the right primer and apply an even coat to ensure better adhesion.
- Step 3: Paint the Dresser: Choose the paint type and color, apply the first coat, and add additional coats if needed.
- Step 4: Add Finishing Touches: Sand the edges for a distressed look, apply decorative accents, and reattach hardware to complete the transformation.
- Step 5: Allow the Dresser to Dry: Follow the recommended drying time and provide proper ventilation for optimal drying and curing.
By following these steps, you can achieve professional-looking results and create a unique and personalized dresser. Whether you prefer a sleek and modern finish or a vintage and distressed look, painting a dresser without sanding offers endless possibilities for customization.
Remember to take your time during each step, ensuring thorough preparation, proper priming, and even paint application. Don’t be afraid to get creative with decorative accents or experiment with different colors to achieve the desired look. The satisfaction of seeing your transformed dresser will make the process well worth it.
Now that you’re equipped with the knowledge of how to paint a dresser without sanding, it’s time to grab your materials, choose your perfect color, and bring new life to your dresser. Let your creativity shine and enjoy the process of transforming this piece of furniture into a unique and stylish addition to your home.
Frequently Asked Questions about How To Paint A Dresser Without Sanding In 5 Simple Steps
Was this page helpful?
At Storables.com, we guarantee accurate and reliable information. Our content, validated by Expert Board Contributors, is crafted following stringent Editorial Policies. We're committed to providing you with well-researched, expert-backed insights for all your informational needs.


0 thoughts on “How To Paint A Dresser Without Sanding In 5 Simple Steps”