Home>Maintenance & Safety>Safety Equipment & Products>How To Take Off Childproof Outlet

Safety Equipment & Products
How To Take Off Childproof Outlet
Modified: August 16, 2024
Learn how to safely remove childproof outlet covers with our step-by-step guide. Ensure the safety of your little ones with the right safety equipment and products. Protect your children from electrical hazards today!
(Many of the links in this article redirect to a specific reviewed product. Your purchase of these products through affiliate links helps to generate commission for Storables.com, at no extra cost. Learn more)
Introduction
Childproof outlets are essential for maintaining a safe environment for young children. However, there comes a time when these safety features are no longer necessary, especially as children grow older. Learning how to remove the childproof feature from an outlet is a valuable skill for any parent or caregiver. This process allows for the restoration of full functionality to the outlet while still maintaining safety. Whether you're preparing for a renovation or simply adapting to your child's increasing independence, this guide will walk you through the steps to safely and effectively take off the childproof feature from your outlet. By following these simple steps, you can ensure that your electrical outlets remain safe for children while accommodating the changing needs of your household.
Key Takeaways:
- Safely remove childproof outlet features by gathering supplies, turning off power, and carefully removing the cover and insert. Ensure a safe and functional living space for your family’s changing needs.
- With the right tools and precautions, you can confidently adapt your home’s electrical outlets to accommodate older children and changing circumstances. Prioritize safety and follow the step-by-step process for a secure living environment.
Step 1: Gather Necessary Supplies
Before beginning the process of removing the childproof feature from your outlet, it is important to gather the necessary supplies. Having the right tools and materials on hand will ensure a smooth and efficient process. Here are the supplies you will need:
- Screwdriver: A flathead or Phillips screwdriver, depending on the type of screws securing the outlet cover.
- Needle-nose pliers: These will be useful for safely removing the childproof insert from the outlet.
- Safety gloves: It is always a good practice to wear safety gloves when working with electrical components to prevent any potential accidents.
- Electrical tape: This may be needed to secure the wires and ensure they are properly insulated during the process.
- Flashlight: A flashlight will help provide better visibility, especially if the outlet is located in a dimly lit area.
Having these supplies readily available will streamline the process and help ensure that you can safely and effectively remove the childproof feature from your outlet.
Step 2: Turn Off Power
Prior to working on any electrical components, it is crucial to ensure that the power to the outlet is completely turned off. This step is essential for your safety and the proper execution of the task. Here’s how to turn off the power to the outlet:
- Locate the circuit breaker: Identify the circuit breaker that controls the power supply to the outlet you will be working on. Circuit breakers are typically located in the electrical panel of your home.
- Switch off the circuit breaker: Once you have located the correct circuit breaker, switch it to the “off” position. This will cut off the power supply to the outlet and prevent any electrical shocks during the removal process.
- Verify the power is off: After switching off the circuit breaker, use a voltage tester to ensure that the power to the outlet has been successfully turned off. This extra precaution is crucial for your safety.
It is important to exercise caution and double-check that the power is indeed off before proceeding with the next steps. Taking the time to properly turn off the power will minimize the risk of accidents and ensure a safe working environment as you remove the childproof feature from the outlet.
Step 3: Remove the Outlet Cover
With the power to the outlet turned off, you can now proceed to remove the outlet cover. This step will provide access to the inner components of the outlet, allowing you to continue with the process of removing the childproof feature. Follow these steps to safely remove the outlet cover:
- Use a screwdriver: Depending on the type of screws securing the outlet cover, use an appropriate screwdriver, either flathead or Phillips, to loosen and remove the screws. Place the screws in a safe location to prevent misplacement.
- Remove the cover: Gently pull the outlet cover away from the wall to expose the inner components of the outlet. Take care not to force or damage the cover during this process.
- Set aside the cover: Once the cover is removed, set it aside in a secure location. This will prevent any accidental damage and make it easily accessible when it is time to reassemble the outlet.
By following these steps, you can safely and effectively remove the outlet cover, providing access to the internal components of the outlet and facilitating the next phase of the process.
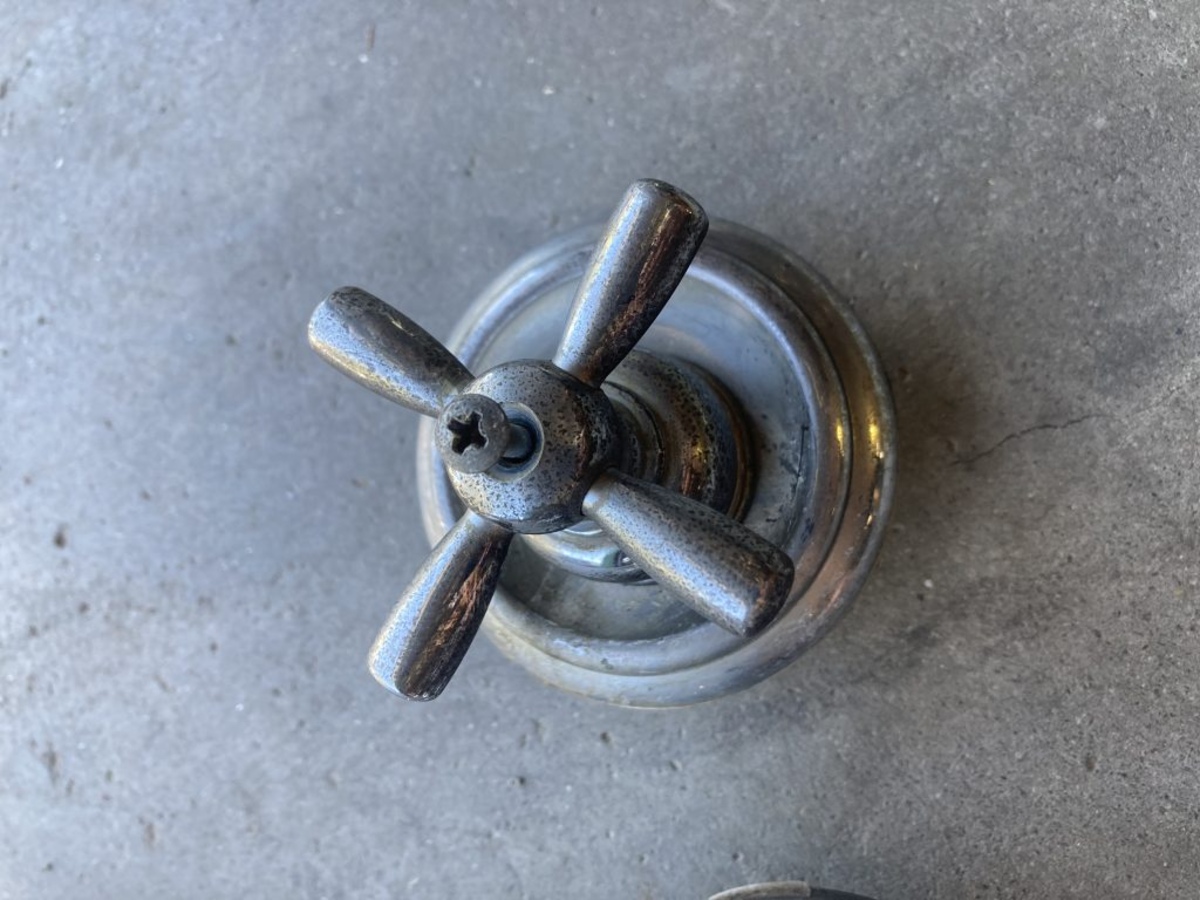
To remove a childproof outlet cover, insert a small flathead screwdriver into the slot on the bottom of the cover and gently pry it off. Be sure to keep the screws and cover out of reach of children.
Step 4: Remove the Childproof Insert
Once the outlet cover has been removed, you can proceed to remove the childproof insert from the outlet. This insert is designed to prevent foreign objects from being inserted into the outlet slots, providing an additional layer of protection for young children. Follow these steps to safely remove the childproof insert:
- Inspect the outlet: Take a moment to visually inspect the outlet and identify the childproof insert. It is typically a plastic component that fits into the slots of the outlet.
- Use needle-nose pliers: Gently grasp the edge of the childproof insert with needle-nose pliers. Apply even pressure to slowly pull the insert out of the outlet. Take care not to use excessive force to avoid damaging the outlet.
- Set aside the insert: Once the childproof insert is removed, set it aside in a safe location. Keeping track of the insert is important if you wish to reinstall it in the future or if you plan to use it in another outlet.
By carefully following these steps, you can safely remove the childproof insert from the outlet, allowing for unrestricted access to the outlet slots while still maintaining a safe environment for children.
Read more: How To Take Off A Chandelier
Step 5: Reassemble the Outlet
With the childproof insert removed, it is time to reassemble the outlet to restore it to full functionality. Follow these steps to safely and effectively reassemble the outlet:
- Inspect the outlet: Before reassembling, take a moment to inspect the outlet and ensure that the internal components are in good condition and free from any debris.
- Position the outlet cover: Align the outlet cover with the outlet and gently place it back into position on the wall. Ensure that it fits securely and aligns properly with the outlet.
- Secure the cover: Using the appropriate screwdriver, reinsert and tighten the screws to secure the outlet cover in place. Take care not to overtighten the screws, as this could damage the cover or the outlet itself.
- Turn on the power: Once the outlet cover is securely reattached, return to the electrical panel and switch the circuit breaker to the “on” position to restore power to the outlet.
- Test the outlet: After restoring power, use a reliable electrical device or a voltage tester to confirm that the outlet is functioning properly. This step ensures that the outlet is ready for use.
By following these steps, you can safely and confidently reassemble the outlet, completing the process of removing the childproof feature and restoring full functionality to the outlet.
Conclusion
Removing the childproof feature from an outlet is a simple yet important task that allows for the adaptation of electrical outlets to the changing needs of a household. By following the steps outlined in this guide, you can safely and effectively take off the childproof feature from your outlet, providing unrestricted access to the outlet while maintaining a safe environment for children. Remember to gather the necessary supplies, turn off the power, remove the outlet cover, extract the childproof insert, and reassemble the outlet with care and attention to detail.
As with any electrical work, safety should always be a top priority. Double-check that the power is turned off before working on the outlet, and take the necessary precautions to prevent accidents. If you encounter any difficulties or are uncertain about any step in the process, it is advisable to seek assistance from a qualified electrician to ensure the task is completed safely and accurately.
By mastering the process of removing the childproof feature from outlets, you can effectively adapt your home to meet the evolving needs of your family. Whether it’s preparing for a renovation, accommodating older children, or simply adjusting to changing circumstances, having the ability to modify your electrical outlets provides the flexibility and convenience necessary for a safe and functional living space.
With the knowledge and skills gained from this guide, you can confidently navigate the process of taking off the childproof feature from outlets, ensuring that your home remains a secure and accommodating environment for everyone in your household.
Frequently Asked Questions about How To Take Off Childproof Outlet
Was this page helpful?
At Storables.com, we guarantee accurate and reliable information. Our content, validated by Expert Board Contributors, is crafted following stringent Editorial Policies. We're committed to providing you with well-researched, expert-backed insights for all your informational needs.


0 thoughts on “How To Take Off Childproof Outlet”