Home>Renovation & DIY>DIY Projects & Ideas>How To Clean Granite Remnants For DIY Projects

DIY Projects & Ideas
How To Clean Granite Remnants For DIY Projects
Modified: April 22, 2024
Learn how to properly clean granite remnants for your DIY projects with our expert tips and ideas. Transform your space with our DIY projects and ideas.
(Many of the links in this article redirect to a specific reviewed product. Your purchase of these products through affiliate links helps to generate commission for Storables.com, at no extra cost. Learn more)
Introduction
Welcome to the world of DIY projects! If you’re a fan of creating things with your own hands, you’ve likely encountered the beauty and versatility of granite remnants. These leftover pieces from larger granite slabs are perfect for a wide range of projects, from crafting stunning countertops to designing unique art pieces. However, before you can unleash your creativity, it’s essential to know how to properly clean and prepare these remnants. In this comprehensive guide, we’ll delve into the process of cleaning granite remnants for DIY projects, ensuring that your creations shine with elegance and durability. Let’s embark on this journey to unlock the potential of granite remnants and elevate your DIY endeavors!
Key Takeaways:
- Embrace the unique beauty of granite remnants for DIY projects, but first, ensure to clean and prepare the surface meticulously to unleash its timeless elegance and durability.
- By understanding the characteristics of granite remnants and following gentle cleaning and polishing techniques, you can transform these natural marvels into stunning, one-of-a-kind DIY creations.
Understanding Granite Remnants
Granite remnants are the smaller leftover pieces that remain after larger slabs of granite have been cut for various purposes, such as kitchen countertops, bathroom vanities, or flooring. These remnants are incredibly valuable for DIY projects due to their durability, natural beauty, and versatility. When working with granite remnants, it’s important to remember that each piece is unique, featuring its own distinct pattern and color variations. This natural diversity adds a touch of individuality to your DIY creations, making them truly one-of-a-kind.
Before diving into a DIY project using granite remnants, it’s essential to assess the condition of the piece. Check for any rough edges, uneven surfaces, or existing finishes that may need to be addressed before proceeding. Additionally, consider the size and shape of the remnant in relation to your intended project. Whether you’re planning to craft a small accent table or a decorative serving tray, understanding the characteristics of the granite remnant will guide you in making the most of its unique attributes.
Moreover, being mindful of the type of granite is crucial. Some varieties are more porous and may require different cleaning and sealing methods than others. Understanding the specific characteristics of the granite remnant you’re working with will empower you to make informed decisions throughout the cleaning and preparation process.
By gaining a deeper understanding of granite remnants, you’ll be better equipped to harness their inherent beauty and strength in your DIY projects. Now, let’s explore the essential steps for preparing these remnants for your creative endeavors.
Preparing the Granite Surface
Before diving into the cleaning process, it’s crucial to prepare the granite surface to ensure optimal results for your DIY project. Here are the essential steps to prepare the granite remnant:
- Inspect the Surface: Begin by carefully examining the granite remnant for any visible stains, dirt, or residue. Note any areas that require special attention during the cleaning process.
- Remove Debris: Use a soft-bristled brush or a microfiber cloth to gently remove any loose debris, dust, or dirt from the surface of the granite remnant. This initial step helps prevent scratching the surface during the cleaning process.
- Address Stains: If you notice any stubborn stains or discoloration on the granite, consider using a granite-specific stain remover or a mild mixture of dish soap and warm water to target the affected areas. Allow the solution to sit on the stains for a few minutes before gently scrubbing with a soft brush.
- Protect Surrounding Areas: If the granite remnant is installed in a specific location, take precautions to protect the surrounding surfaces and areas from any cleaning solutions or debris that may result from the preparation process. Cover adjacent surfaces with protective materials as needed.
- Consider Surface Repairs: If the granite remnant has any minor chips or imperfections that may affect the aesthetics or functionality of your DIY project, consider utilizing granite repair kits or consulting with a professional to address these issues before proceeding.
By thoroughly preparing the granite surface, you set the stage for a successful cleaning and polishing process, ensuring that your DIY project will showcase the inherent beauty of the granite remnant. Now that the surface is primed and ready, it’s time to delve into the art of cleaning the granite to reveal its natural luster.
To clean granite remnants for DIY projects, use a mixture of warm water and mild dish soap. Gently scrub the surface with a soft cloth or sponge, then rinse and dry thoroughly. Avoid using harsh chemicals or abrasive materials to prevent damage to the granite.
Cleaning the Granite
Now that the granite surface is prepared, it’s time to embark on the crucial step of cleaning the remnant. Cleaning granite requires gentle yet effective methods to preserve its natural beauty and integrity. Here’s a step-by-step guide to cleaning granite remnants for your DIY projects:
- Select the Right Cleaner: Choose a high-quality, pH-balanced granite cleaner that is specifically formulated for natural stone surfaces. Avoid using acidic or abrasive cleaners, as they can damage the granite.
- Dilute the Cleaner: Follow the manufacturer’s instructions to dilute the granite cleaner with water in a spray bottle or bucket. Ensure that the cleaner is well-diluted to prevent any potential residue or streaking on the granite surface.
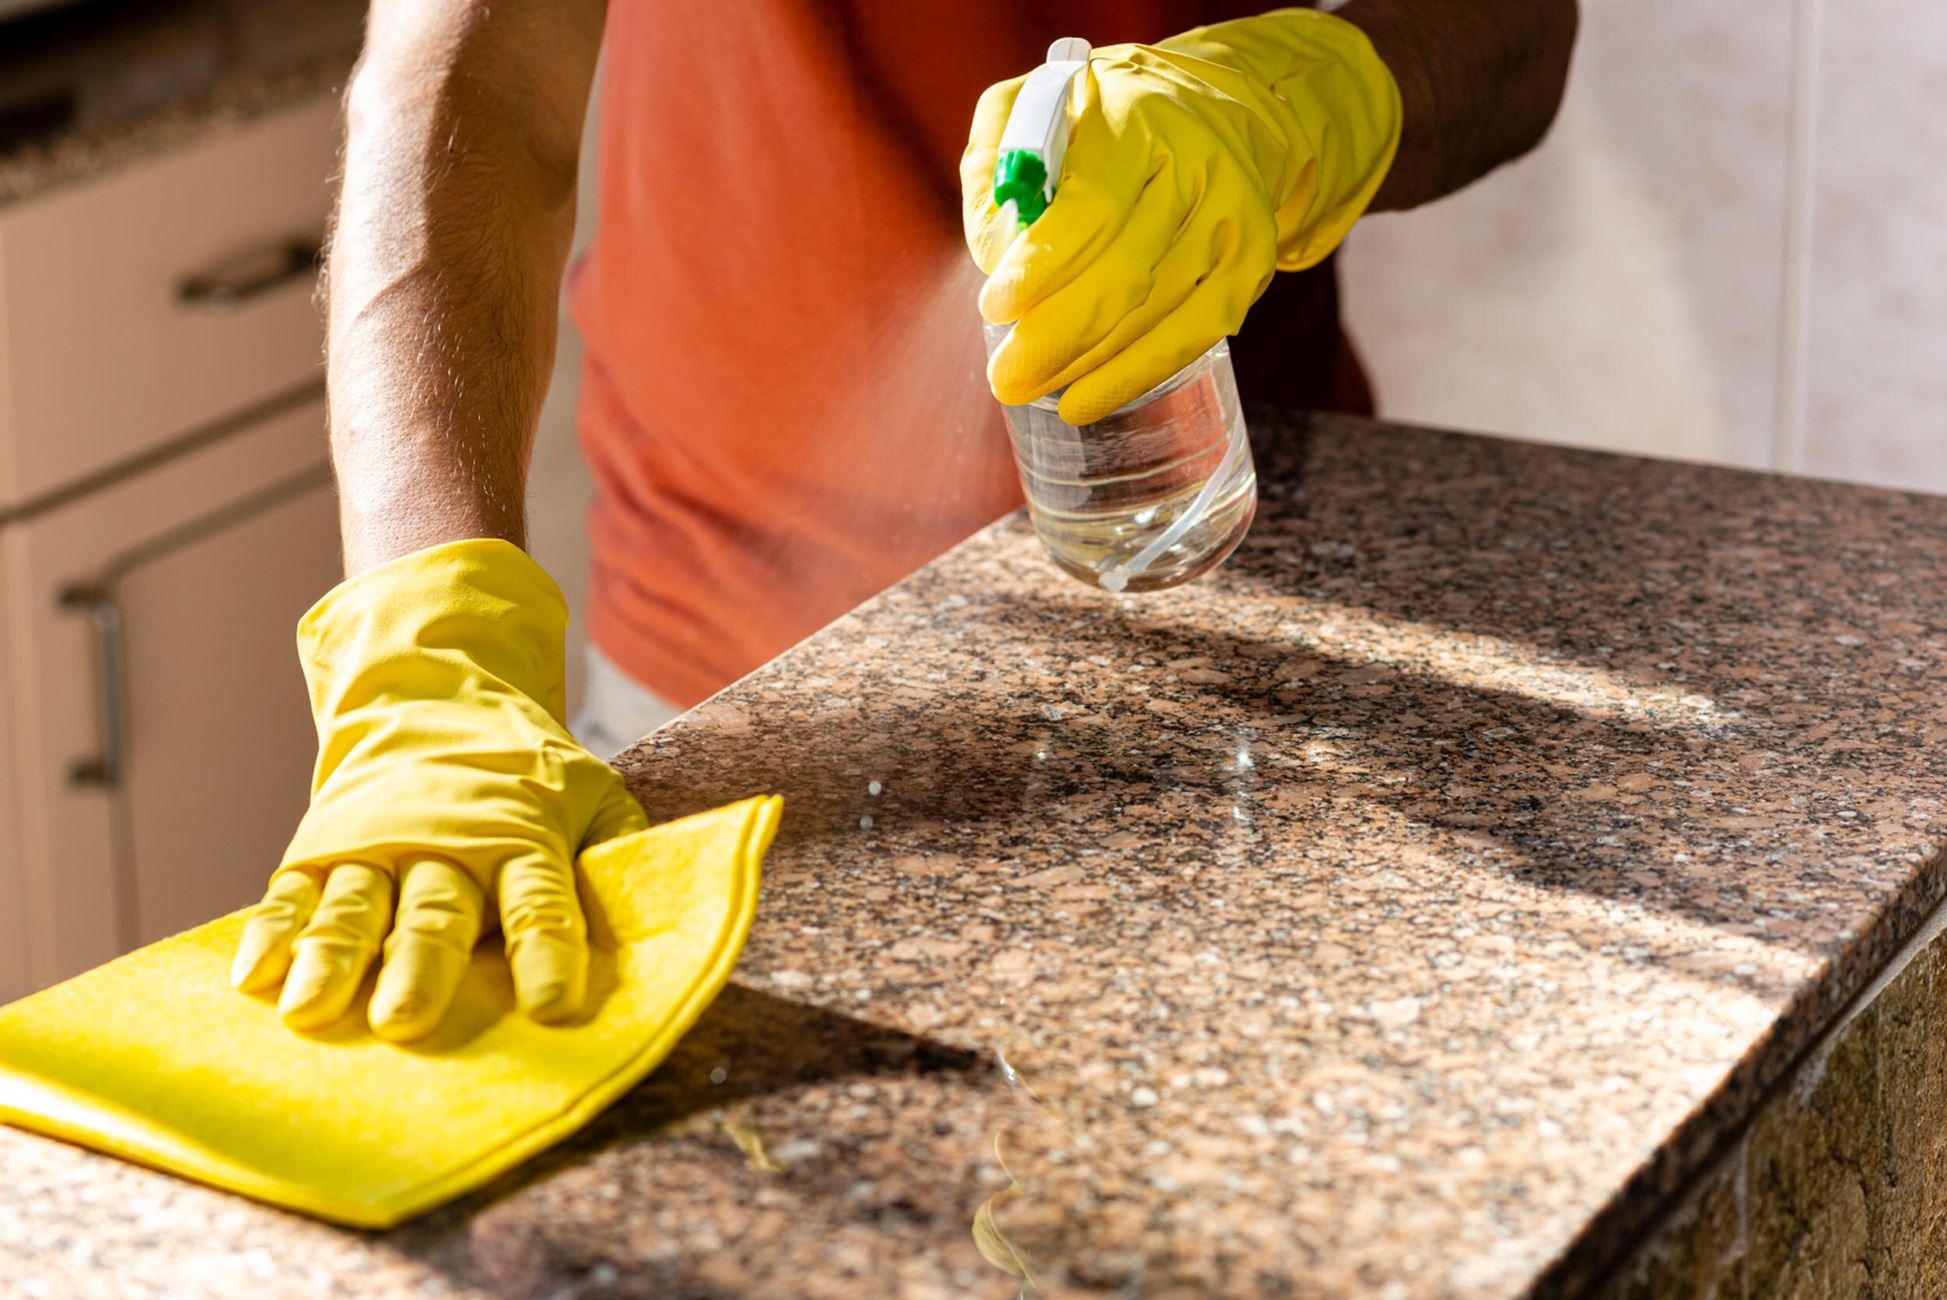
- Apply the Cleaner: Spray the diluted cleaner onto the granite surface or use a soft cloth dampened with the solution to gently apply it in small sections. Allow the cleaner to sit for a few minutes to effectively break down any dirt or grime.
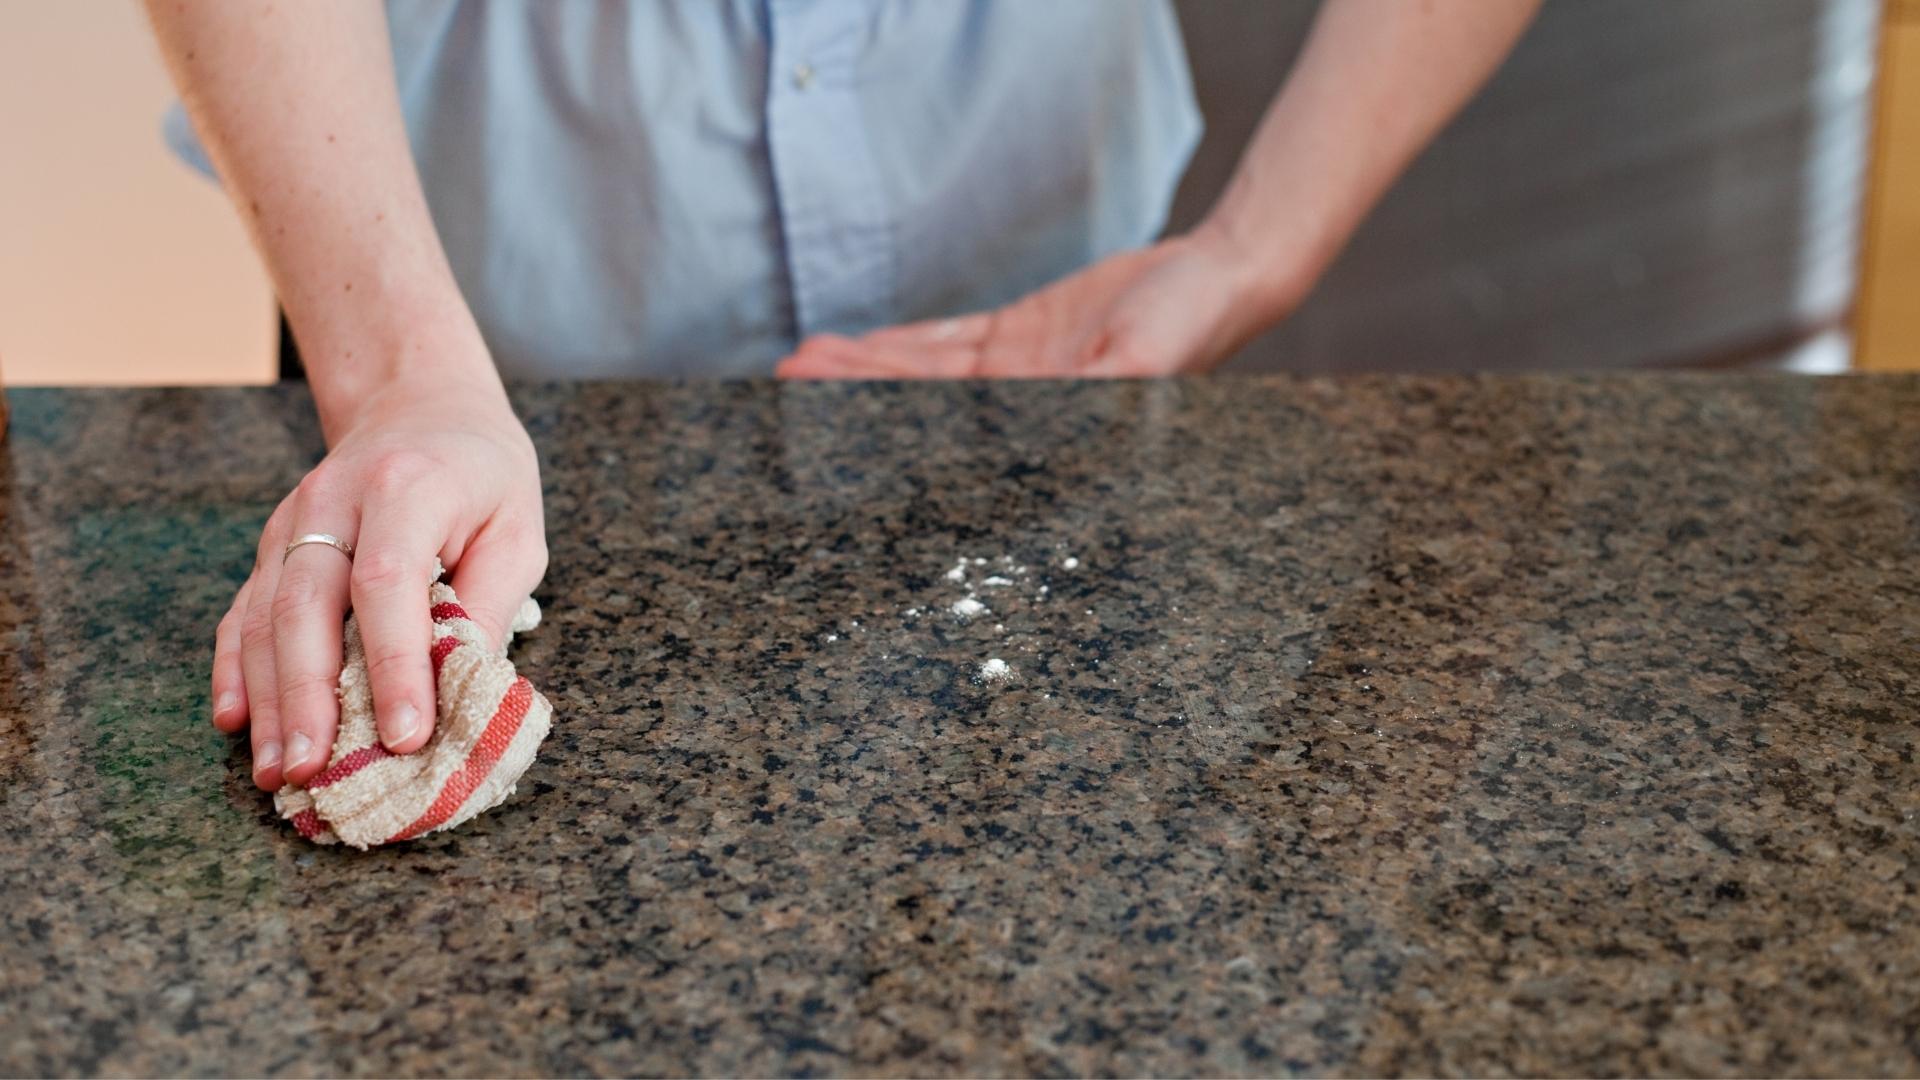
- Gently Clean the Surface: Using a soft-bristled brush, microfiber cloth, or non-abrasive sponge, gently scrub the granite surface in circular motions to lift away any residue or impurities. Pay special attention to any areas with visible stains or buildup.
- Rinse and Dry: After cleaning the granite surface, rinse it thoroughly with clean water to remove any remaining cleaner. Use a separate microfiber cloth to dry the surface, ensuring a streak-free finish.
- Address Stubborn Stains: For persistent stains that may not be fully removed during the initial cleaning, consider using a specialized granite stain remover or poultice to target and lift the stains from the surface. Follow the product instructions carefully for best results.
By following these meticulous cleaning steps, you’ll effectively restore the natural allure of the granite remnant, setting the stage for the final touch of elegance: polishing.
Polishing the Granite
After the thorough cleaning process, the final step in preparing the granite remnant for your DIY project is to polish the surface, enhancing its natural luster and visual appeal. Polishing granite not only brings out its inherent beauty but also adds a layer of protection, making it more resistant to stains and wear. Here’s how to polish granite remnants to perfection:
- Select a Granite-Safe Polish: Choose a high-quality granite polish that is specifically designed for natural stone surfaces. Ensure that the polish is free from harsh chemicals and abrasives that could compromise the integrity of the granite.
- Apply the Polish: Following the manufacturer’s instructions, apply a small amount of granite polish onto the clean, dry surface of the remnant. Use a soft cloth or buffing pad to evenly distribute the polish in circular motions, working in manageable sections.
- Buff to a Brilliant Shine: Using a separate clean cloth or buffing pad, gently buff the granite surface in circular motions to achieve a brilliant, streak-free shine. Take care to cover the entire surface, ensuring consistent results across the remnant.
- Allow for Proper Drying Time: After polishing the granite, allow the polish to dry and set according to the product’s recommended timeframe. This will ensure that the granite achieves the desired level of sheen and protection.
- Inspect and Touch Up: Once the polish has dried, carefully inspect the granite surface for any uneven areas or missed spots. Touch up the surface as needed to achieve a uniform, glossy finish.
- Seal the Surface (Optional): Depending on the type of granite and its intended use, consider applying a granite sealer to further protect the surface from stains and spills. Follow the sealer manufacturer’s instructions for proper application and drying time.
By meticulously polishing the granite remnant, you’ll elevate its visual impact and durability, ensuring that your DIY project exudes a timeless elegance and charm. With the granite now cleaned, polished, and ready for transformation, you’re well-equipped to embark on your creative endeavors with confidence and style.
Read more: How To Build A Window Seat
Conclusion
Congratulations! You’ve successfully navigated the essential steps of cleaning and preparing granite remnants for your DIY projects. By understanding the unique qualities of granite remnants, meticulously preparing the surface, and employing gentle yet effective cleaning and polishing techniques, you’ve unlocked the full potential of these natural marvels. As you embark on your creative journey, keep in mind that the beauty of granite lies not only in its timeless elegance but also in its remarkable resilience and versatility.
Whether you’re crafting a captivating mosaic art piece, designing a functional countertop, or fashioning a stunning accent piece for your living space, the cleaned and polished granite remnant serves as a canvas for your imagination to flourish. The inherent variations in color, pattern, and texture of each granite remnant ensure that your DIY creations will stand apart as unique works of art, showcasing the enduring allure of natural stone.
As you delve into the realm of DIY projects and ideas, remember that the journey of working with granite remnants is as enriching as the finished creations themselves. Embrace the process, experiment with different designs and applications, and allow your creativity to flow freely. The beauty of DIY projects lies in the joy of bringing your visions to life, and granite remnants provide an exquisite medium for your artistic expressions.
With your newfound knowledge and expertise in cleaning and preparing granite remnants, you’re poised to embark on a myriad of inspiring DIY projects, each infused with the timeless elegance and enduring charm of natural stone. Whether you’re an experienced DIY enthusiast or just beginning to explore the world of hands-on creativity, the allure of granite remnants awaits, ready to transform your ideas into tangible masterpieces.
So, gather your tools, unleash your creativity, and let the beauty of granite remnants become the centerpiece of your next captivating DIY endeavor. With each project, you’ll not only showcase the exquisite allure of granite but also infuse your living spaces with the timeless elegance and enduring charm of nature’s masterpiece.
Frequently Asked Questions about How To Clean Granite Remnants For DIY Projects
Was this page helpful?
At Storables.com, we guarantee accurate and reliable information. Our content, validated by Expert Board Contributors, is crafted following stringent Editorial Policies. We're committed to providing you with well-researched, expert-backed insights for all your informational needs.








0 thoughts on “How To Clean Granite Remnants For DIY Projects”