Home>Gardening & Outdoor>Outdoor Structures>How To Build A Small Porch Roof On A Tool Shed

Outdoor Structures
How To Build A Small Porch Roof On A Tool Shed
Modified: January 8, 2024
Learn how to enhance your tool shed with a small porch roof in this step-by-step guide. Create a functional and stylish outdoor structure with our expert tips. Ideal for DIY enthusiasts!
(Many of the links in this article redirect to a specific reviewed product. Your purchase of these products through affiliate links helps to generate commission for Storables.com, at no extra cost. Learn more)
Introduction
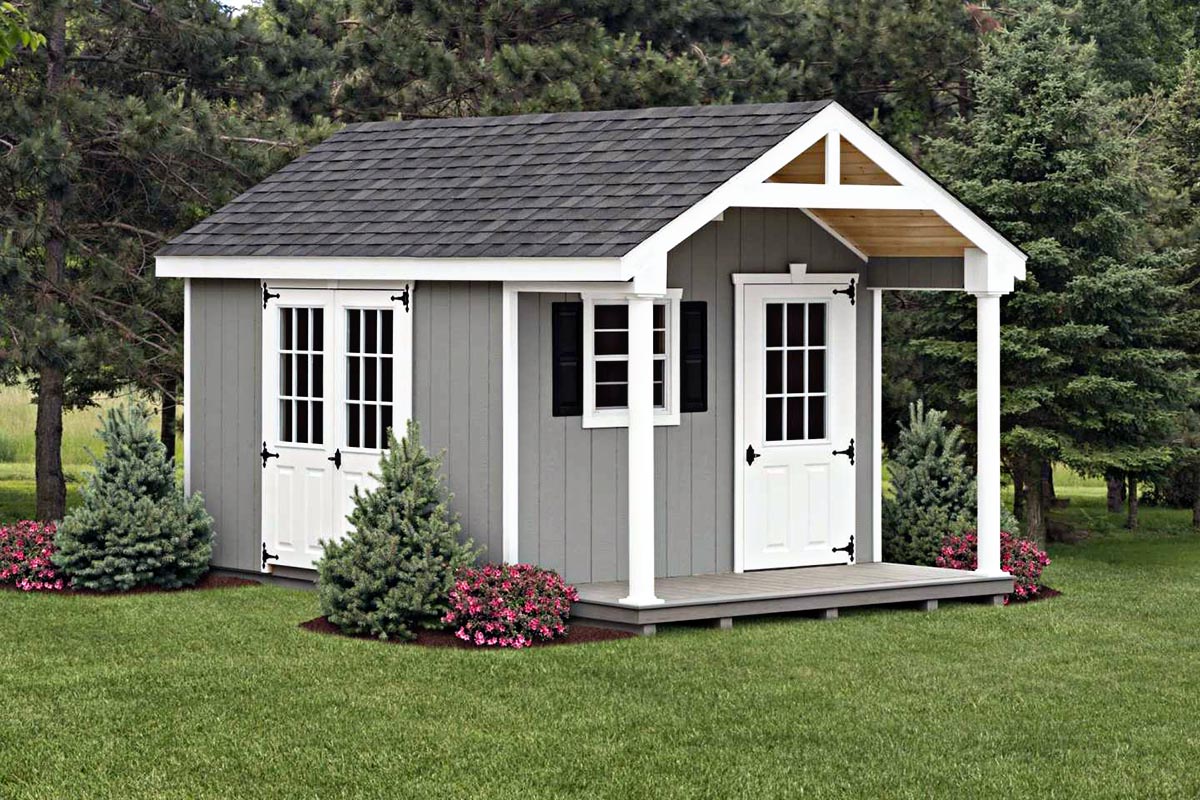
So, you've got a trusty tool shed in your backyard, a reliable shelter for your gardening equipment, power tools, and all things DIY. But have you ever considered taking it up a notch by adding a small porch roof to your humble shed? Not only does it enhance the aesthetic appeal of your outdoor space, but it also offers a functional spot to take a breather, enjoy a cup of coffee, or simply admire your garden.
In this comprehensive guide, we'll walk you through the process of building a small porch roof on your tool shed. From assessing the shed and planning to gathering materials and tools, constructing the porch roof frame, installing the roofing materials, and adding finishing touches, we've got you covered. Whether you're a seasoned DIY enthusiast or just starting to dip your toes into the world of outdoor structures, this step-by-step guide will equip you with the knowledge and confidence to tackle this project head-on.
Get ready to roll up your sleeves, unleash your creativity, and embark on a rewarding journey of transforming your ordinary tool shed into a charming and functional outdoor space. Let's dive in and explore the exciting process of building a small porch roof that will elevate both the form and function of your beloved tool shed.
Key Takeaways:
- Transform your tool shed into a charming outdoor space by adding a small porch roof. Assess, plan, gather materials, and construct the frame to create a functional and visually appealing extension to your backyard.
- Elevate your small porch roof with high-quality roofing materials and thoughtful finishing touches. Add paint, lighting, greenery, seating, and decor to create a welcoming and personalized outdoor retreat.
Read more: How To Build A Shed Roof Porch
Assessing the Shed and Planning
Before diving into the construction of a small porch roof, it’s crucial to assess your tool shed and plan the project meticulously. Start by evaluating the structural integrity of the shed. Check for any signs of wear and tear, such as rotting wood, water damage, or weakened supports. Ensuring that the existing shed is sturdy and in good condition is essential before adding any additional weight or structures.
Next, consider the layout and dimensions of your shed. Measure the available space and visualize the ideal size and shape of the porch roof. Take into account factors such as the shed’s proximity to trees, the direction of sunlight, and any potential obstructions. This assessment will help you determine the most suitable design for your small porch roof, ensuring that it complements the existing structure and enhances the overall aesthetics of your outdoor space.
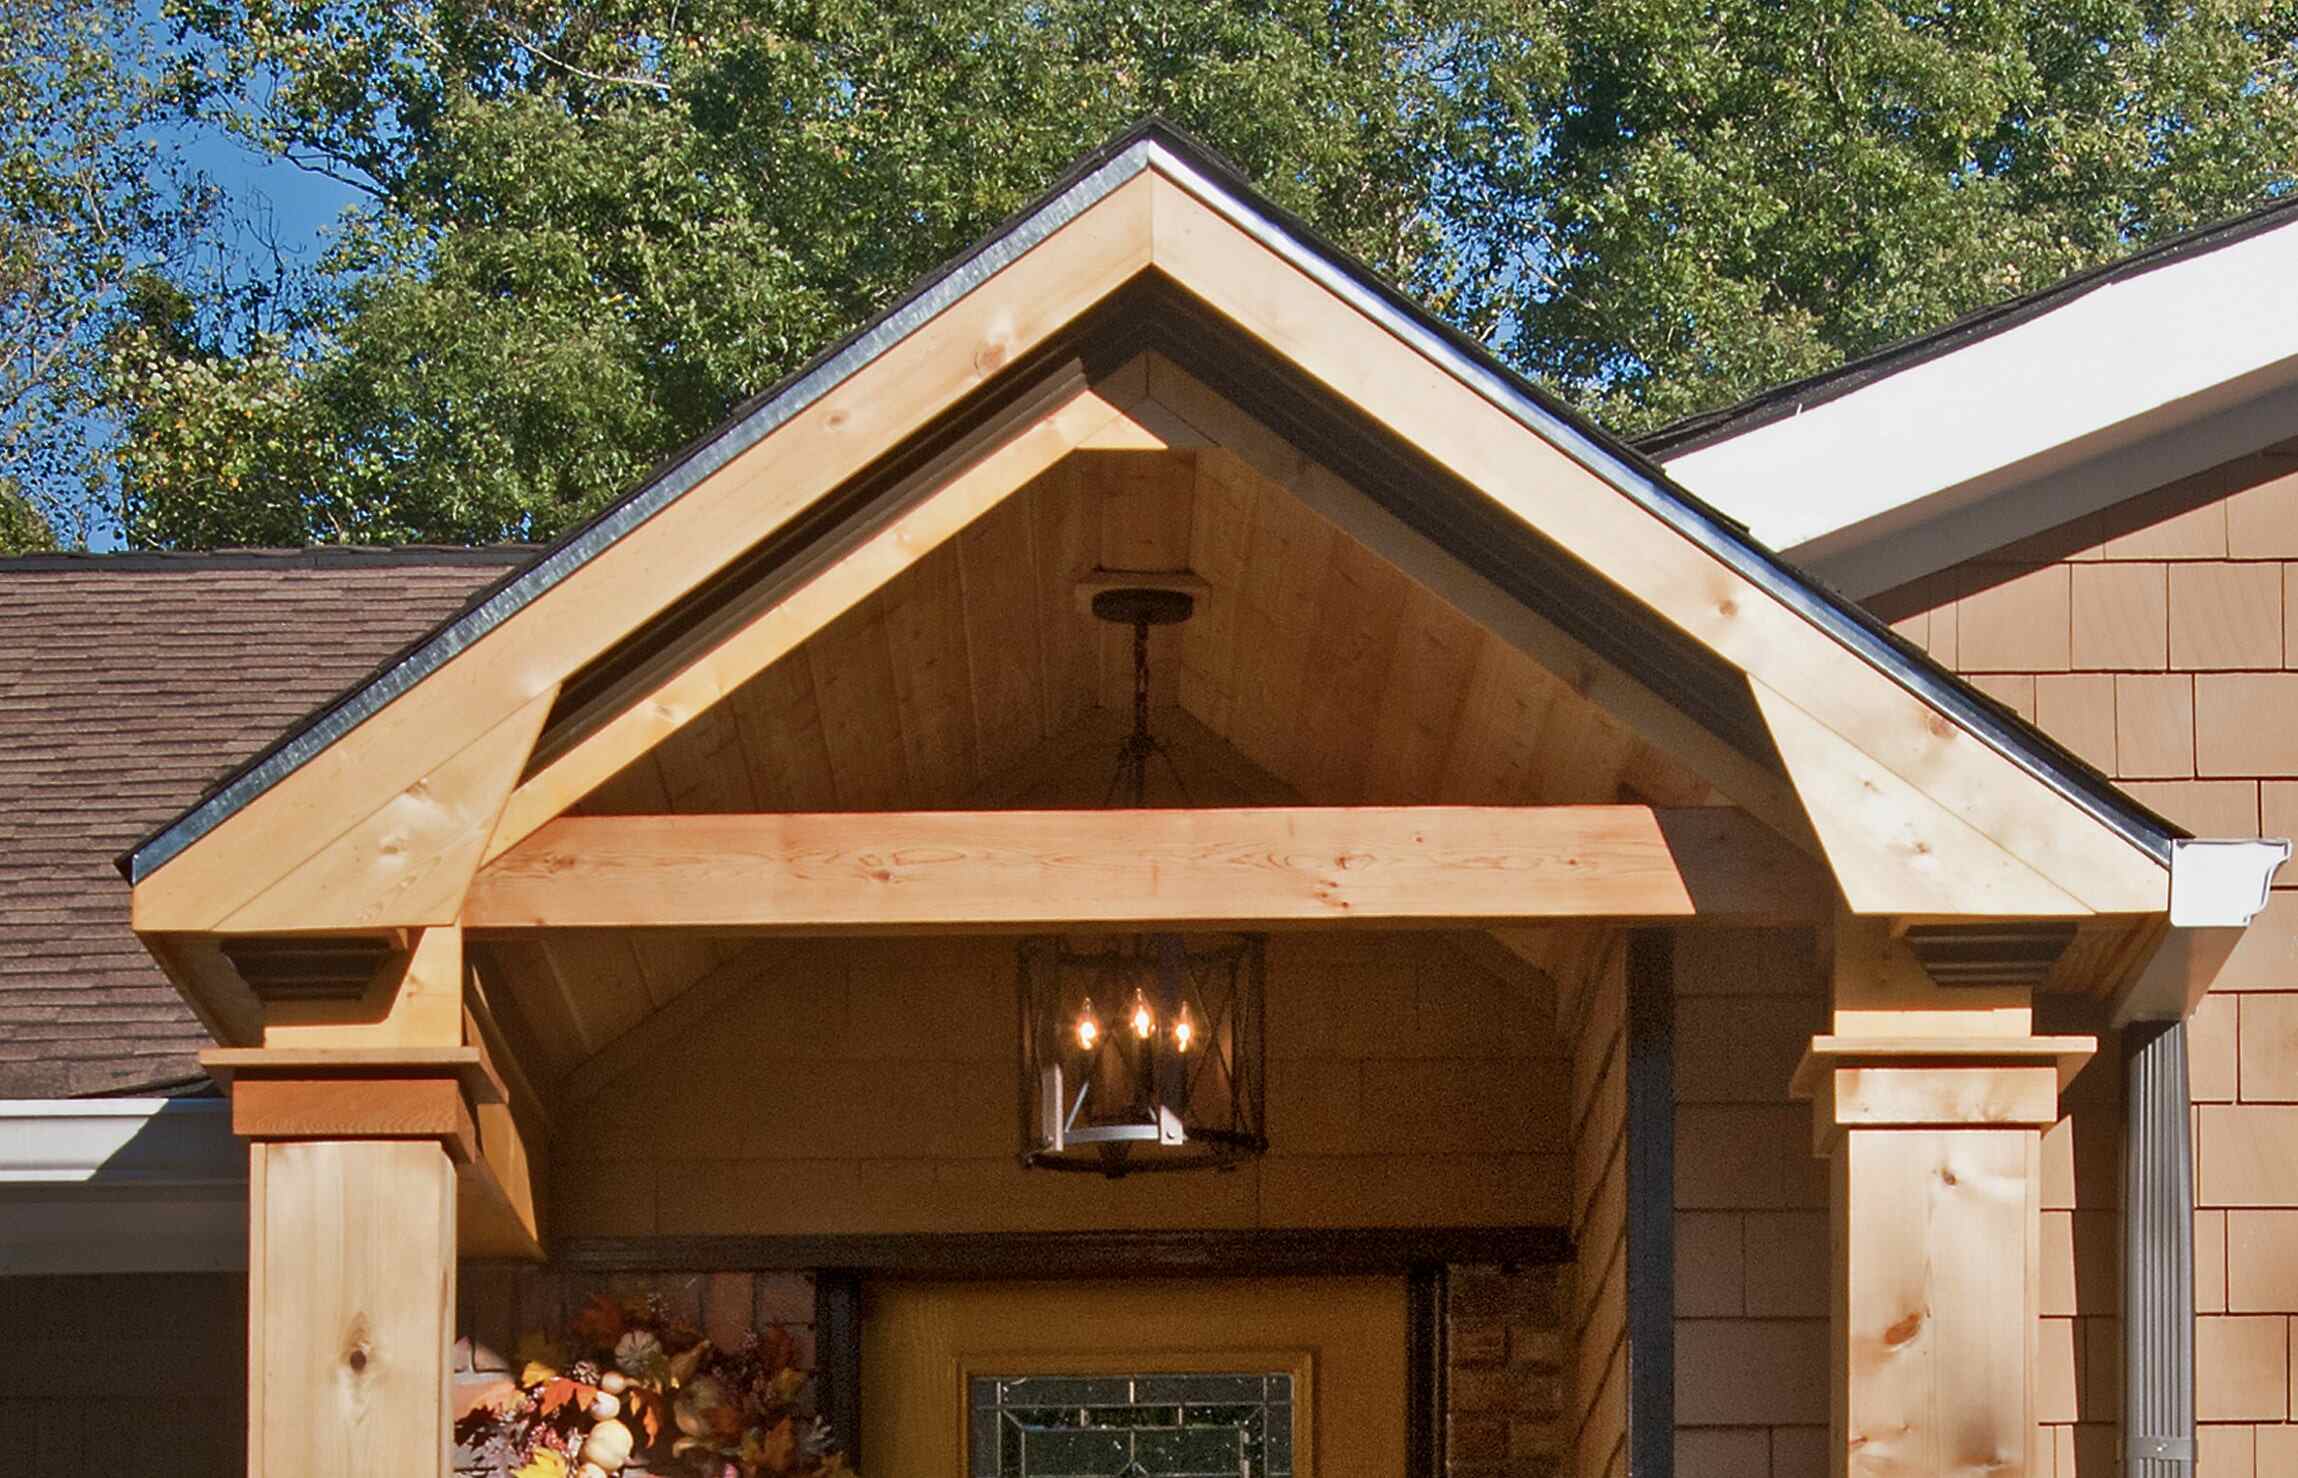
Once you have a clear understanding of the shed’s condition and the space available for the porch roof, it’s time to plan the design and construction details. Consider the style of your home and the existing architectural elements in your backyard. Do you envision a classic gable roof, a modern flat roof, or a charming hip roof for your small porch? Take inspiration from the overall design language of your property to create a cohesive and visually appealing addition.
Additionally, think about the purpose of the porch roof. Will it serve as a cozy spot for relaxation, a shelter for potted plants, or a storage area for outdoor essentials? Understanding the intended use of the porch roof will guide your decisions when it comes to selecting materials, determining the roof pitch, and incorporating any additional features, such as built-in benches or decorative elements.
By thoroughly assessing your shed and thoughtfully planning the porch roof project, you’ll set the stage for a successful and well-executed construction process. This initial phase lays the foundation for a seamless transition from concept to reality, ensuring that your small porch roof not only looks fantastic but also fulfills your specific outdoor living needs.
Gathering Materials and Tools
With a solid plan in place, it’s time to gather the essential materials and tools required to bring your small porch roof to life. The selection of high-quality materials and the use of the right tools are pivotal in ensuring the durability and visual appeal of the final structure. Here’s a comprehensive list of what you’ll need:
Materials:
- Pressure-treated lumber for framing
- Roofing materials such as shingles, metal panels, or corrugated sheets
- Galvanized nails or screws
- Roofing underlayment
- Flashing to prevent water infiltration
- Decorative trims and fascia boards
- Plywood or oriented strand board (OSB) for sheathing
- Concrete footings or precast concrete blocks for support
- Paint or stain for finishing touches
- Hardware such as hinges and latches if incorporating a hinged roof for storage access
Tools:
- Measuring tape and carpenter's square
- Circular saw or miter saw for cutting lumber
- Power drill with assorted drill bits
- Level for ensuring accurate installations
- Hammer or nail gun for securing components
- Roofing nailer or screw gun for efficient installation of roofing materials
- Ladder or scaffolding for safe access to elevated areas
- Paintbrushes or paint sprayer for applying finishes
- Protective gear including gloves, safety glasses, and a dust mask
When sourcing materials, opt for pressure-treated lumber to resist decay and insect damage, especially for components exposed to the elements. Additionally, select roofing materials that complement the style of your home and provide adequate protection against the prevailing weather conditions in your region.
Having the right tools at your disposal is equally important. Ensure that your tools are in good working condition and that you have the necessary safety equipment to protect yourself during the construction process.
By gathering the appropriate materials and tools, you’ll set the stage for a smooth and efficient construction process, laying the groundwork for a small porch roof that seamlessly integrates with your existing tool shed while enhancing its functionality and visual appeal.
Read more: How To Live In A Tool Shed Or Small Building
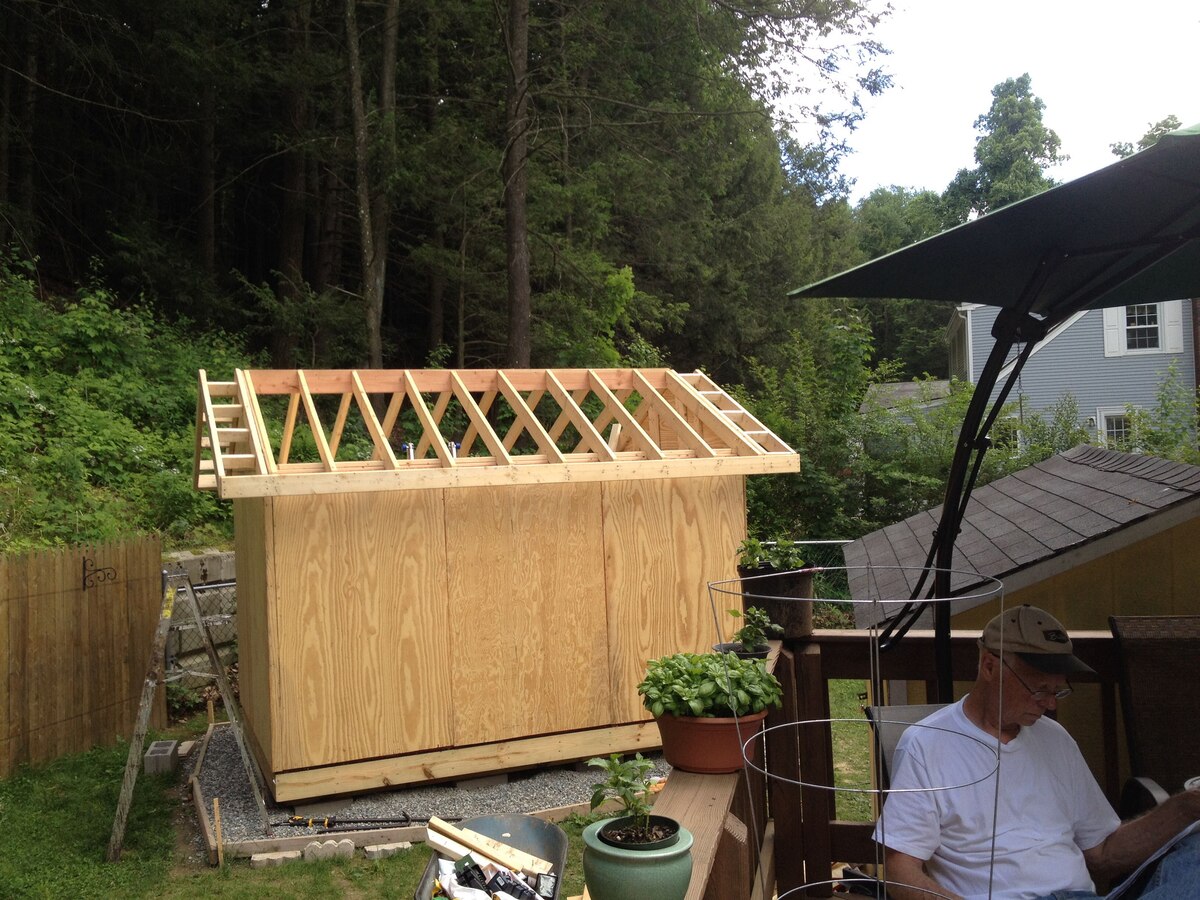
Constructing the Porch Roof Frame
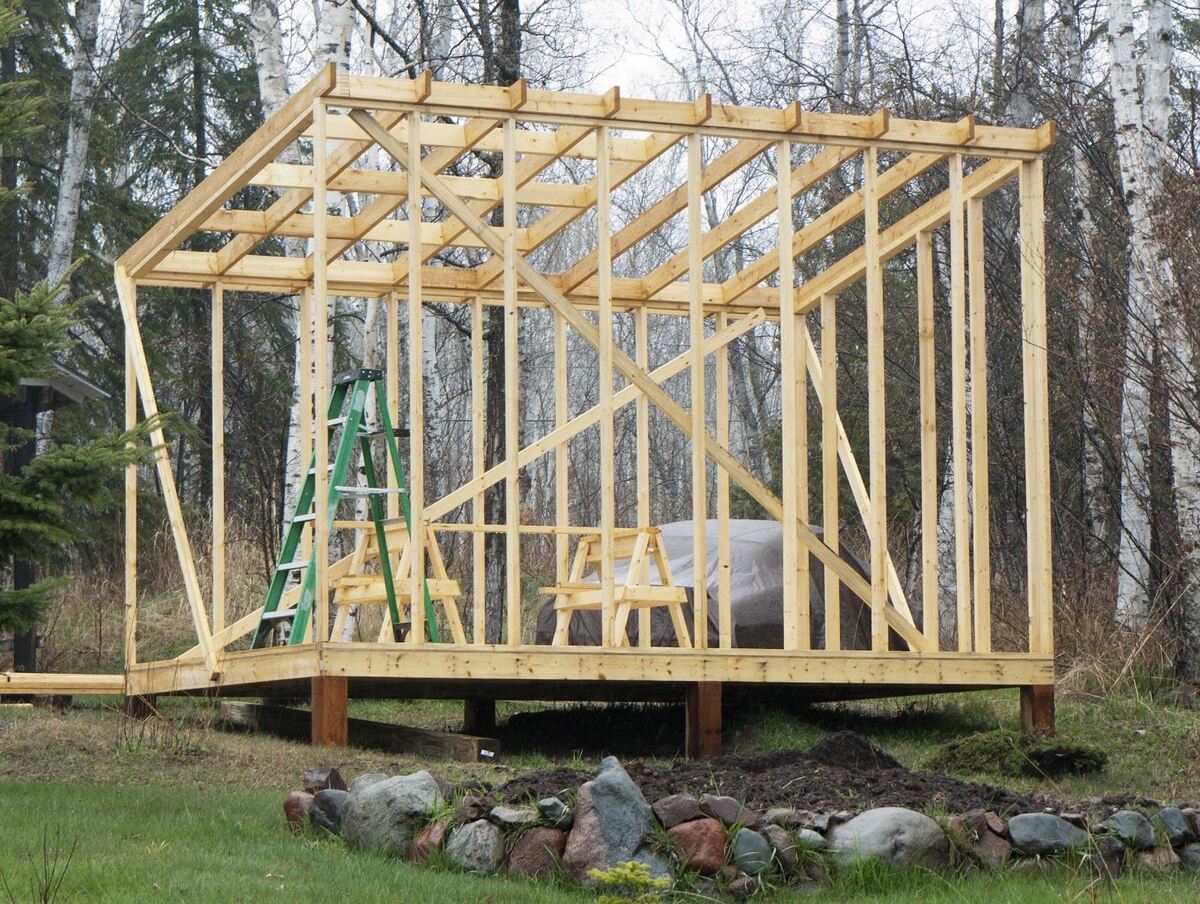
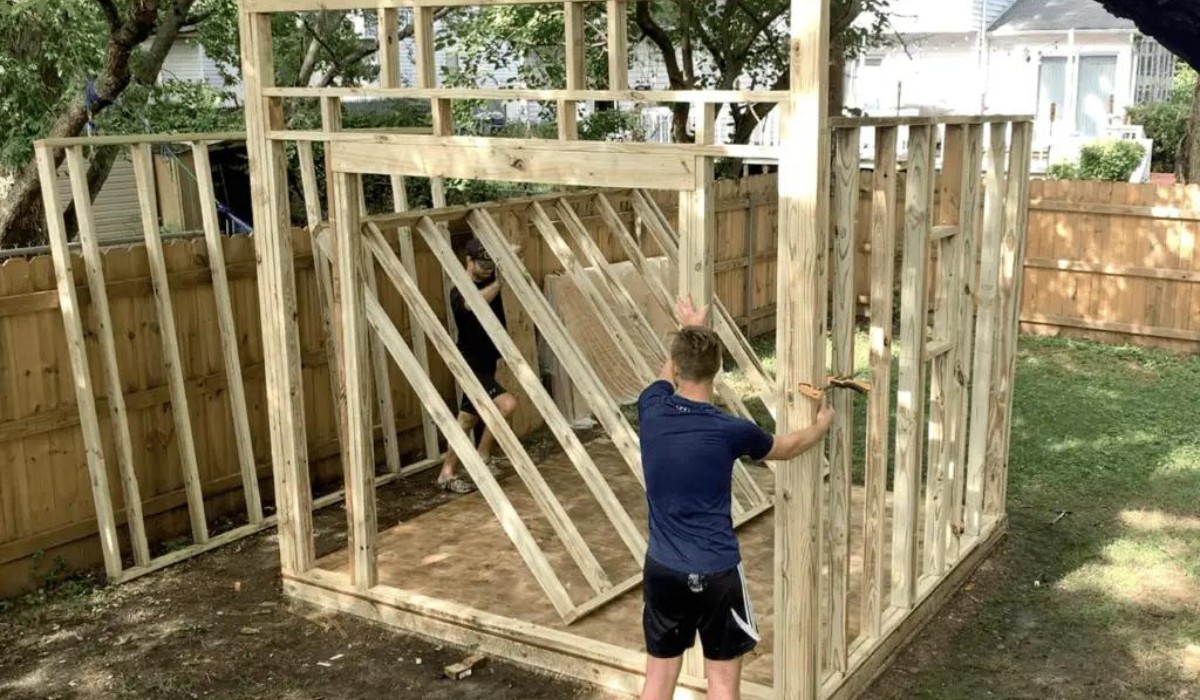
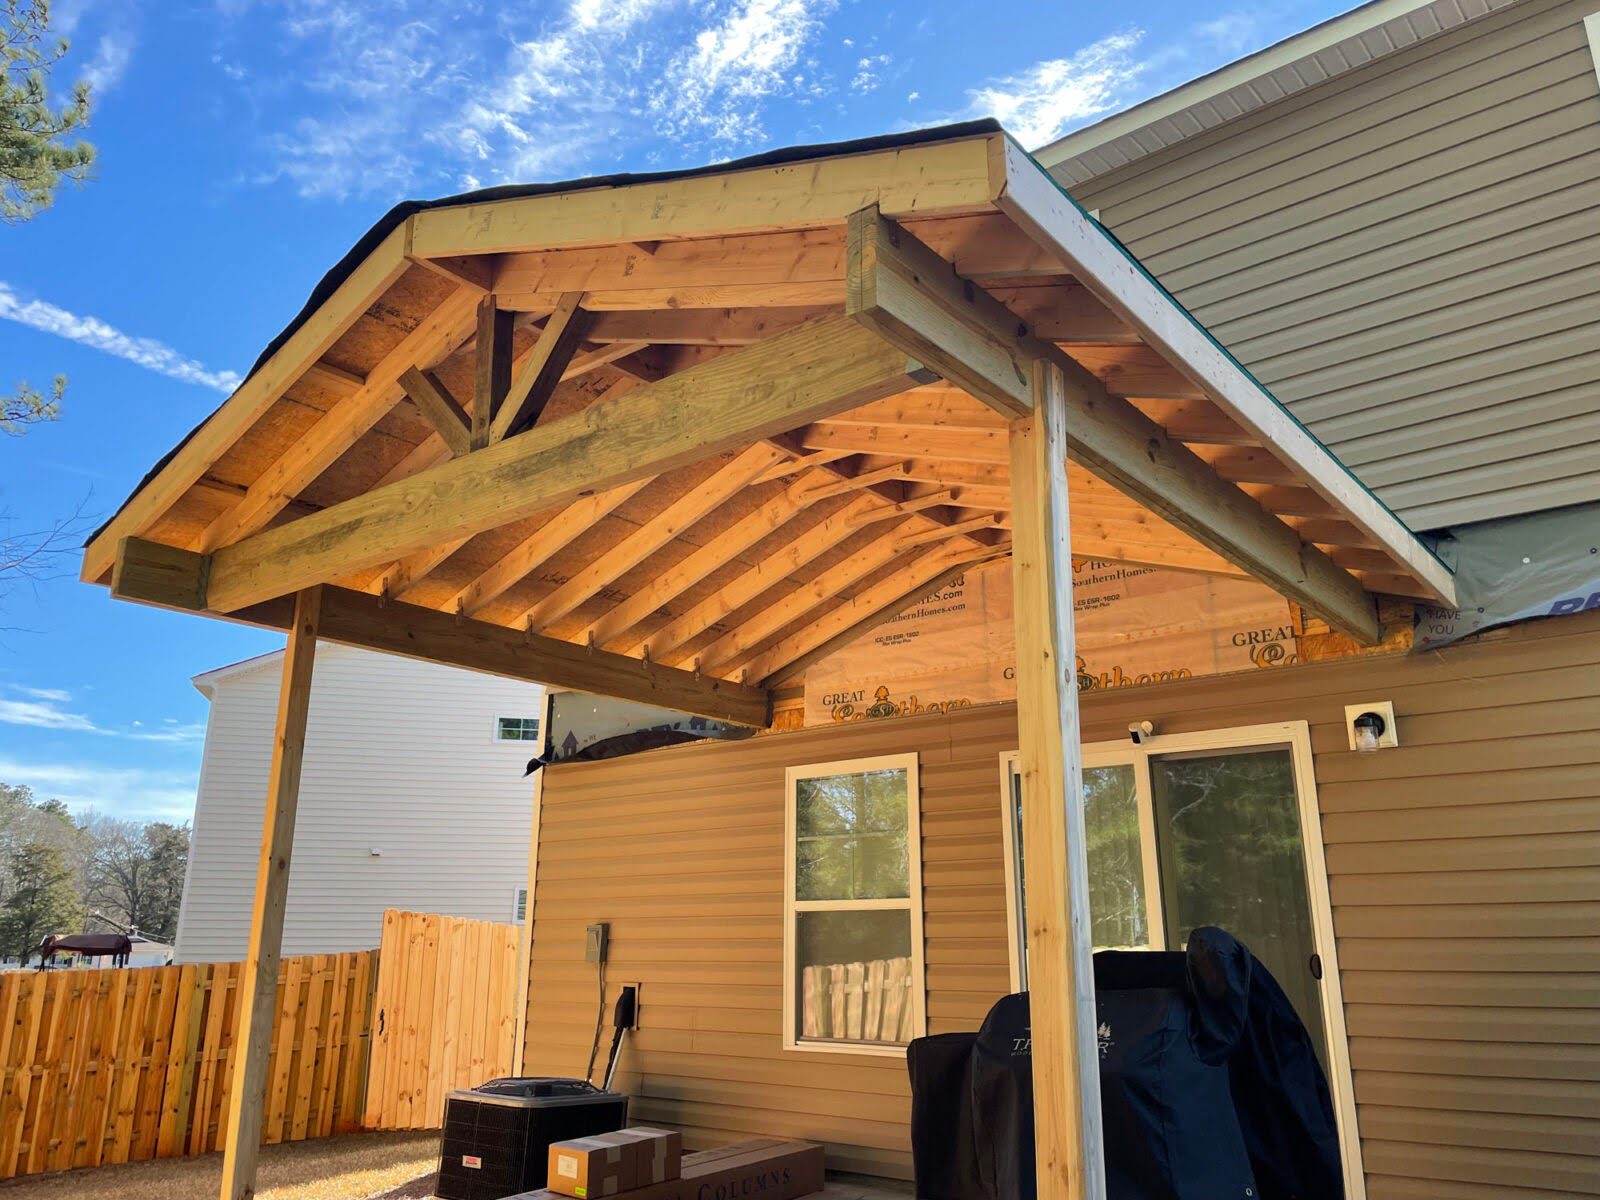
With the materials and tools at the ready, it’s time to dive into the construction of the porch roof frame. This phase forms the backbone of the entire structure, providing the support and framework for the roof. Follow these steps to build a sturdy and well-designed porch roof frame:
1. Marking and Cutting:
Start by marking the precise locations where the roof will attach to the shed. Use a measuring tape and a carpenter’s square to ensure accuracy. Next, cut the pressure-treated lumber to the appropriate dimensions based on your design and measurements. Be sure to double-check the cuts to guarantee a precise fit during assembly.
2. Assembling the Frame:
Lay out the cut lumber according to your design plan. Use a level to ensure that the frame components are aligned and plumb. Secure the frame pieces together using galvanized nails or screws, creating a robust and stable structure. Pay close attention to the angles and connections, as the integrity of the frame is essential for the overall stability of the porch roof.
3. Attaching the Frame to the Shed:
Carefully position the assembled frame against the shed, ensuring a snug and secure fit. Use appropriate hardware and fasteners to attach the frame to the shed’s exterior wall, taking care to anchor it firmly and evenly distribute the weight across the attachment points. This step is crucial in ensuring that the porch roof is securely integrated with the shed, providing a seamless transition between the two structures.
4. Adding Support and Bracing:
Depending on the size and design of the porch roof, additional support and bracing may be necessary to reinforce the frame and distribute the load effectively. Install diagonal bracing and additional support beams as needed, ensuring that the frame can withstand the elements and the weight of the roofing materials.
5. Inspecting for Stability:
Once the porch roof frame is assembled and attached to the shed, carefully inspect the entire structure for stability and structural integrity. Check for any wobbling or misalignments, and make any necessary adjustments to ensure that the frame is solid and level.
By meticulously constructing the porch roof frame, you’ll establish a solid foundation for the rest of the construction process, setting the stage for the installation of roofing materials and the addition of finishing touches. A well-built frame not only ensures the structural stability of the porch roof but also contributes to the overall visual appeal and longevity of the outdoor structure.
Installing the Roofing Materials
With the porch roof frame in place, it’s time to elevate the structure by installing the roofing materials. The selection and installation of roofing materials play a pivotal role in not only protecting the porch roof from the elements but also enhancing its visual appeal. Here’s a step-by-step guide to installing the roofing materials for your small porch roof:
1. Applying Roofing Underlayment:
Before laying the primary roofing material, apply a layer of roofing underlayment to provide an additional barrier against water infiltration. This step is crucial in safeguarding the underlying structure from moisture and ensuring a watertight seal. Secure the underlayment according to the manufacturer’s guidelines, paying attention to proper overlap and sealing techniques.
Read more: How To Build A Roof For A Shed
2. Installing Shingles, Metal Panels, or Corrugated Sheets:
Depending on the chosen roofing material, carefully install shingles, metal panels, or corrugated sheets, starting from the bottom and working your way up. Follow the specific installation instructions for the selected material, ensuring proper alignment, fastening, and overlap. Pay attention to the aesthetic details such as the pattern and color of the roofing material, aiming for a cohesive and visually appealing finish.
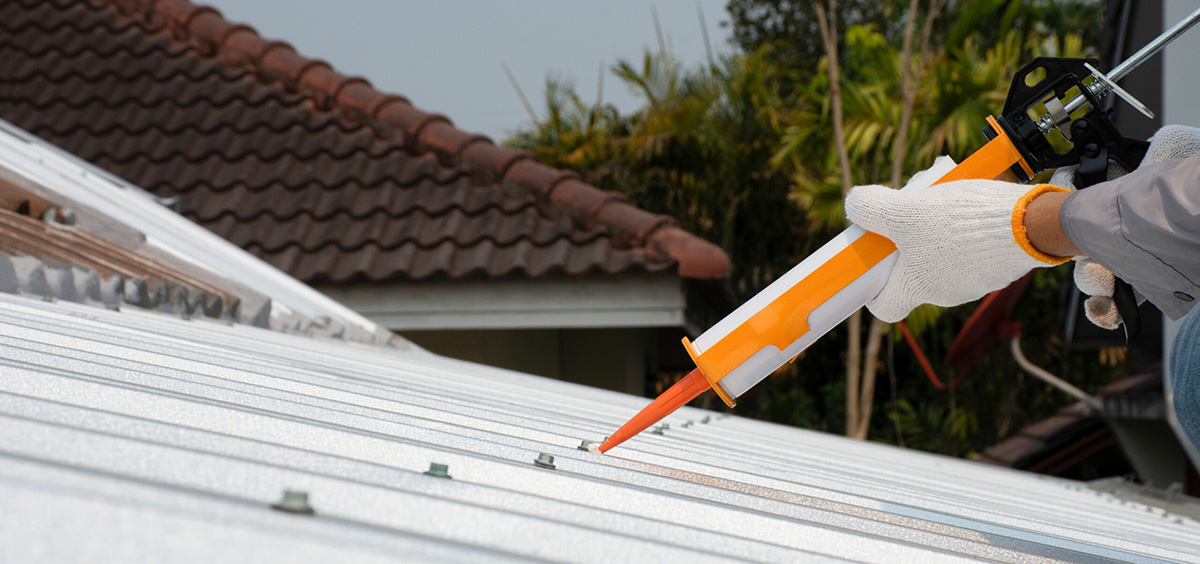
3. Adding Flashing and Trim:
To prevent water seepage at vulnerable areas such as roof intersections and edges, install flashing to create a watertight seal. Additionally, add decorative trims and fascia boards to enhance the visual appeal of the porch roof while providing a polished and finished look. Properly installed flashing and trim not only contribute to the structural integrity of the roof but also add a touch of elegance to the overall design.
4. Ensuring Ventilation and Drainage:
Incorporate ventilation elements such as ridge vents or soffit vents to promote air circulation and prevent moisture buildup in the attic or enclosed space beneath the porch roof. Additionally, ensure that the roof design allows for proper drainage, directing water away from the structure to prevent potential water damage and prolong the lifespan of the roofing materials.
5. Conducting a Thorough Inspection:
Once the roofing materials are installed, conduct a comprehensive inspection of the entire roof, checking for proper alignment, secure fastenings, and any potential areas of concern. Address any issues promptly to ensure that the porch roof is structurally sound and ready to withstand the elements.
By meticulously installing the roofing materials, you’ll not only protect the porch roof from the elements but also elevate its visual appeal, creating a durable and aesthetically pleasing addition to your tool shed. The careful selection and installation of roofing materials are essential in ensuring the longevity and functionality of the small porch roof, providing a sheltered and inviting space in your outdoor environment.
Read more: How To Build A Roof For A Porch
Adding Finishing Touches
As the construction of the small porch roof nears completion, it’s time to add the finishing touches that will elevate the aesthetics and functionality of the structure. These final details will not only enhance the visual appeal of the porch roof but also contribute to its overall usability and charm. Here are the essential finishing touches to consider:
1. Painting or Staining:
Consider applying a fresh coat of paint or stain to the porch roof to complement the existing color scheme of your tool shed and the surrounding outdoor environment. Opt for high-quality exterior-grade paint or stain that offers protection against UV rays, moisture, and other environmental factors. The right finish can add a touch of personality to the porch roof while providing long-lasting durability.
2. Adding Lighting:
Incorporate lighting elements to extend the functionality of the porch roof into the evening hours. Install outdoor sconces, string lights, or a ceiling fan with integrated lighting to create a welcoming and well-lit space for relaxation and entertainment. Thoughtfully placed lighting can transform the porch roof into a cozy retreat, perfect for enjoying the outdoors after sunset.
3. Incorporating Greenery:
Enhance the visual appeal of the porch roof by incorporating potted plants, hanging baskets, or a vertical garden. Introducing greenery not only softens the structure’s appearance but also connects it with the surrounding garden landscape, creating a harmonious and inviting outdoor space. Select low-maintenance plants suitable for the available light and climate conditions in your area.
Read more: How To Build Roof Trusses For A Shed
4. Adding Seating or Storage:
If space allows, consider integrating built-in benches or seating arrangements into the design of the porch roof. This addition provides a comfortable and functional seating area, perfect for enjoying a cup of coffee or simply taking in the outdoor scenery. Alternatively, if storage is a priority, incorporate a hinged roof or discreet storage compartments to keep outdoor essentials neatly organized and easily accessible.
5. Personalizing with Decor:
Add personal touches to the porch roof by incorporating decorative elements such as outdoor rugs, throw pillows, and weather-resistant artwork. These details infuse the space with your unique style and create a welcoming atmosphere that reflects your personality and taste. Consider seasonal decor to celebrate holidays and special occasions throughout the year.
6. Performing a Final Inspection:
Before officially unveiling your completed small porch roof, conduct a thorough inspection of the entire structure, ensuring that all finishing touches are in place and that the porch roof meets your expectations in terms of aesthetics, functionality, and safety. Address any remaining details and make any necessary adjustments to achieve the desired outcome.
By adding these thoughtful finishing touches, you’ll transform your small porch roof into a captivating and functional extension of your tool shed, creating a space that invites relaxation, fosters connection with nature, and enhances the overall appeal of your outdoor environment. The careful consideration of these details will result in a porch roof that seamlessly integrates with your existing outdoor space while offering a delightful retreat for years to come.
Conclusion
Congratulations on successfully completing the construction of a small porch roof on your tool shed! This transformative project has not only enhanced the visual appeal of your outdoor space but has also provided a functional and inviting area to enjoy the beauty of your garden and the serenity of the outdoors. As you reflect on the journey from assessing the shed and planning to adding the finishing touches, it’s clear that the effort and attention to detail have resulted in a remarkable addition to your property.
By carefully assessing the shed’s condition and planning the design, you’ve ensured that the porch roof integrates seamlessly with the existing structure while elevating its overall aesthetics. The meticulous gathering of materials and tools, followed by the precise construction of the porch roof frame, has laid the foundation for a durable and well-crafted outdoor structure.
The installation of high-quality roofing materials, along with the incorporation of finishing touches such as paint, lighting, greenery, and personalized decor, has transformed the porch roof into a welcoming and personalized space. Whether it’s a cozy spot for relaxation, a shelter for potted plants, or a storage area for outdoor essentials, the small porch roof now serves as a versatile and charming extension of your outdoor living environment.
As you admire the completed project, take pride in the craftsmanship and creativity that have gone into building a small porch roof that not only meets your practical needs but also reflects your unique style and personality. Embrace this new outdoor space as a tranquil retreat where you can unwind, entertain guests, and create lasting memories amidst the beauty of nature.
As you enjoy the fruits of your labor, remember that the small porch roof is more than just a functional addition to your property—it’s a testament to your passion for DIY projects, your appreciation for outdoor living, and your commitment to creating a home that truly reflects your lifestyle and aspirations.
With the completion of this project, you’ve not only expanded the possibilities of your outdoor space but have also gained valuable experience and skills that can be applied to future endeavors. Whether it’s tackling new DIY projects, exploring creative outdoor enhancements, or simply basking in the satisfaction of a job well done, the small porch roof stands as a symbol of your ingenuity and dedication to making the most of your living environment.
As you embrace the joy of your newly constructed small porch roof, may it serve as a constant reminder of the endless potential for creativity, transformation, and enjoyment that exists within your outdoor oasis.
Frequently Asked Questions about How To Build A Small Porch Roof On A Tool Shed
Was this page helpful?
At Storables.com, we guarantee accurate and reliable information. Our content, validated by Expert Board Contributors, is crafted following stringent Editorial Policies. We're committed to providing you with well-researched, expert-backed insights for all your informational needs.


0 thoughts on “How To Build A Small Porch Roof On A Tool Shed”