Home>Furniture>Outdoor Furniture>How To Build An Awning Over A Patio
Outdoor Furniture
How To Build An Awning Over A Patio
Modified: August 28, 2024
Learn how to build an awning over your patio to create a comfortable outdoor space with our step-by-step guide. Enhance your outdoor furniture setup with this DIY project.
(Many of the links in this article redirect to a specific reviewed product. Your purchase of these products through affiliate links helps to generate commission for Storables.com, at no extra cost. Learn more)
Introduction
Welcome to our comprehensive guide on how to build an awning over a patio. An awning is a fantastic addition to any outdoor space, providing shade and protection from the elements. Whether you want to create a cozy seating area or extend your living space, building an awning is a rewarding project that you can tackle with the right tools and a little know-how.
In this article, we will take you through the step-by-step process of building an awning over your patio. We will cover everything from creating a design plan to adding the finishing touches. So, let’s get started!
Key Takeaways:
- Building an awning over a patio involves creating a design plan, gathering materials, and preparing the area. It’s important to follow local regulations and choose durable, weather-resistant materials for a long-lasting structure.
- Adding finishing touches like paint, lighting, and seating can enhance the functionality and aesthetics of your awning. Regular maintenance will keep it in top condition for years of enjoyment.
Read more: How To Build An Awning Over A Door
Step 1: Creating a Design Plan
Before you begin building your awning, it’s essential to create a detailed design plan. This will help you visualize the final product and ensure that you have all the necessary materials and measurements.
Start by assessing the layout and dimensions of your patio. Consider the shape, size, and orientation of the area where you want to install the awning. Take note of any obstacles, such as trees, walls, or other structures, that may impact the placement or design.
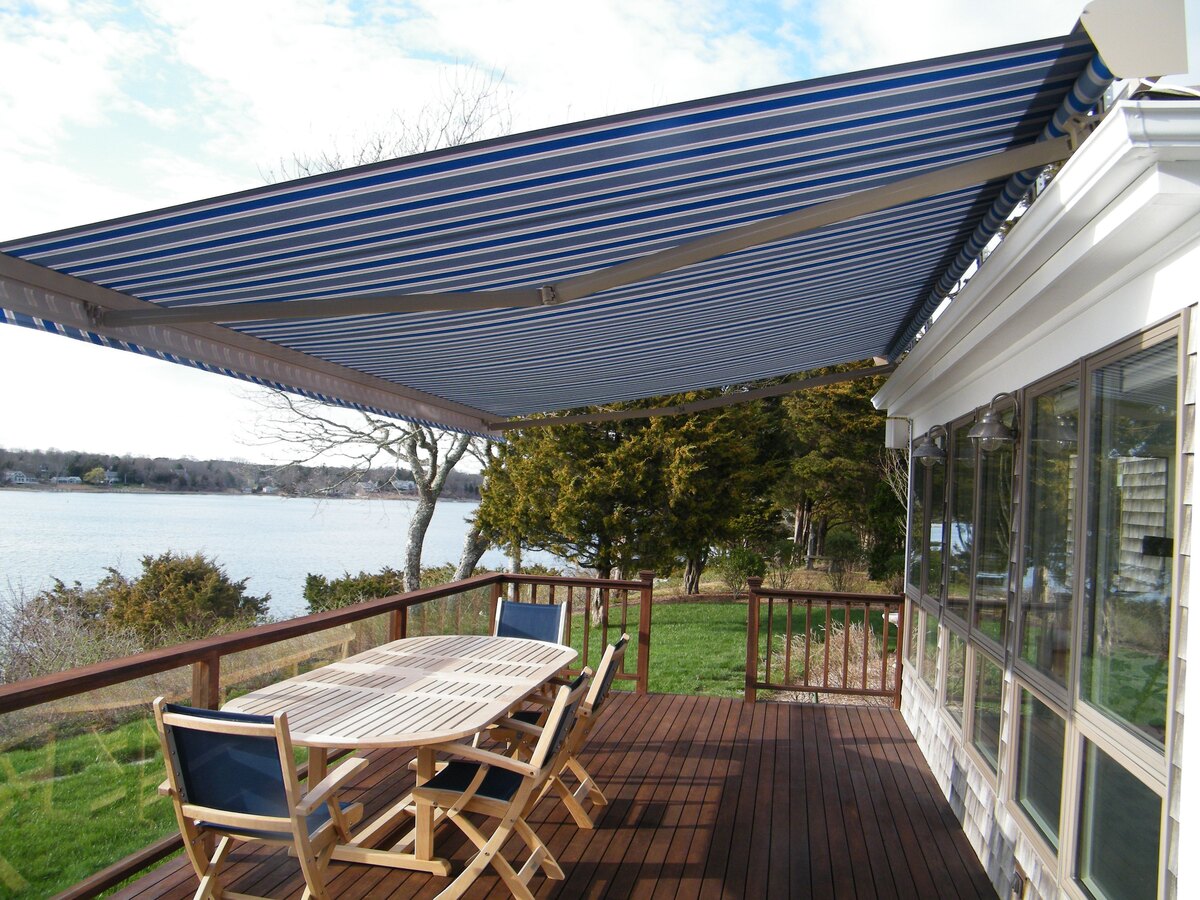
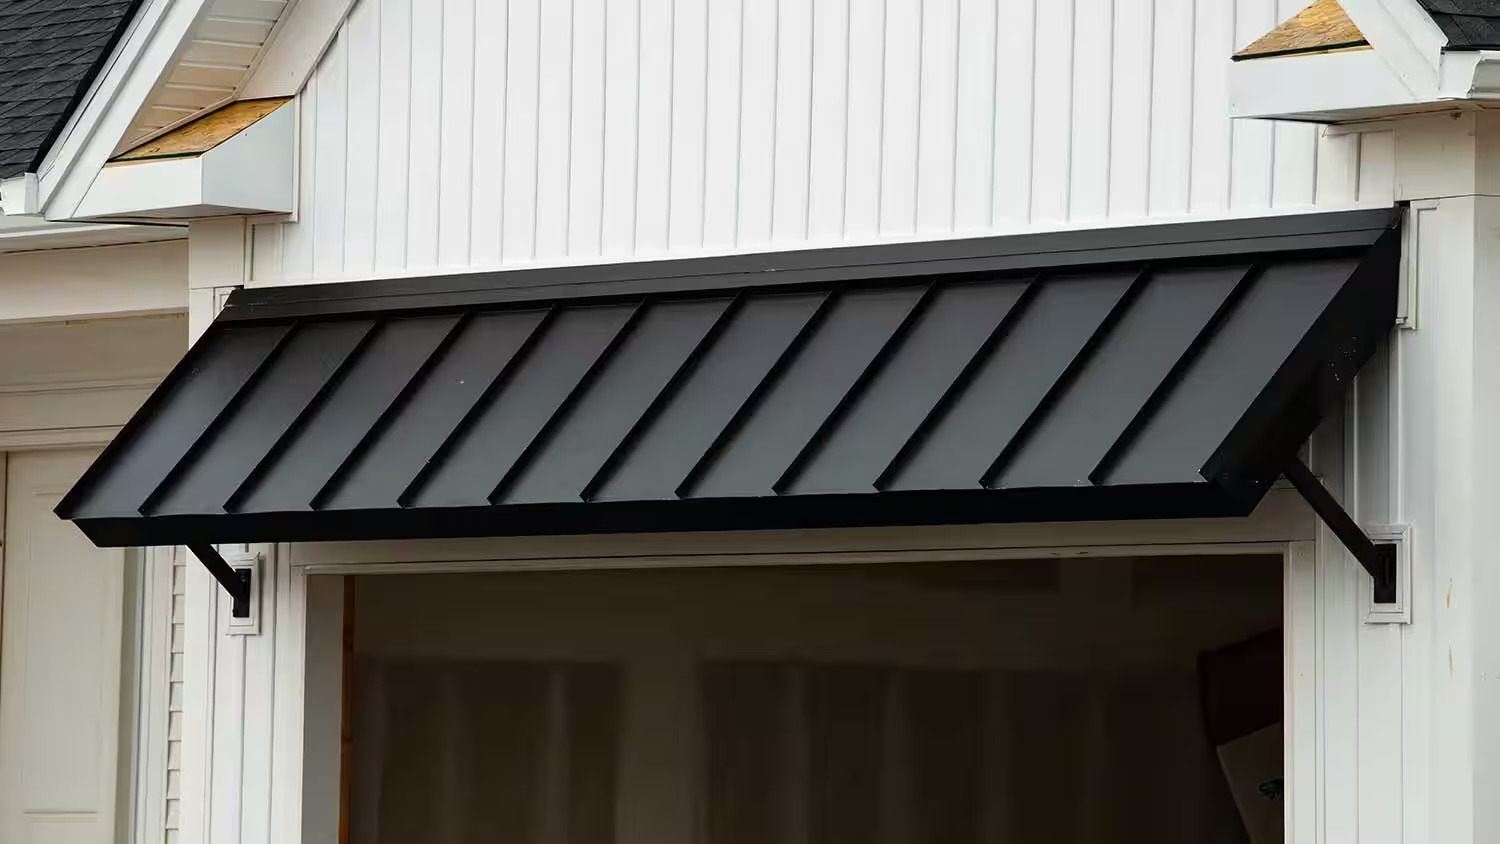
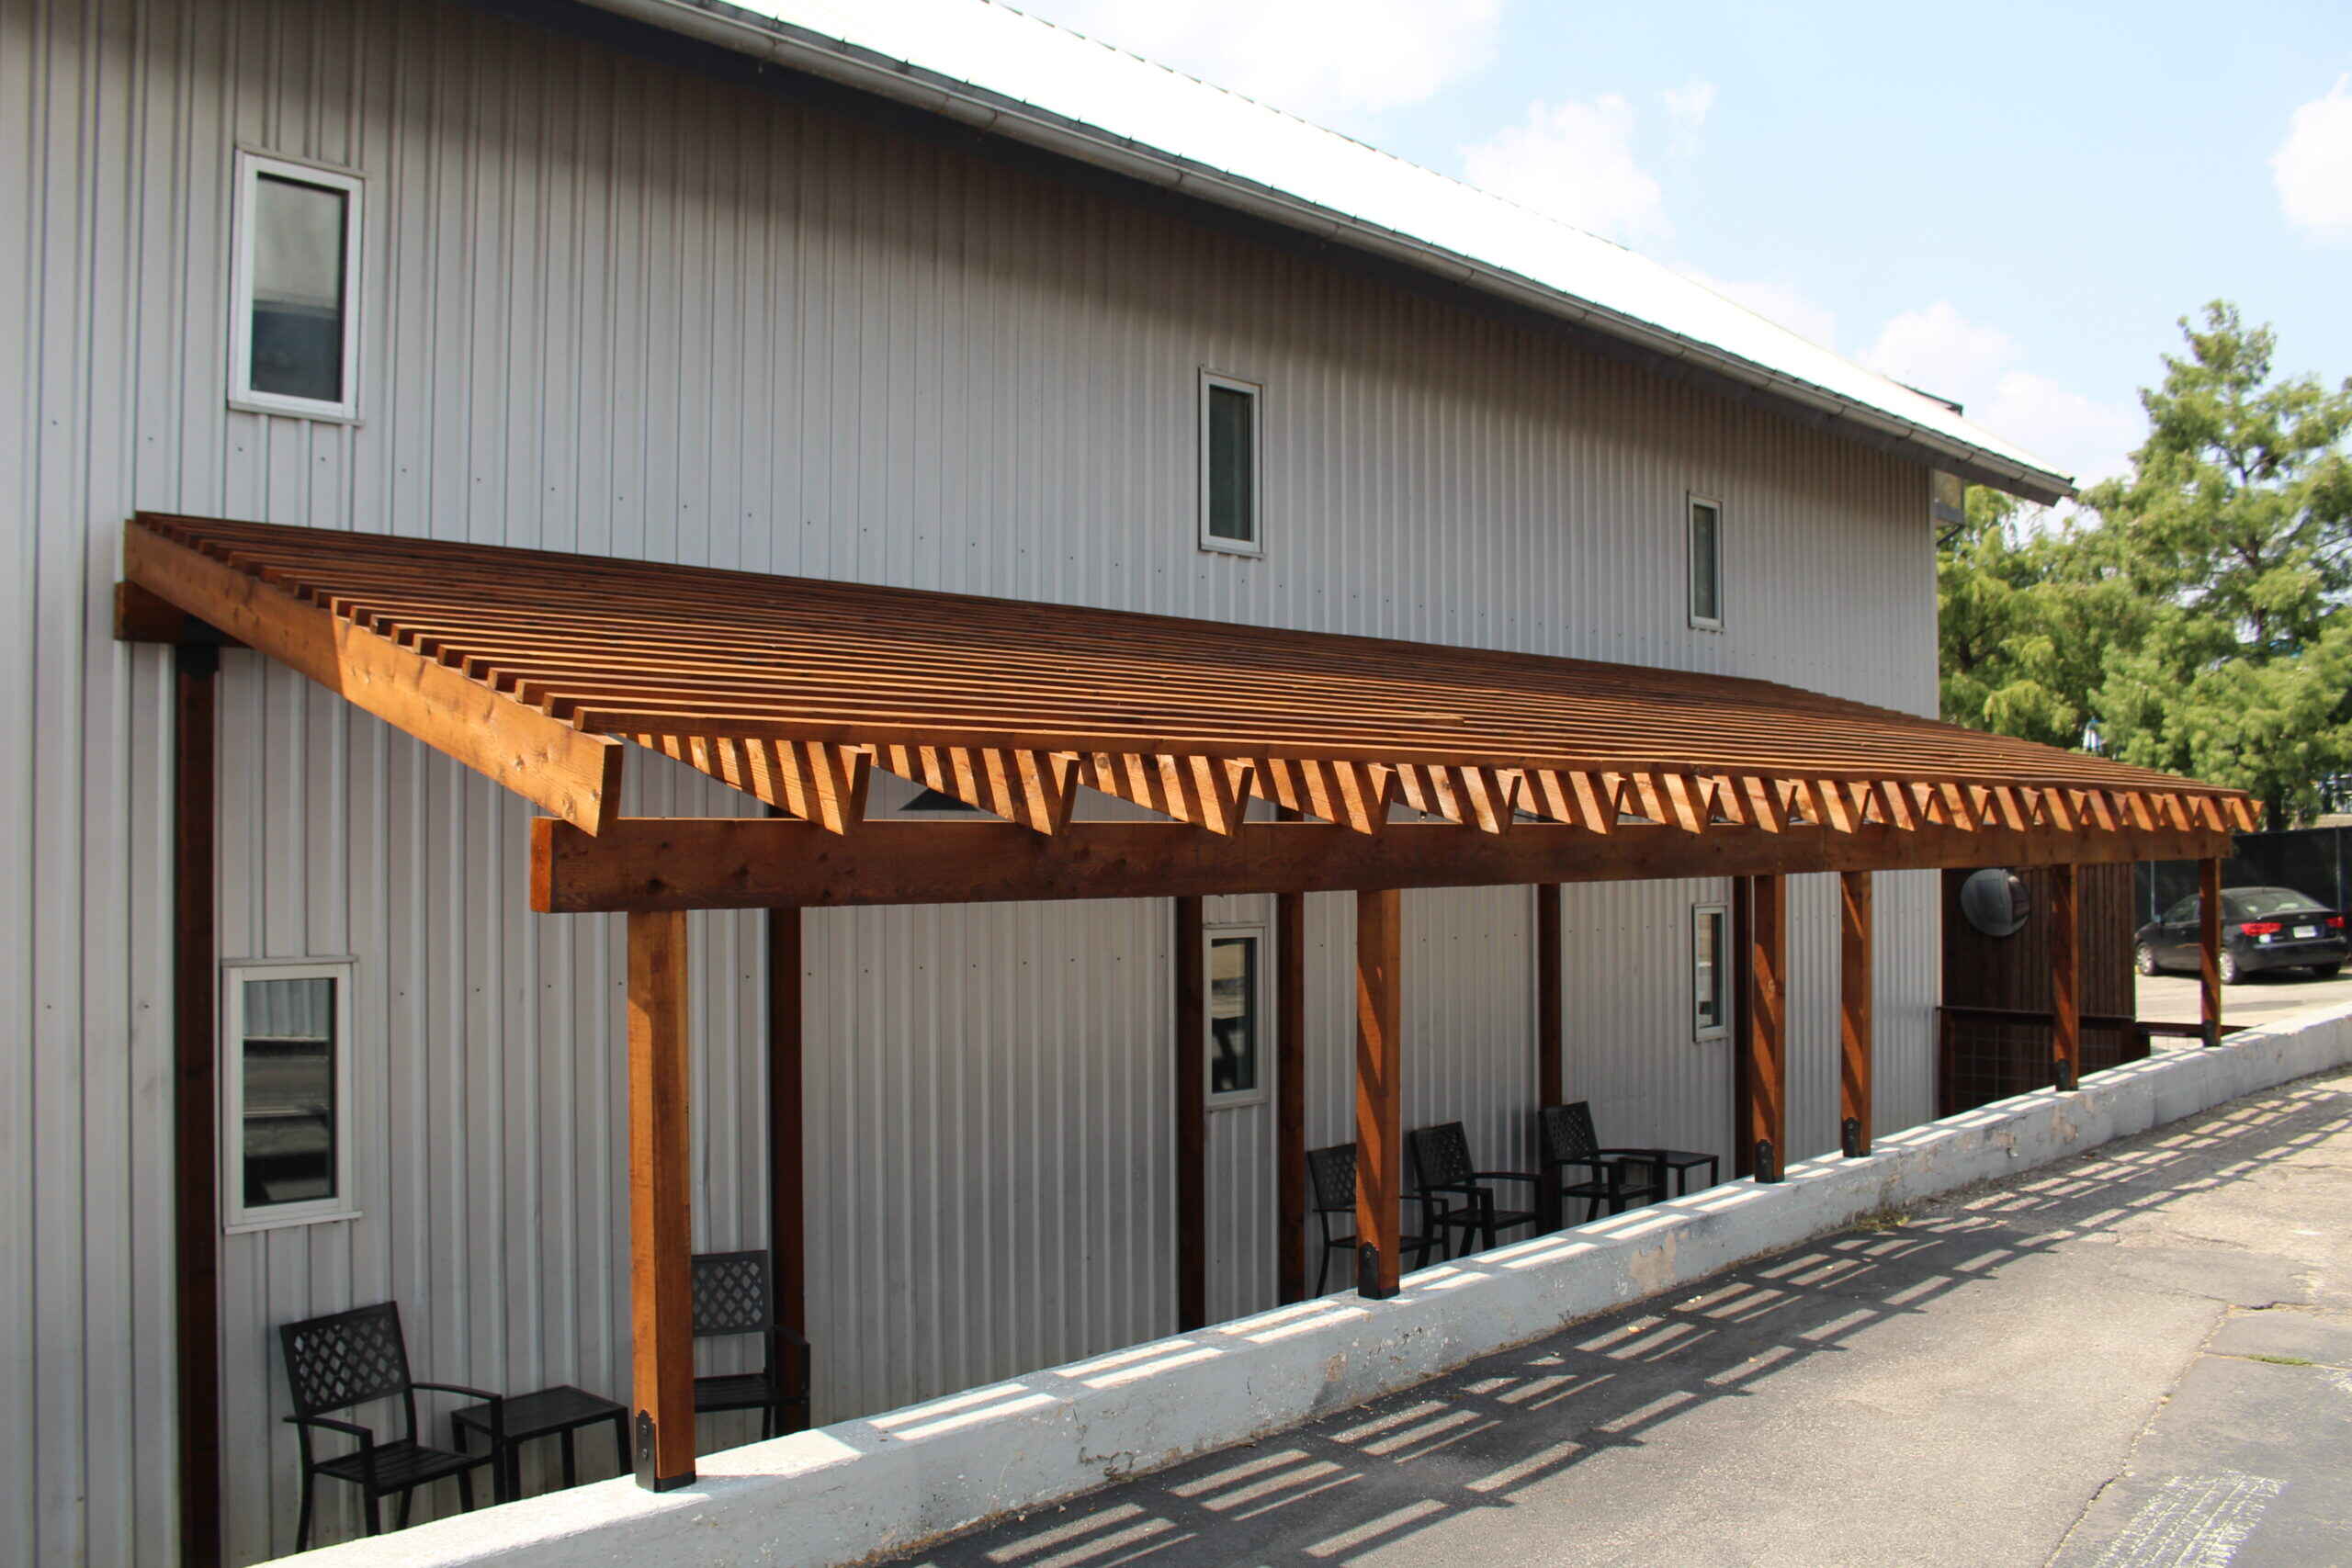
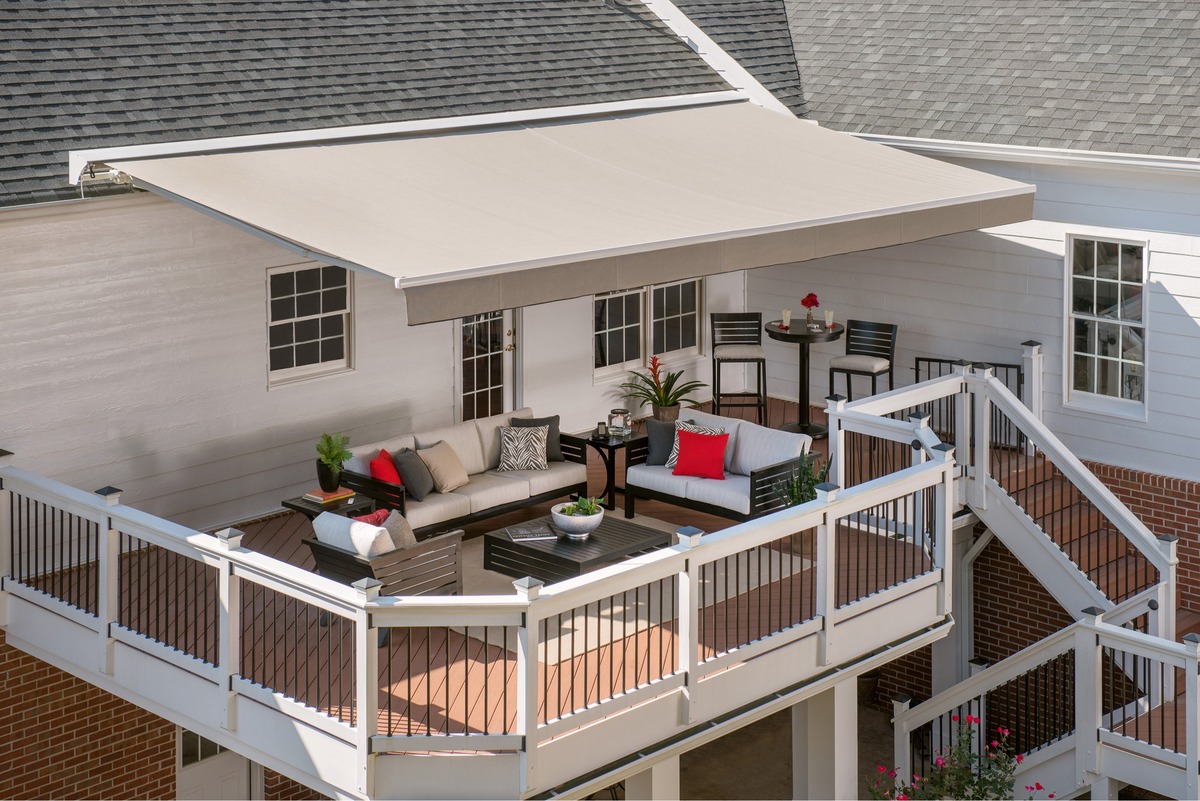
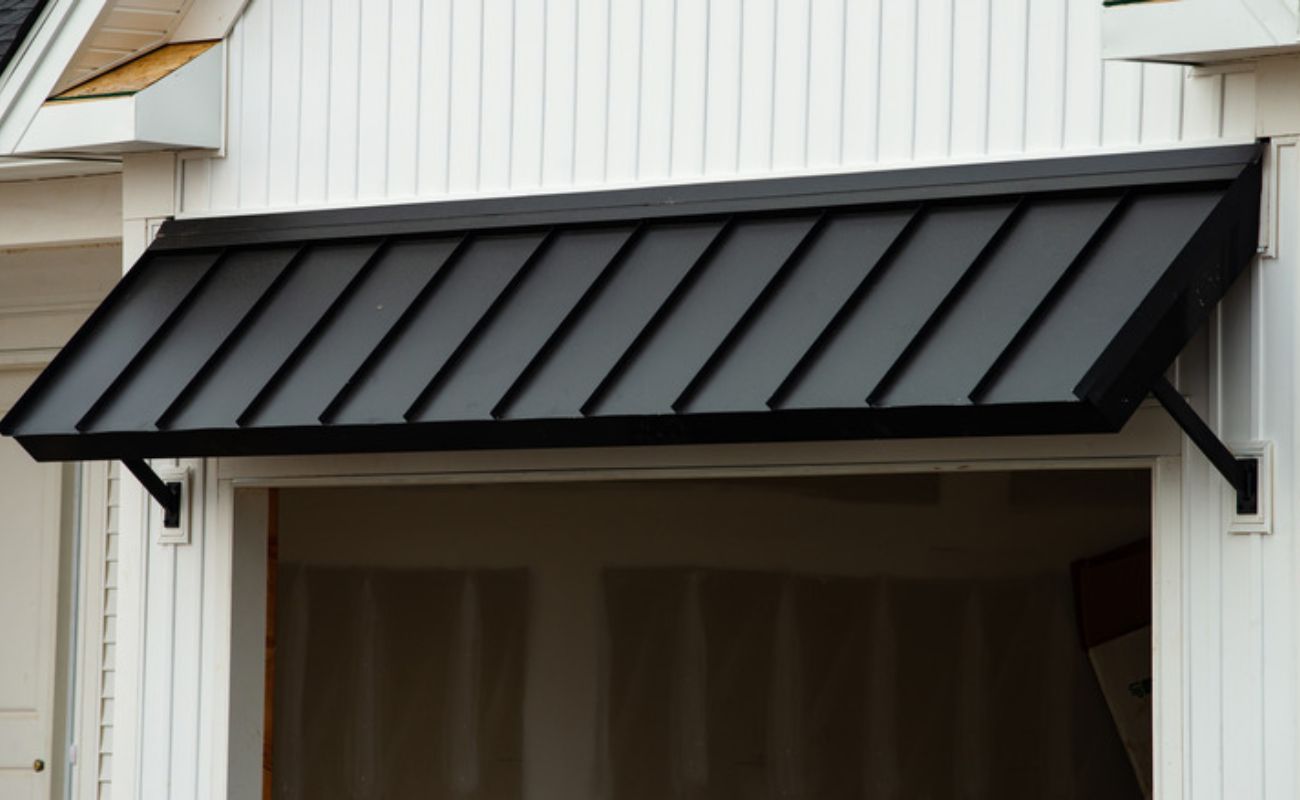
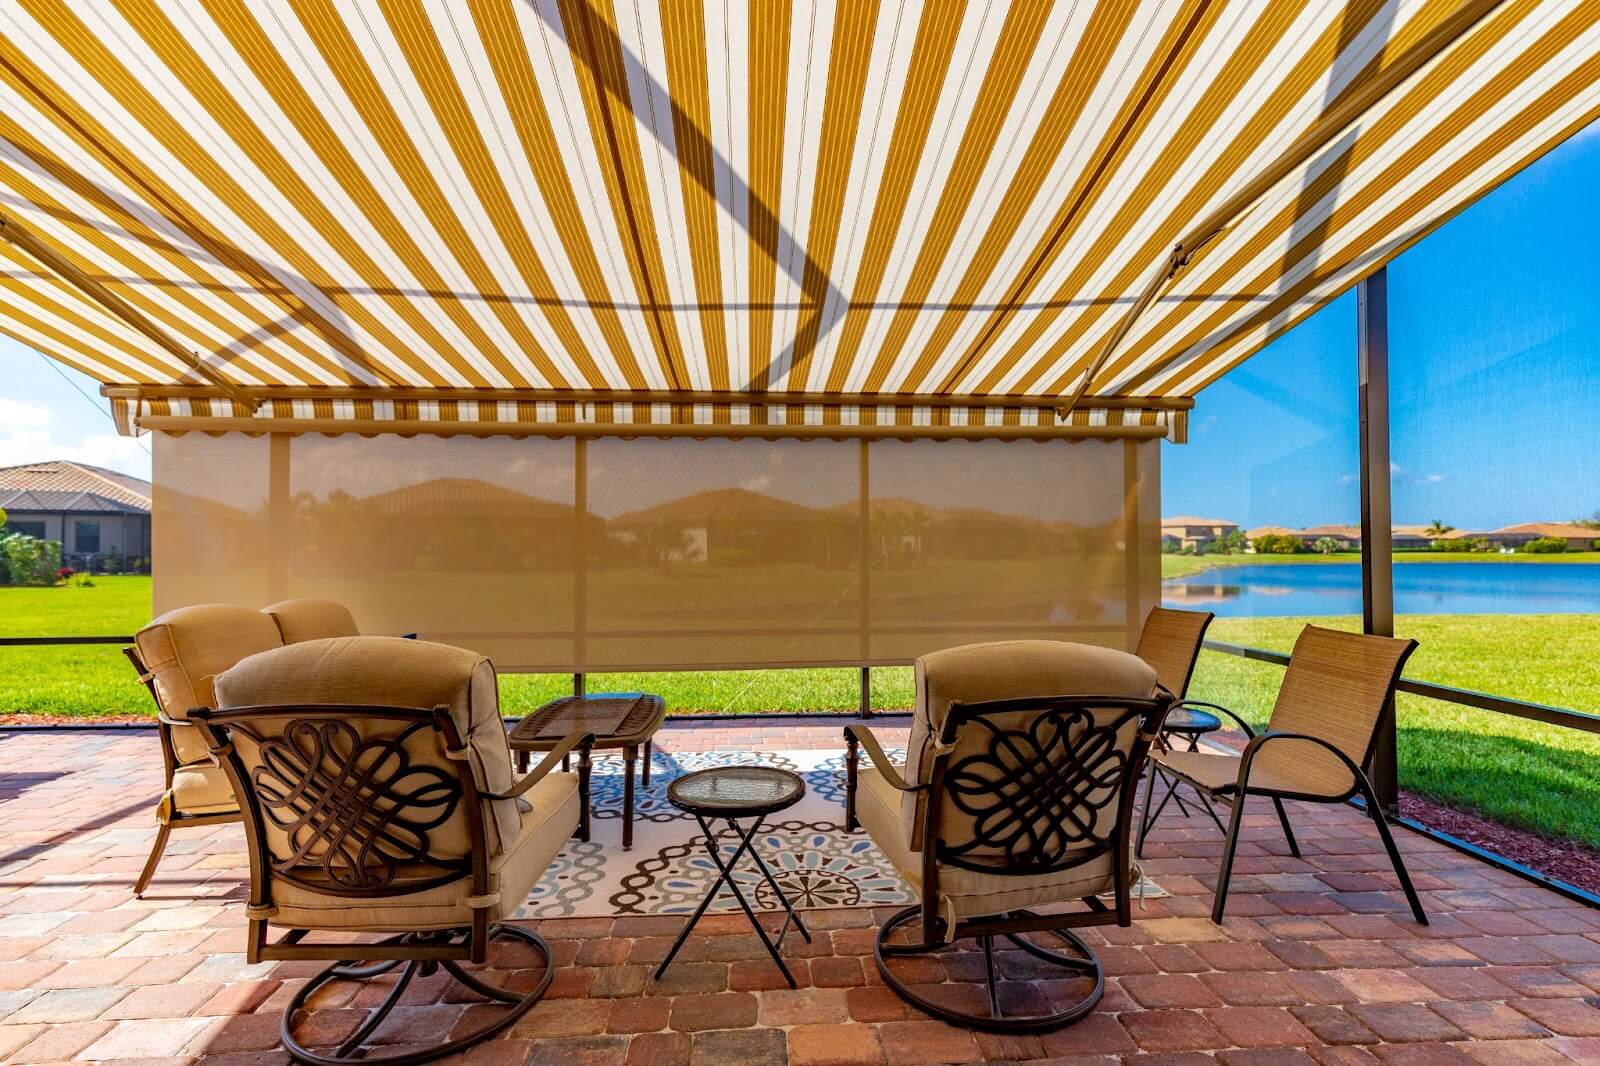
Next, decide on the type of awning you want. There are several options to choose from, including retractable awnings, fixed awnings, or pergola-style awnings. Think about your specific needs and preferences. Do you want a fully covered space or a partially shaded area? Are you looking for a more modern or traditional design?
Once you have a clear idea of the desired awning type and placement, it’s time to take measurements. Measure the width, depth, and height of the area, ensuring accuracy to avoid any sizing issues later on. Consider the slope if you want to incorporate a water runoff system to prevent any pooling or leakage.
With the measurements in hand, sketch out your awning design on paper or use a design software to create a digital mockup. Include details such as the dimensions, materials, and any additional features you may want, such as lighting or curtains. This will serve as your visual reference throughout the construction process.
Lastly, consult local building codes and regulations. Some municipalities have specific requirements for awning installations regarding height restrictions, setback distances, and permits. Ensure that your design complies with these guidelines to avoid any legal issues down the line.
By creating a thorough design plan, you’ll have a clear vision of your awning project and minimize any potential complications during construction. So, take the time to plan accordingly before moving on to the next steps.
Step 2: Gathering Materials and Tools
Once you have a solid design plan in place, it’s time to gather all the necessary materials and tools for building your awning. Having everything ready beforehand will help streamline the construction process and ensure you have everything you need.
Here’s a list of materials and tools you’ll likely need:
- Pressure-treated lumber or metal posts for support
- Support brackets or anchors
- Crossbeams or rafters
- Awnings fabric or canopy
- Galvanized screws or bolts
- Wood or metal screws
- PVC cement or adhesive
- Measuring tape
- Level
- Drill
- Saw
- Hammer
- Paint or stain (optional)
The specific materials and tools you’ll need may vary depending on your design and personal preferences. It’s always a good idea to double-check your design plan and make a comprehensive list of everything required. This will ensure you don’t miss anything and can complete the project smoothly.
When purchasing materials, opt for high-quality and weather-resistant options. Since the awning will be exposed to the elements, it’s important to use materials that can withstand sun, rain, wind, and other weather conditions.
Additionally, consider the aesthetics of your awning and choose materials that align with your design vision. Look for options that complement the existing architecture and color scheme of your home or outdoor space.
Before starting the construction process, make sure you have all the necessary tools readily available. This will save you time and frustration as you won’t have to pause the project to search for missing tools.
By gathering all the materials and tools beforehand, you’ll be well-prepared to embark on the awning building process. Next, we’ll dive into the steps for preparing the patio area.
Step 3: Preparing the Patio Area
Once you have your design plan and all the necessary materials and tools, it’s time to prepare the patio area for the installation of your awning. This step is crucial to ensure a stable and secure foundation for your structure.
Here’s how to prepare the patio area:
- Clear the space: Remove any furniture, plants, or obstacles from the patio area. Clearing the space will give you a clean slate to work with and prevent any damage during the construction process.
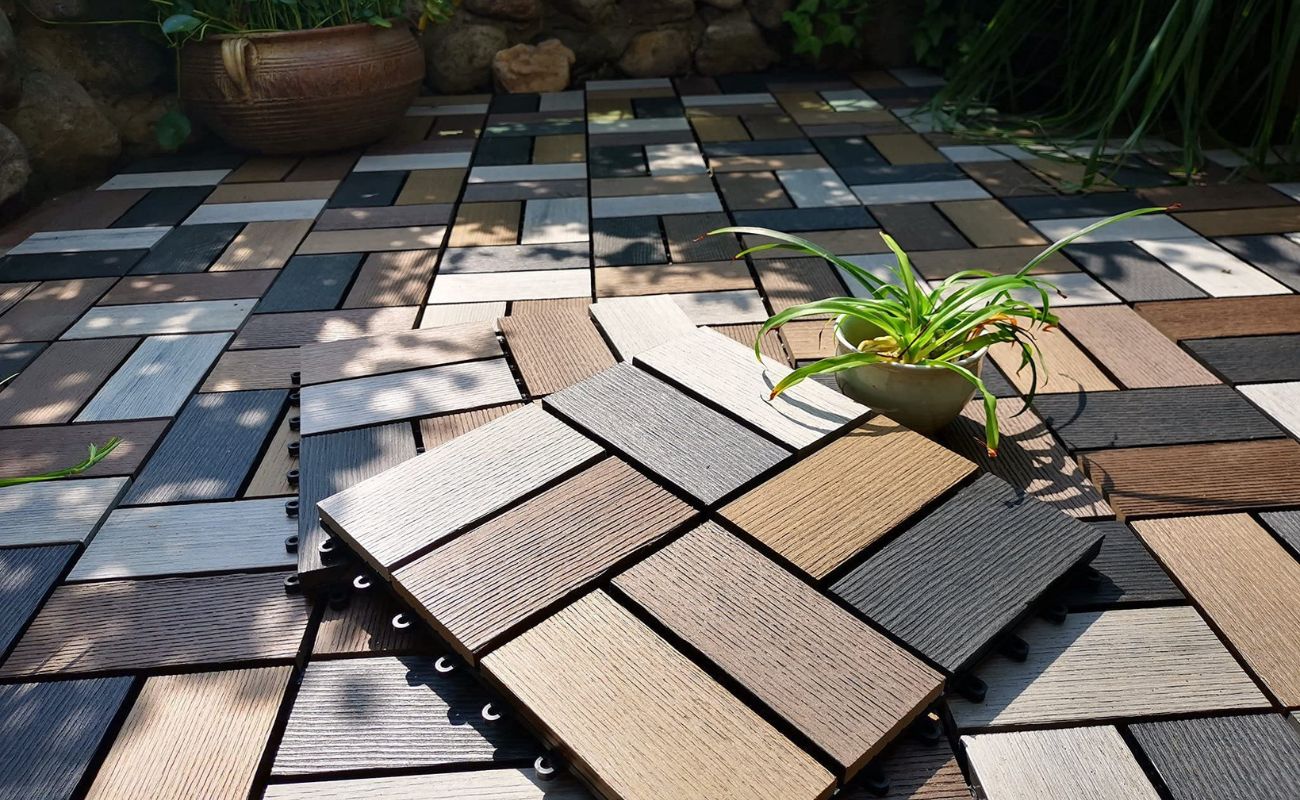
- Inspect the patio surface: Check the condition of your patio surface, whether it’s concrete, wood, or any other material. Look for any cracks, rot, or other damage that may affect the stability of the awning. It’s important to address any necessary repairs or reinforcement before proceeding.
- Mark the locations: Use your design plan and measurements to mark the exact locations where the support posts will be placed. This will ensure accuracy and maintain the desired spacing and alignment of your awning.
- Prepare the support bases: If you’re building a freestanding awning, dig holes at each marked location for the support posts. The depth of the holes will depend on the local frost line and the height of your awning. It’s essential to follow local building codes and guidelines for proper depth and foundation requirements.
- Secure the support bases: Place the support posts into the holes and secure them with concrete or gravel. Use a level to ensure that the posts are plumb and straight. Allow the concrete to cure according to the manufacturer’s instructions before proceeding.
- Anchor to existing structures (optional): If your awning will be attached to an existing structure, such as a wall or roofline, ensure that it is structurally sound and can support the additional weight of the awning. Use appropriate anchors, brackets, or hardware to secure the awning to the structure.
By taking the time to properly prepare the patio area, you’ll lay a solid foundation for your awning installation. This step is crucial for the stability and longevity of your awning, so be thorough in your preparations. Once the patio area is ready, you can move on to the next step of installing the support posts.
Step 4: Installing the Support Posts
Now that you have prepared the patio area, it’s time to install the support posts that will hold up your awning. These posts are crucial for the stability and structural integrity of the entire structure.
Follow these steps to install the support posts:
- Measure and cut the support posts: Using your design plan and measurements, cut the pressure-treated lumber or metal posts to the desired height. Ensure that they are long enough to reach from the ground to the desired height of your awning.
- Attach the support brackets or anchors: If you’re using support brackets or anchors, attach them to the bottom of the support posts according to the manufacturer’s instructions. These brackets will help secure the posts to the patio surface or concrete piers.
- Position the support posts: Place the support posts into the prepared holes or anchor them to the existing structure. Use a level to ensure that they are plumb and straight. Make any necessary adjustments by adding or removing gravel or shims until the posts are perfectly vertical.
- Secure the support posts: Once the posts are properly positioned, secure them in place by backfilling the holes with concrete or firmly fastening them to the anchor brackets. Ensure that they are solidly anchored and can withstand any wind or weather conditions.
- Double-check the alignment and stability: Take a final look at the support posts to ensure they are properly aligned and stable. Shake them lightly to make sure they are secure, and check again with a level to verify that they are still plumb.
Properly installed support posts are the backbone of your awning structure, providing the necessary strength and stability to withstand outdoor elements. Take the time to ensure that they are accurately positioned, securely anchored, and perfectly vertical. Once the support posts are in place, you’re ready to move on to the next step: attaching the crossbeams.
When building an awning over a patio, make sure to use durable and weather-resistant materials, such as aluminum or treated wood, to ensure longevity and protection from the elements.
Read more: How To Build A Deck Over A Concrete Patio
Step 5: Attaching the Crossbeams
With the support posts securely in place, it’s time to move on to attaching the crossbeams. These crossbeams will form the framework of your awning, providing stability and support for the awning fabric or canopy.
Follow these steps to attach the crossbeams:
- Measure and cut the crossbeams: Using your design plan and measurements, cut the crossbeams to the desired length. Ensure that they are long enough to span from one support post to the other, creating a sturdy framework.
- Position the crossbeams: Place the first crossbeam on top of the support posts, ensuring it is level and aligned with the edges of the posts. Use clamps or temporary supports to hold the crossbeam in place while you attach it.
- Secure the crossbeams: Using galvanized screws or bolts, attach the crossbeams to the support posts. Place the screws or bolts evenly along the length of the crossbeam, ensuring a secure connection. Repeat this step for all the crossbeams, maintaining equal spacing between them.
- Check for level and stability: After attaching each crossbeam, double-check that it is level and properly aligned with the support posts. Test the stability of the frame by gently shaking it. Make any necessary adjustments, such as tightening screws or repositioning the crossbeams, to ensure a solid and stable structure.
- Consider additional supports: Depending on the size and design of your awning, you may need to add additional support beams or braces for added stability. Consult your design plan to determine if any additional support is necessary, and install them according to the specifications.
By securely attaching the crossbeams, you are creating a sturdy framework that will support the weight of the awning fabric or canopy. Take care to ensure that the crossbeams are level, aligned, and properly attached to the support posts. With the crossbeams in place, you’re ready to move on to the next step: securing the awning fabric.
Step 6: Securing the Awning Fabric
Now that the framework of your awning is complete, it’s time to move on to securing the awning fabric or canopy. The fabric will provide the shade and protection that you desire, making your outdoor space comfortable and inviting.
Follow these steps to secure the awning fabric:
- Choose the fabric: Select a high-quality outdoor fabric that is suitable for awnings. Look for options that are UV-resistant, waterproof, and durable. Consider the color and pattern of the fabric to ensure it complements your outdoor decor and personal style.
- Cut the fabric to size: Measure your awning framework and cut the fabric to the appropriate dimensions. Leave some extra fabric on each side for hemming and attaching to the crossbeams.
- Hem the fabric: Fold and sew a hem along the edges of the fabric to create a clean and finished look. This will also reinforce the edges and prevent fraying.
- Attach the fabric to the crossbeams: Using screws or heavy-duty adhesive, secure the edges of the fabric to the crossbeams. Start at one end and work your way across, ensuring the fabric is taut and wrinkle-free as you go.
- Create tensioning mechanisms (optional): If you choose to install a retractable awning, you may need to incorporate tensioning mechanisms to control the extension and retraction of the fabric. Follow the manufacturer’s instructions to install these mechanisms properly.
- Test the functionality: Once the fabric is securely and evenly attached, test the functionality of your awning by extending and retracting it. Ensure that it moves smoothly and fully covers the desired area.
By securing the awning fabric properly, you’ll create a functional and visually pleasing outdoor space. Take care to choose a durable fabric, hem the edges for a finished look, and securely attach the fabric to the crossbeams. With the awning fabric in place, you’re almost done! Just a few more steps to add the finishing touches.
Step 7: Adding Finishing Touches
With the main construction of your awning complete, it’s time to add the finishing touches to enhance its functionality, aesthetics, and overall appeal.
Follow these steps to add the finishing touches:
- Paint or stain (optional): If you’re working with wooden elements, consider adding a coat of paint or stain to protect the wood from the elements and give it a polished look. Choose a color that complements your outdoor space and matches your personal style.
- Add lighting: Install outdoor lighting fixtures or string lights to create a warm and inviting ambiance under your awning. Whether it’s overhead lights, wall sconces, or fairy lights, lighting will make your outdoor space usable both during the day and at night.
- Install curtains or shades (optional): Consider adding curtains or shades to your awning to provide additional privacy, shade, or protection from insects. Choose fabrics that are weather-resistant and easy to maintain.
- Add seating and accessories: Complete your outdoor space by adding comfortable seating such as lounge chairs, a dining set, or a cozy sofa. Include accessories like pillows, cushions, and outdoor rugs to create a welcoming and stylish atmosphere.
- Regular maintenance and cleaning: Keep your awning in top condition by regularly cleaning the fabric, removing any debris, and inspecting for any signs of wear or damage. Follow the manufacturer’s instructions for proper care and maintenance.
By adding these finishing touches, you’ll transform your awning into a functional and inviting outdoor space. Choose paint or stain to protect and enhance the appearance of the wood, incorporate lighting for ambiance, consider curtains or shades for additional privacy and shade, and furnish your space with comfortable seating and accessories. Regular maintenance will ensure your awning remains in great shape for years to come.
Congratulations! You have successfully completed the process of building an awning over your patio. Enjoy the shade, comfort, and beauty it brings to your outdoor living area.
Conclusion
Building an awning over your patio is a rewarding project that can transform your outdoor space into a comfortable and stylish retreat. By following the steps outlined in this guide, you can successfully create a structure that provides shade, protection, and a touch of elegance to your patio area.
From creating a design plan to gathering materials and tools, preparing the patio area, installing the support posts, attaching the crossbeams, securing the awning fabric, and adding the finishing touches, each step plays a crucial role in the construction process. Taking the time to carefully plan, measure, and execute each step will result in a durable and visually appealing awning that enhances your outdoor living experience.
Remember to consider local building codes, regulations, and permits to ensure compliance and avoid any unnecessary legal issues. Additionally, prioritize using high-quality and weather-resistant materials for longevity and durability.
Once your awning is complete, make sure to maintain it with regular cleaning and care. This will ensure that it continues to provide shade and protection for many years to come.
So, roll up your sleeves, gather your tools, and embark on this exciting project to build an awning over your patio. Create a space where you can relax, entertain, and enjoy the outdoors in comfort and style.
Happy building!
Ready to tackle more DIY projects? Whether you're a seasoned DIYer or just starting out, understanding the perks of DIY projects can offer insights into crafting personalized spaces. Meanwhile, for those who enjoy sprucing up their decks, discovering ways to infuse color and simple decor for better outdoor living could transform your approach to exterior spaces. And if you're battling the sun's rays, look into innovative shade solutions that keep your areas cool and comfortable.
Frequently Asked Questions about How To Build An Awning Over A Patio
Was this page helpful?
At Storables.com, we guarantee accurate and reliable information. Our content, validated by Expert Board Contributors, is crafted following stringent Editorial Policies. We're committed to providing you with well-researched, expert-backed insights for all your informational needs.


0 thoughts on “How To Build An Awning Over A Patio”