Home>Furniture>Outdoor Furniture>How To Build A Patio Roof Attached To The Roof

Outdoor Furniture
How To Build A Patio Roof Attached To The Roof
Modified: October 18, 2024
Learn how to build a stylish and functional patio roof attached to your home. Create the perfect outdoor space with our guide and find the best outdoor furniture for your setup.
(Many of the links in this article redirect to a specific reviewed product. Your purchase of these products through affiliate links helps to generate commission for Storables.com, at no extra cost. Learn more)
Introduction
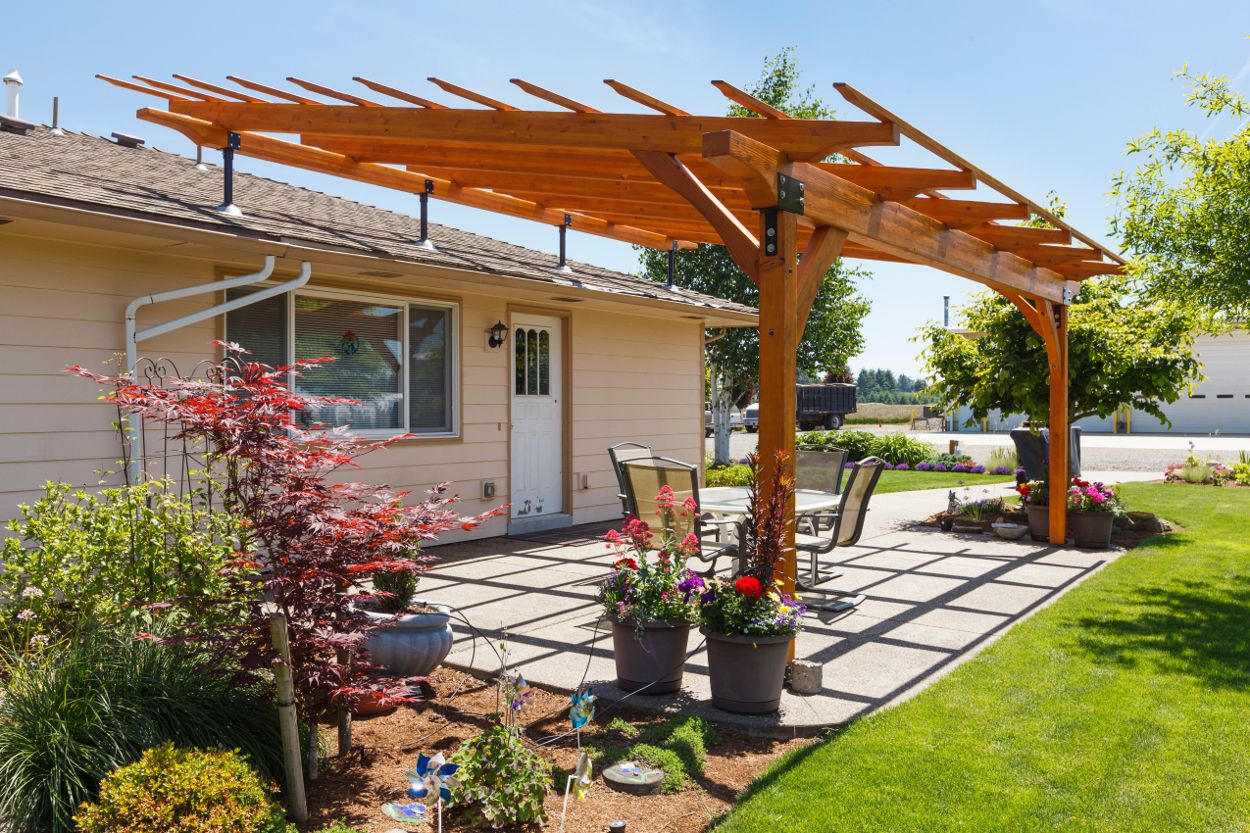
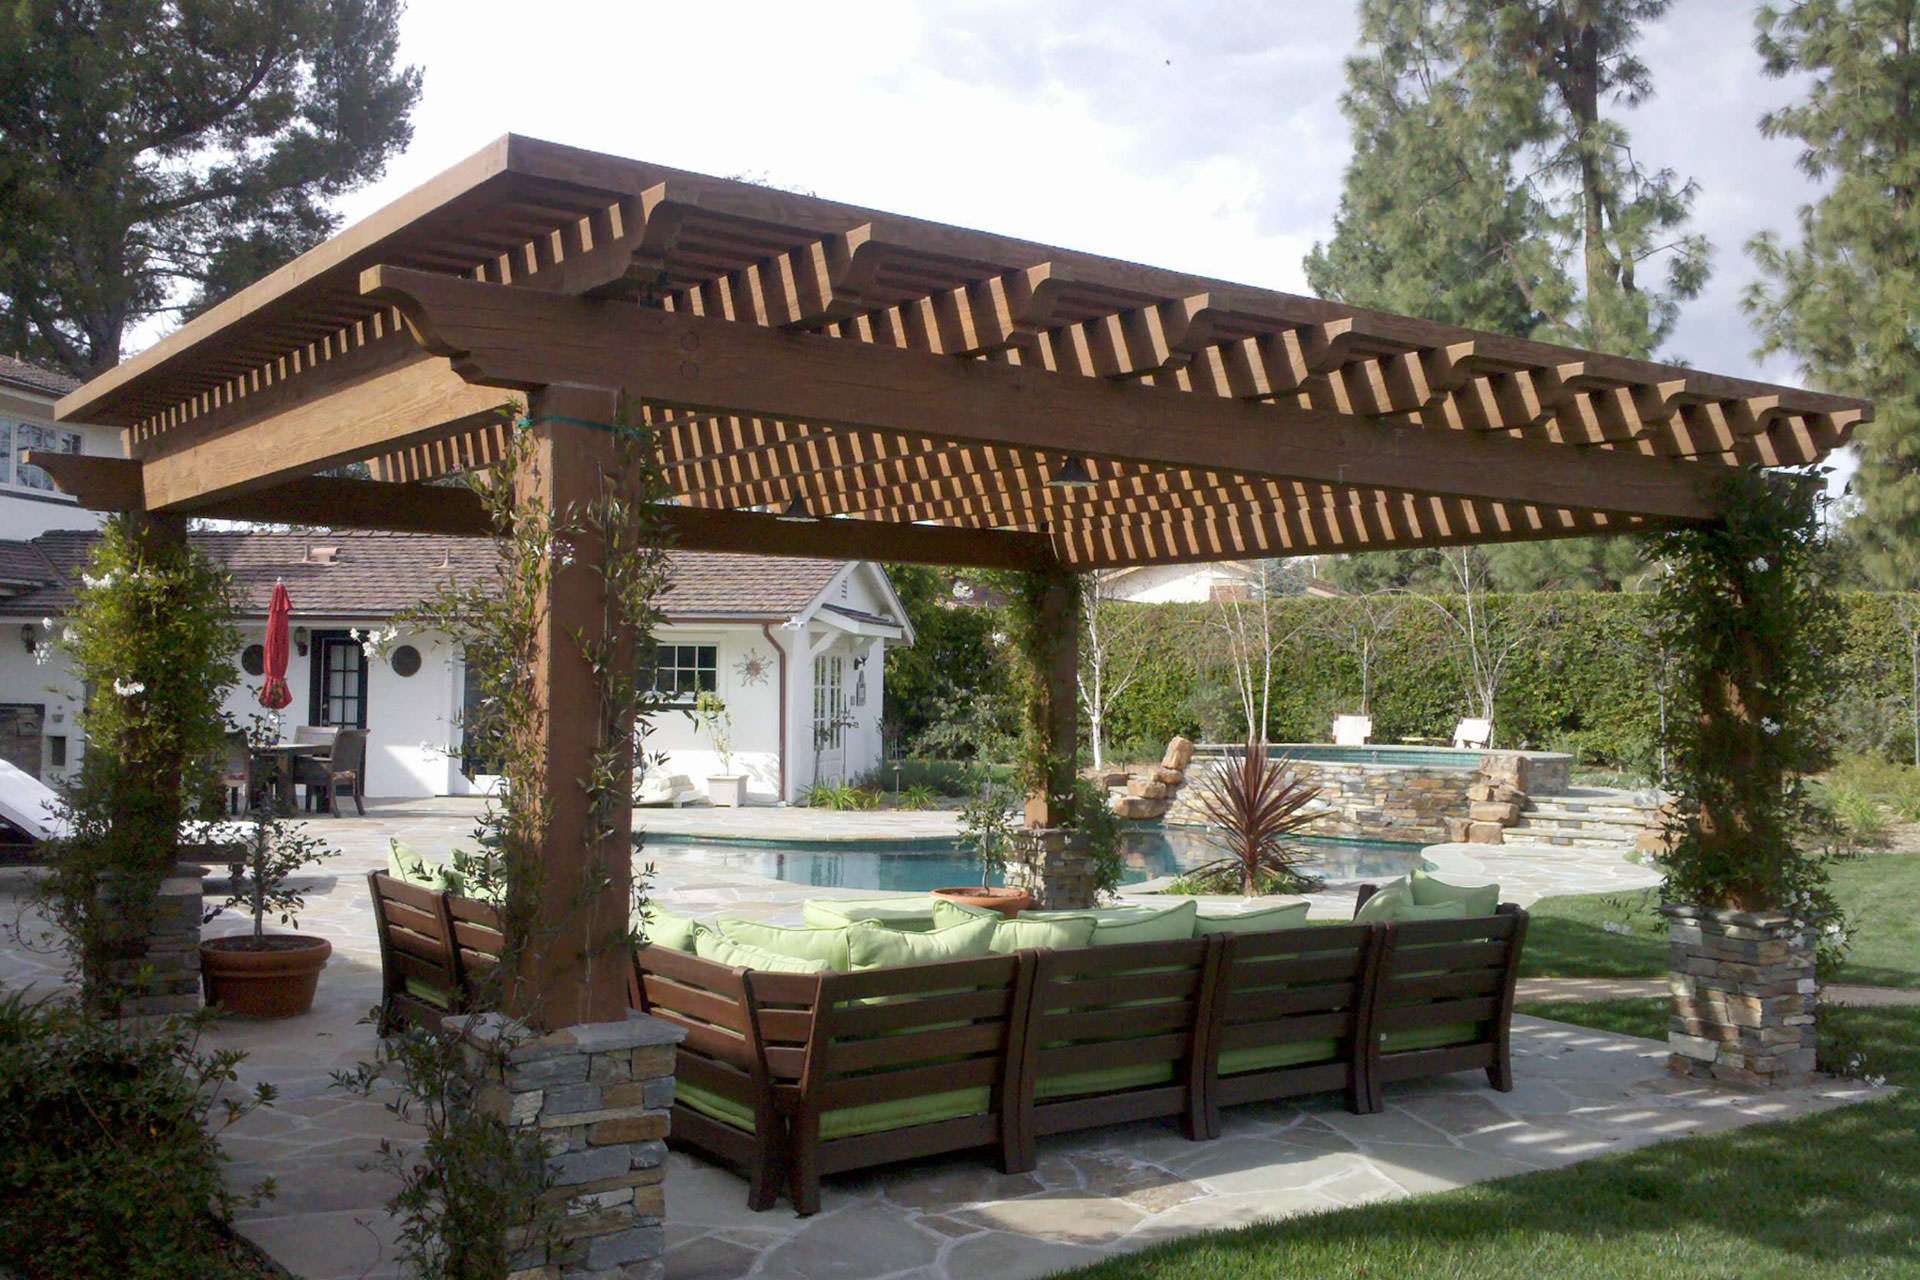
Welcome to our comprehensive guide on how to build a patio roof attached to the roof. Adding a patio roof not only provides shade and protection from the elements but also enhances the aesthetic appeal of your outdoor space. Whether you’re looking to create a cozy outdoor lounge area or a comfortable dining space, a well-constructed patio roof can transform your backyard into an inviting retreat.
Building a patio roof can seem like a daunting task, but with the right plan, materials, and tools, it can be a rewarding DIY project. In this guide, we will walk you through the step-by-step process of constructing a patio roof that is securely attached to the roof of your house. From determining the design and materials to adding the finishing touches, we’ve got you covered.
Before you embark on this project, it’s important to assess your skill level and ensure you have the necessary time and resources. And remember, safety should always be a top priority. If you’re not confident in your abilities or don’t have the necessary tools, it’s best to consult with a professional contractor who specializes in outdoor construction.
Now, let’s dive into the steps involved in building a patio roof attached to the roof of your house. By the end of this guide, you’ll have the knowledge and confidence to create a functional and beautiful outdoor space that you can enjoy for years to come.
Key Takeaways:
- Building a patio roof attached to your house requires careful planning, sturdy support beams, and the right roofing materials. Prioritize safety, obtain permits, and follow local building codes for a successful project.
- Regular maintenance, including cleaning, inspections, and prompt repairs, is essential to keep your patio roof in top condition. Enjoy your outdoor oasis by adding finishing touches and creating a cozy space for relaxation and entertainment.
Read more: How To Attach A Patio Roof To A House
Step 1: Determine the Design and Materials
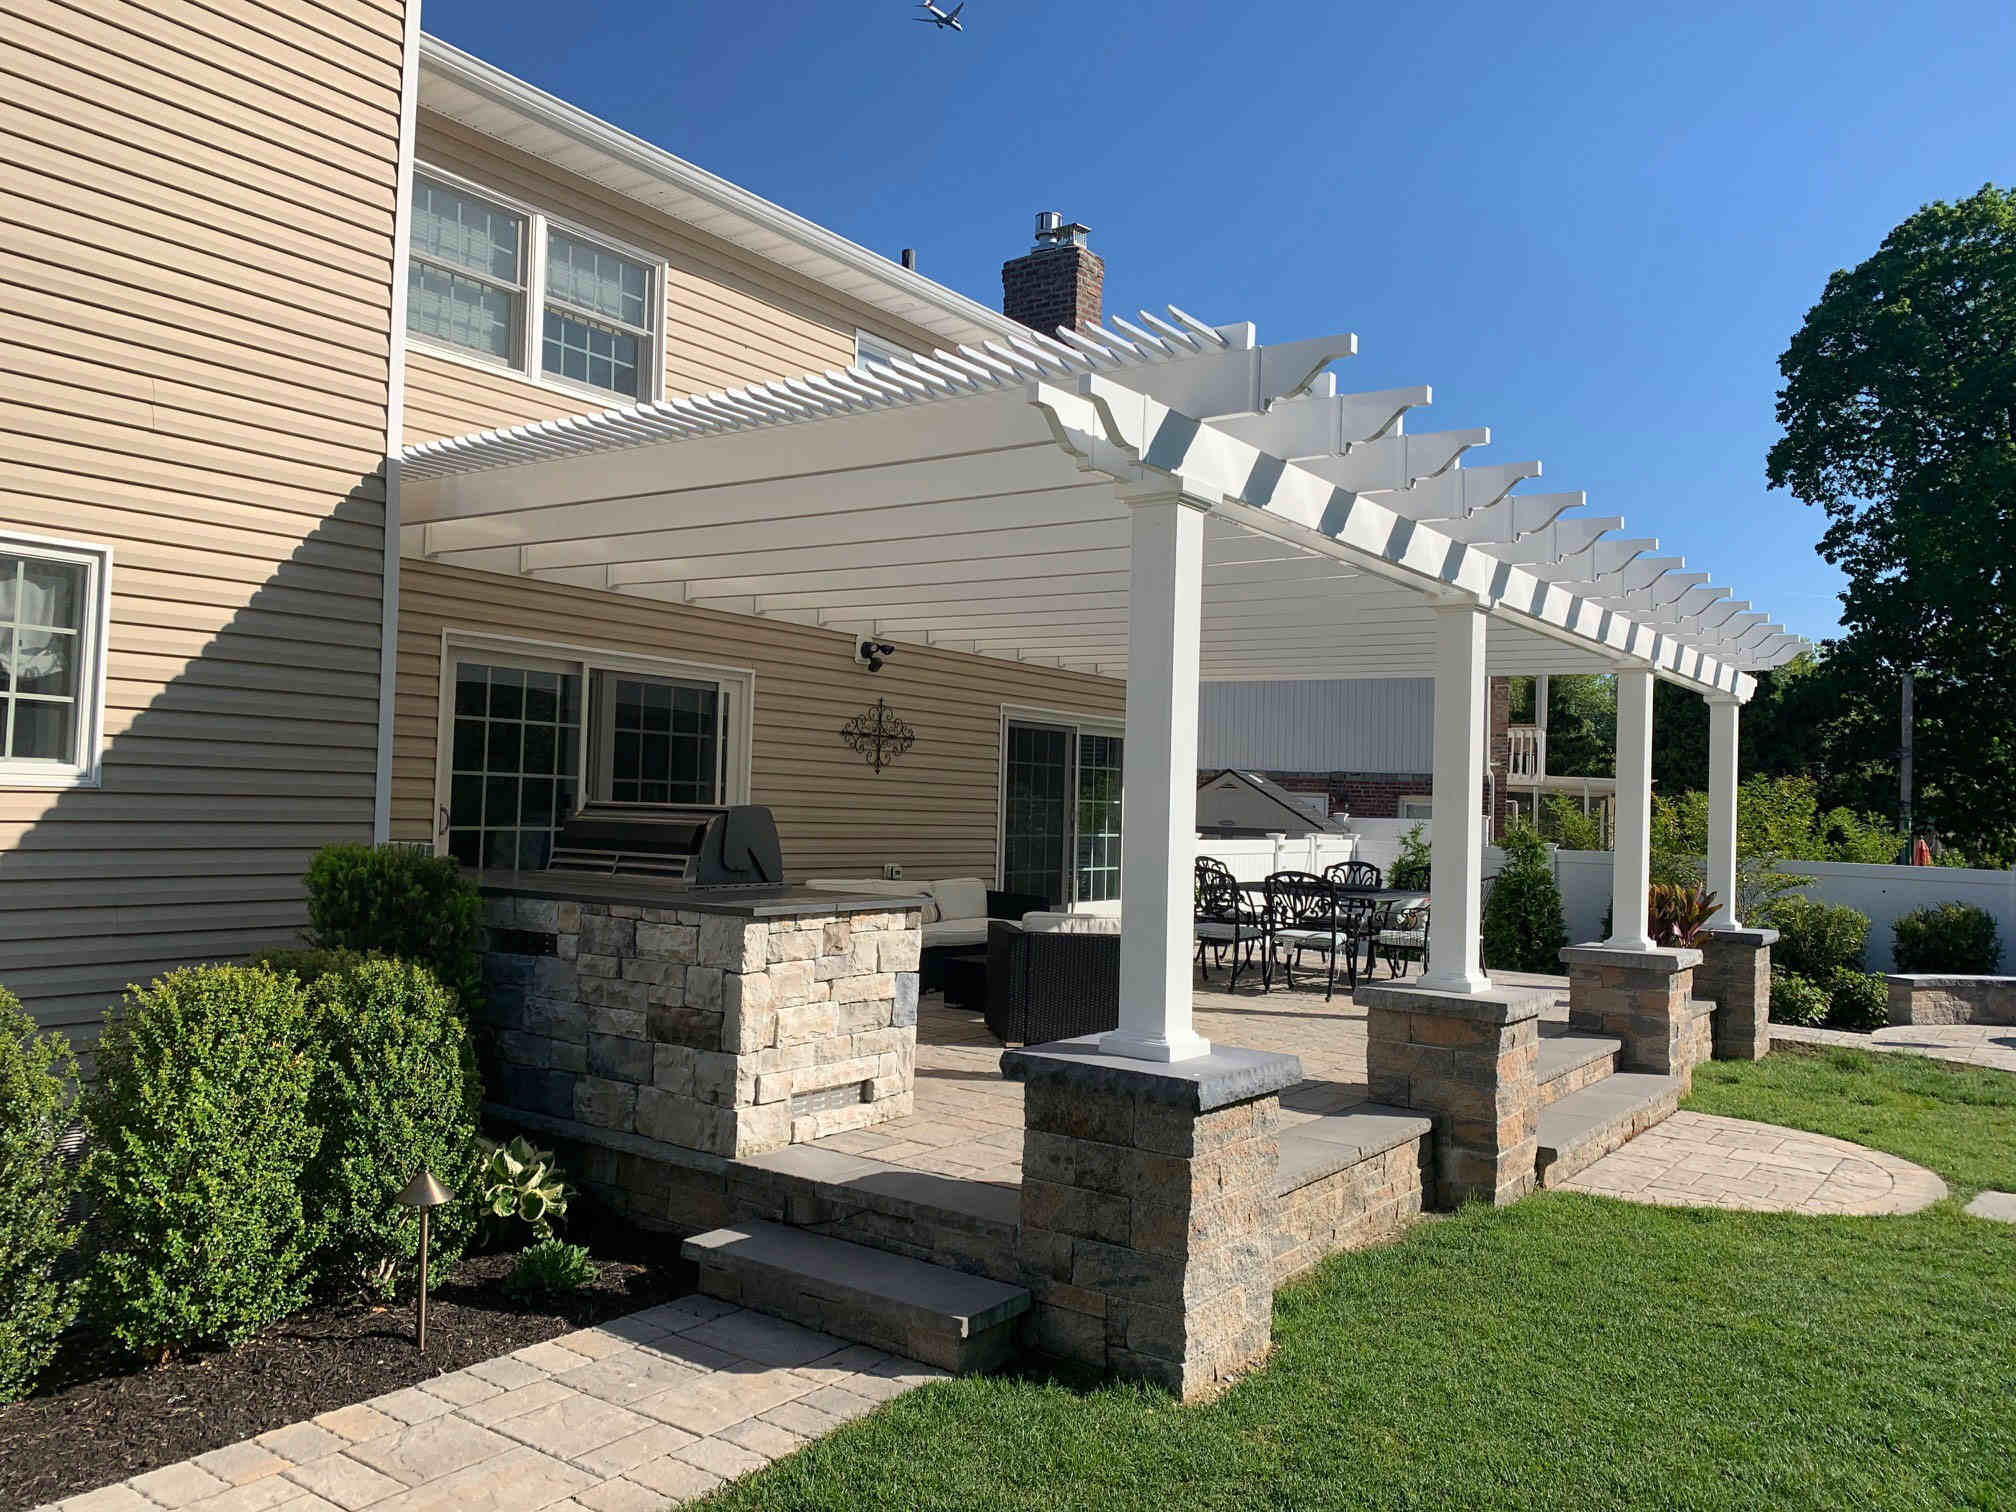
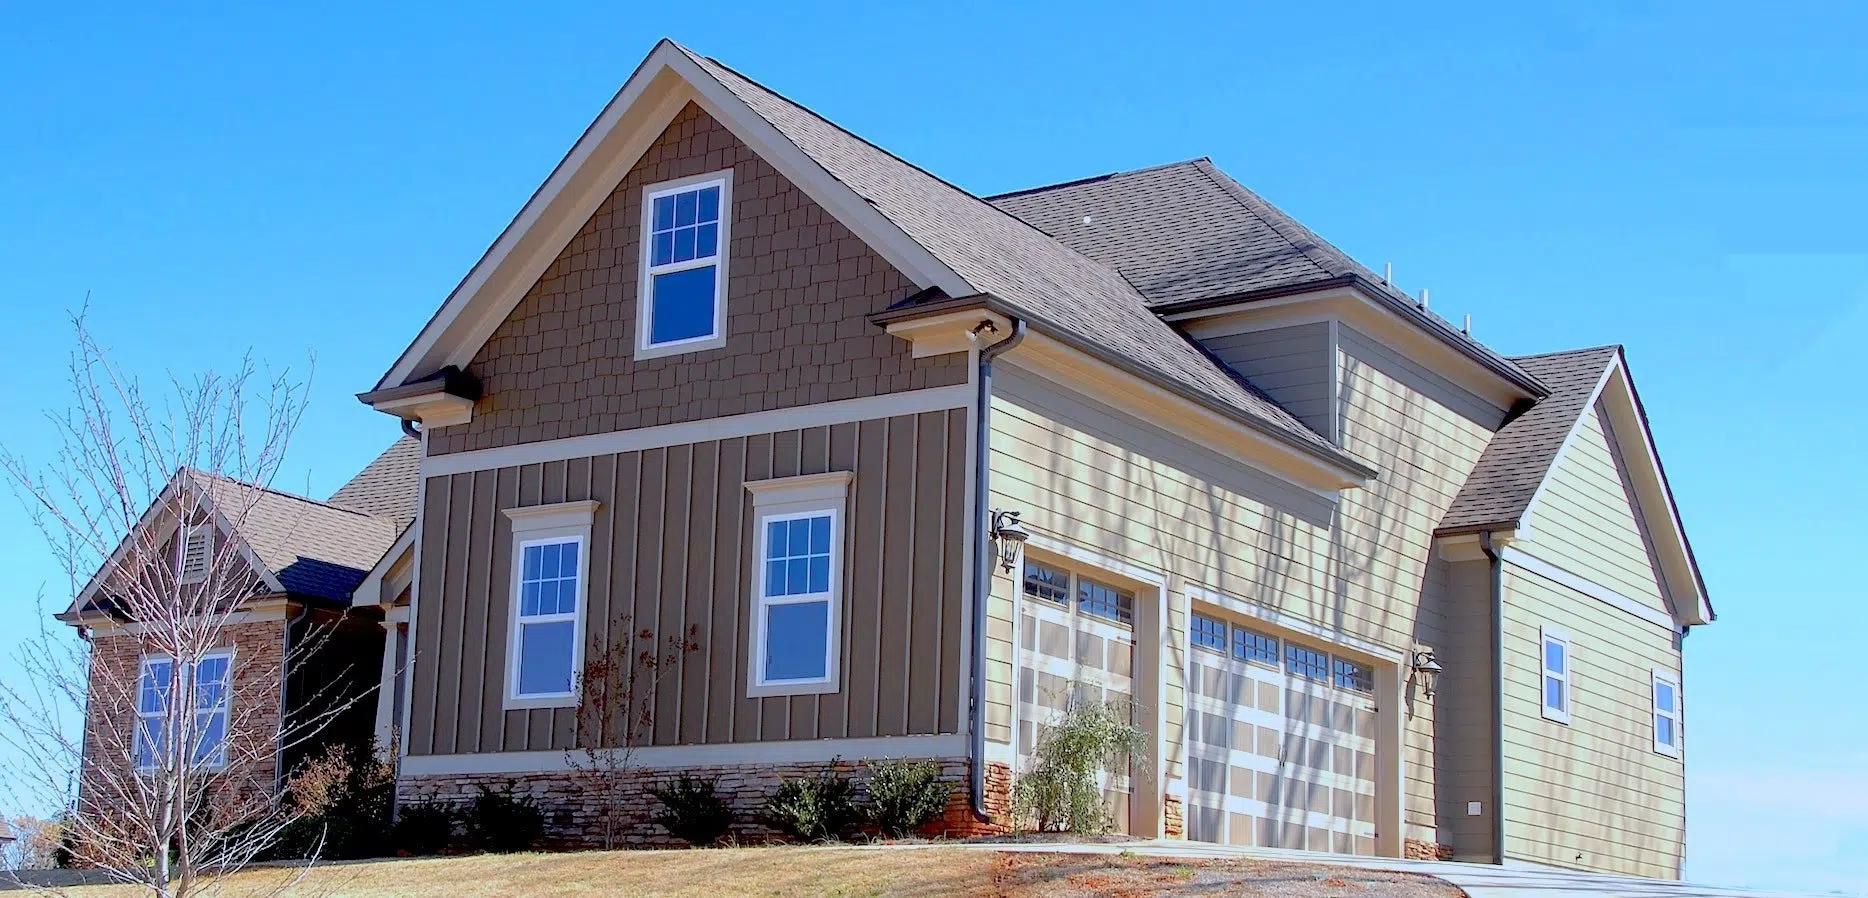
The first step in building a patio roof attached to the roof is to determine the design and select suitable materials for your project. The design of your patio roof will depend on factors such as the size and shape of your patio, your personal style preferences, and the existing architecture of your house.
Choosing the right roof design is crucial for both functionality and aesthetic appeal. Some popular patio roof designs include gable roofs, hip roofs, and flat roofs. Gable roofs have a triangular shape and are ideal for areas with heavy rainfall as they provide good water runoff. On the other hand, hip roofs have a more pyramid-like shape and provide additional stability and durability in windy conditions. Flat roofs are a versatile option and can be easily integrated with the existing roofline of your house.
Once you have decided on the roof design, it’s time to select the materials for your patio roof. The materials you choose will depend on your budget, climate conditions, and personal preference. Some popular options for patio roofing materials include:
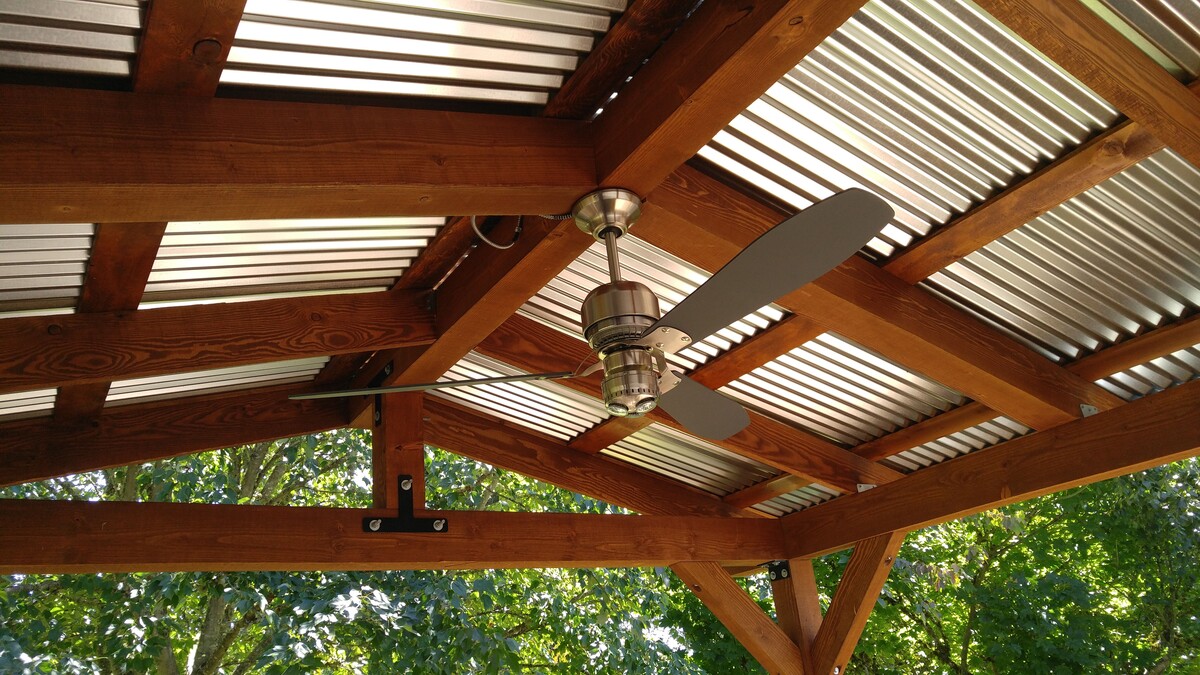
- Wood: Wood is a classic choice and adds a natural, rustic charm to your patio. Cedar and redwood are popular choices due to their durability and resistance to decay and insect damage.
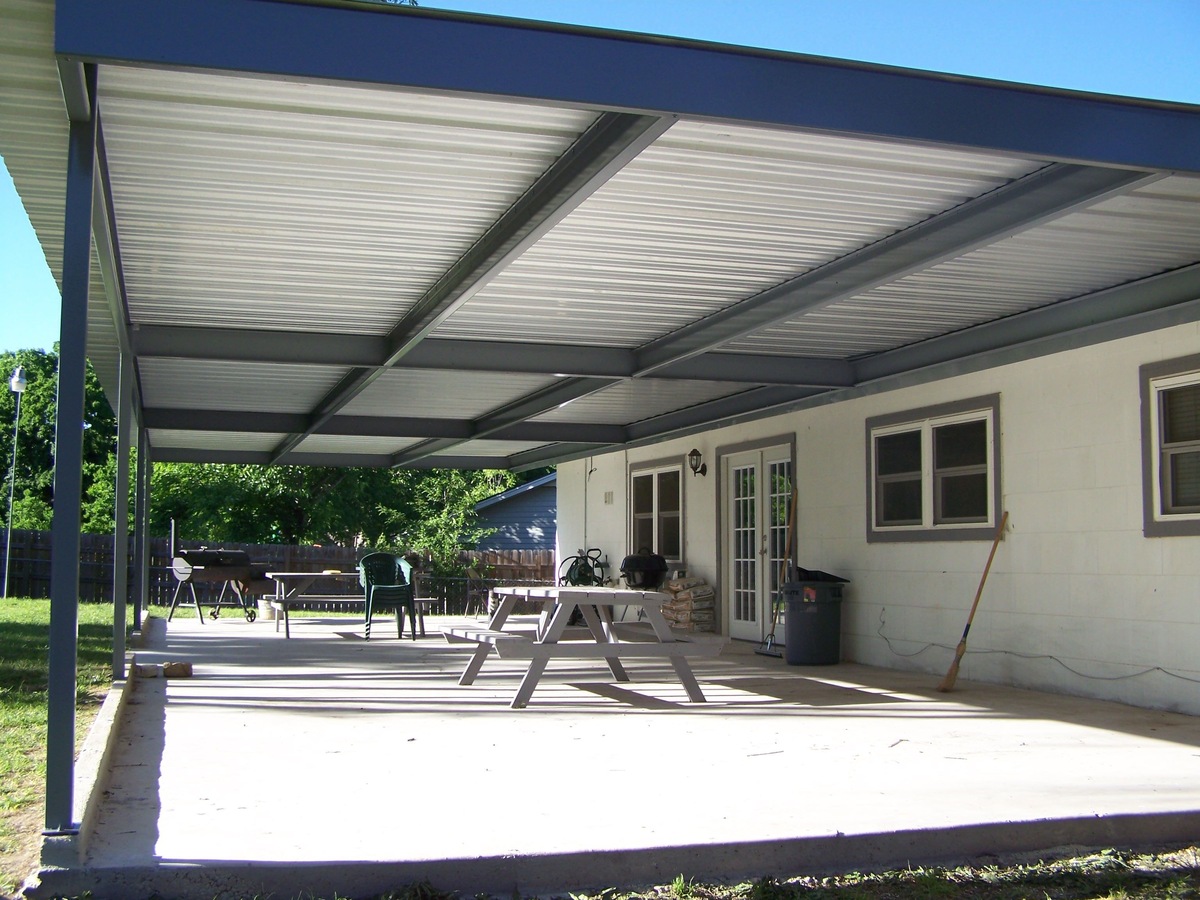
- Metal: Metal roofs, such as aluminum or steel, are durable, lightweight, and require minimal maintenance. They are also available in a variety of colors and finishes to complement your outdoor aesthetic.
- Polycarbonate: Polycarbonate roofing panels are lightweight, shatterproof, and provide excellent UV protection. They are a popular choice for patio roofs as they allow natural light to filter through while blocking harmful rays.
- Fiberglass: Fiberglass roofing panels are durable, lightweight, and resistant to corrosion. They are available in a variety of colors and can provide a translucent or opaque cover for your patio.
When selecting materials, it’s important to consider factors such as durability, weather resistance, and maintenance requirements. It’s also a good idea to consult with a professional or a knowledgeable salesperson at your local home improvement store to ensure you choose materials that are suitable for your specific needs.
By determining the design and selecting suitable materials for your patio roof, you lay the foundation for a successful construction project. In the next step, we will explore the local building codes and permits necessary for building a patio roof attached to the roof of your house.
Step 2: Check the Local Building Codes and Permits
Before you start building your patio roof, it is important to check the local building codes and obtain the necessary permits. Building codes and regulations vary from one city to another, and it is crucial to comply with them to ensure the safety and legality of your project.
Understanding the regulations and permits required for constructing a patio roof is essential in avoiding potential fines and legal issues. Building codes typically dictate the minimum structural requirements, setback distances, maximum height restrictions, and safety measures that need to be followed. Some common regulations may include guidelines on wind load resistance, attachment methods, and fire safety.
Consultation with local authorities is crucial during this step. Contact your local building department or zoning office to inquire about the specific requirements for building a patio roof attached to your roof. They will be able to provide you with the necessary information, documents, and forms to obtain the required permits.
An important aspect of this step is to submit detailed plans and drawings of your patio roof project for approval. These plans should clearly indicate the dimensions, materials, and structural elements of the patio roof. Your local authorities will review these plans to ensure compliance with building codes and issue the necessary permits for construction. It is important to follow their guidance and address any concerns or revisions they may have.
Working within the legal framework not only ensures the safety of your patio roof but also protects you from potential liability issues in the future. Failure to obtain permits or adhering to building codes can result in significant penalties, fines, or even demolition of the structure.
In summary, checking the local building codes and obtaining the necessary permits is a critical step in the construction process. It ensures that your patio roof meets the required standards and regulations. Once you have obtained the necessary approvals, you can proceed with confidence to the next step: preparing the tools and equipment needed for building your patio roof.
Step 3: Prepare the Tools and Equipment
Before you begin construction on your patio roof, it is important to gather all the necessary tools and equipment. Having the right tools on hand will not only make the process more efficient but also ensure the quality and accuracy of your work. Additionally, it is crucial to prioritize safety by having the appropriate safety equipment readily available.
Here is a list of essential tools you will need for building your patio roof:
- Tape Measure: A tape measure is essential for taking accurate measurements of the patio area and determining the dimensions of the roof.
- Level: A level is necessary to ensure that the patio roof is properly aligned and not uneven.
- Saw: Depending on the material you choose for your patio roof, you may need a handsaw, circular saw, or reciprocating saw to cut the beams or panels to size.
- Drill: A power drill with appropriate drill bits will be needed for drilling holes and screwing in fasteners.
- Screwdriver: Both manual and electric screwdrivers will be useful for assembling and fastening various components of the patio roof.
- Hammer: A hammer will be needed for tasks such as removing nails, tapping in stakes, or adjusting the position of certain elements.
- Wrench: Adjustable wrenches or socket wrenches may be required for tightening nuts and bolts.
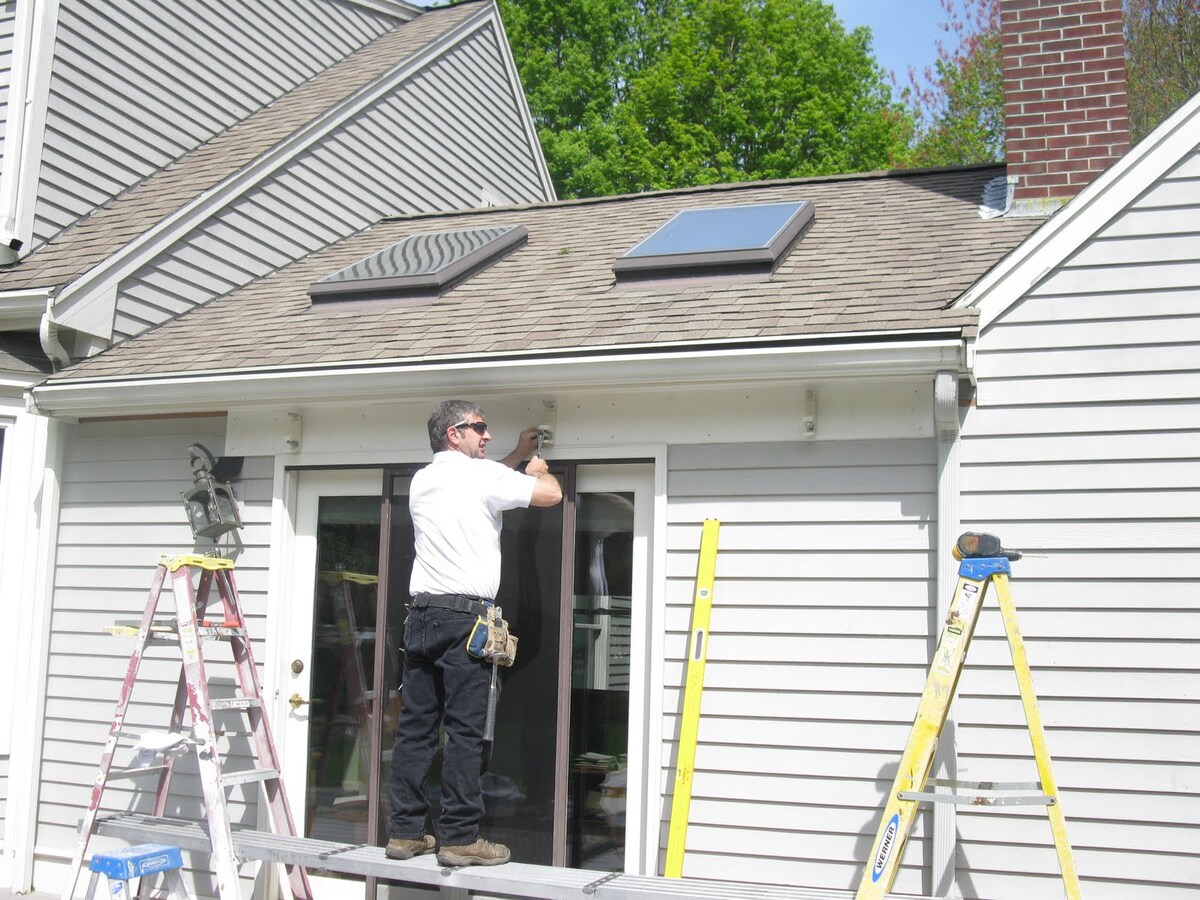
- Ladder or Scaffolding: Depending on the height of your patio roof, you will need a ladder or scaffolding to reach higher areas safely.
In addition to these construction tools, it is essential to prioritize safety by having the following equipment on hand:
- Safety Glasses: Protect your eyes from dust, debris, or any potential hazards during construction.
- Work Gloves: Use gloves to protect your hands when handling materials or using tools.
- Hard Hat: If you are working at a height, a hard hat will protect your head from falling objects.
- Ear Protection: Construction can be noisy, so wearing ear protection such as earplugs or earmuffs is recommended.
- Dust Mask: Protect your lungs from dust particles by wearing a dust mask when cutting or sanding materials.
- Safety Harness: If you are working on a steep roof or at considerable heights, a safety harness can prevent falls and protect you from serious injuries.
Having the necessary tools and equipment readily available will ensure that you are well-equipped to start building your patio roof. Prioritizing safety by wearing the appropriate safety gear will help prevent accidents and ensure a smooth construction process. Now that you have everything prepared, let’s move on to the next step: measuring and marking the area for your patio roof.
Step 4: Measure and Mark the Area
Before you start the actual construction of your patio roof, it is crucial to take accurate measurements and mark the area where the roof will be installed. This step is essential to ensure that the patio roof is aligned correctly and fits properly within the designated space.
Here are some guidelines to help you take accurate measurements:
- Measure the dimensions: Use a tape measure to determine the length and width of the area where your patio roof will be located. Measure the distance between existing structures, such as walls or columns, to ensure that your patio roof aligns properly with them.
- Consider the height: Determine the desired height of your patio roof. This will depend on factors such as the height of the existing roofline, any architectural considerations, and the desired amount of headroom underneath the patio roof.
- Account for overhangs: Take into account any overhangs or eaves from the existing roof that may affect the placement and size of your patio roof. Ensure that the patio roof does not interfere with existing structures or obstruct any windows or doors.
- Check for levelness: Use a level to ensure that the ground or surface where your patio roof will be installed is level. If it is not, you may need to make additional preparations, such as adding fill material or adjusting the supports, to achieve a level surface.
Once you have gathered accurate measurements, it is time to mark the location of the patio roof. Use chalk or tape to mark the boundaries of the area where the roof will be situated. This will serve as a guide during the construction process and help ensure that the patio roof is installed in the correct position.
It is important to double-check your measurements and markings to ensure accuracy before starting the construction. Taking the time to measure and mark the area correctly will save you time and effort in the long run and result in a well-fitted and aesthetically pleasing patio roof.
With the area measured and marked, you are ready to move on to the next step: installing the support beams for your patio roof.
When building a patio roof attached to the roof, make sure to properly secure the new structure to the existing roof to prevent any potential damage or leaks. Use flashing and sealant to create a watertight connection between the two roofs.
Read more: How To Build A Patio Roof
Step 5: Install the Support Beams
Now that you have measured and marked the area for your patio roof, it’s time to start installing the support beams. The support beams provide the structural framework for your patio roof and ensure its stability and durability.
Here are the key steps involved in installing the support beams:
Determine the number and placement of support beams:
The number and placement of the support beams will depend on the size and design of your patio roof. Generally, beams are spaced evenly across the width of the roof, with additional beams added for increased support in larger structures. It is recommended to consult with a structural engineer or a professional contractor to ensure the proper load-bearing capacity and spacing of the beams.
Attaching the beams to the existing roof structure:
To attach the support beams to the existing roof structure, you will need to locate and mark the positions where the beams will be attached. Use a stud finder to locate the rafters or trusses in the roof. The support beams should be securely fastened to these structural elements for stability.
Once you have identified the attachment points, use a drill to create pilot holes in the beams and roof structure. This will make it easier to screw in the fasteners and prevent the wood from splitting. Position the support beams in place and use lag screws or structural screws to secure them to the roof structure. Make sure the beams are level and plumb as you attach them.
It is important to follow the manufacturer’s instructions and local building codes when attaching the support beams. Use the appropriate types and sizes of fasteners to ensure a secure and stable connection. If you are unsure about the process or lack the necessary skills, it is advisable to hire a professional contractor for this step.
Once the support beams are securely attached, take the time to double-check their alignment and stability. Properly installed support beams are crucial for the overall structural integrity of your patio roof.
With the support beams in place, you are ready to proceed to the next step: securing the roofing materials to complete your patio roof.
Step 6: Secure the Roofing Materials
Now that the support beams are in place, it’s time to secure the roofing materials for your patio roof. The roofing material you choose will depend on factors such as your budget, climate conditions, and personal preference.
Choosing the appropriate roofing material:
There are several options available for patio roofing materials, each with its own advantages and considerations. Here are some popular choices:
- Corrugated metal panels: Metal panels are durable, weather-resistant, and provide a sleek and modern look to your patio roof. They are available in different colors and finishes.
- PVC or polycarbonate panels: These panels are lightweight and offer excellent UV protection. They allow natural light to filter through while blocking harmful rays. They are available as clear or tinted options.
- Wood shingles or shakes: Wood shingles or shakes can give your patio roof a natural and rustic appearance. However, they require regular maintenance and may be more susceptible to weathering.
- Composite materials: Composite materials, such as engineered wood or fiberglass, offer the look of wood but with added durability and resistance to rot and insects.
Consider the aesthetics, durability, maintenance requirements, and cost of each material before making your final decision. It’s also a good idea to consult with professionals or knowledgeable salespeople to ensure that the roofing material is suitable for your patio roof structure and the local climate conditions.
Installing the roofing material onto the support beams:
Once you have chosen the roofing material, it’s time to install it onto the support beams. Here are the general steps:
- Measure and cut the roofing material to fit the dimensions of your patio roof. Follow the manufacturer’s instructions for cutting the material.
- Starting from one end, place the first panel or shingle onto the support beams. Align it evenly, making sure it overlaps any adjacent panels or shingles according to the manufacturer’s guidelines.
- Secure the roofing material to the support beams using appropriate fasteners recommended by the manufacturer. Be careful not to overdrive the fasteners to prevent damage to the material.
- Continue installing the remaining panels or shingles, ensuring a tight and secure fit. Trim the last piece as needed to achieve a proper fit.
Throughout the installation process, make sure to maintain proper alignment and adequate overlap between the roofing material. This will ensure that your patio roof is watertight and provides sufficient protection from the elements.
Remember to consult the manufacturer’s instructions and follow the recommended installation practices for the specific roofing material you have chosen. Proper installation is essential for the longevity and performance of your patio roof.
With the roofing material securely in place, your patio roof is nearly complete. In the next step, we will explore the finishing touches you can add to enhance both functionality and aesthetics.
Step 7: Add Finishing Touches
As you near the completion of your patio roof construction, it’s time to add the finishing touches that will enhance both the functionality and aesthetics of your outdoor space. These final details will help ensure that your patio roof is fully protected and visually appealing.
Installing gutters and downspouts: One essential finishing touch is the installation of gutters and downspouts. Gutters are responsible for collecting rainwater that falls on the roof and channeling it away from your patio area. This helps protect your patio from water damage and prevents water from pooling around the foundation of your house. Install gutters along the edges of the roof, ensuring they are sloped properly for water drainage. Connect downspouts to the gutters to direct water away from the patio area.
Applying sealant and paint: Another important step is applying sealant and paint to the patio roof. Sealant helps protect the roofing material from moisture, UV rays, and other elements, increasing its lifespan and preventing damage. Choose a sealant that is compatible with the specific roofing material you have used. Additionally, consider applying a fresh coat of paint to the support beams and any visible surfaces of the patio roof. This not only adds a decorative touch but also provides an extra layer of protection against weathering and deterioration.
Before applying sealant and paint, ensure that the roofing material is clean and free from debris. Follow the manufacturer’s instructions for the proper application techniques and drying times. It may be necessary to apply multiple coats of sealant or paint to achieve the desired level of protection and appearance.
By installing gutters and downspouts and applying sealant and paint, you are taking the necessary steps to protect and enhance the longevity of your patio roof. These finishing touches not only add functionality but also add visual appeal to your outdoor space.
With the finishing touches complete, your patio roof is now ready to be enjoyed. However, it’s important to remember that regular maintenance and upkeep are crucial to keep your patio roof in optimal condition.
In the final step, we will discuss the maintenance and upkeep required to ensure the longevity and functionality of your patio roof.
Step 8: Maintenance and Upkeep
Congratulations on completing the construction of your patio roof! To ensure its longevity and functionality, it is important to incorporate regular maintenance and upkeep into your routine. By following these maintenance steps, you can keep your patio roof in excellent condition for years to come.
Regular cleaning and inspections: Regularly clean your patio roof to remove any debris, such as leaves or dirt, that may accumulate over time. Use a broom or a gentle pressure washer to remove surface dirt. Inspect the roofing materials, support beams, and gutters for any signs of damage or wear. Look for loose fasteners, cracks in the roofing material, or any signs of water leakage. Promptly address any issues you notice to prevent further damage.
Addressing any repairs or issues: If you identify any damages or issues during your inspections, it’s important to address them promptly. Repair or replace any damaged roofing materials to maintain the integrity of your patio roof. Tighten any loose fasteners, and inspect the support beams for any signs of rot or structural damage. If you are unsure how to address a specific issue, consult with a professional contractor to ensure proper repairs are undertaken.
Additionally, consider scheduling regular professional inspections of your patio roof. A professional can identify any potential problems that may not be visible to the untrained eye and offer guidance on necessary repairs or maintenance.
Throughout the year, keep an eye on the condition of your patio roof, especially after severe weather events. Heavy winds, hailstorms, or heavy snowfall can cause damage to your patio roof and may require immediate attention.
Remember, prevention is key when it comes to maintaining your patio roof. Regular inspections and timely repairs help ensure that minor issues are addressed before they escalate into major problems.
By incorporating regular maintenance and upkeep into your routine, you can maximize the lifespan and functionality of your patio roof. A well-maintained patio roof will provide you with a beautiful and reliable outdoor space to enjoy for years to come.
With the completion of Step 8, you have successfully completed the construction and maintenance of your patio roof. Sit back, relax, and enjoy your newly created outdoor oasis!
Read more: How Much To Build A Patio Roof
Conclusion
Building a patio roof attached to the roof of your house can transform your outdoor space into a functional and stylish area where you can relax, entertain, and enjoy the beauty of nature. By following the step-by-step process outlined in this guide, you can successfully construct a patio roof that is not only structurally sound but also aesthetically pleasing.
Throughout the construction process, it is important to prioritize safety and compliance with local building codes and regulations. Make sure to obtain the necessary permits and consult with professionals when needed to ensure a successful and legally compliant project.
When selecting the design and materials for your patio roof, consider both your personal preferences and the climate conditions in your area. Choosing durable and appropriate roofing materials will help ensure the longevity of your patio roof and its ability to withstand various weather conditions.
Installing the support beams and securing the roofing materials are crucial steps in creating a sturdy and reliable patio roof. Take care to properly measure, align, and attach the beams to ensure the structural integrity of your patio roof. Install the roofing materials following the manufacturer’s instructions to achieve a watertight and visually appealing final result.
Once the construction is complete, maintaining and regularly inspecting your patio roof is essential for its continued performance and longevity. Regular cleaning, inspections, and prompt repairs will help prevent issues from escalating and ensure that your patio roof remains in optimal condition over time.
With a well-built and well-maintained patio roof, you can create an inviting outdoor space that serves as an extension of your home. Whether you use it for lounging, dining, or entertaining, your patio roof will provide a comfortable and protected area for you to enjoy with family and friends.
So, grab your favorite outdoor furniture, add some plants and decorations, and make the most of your newly constructed patio roof. Sit back, relax, and savor the beauty of your outdoor haven!
Ready to take your backyard to the next level? Building a patio might seem complex, but with our easy guide on constructing a DIY Patio, you'll have a fresh, inviting space in no time. If you're looking to further spruce up your outdoor area, dive into our tips for enhancing your deck with colorful decor and simple add-ons, perfect for any outdoor living setup. Both resources provide practical steps and creative ideas to make your outdoor spaces shine.
Frequently Asked Questions about How To Build A Patio Roof Attached To The Roof
Was this page helpful?
At Storables.com, we guarantee accurate and reliable information. Our content, validated by Expert Board Contributors, is crafted following stringent Editorial Policies. We're committed to providing you with well-researched, expert-backed insights for all your informational needs.


0 thoughts on “How To Build A Patio Roof Attached To The Roof”