Home>Furniture>Outdoor Furniture>How To Build A Deck Over A Concrete Patio
Outdoor Furniture
How To Build A Deck Over A Concrete Patio
Modified: August 27, 2024
Learn how to build a deck over your concrete patio and create the perfect outdoor furniture area. Transform your space easily and efficiently.
(Many of the links in this article redirect to a specific reviewed product. Your purchase of these products through affiliate links helps to generate commission for Storables.com, at no extra cost. Learn more)
Introduction
Welcome to our comprehensive guide on how to build a deck over a concrete patio. If you have a plain concrete patio that you want to transform into a beautiful outdoor space for entertaining or relaxing, building a deck over it is a fantastic option. Not only does it add aesthetic appeal to your backyard, but it also increases the usable space and value of your home.
Building a deck over a concrete patio may seem like a daunting task, but with the right tools, materials, and guidance, it can be a rewarding DIY project. In this guide, we will take you through the step-by-step process of planning, preparing, and constructing a deck over your existing concrete patio.
Before we get started, it’s important to note that building codes and regulations can vary from one location to another. Therefore, we recommend consulting with your local building department or a professional contractor to ensure that you meet all necessary requirements.
Now, let’s dive into the exciting world of deck construction and turn that plain concrete patio into a stunning outdoor oasis!
Key Takeaways:
- Transform your plain concrete patio into a stunning deck with increased usable space and home value. Follow our step-by-step guide for a rewarding DIY project that creates a beautiful outdoor oasis.
- From planning and preparation to adding finishing touches, building a deck over a concrete patio is a fulfilling endeavor. Consult local regulations, use quality materials, and enjoy your new outdoor retreat!
Read more: How To Lay Decking Over Concrete
Step 1: Planning and Preparation
The first step in building a deck over a concrete patio is to plan and prepare for the project. This involves assessing the condition of your existing patio, determining the size and layout of the deck, and gathering the necessary tools and materials.
Start by examining the concrete patio to ensure it is structurally sound and free of any cracks or damage. If there are any issues, it’s essential to address them before proceeding with the deck construction. Next, measure the dimensions of the patio and decide on the size and shape of the deck you want to build. Consider factors such as the intended use of the deck, the available space, and any specific design preferences.
With the dimensions in hand, you can now create a detailed plan for the deck. This plan should include the layout, the placement of support posts, the positioning of stairs, and any additional features you want to include, such as railings or built-in seating. It’s a good idea to consult deck building guides or seek professional advice to ensure that your plan meets building codes and regulations.
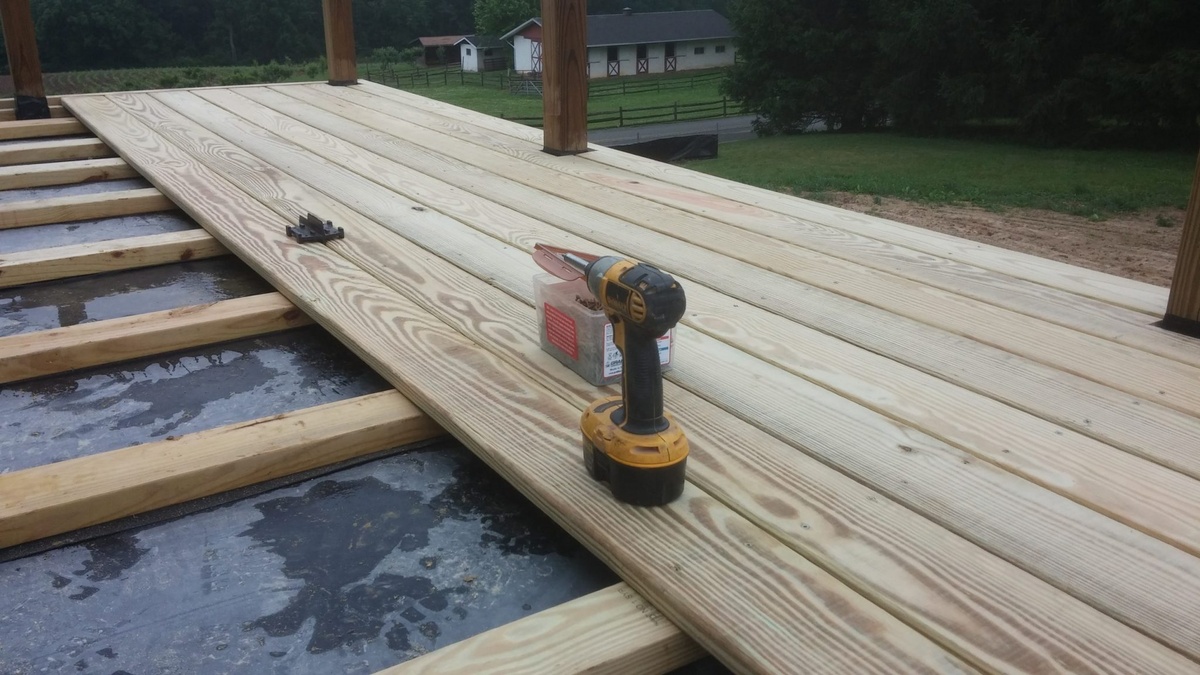
Once you have finalized the plan, it’s time to gather the necessary tools and materials. Some of the common tools you’ll need include a tape measure, level, circular saw, drill, and hammer. As for materials, you’ll need pressure-treated lumber for the framing, deck boards for the surface, concrete anchors for securing the support posts, and various fasteners and hardware for construction.
In addition to tools and materials, it’s essential to consider the climate and weather conditions in your area. This will help you choose the appropriate materials that are durable and resistant to moisture, sun exposure, and pests.
Finally, make a timeline for your project and allocate sufficient time for each phase, including any necessary permits or inspections. Setting realistic expectations and having a well-defined plan will ensure a smooth and successful deck construction process.
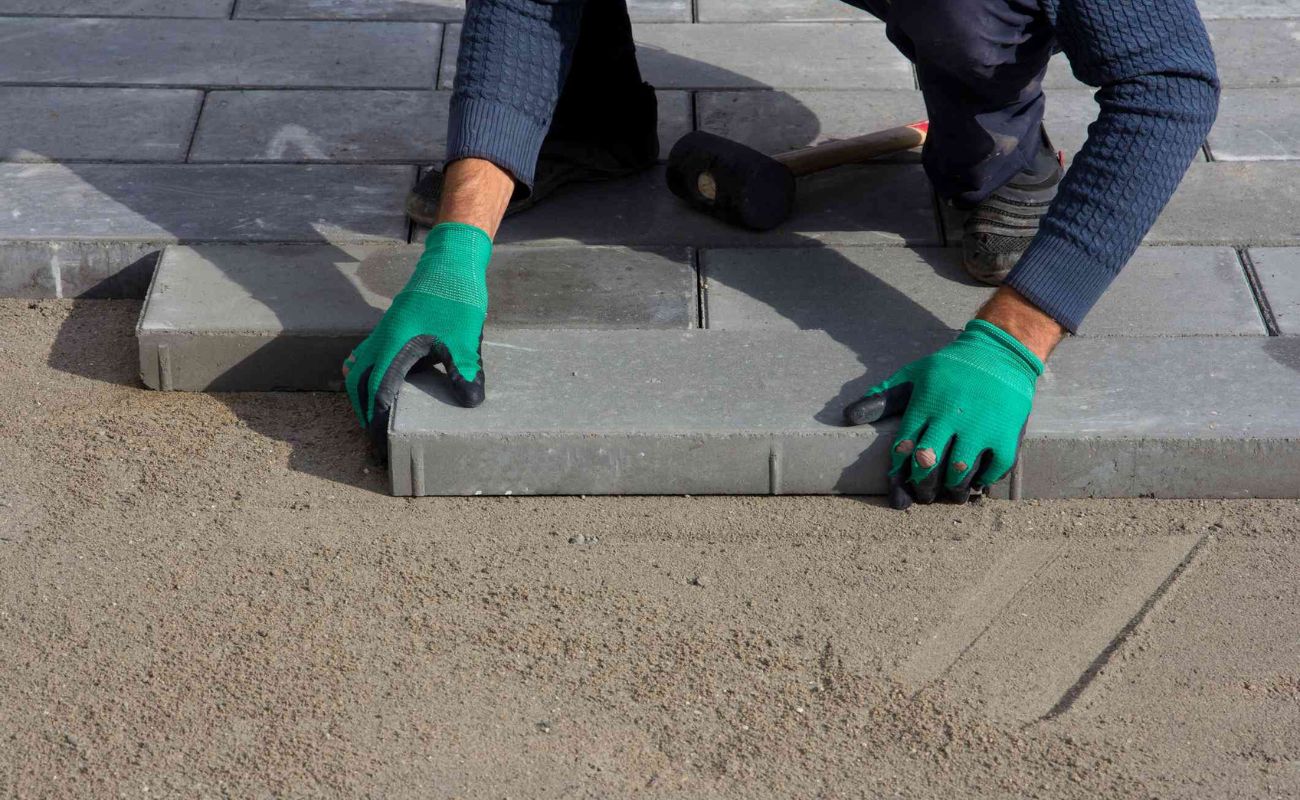
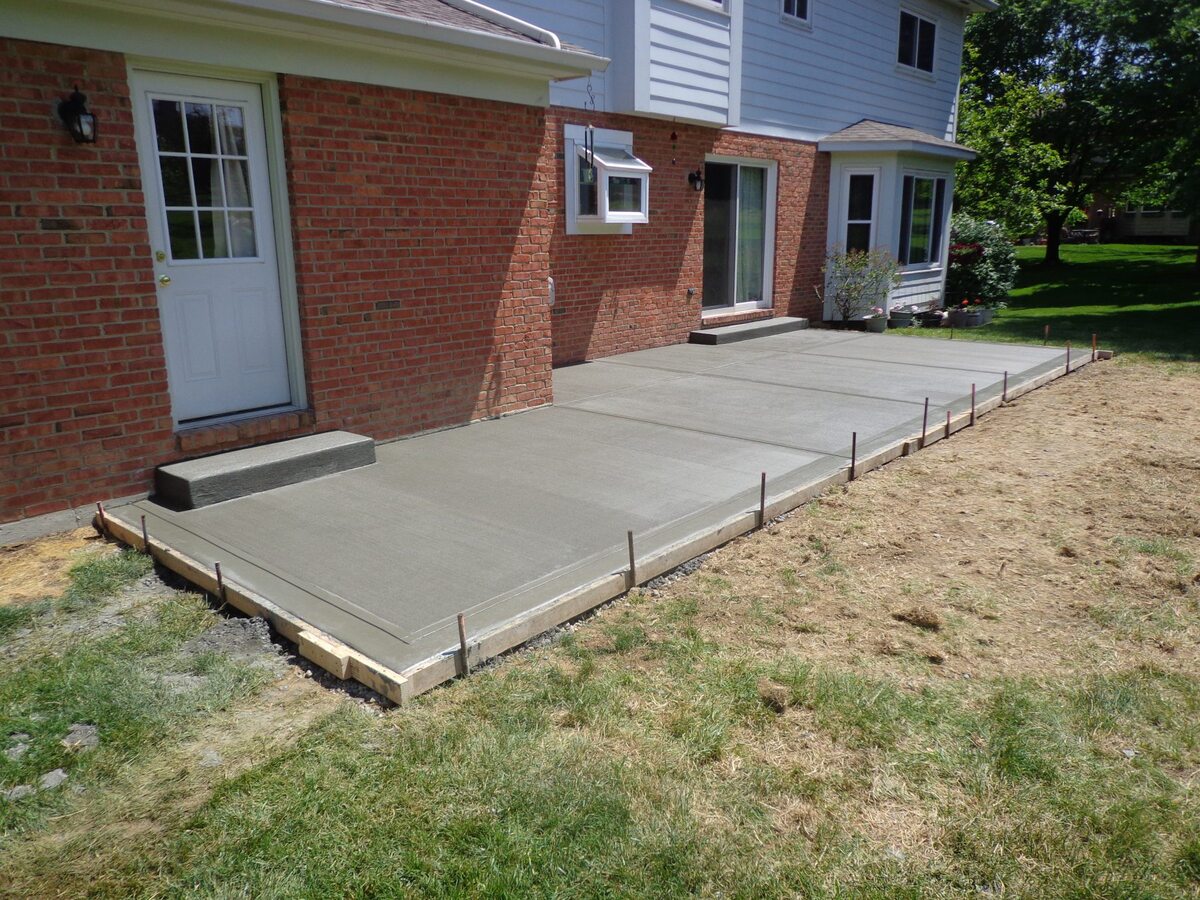
Step 2: Clearing the Concrete Patio
Once you have completed the planning and preparation stage, it’s time to clear the concrete patio to make way for your new deck. This step involves removing any furniture, plants, or obstructions from the patio and thoroughly cleaning the surface.
Start by clearing the patio of any outdoor furniture, potted plants, and other items that may be in the way. You’ll want to create a clean and open workspace for easier access and maneuverability during the deck construction process.
Next, sweep or use a leaf blower to remove any leaves, dirt, or debris from the surface of the concrete patio. It’s important to have a clean and smooth surface to ensure proper alignment and stability of the deck frame.
Once the surface is clear, give the concrete patio a deep cleaning. You can use a pressure washer to remove any stubborn stains or dirt buildup. Pay close attention to the corners, edges, and cracks of the patio, as these areas tend to accumulate more grime. Allow the patio to dry completely before moving on to the next step.
If you’re dealing with a particularly dirty or stained concrete patio, you may need to use a concrete cleaner or degreaser to achieve a thorough cleaning. Follow the instructions on the product label and rinse the patio thoroughly before proceeding.
As you clear and clean the concrete patio, take the opportunity to inspect the surface for any cracks, chips, or uneven spots. These imperfections can affect the stability and appearance of the deck. If necessary, consider patching or repairing the concrete before moving forward.
By properly clearing and preparing the concrete patio, you create a solid foundation for your deck construction. This step sets the stage for the next phase: installing the support posts.
Step 3: Installing the Support Posts
With the concrete patio cleared and ready, it’s time to start installing the support posts for your deck. These support posts will serve as the foundation for the deck structure, ensuring stability and longevity.
Begin by determining the layout and positioning of the support posts. This will depend on the size and shape of your deck as well as any specific design considerations. Typically, support posts are placed at regular intervals along the perimeter of the deck, with additional posts positioned for structural support in the middle.
Before installing the support posts, it’s important to check local building codes and regulations to determine the required depth for post footings. This will ensure that the deck meets safety standards and is structurally sound.
Using a post hole digger, excavate holes for the support post footings according to the required depth. The diameter of the holes should match the size of the post footings. In general, you’ll want to dig the holes slightly wider than the diameter of the post footings to allow for proper alignment.
Once the holes are dug, place a layer of gravel or crushed stone at the bottom for drainage. This will help prevent water accumulation around the post footings, reducing the risk of rot and decay.
Next, insert the support posts into the holes, ensuring they are plumb and level. Backfill the holes with concrete, using a trowel or shovel to compact the concrete and eliminate air pockets. Repeat this process for each support post.
After installing the support posts, allow the concrete footings to cure according to the manufacturer’s instructions. This usually takes several days, so be patient and avoid placing any weight or load on the posts during this time.
Once the concrete footings have cured, you can proceed to the next step: building the deck frame. The support posts provide a sturdy foundation for the frame, ensuring the structural integrity of your deck.
Before building a deck over a concrete patio, make sure the concrete is in good condition and level. Use pressure-treated wood and proper fasteners to secure the deck to the concrete. Consider adding a moisture barrier to prevent water damage.
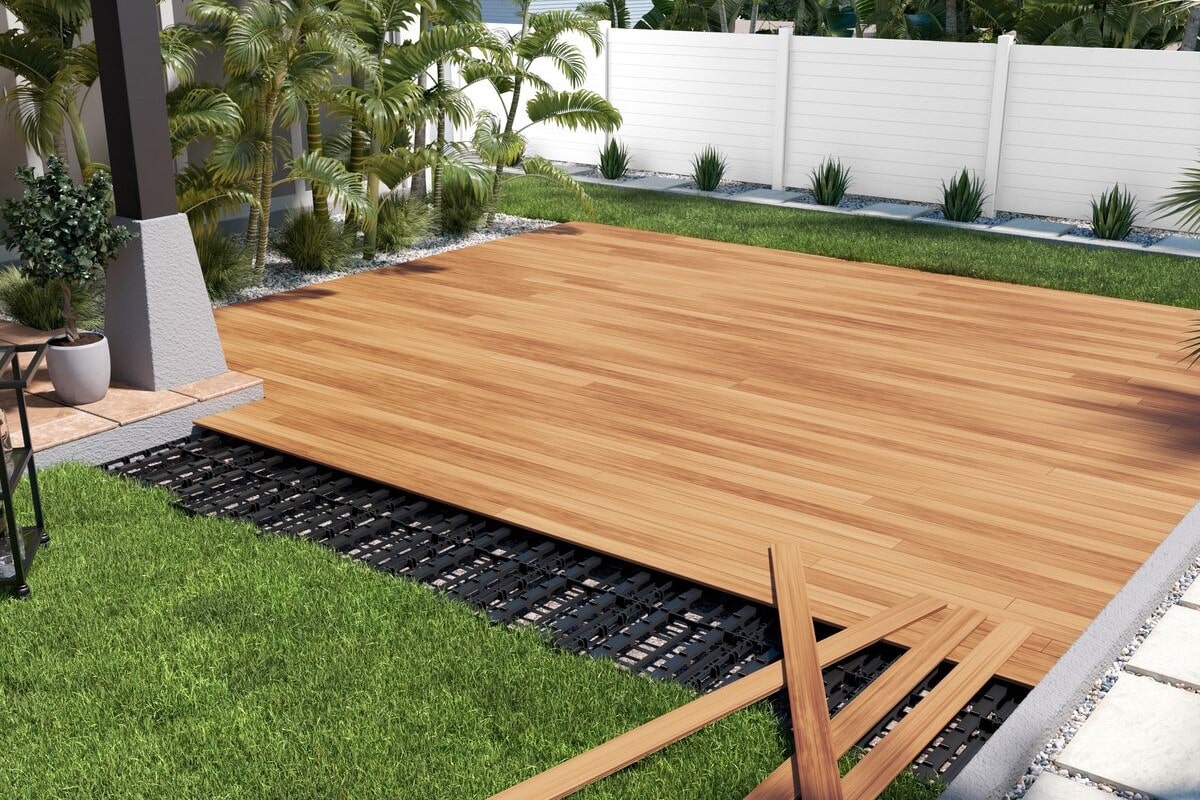
Step 4: Building the Deck Frame
With the support posts in place, it’s time to move on to building the deck frame. The frame serves as the skeletal structure of the deck, providing support and stability for the decking boards.
Begin by measuring and marking the placement of the ledger board, which will be attached to the exterior wall of your home. The ledger board acts as the main support for the deck frame. Make sure to use a level to ensure that the ledger board is perfectly horizontal.
Next, attach the ledger board to the wall using lag screws or galvanized bolts, making sure to penetrate the wall studs for maximum stability. Be sure to leave a small gap between the ledger board and the wall to allow for water drainage. Consult local building codes to determine the recommended spacing and fastening requirements for the ledger board.
Once the ledger board is securely in place, it’s time to install the rim joists. These are the horizontal beams that will run along the outer edges of the deck, connecting the support posts and the ledger board. Attach the rim joists to the support posts using joist hangers or metal connectors, ensuring that they are level and flush with the top of the support posts.
Next, install the interior joists, which will be evenly spaced between the rim joists to provide additional support. The spacing of the joists will depend on the size and span of your deck, but a common rule of thumb is to place them approximately 16 inches apart. Attach the joists to the support posts and rim joists using joist hangers.
Make sure to use pressure-treated lumber for the deck frame to protect against moisture, rot, and insect damage. It’s also important to leave a small gap between the deck boards to allow for water drainage and prevent warping or buckling.
As you build the deck frame, periodically check for levelness and adjust as necessary. It’s important to maintain a level and square frame to ensure the stability and longevity of your deck.
Once the deck frame is complete, give it a thorough inspection and make any necessary adjustments or reinforcements. The deck frame forms the structure of your deck and provides the foundation for the decking boards, which we will cover in the next step.
Read more: How To Tile Over A Concrete Patio
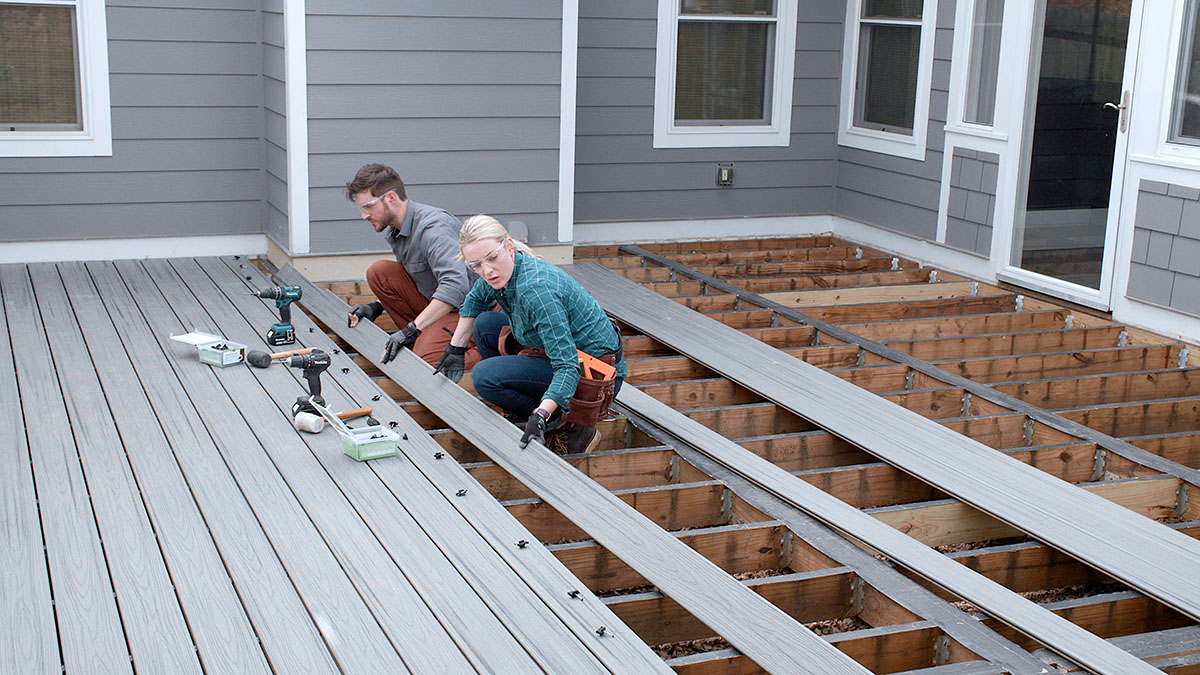
Step 5: Attaching the Decking Boards
Now that the deck frame is in place, it’s time to move on to the exciting part of attaching the decking boards. The decking boards will provide the surface of your deck, creating a visually appealing and functional outdoor space.
Before you start attaching the decking boards, it’s important to plan the layout and positioning of the boards. Consider factors such as the direction of the boards, the spacing between them, and any patterns or designs you want to incorporate.
Start by laying the first decking board along one edge of the deck, ensuring it is flush with the outside edge. Use corrosion-resistant deck screws to fasten the board to the joists, placing screws approximately every 12-16 inches along the length of the board. Pre-drilling pilot holes can help prevent splitting.
Continue attaching the remaining decking boards, making sure to leave a small gap between each board for water drainage and expansion. You can use spacers or specially-designed decking clips to achieve consistent spacing between the boards.
As you progress, periodically check for levelness, ensuring that the decking boards are flat and even. Uneven boards can create an unstable and unattractive deck surface.
If needed, you may need to cut the last board to fit the desired length. Use a circular saw or a jigsaw to make precise cuts, and be sure to wear safety goggles and gloves while handling power tools.
When attaching the decking boards, it is important to use lumber that is specifically designed for outdoor use. Pressure-treated or composite decking boards are popular choices due to their durability and resistance to weathering.
Once all the decking boards are securely attached, give the deck a thorough sweep to remove any sawdust or debris. This will not only enhance the appearance of your deck but will also prevent potential slips or falls.
At this point, your deck is starting to take shape! Next, we will move on to adding the finishing touches that will complete the transformation of your outdoor space.
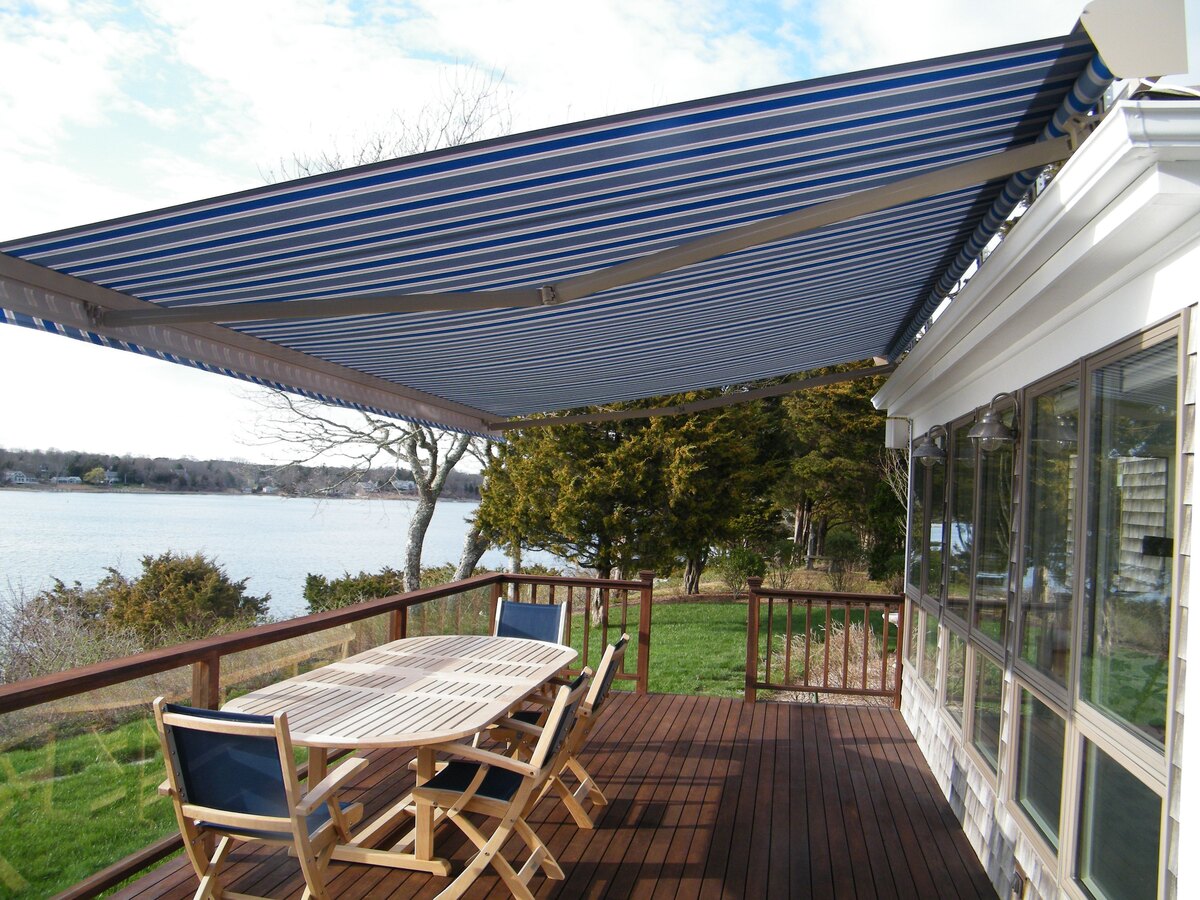
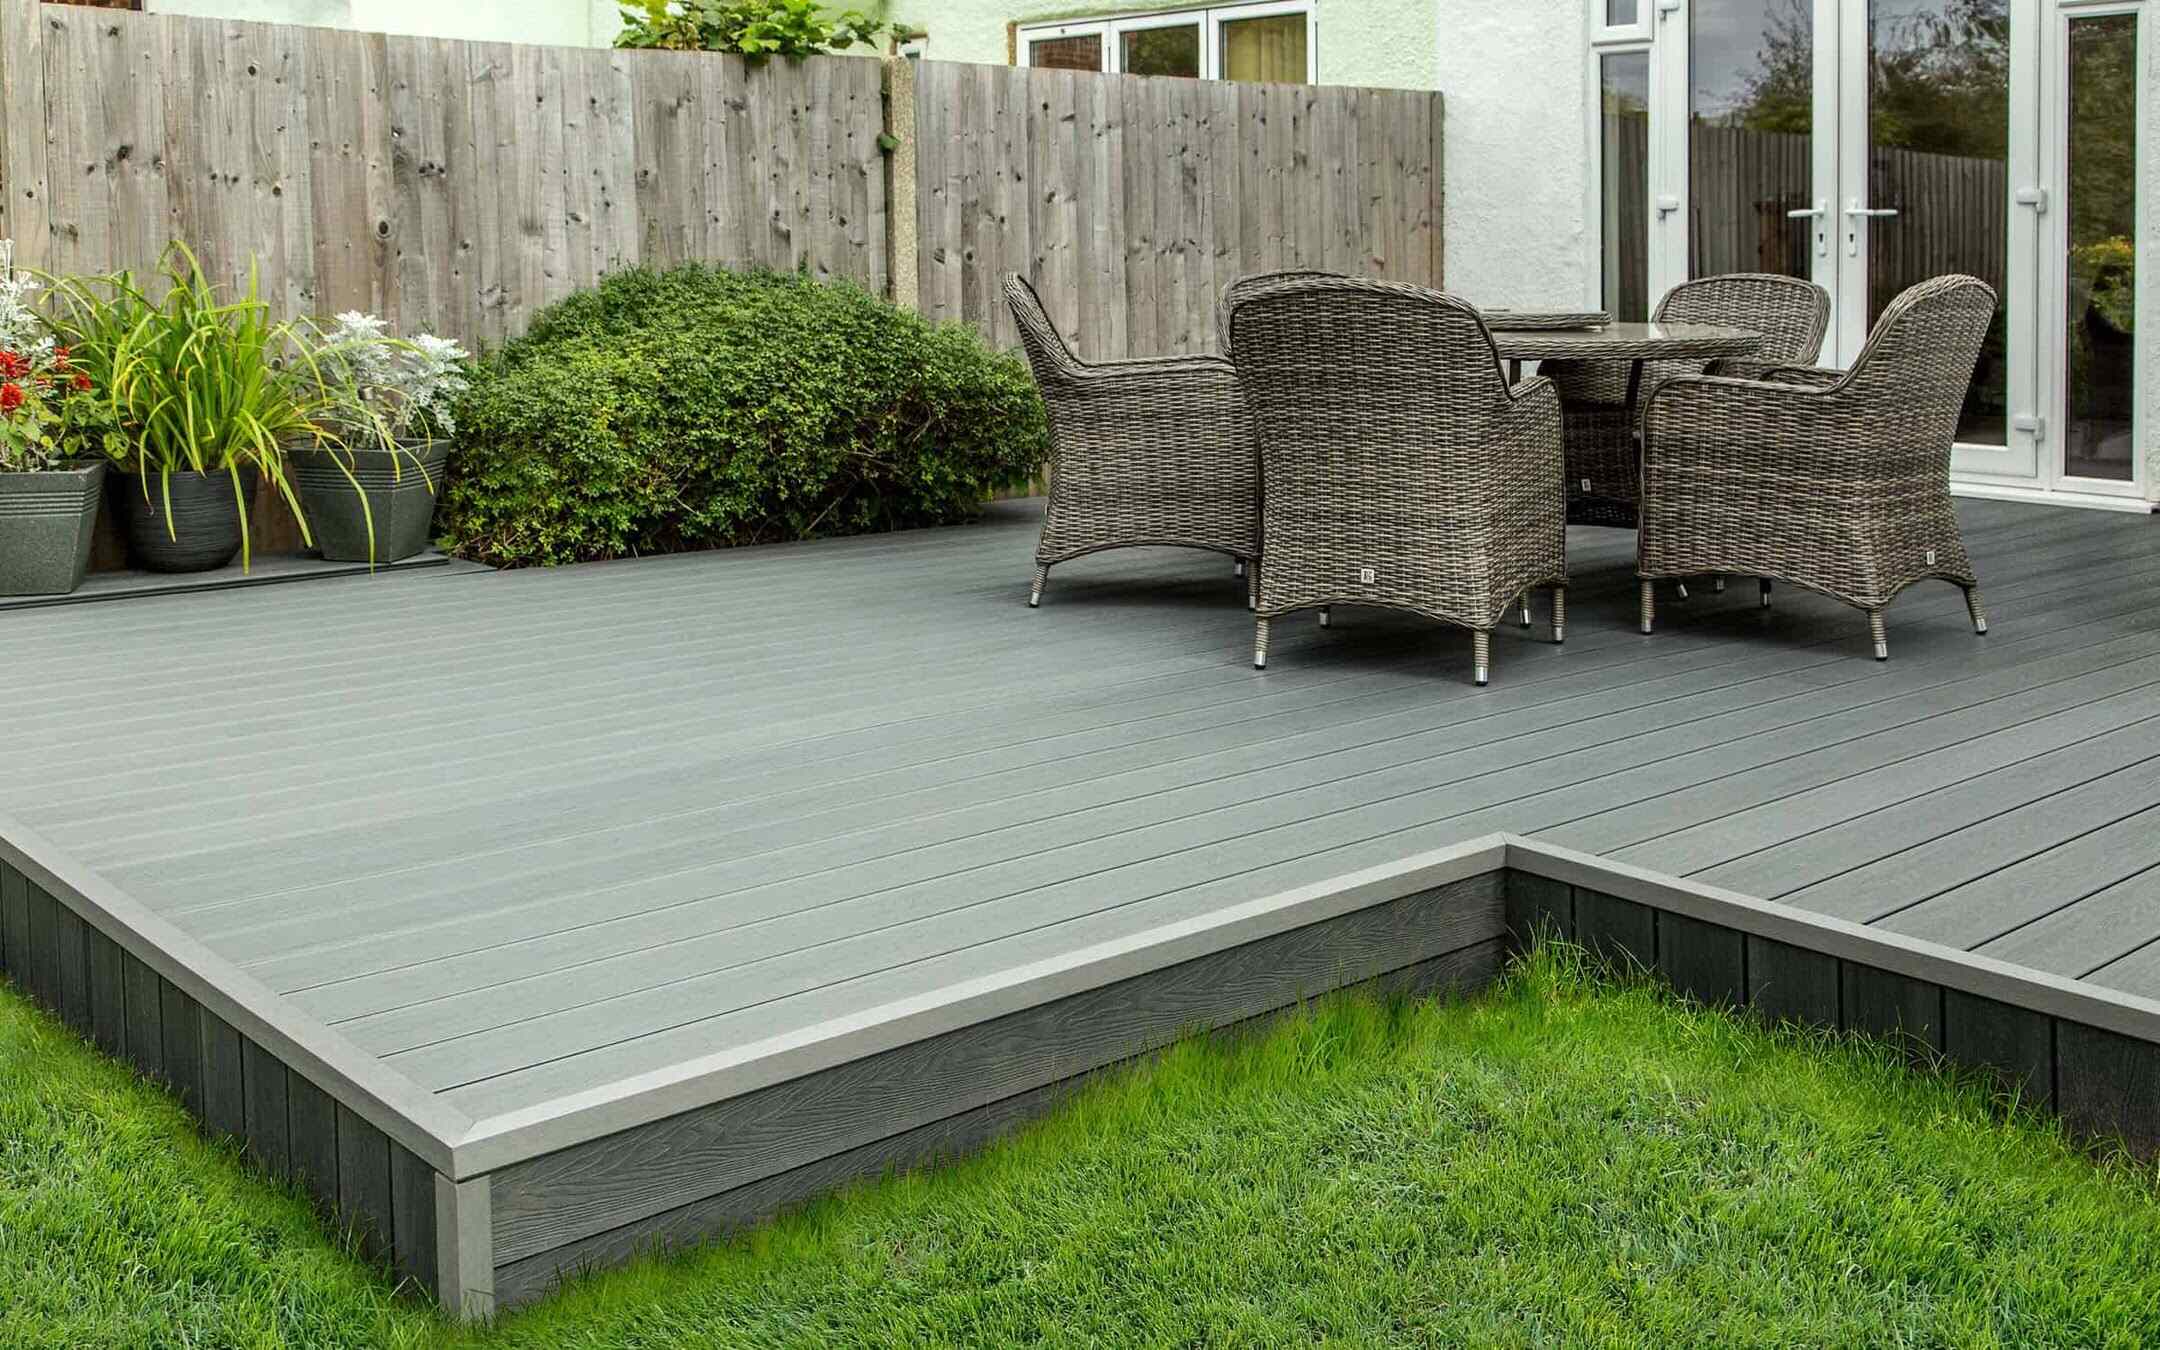
Step 6: Adding Finishing Touches
Congratulations! You’re in the final step of building your deck over a concrete patio. Step 6 involves adding the finishing touches that will enhance both the aesthetics and functionality of your outdoor space.
One crucial aspect of finishing your deck is installing any necessary railings or handrails. Railings provide safety and support, especially if your deck is elevated. Check your local building codes to determine the required height and spacing for the railings. Choose a railing style that complements the design of your deck and install them securely using appropriate hardware.
If you want to add a touch of luxury and comfort to your deck, consider installing outdoor lighting. From string lights to solar-powered LED fixtures, lighting can create a warm and inviting ambiance for evening gatherings. Additionally, it improves safety by illuminating your deck after dark.
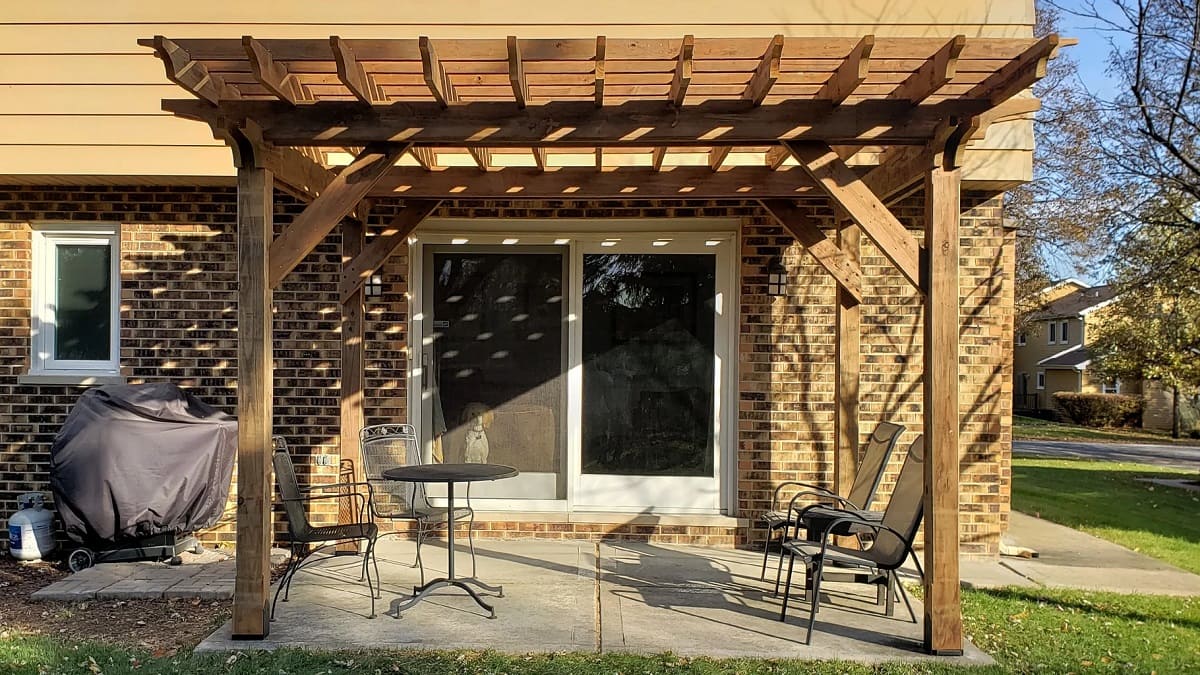
To enhance the appearance of your deck, you can add decorative touches such as built-in seating, planters, or pergolas. These features can transform your deck into an oasis and provide functional seating or growing space for plants. Be sure to choose materials that are weather-resistant and will withstand the elements.
As a final step, it’s important to properly maintain your deck to ensure its longevity. Regularly clean the deck surface, sweep away debris, and inspect for any signs of damage. Applying a protective sealant or stain can help preserve the wood and extend the lifespan of your deck.
Remember to also inspect the support posts, deck frame, and the integrity of the connections periodically. Look for any signs of rot, decay, or loosening fasteners, and address any issues promptly to maintain the structural integrity of your deck.
Now it’s time to sit back, relax, and enjoy your newly built deck over the concrete patio. Whether hosting gatherings with friends or simply unwinding outdoors, your deck will provide a beautiful and functional outdoor space for years to come.
We hope this step-by-step guide has been helpful, and we wish you success in your deck building endeavor!
Conclusion
Building a deck over a concrete patio is a rewarding project that can transform your outdoor space into a beautiful and functional area for relaxation and entertainment. By following the steps outlined in this guide, you can confidently tackle this DIY project and create a stunning deck.
From the initial planning and preparation to the final finishing touches, each step plays a crucial role in ensuring the stability, durability, and aesthetic appeal of your deck. By carefully assessing the condition of your concrete patio, clearing the space, installing support posts, building the deck frame, attaching the decking boards, and adding the finishing touches, you’ll have a deck that is both visually appealing and structurally sound.
During the construction process, it’s important to consult local building codes and regulations to ensure compliance and safety. Additionally, selecting high-quality materials and properly maintaining your deck will contribute to its longevity and overall performance.
Whether you envision a cozy outdoor retreat or a spacious area for hosting gatherings, a deck over a concrete patio provides endless possibilities. It expands your living space, increases the value of your home, and allows you to fully enjoy your outdoor environment.
We hope our comprehensive guide has provided you with the knowledge and confidence to embark on this exciting project. Remember to take your time, seek professional advice when needed, and have fun while building your dream deck.
Now, grab your tools, put on your DIY hat, and get ready to create a stunning deck that will be the envy of the neighborhood! Happy building!
Frequently Asked Questions about How To Build A Deck Over A Concrete Patio
Was this page helpful?
At Storables.com, we guarantee accurate and reliable information. Our content, validated by Expert Board Contributors, is crafted following stringent Editorial Policies. We're committed to providing you with well-researched, expert-backed insights for all your informational needs.


0 thoughts on “How To Build A Deck Over A Concrete Patio”