Home>Renovation & DIY>Home Renovation Guides>How To Install Emco 400 Series Storm Door
Home Renovation Guides
How To Install Emco 400 Series Storm Door
Modified: October 19, 2024
Learn how to install Emco 400 Series storm door with our comprehensive home renovation guide. Follow our step-by-step instructions for a seamless installation process.
(Many of the links in this article redirect to a specific reviewed product. Your purchase of these products through affiliate links helps to generate commission for Storables.com, at no extra cost. Learn more)
Introduction
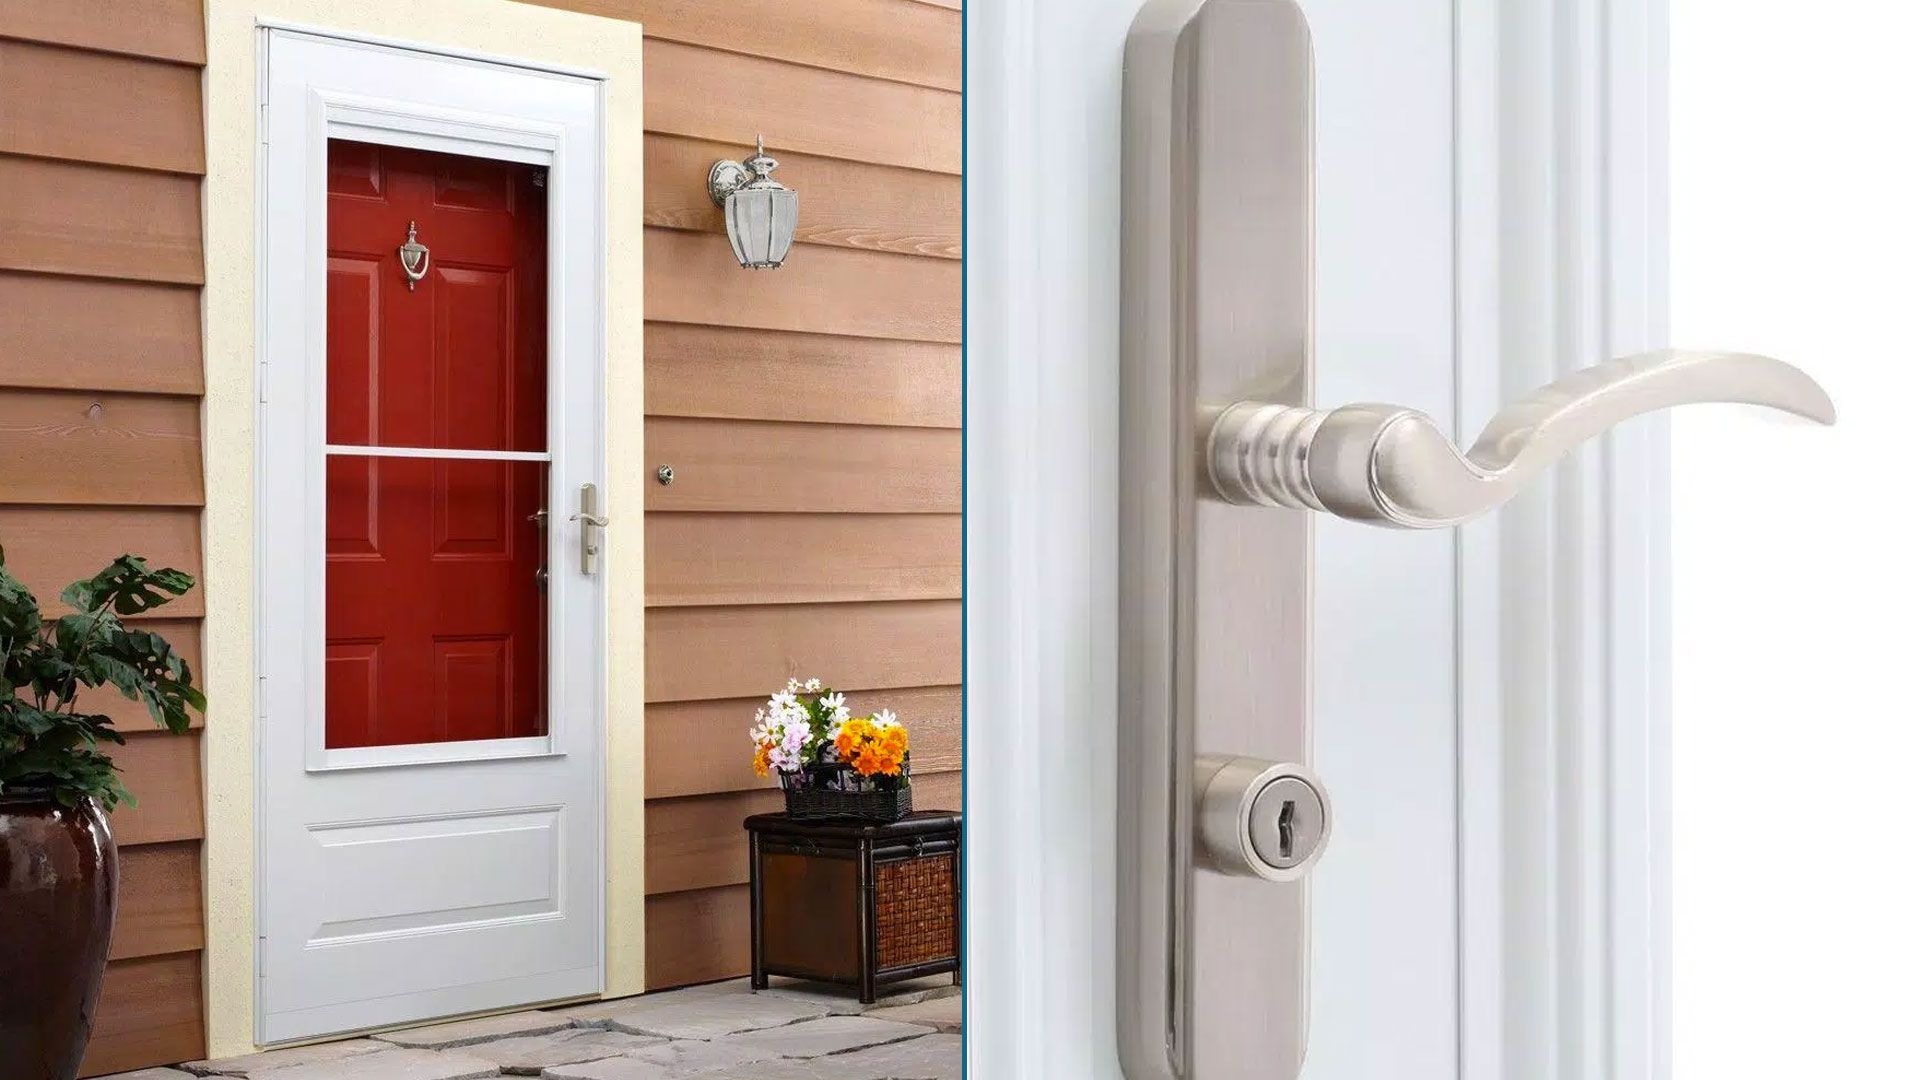
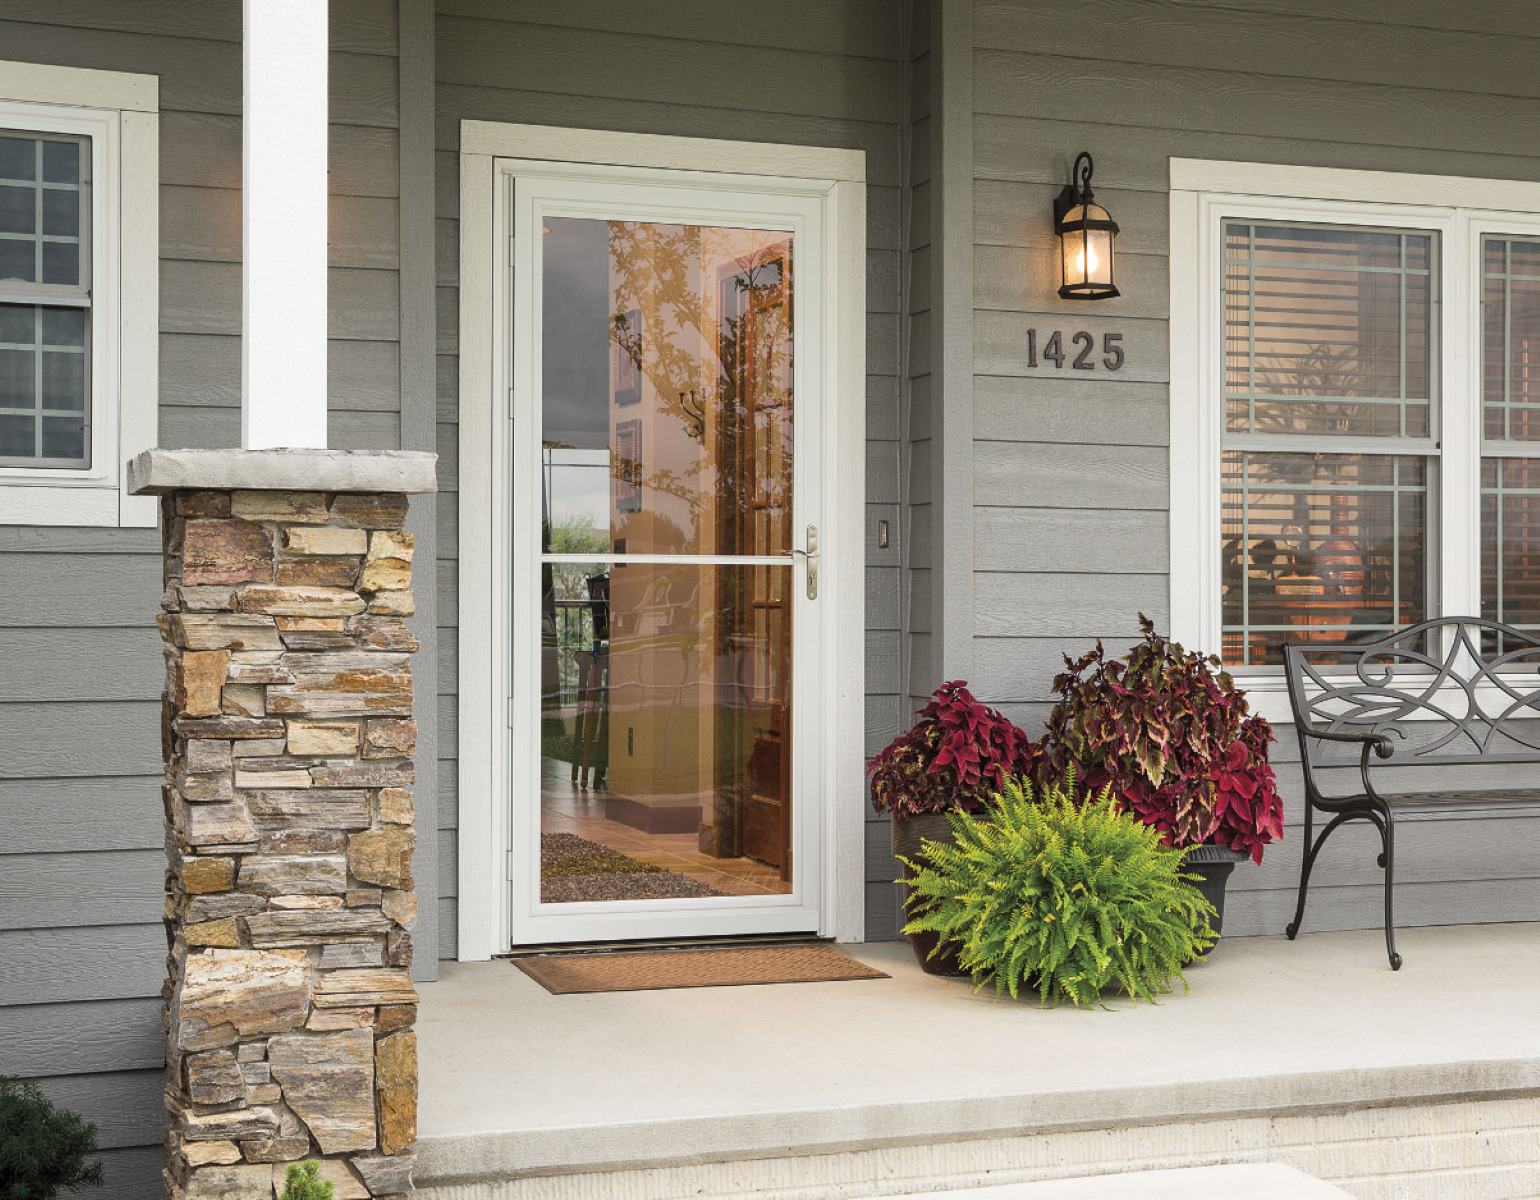
So, you've decided to upgrade your home with a new Emco 400 Series storm door. Congratulations! This stylish and functional addition will not only enhance the curb appeal of your home but also provide added security and protection from the elements. However, before you can enjoy all the benefits of your new storm door, you'll need to install it properly.
Installing an Emco 400 Series storm door may seem like a daunting task, but with the right tools, materials, and a clear set of instructions, you can easily tackle this project. In this comprehensive guide, we'll walk you through the step-by-step process of installing your new storm door, ensuring that you achieve a professional and secure fit.
Whether you're a seasoned DIY enthusiast or a first-time homeowner looking to take on a new project, this guide is designed to provide you with the knowledge and confidence to complete the installation with ease. So, roll up your sleeves, gather your tools, and let's get started on transforming your entryway with a beautiful Emco 400 Series storm door!
Key Takeaways:
- Upgrade your home with an Emco 400 Series storm door for added security and curb appeal. Follow the comprehensive guide for a professional installation process.
- Enjoy the benefits of a stylish and functional storm door by following the step-by-step installation guide. Enhance your home’s security and aesthetic appeal with confidence.
Read more: Installing A Storm Door
Tools and Materials Needed
Before you begin the installation process, it’s essential to gather all the necessary tools and materials. Here’s a comprehensive list of what you’ll need:
Tools:
- Phillips screwdriver
- Tape measure
- Level
- Drill
- 3/32" drill bit
- Utility knife
- Hammer
- Center punch
- File
- Adjustable wrench
Materials:
- Emco 400 Series storm door
- Mounting screws
- Screw hole plugs
- Door frame mounting screws
- Door closer
- Door handle and lockset
- Shims
- Finishing nails
- Silicone caulk
Having these tools and materials on hand will ensure that you’re fully equipped to tackle the installation process without any interruptions. Additionally, it’s a good idea to double-check the contents of your Emco 400 Series storm door package to ensure that all the necessary components are included before you begin.
Now that you have everything you need, it’s time to prepare the door frame for the installation of your new storm door.
Preparing the Door Frame
Before you can install your Emco 400 Series storm door, it’s crucial to prepare the door frame to ensure a proper fit and smooth installation process. Follow these steps to prepare the door frame:
Read more: How To Install A Larson Storm Door
1. Measure and Inspect:
Start by measuring the width and height of the door opening to ensure that your storm door will fit correctly. Additionally, inspect the door frame for any signs of damage or warping that may need to be addressed before proceeding with the installation.
2. Clear the Area:
Remove any obstructions or debris from the door frame and surrounding area to create a clear workspace for the installation process. This includes removing any old weather-stripping or caulking that may be present.
3. Level the Door Frame:
Use a level to ensure that the door frame is plumb and level. If necessary, make any adjustments to the frame by shimming or repositioning it to achieve the proper alignment.
4. Prepare the Hinge and Handle Locations:
Depending on the specific model of the Emco 400 Series storm door, you may need to prepare the hinge and handle locations on the door frame. Refer to the manufacturer’s instructions for guidance on this step.
Read more: How To Install A Door Closer On A Storm Door
5. Apply Silicone Caulk:
Apply a bead of silicone caulk along the inside edge of the door threshold and the side jambs to create a weatherproof seal once the storm door is installed.
By following these preparatory steps, you’ll set the stage for a successful installation of your Emco 400 Series storm door. With the door frame ready, you can now move on to the next crucial step: installing the hinges.
Installing the Hinges
Proper installation of the hinges is crucial to ensure the smooth operation and longevity of your Emco 400 Series storm door. Follow these steps to securely install the hinges:
1. Position the Door:
Carefully place the storm door in the opening, ensuring that it is properly aligned and centered within the door frame. Use shims to hold the door in place if necessary.
2. Mark the Hinge Locations:
With the door in position, use a pencil to mark the locations of the hinge screw holes on the door frame. Most Emco 400 Series storm doors have a pre-marked template for hinge placement, making this step easier.
Read more: How To Install A Dog Door In A Storm Door
3. Pre-Drill Screw Holes:
Using a 3/32″ drill bit, pre-drill the screw holes at the marked hinge locations. Take care to drill straight and avoid splintering the wood around the holes.
4. Attach the Hinges:
With the pre-drilled holes in place, position the hinges on the door frame and secure them in position using the provided mounting screws. Ensure that the hinges are aligned properly and securely fastened.
5. Test the Door Swing:
Once the hinges are installed, test the swing of the door to ensure that it opens and closes smoothly without any binding or misalignment. Make any necessary adjustments to the hinge placement if the door does not operate correctly.
By following these steps, you’ll successfully install the hinges on your Emco 400 Series storm door, bringing you one step closer to completing the installation process. With the hinges securely in place, you can now proceed to the next phase: attaching the door handle and lock.
Attaching the Door Handle and Lock
Adding the door handle and lock to your Emco 400 Series storm door is a crucial step in completing the installation process. Follow these steps to securely attach the door handle and lock:
Read more: How To Install A Storm Door Chain
1. Prepare the Handle and Lockset:
Before attaching the handle and lockset, ensure that all components are included and in good condition. Familiarize yourself with the specific instructions provided by the manufacturer for your particular model of storm door.
2. Position the Handle and Lock:
With the door closed, position the handle and lockset on the exterior side of the door. Ensure that the handle is at a comfortable height for operation and that the lockset aligns with the door frame’s strike plate.
3. Mark Screw Hole Locations:
Use a pencil to mark the locations of the screw holes for the handle and lockset on the door. Most Emco 400 Series storm doors come with a template for handle and lockset placement, making this step easier.
4. Drill Pilot Holes:
Using a drill with the appropriate bit size, drill pilot holes at the marked screw hole locations. Take care to drill straight and avoid splintering the door material.
Read more: How Long To Install A Storm Door
5. Attach the Handle and Lockset:
Securely attach the handle and lockset to the door using the provided screws. Ensure that the components are aligned properly and fastened securely to the door.
6. Test the Operation:
With the handle and lockset installed, test the operation of the door. Ensure that the handle turns smoothly, and the lockset engages and disengages without any issues.
By following these steps, you’ll successfully attach the door handle and lockset to your Emco 400 Series storm door, adding both functionality and security to your entryway. With the handle and lock in place, you’re now ready to move on to the final step: adjusting the door closer.
Adjusting the Door Closer
The door closer plays a crucial role in the functionality of your Emco 400 Series storm door, ensuring smooth opening and closing while controlling the door’s speed. Follow these steps to properly adjust the door closer:
1. Locate the Door Closer:
The door closer is typically located at the top of the storm door, attached to the door frame. Identify the adjustment screws and controls on the door closer mechanism.
Read more: DIY Guide: Installing A Storm Door
2. Test the Closing Speed:
Open the storm door and observe the speed at which it closes. Take note of whether the door closes too quickly or too slowly, as this will guide your adjustments.
3. Adjust the Closing Speed:
Most door closers have adjustment screws that control the closing speed. Using a screwdriver, adjust the appropriate screws to regulate the closing speed to your preference. This may require some trial and error to achieve the desired speed.
4. Test the Latch Engagement:
After adjusting the closing speed, test the door to ensure that the latch engages properly and securely when the door is closed. Make any additional adjustments to the closing speed if necessary to achieve proper latching.
5. Check for Smooth Operation:
Open and close the door multiple times to ensure that the door closer operates smoothly and consistently. Make any final adjustments to the closing speed or latch engagement as needed.
By following these steps, you’ll effectively adjust the door closer on your Emco 400 Series storm door, ensuring that it operates with optimal speed and functionality. With the door closer properly adjusted, your storm door installation is now complete, and you can enjoy the enhanced security and convenience it provides.
Read more: How To Paint A Storm Door
Conclusion
Congratulations on successfully installing your Emco 400 Series storm door! By following the comprehensive steps outlined in this guide, you’ve transformed your entryway with a stylish and functional addition that enhances both the aesthetic appeal and security of your home.
Throughout the installation process, you’ve taken the necessary steps to prepare the door frame, securely install the hinges, attach the door handle and lock, and adjust the door closer to ensure smooth operation. Each of these steps contributes to a professional and secure installation that will provide long-lasting benefits for your home.
As you stand back and admire your newly installed storm door, take a moment to appreciate the value it adds to your home. Not only does it improve curb appeal, but it also provides an additional layer of protection against the elements and enhances the energy efficiency of your entryway.
Now that your Emco 400 Series storm door is in place, take the time to familiarize yourself with its features and operation. Enjoy the fresh air and natural light it brings into your home, and take comfort in the added security it provides for you and your family.
Remember, proper maintenance of your storm door will ensure its longevity and continued functionality. Regularly inspect and clean the door, including the hinges, handle, and lockset, to keep it in top condition for years to come.
Thank you for entrusting us with the guidance and expertise to complete this installation. We hope this guide has empowered you to take on this project with confidence and achieve outstanding results. As you continue to improve and personalize your home, may this new addition bring you joy and satisfaction for years to come.
Happy storm door installation, and here’s to a more beautiful and secure home!
Frequently Asked Questions about How To Install Emco 400 Series Storm Door
Was this page helpful?
At Storables.com, we guarantee accurate and reliable information. Our content, validated by Expert Board Contributors, is crafted following stringent Editorial Policies. We're committed to providing you with well-researched, expert-backed insights for all your informational needs.


0 thoughts on “How To Install Emco 400 Series Storm Door”