Home>Renovation & DIY>Home Renovation Guides>How To Do Backsplash Around Outlets

Home Renovation Guides
How To Do Backsplash Around Outlets
Modified: October 27, 2024
Learn how to install a backsplash around outlets with our comprehensive home renovation guide. Get expert tips and advice for a seamless DIY project.
(Many of the links in this article redirect to a specific reviewed product. Your purchase of these products through affiliate links helps to generate commission for Storables.com, at no extra cost. Learn more)
Introduction
When it comes to revamping your kitchen or bathroom, adding a stylish and functional backsplash can instantly elevate the overall aesthetic. However, one of the most challenging aspects of installing a backsplash is dealing with the outlets. Figuring out how to seamlessly integrate the backsplash around these electrical fixtures can be a daunting task, but with the right guidance, it can be a rewarding and achievable project.
In this comprehensive guide, we will walk you through the step-by-step process of installing a backsplash around outlets, providing you with the knowledge and confidence to tackle this home improvement project. From choosing the right materials to planning the layout and executing the installation, we've got you covered.
By the end of this guide, you will have the skills to transform the look of your kitchen or bathroom with a stunning backsplash that seamlessly accommodates outlets, all while adding value and charm to your space. So, roll up your sleeves and get ready to embark on this exciting journey to enhance the heart of your home.
Key Takeaways:
- Transform your kitchen or bathroom with a stunning backsplash that seamlessly accommodates outlets, adding value and charm to your space. Choose the right material, plan the layout, and execute the installation with confidence.
- Meticulously plan the layout around outlets, cut and install the tiles with precision, and add the finishing touches with grouting to create a captivating and functional oasis in your home. Your dedication to detail and craftsmanship will elevate the heart of your home.
Choosing the Right Backsplash Material
Selecting the appropriate material for your backsplash is crucial as it not only contributes to the visual appeal of your space but also determines the durability and maintenance of the installation. With a myriad of options available, it's essential to consider factors such as style, functionality, and ease of installation when making your decision.
Ceramic and Porcelain Tiles
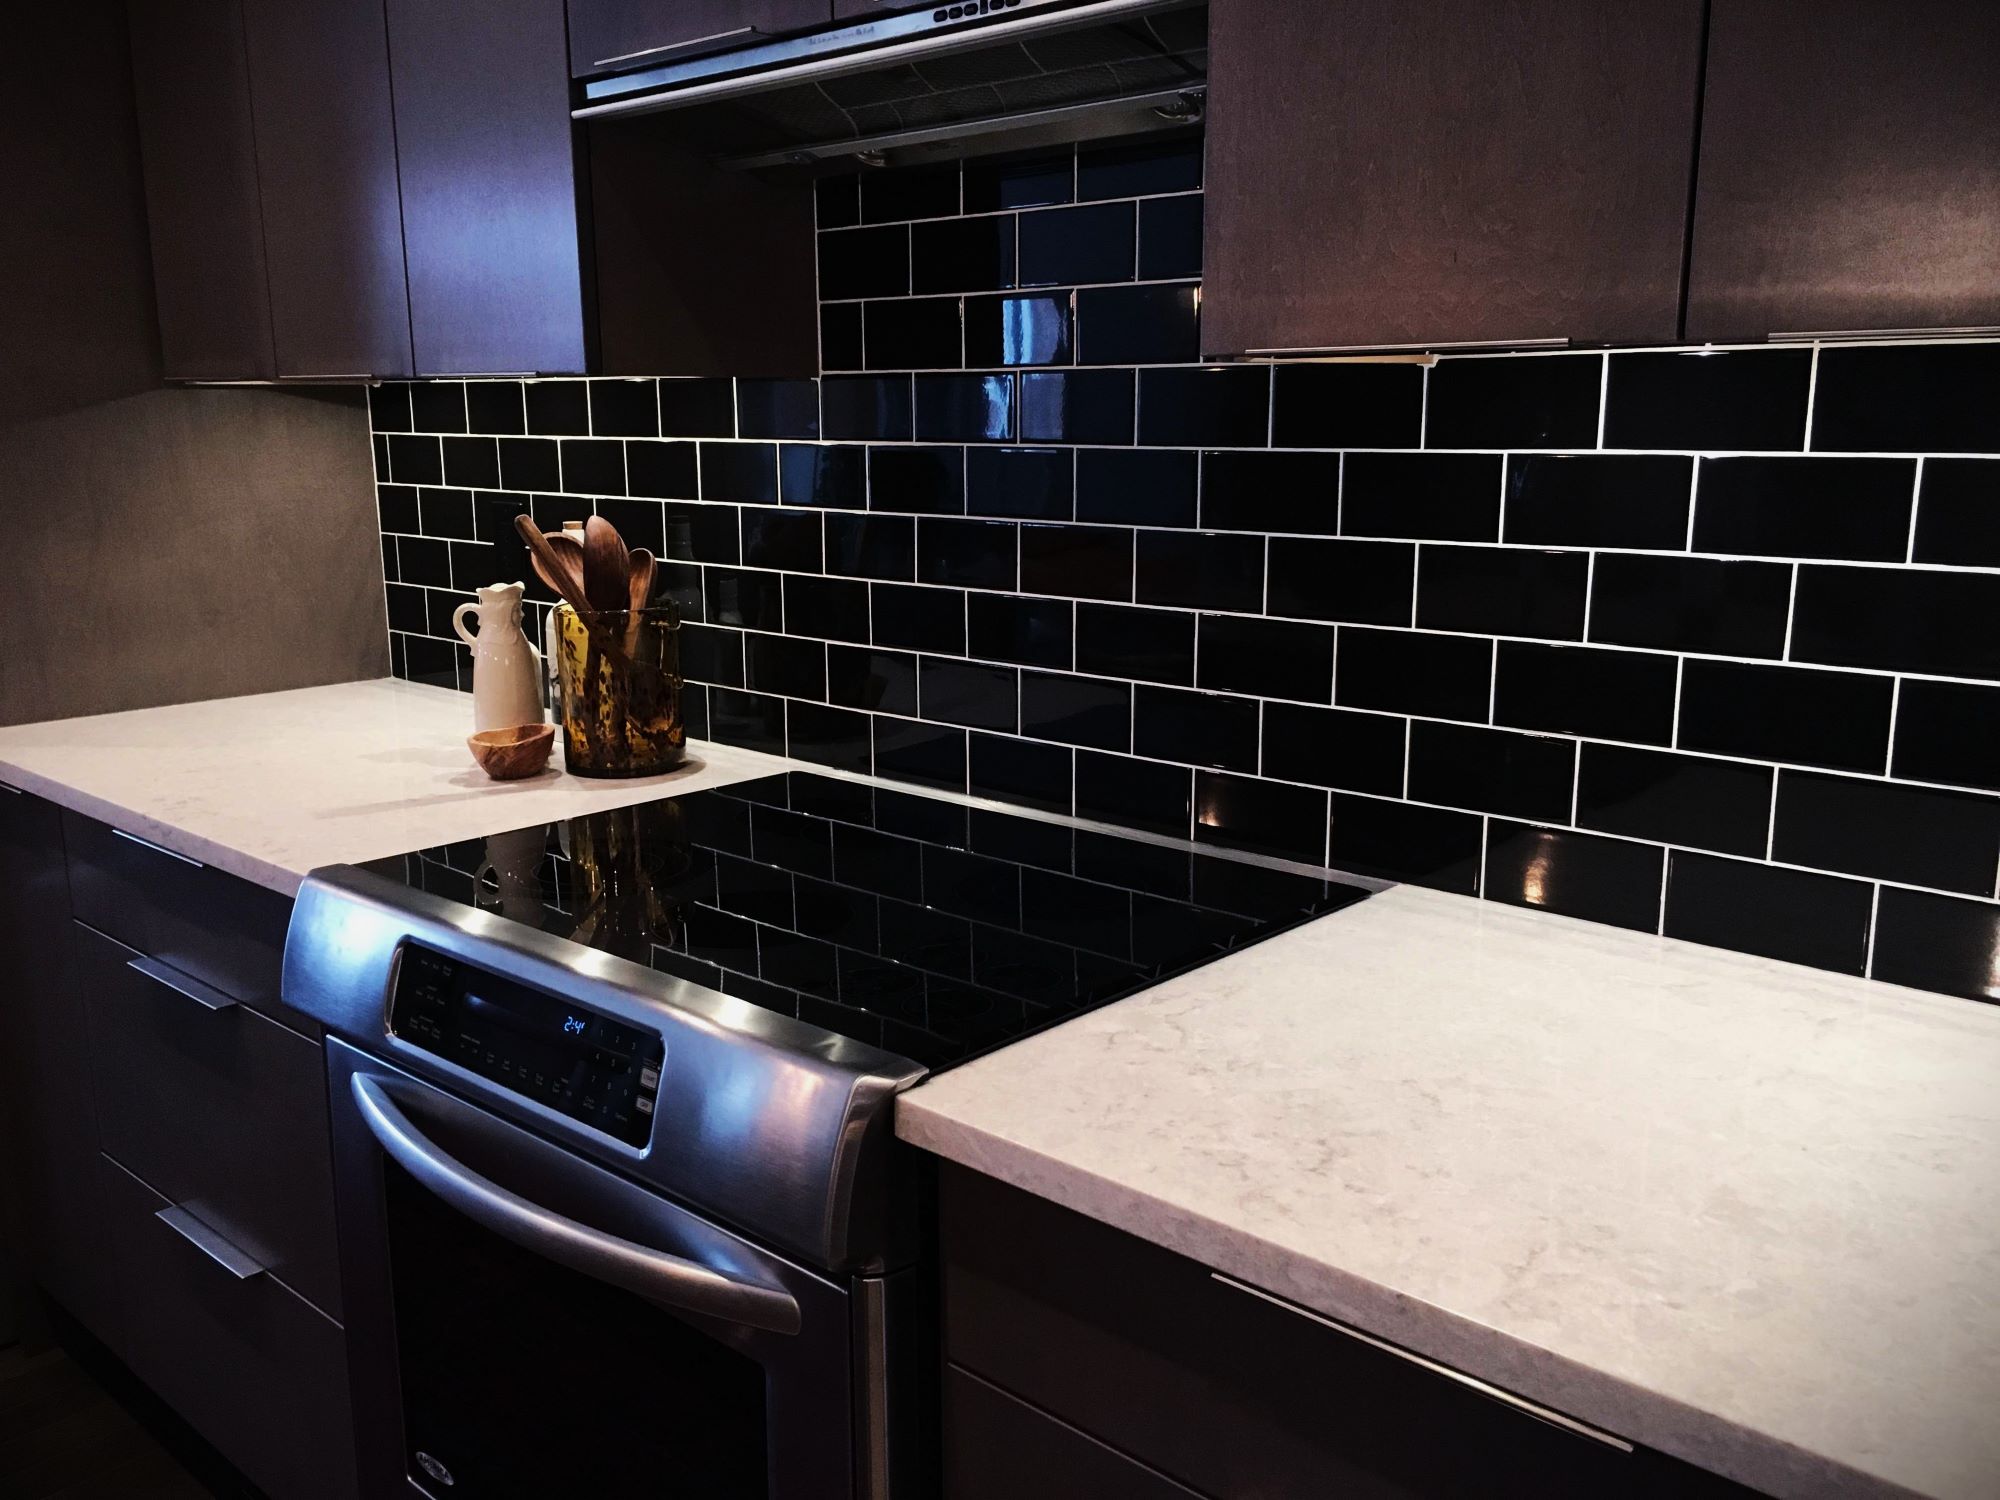
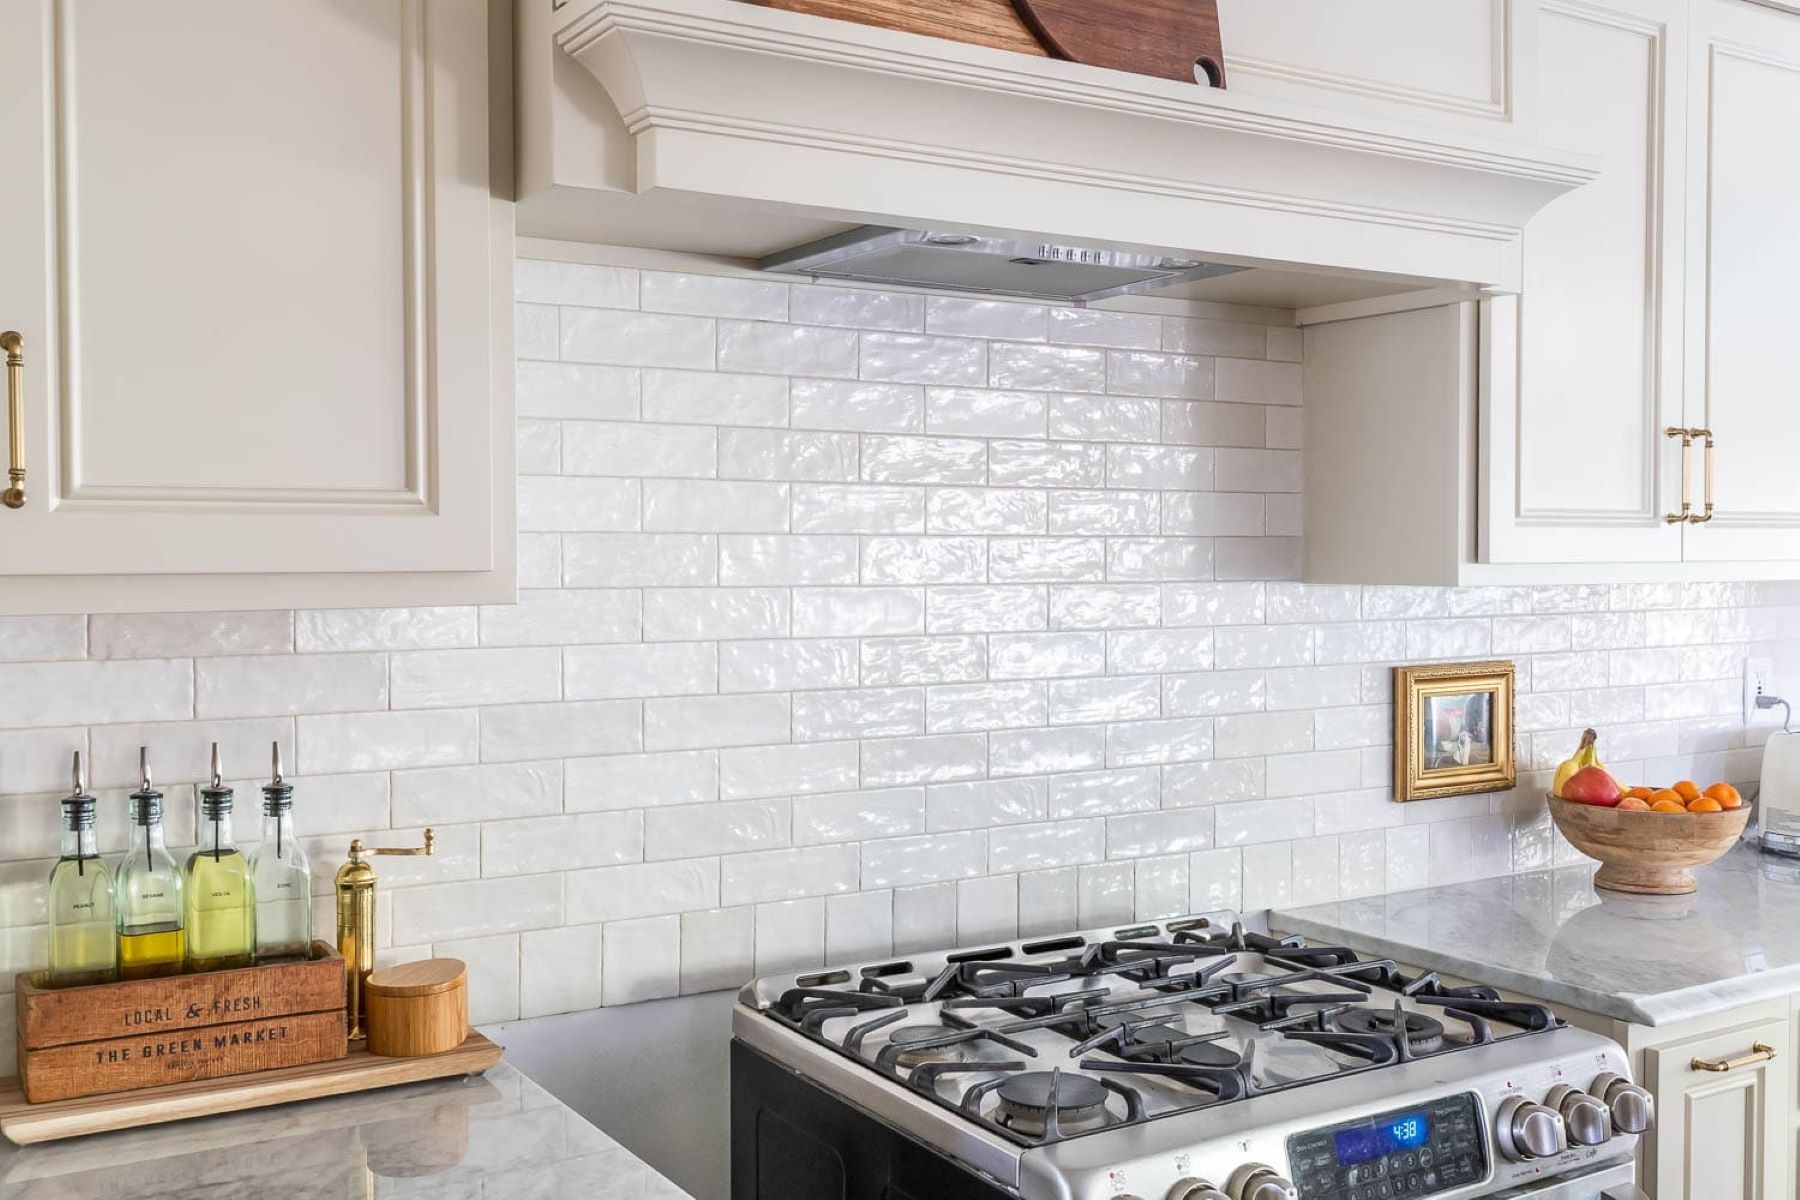
Ceramic and porcelain tiles are popular choices for backsplashes due to their versatility and durability. Available in an array of colors, patterns, and finishes, these tiles offer a timeless and elegant look that can complement various design aesthetics. Additionally, they are resistant to heat, moisture, and stains, making them ideal for kitchen and bathroom applications.
Glass Tiles
For a modern and sleek appearance, glass tiles are an excellent option. Their reflective properties can create a luminous and spacious feel in the room, making them particularly suitable for smaller areas. Glass tiles are also resistant to stains and are easy to clean, adding a practical element to their aesthetic appeal.
Natural Stone
Natural stone, such as marble, travertine, and slate, exudes a luxurious and earthy charm that can elevate the ambiance of any space. Each piece of natural stone is unique, showcasing distinct veining and textures that add character to the backsplash. While natural stone requires sealing to protect against stains and moisture, its timeless beauty makes it a coveted choice for many homeowners.
Metal Tiles
For a contemporary and industrial look, metal tiles offer a striking alternative. Available in stainless steel, copper, and aluminum, these tiles can infuse a space with a bold and edgy aesthetic. Metal tiles are also highly durable and easy to maintain, making them a practical and visually captivating option for a backsplash.
Mosaic Tiles
Mosaic tiles, crafted from various materials such as glass, ceramic, or natural stone, can create intricate and eye-catching designs. Their small size allows for flexibility in creating patterns and visual interest, making them a versatile choice for backsplashes. Whether used as an accent or for the entire backsplash, mosaic tiles can add a dynamic and artistic element to the space.
When choosing the right backsplash material, it's essential to consider your personal style, the existing decor of the room, and the practical requirements of the space. By carefully evaluating these factors, you can select a material that not only enhances the aesthetic appeal of your kitchen or bathroom but also aligns with your lifestyle and maintenance preferences.
Planning the Layout Around Outlets
When it comes to installing a backsplash, meticulous planning is essential, especially when working around outlets. The layout of the tiles around these electrical fixtures plays a crucial role in achieving a seamless and polished look. Here's a detailed guide on how to plan the layout around outlets for a flawless backsplash installation.
Assess the Outlet Positions
Before diving into the layout planning, start by assessing the positions of the outlets. Take precise measurements and mark their locations on the wall. This step is crucial for determining where the tiles will need to be cut to accommodate the outlets. Additionally, consider the height of the outlets to ensure that the tiles align perfectly with the electrical fixtures.
Read more: How To Do Backsplash In The Kitchen
Create a Detailed Layout Plan
Using graph paper or a digital design tool, create a detailed layout plan for the backsplash. Begin by sketching the entire backsplash area, including the locations of the outlets. This plan will serve as a visual guide for positioning the tiles and making necessary adjustments to accommodate the outlets seamlessly.
Tile Placement Around Outlets
When planning the layout, consider how the tiles will be placed around the outlets. Depending on the design of the tiles and the size of the outlets, you may need to decide whether to center a full tile over the outlet or cut tiles to fit around it. Visualizing the placement of the tiles in advance will help you achieve a balanced and aesthetically pleasing arrangement.
Cutting Tiles for Outlets
Once the layout plan is finalized, it's time to address the tile cutting process. Use a tile cutter or wet saw to precisely cut the tiles to fit around the outlets. Accuracy is key here, as the tiles need to align seamlessly with the outlet covers. Take your time to ensure that the cuts are clean and precise, allowing for a professional-looking finish.
Consider Outlet Covers
Incorporating outlet covers into the design is an important aspect of planning the layout around outlets. Whether you opt for covers that match the tile material or ones that blend with the wall color, integrating them seamlessly into the backsplash design will contribute to a cohesive and polished appearance.
By meticulously planning the layout around outlets, you can ensure that the installation process progresses smoothly and the end result is visually stunning. This thoughtful approach to tile placement and outlet integration will elevate the overall look of your backsplash, creating a focal point that seamlessly harmonizes with the functionality of the space.
Read more: How To Do Grout For Backsplash
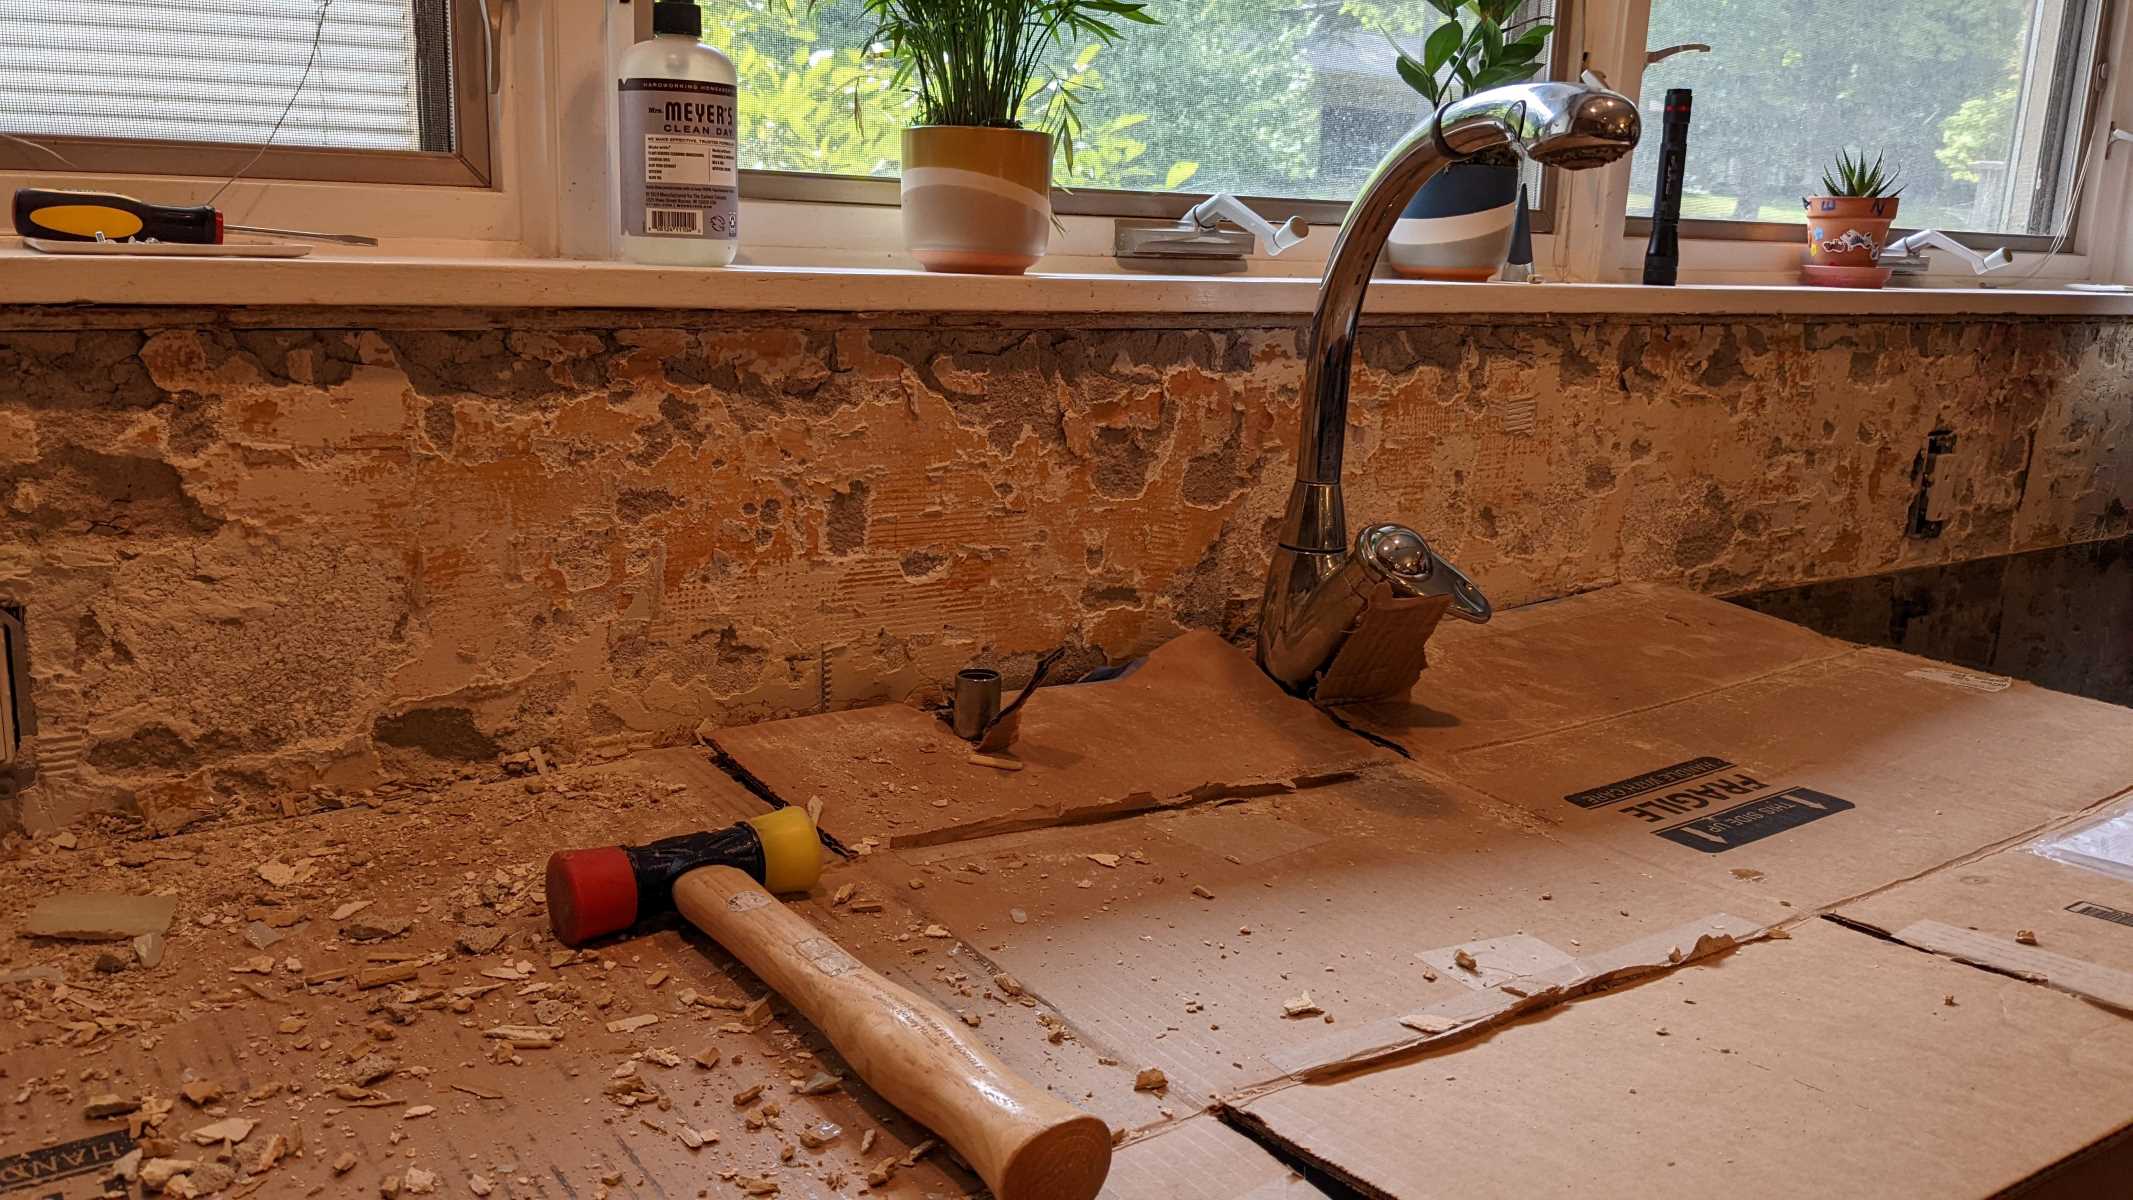
Cutting and Installing the Backsplash Tiles
Once you have chosen the perfect backsplash material and meticulously planned the layout around the outlets, it's time to dive into the cutting and installation process. This phase is where your vision begins to materialize, transforming your space with the timeless allure of a beautifully crafted backsplash.
Preparing for Precision
Before cutting and installing the tiles, gather the necessary tools, including a tile cutter or wet saw, tile adhesive, trowel, spacers, and a level. Ensure that the work area is clean, well-ventilated, and that you have adequate lighting to facilitate precision during the installation process.
Cutting with Care
Using a tile cutter or wet saw, carefully cut the tiles according to the measurements and layout plan. Take your time to ensure that the cuts are precise, allowing for a seamless fit around the outlets. Whether it's ceramic, glass, natural stone, or mosaic tiles, each piece should be handled with care to achieve clean and accurate cuts.
Applying the Adhesive
Begin by applying a thin layer of tile adhesive to the wall using a trowel. Work in small sections to prevent the adhesive from drying out before the tiles are placed. The adhesive should be spread evenly to create a solid base for the tiles, ensuring a secure and long-lasting installation.
Read more: How To Do A Herringbone Backsplash
Placing the Tiles
Carefully place the tiles onto the adhesive, following the layout plan and paying close attention to the positioning around the outlets. Use spacers to maintain consistent spacing between the tiles, creating a uniform and professional-looking finish. As you progress, periodically use a level to ensure that the tiles are aligned perfectly.
Finishing Touches
Once the tiles are in place, allow the adhesive to set according to the manufacturer's instructions. After the adhesive has cured, it's time to apply grout to fill the spaces between the tiles. Choose a grout color that complements the tiles and the overall aesthetic of the space, and carefully fill the joints to create a seamless and polished appearance.
Reveling in the Transformation
As the grout sets and the installation nears completion, take a step back and admire the remarkable transformation that the backsplash has brought to your kitchen or bathroom. The harmonious integration of the tiles around the outlets, coupled with the meticulous installation, has elevated the visual appeal of the space, creating a captivating focal point that seamlessly blends style and functionality.
By approaching the cutting and installation of the backsplash tiles with precision and care, you have not only achieved a stunning visual impact but also added a touch of craftsmanship to your home. The seamless integration of the tiles around the outlets serves as a testament to your attention to detail and dedication to creating a space that exudes charm and sophistication.
Finishing Touches and Grouting
With the tiles securely in place and the adhesive properly set, the final phase of the backsplash installation involves the crucial step of grouting. This process not only serves a functional purpose by filling the gaps between the tiles but also significantly impacts the overall aesthetic of the backsplash. Here's a detailed guide on the finishing touches and grouting to complete the installation with finesse.
Read more: How Long Does It Take To Do Backsplash
Selecting the Right Grout
Before commencing the grouting process, it's essential to choose the appropriate grout color and type. Opt for a color that complements the tiles and enhances the desired look of the backsplash. Whether you prefer a seamless blend or a contrasting effect, the grout color can significantly influence the visual impact of the installation. Additionally, consider the type of grout – sanded or unsanded – based on the width of the tile joints to ensure a proper fit.
Preparing the Grout Mixture
Mix the grout according to the manufacturer's instructions, ensuring a smooth and lump-free consistency. Use a grout float to scoop an adequate amount of the mixture and apply it diagonally across the tiles, ensuring that the joints are completely filled. Work in small sections to prevent the grout from drying out before it can be properly smoothed and cleaned.
Smoothing and Cleaning
Once the grout is applied, use the grout float to smooth it over the tiles, ensuring that the joints are uniformly filled. Remove any excess grout from the tile surfaces by holding the float at a 45-degree angle and making diagonal passes. After allowing the grout to set for a brief period, use a damp sponge to gently clean the tiles, wiping away any residual grout haze and ensuring a clean, polished appearance.
Final Polishing
As the grout sets and the tiles regain their luster, take a clean, dry cloth and gently polish the tile surfaces to remove any remaining haze and achieve a pristine finish. This final step adds a touch of refinement to the installation, enhancing the visual appeal of the backsplash and ensuring that the tiles shine with a captivating radiance.
Read more: Why Do Dogs Roll Around On A Carpet
Admiring the Craftsmanship
Upon completing the grouting process, step back and admire the impeccable craftsmanship that has brought the backsplash to life. The seamless integration of the grout has not only provided structural support to the tiles but has also contributed to the overall allure of the installation. The carefully selected grout color and the meticulous application have culminated in a backsplash that exudes sophistication and charm.
By meticulously attending to the finishing touches and grouting, you have added the final strokes to the masterpiece that is your backsplash. The harmonious blend of tiles and grout, coupled with the attention to detail, has transformed your kitchen or bathroom into a space that radiates elegance and craftsmanship.
Conclusion
In conclusion, installing a backsplash around outlets is a rewarding endeavor that not only enhances the aesthetic appeal of your kitchen or bathroom but also showcases your attention to detail and craftsmanship. By carefully selecting the right material, planning the layout around outlets, and executing the cutting, installation, and grouting with precision, you have embarked on a journey that has transformed your space into a captivating and functional oasis.
The process of choosing the perfect backsplash material allowed you to infuse your personal style into the heart of your home. Whether you opted for the timeless allure of ceramic and porcelain tiles, the modern sophistication of glass tiles, the earthy charm of natural stone, the bold statement of metal tiles, or the artistic flair of mosaic tiles, your selection has left an indelible mark on the ambiance of the room.
Meticulously planning the layout around outlets demonstrated your commitment to achieving a seamless and polished finish. By assessing outlet positions, creating a detailed layout plan, visualizing tile placement, and integrating outlet covers into the design, you ensured that every aspect of the installation harmonized with the functionality of the space, resulting in a cohesive and visually stunning backsplash.
The cutting and installation phase allowed you to bring your vision to life with precision and care. From preparing for precision and cutting the tiles with meticulous attention to detail to applying the adhesive, placing the tiles, and reveling in the transformation, each step showcased your dedication to creating a space that exudes charm and sophistication.
Finally, the finishing touches and grouting process added the final strokes to the masterpiece that is your backsplash. By selecting the right grout, preparing the mixture, smoothing and cleaning, and admiring the craftsmanship, you ensured that every detail contributed to the overall allure of the installation, culminating in a backsplash that radiates elegance and craftsmanship.
As you stand back and admire the remarkable transformation that the backsplash has brought to your kitchen or bathroom, take pride in the fact that your meticulous efforts have resulted in a space that not only captivates the eye but also reflects your dedication to creating a home that exudes warmth, style, and functionality. The seamless integration of the tiles around the outlets serves as a testament to your attention to detail and commitment to excellence, leaving a lasting impression that elevates the heart of your home.
Frequently Asked Questions about How To Do Backsplash Around Outlets
Was this page helpful?
At Storables.com, we guarantee accurate and reliable information. Our content, validated by Expert Board Contributors, is crafted following stringent Editorial Policies. We're committed to providing you with well-researched, expert-backed insights for all your informational needs.


0 thoughts on “How To Do Backsplash Around Outlets”