Articles
How To Install Siding Around Windows
Modified: January 19, 2024
Learn how to install siding around windows with our comprehensive articles. Step-by-step instructions and expert tips to ensure a professional finish.
(Many of the links in this article redirect to a specific reviewed product. Your purchase of these products through affiliate links helps to generate commission for Storables.com, at no extra cost. Learn more)
Introduction
Installing siding around windows is an important step in the overall process of exterior home improvement. Not only does it enhance the aesthetic appeal of your home, but it also provides protection against the elements and helps to increase its energy efficiency.
In this article, we will guide you through the step-by-step process of installing siding around windows. Whether you are a seasoned DIY enthusiast or a beginner tackling your first home improvement project, this guide will provide you with the knowledge and confidence to complete the task successfully.
Before we dive into the details, it’s essential to gather the necessary tools and materials. This will help ensure that you have everything you need to complete the installation without any interruptions.
So, let’s get started by preparing the tools and materials required for the installation process.
Key Takeaways:
- Enhance Your Home’s Aesthetics and Protection
Installing siding around windows not only improves your home’s appearance but also provides crucial protection against the elements. Follow the step-by-step guide for a professional and rewarding home improvement project. - Achieve Professional Results with Confidence
From preparing tools and materials to caulking and sealing, this comprehensive guide empowers you to install siding around windows confidently. Enjoy a well-protected and stylish home with lasting benefits.
Read more: How To Install T1-11 Siding Around Windows
Step 1: Prepare the Tools and Materials
Before you begin installing siding around windows, it’s crucial to gather all the necessary tools and materials. This will help ensure a smooth and efficient installation process. Here’s a list of the items you’ll need:
- Siding: Choose the type of siding that best suits your home’s style and climate. Common options include vinyl, fiber cement, wood, and aluminum.
- Measuring tape: Accurate measurements are vital to ensure a proper fit for the siding pieces.
- Saw: Use a circular saw or a miter saw to cut the siding pieces to the required length.
- J-Channel: This trim goes around the window frame to provide a clean and finished look.
- Nails or screws: Depending on the type of siding you’re using, you’ll need either nails or screws to secure it in place.
- Caulk: Use caulk to seal any gaps between the siding and the window frame, preventing water infiltration.
- Hammer or screwdriver: A hammer will be needed if you’re using nails, while a screwdriver is necessary if you’re using screws.
- Level: This tool ensures that the siding is installed straight and level.
- Safety equipment: Don’t forget to wear safety goggles, gloves, and any other protective gear recommended by the manufacturer.
Once you have gathered all the necessary tools and materials, you’re ready to move on to the next step: measuring and cutting the siding pieces.
Step 2: Measure and Cut the Siding Pieces
Accurate measurements are essential when cutting the siding pieces to ensure a proper fit around the windows. Here’s how to measure and cut the siding:
- Start by measuring the height and width of the window frame. Measure from the edge of the window trim or frame to the desired length for the siding. Leave a small gap of about 1/4 inch for expansion and contraction of the siding.
- Transfer the measurements to the siding material using a pencil or marker.
- Use a circular saw or miter saw to cut the siding pieces according to the marked measurements.
- Ensure that the cuts are clean and precise for a seamless installation.
- Repeat this process for each siding piece that will be installed around the windows.
Remember to double-check your measurements and make any necessary adjustments before cutting the siding pieces. Precision is key to achieving a professional-looking finish.
Once you have measured and cut the siding pieces, you’re ready to move on to the next step: installing J-Channel around the windows.
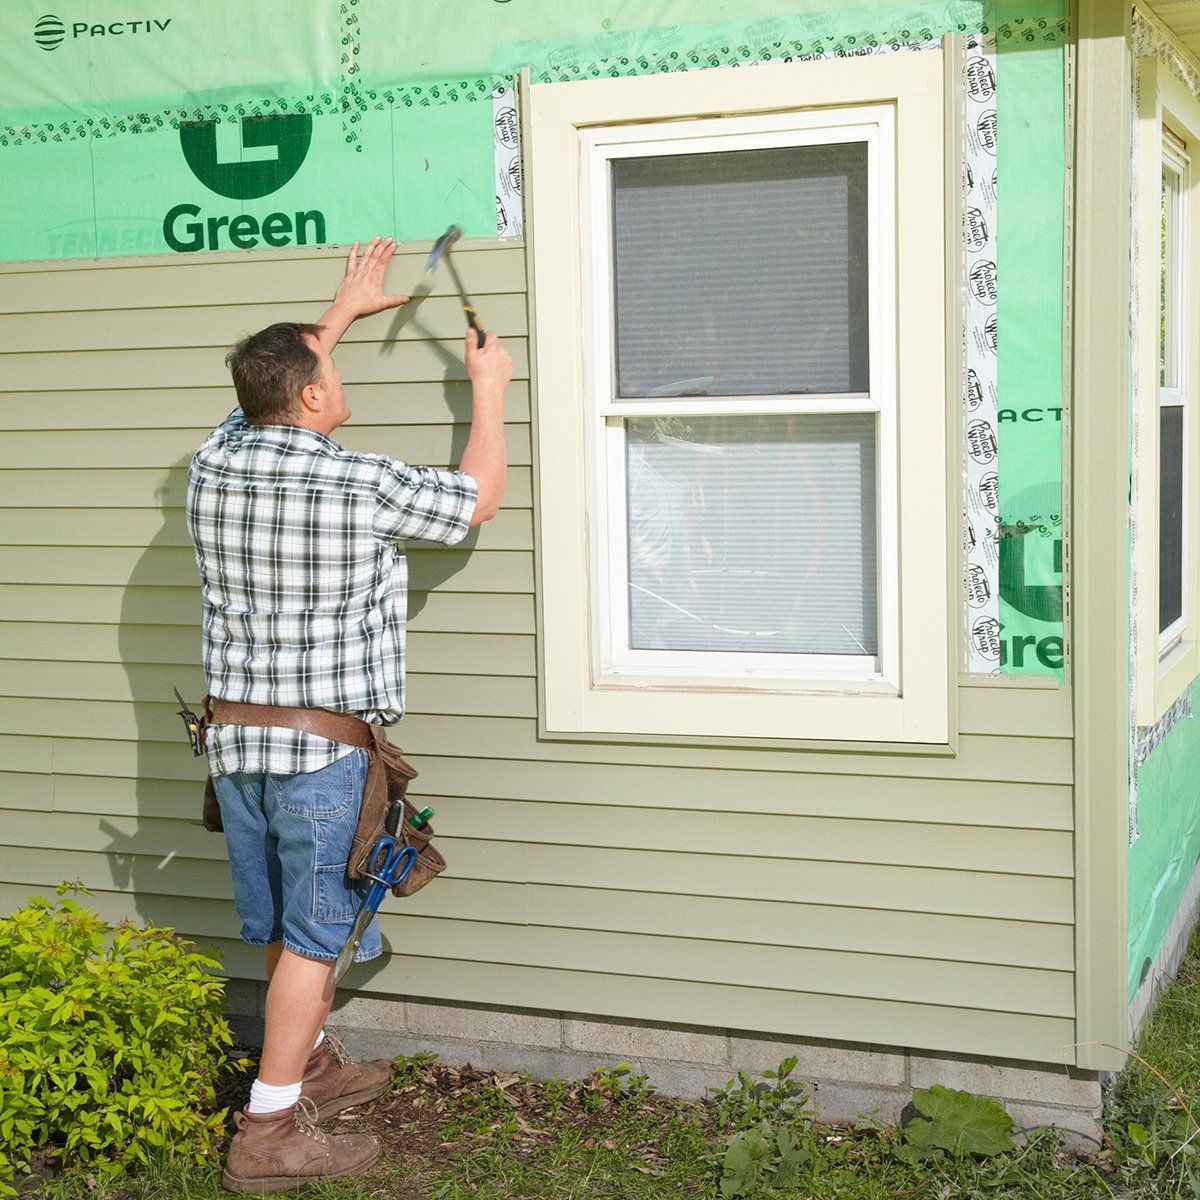
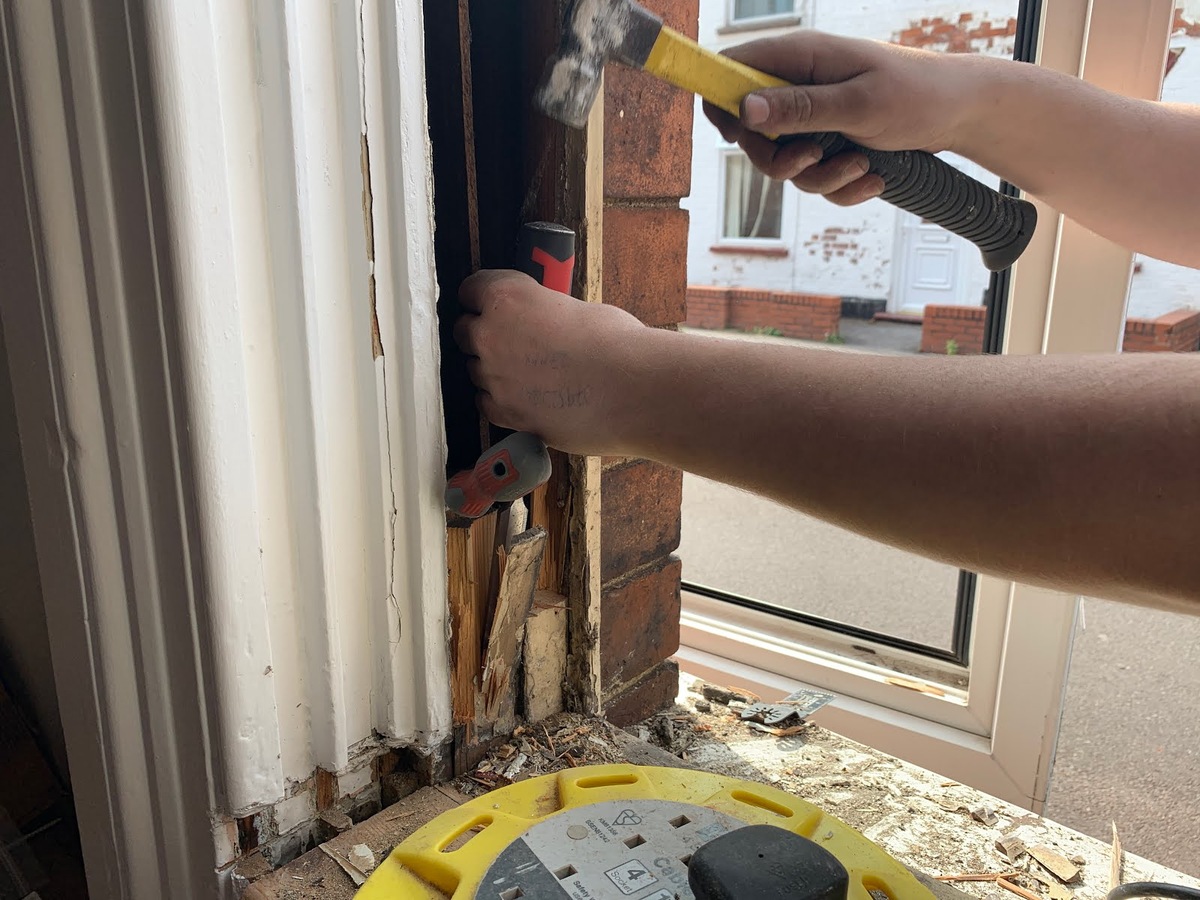
Step 3: Install J-Channel around the Window
J-Channel is a trim that is used to create a clean and finished look around the window frame. It provides a secure channel for the siding pieces to fit into. Here’s how to install J-Channel around the window:
- Start by positioning the J-Channel along the sides of the window frame. Make sure it overlaps the window trim slightly.
- Attach the J-Channel to the wall by using nails or screws. Place the fasteners approximately every 8 to 12 inches.
- Next, install the J-Channel along the top edge of the window frame. Again, ensure that it overlaps the trim.
- Secure the top J-Channel with nails or screws, spacing them every 8 to 12 inches.
- Finally, install the J-Channel along the bottom edge of the window frame, overlapping the trim.
- Fasten the bottom J-Channel in place with nails or screws.
Make sure that the J-Channel is level and securely attached to the wall. It should provide a snug and even fit around the window frame.
Installing J-Channel is an essential step as it provides the foundation for the siding installation. Once the J-Channel is in place, you can proceed to the next step: installing the first siding piece.
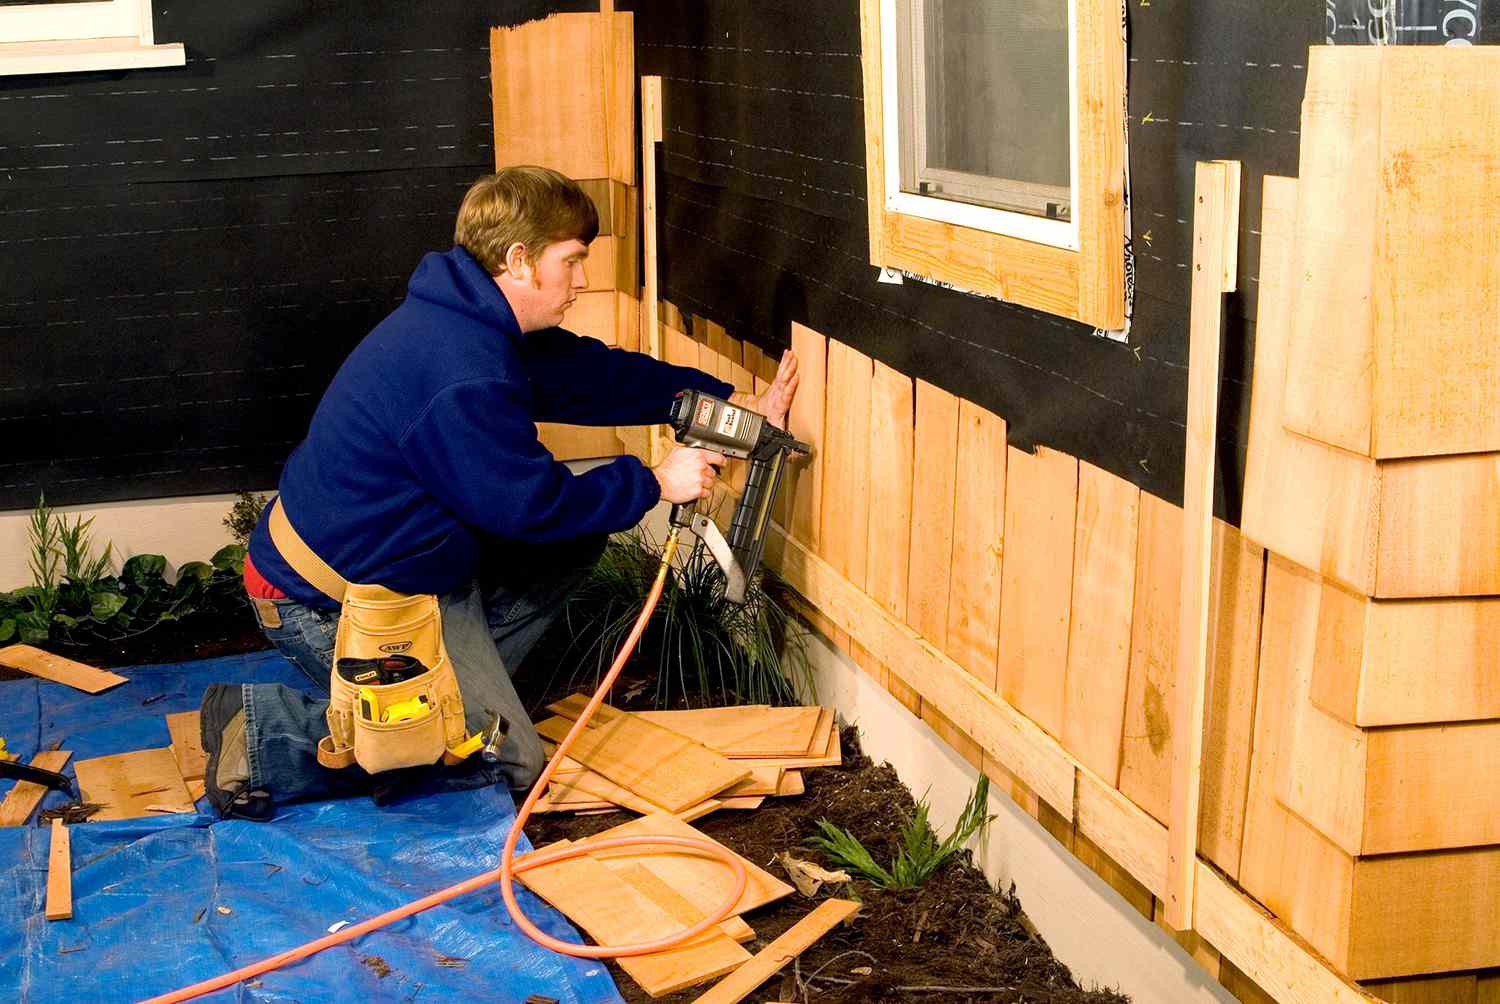
Step 4: Install the First Siding Piece
With the J-Channel in place, it’s time to install the first siding piece. This piece serves as the starting point for the rest of the siding installation. Follow these steps to install the first siding piece:
- Position the siding piece at the bottom corner of the window, fitting it into the J-Channel.
- Ensure that the bottom edge of the siding piece is aligned with the bottom edge of the J-Channel.
- Secure the siding piece into place by either nailing or screwing it, depending on the type of siding you are using. Drive the fasteners through the top edge of the siding piece, leaving a small gap for expansion.
- Check that the siding piece is level both vertically and horizontally. Use a level to ensure it is straight.
- Continue installing additional siding pieces adjacent to the first piece, locking them into the J-Channel and securing them as before.
As you install each new siding piece, make sure they are snugly fit together. This will create a seamless appearance and provide a solid wall of siding around the window.
Take your time to ensure each siding piece is properly aligned and securely fastened. This will contribute to the overall durability and longevity of the siding installation.
Once you have installed the first siding piece and its adjacent pieces, you can move on to the next step: continuing to install siding around the window.
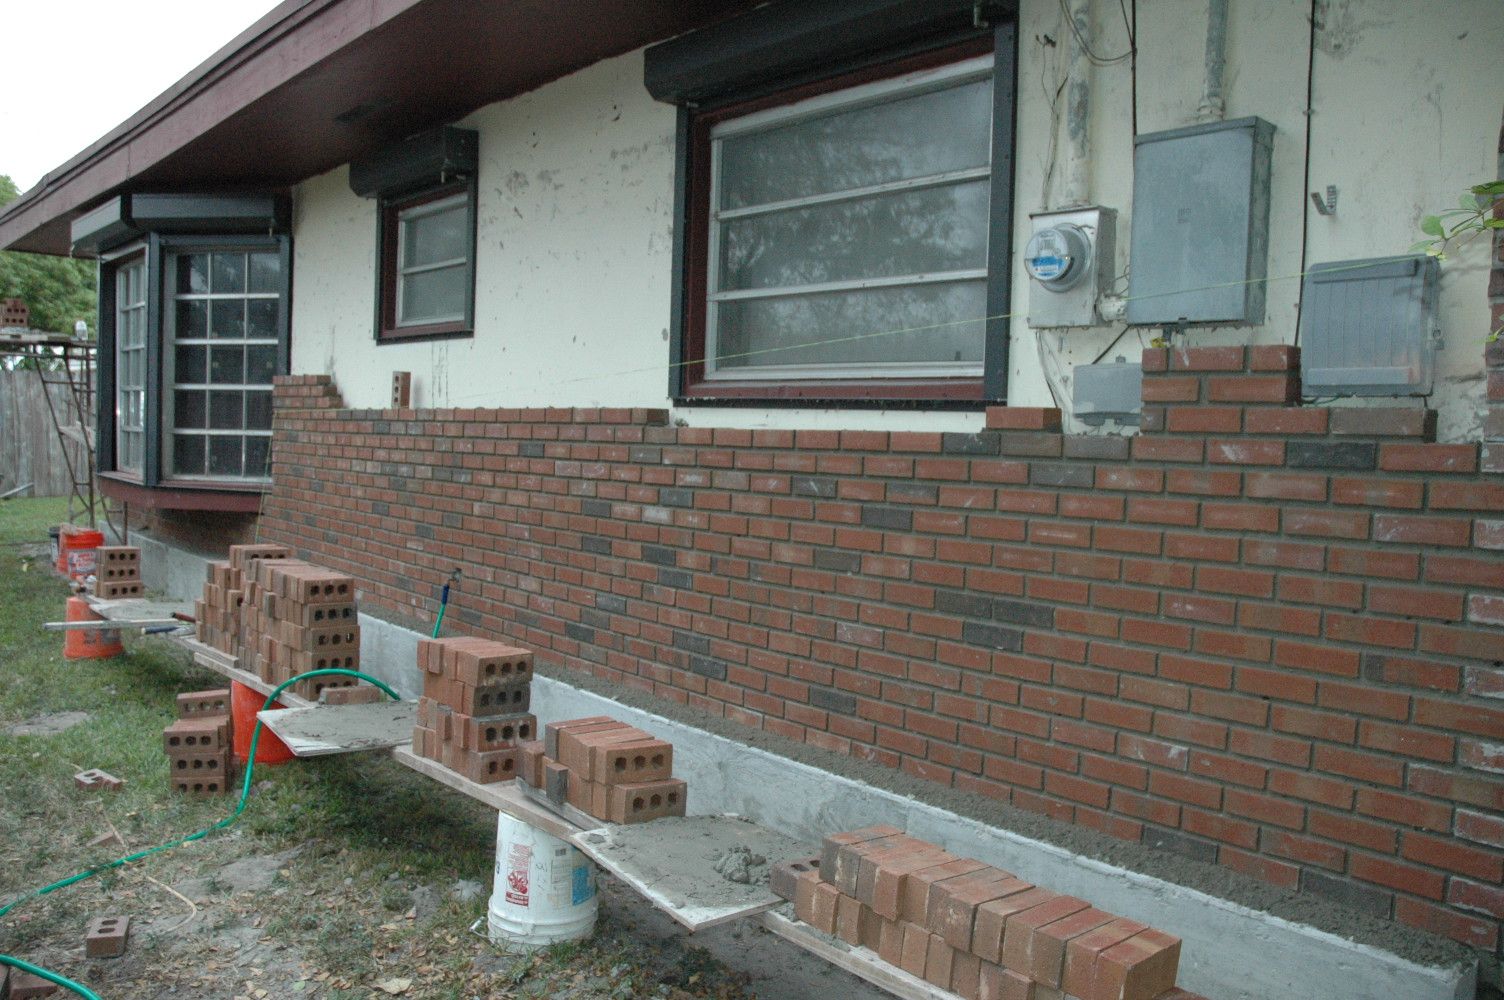
When installing siding around windows, make sure to properly flash the window to prevent water infiltration. Use a J-channel around the window to create a clean and finished look.
Read more: How To Apply Stucco Around Windows
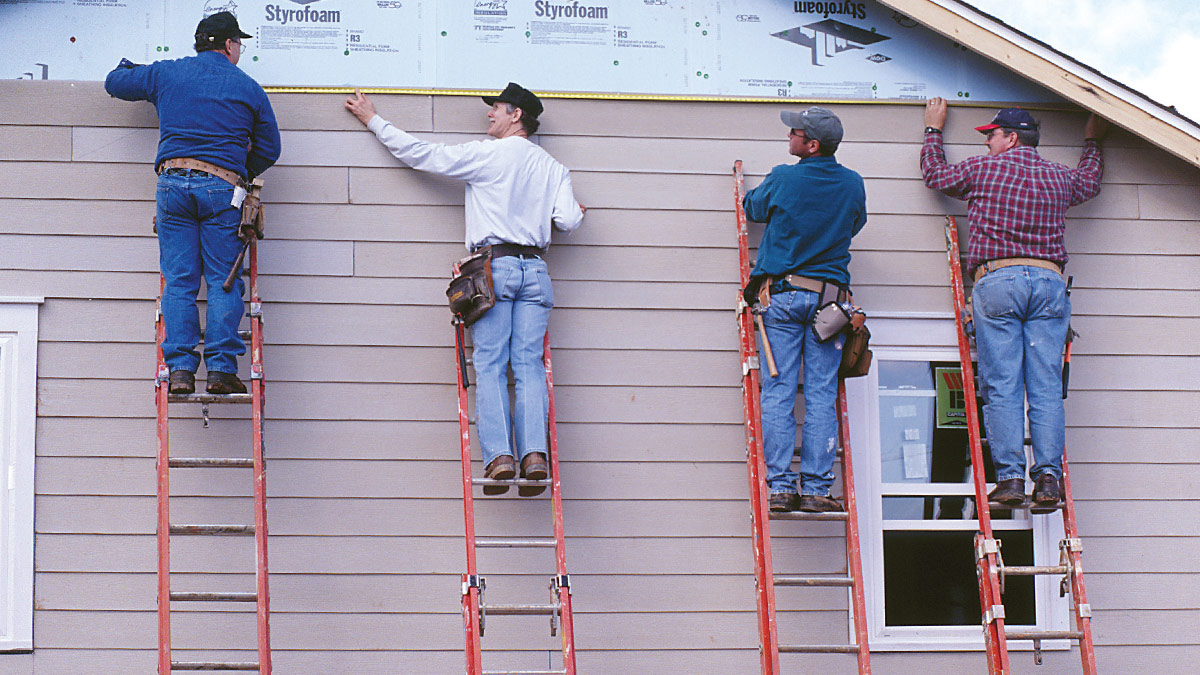
Step 5: Continue Installing Siding around the Window
Now that you have installed the first siding piece and established a starting point, it’s time to continue installing siding around the window. Follow these steps to ensure a smooth and professional installation:
- Fit the next siding piece into the J-Channel, aligning it with the edge of the previous piece.
- Make sure the top edge of the new siding piece overlaps the bottom edge of the previous piece.
- Secure the siding piece into place with nails or screws, following the manufacturer’s guidelines for spacing.
- Repeat this process for each subsequent siding piece, ensuring a tight and seamless fit.
- Check the level and alignment of each siding piece as you go, making any necessary adjustments.
- If needed, cut the siding pieces to fit around obstacles such as corners or windowsills using a saw.
- Continue installing siding until you have completely encircled the window.
It’s important to maintain consistent spacing and alignment between the siding pieces to achieve a professional and visually appealing result. Take your time and double-check your work at each step to ensure accuracy.
By following these steps, you’ll be able to continue installing siding smoothly and efficiently around the window. Once you have completed the siding installation, you can move on to the next step: trimming and finishing the siding.
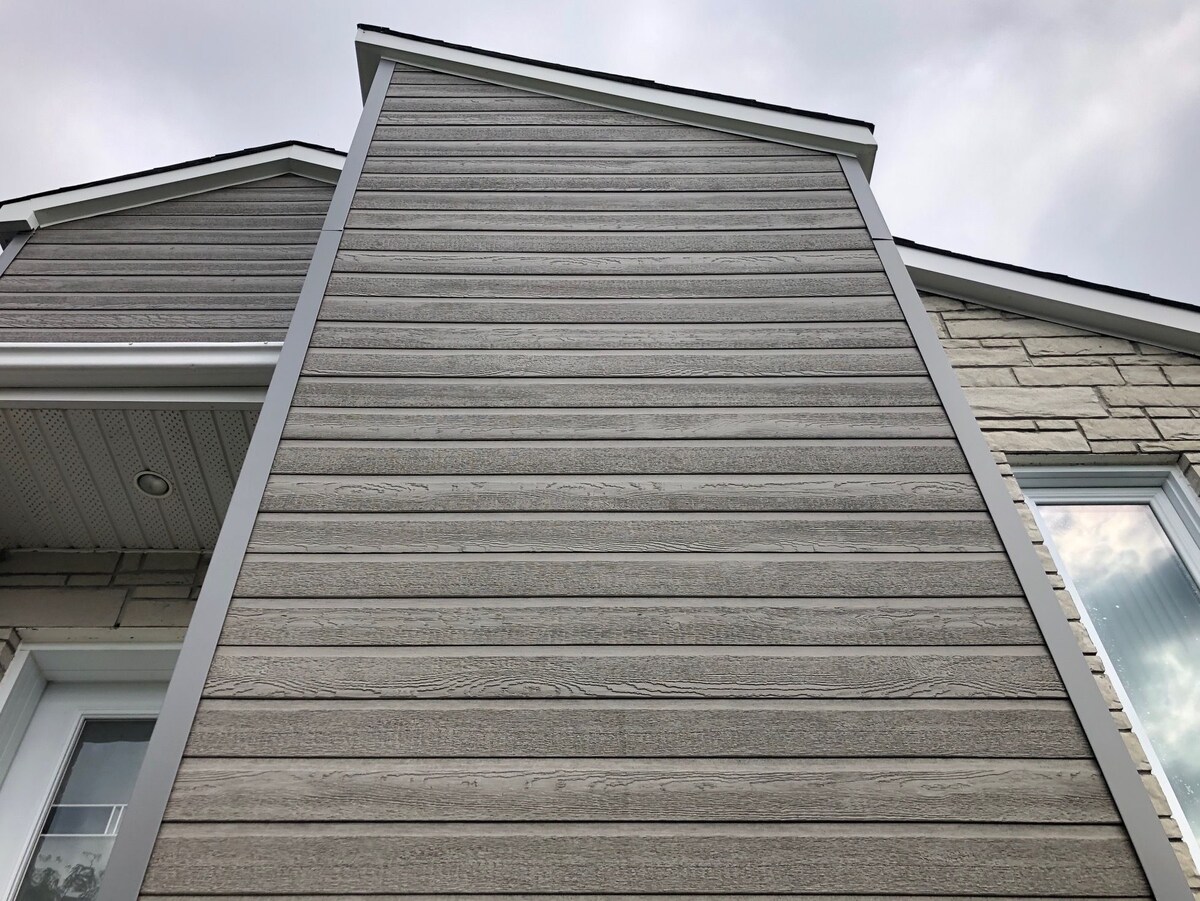
Step 6: Trim and Finish the Siding
After successfully installing the siding around the window, it’s time to trim and finish the edges for a polished appearance. Follow these steps to complete this important step:
- Measure the length of the area that needs to be trimmed, such as the top or sides of the window.
- Transfer the measurements onto a new piece of siding material.
- Using a saw, carefully cut the siding material to the measured length.
- Fit the trimmed siding piece into the corresponding area, making sure it aligns evenly with the surrounding siding.
- Secure the trimmed siding piece in place using nails or screws.
- Repeat this process for any other areas that require trimming, ensuring a neat and uniform finish.
Once all the necessary trimming is complete, step back and assess the overall appearance. Make any minor adjustments if needed to ensure the siding looks clean and well-finished around the windows.
Trimming the siding helps to create a seamless transition between the siding and the window frame. It adds a professional touch to the installation and gives your home a polished look.
Now that you have trimmed and finished the siding, it’s time to move on to the next step: caulking and sealing the edges.
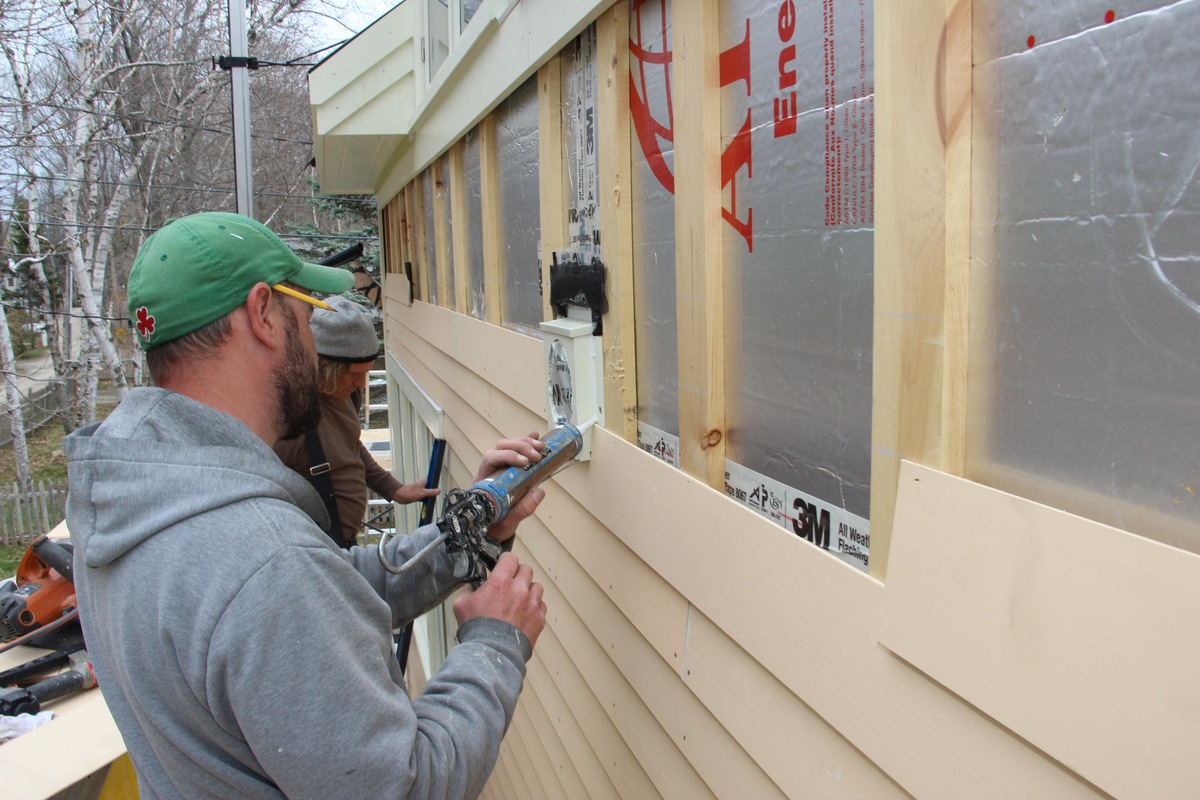
Step 7: Caulk and Seal the Edges
Caulking and sealing the edges of the siding around the windows is a crucial step to prevent water infiltration and increase energy efficiency. Follow these steps to properly caulk and seal the edges:
- Inspect the edges of the siding around the windows for any gaps or spaces.
- Choose a high-quality exterior caulk that is suitable for the siding material you are working with.
- Load the caulk into a caulk gun and cut the tip of the nozzle at a 45-degree angle.
- Start at one corner of the window and apply a steady and consistent bead of caulk along the gap between the siding and the window frame.
- Use a caulk smoothing tool or a damp cloth to smooth and feather the caulk, ensuring it blends seamlessly with the siding.
- Continue caulking and sealing all the edges around the windows, paying close attention to any areas where water could potentially penetrate.
- Allow the caulk to dry according to the manufacturer’s instructions.
Caulking and sealing provide an extra layer of protection against the elements, preventing moisture from seeping into the gaps and causing damage to the siding and the underlying structure of your home.
It’s important to periodically inspect and re-caulk the edges to maintain the integrity of the seal and ensure long-lasting protection.
With the edges properly caulked and sealed, you can now move on to the optional step of painting or finishing the siding.
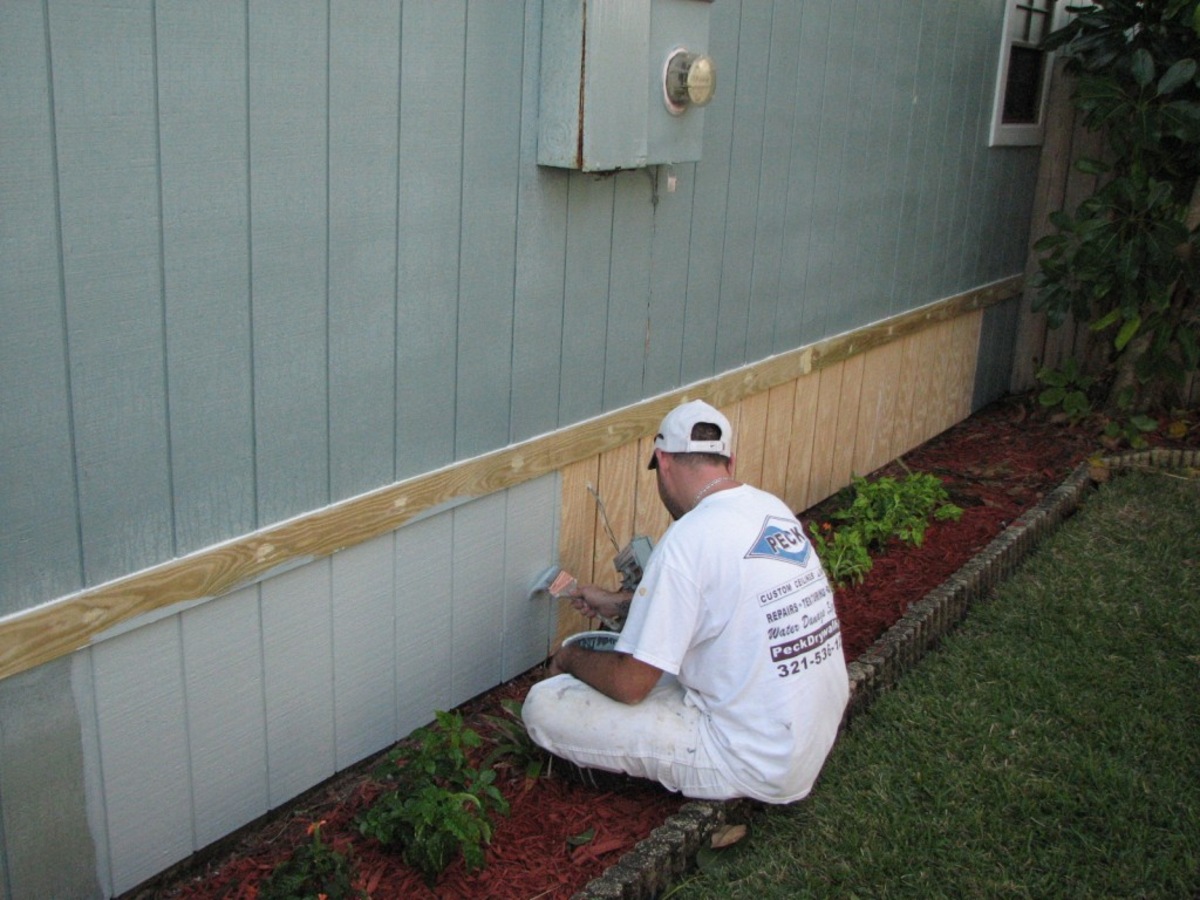
Step 8: Paint or Finish the Siding (Optional)
Once the siding around the windows is installed, trimmed, caulked, and sealed, you have the option to further enhance its appearance by painting or applying a finish. Here’s how to proceed:
- Prepare the siding surface by ensuring it is clean and free of any dirt, dust, or debris.
- If necessary, apply a primer to the siding to ensure better adhesion of the paint or finish.
- Choose a high-quality exterior paint or finish that is suitable for the type of siding material you have installed.
- Follow the manufacturer’s instructions for proper mixing and application of the paint or finish.
- Use a paintbrush or a sprayer to apply an even coat of paint or finish to the siding.
- Allow the first coat to dry according to the recommended drying time.
- Apply additional coats if necessary, ensuring each coat is dry before applying the next one.
- Inspect the painted or finished siding for any inconsistencies or missed spots, and touch up as needed.
Painting or finishing the siding not only adds a splash of color but also provides an additional layer of protection against the elements. It can help seal the siding and prolong its lifespan while enhancing the overall curb appeal of your home.
Remember to choose paint or finish that complements your home’s exterior and follows any applicable homeowner association guidelines or local regulations.
With the siding now beautifully painted or finished, you have completed the installation process. Take a step back and admire your handiwork, knowing that you have successfully installed siding around your windows to improve the appearance and protection of your home.
Congratulations on completing the installation of siding around your windows! Your hard work and attention to detail will provide lasting benefits for your home’s exterior. Enjoy the enhanced curb appeal and the peace of mind that comes with a well-protected and stylish home.
For any further assistance or questions, don’t hesitate to consult with a professional or refer to the manufacturer’s guidelines specific to your siding material.
Read more: How To Tile Around A Window Recess
Conclusion
Installing siding around windows is a rewarding home improvement project that enhances both the aesthetics and functionality of your home. By following the step-by-step guide provided in this article, you can successfully complete the installation with confidence and achieve professional-looking results.
We began by preparing the necessary tools and materials, ensuring that you have everything you need for the installation process. Accurate measurement and precise cutting of the siding pieces were emphasized in the next step, followed by the installation of J-Channel to create a secure channel for the siding.
With the foundation set, we moved on to installing the first siding piece and continuing the installation around the window. Each piece was carefully aligned, secured, and checked for levelness and alignment to achieve a seamless and cohesive look.
Trimming and finishing the siding around the window provided the final touches for a professional appearance. Caulking and sealing the edges provided crucial protection against water infiltration and increased energy efficiency.
Lastly, the optional step of painting or finishing the siding allowed for further customization and enhanced curb appeal.
Remember to prioritize safety throughout the entire installation process, wearing protective gear and following manufacturer guidelines for the specific materials and tools you are working with.
By following these steps, you can confidently install siding around windows and enjoy a beautiful, well-protected home for years to come. As with any home improvement project, remember to consult with professionals or refer to manufacturer guidelines for specific details and recommendations.
Now it’s time to sit back, admire your handiwork, and enjoy the many benefits of the newly installed siding around your windows.
Frequently Asked Questions about How To Install Siding Around Windows
Was this page helpful?
At Storables.com, we guarantee accurate and reliable information. Our content, validated by Expert Board Contributors, is crafted following stringent Editorial Policies. We're committed to providing you with well-researched, expert-backed insights for all your informational needs.


0 thoughts on “How To Install Siding Around Windows”