Home>Technology>Home Entertainment Systems>How Do I Adjust Projector To Fit Screen?
Home Entertainment Systems
How Do I Adjust Projector To Fit Screen?
Modified: August 28, 2024
Learn how to adjust your projector to fit the screen perfectly for your home entertainment system. Get the best viewing experience with our step-by-step guide.
(Many of the links in this article redirect to a specific reviewed product. Your purchase of these products through affiliate links helps to generate commission for Storables.com, at no extra cost. Learn more)
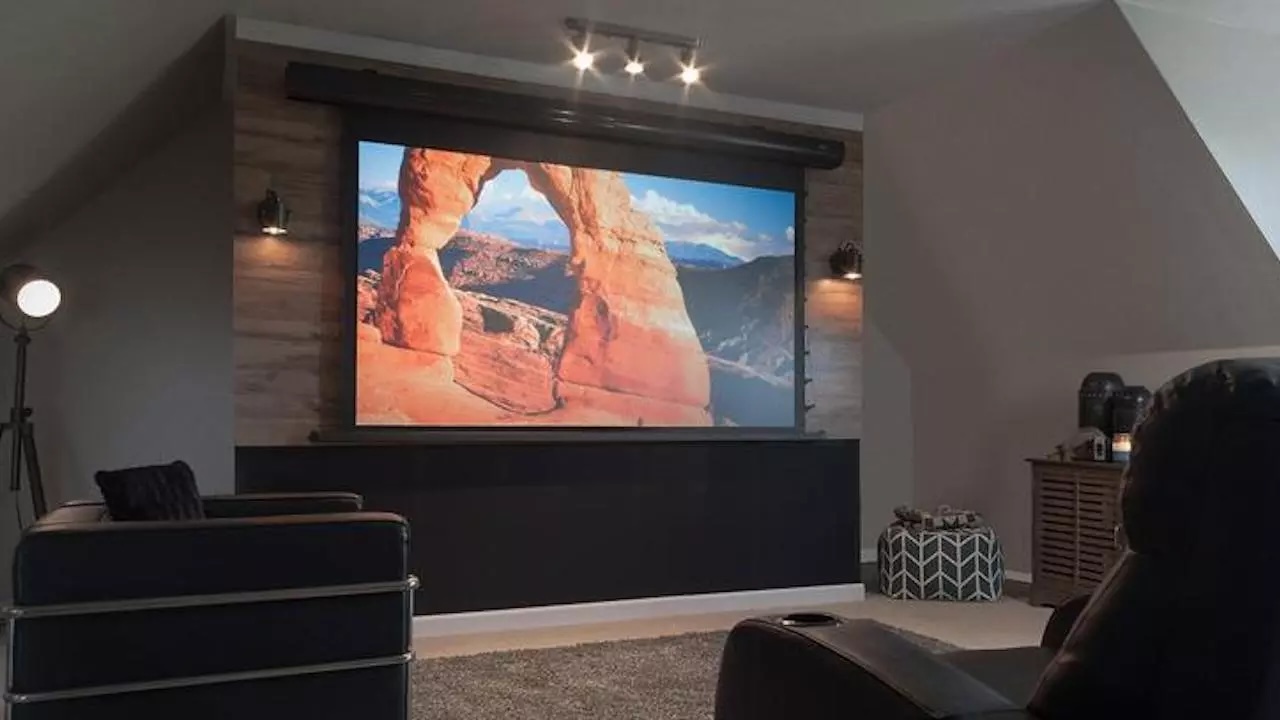
Introduction
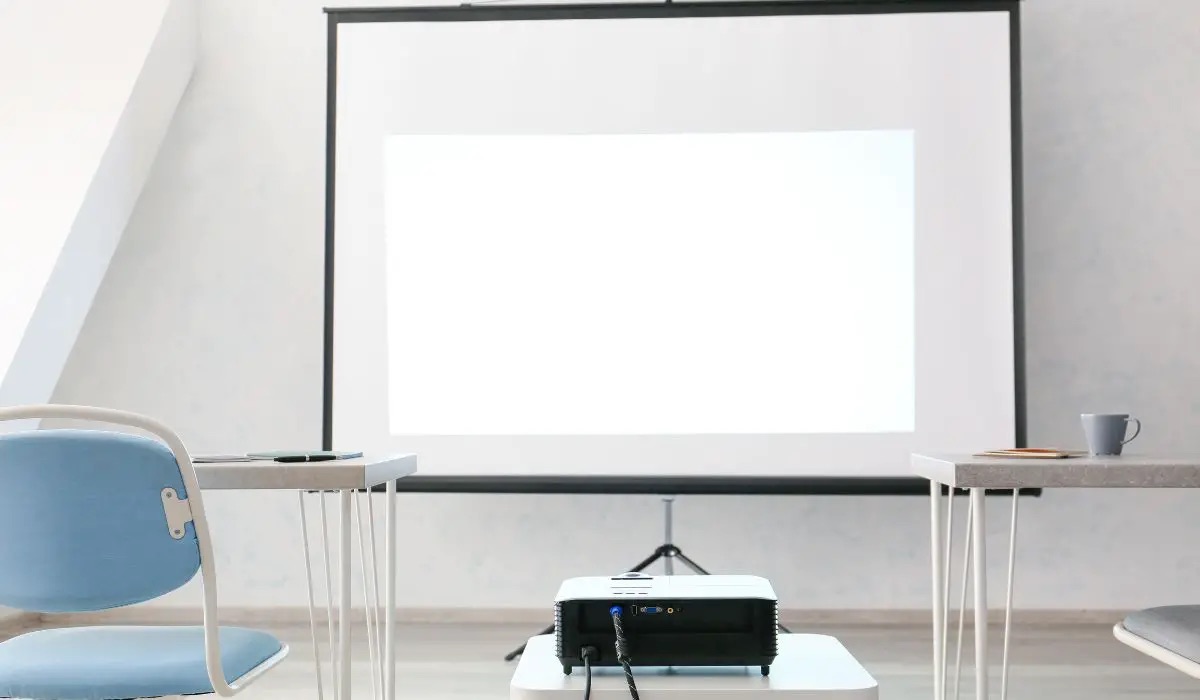
Setting up a home entertainment system with a projector can elevate your viewing experience to new heights. Whether you're enjoying a movie night with friends or immersing yourself in the latest video game release, the quality of your projection can significantly impact your overall enjoyment. One crucial aspect of optimizing your projector setup is ensuring that the projected image fits your screen perfectly. This involves adjusting the projector's position, understanding aspect ratios, utilizing keystone correction, and conducting thorough testing. In this guide, we'll delve into the intricacies of adjusting a projector to fit your screen, empowering you to create an immersive and visually stunning home entertainment environment.
Key Takeaways:
- Understand aspect ratios to fit your projector image perfectly on the screen. Match projector and content aspect ratios, and consider screen aspect ratio for a seamless viewing experience.
- Position your projector, use keystone correction, and conduct thorough testing for an optimal fit on the screen. Experiment with settings and seek feedback for a visually stunning home entertainment setup.
Read more: How To Adjust Epson Projector To Fit Screen
Understanding Aspect Ratio
Before delving into the technical aspects of adjusting your projector, it’s essential to grasp the concept of aspect ratio. In the realm of home entertainment systems, the aspect ratio refers to the proportional relationship between the width and height of the projected image. Common aspect ratios include 4:3, 16:9, and 16:10, each suited for different types of content and screens. Understanding the native aspect ratio of your projector and the aspect ratio of the content you’ll be viewing is pivotal in achieving an optimal fit on your screen.
For instance, if your projector has a native aspect ratio of 16:9 and you’re projecting content with a 4:3 aspect ratio, you’ll need to make adjustments to ensure that the image fits your screen without distortion. This may involve adjusting the projector’s zoom, lens shift, or screen positioning to accommodate the differing aspect ratios. By familiarizing yourself with the aspect ratios involved, you’ll be better equipped to make precise adjustments for a seamless viewing experience.
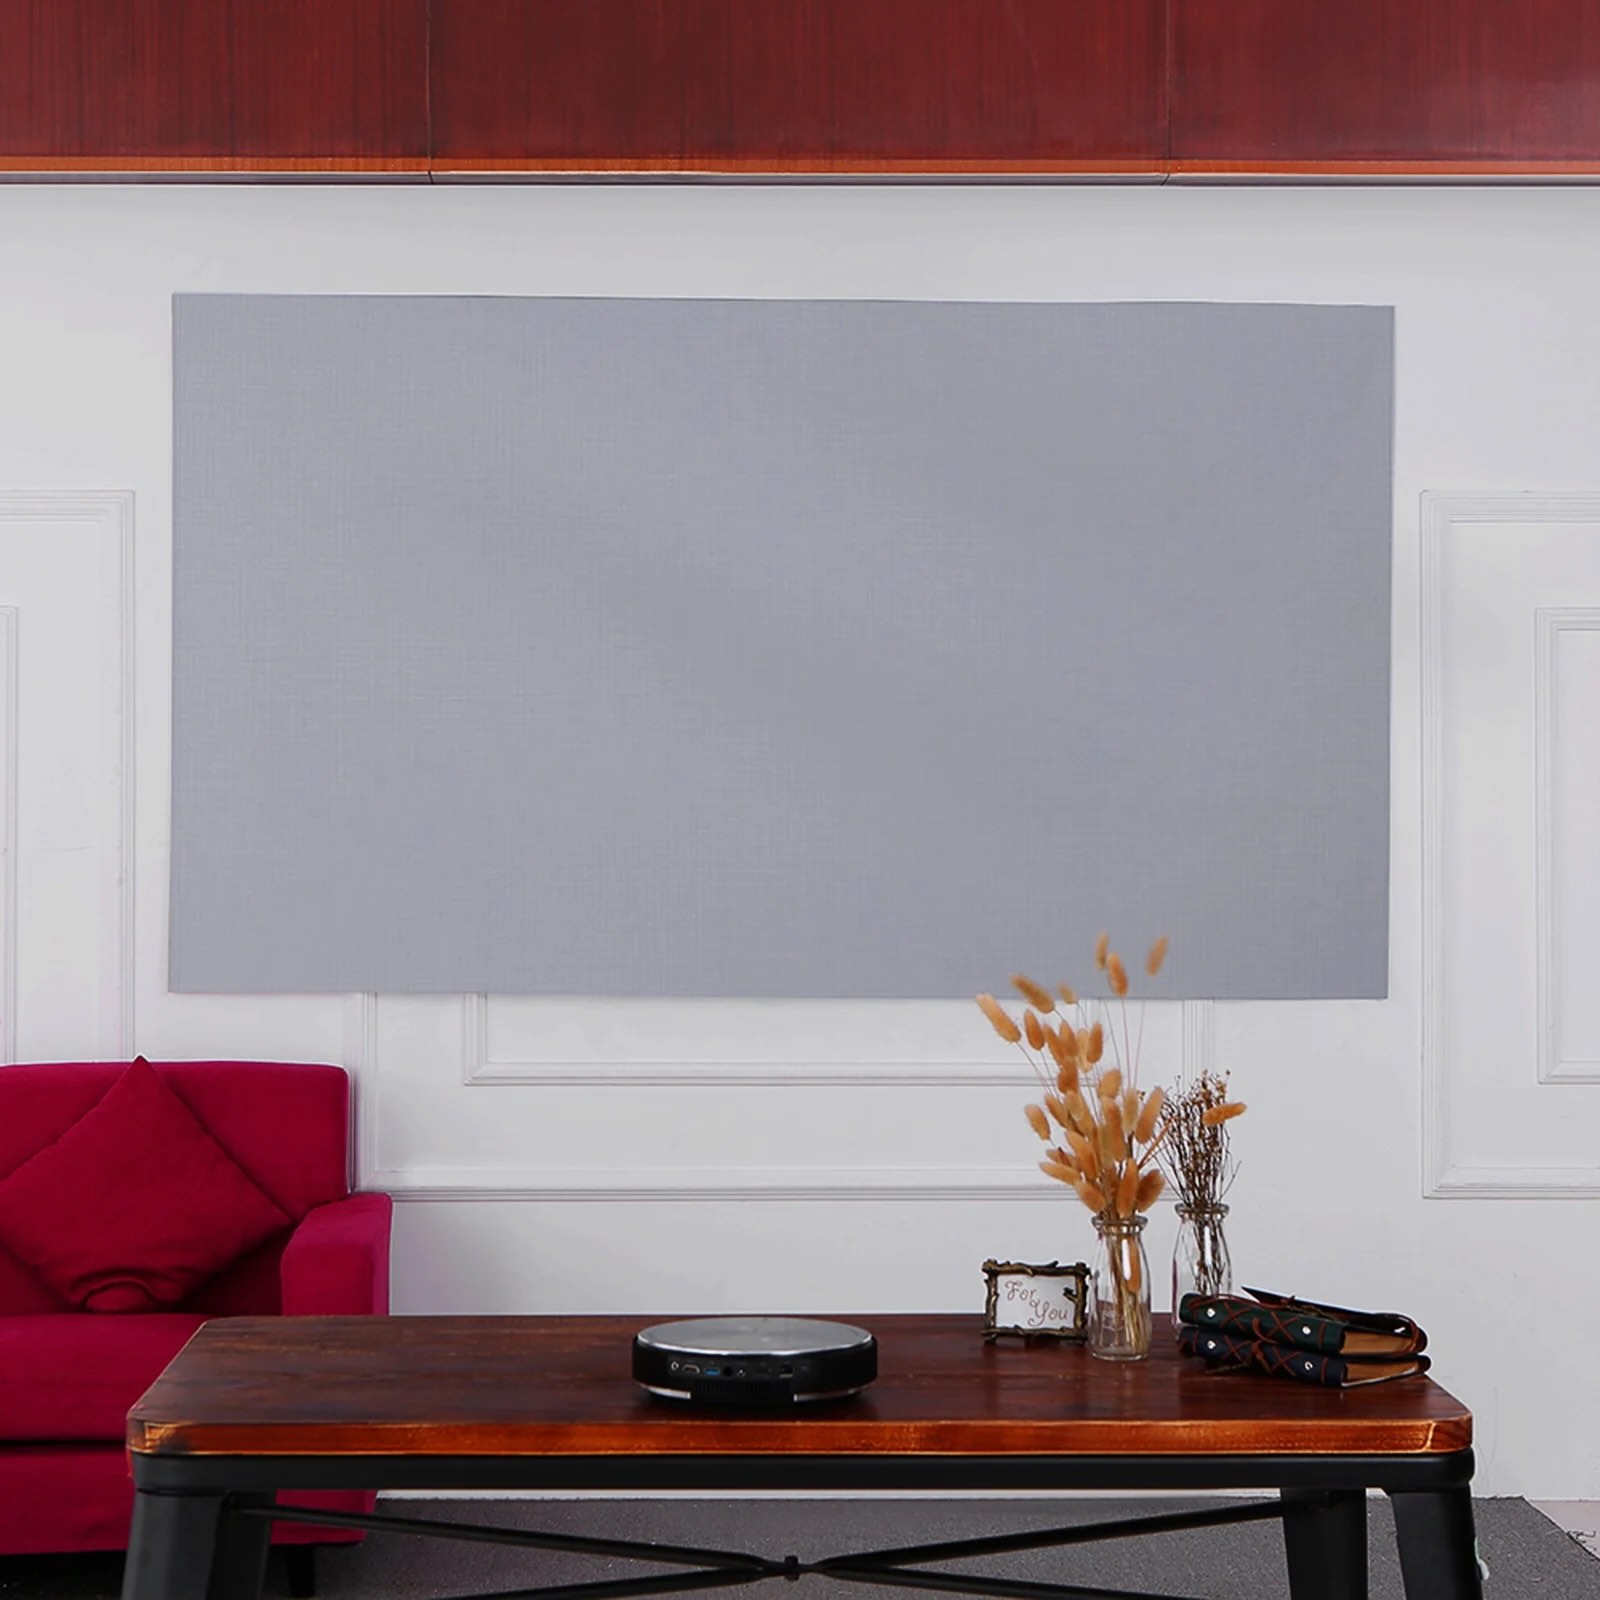
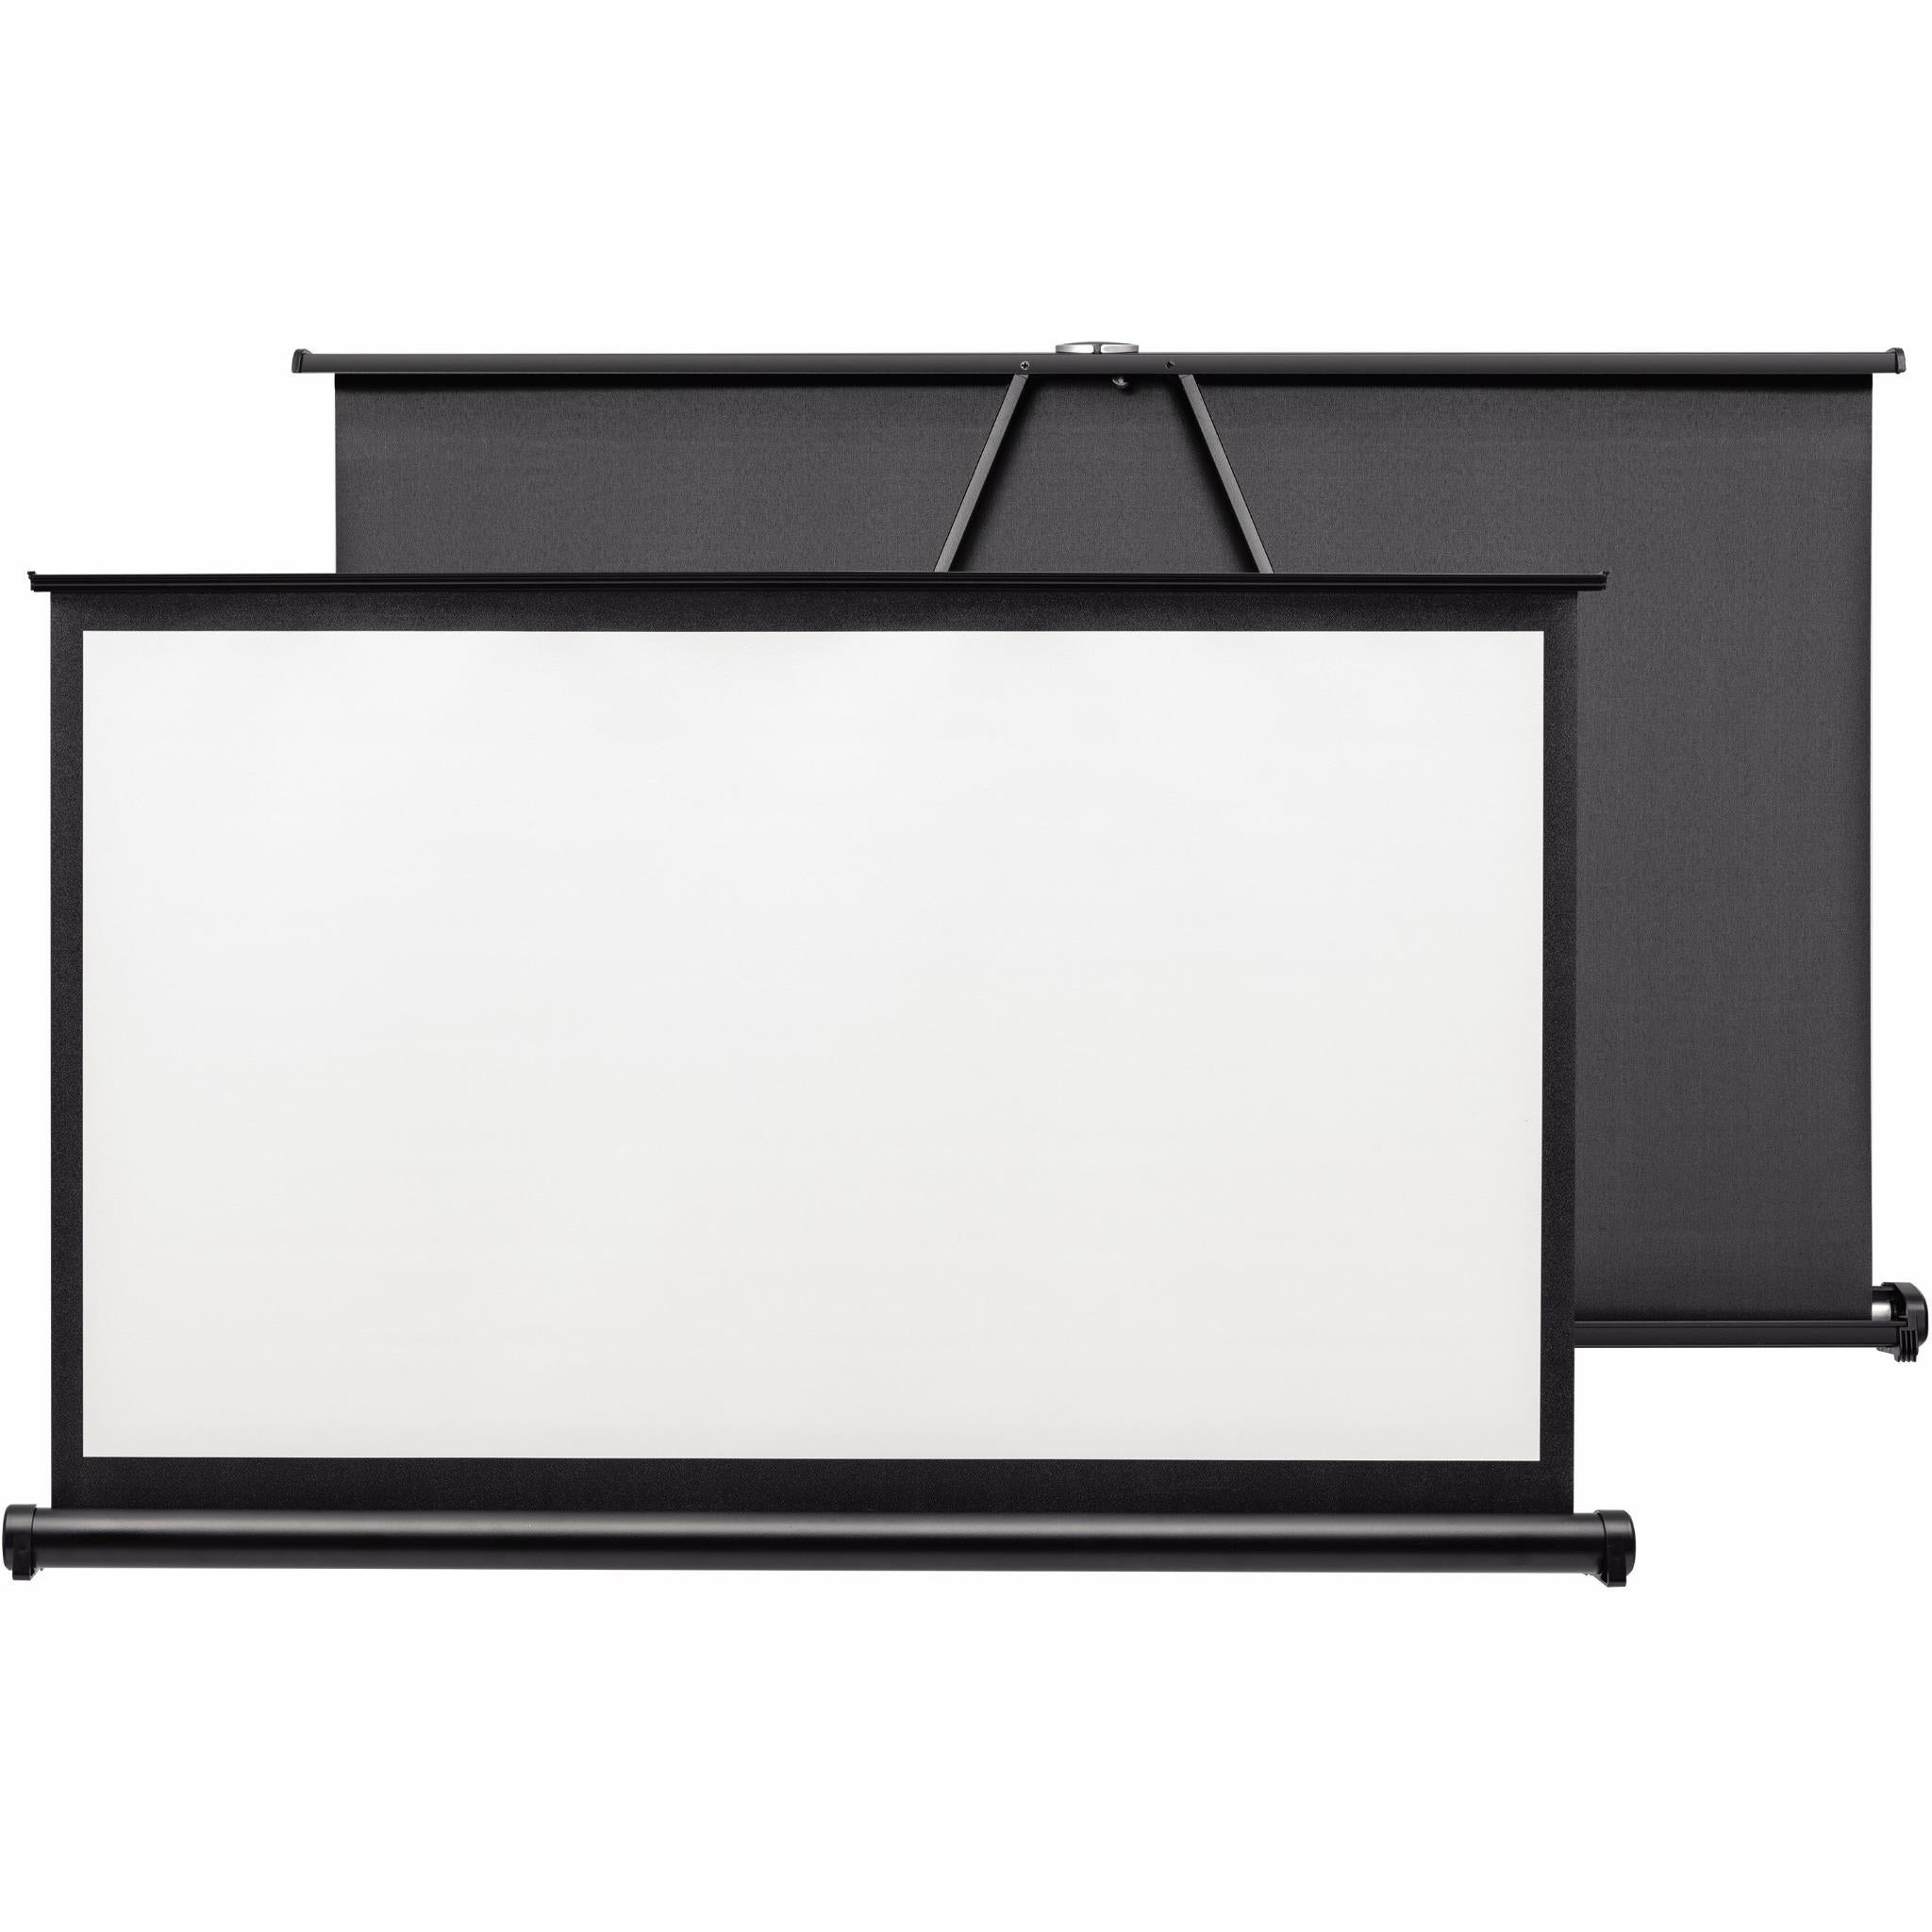
Furthermore, it’s important to consider the aspect ratio of the screen itself. Whether you have a traditional 4:3 screen or a widescreen 16:9 display, the screen’s aspect ratio will influence how the projected image appears. Matching the projector’s aspect ratio to that of the screen can minimize the need for extensive adjustments and help maintain the integrity of the projected content.
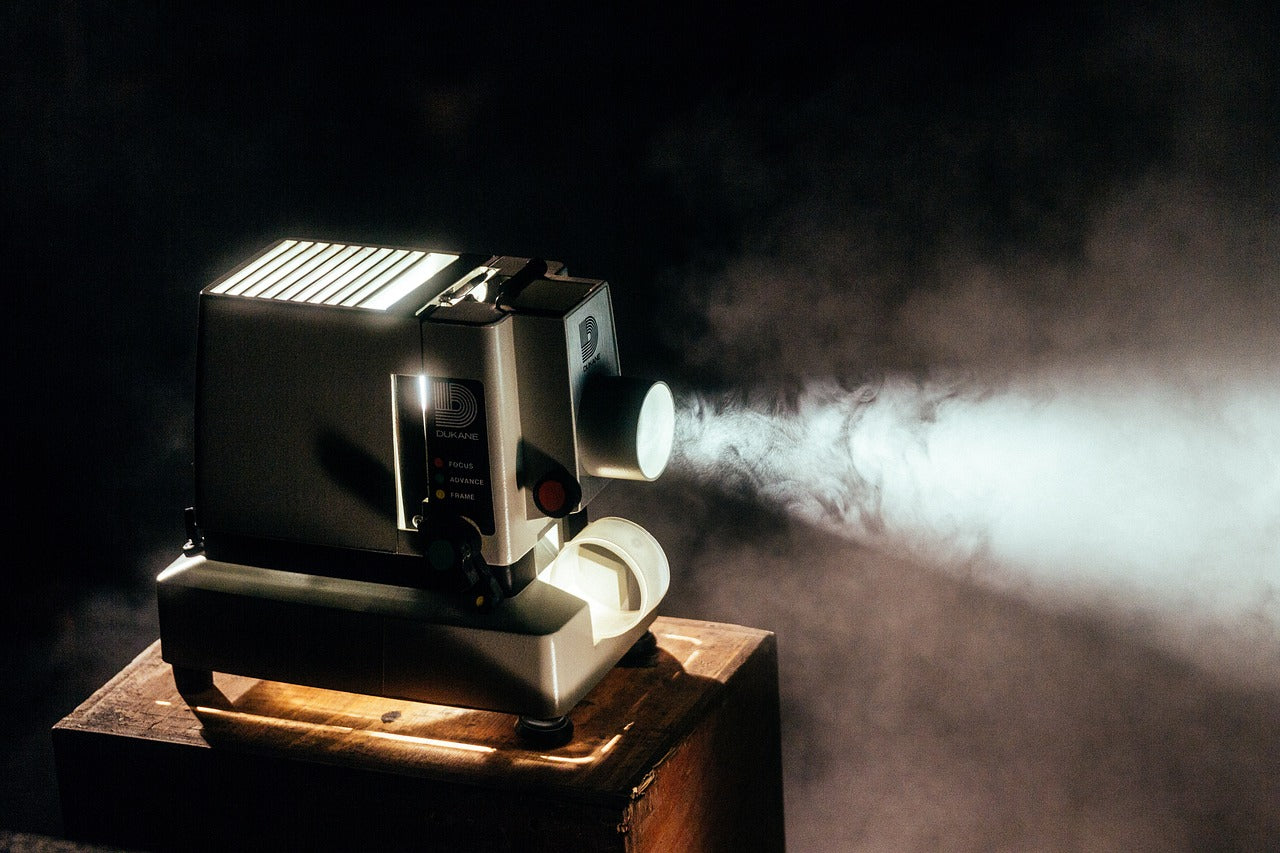
Adjusting the Projector’s Position
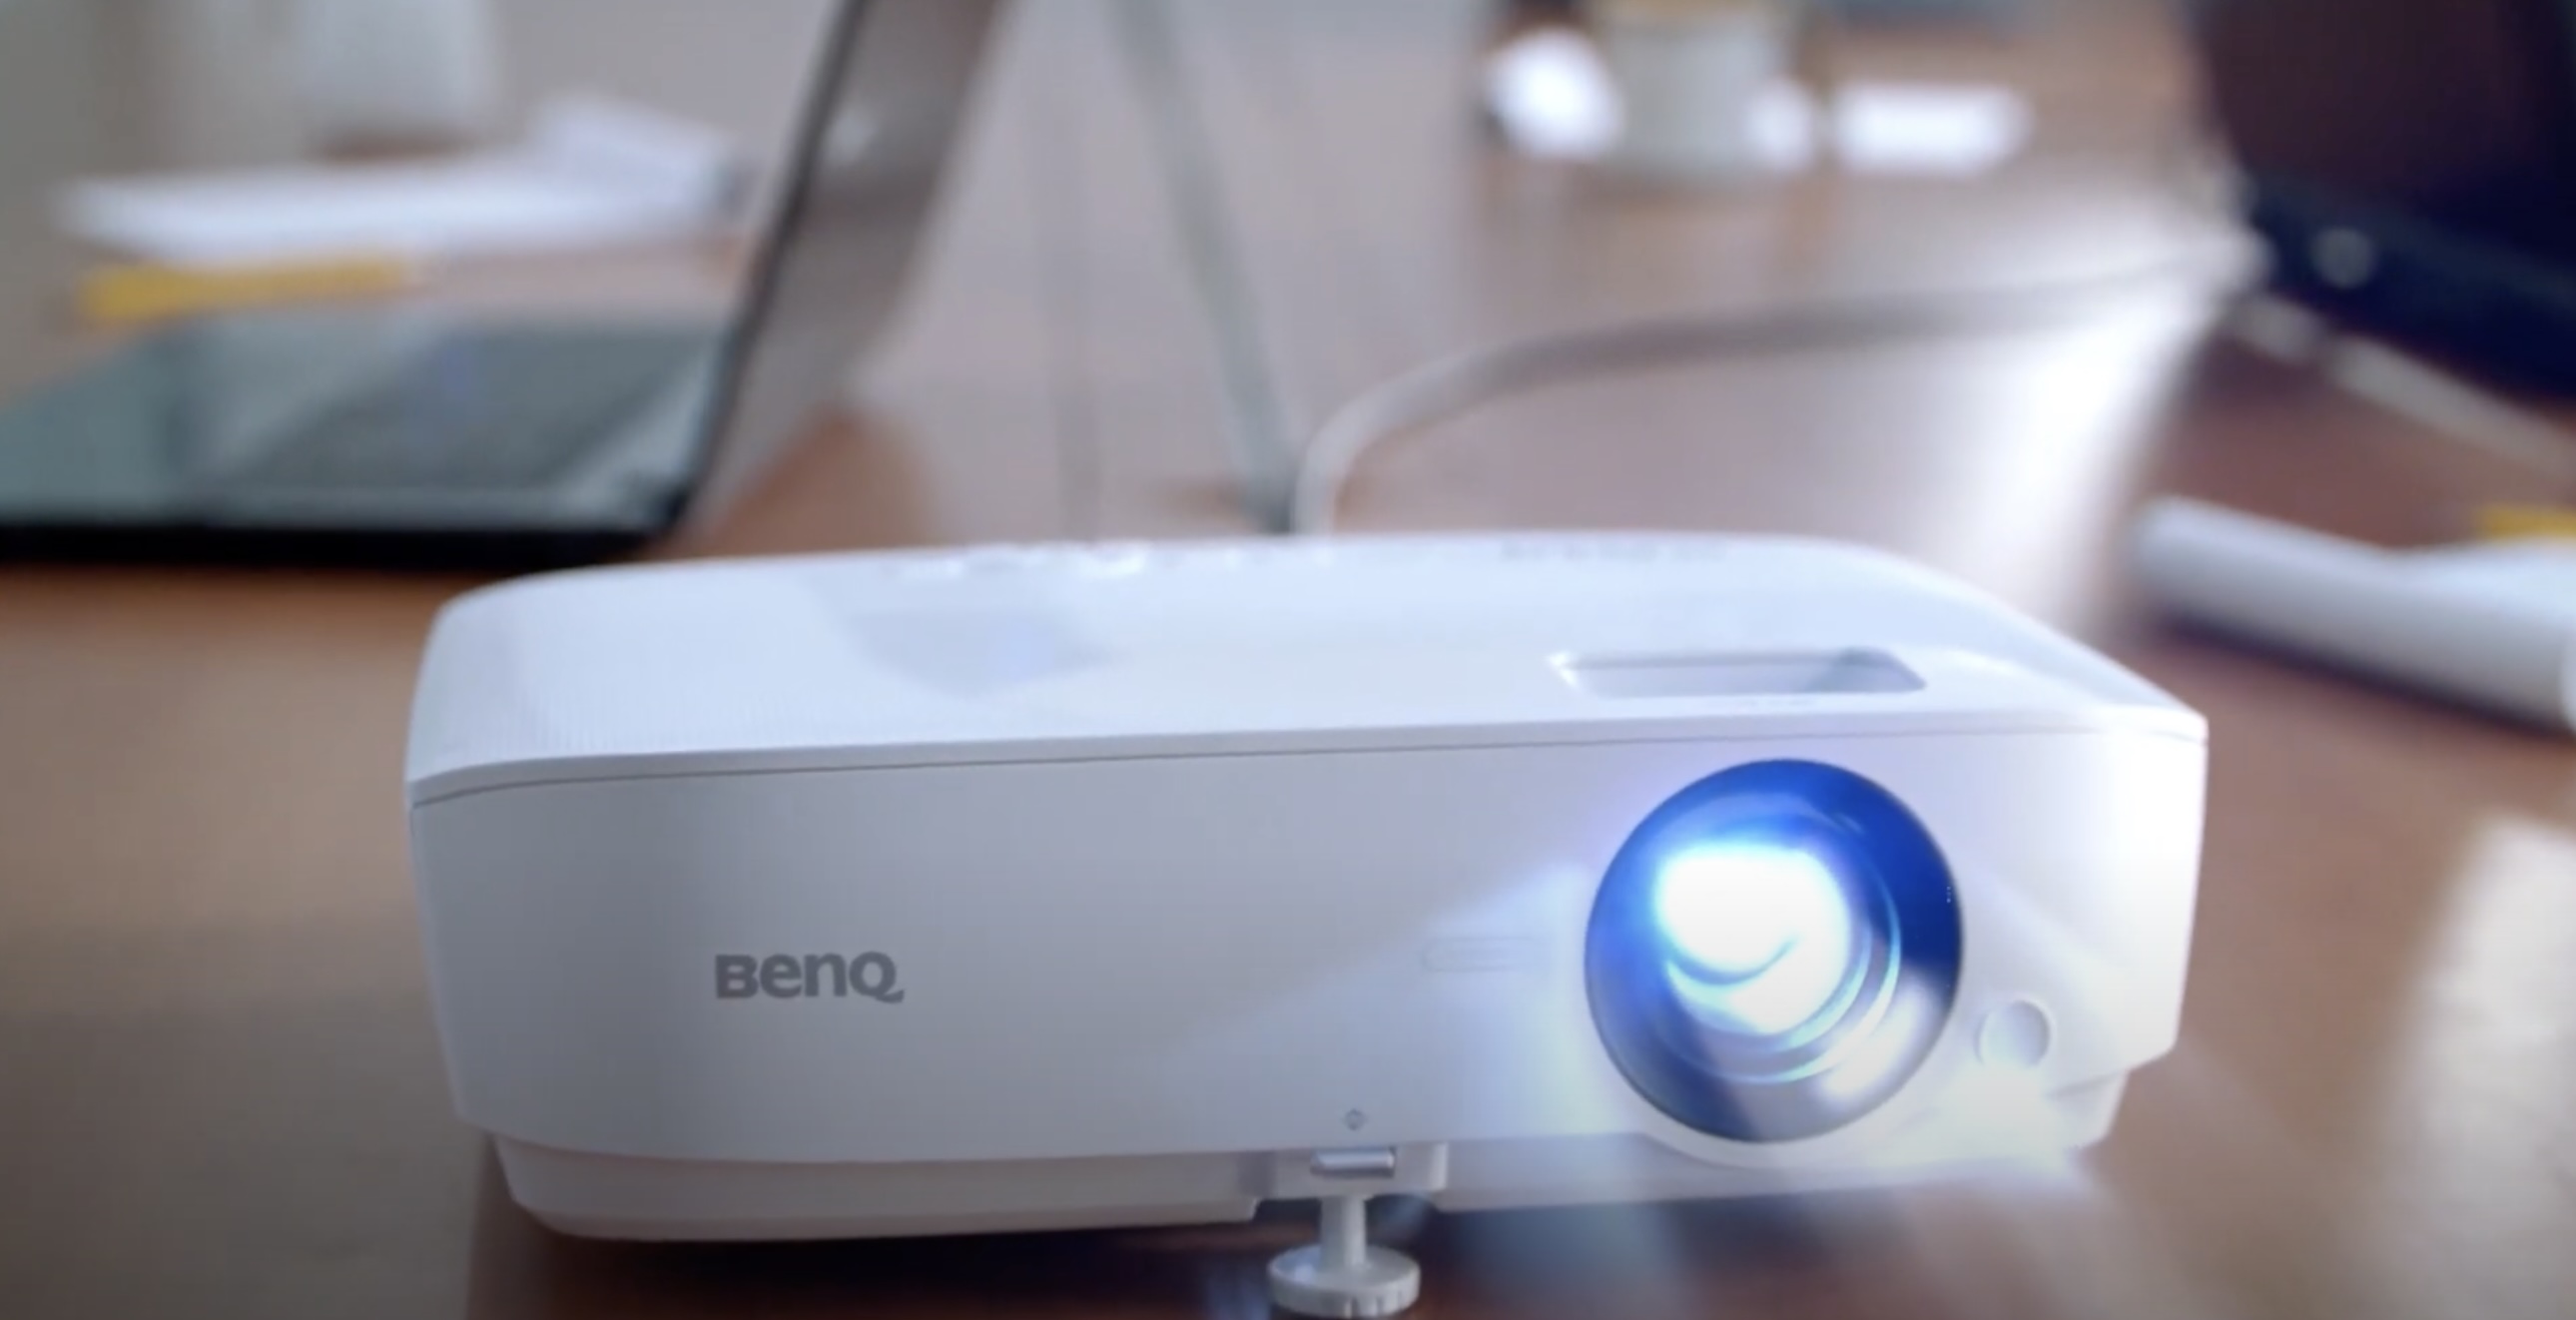
Proper positioning of the projector is crucial for achieving an optimal fit on your screen. Start by placing the projector at a distance from the screen that aligns with its throw ratio, which determines the projector’s throw distance in relation to the width of the projected image. Consulting the projector’s manual or specifications will provide valuable information regarding its throw ratio and recommended positioning.
Once the projector is positioned at the appropriate distance, ensure that it is parallel to the screen to prevent distortion. Using a level, adjust the projector’s angle to align it perfectly with the screen’s vertical and horizontal planes. This step is vital for maintaining the integrity of the projected image and avoiding skewed or trapezoidal visuals.
Next, fine-tune the projector’s placement to achieve the desired image size on the screen. Most projectors offer zoom and lens shift capabilities, allowing you to adjust the size and position of the projected image without physically moving the projector. By utilizing these features, you can precisely fit the image to your screen, ensuring that no portion of the content is lost beyond the screen’s borders.
It’s important to note that the specific adjustments required will vary based on the projector model and the dimensions of your screen. Taking the time to experiment with the projector’s position and settings is key to achieving an ideal fit and maximizing the visual impact of your home entertainment setup.
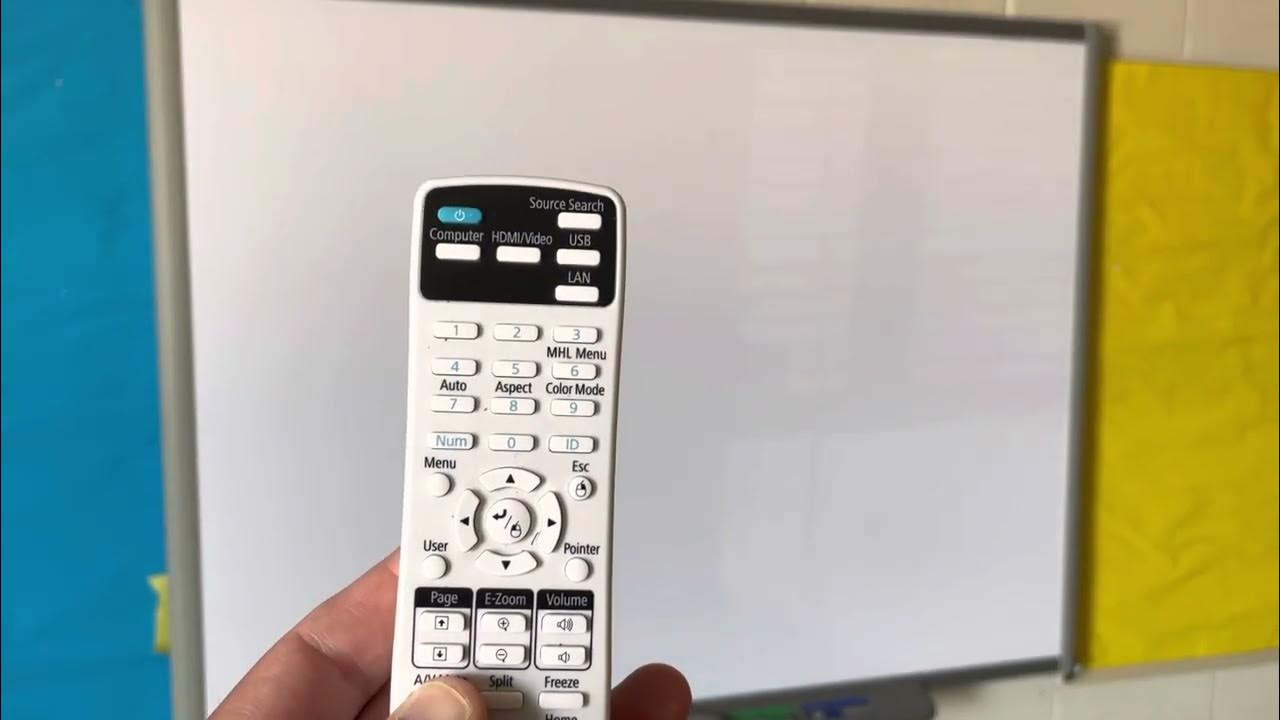
Use the projector’s keystone correction feature to adjust the image to fit the screen. This will help to correct any distortion caused by the angle of the projector.
Using Keystone Correction
Keystone correction is a valuable tool for fine-tuning the projected image to fit your screen, especially when the projector cannot be positioned perpendicular to the screen. When a projector is tilted or off-center, it can result in a trapezoidal distortion of the image, where the top or bottom appears wider than the other. Keystone correction digitally adjusts the image to compensate for this distortion, effectively squaring it up on the screen.
Most modern projectors are equipped with keystone correction features, which can be manual, automatic, or vertical/horizontal depending on the model. Manual keystone correction allows you to adjust the trapezoidal distortion using the projector’s menu or remote control, while automatic keystone correction detects and corrects the distortion when the projector is powered on. Additionally, some projectors offer both vertical and horizontal keystone correction, providing comprehensive control over the image’s alignment.
When utilizing keystone correction, it’s important to exercise caution, as excessive correction can lead to a reduction in image quality. While minor adjustments to correct trapezoidal distortion are generally acceptable, relying heavily on keystone correction to compensate for improper projector placement can compromise the clarity and sharpness of the projected image. Therefore, it’s advisable to prioritize proper projector positioning and utilize keystone correction as a supplementary adjustment when necessary.
By understanding and leveraging keystone correction effectively, you can mitigate the impact of projector misalignment and ensure that the projected image fits your screen with precision, regardless of the projector’s placement relative to the screen.
Testing and Final Adjustments
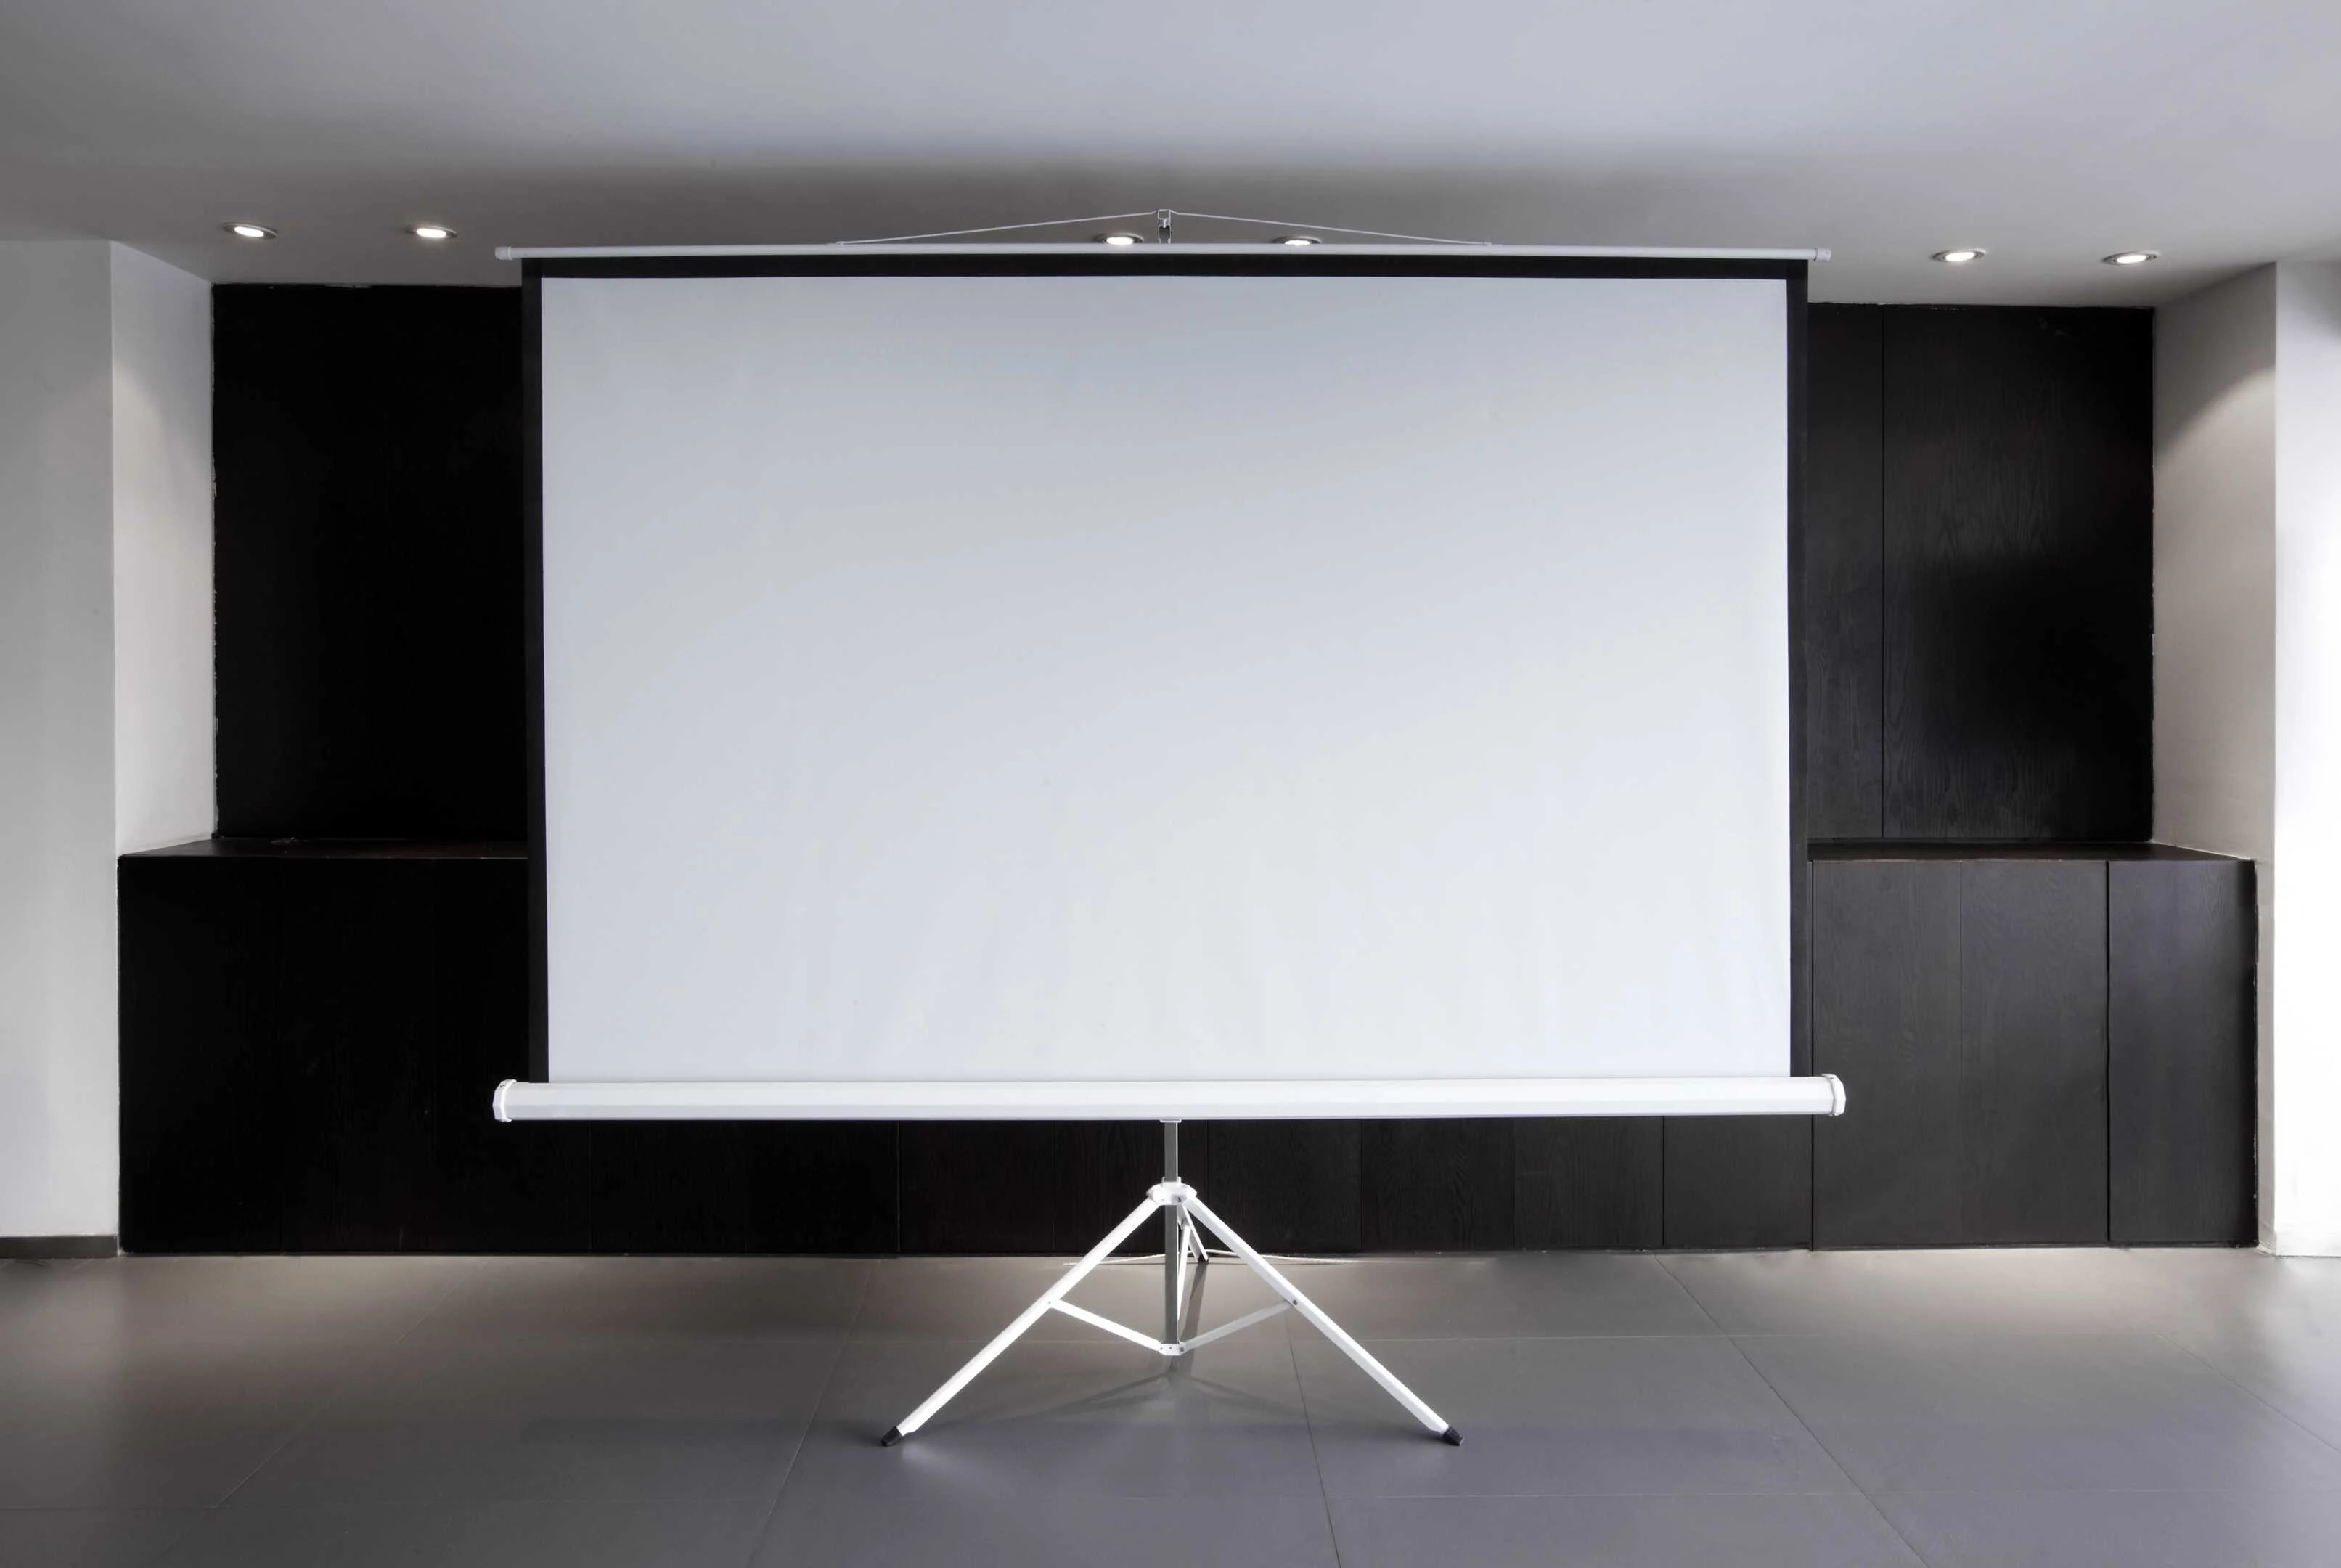
Once you’ve made initial adjustments to position the projector and utilize keystone correction as needed, it’s crucial to conduct thorough testing to ensure that the projected image fits your screen optimally. Begin by projecting a test pattern or grid onto the screen to assess the alignment and proportions of the image. This will help identify any remaining distortions or misalignments that require further adjustment.
During testing, pay close attention to the edges and corners of the projected image to check for any irregularities or skewing. If the image appears trapezoidal or exhibits uneven proportions, revisit the projector’s position and keystone correction settings to fine-tune the alignment. Additionally, verify that the projected image is centered within the screen and that no portion of the content extends beyond the screen’s borders.
It’s advisable to test the projector with various types of content, including movies, presentations, and gaming visuals, to evaluate how different aspect ratios and resolutions appear on the screen. This comprehensive testing approach ensures that the projector’s adjustments accommodate a diverse range of content, delivering a consistent and visually pleasing experience across various media formats.
As you conduct the final adjustments, enlist the assistance of another person to provide feedback from a different viewing angle. This collaborative approach can reveal any discrepancies in the projected image that may not be immediately apparent from a single vantage point. By incorporating multiple perspectives into the testing process, you can refine the projector’s settings to achieve an optimal fit on the screen from various viewing positions.
By meticulously testing and making final adjustments, you can fine-tune the projector’s settings to ensure that the projected image fits your screen impeccably, providing an immersive and visually captivating viewing experience for all your home entertainment endeavors.
Frequently Asked Questions about How Do I Adjust Projector To Fit Screen?
Was this page helpful?
At Storables.com, we guarantee accurate and reliable information. Our content, validated by Expert Board Contributors, is crafted following stringent Editorial Policies. We're committed to providing you with well-researched, expert-backed insights for all your informational needs.


0 thoughts on “How Do I Adjust Projector To Fit Screen?”