Home>Technology>Security & Surveillance>How To Remove Safety First Door Lock
Security & Surveillance
How To Remove Safety First Door Lock
Modified: May 6, 2024
Learn how to remove a Safety First door lock for enhanced security and surveillance. Follow our step-by-step guide for a quick and easy solution.
(Many of the links in this article redirect to a specific reviewed product. Your purchase of these products through affiliate links helps to generate commission for Storables.com, at no extra cost. Learn more)
**
Introduction
**
So, you've found yourself in a situation where you need to remove a Safety First door lock. Whether you're replacing it with a new lock, performing maintenance, or simply need to uninstall it for any other reason, this guide will walk you through the process step by step. Safety First door locks are designed to provide security and peace of mind, but there may come a time when you need to remove one. With the right tools and a clear understanding of the process, you can safely and effectively remove a Safety First door lock without causing any damage to the door or surrounding area.
In the following sections, we'll delve into the specifics of the Safety First door lock, the tools and materials you'll need for the removal process, and the step-by-step instructions for a successful removal. By the end of this guide, you'll have the knowledge and confidence to tackle the task at hand, ensuring that you can remove the Safety First door lock with ease and precision. Let's get started!
**
Key Takeaways:
- Removing a Safety First door lock requires the right tools and careful steps to avoid damage. Understanding the lock’s components and following the removal process ensures a successful and safe outcome.
- By successfully removing a Safety First door lock, you gain valuable skills and confidence in handling home security tasks. This experience sets the stage for future maintenance and upgrades, empowering you to enhance your living space.
Read more: How To Remove A Door Lock
Understanding the Safety First Door Lock
**
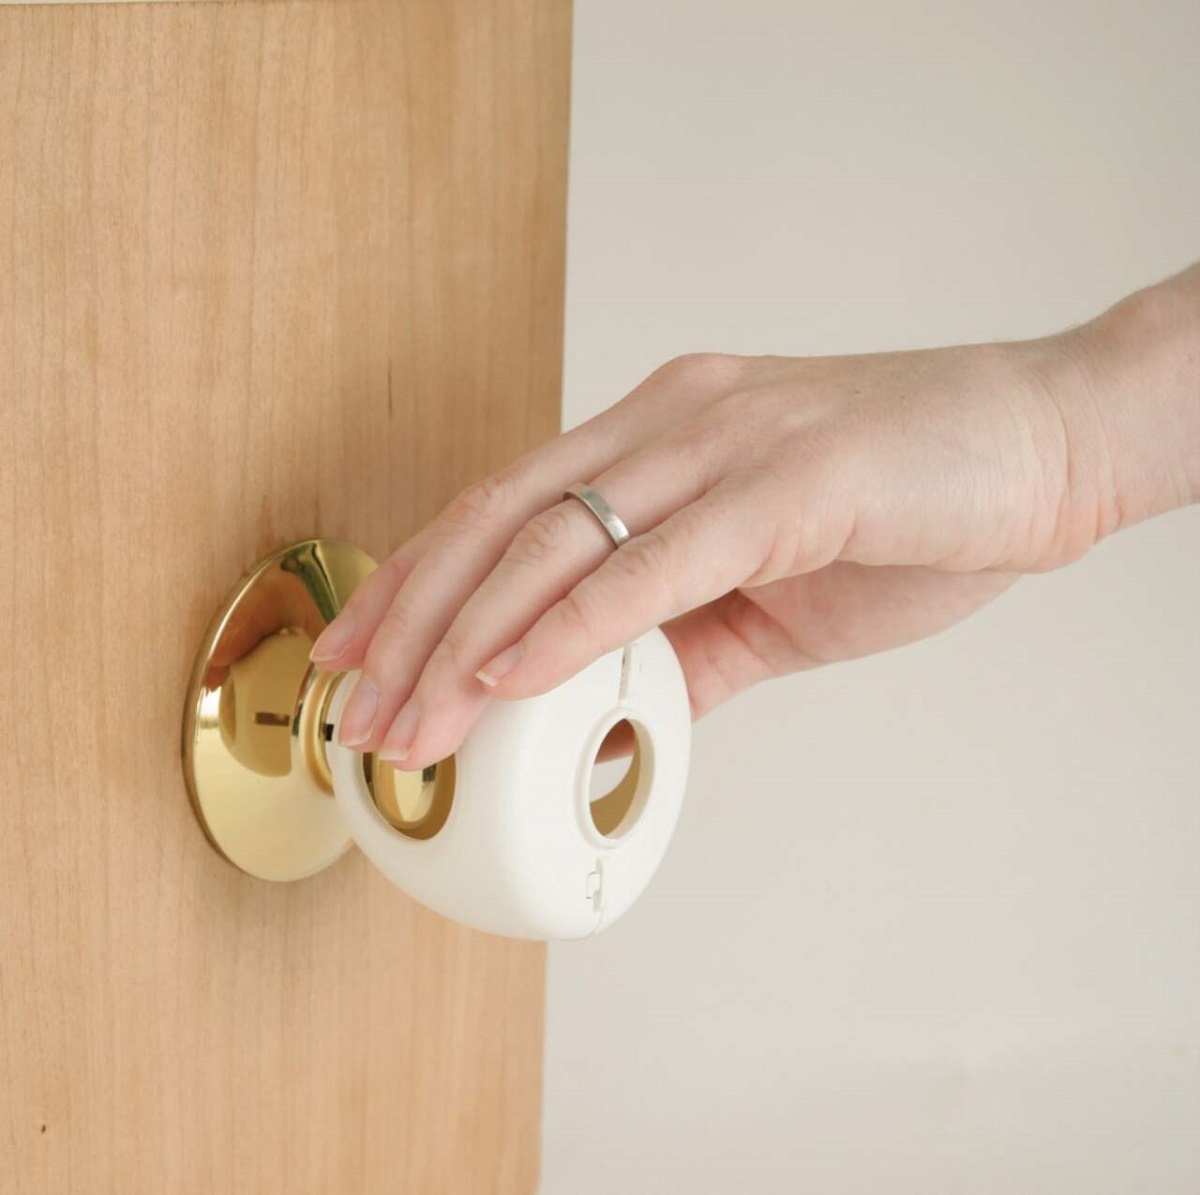
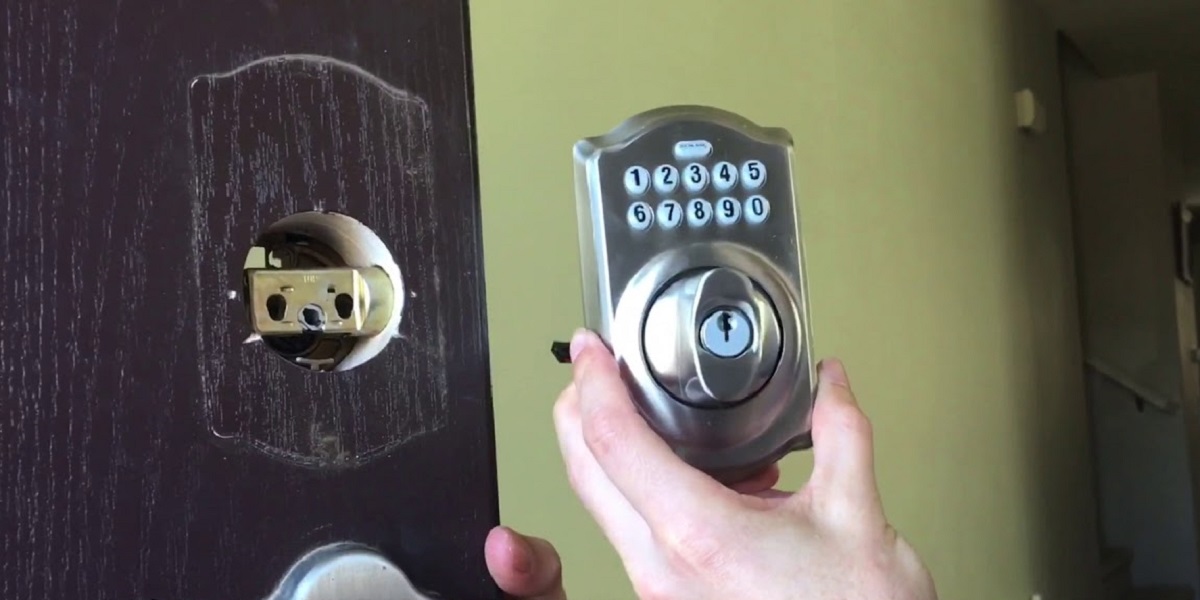
Before diving into the removal process, it's essential to have a clear understanding of the Safety First door lock itself. Safety First is a well-known brand that offers a range of door locks designed to provide security and peace of mind for homeowners and property occupants. The Safety First door lock is typically installed on exterior doors, such as front and back entryways, to prevent unauthorized access and enhance overall safety.
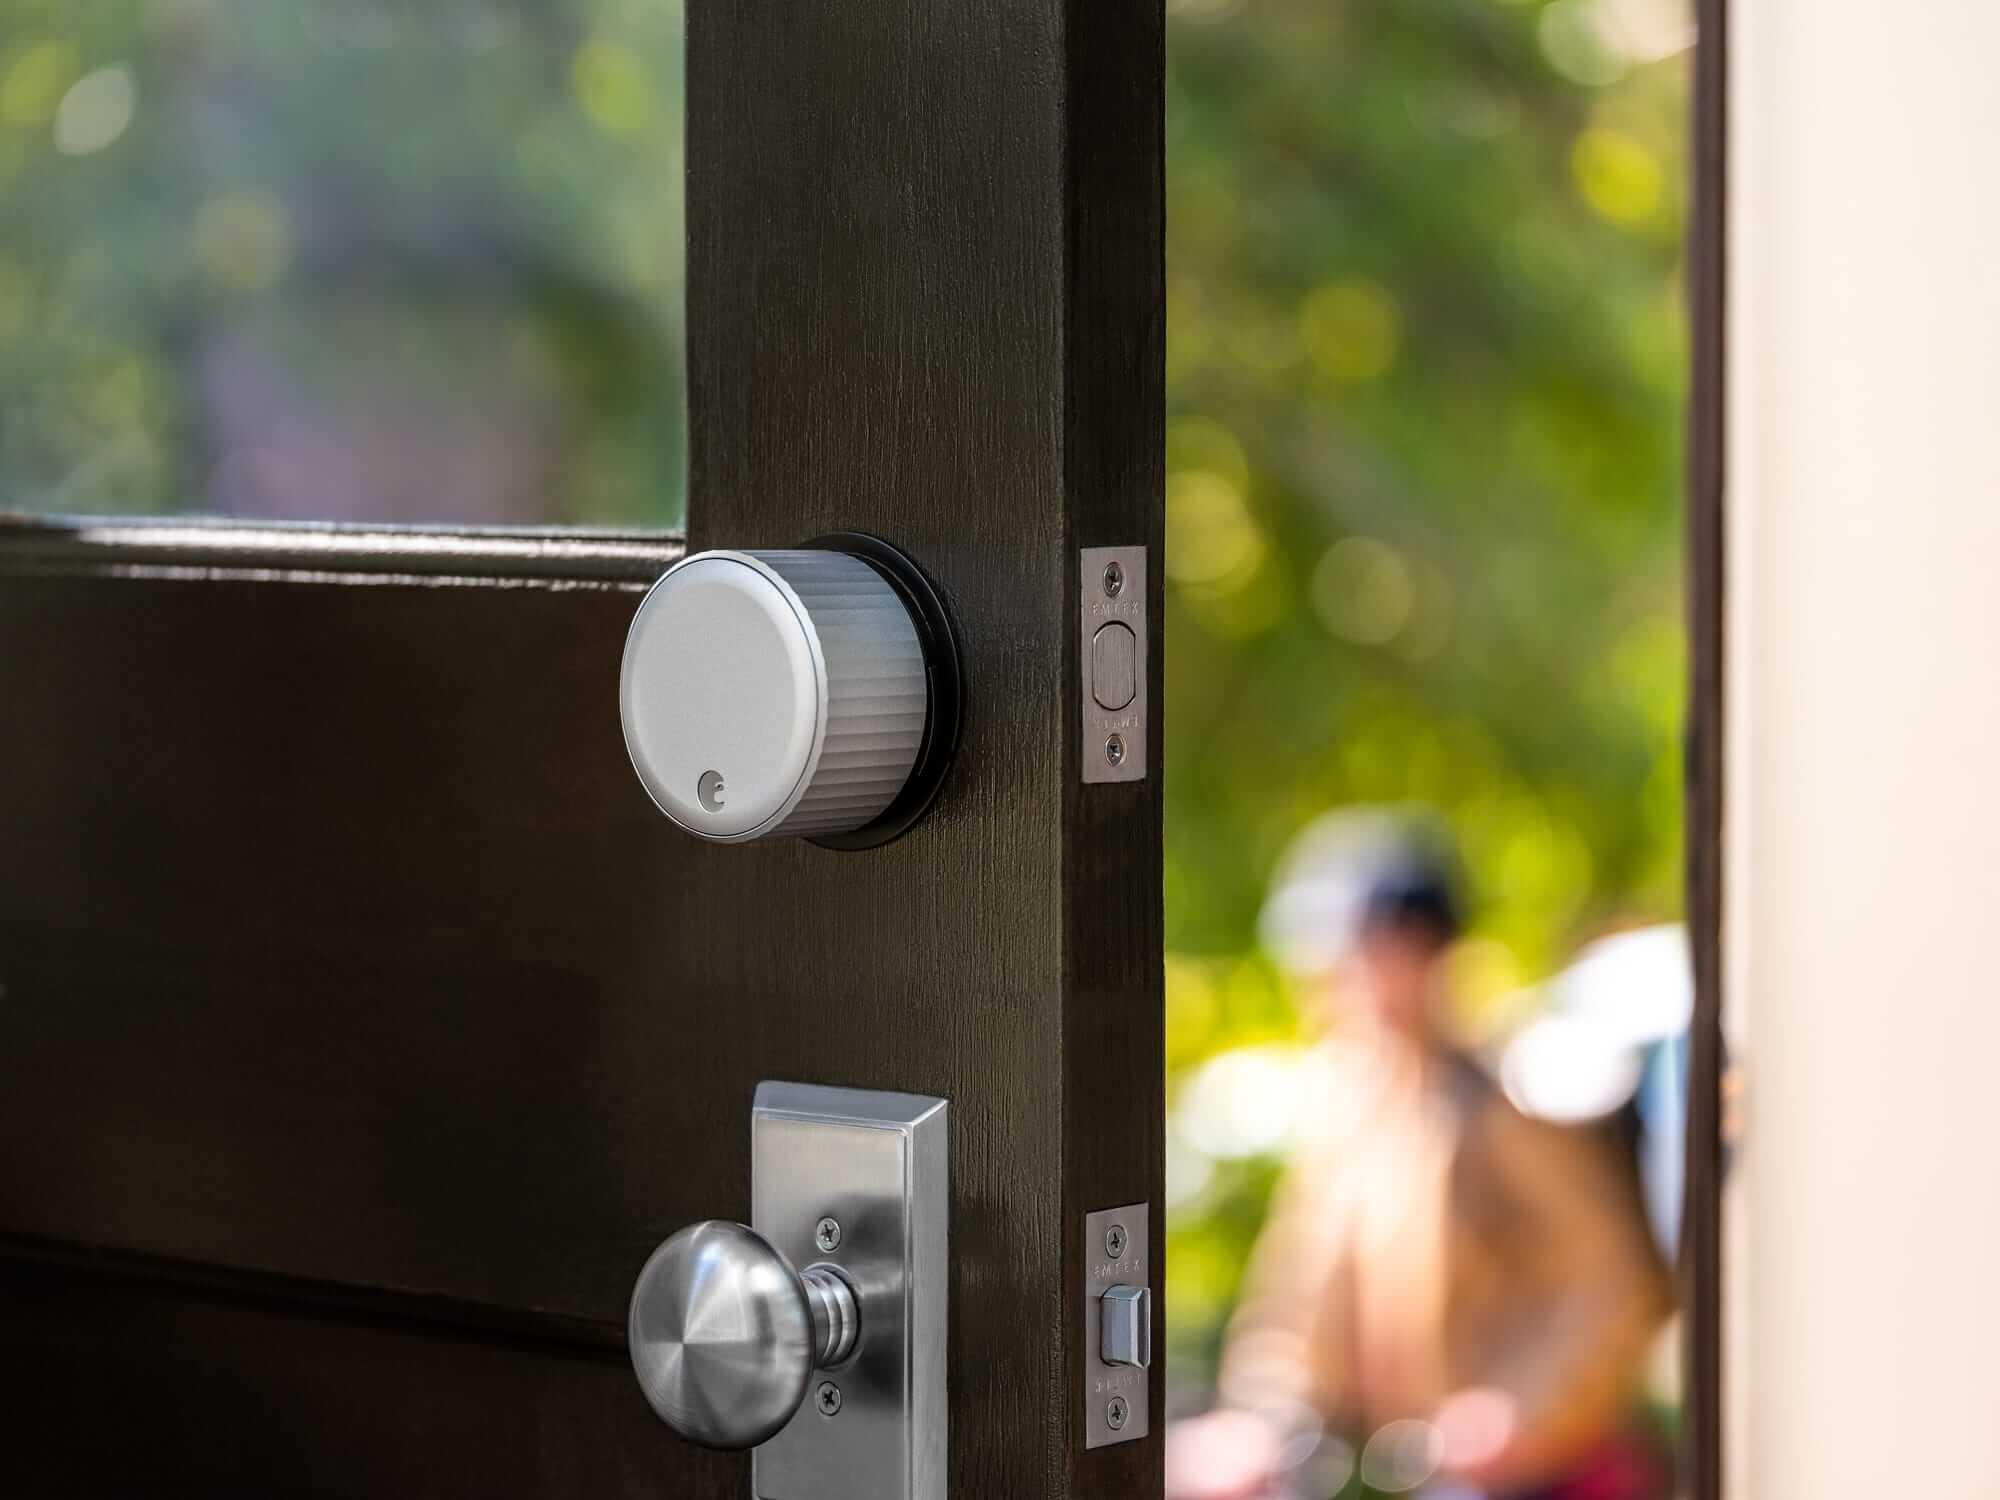
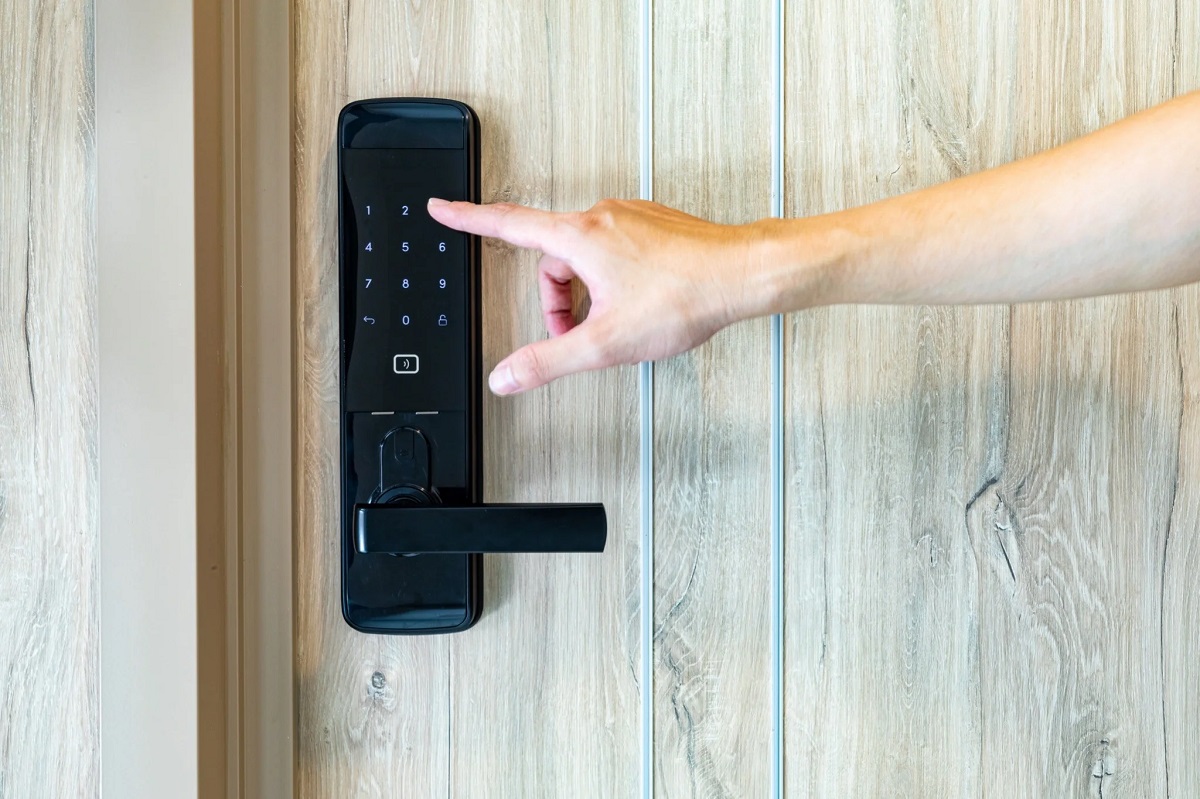
These locks often feature a sturdy deadbolt mechanism, which provides an extra layer of protection against forced entry. The deadbolt extends deep into the door frame, making it difficult for intruders to bypass the lock through physical manipulation. Additionally, Safety First door locks may incorporate advanced features such as keyless entry, smart home compatibility, and durable construction to withstand wear and tear over time.
When it comes to removing a Safety First door lock, understanding its components and functionality is crucial. By familiarizing yourself with the lock's structure and operation, you can approach the removal process with confidence and precision. This knowledge will also help you anticipate any potential challenges or complexities that may arise during the removal.
Furthermore, being aware of the specific model and design of the Safety First door lock you are dealing with can aid in determining the most effective removal approach. Different models may have varying installation methods and intricacies, so having a comprehensive grasp of the lock's characteristics is invaluable.
As we proceed to the removal process, keep in mind the unique attributes of the Safety First door lock and how they influence the steps you'll take. With a solid understanding of the lock itself, you'll be well-equipped to execute a successful removal while upholding the integrity of the door and its surroundings.
**
Tools and Materials Needed
**
Before embarking on the task of removing a Safety First door lock, it's essential to gather the necessary tools and materials to ensure a smooth and efficient removal process. Having the right equipment at your disposal will not only streamline the removal but also minimize the risk of causing damage to the door or the lock itself.
Here are the essential tools and materials you'll need:
- Screwdriver Set: A set of screwdrivers, including both flathead and Phillips head varieties, will enable you to remove screws and disassemble components of the lock.
- Adjustable Wrench: This versatile tool is useful for loosening and removing nuts and bolts that may secure the lock in place.
- Needle-Nose Pliers: Pliers can assist in gripping small components and manipulating internal mechanisms during the removal process.
- Lubricant: A lubricating spray or oil can help loosen stubborn components and make the removal process more manageable, particularly if the lock has been in place for an extended period.
- Replacement Lock (Optional): If you plan to install a new lock after removing the Safety First lock, be sure to have the replacement lock on hand.
- Protective Gloves: It's advisable to wear protective gloves to safeguard your hands during the removal process, especially when handling metal components or using lubricants.
- Cloth or Rag: Having a cloth or rag on hand can be useful for wiping away dirt, debris, or excess lubricant as you work on the lock.
By assembling these tools and materials before you begin, you'll be well-prepared to tackle the removal of the Safety First door lock with confidence and efficiency. Additionally, having the replacement lock ready, if applicable, will allow for a seamless transition once the existing lock has been successfully removed.
With the right tools at your disposal, you can approach the removal process with a sense of readiness, knowing that you have everything you need to complete the task effectively and without complications.
**
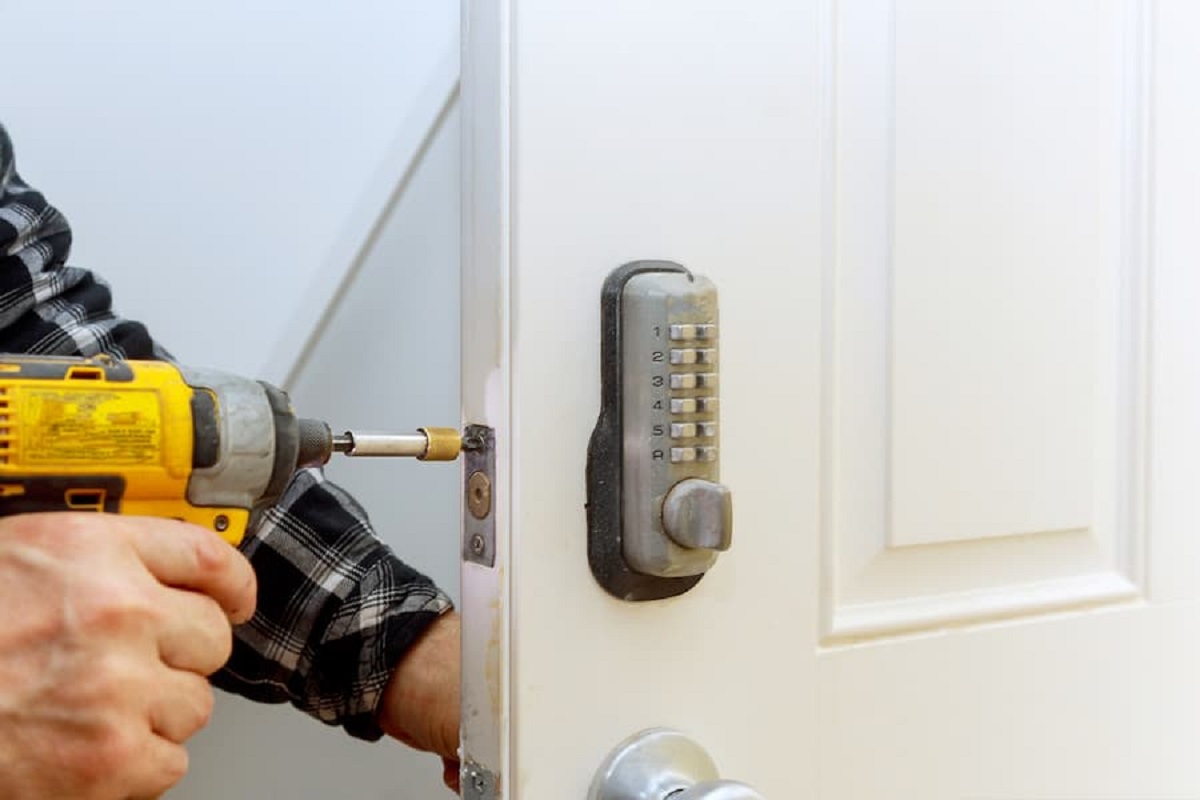
To remove a Safety First door lock, use a screwdriver to remove the screws on the inside of the door. Then, carefully pull the lock mechanism out of the door. Be sure to follow the manufacturer’s instructions for safe removal.
Steps to Remove the Safety First Door Lock
**
Now that you've gathered the necessary tools and materials, it's time to delve into the step-by-step process of removing a Safety First door lock. By following these clear and concise instructions, you can navigate the removal process with confidence and precision, ensuring that the lock is safely uninstalled without causing any damage to the door or its components.
Here are the essential steps to remove the Safety First door lock:
- Prepare the Work Area: Before starting the removal process, ensure that the area around the door is clear and free from any obstructions. This will provide you with ample space to maneuver and work comfortably.
- Secure the Door: To prevent the door from swinging or moving unexpectedly, use a doorstop or have someone assist you in holding the door steady throughout the removal process.
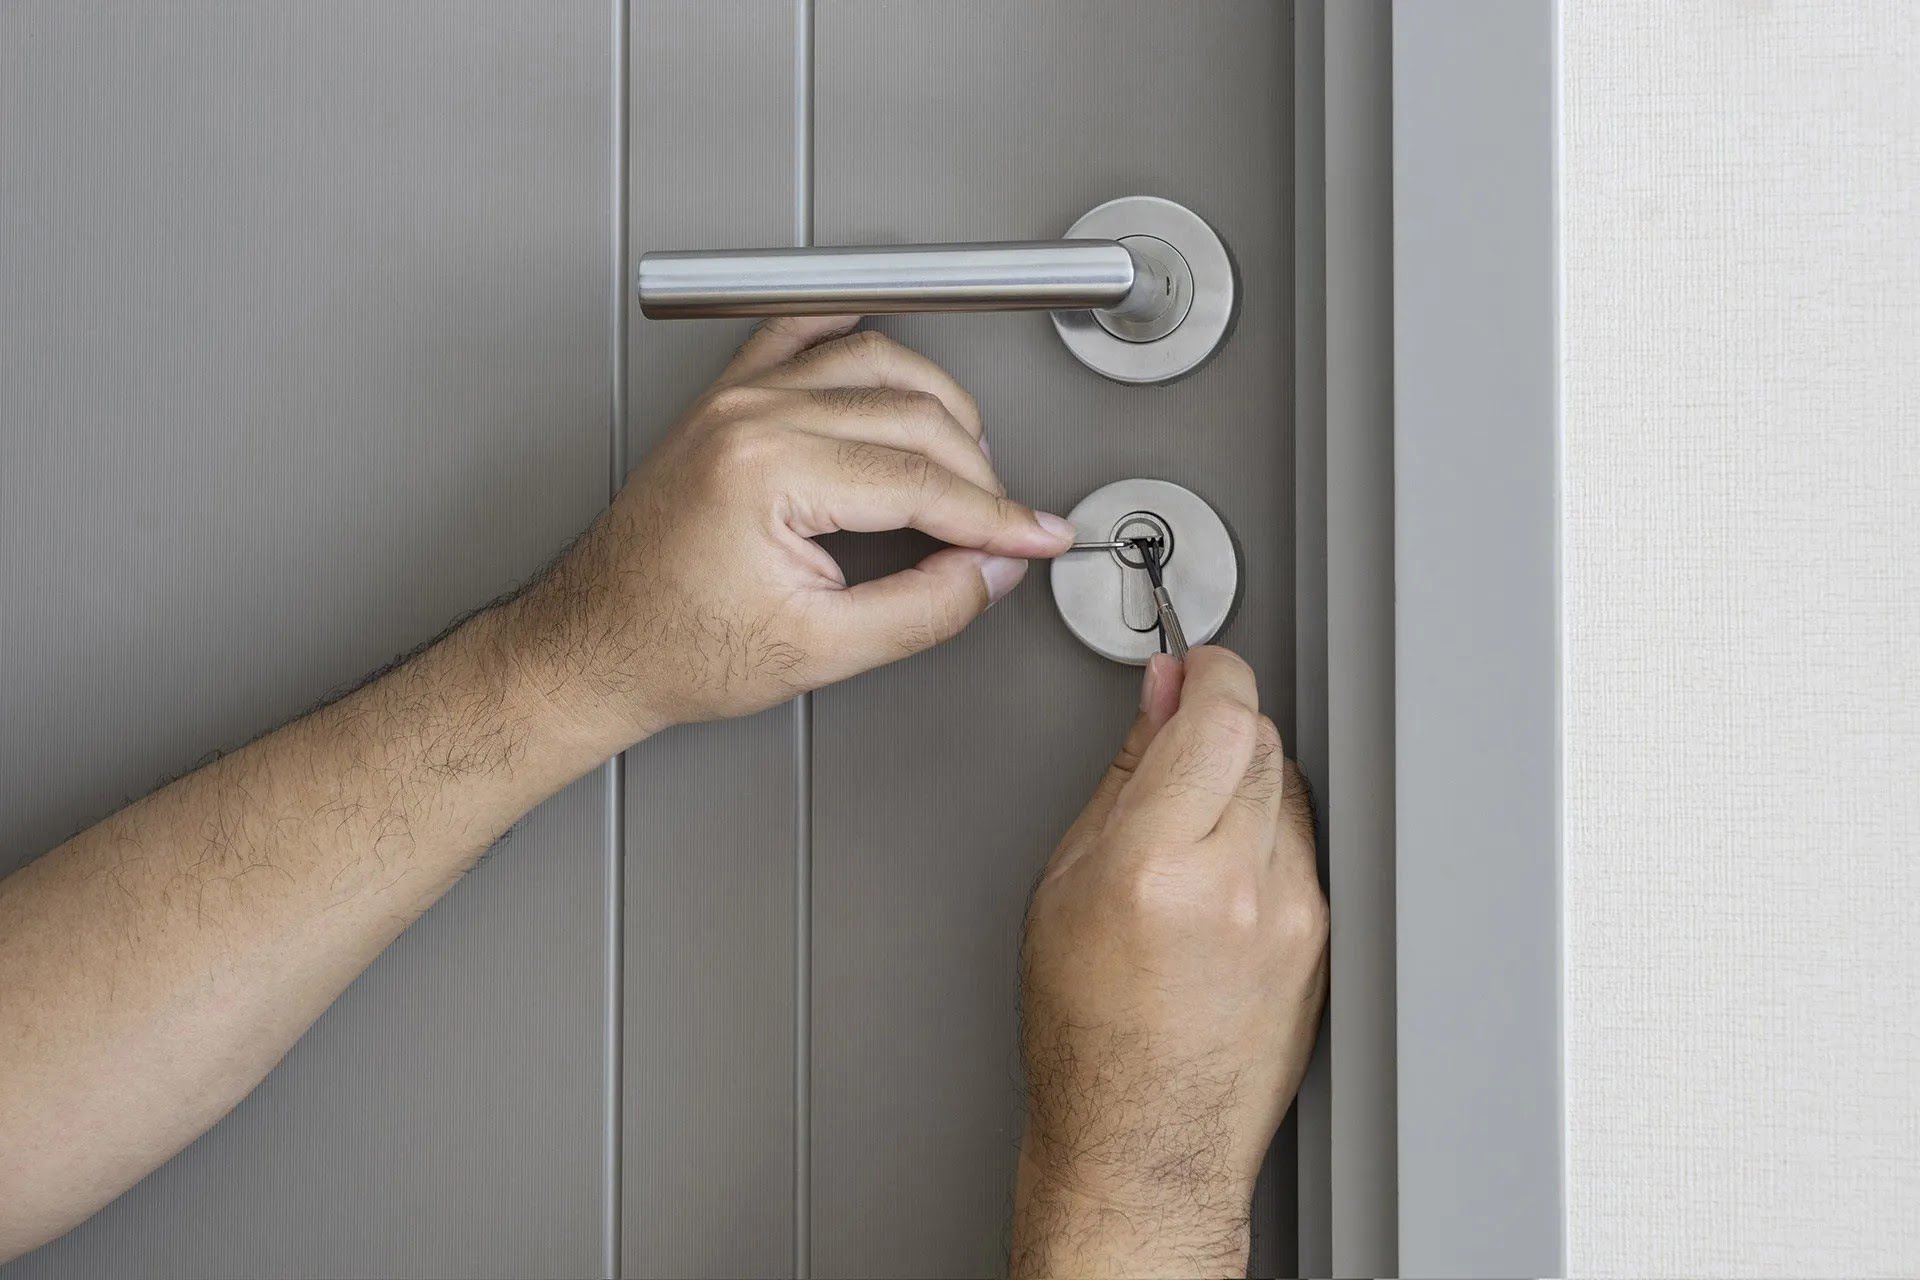
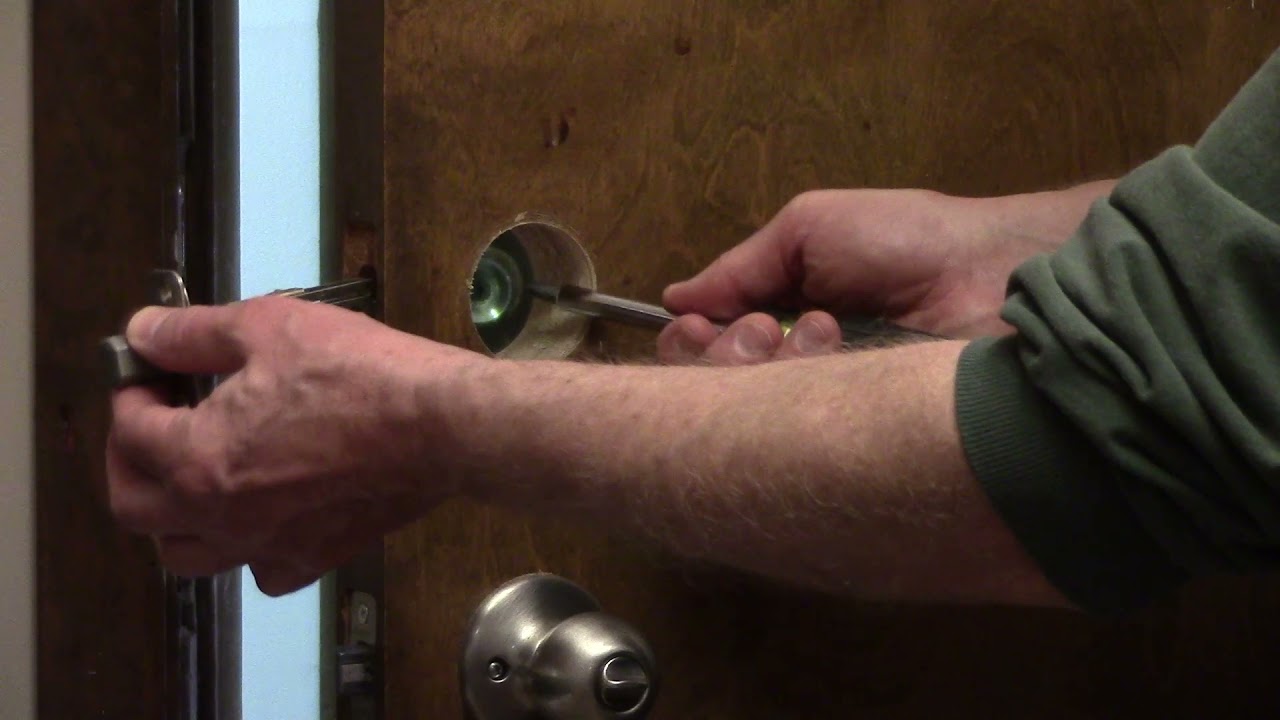
- Remove the Screws: Using the appropriate screwdriver from your set, carefully unscrew and remove the screws securing the faceplate of the lock on the interior side of the door. Set the screws aside in a safe place for reassembly.
- Disassemble the Components: Once the faceplate is removed, you may need to disassemble additional components, such as the latch mechanism and any decorative trim, depending on the specific design of the Safety First lock. Use your screwdriver and pliers as needed to carefully detach these elements.
- Release the Deadbolt: If the lock features a deadbolt, use your screwdriver or wrench to release the deadbolt from the door frame. This may involve turning or retracting the deadbolt mechanism to free it from its secured position.
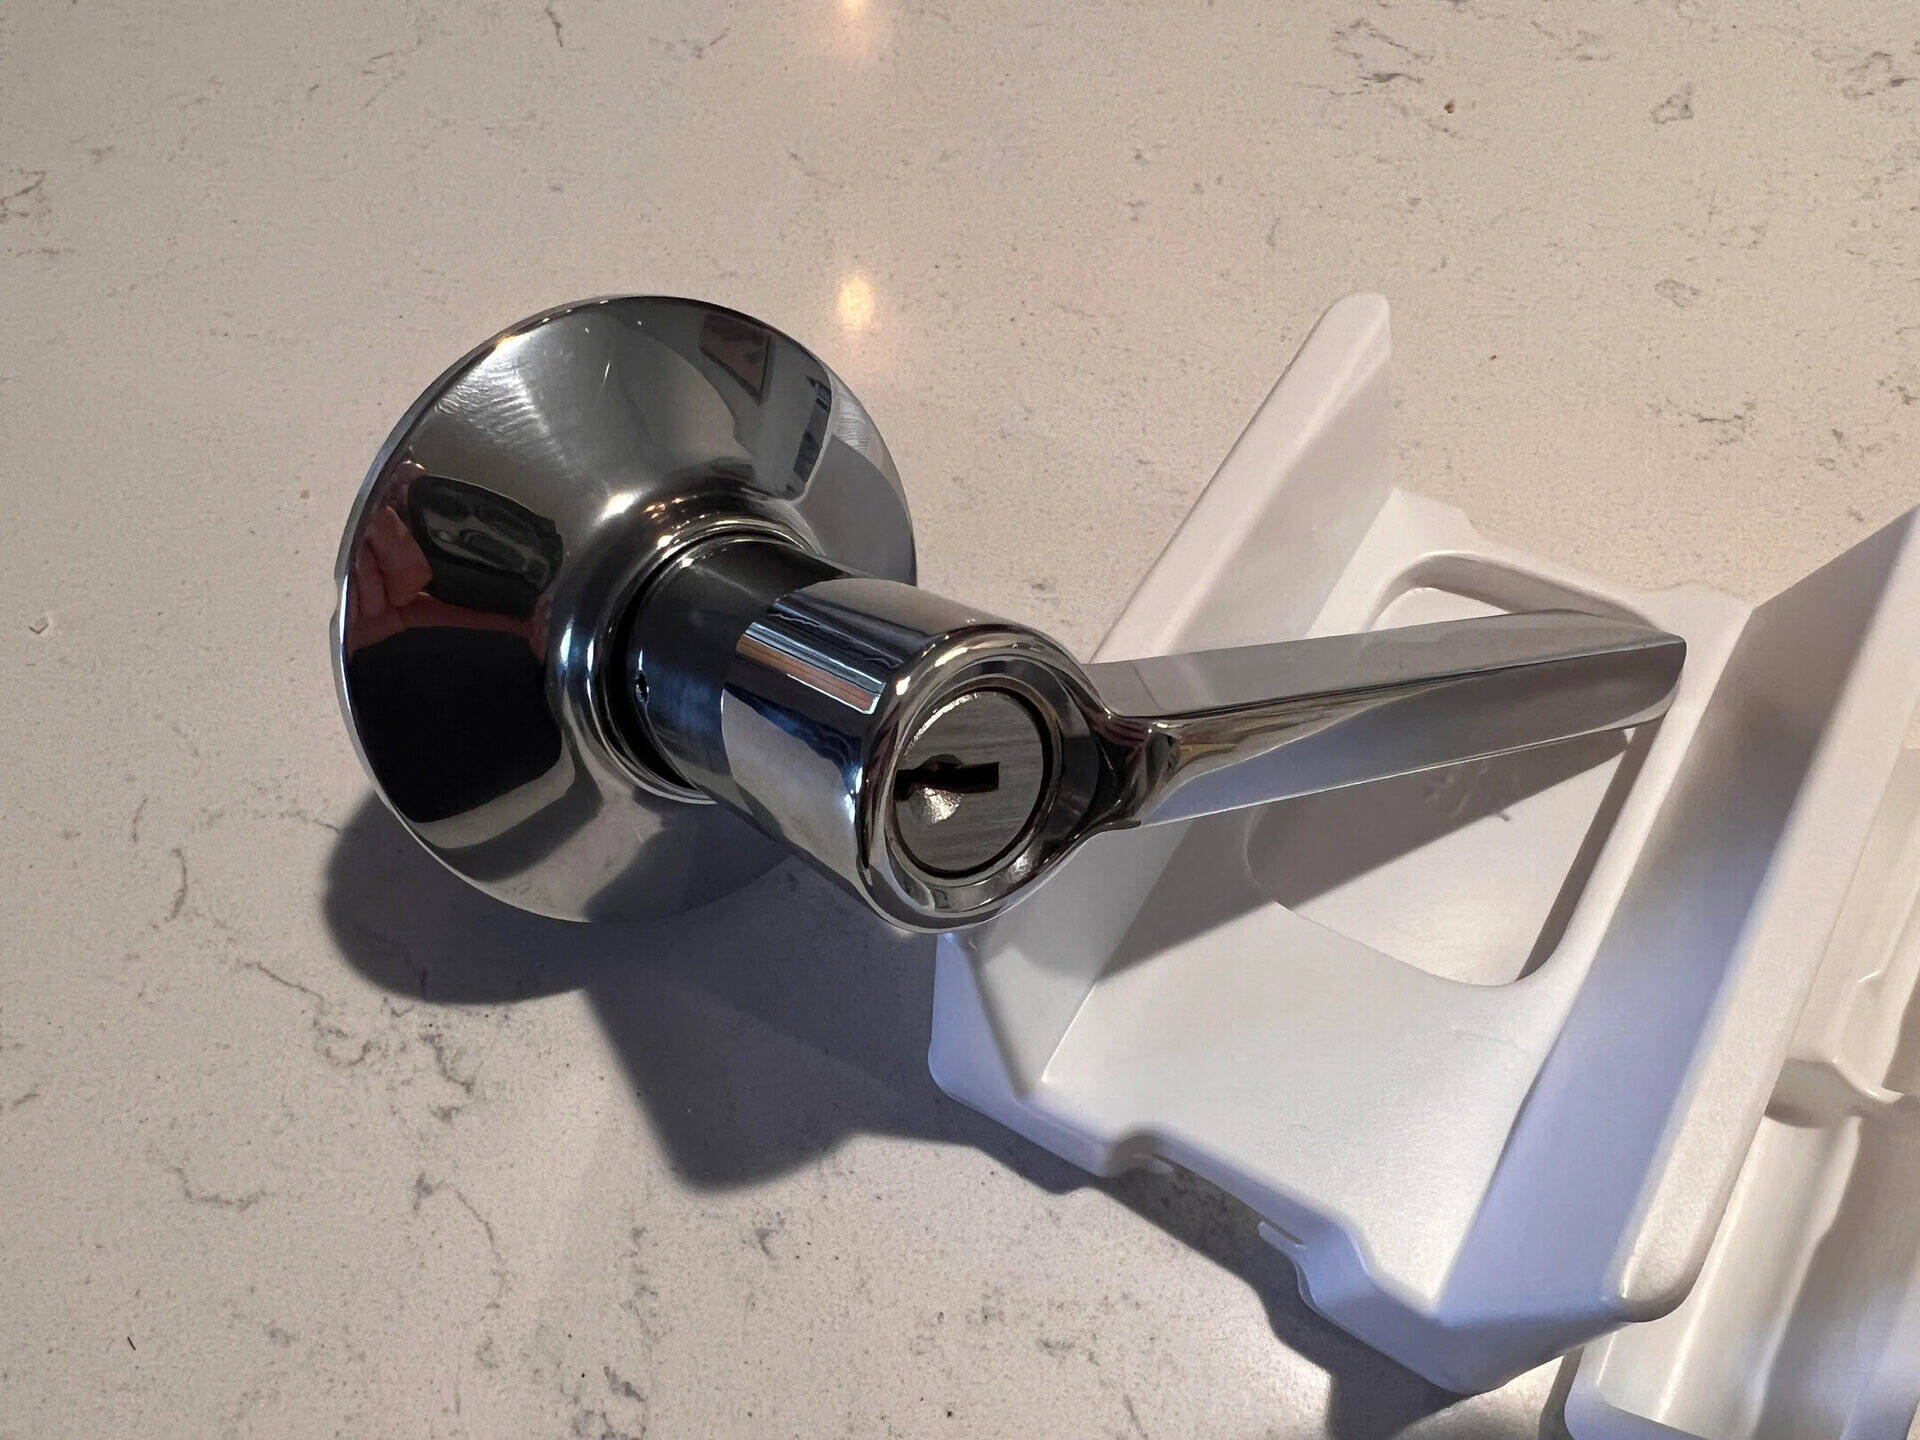
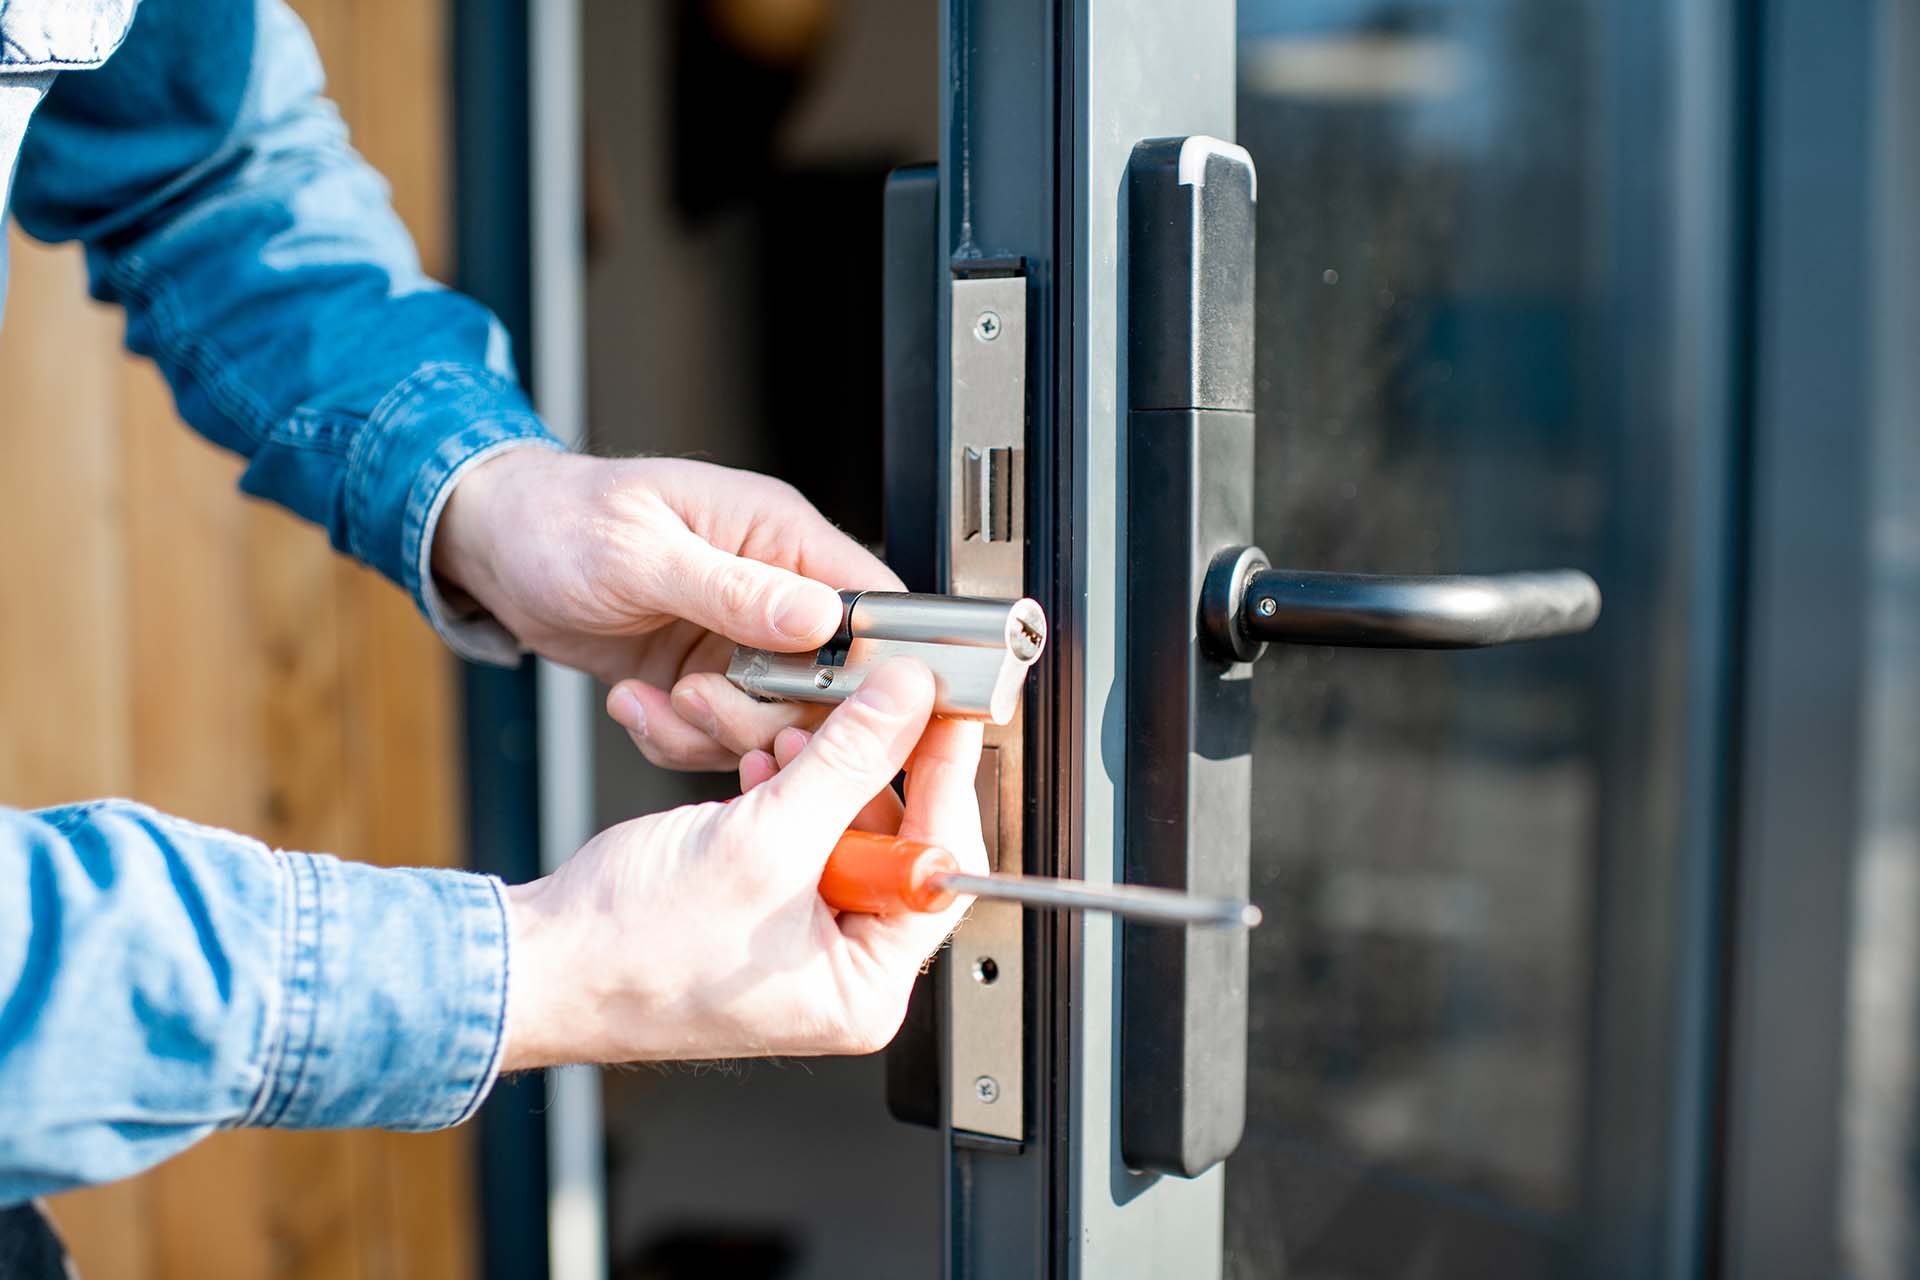
- Extract the Lock Cylinder: With the internal components removed, focus on extracting the lock cylinder from the exterior side of the door. This may require unscrewing retaining screws or manipulating release mechanisms, depending on the lock's design.
- Inspect and Clean: Once the lock has been completely removed, take the opportunity to inspect the door and surrounding area for any signs of wear, damage, or accumulated debris. Use a cloth or rag to wipe down the exposed surfaces and ensure they are clean and free from obstructions.
Following these steps diligently will allow you to successfully remove the Safety First door lock, leaving the door ready for any necessary maintenance, replacement, or reinstallation. By exercising care and attention to detail throughout the process, you can achieve a smooth and efficient removal without encountering unforeseen complications.
With the lock safely removed, you can proceed with any further actions, such as installing a new lock or performing maintenance on the door, knowing that the removal process has been carried out effectively and with precision.
**
Conclusion
**
As you conclude the process of removing a Safety First door lock, it’s important to reflect on the successful completion of the task and the newfound knowledge and skills you’ve gained. By understanding the intricacies of the Safety First lock, gathering the necessary tools and materials, and following the systematic steps for removal, you’ve demonstrated your ability to tackle home maintenance and security-related tasks with confidence and precision.
Throughout the removal process, you’ve not only safeguarded the integrity of the door and its components but also equipped yourself with valuable insights into the mechanisms and construction of door locks. This hands-on experience can serve as a foundation for future home improvement projects and empower you to address similar tasks with ease.
Moreover, the successful removal of the Safety First door lock opens the door to potential opportunities for maintenance, upgrades, or the installation of a new lock. Whether you’re enhancing the security of your home or simply refreshing its aesthetic appeal, the completion of the removal process marks the beginning of a new chapter in the care and maintenance of your living space.
As you reflect on your accomplishment, take pride in the meticulous attention to detail and the careful execution of each step in the removal process. Your dedication to ensuring a smooth and efficient removal has not only yielded tangible results but has also honed your problem-solving and practical skills.
With the Safety First door lock successfully removed, you can look ahead with confidence, knowing that you have the capability and knowledge to address similar tasks in the future. Whether it’s a home improvement endeavor or a security upgrade, your experience in removing the Safety First door lock has expanded your capabilities and enriched your understanding of residential security and maintenance.
Armed with this newfound expertise, you are well-prepared to tackle future challenges and embark on new projects, secure in the knowledge that you can navigate the intricacies of door locks and home security systems with proficiency and assurance.
Congratulations on successfully removing the Safety First door lock, and may your newfound skills and confidence serve you well in your future endeavors.
Now that you've mastered removing a Safety First door lock, why not tackle more projects to spruce up your living space? Our guide on DIY home improvement offers handy tips and tricks to transform your home with your own hands, boosting both its value and your satisfaction. Whether you're updating a kitchen or just patching up some paint, you'll find practical advice that makes every project easier. Don't miss out on making your home a true reflection of your style and creativity.
Frequently Asked Questions about How To Remove Safety First Door Lock
Was this page helpful?
At Storables.com, we guarantee accurate and reliable information. Our content, validated by Expert Board Contributors, is crafted following stringent Editorial Policies. We're committed to providing you with well-researched, expert-backed insights for all your informational needs.


0 thoughts on “How To Remove Safety First Door Lock”