Home>Furniture>Outdoor Furniture>How To Replace A Patio Door
Outdoor Furniture
How To Replace A Patio Door
Modified: September 1, 2024
Learn how to easily replace your patio door with our step-by-step guide. Upgrade your outdoor furniture with a new and stylish patio door.
(Many of the links in this article redirect to a specific reviewed product. Your purchase of these products through affiliate links helps to generate commission for Storables.com, at no extra cost. Learn more)
Introduction
Welcome to our comprehensive guide on how to replace a patio door. A patio door is not only a functional element of your outdoor space, but it also adds aesthetic value to your home. Over time, due to wear and tear or changing design preferences, you may find the need to replace your patio door. While it may seem like a daunting task, with the right tools and knowledge, you can successfully replace your patio door and enjoy a refreshed and updated outdoor space.
In this article, we will take you through the step-by-step process of replacing a patio door. We will provide you with all the necessary information, tips, and tricks to ensure a smooth and successful installation. Whether you are a seasoned DIY enthusiast or a beginner, this guide will help you complete the project with confidence.
Before we dive into the details, let’s quickly highlight the importance of maintaining a functional and aesthetically pleasing patio door. A patio door serves as a gateway to your outdoor space, allowing natural light to flood into your home and creating a seamless connection between your indoor and outdoor living areas. It also provides essential ventilation and plays a crucial role in energy efficiency.
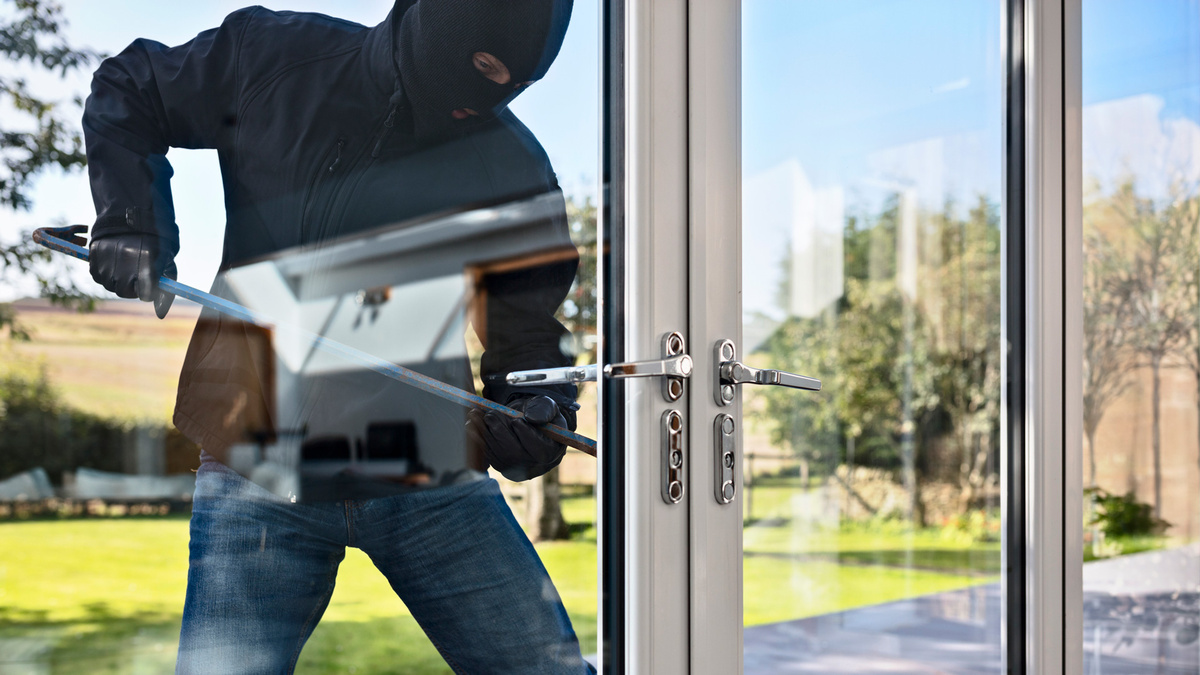
Over time, patio doors can become worn out or damaged, compromising their functionality. Cracked glass, warped frames, or difficult operation are some common issues that may necessitate the replacement of your patio door. Additionally, if you’re looking to upgrade your home’s appearance or improve security features, installing a new patio door can be a worthwhile investment.
Now, let’s move on to the first step of the replacement process: gathering the necessary tools and materials.
Key Takeaways:
- Replacing a patio door is a manageable project with the right tools and materials. Follow the step-by-step guide to refresh your outdoor space and improve your home’s appearance and energy efficiency.
- Prioritize safety, gather the necessary tools, and follow the manufacturer’s instructions for a successful patio door replacement. Enjoy a rejuvenated outdoor living area with improved functionality and aesthetics.
Read more: How To Replace A Screen Patio Door
Step 1: Gather Necessary Tools and Materials
Before you begin replacing your patio door, it’s important to gather all the necessary tools and materials to ensure a smooth and efficient installation process. Having everything on hand will save you time and prevent any delays. Here is a list of the tools and materials you will need:
- Measuring tape
- Screwdrivers (Phillips and flathead)
- Hammer
- Pry bar
- Utility knife
- Caulk gun
- Silicone caulk
- Putty knife
- Level
- Framing square
- Shims
- Air compressor (if using pneumatic tools)
- Safety glasses
- Gloves
- Dust mask
- New patio door
- Screws
- Finishing nails
- Exterior trim
Make sure to have all these tools and materials readily available before you start the replacement process. It’s also a good idea to wear safety gear, such as safety glasses and gloves, to protect yourself during the installation.
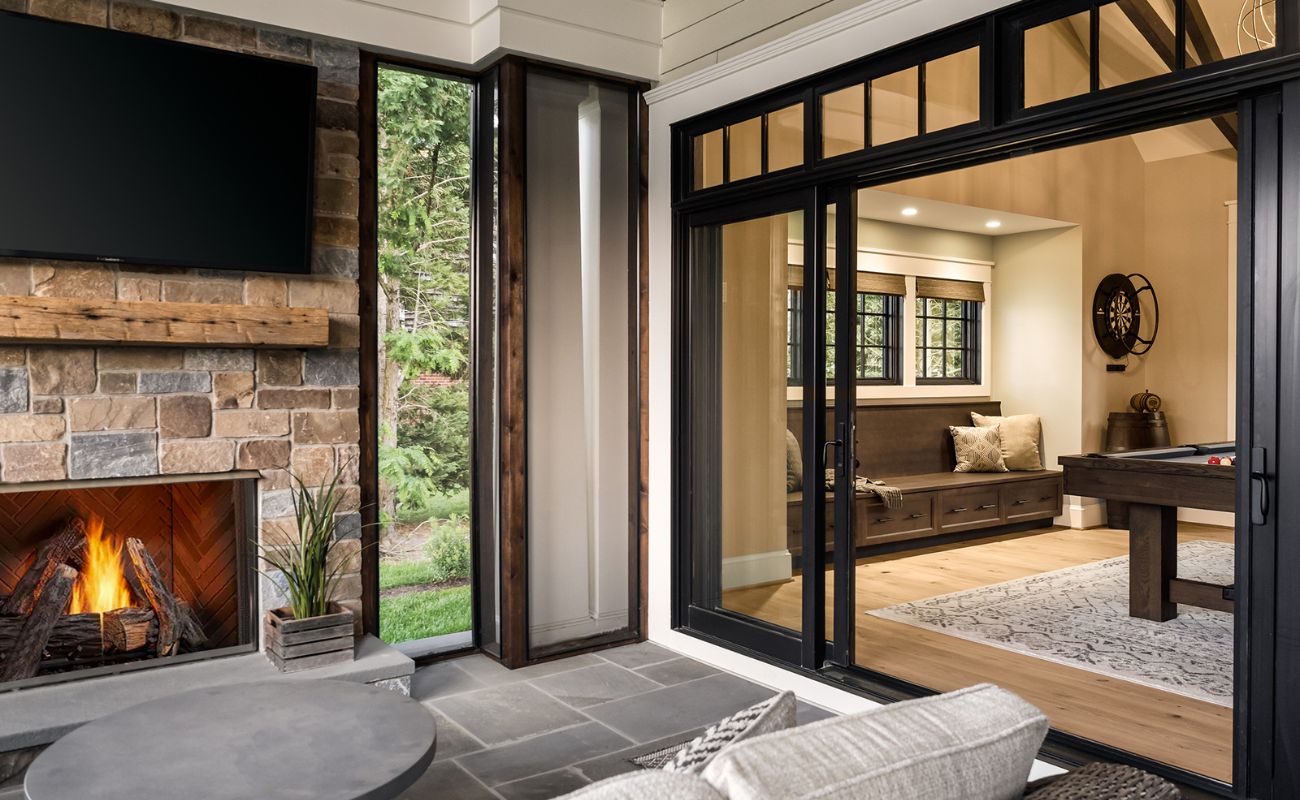
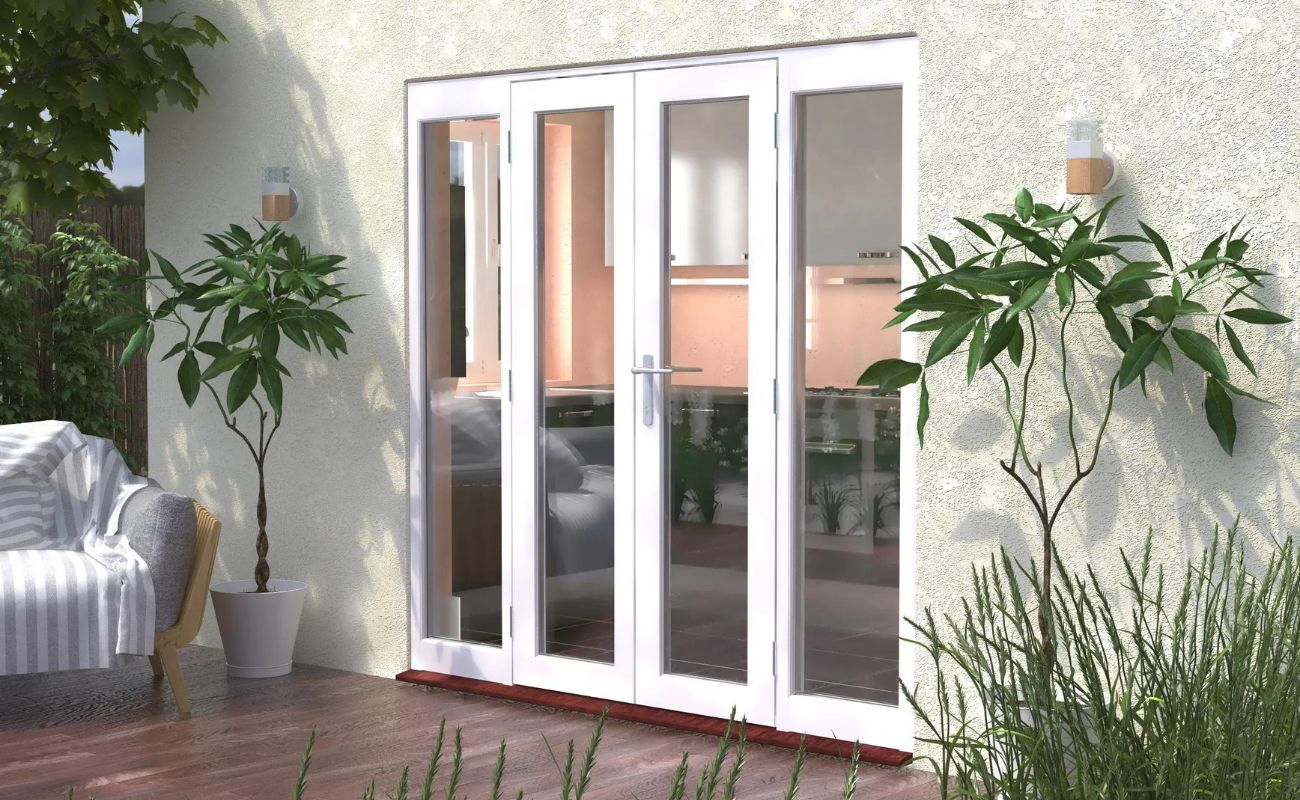
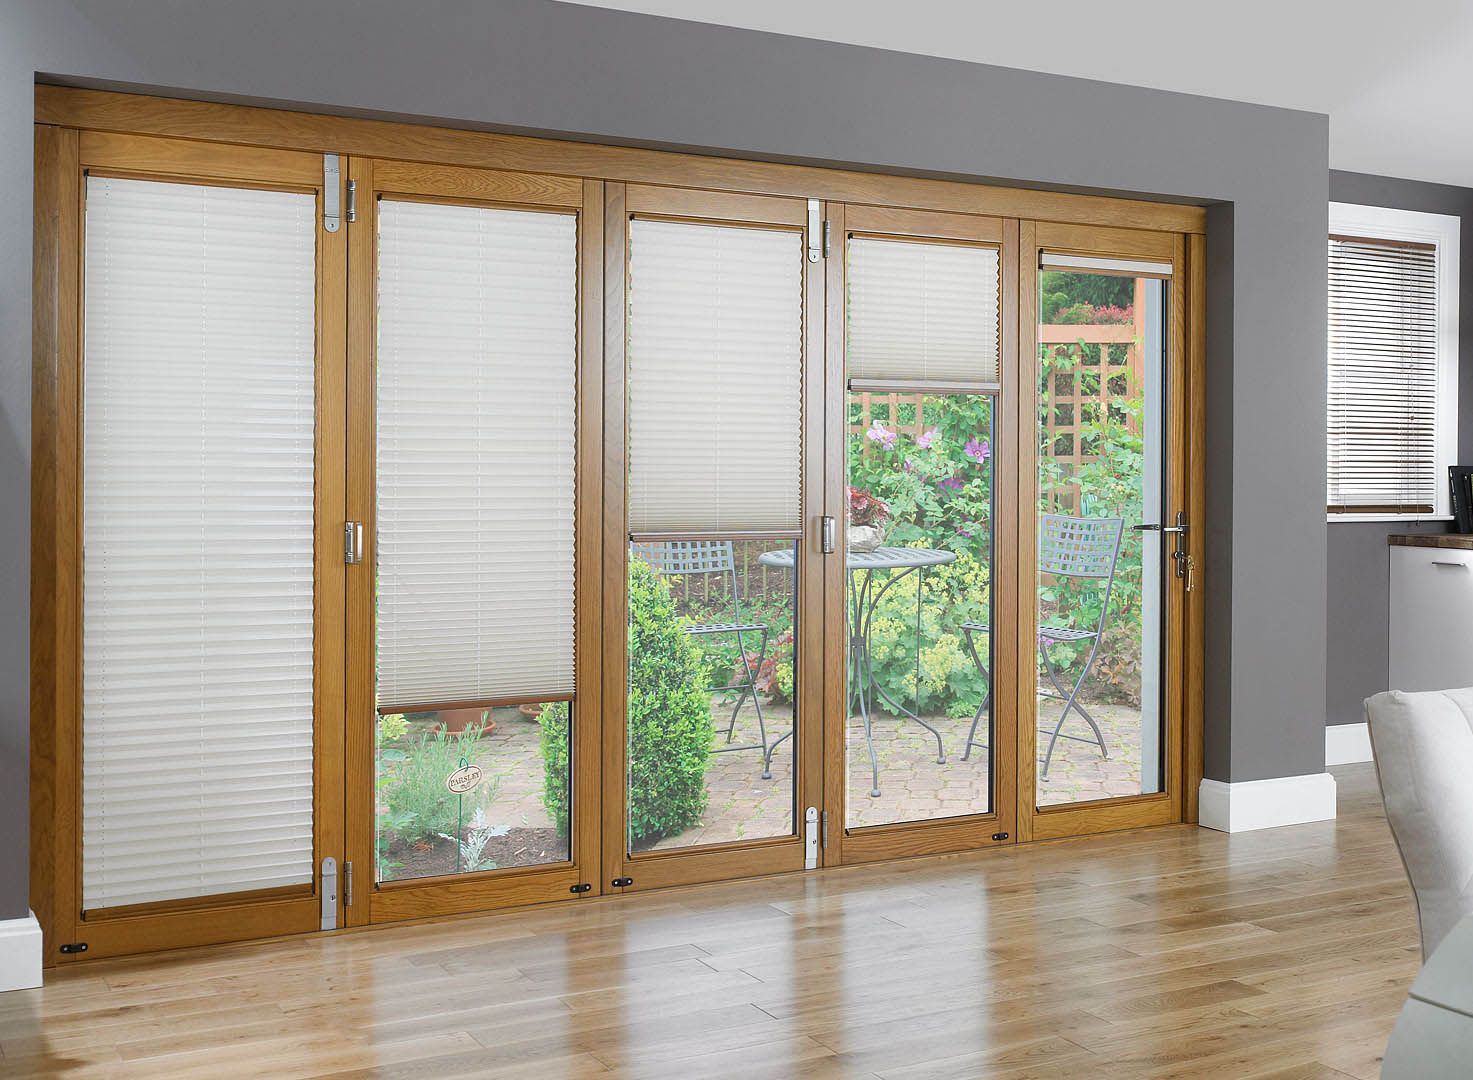
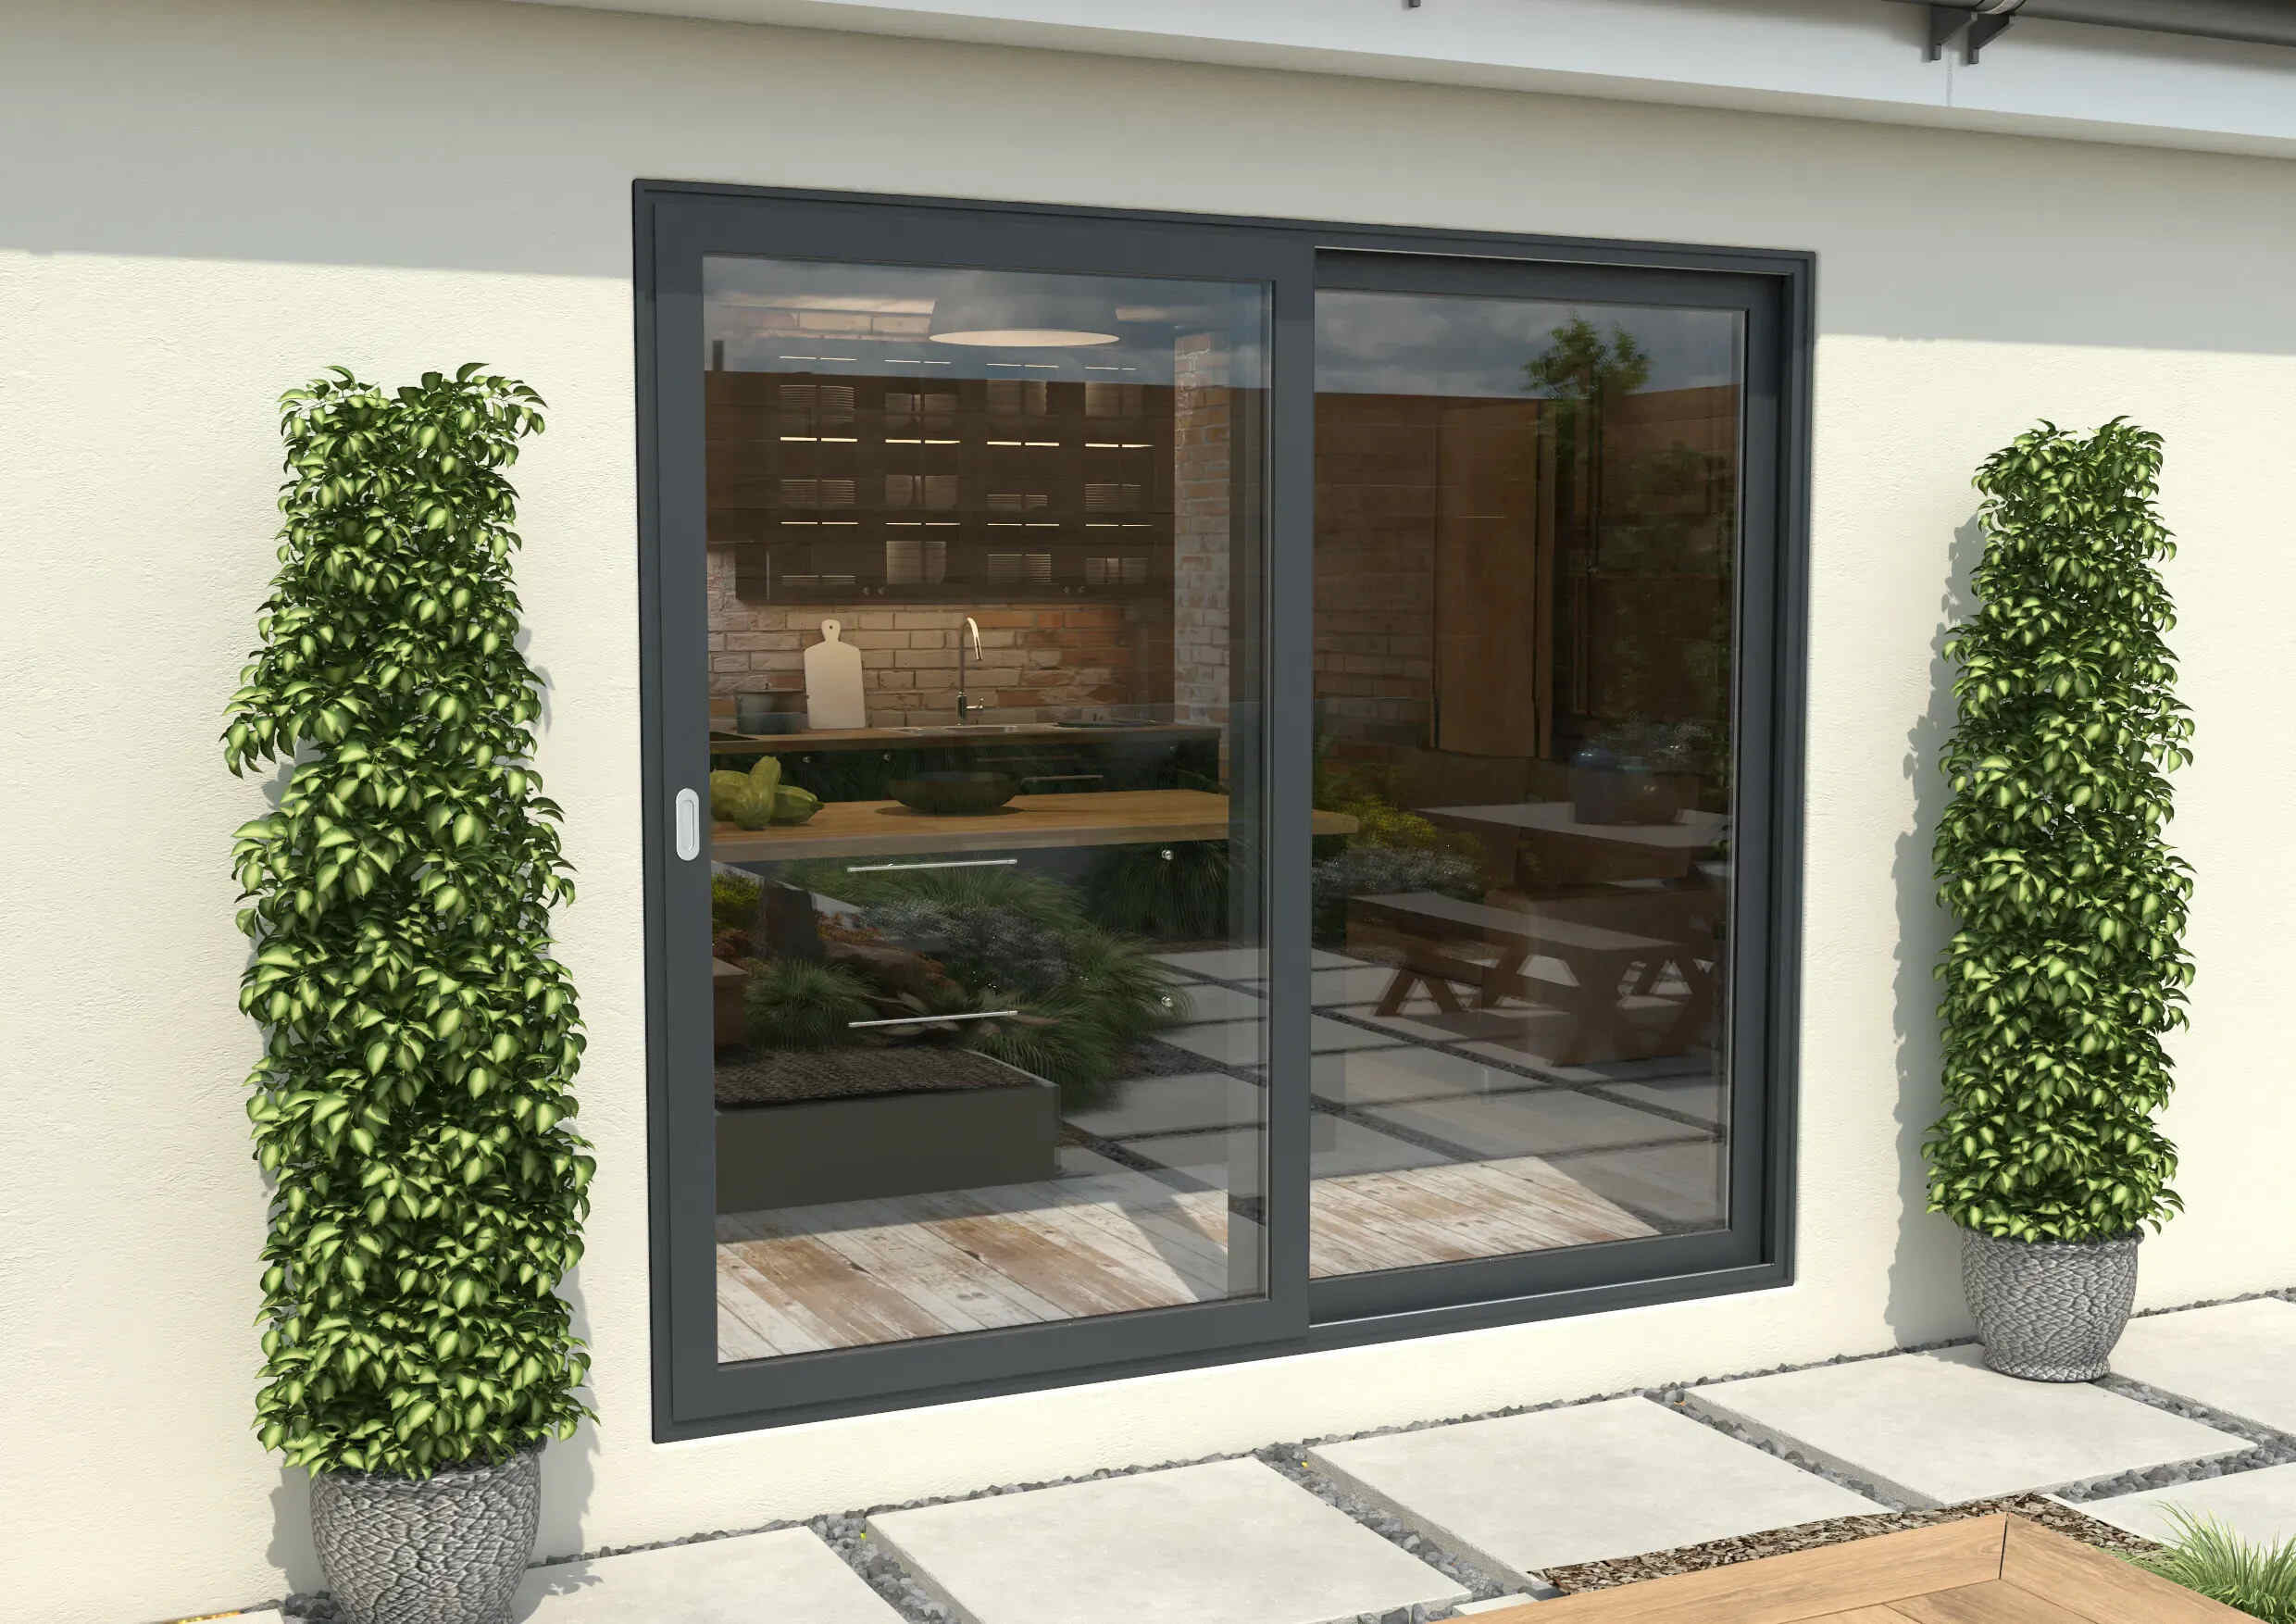
When selecting a new patio door, consider the style, size, and material that best suits your needs and the overall design of your home. Whether you prefer a sliding, French, or folding door, make sure to measure the opening accurately to ensure a proper fit.
Now that you have gathered all the necessary tools and materials, move on to step 2: removing the existing patio door.
Step 2: Remove the Existing Patio Door
Removing the existing patio door is an important step in the replacement process. Follow these steps to safely and efficiently remove the old door:
- Begin by preparing the area around the door. Clear any obstacles and furniture to create a safe working space.
- Next, remove any exterior trim or molding around the door using a pry bar and hammer. Be careful not to damage the surrounding structure.
- Once the trim is removed, locate the screws or nails that hold the door frame in place. Use a screwdriver or pry bar to carefully remove them.
- If the door is stuck or difficult to remove, gently tap the frame with a hammer to loosen it. Take caution not to use excessive force, as this can cause damage.
- After removing the fasteners, carefully pull the old door out of the opening. Enlist the help of a friend if necessary, as doors can be heavy and awkward to handle.
- Inspect the opening for any damage or rot. Repair or replace any damaged areas before proceeding with the installation of the new patio door.
Remember to take your time when removing the old door to avoid any accidents or damage to the surrounding structure. It’s always a good idea to wear protective gear, such as gloves and safety glasses, during this process.
Now that the existing patio door has been successfully removed, you can move on to step 3: preparing the opening for installation.
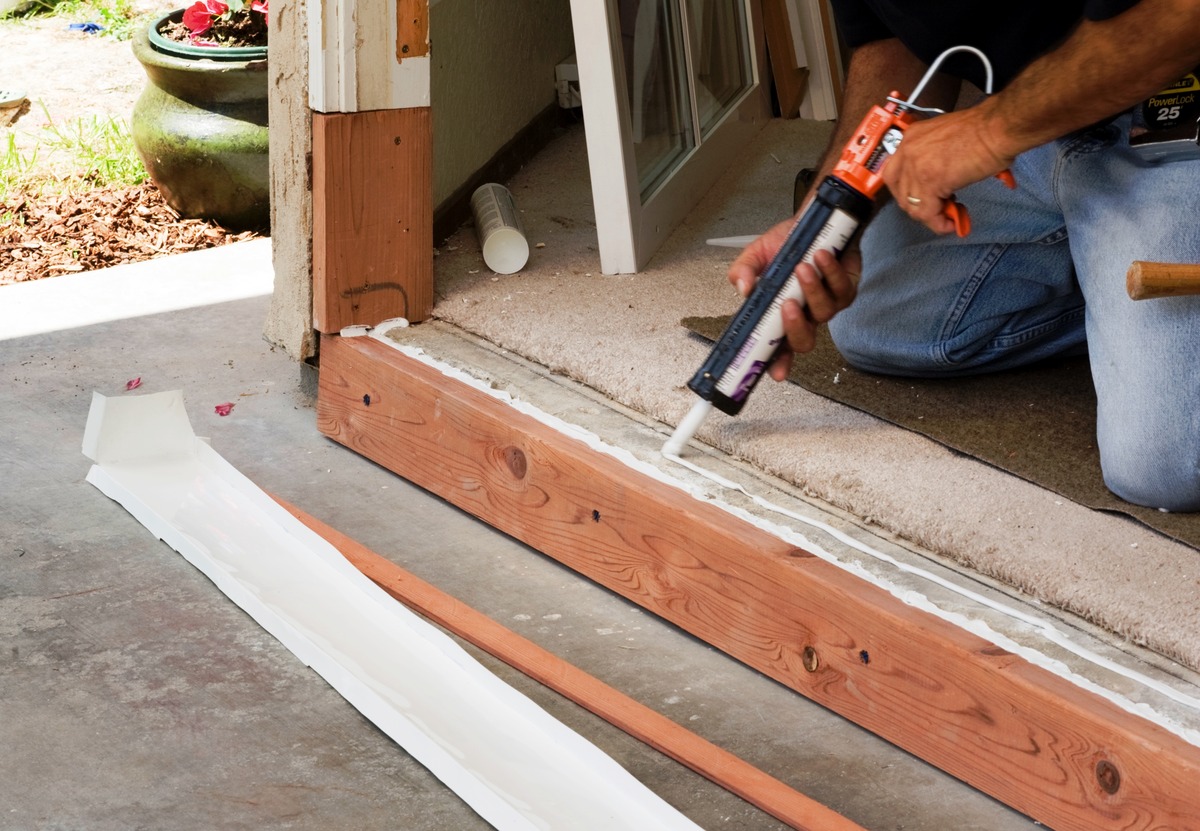
Step 3: Prepare the Opening for Installation
Preparing the opening is a crucial step in ensuring a proper and secure installation of your new patio door. Follow these steps to prepare the opening for the installation:
- Start by cleaning the opening and removing any debris or loose materials. This will create a clean and smooth surface for the new door.
- Inspect the opening for any signs of damage or rot. Repair or replace any damaged areas to ensure a solid and durable installation.
- Measure the width and height of the opening to ensure that it matches the dimensions of your new patio door. Make any necessary adjustments to the opening if needed.
- Check the levelness of the opening using a level. If the opening is not level, use shims to adjust and achieve a level surface. This is crucial for proper operation and sealing of the door.
- Apply a generous amount of silicone caulk around the entire perimeter of the opening. This will create a watertight seal and prevent any air leakage.
- Position the new patio door into the opening. Make sure it is centered and level before proceeding.
- Secure the door to the opening using screws or nails. Follow the manufacturer’s instructions for the specific installation process of your door.
- Test the door for smooth operation and proper alignment. Open and close the door several times to ensure that it functions correctly.
- Finally, check the seal around the door to ensure there are no gaps or leaks. Use additional caulk if necessary to seal any gaps.
By properly preparing the opening for installation, you will ensure a secure, level, and weather-tight fit for your new patio door.
Now that the opening is prepared, it’s time to move on to step 4: installing the new patio door.
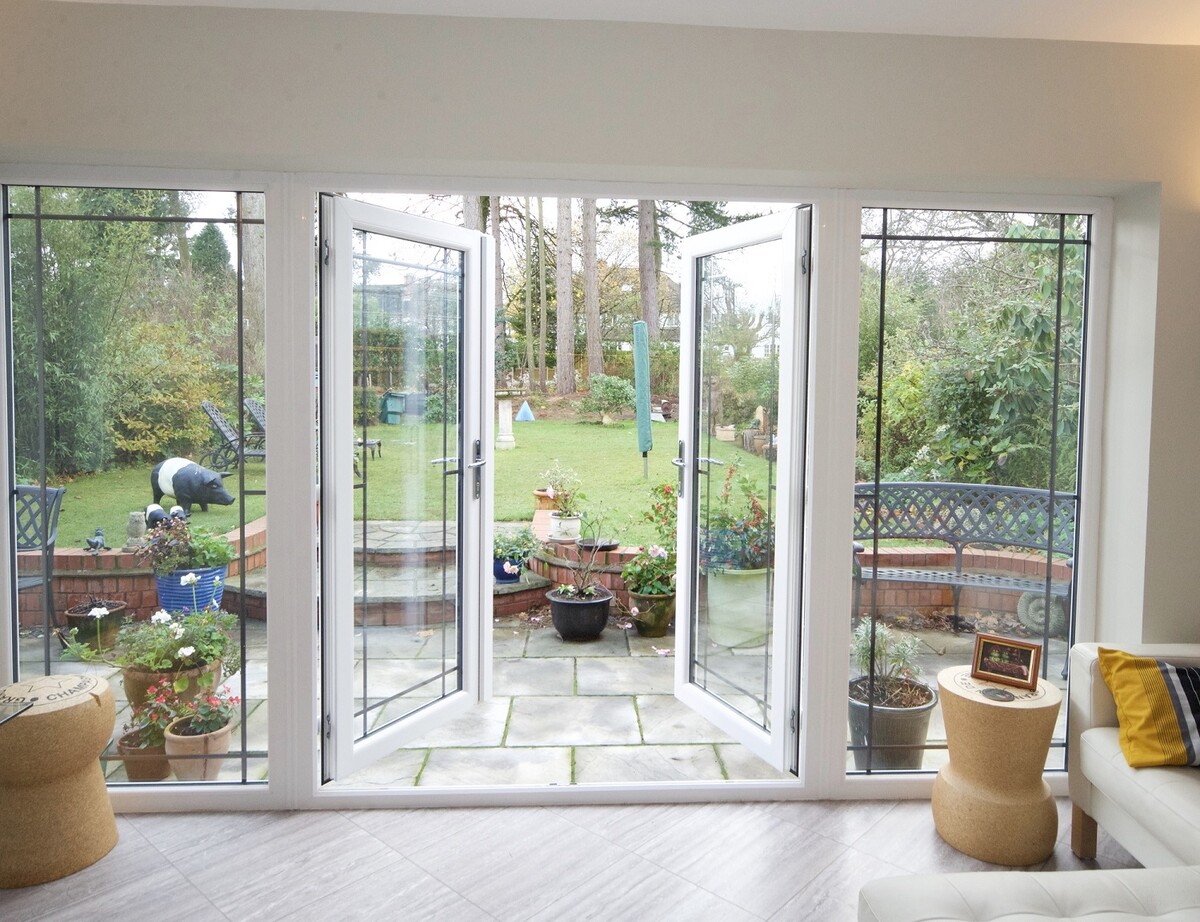
When replacing a patio door, make sure to measure the opening accurately to ensure the new door will fit properly. Take into account the height, width, and depth of the space to avoid any installation issues.
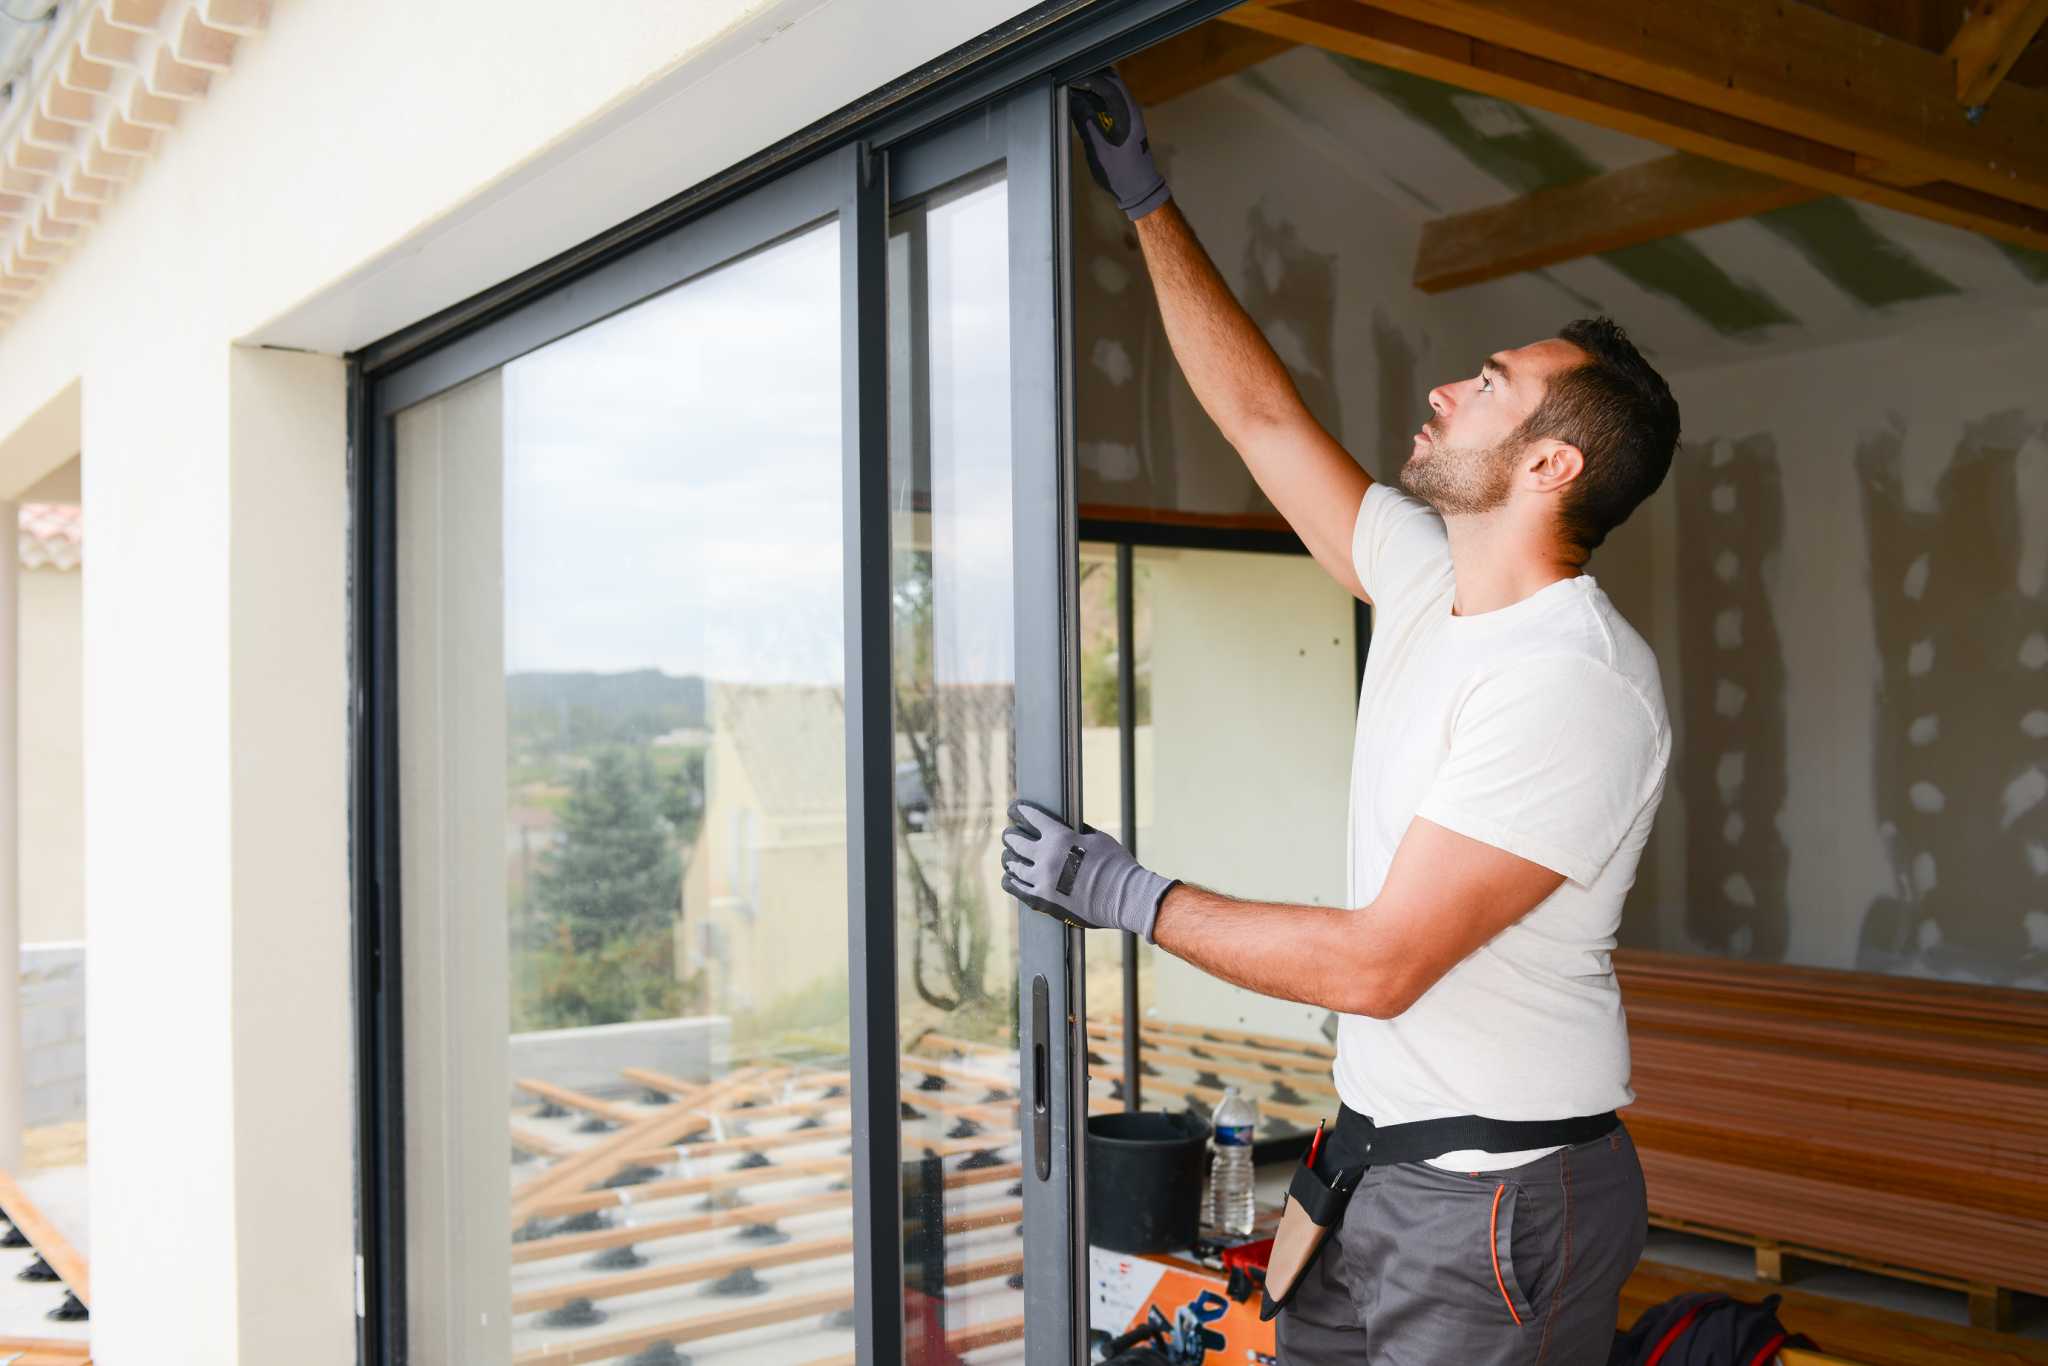
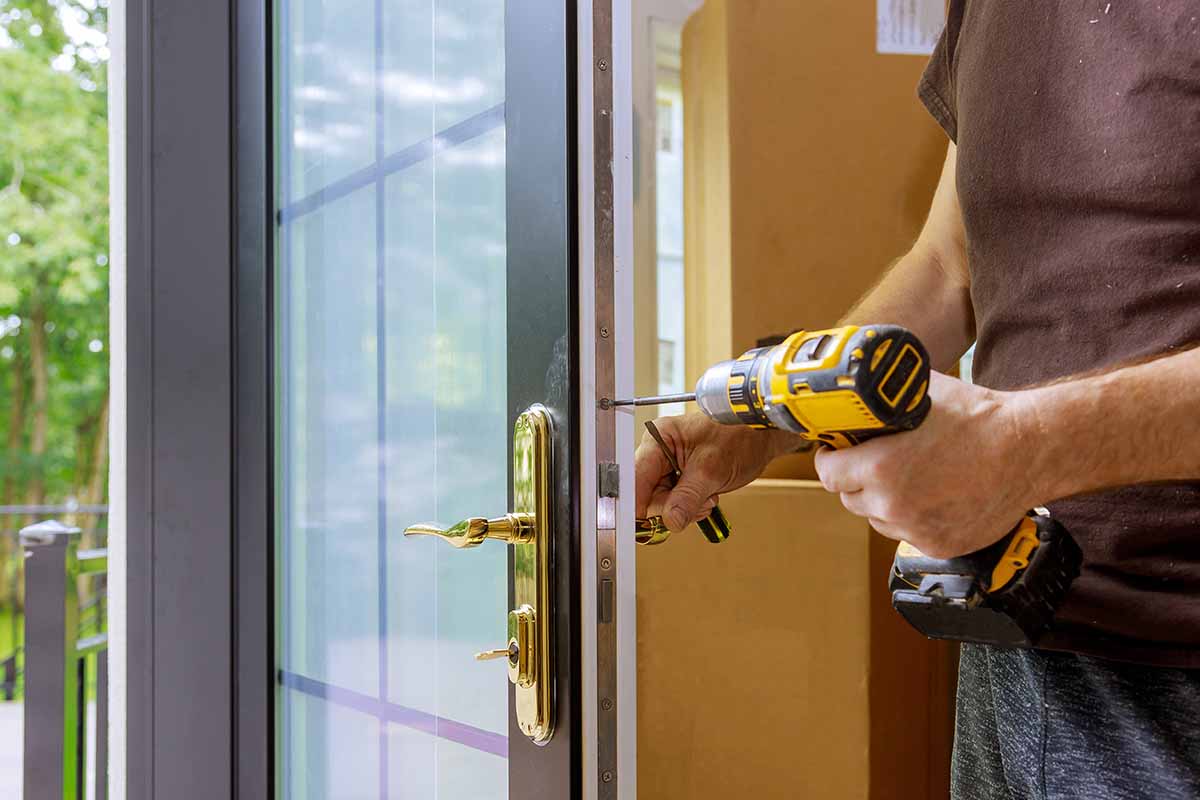
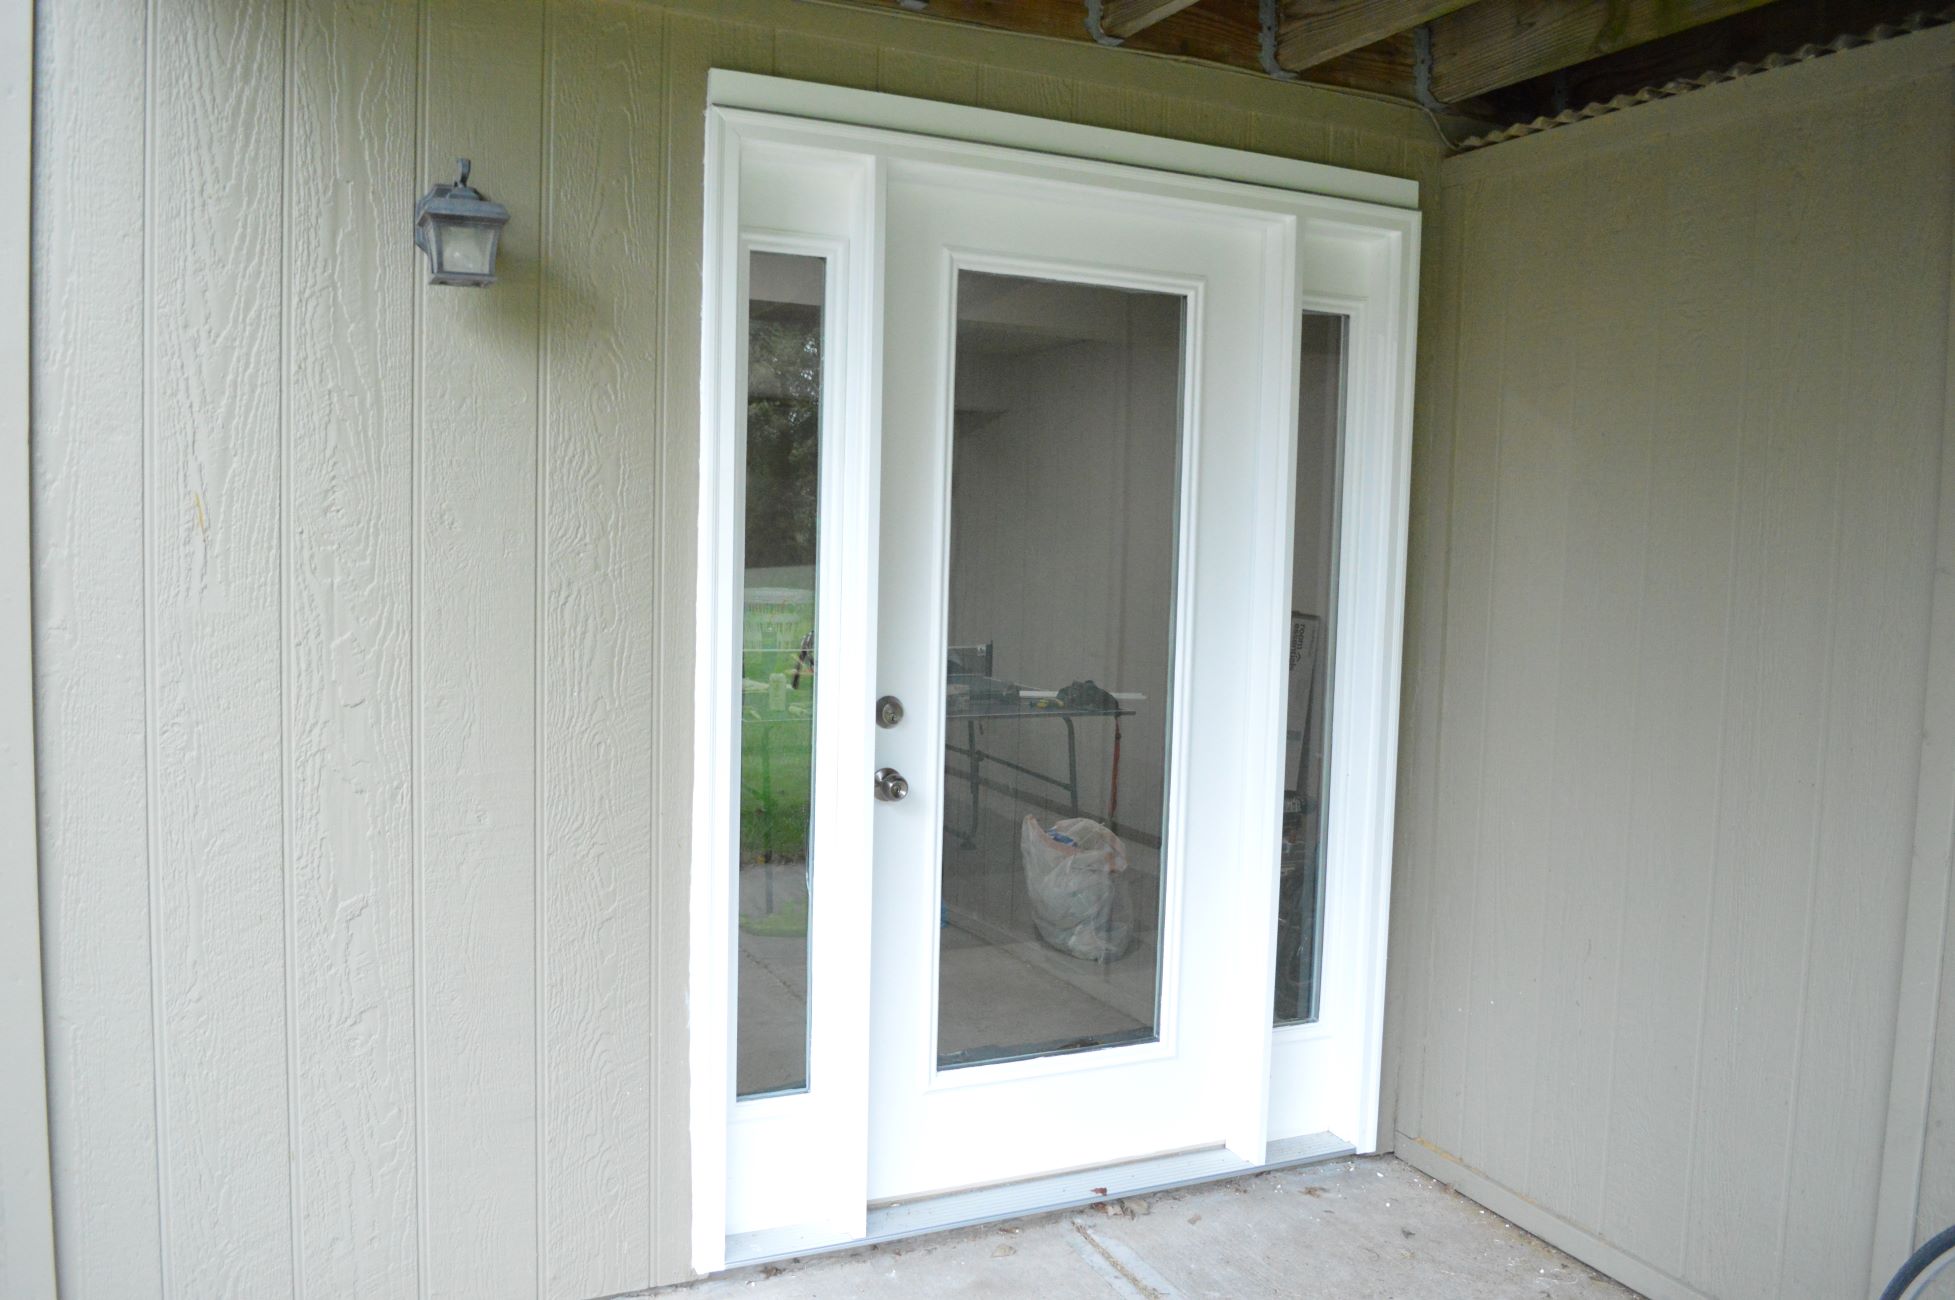
Step 4: Install the New Patio Door
Installing the new patio door is an exciting step as it brings you closer to enjoying your refreshed outdoor space. Follow these steps to install the new patio door:
- Carefully lift the new patio door into the prepared opening. Ensure it is centered and level within the opening.
- Secure the door to the opening using screws or nails. Refer to the manufacturer’s instructions for the specific installation process of your door.
- Check the alignment of the door using a level. Make any necessary adjustments by shimmying the door or adjusting the screws or nails.
- Install the provided hardware, such as handles, locks, and weatherstripping, according to the manufacturer’s instructions.
- Test the door for smooth operation. Open and close the door several times to ensure it glides smoothly and seals properly.
- Inspect all areas around the door to ensure there are no gaps or leaks. Use caulk to seal any gaps or apply weatherstripping to improve insulation if necessary.
- Install the exterior trim or molding to complete the installation. Use finishing nails to secure the trim in place.
- Check the door one final time for proper alignment, operation, and sealing.
It’s important to follow the manufacturer’s instructions for the specific installation process of your patio door. Each door may have slight variations in the installation steps, so be sure to refer to the provided documentation.
Congratulations! You have successfully installed your new patio door. Now, let’s move on to step 5: testing and adjusting the patio door.
Read more: How To Replace Glass In A Sliding Patio Door
Step 5: Test and Adjust the Patio Door
After installing the new patio door, it’s important to test and adjust it to ensure it functions properly and provides optimal performance. Follow these steps to test and adjust your patio door:
- Open and close the patio door several times to test its smoothness and operation. Pay attention to any resistance, sticking, or misalignment.
- If the door is not closing properly or aligning correctly, check the levelness of the door once more. Use shims to make any necessary adjustments to achieve a level door.
- Inspect the door’s weatherstripping and seals. Make sure they are properly lined up and creating a tight seal to prevent air or water leakage. Adjust or replace weatherstripping if needed.
- Check the locking mechanism of the patio door to ensure it locks securely and smoothly. Test the handle and latch to ensure they operate properly.
- Verify that the patio door is insulated and sealed properly. This will help maintain energy efficiency and prevent drafts.
- Inspect the exterior and interior of the door for any gaps or cracks. Apply caulk or sealant as needed to seal any areas where air or water may leak through.
- Take note of any adjustments or maintenance needed for your patio door. This could include tightening loose screws, lubricating hinges, or replacing worn-out components.
Testing and adjusting your patio door is crucial to ensure its functionality and longevity. By addressing any issues or adjustments early on, you can prevent bigger problems down the line and enjoy a well-performing patio door for years to come.
With the patio door successfully tested and adjusted, you have completed the replacement process! Sit back and enjoy your newly installed patio door, which will enhance the beauty and functionality of your outdoor space.
We hope this guide has been helpful in guiding you through the process of replacing a patio door. Remember to consult the manufacturer’s instructions for specific details related to your patio door installation.
Thank you for choosing us as your guide to replacing a patio door!
Conclusion
Replacing a patio door may seem like a daunting task, but with the right tools, materials, and knowledge, it can be a manageable and rewarding project. By following the steps outlined in this comprehensive guide, you can successfully replace your patio door and rejuvenate your outdoor living space.
From gathering the necessary tools and materials to removing the existing door, preparing the opening, and installing the new door, each step plays a critical role in ensuring a smooth and secure installation. Additionally, testing and adjusting the patio door will help optimize its performance, functionality, and energy efficiency.
Remember to prioritize safety throughout the process by wearing protective gear and taking precautions when handling tools and heavy doors. Additionally, consult the manufacturer’s instructions specific to your patio door to ensure you follow the recommended installation process.
By replacing your patio door, you can enjoy a refreshed and updated outdoor space, improved natural lighting, better ventilation, and enhanced energy efficiency. Whether you’re upgrading for aesthetic reasons or addressing functionality issues, a new patio door can make a significant difference in your home.
We hope this guide has provided you with valuable insights and guidance on how to replace a patio door. By following the outlined steps, you can confidently tackle this project and create a beautiful and functional outdoor living area.
Thank you for choosing our guide! Good luck with your patio door replacement.
Frequently Asked Questions about How To Replace A Patio Door
Was this page helpful?
At Storables.com, we guarantee accurate and reliable information. Our content, validated by Expert Board Contributors, is crafted following stringent Editorial Policies. We're committed to providing you with well-researched, expert-backed insights for all your informational needs.
0 thoughts on “How To Replace A Patio Door”